Fed up with repeatedly changing your decor for each season? Timeless style is the solution! Designing a home that remains warm and welcoming all year long doesn’t need to be difficult or costly. With a touch of imagination and a bit of DIY experience, you can turn your space into an enduring retreat.
Today, I’m presenting a selection of simple yet fashionable DIY decorating projects that will bring character to your home without the pressure of seasonal updates
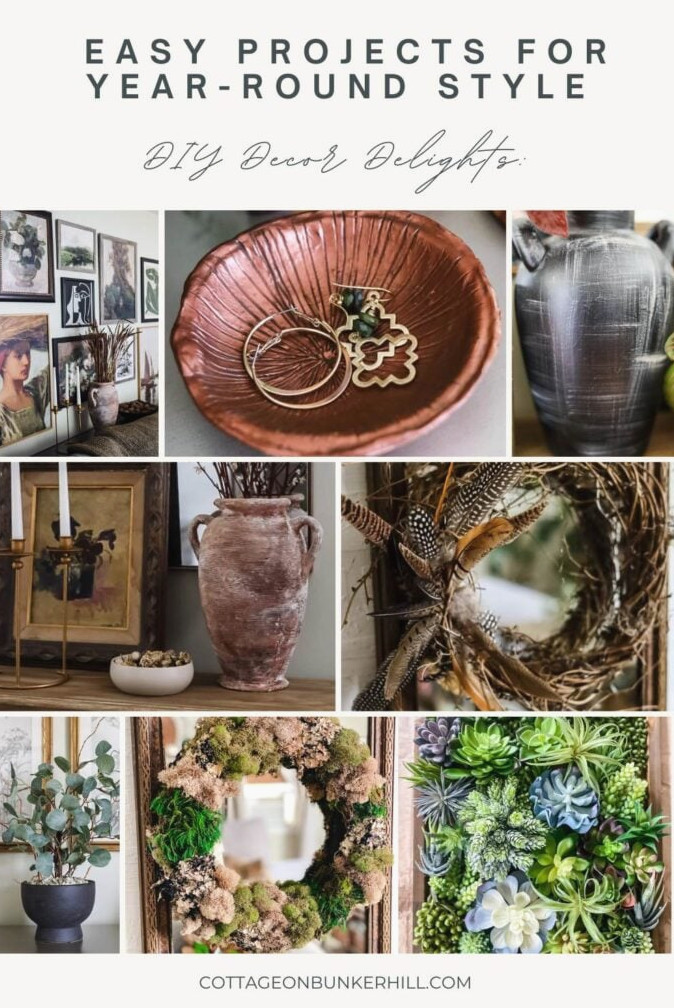
Repurposed Decor
Set your creativity free with upcycling! Bored with mass-produced decorations? Breathe fresh life into forgotten treasures through our repurposed decor projects. Experience the satisfaction of turning unwanted objects into beautiful additions for your home. Upcycling is not only an enjoyable creative activity, but it’s also an affordable way to give your space a unique touch. Get ready to browse nearby thrift shops and let your creativity take the lead
Thrift Shop Lamp Transformations
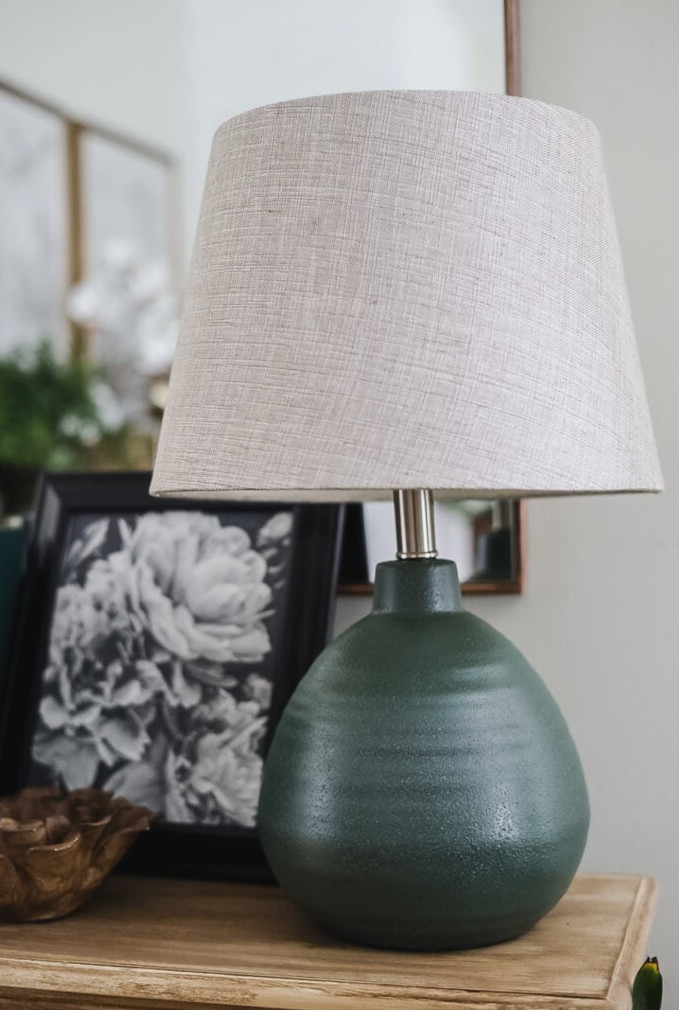
Let’s be honest, table lamps have become much more expensive in recent years! The next time you browse your neighborhood thrift shop, take a look at the lamp section and see whether you can uncover a hidden treasure.
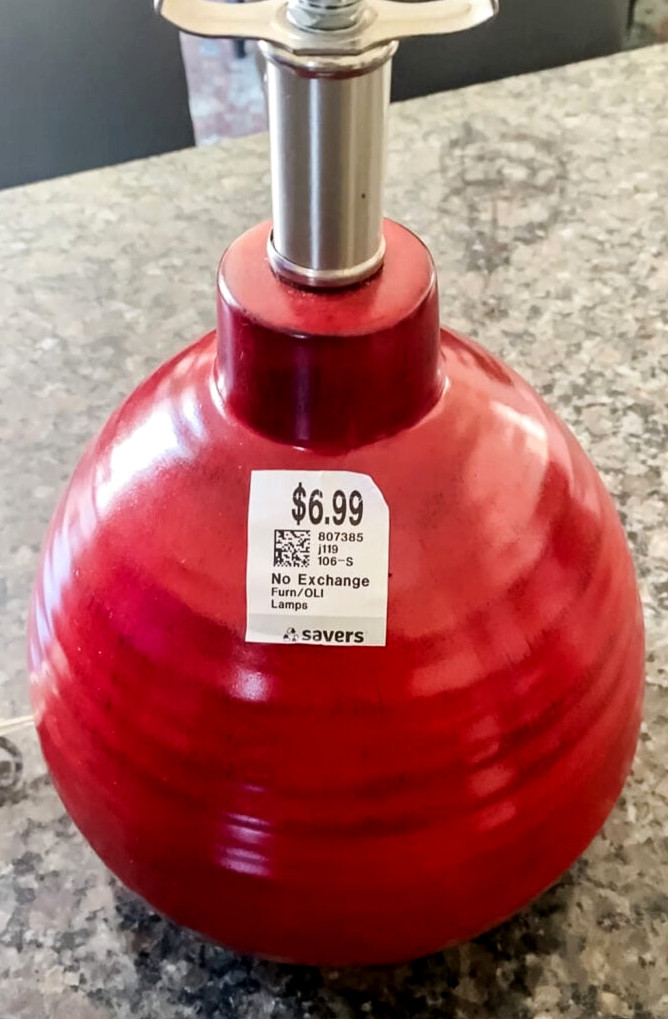
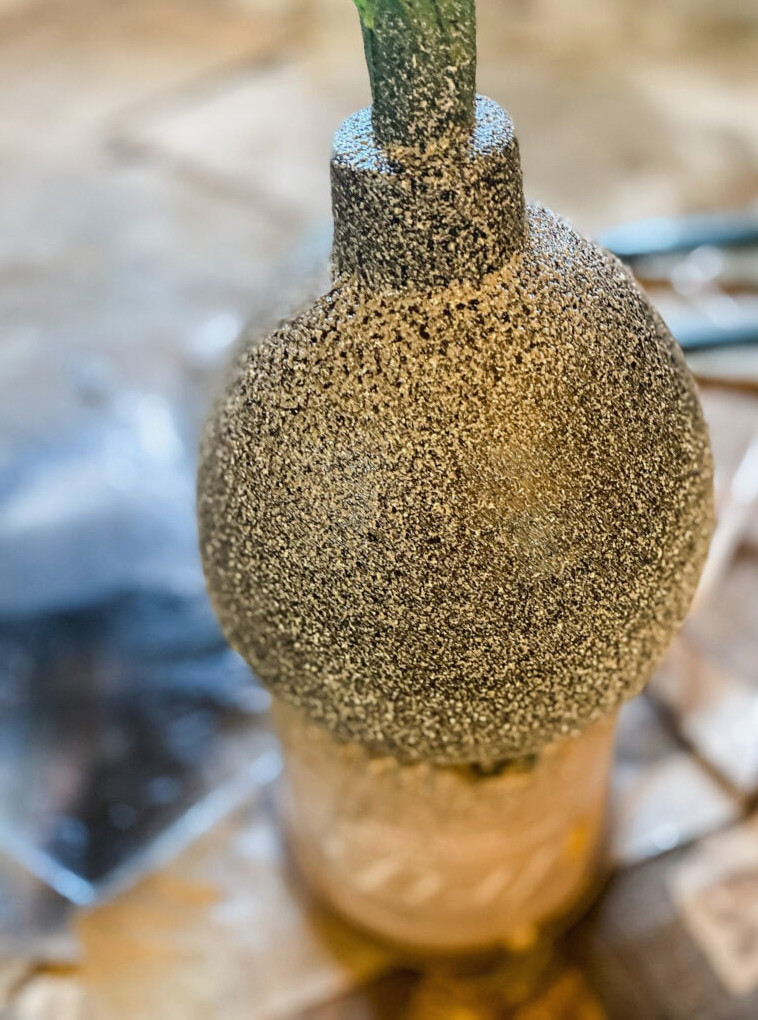
When I came across a ceramic lamp with an appealing shape but a color that clashed with my home’s palette, I immediately saw its potential as a DIY makeover.
For this lamp makeover, I followed a three-stage painting method with leftover supplies from earlier projects. First, I covered the red surface with black spray paint. Next, I added a layer of stone-effect spray paint. Finally, I finished it with matte green spray paint.
Outdated becomes fashionable.
Several years back, I refreshed an old-fashioned $5 brass lamp and turned it into a faux mercury glass piece. Sadly, I didn’t run a blog at the time, so I’m unable to show pictures of the transformation. To create the effect, I began by coating the whole lamp in black paint. After it dried, I sprayed on looking glass paint to mimic mercury glass. As a finishing touch, I gently dabbed black craft paint onto random areas to create extra depth and dimension
Fabulous Vase Makeovers
I love the gorgeous vases displayed in home decorating magazines, but unfortunately, they frequently carry a substantial price. Who wants to pay more than one hundred dollars for just one vase? Certainly not me! Discover how to turn an inexpensive find into a centerpiece worthy of a magazine without spending a fortune!
flea market transformation
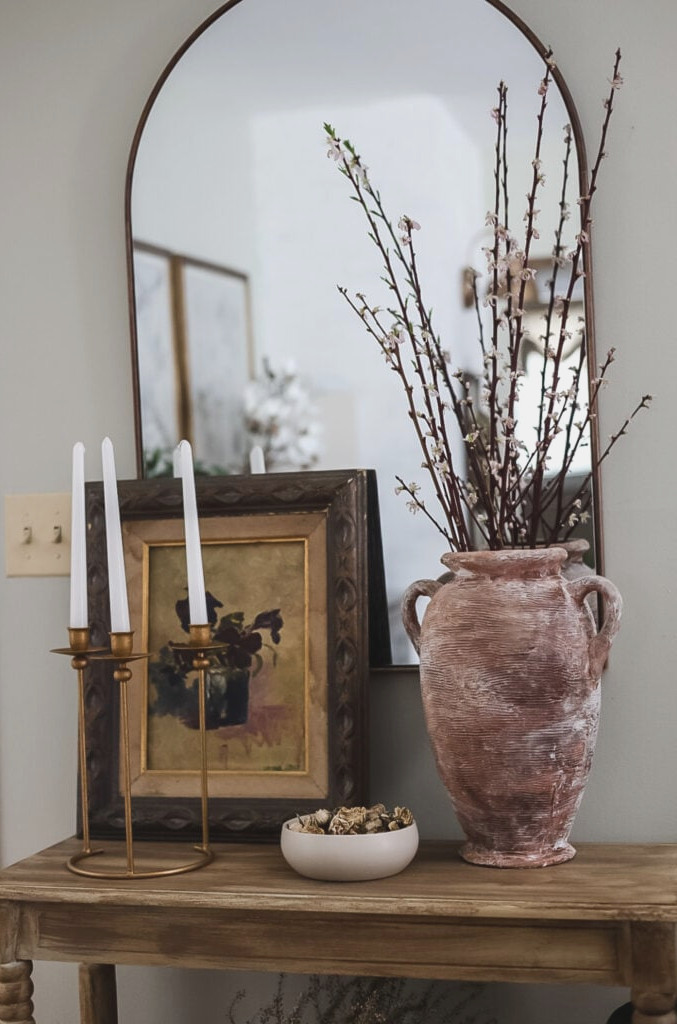
From an unattractive market find to a luxury-style lookalike.
I’ve updated countless vases during the past five years, but this remains my favorite upcycling project. I discovered this oversized vase at a flea market, sitting on the ground beside the seller’s table, priced at only $5!
It was coated with several layers of paint and featured an unusual texture, yet its silhouette brought to mind costly pottery I had admired. I was confident that a little DIY creativity could give it a complete new look!
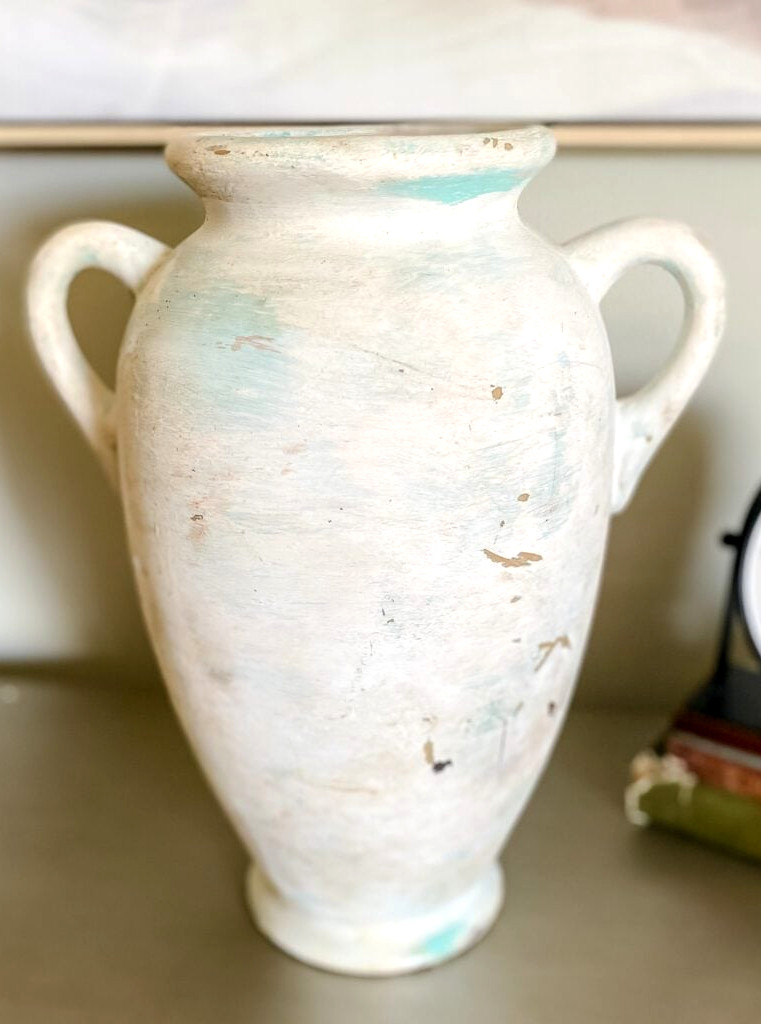
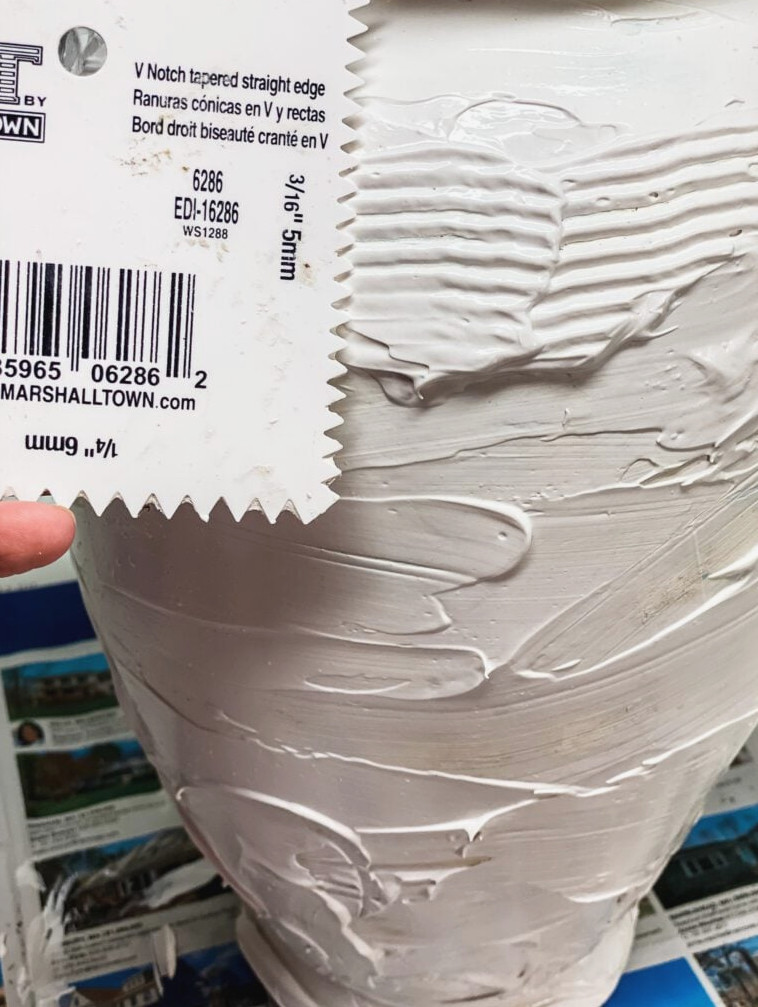
Since the vase had such a coarse surface, I turned to my go-to DIY technique: joint compound (joint compound is not the same as spackling, so don’t use spackling.) . Using a plastic knife, I coated the entire vase with it. For added texture, I grabbed a plastic v-notched tool I already had. I dragged its teeth, which were different sizes, through the compound to form irregular designs across the vase.
Once finished, I left it to cure overnight, then completed the piece with terracotta-toned paint & specialty paints for a weathered appearance. Check out the complete tutorial below for all the instructions.
style for every season
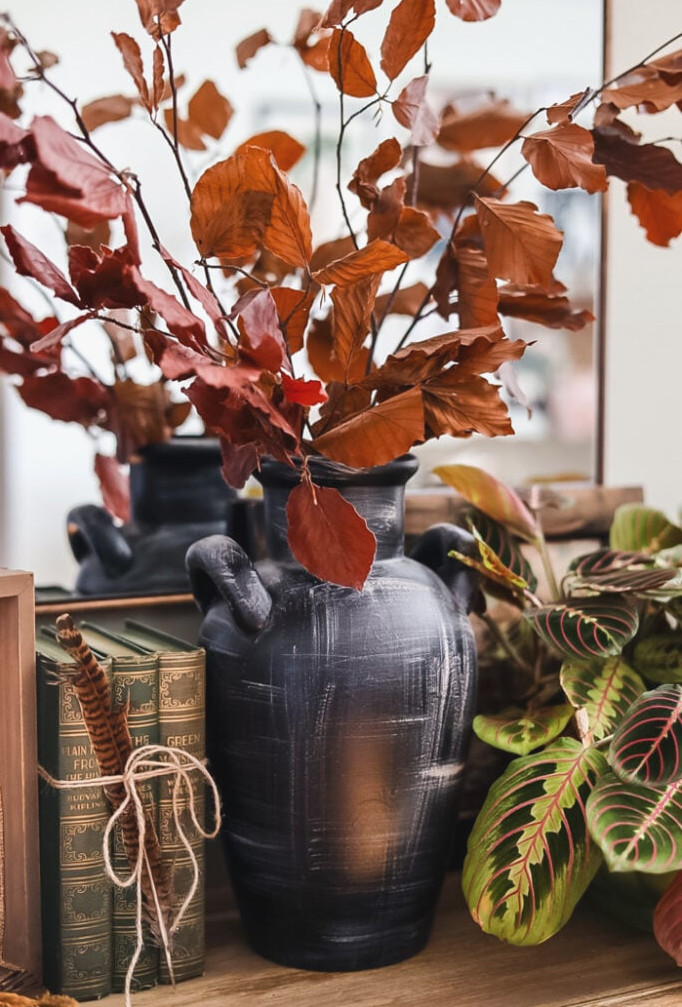
Effortless style for every space!
Adding a black accent is an easy way to bring character to any room in your home. This vase makeover is a beginner-friendly project that’s simple to try!
Begin by visiting a nearby secondhand store and searching for a vase with a rounded, bulb-like shape; handles are optional. Ceramic is ideal instead of glass, although either material will do.
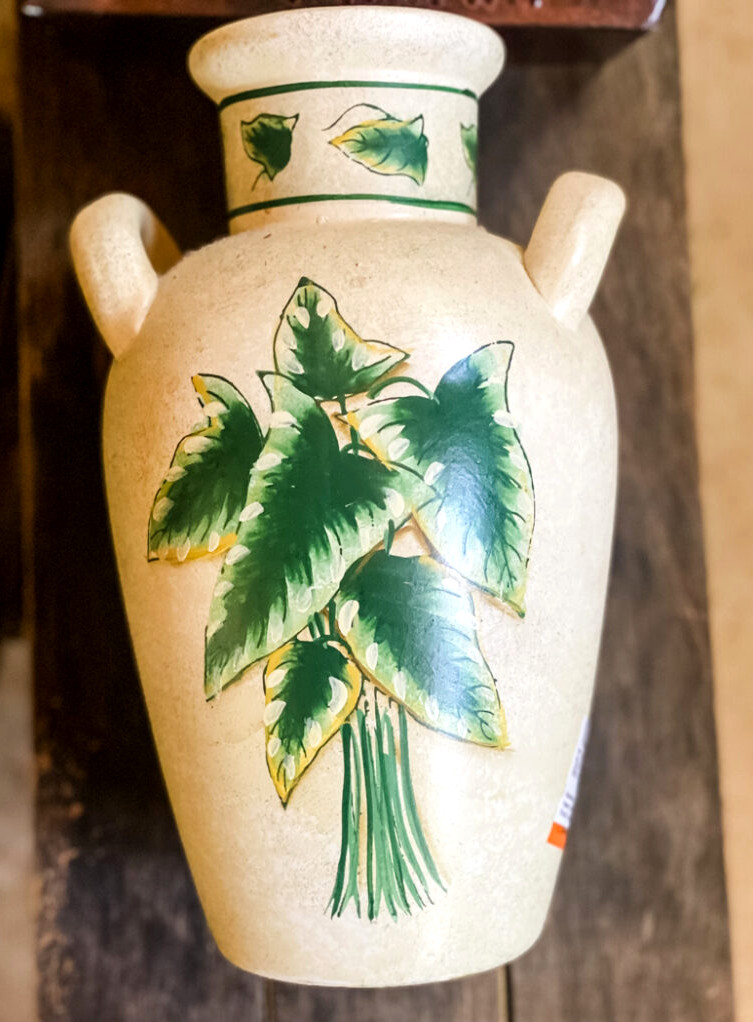
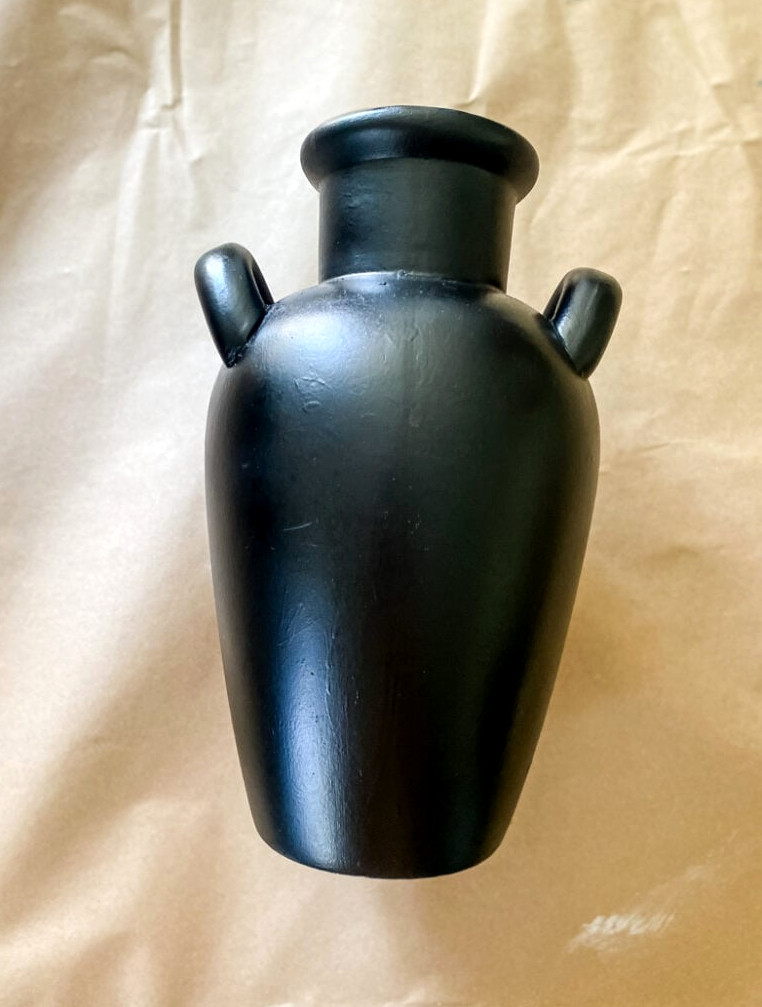
I began by spraying the upright vase with a thin, uniform layer of matte black paint. Be sure to coat a little of the inside opening too, since that area can often be seen.
After allowing the paint to dry, I flipped the vase over and sprayed it again for thorough coverage, paying special attention to the difficult spots around the handles and beneath the rim.
For a genuinely aged finish, matte black spray paint makes all the difference. Once the black coating had fully dried,
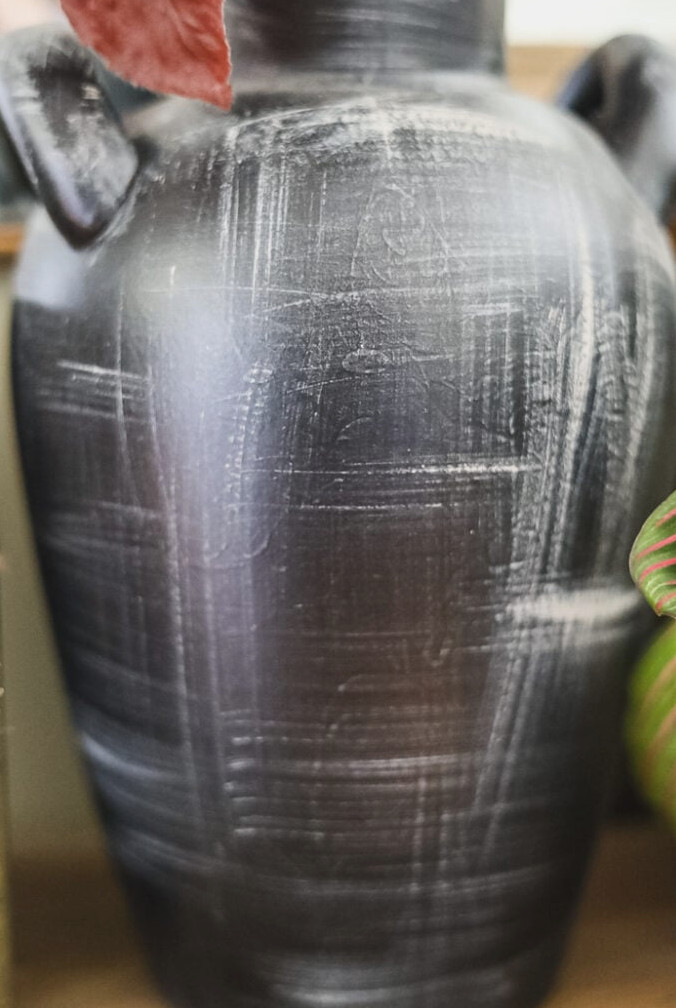
Only a very small quantity of paint is required here. Put a little putty-toned chalk paint onto a paper towel (or paper plate). Coat the ends of a chip brush by dipping them into the paint. Then, dab the extra paint onto the paper towel.
To form the pattern, lightly brush a basic hashtag design onto the vase. Keep your pressure gentle as you work.
Textile Inspiration
Below are two enjoyable ways to incorporate textiles into a DIY home-decor project. Each idea is simple and lets you make your own decorations.
Butterfly Wall Plaques
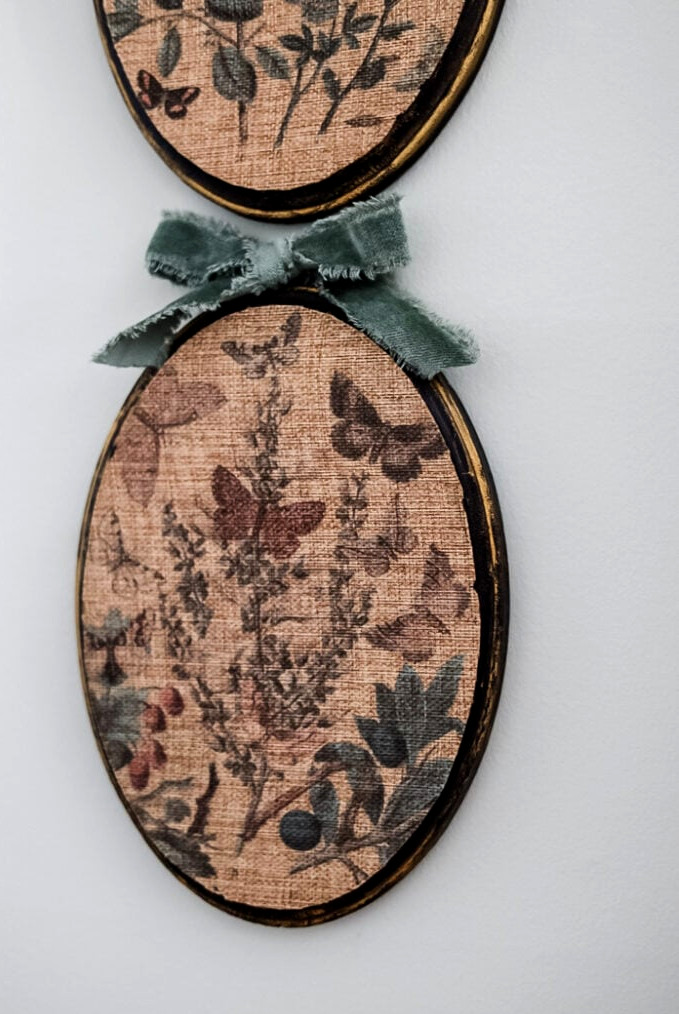
Nature’s perfect pairing: flowers & butterflies
Looking to bring vintage appeal and the beauty of nature into your home? This affordable, beginner-friendly DIY is just the project for you! Turn plain oval wooden plaques into gorgeous, unique butterfly botanical wall art. Give your space a custom look while staying within your budget!
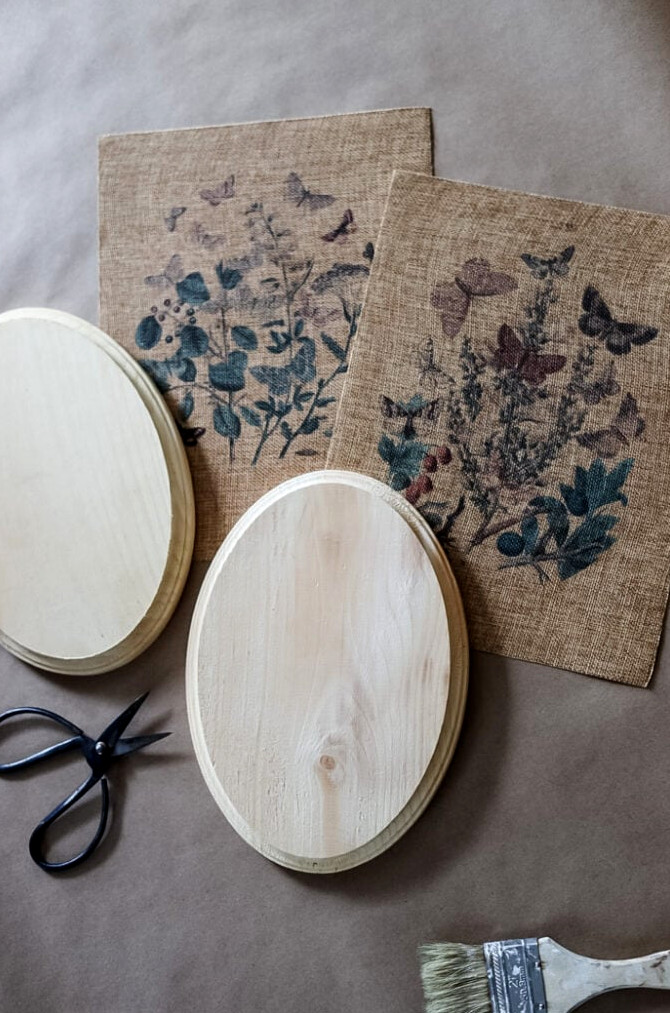
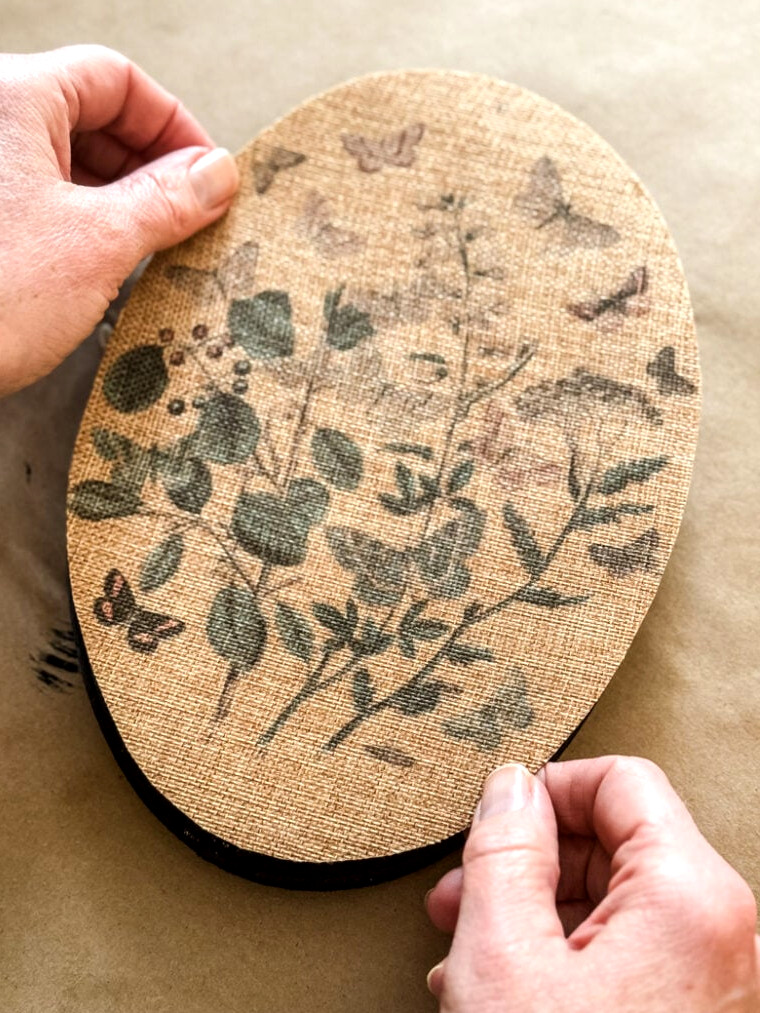
Here’s another DIY tip of mine for you to try! Have you ever come across burlap printer sheets? They’re ideal for little projects like this. These sheets can be used in your home printer, helping you achieve an instant vintage appearance.
Scrap Fabric Idea
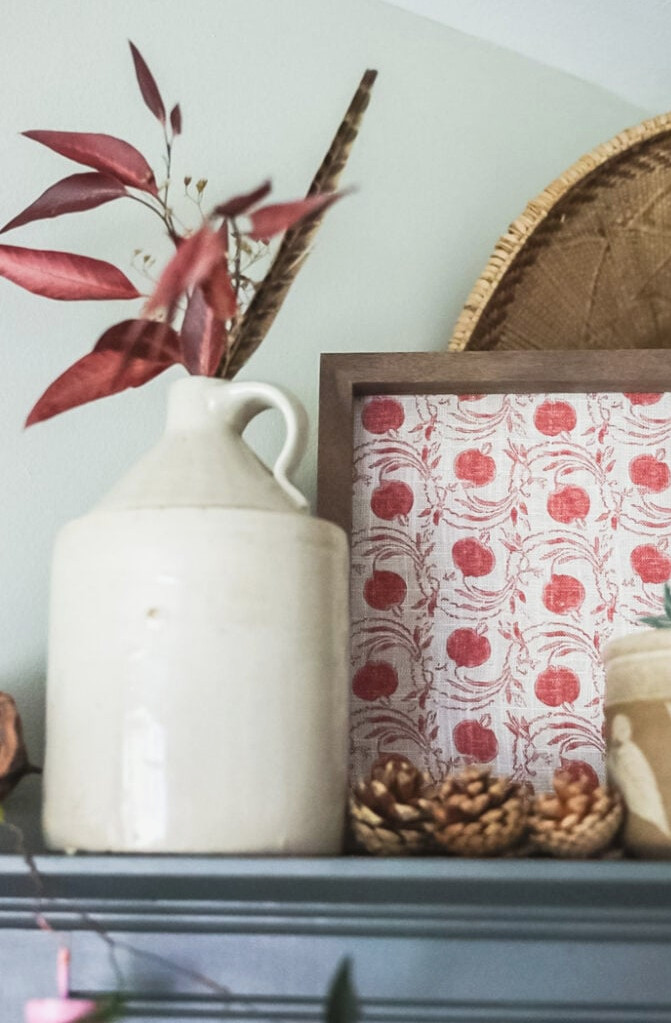
Fabric scrap artwork idea.
Here’s an uncomplicated DIY textile project you can create! For this version, I used an old word sign along with a fabric sample (I discovered piles of upholstery samples at the thrift shop). A patterned fabric napkin could also be used. Simply coat the frame with Mod Podge, lay the fabric over it, and smooth away any air bubbles to achieve an even finish.
Want to create a larger piece of art? This project can easily be enlarged. Begin by choosing a striking fabric, then find an oversized picture frame. Wrap the fabric firmly around the cardboard backing and fasten it securely.
Nature’s Inspiration
Regardless of the season, these DIY projects will bring a hint of nature into your home. Organic elements can promote a calm atmosphere throughout your space. Below are several favorites from this website, along with a few ideas that have appeared in a magazine.
Homemade Moss Wreath
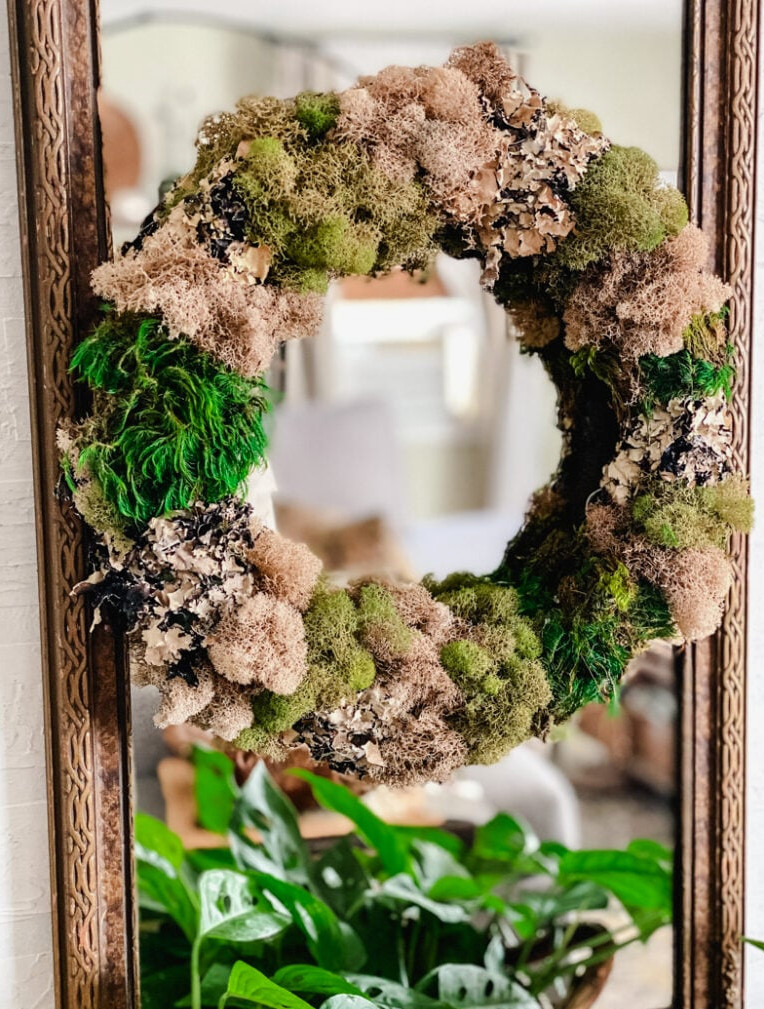
Want the upscale Anthropologie style without paying a premium price?
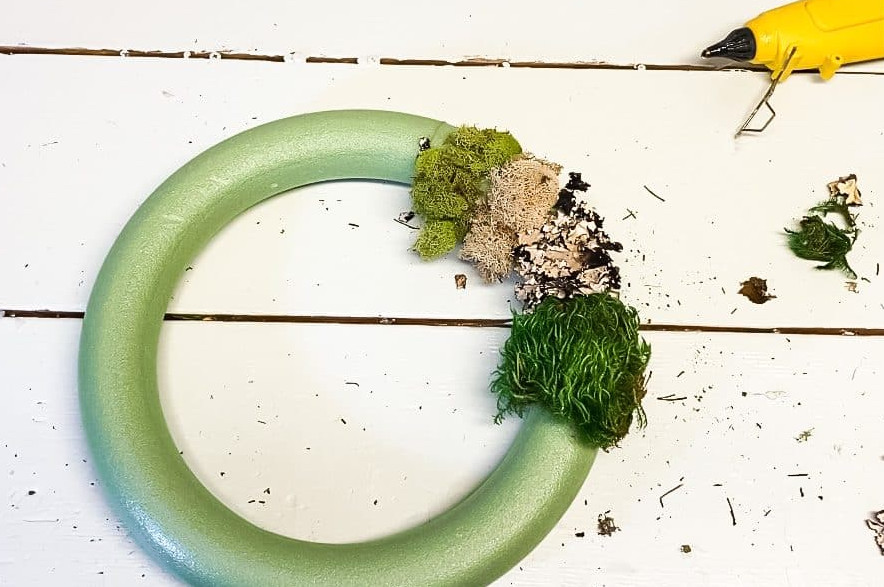
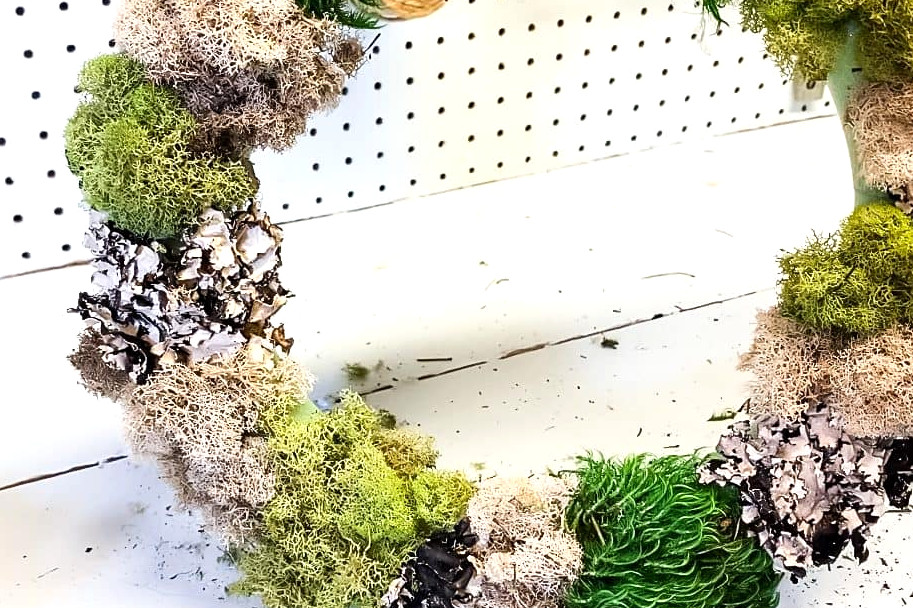
Your search ends here! This fantastic DIY guide explains how to make your own moss wreath in less than 30 minutes. Yes, that’s correct – just half an hour is enough to craft a beautiful, Anthropologie-inspired accent for your home. You’ll only need assorted moss, a wreath form, and a dependable hot glue gun. Even complete beginners can easily manage this project. So, prepare to refresh your decor while keeping plenty of money in your wallet!
Eucalyptus Planter
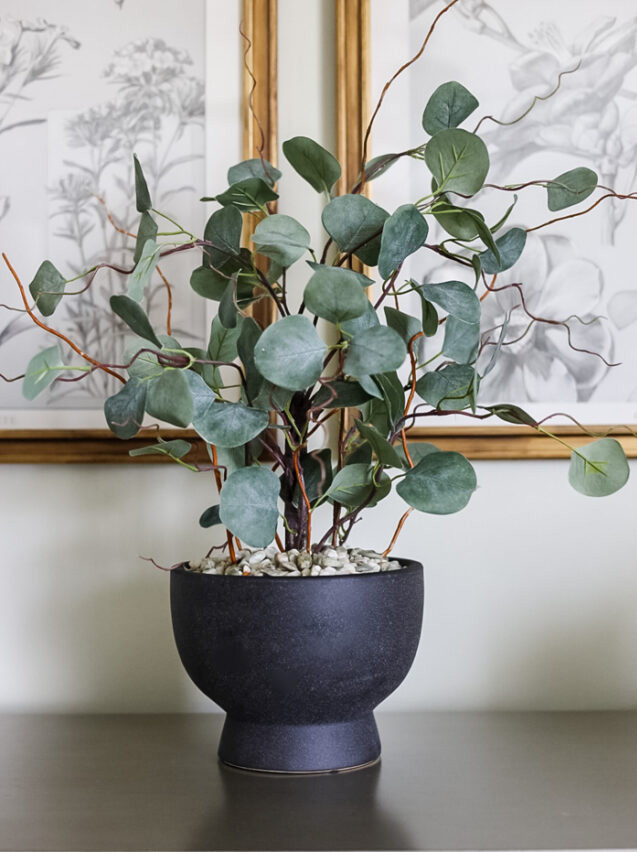
Don’t have a green thumb? No problem!
Would you like to bring some greenery into your space without dealing with live plants? Give this incredibly simple DIY faux eucalyptus project a try! The idea is to make a lifelike potted eucalyptus arrangement with just a few easy-to-find materials. No gardening skills are necessary, everyone!
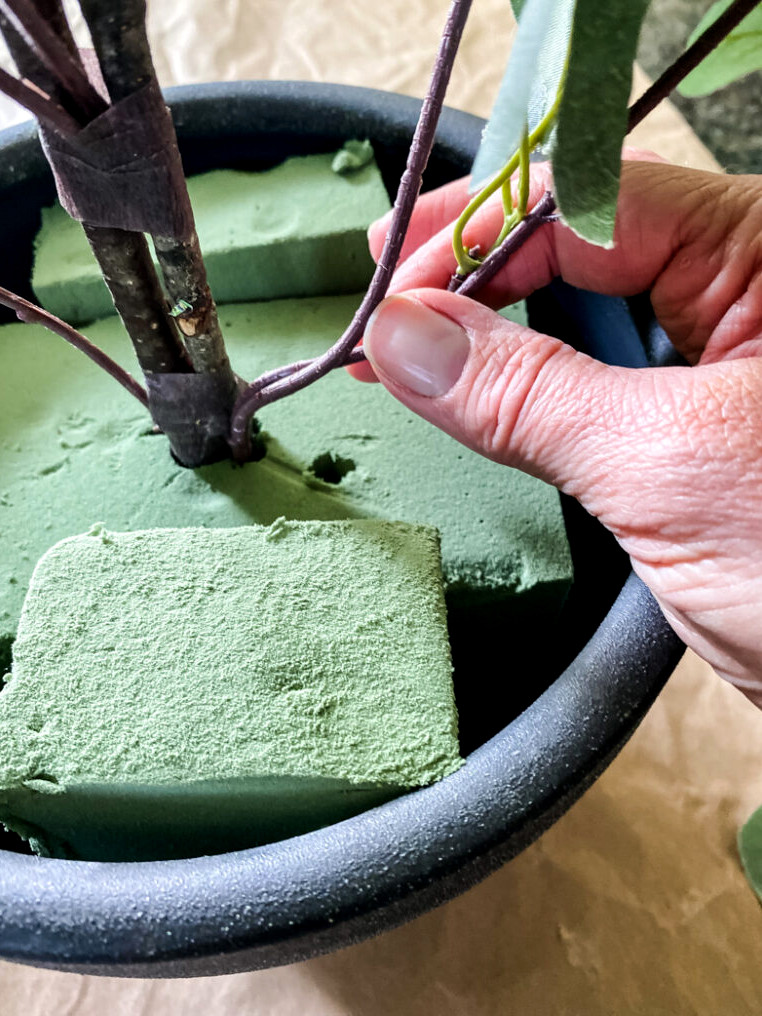
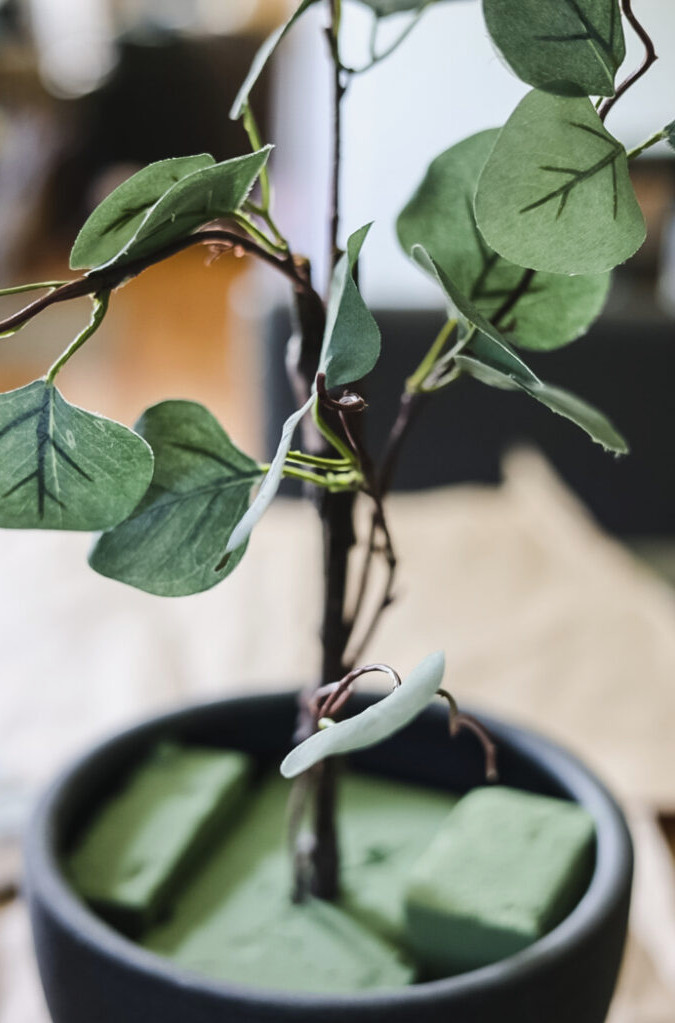
The best thing? Once you understand the basic design, you can tailor it to your taste and branch out into other varieties of greenery stems.
Botanical Shadowbox
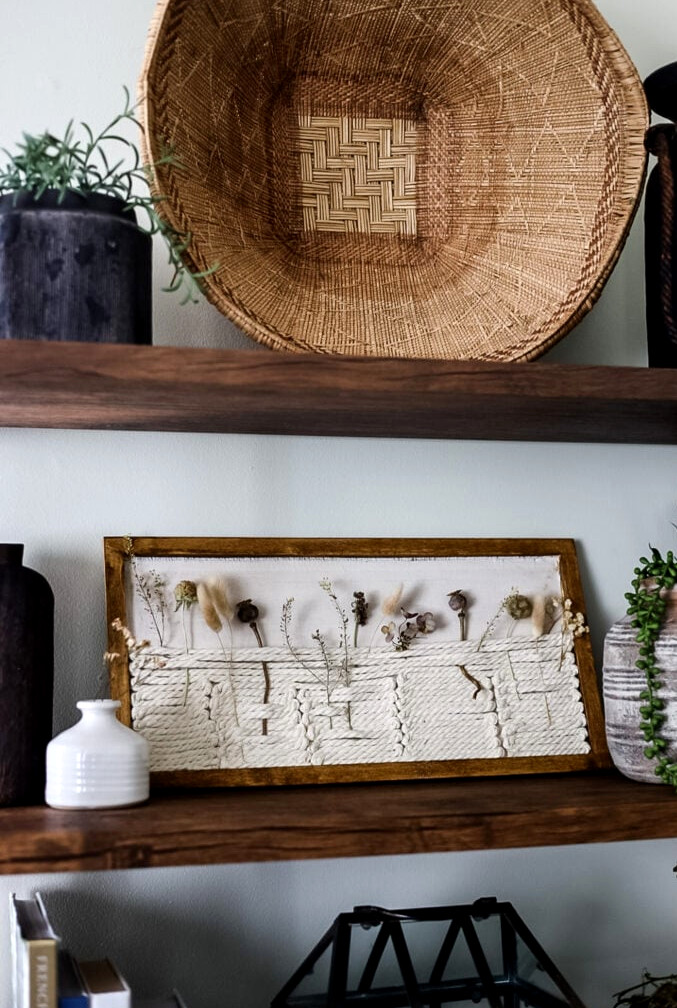
Display of dried flowers.
You can create this lovely wall accent in virtually no time. Gather an unfinished shadowbox frame, stain or paint, a spool of macrame cord, fabric in a natural shade, and dried botanicals.
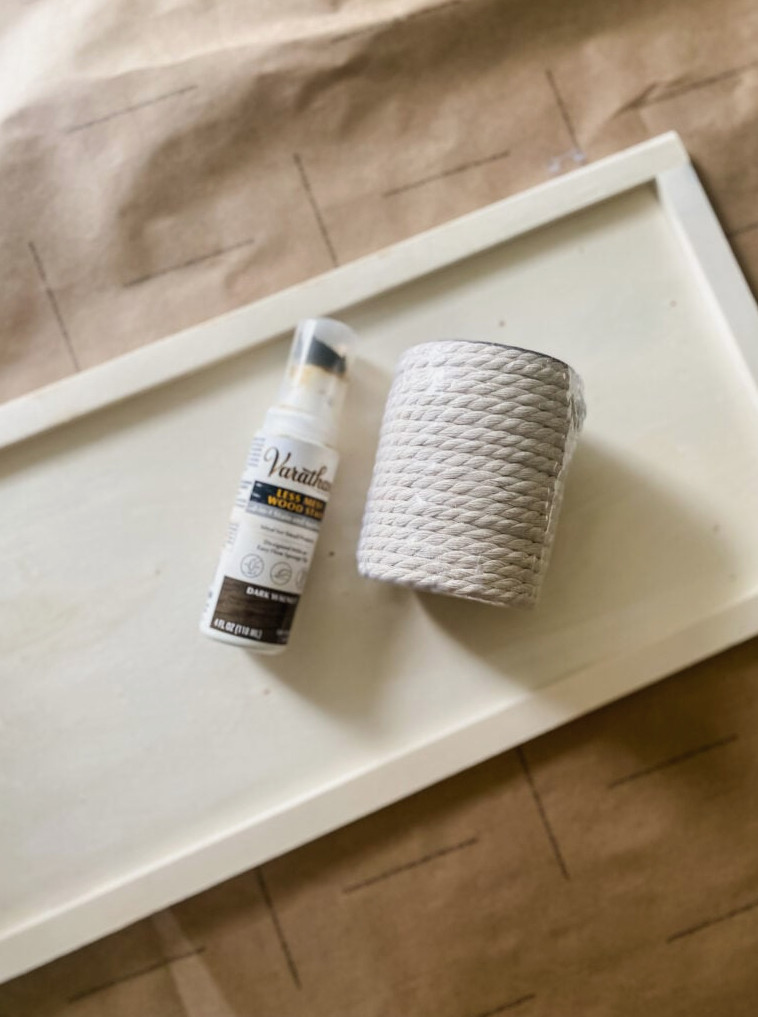
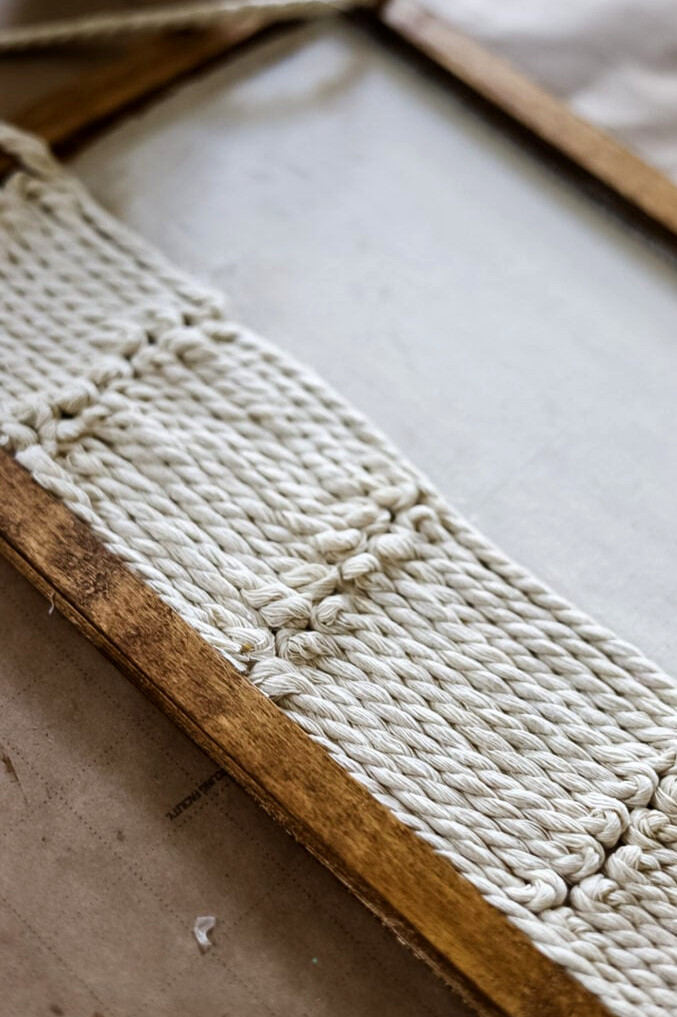
I drew inspiration for this project from an item I spotted on the Pottery Barn website, and it seemed like an ideal way to bring a natural, neutral accent into my living room.
Feather Wreath
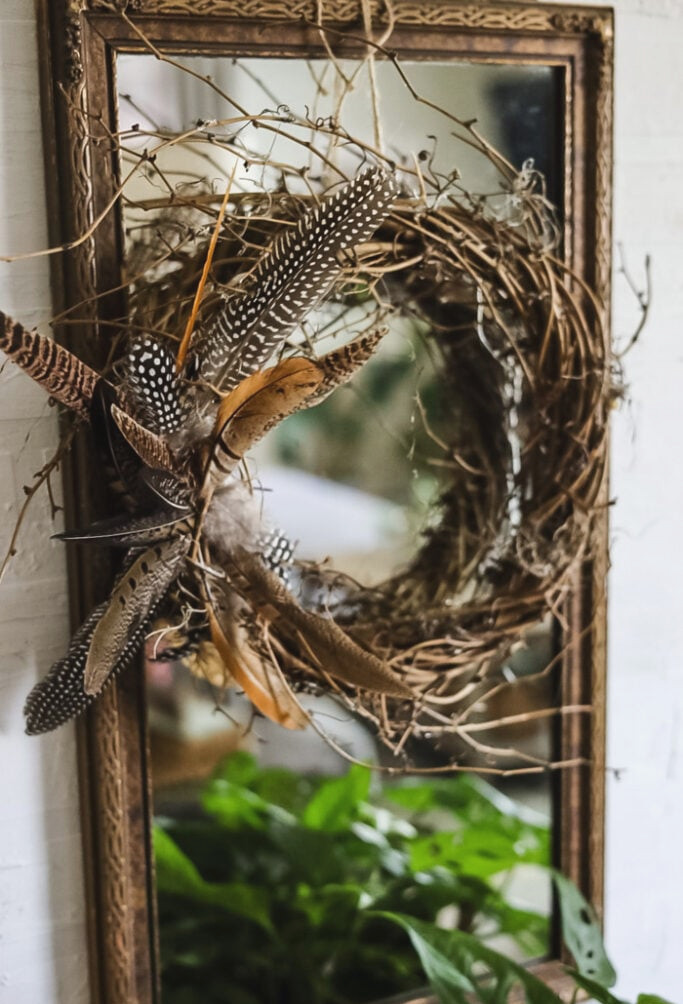
Bohemian style in just 5 minutes!
Add a fast, natural boho accent to your home with this simple DIY wreath. You’ll only need a small vine wreath and a packet of assorted feathers. It comes together in roughly 5 minutes.
Begin by placing several feathers at the center of the wreath’s left side. From there, continue inserting more feathers upward and downward. It’s an easy way to create a distinctive, attention-grabbing decoration.
Easy Moss Branches
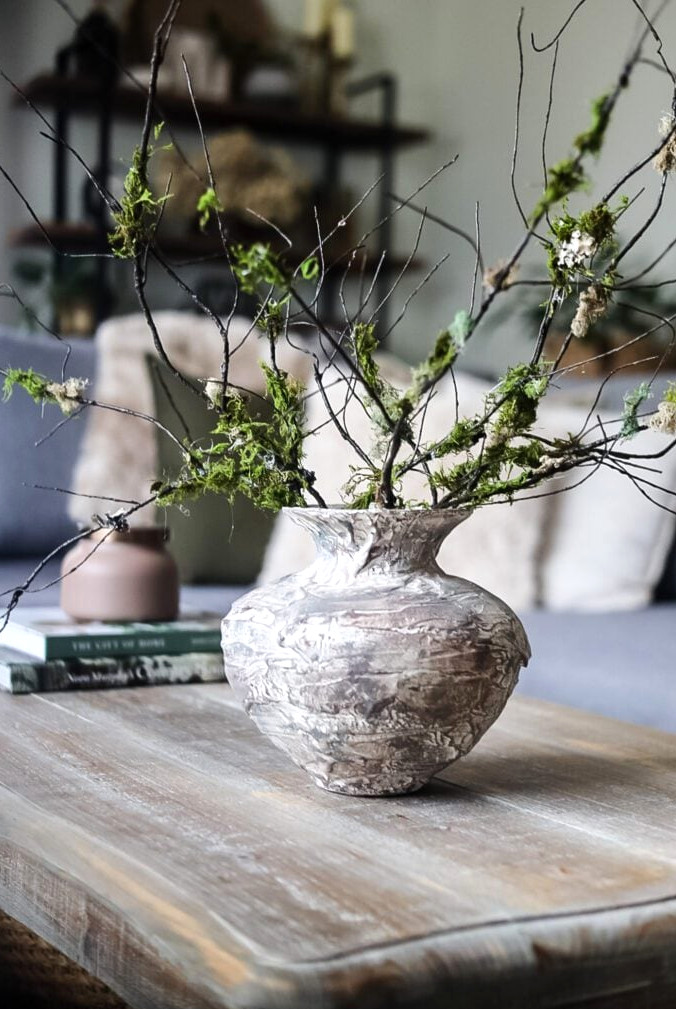
Add a little outdoor charm inside with these simple moss branches!
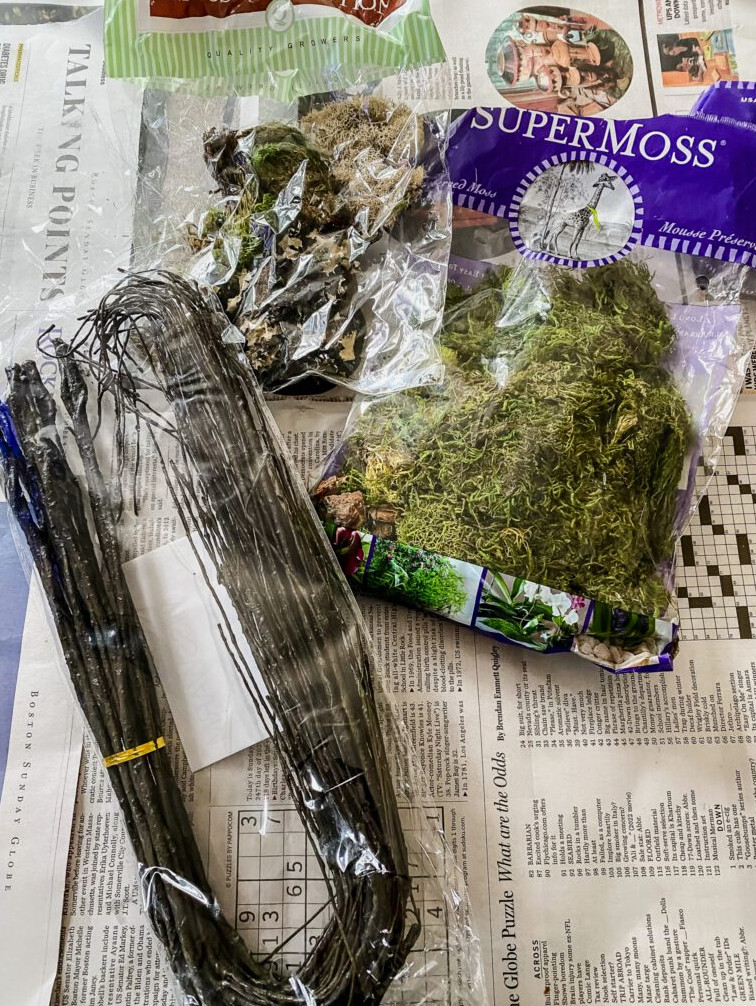
These handmade accents are an uncomplicated yet beautiful addition to any room. Gather artificial willow branches and your preferred moss, then start creating.
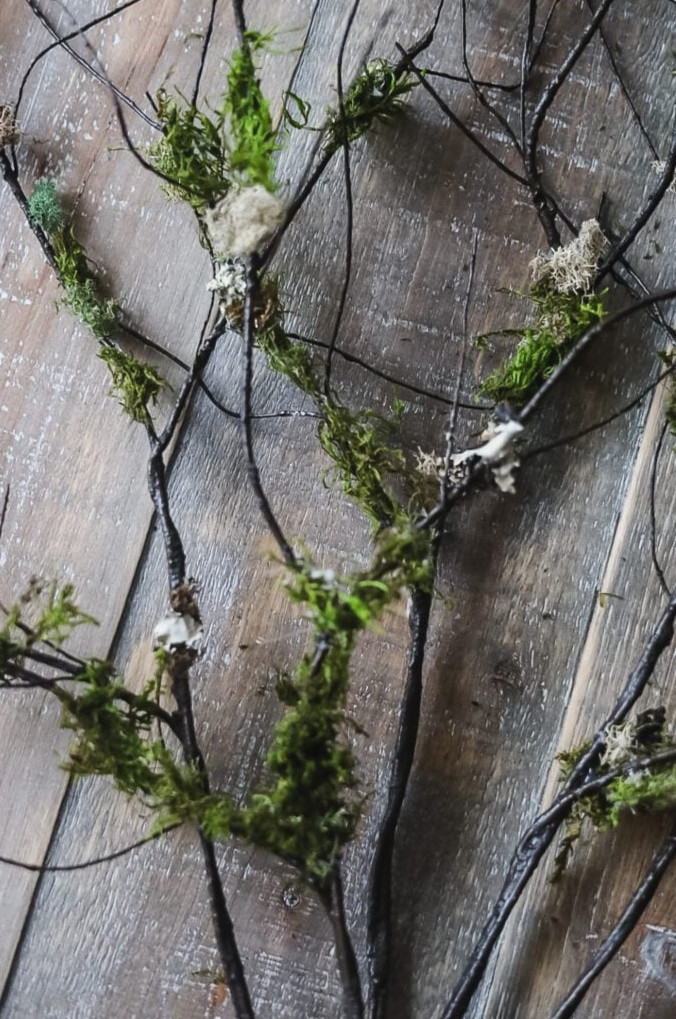
Whether arranged in a vase or added to a centerpiece, these mossy branches will bring a warm, organic feel to your home. They also require little upkeep and can be enjoyed throughout the year!
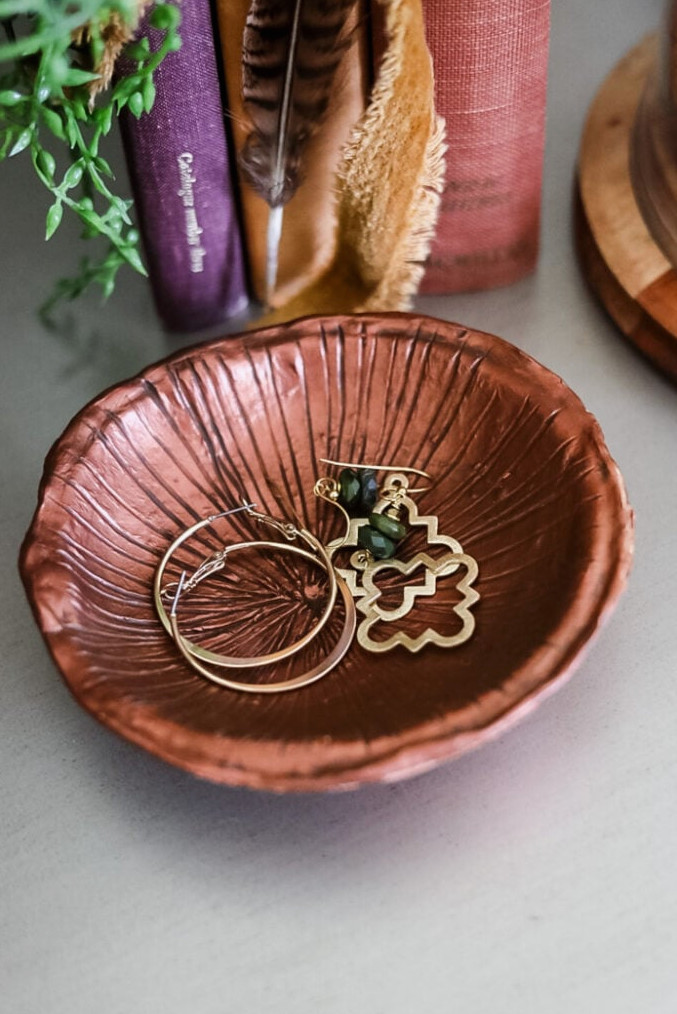
Calling every mushroom enthusiast!
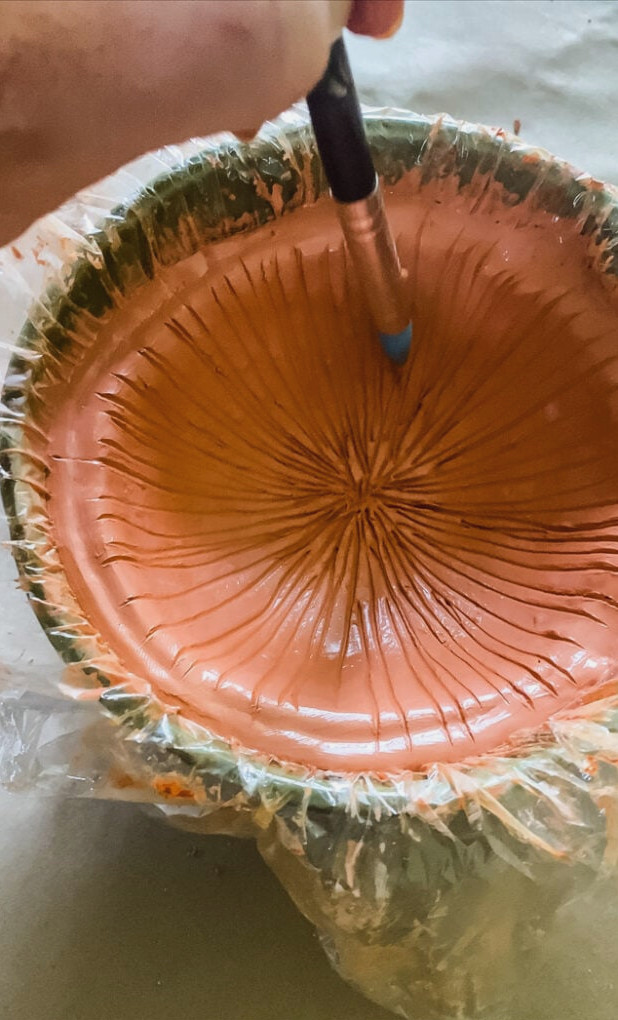
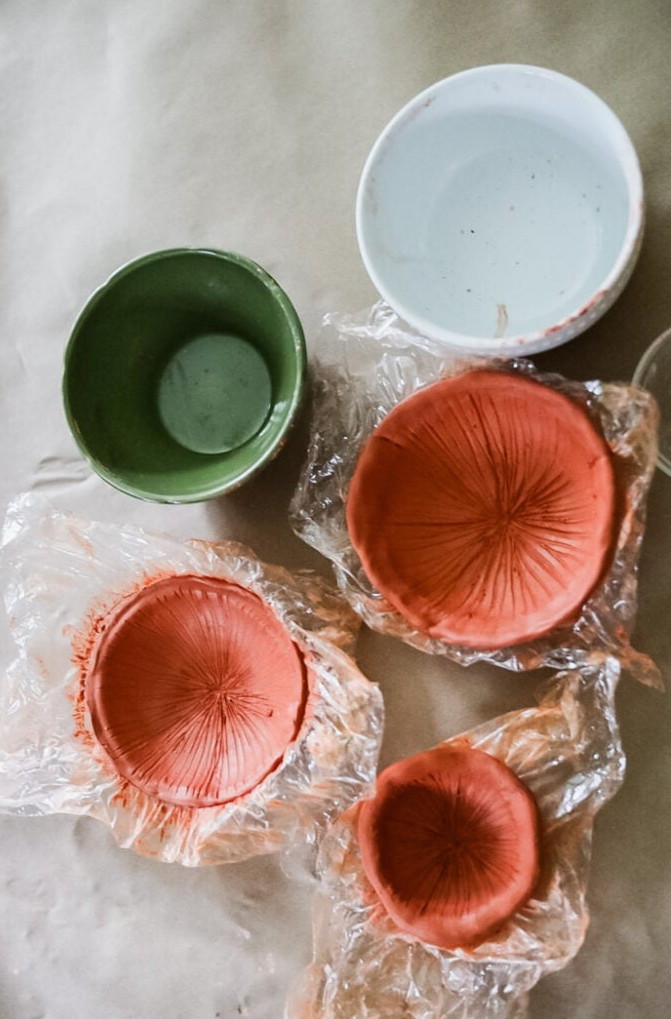
This articleis made with you in mind. Discover how to shape charming mushroom-cap bowls from air-drying clay—an ideal way to add a playful natural accent to any space. Since they’re simple to personalize with paint, you can create an entire woodland collection in every shade you love. These affordable DIY dishes offer a fun, imaginative way to bring nature’s charm inside!
Paper Flower Craft
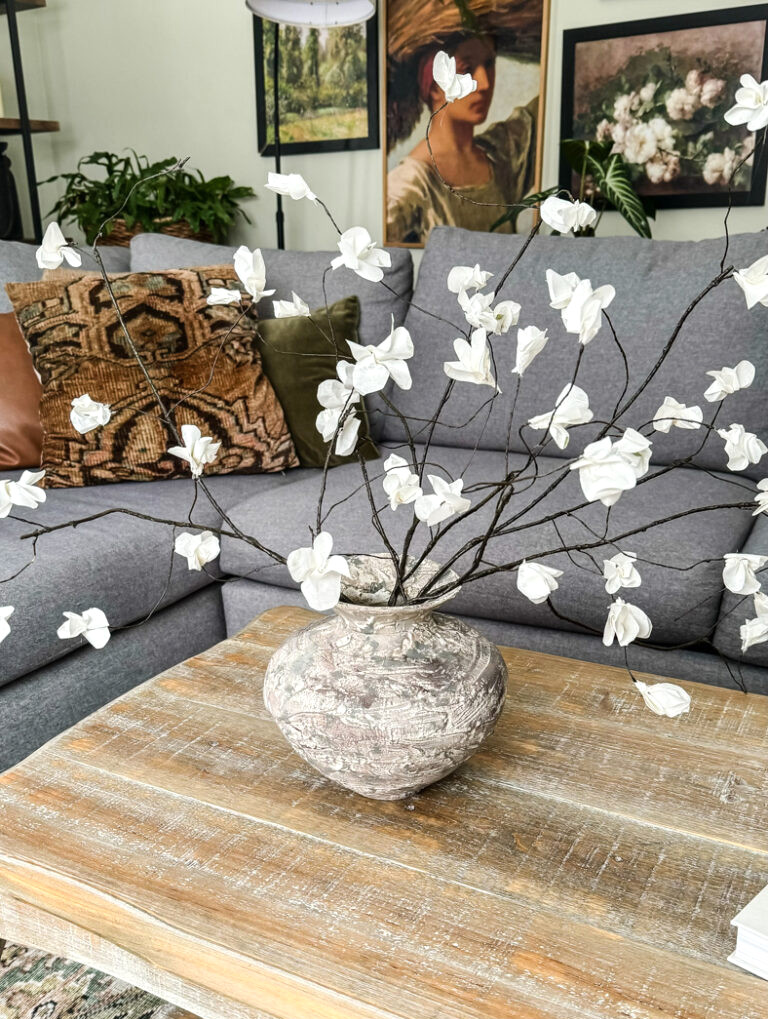
Affordable vase decoration.
Give your home a fanciful makeover with these simple paper blossoms. You’ll only need tissue or rice paper, a hot glue gun, and a few branches—either natural or artificial work wonderfully!
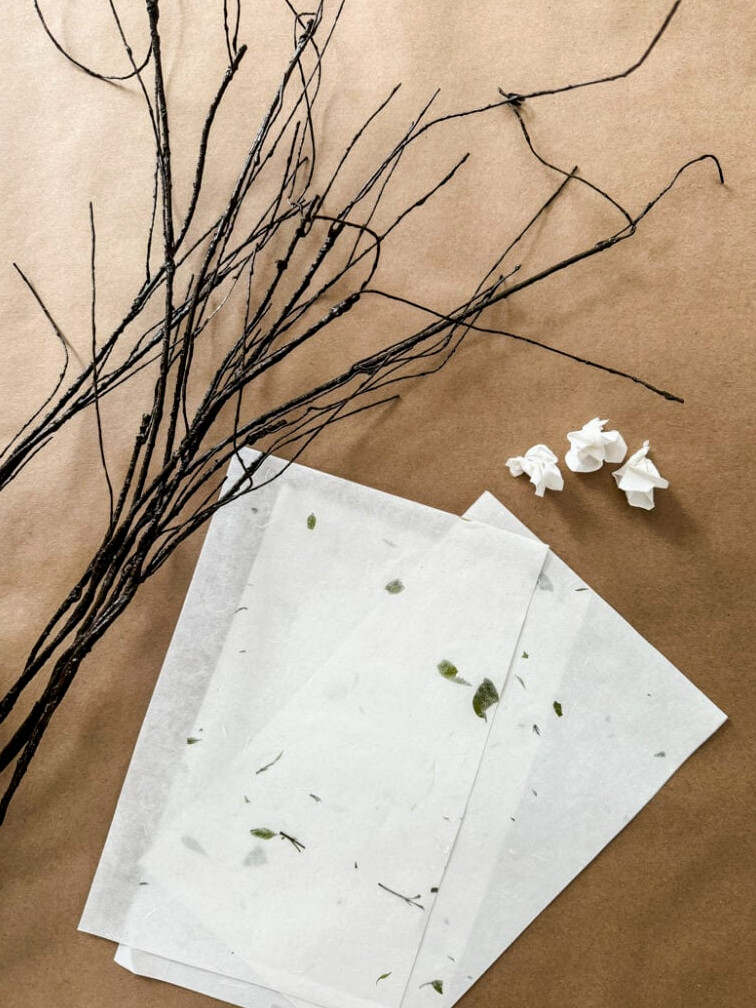
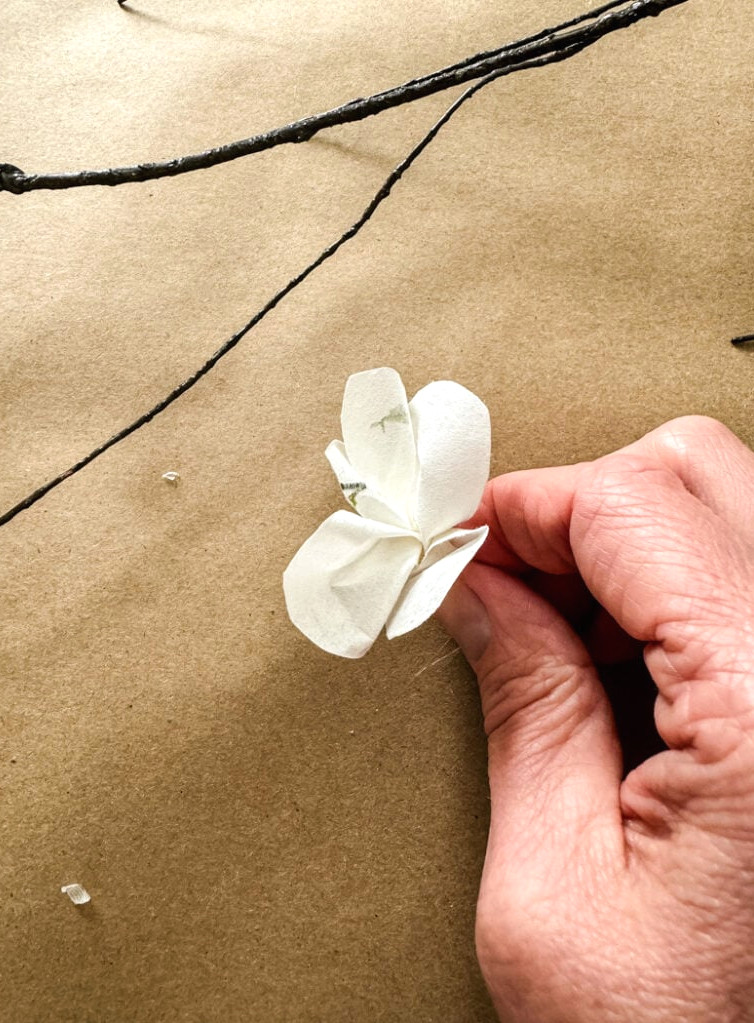
What makes this project especially enjoyable is the freedom to select tissue paper in any shade that complements your decor or the season. Skip the pricey floral arrangements from the store and make your own lovely branches—both your budget and your home will appreciate it!
Refresh Your Walls
Need creative DIY projects to decorate empty walls? Here are several well-loved tutorials worth exploring!
Faux Vintage Frames
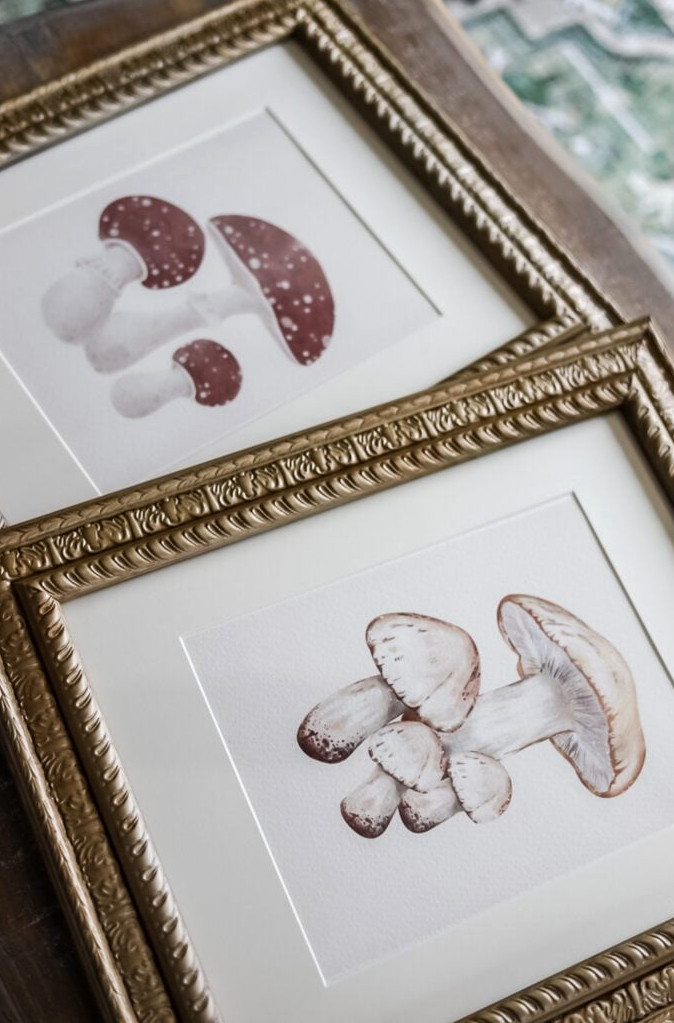
Over plain black picture frames?
Vintage-inspired decor doesn’t need to cost a fortune. This brilliant DIY idea shows you how to turn ordinary black frames into beautiful aged-looking accents! The key ingredients are spray paint and a touch of antiquing technique!
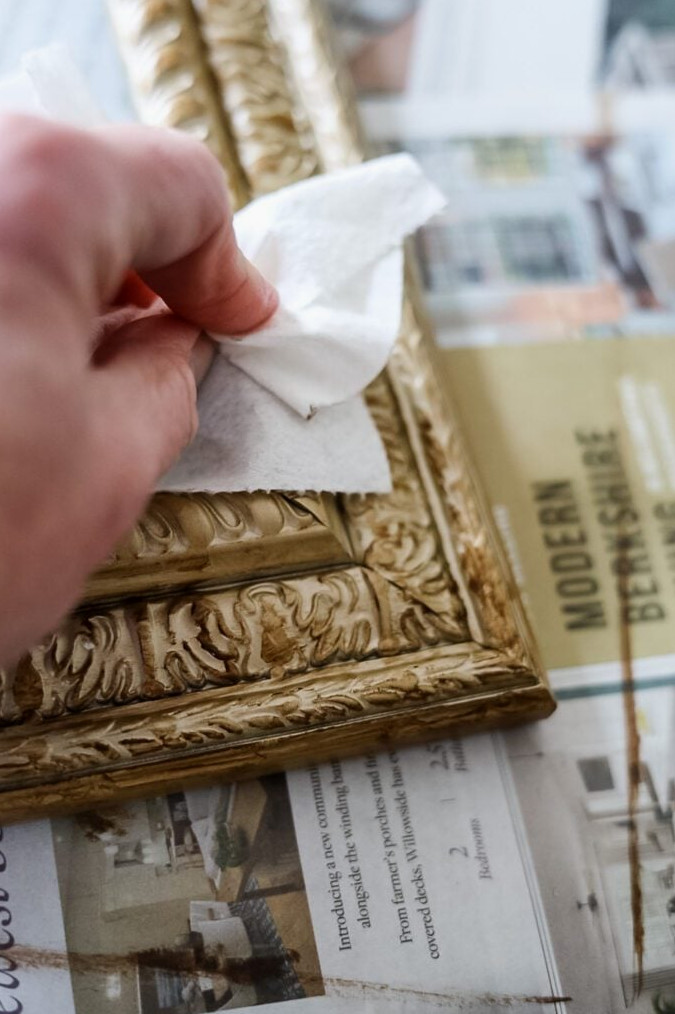
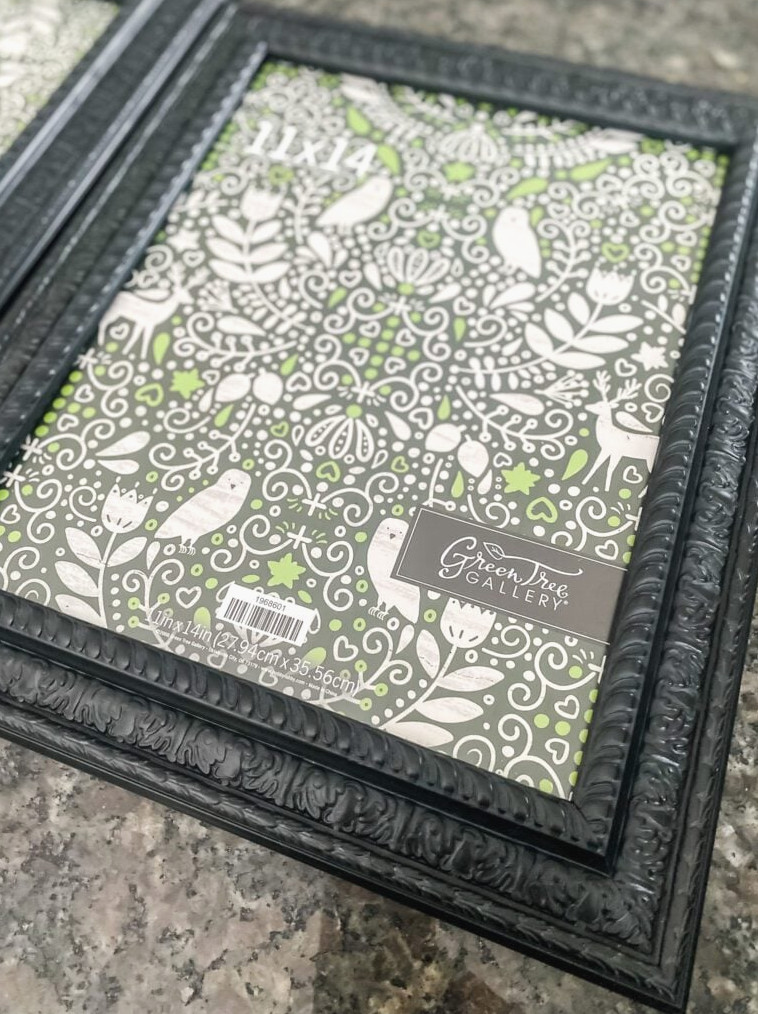
Begin with black plastic frames from Hobby Lobby, then coat them in metallic gold spray paint. After the finish has fully dried, apply antiquing wax to create an effortlessly weathered appearance. It’s incredibly easy!
The guide even offers a complimentary download of charming vintage mushroom prints, providing the ideal final detail for your refreshed frames!
Succulent Wall Art
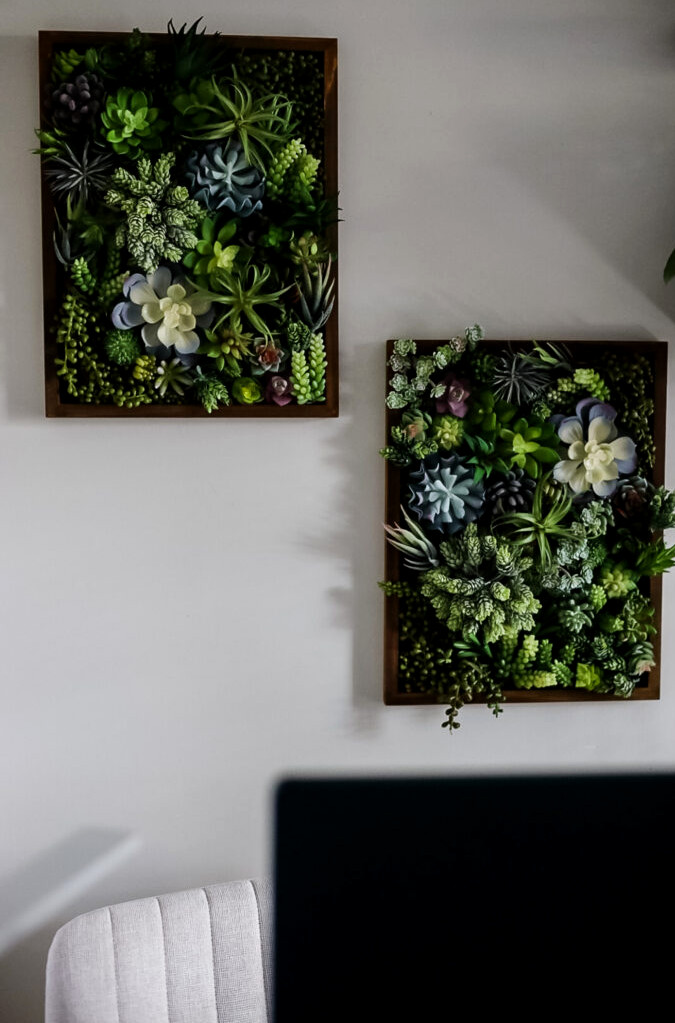
Calling every plant enthusiast! If you’re cravinga hint of greenery in your home but lack the time or budget for a genuine succulent garden, this DIY project is perfect for you!
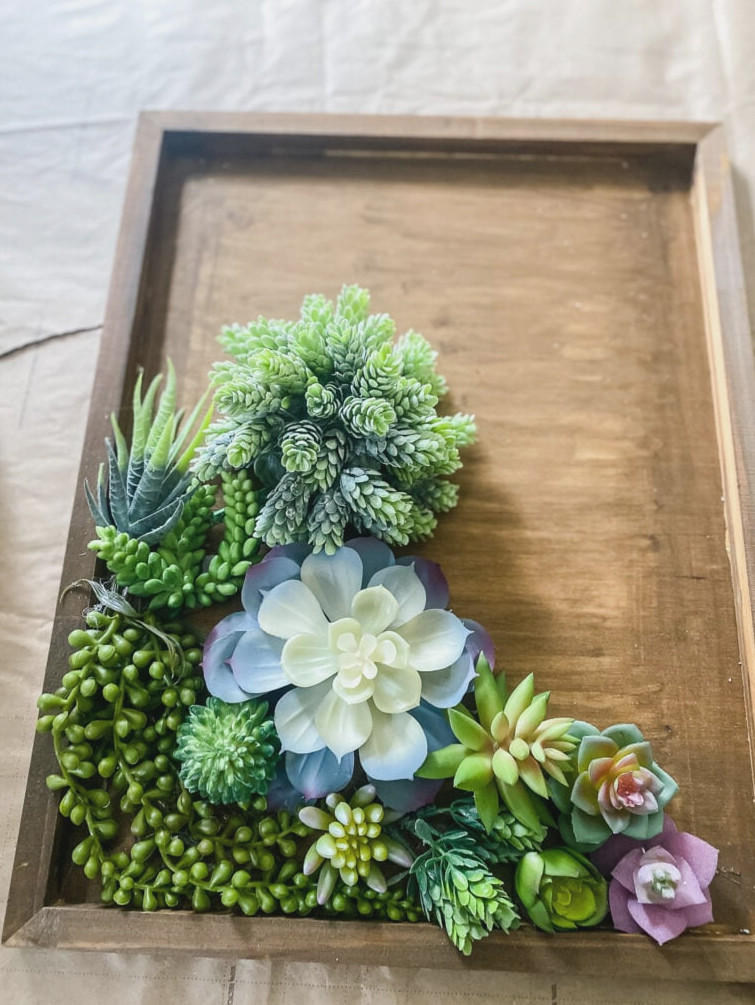
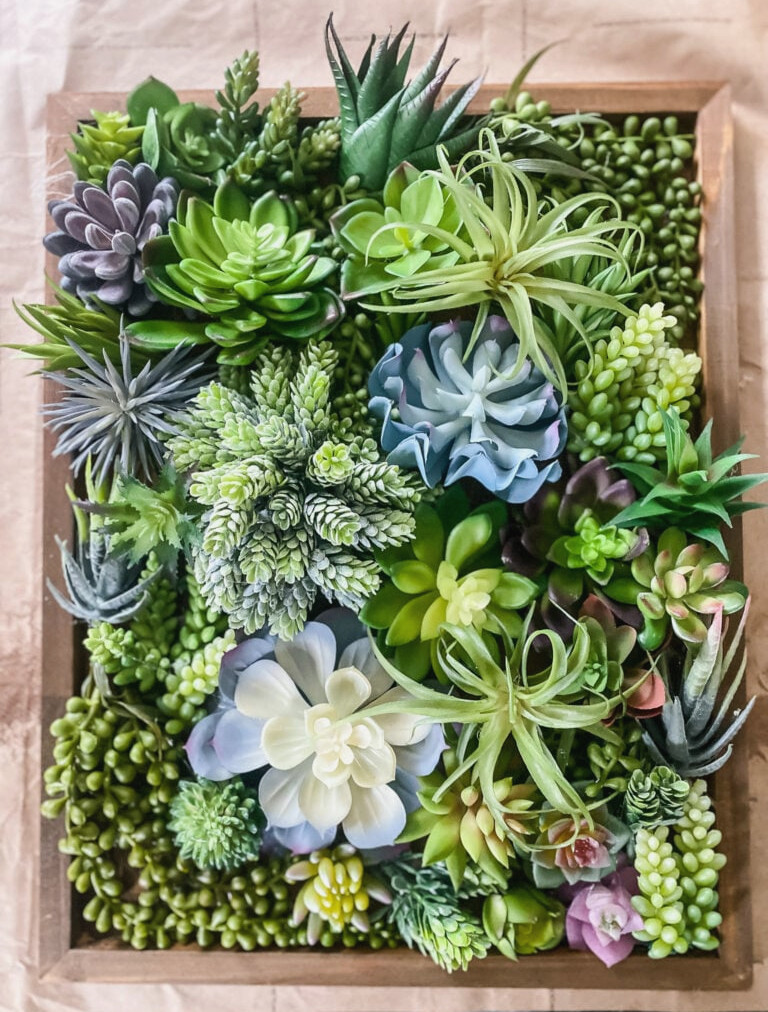
By combining assorted faux succulents with a few imaginative methods, you can create an attractive, lifelike wall-art display that brings a little vitality to any room. This blog post offers a detailed, step-by-step tutorial covering everything you need, including supplies and assembly suggestions.
Think Big!: Gallery Wall
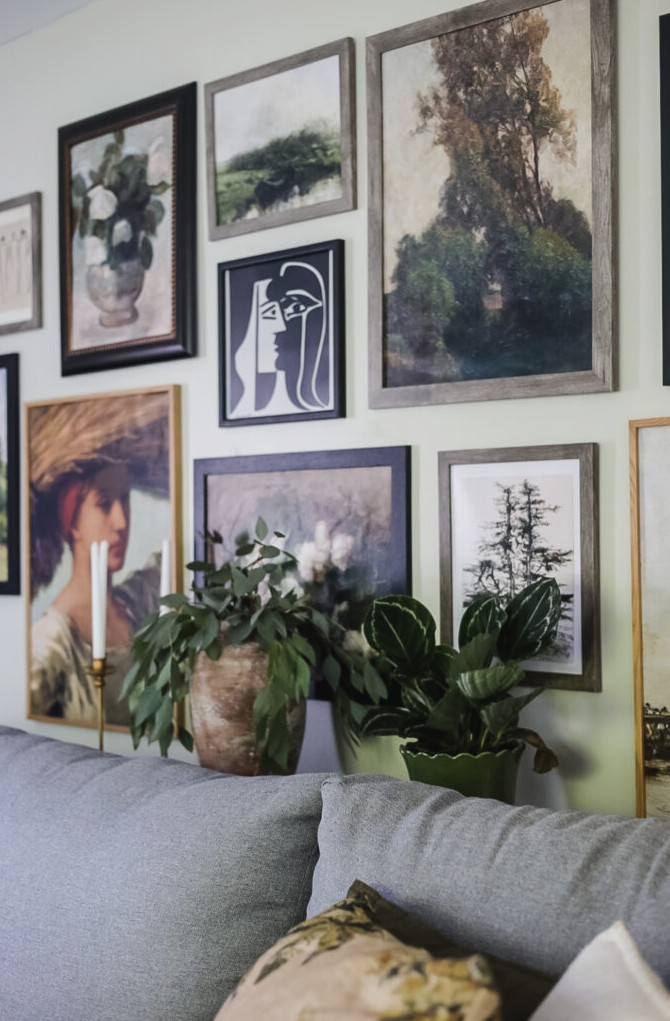
Give your living room new energy with a breathtaking gallery wall!
This affordable DIY project brings a customized feel to your room while keeping costs low. Whether you reuse vintage frames or assemble a selection of complimentary art prints, you’ll find endless possibilities for designing a one-of-a-kind gallery wall that showcases your taste.
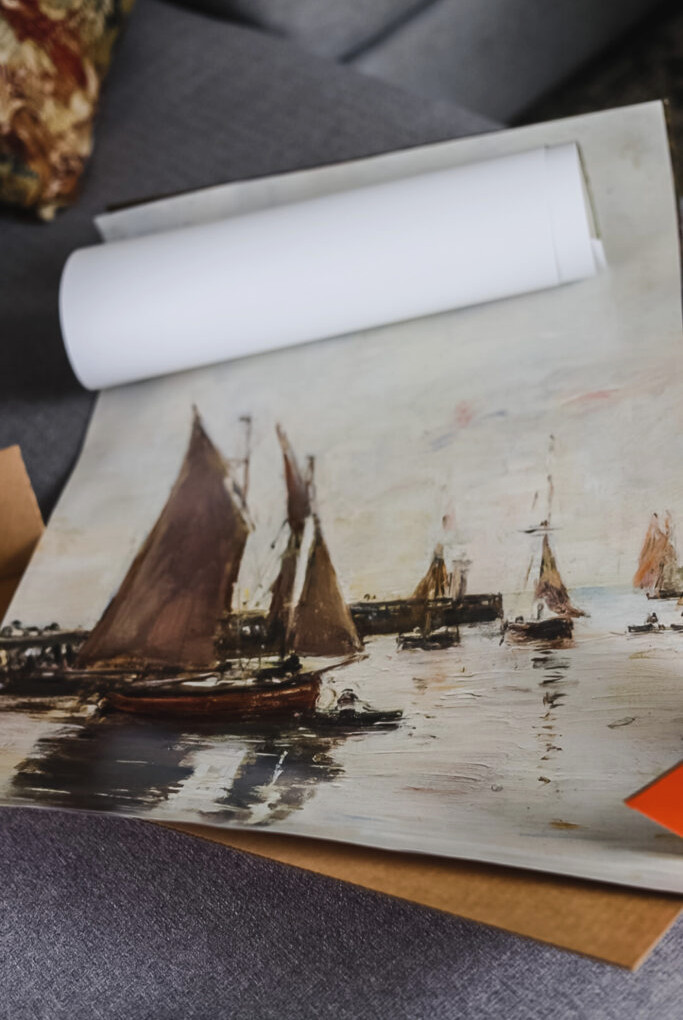
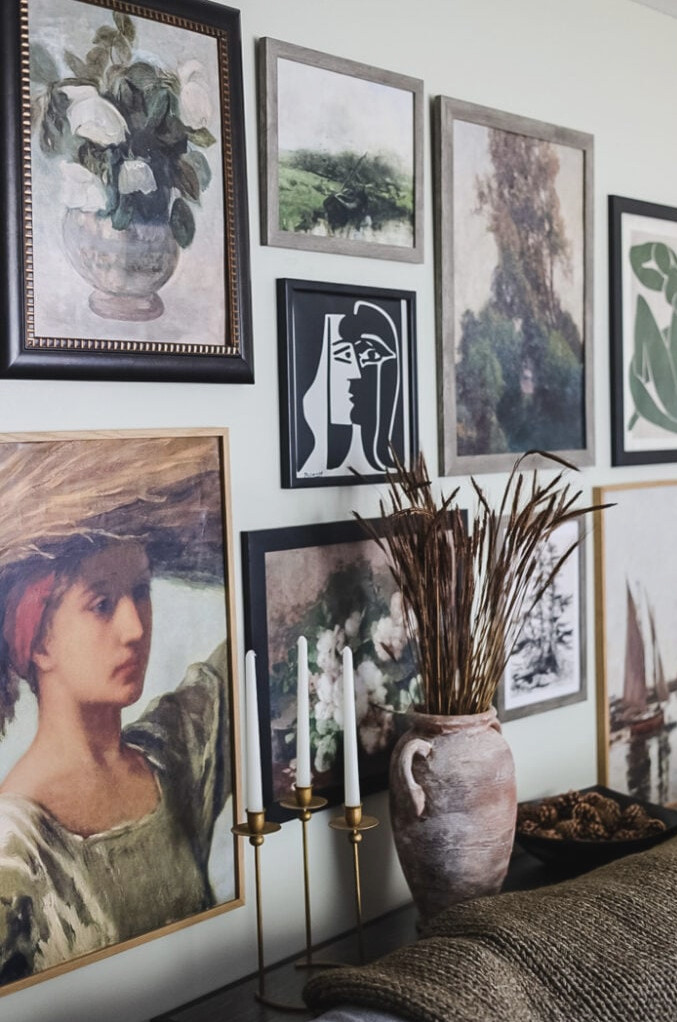
With some thoughtful planning and imagination, you can turn your living room into a lovely, welcoming retreat. So, collect your favorite frames, assemble your artwork, and prepare to design something truly special! View the full tutorial & download the free art-print collection I used to recreate this look in your own home!!
When you bring these DIY decorating ideas into your home, you’re doing more than enhancing its appearance; you’re also filling the space with your own distinctive character. The delight of DIY comes from making something yourself and enjoying the transformation of everyday objects into remarkable creations. So, collect your materials, unleash your imagination, and allow your home to showcase what makes you unique. Enjoy crafting!
Showcase your creations! If this project or any of my other DIY ideas has inspired you, I’d be delighted to see them and feature you in the Reader’s Spotlight gallery. Email a photo to jennifer@cottageonbunkerhill.com
xo, Jennifer