
Looking for an enjoyable project on a bright, sunny day? Make DIY Butterfly Wings! Children will be delighted to see these wings cast gorgeous, colorful shadows in the sunshine!
RELATED: Butterfly Suncatcher
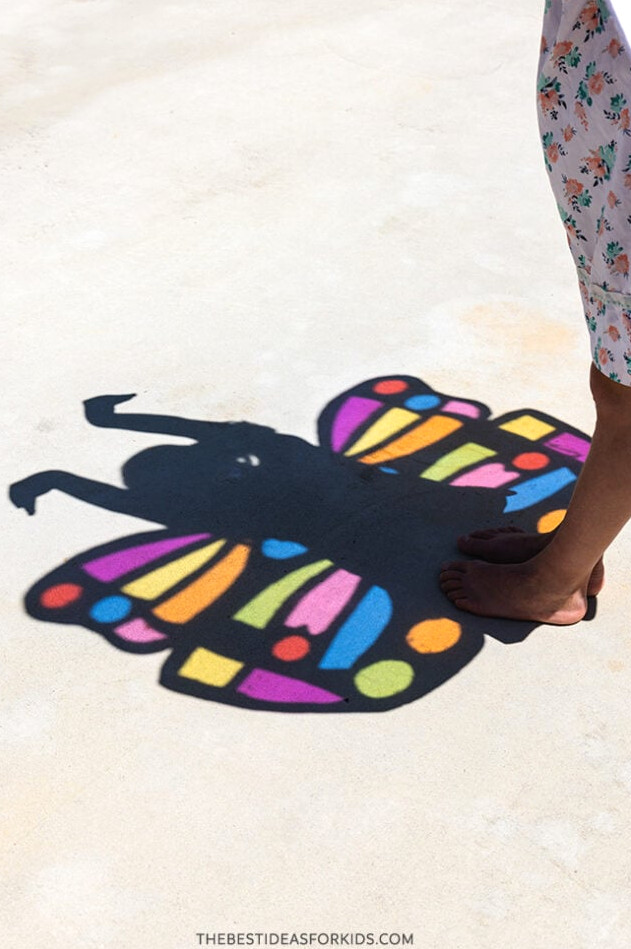
Just a few materials are needed to craft these DIY butterfly wings. Children will have fun tying them on and pretending to flutter like butterflies. They’ll also enjoy watching the fascinating shadow patterns the wings produce. The brighter the sunlight outside, the more vivid and colorful the shadows become!
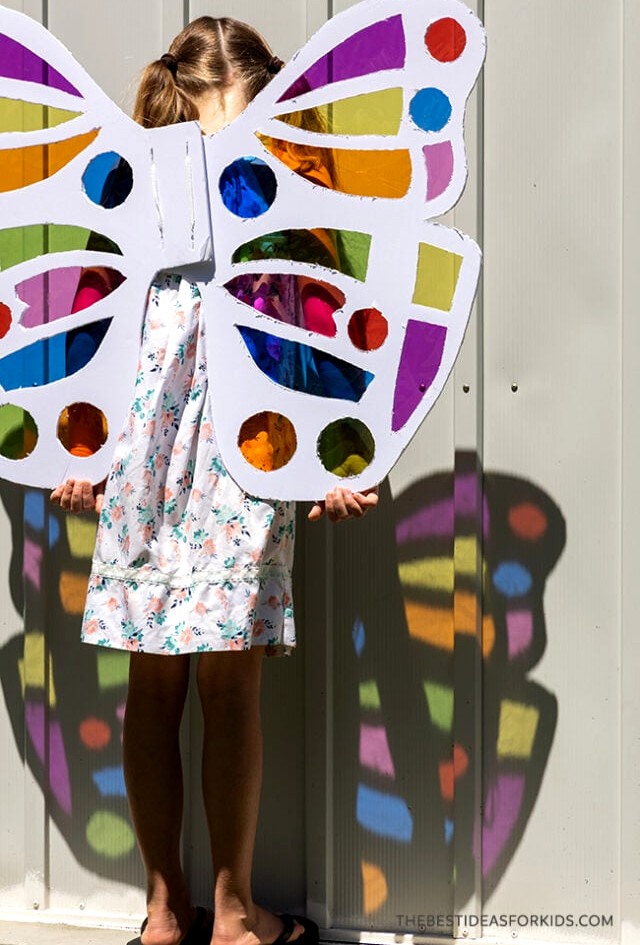
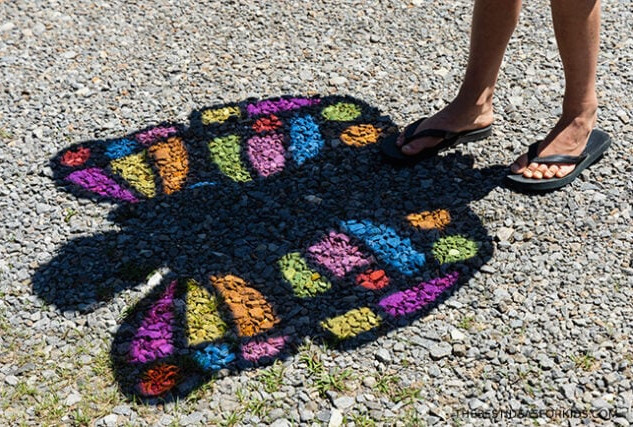
Supplies Needed
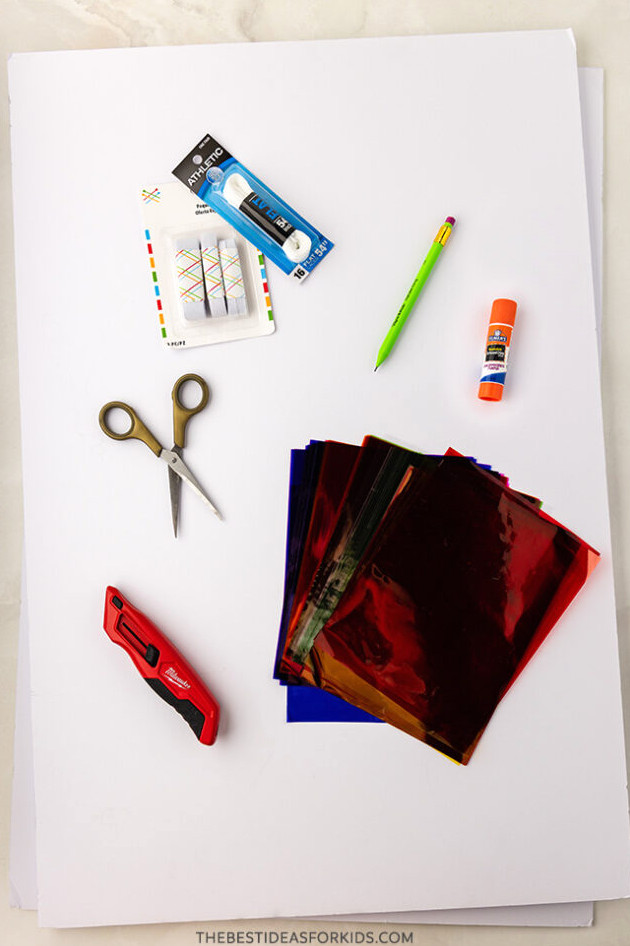
Here are the materials required to create these DIY Butterfly Wings:
NOTE: Since a sharp box-cutting knife is needed, an adult must help with this part.
How to Make DIY Butterfly Wings
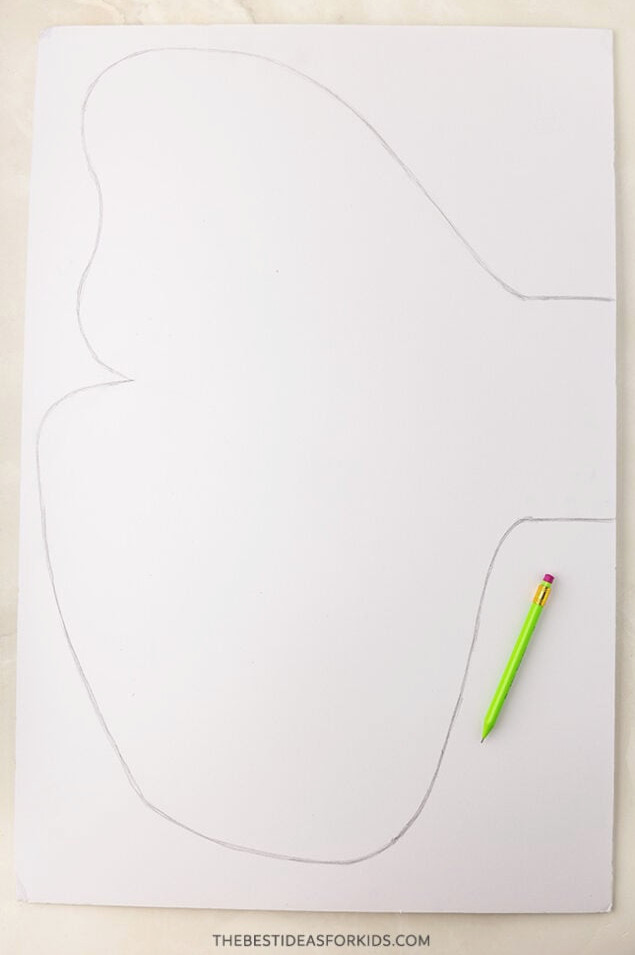
1. Start by drawing a large butterfly wing on one of the foam core poster boards.
Make the wing as big as possible so you can use most of the poster board.
Begin with light pencil marks, which can be erased easily if necessary. Once you like the shape, trace over the lines to make them darker.
Remember to keep a straight section along the wing’s inner edge — the two wings will overlap here behind the child’s back (refer to Step 7).
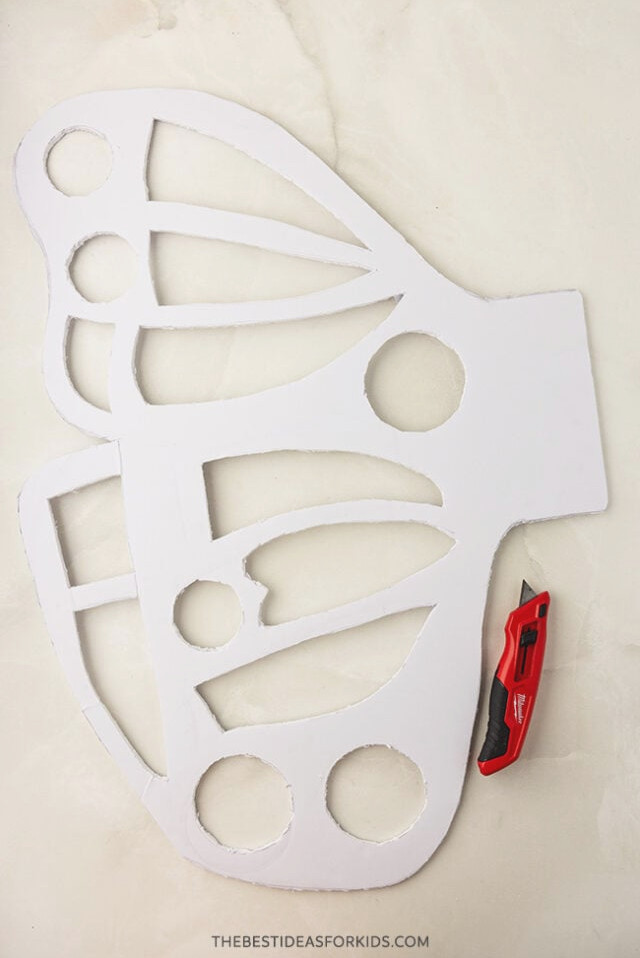
2. Draw large, uncomplicated shapes inside the wing outline.
You will cut out these sections, so make them roomy enough to work with and leave plenty of space between them.
Keep the patterns away from the edges and from one another to preserve the wing’s stability and avoid rips.
After finalizing your butterfly wing design, have an adult use a box-cutting knife to trim around the wing and remove each interior shape. Work patiently and slowly. Move the knife in a sawing motion (back and forth/up and down) to make the cuts as smooth and precise as possible.
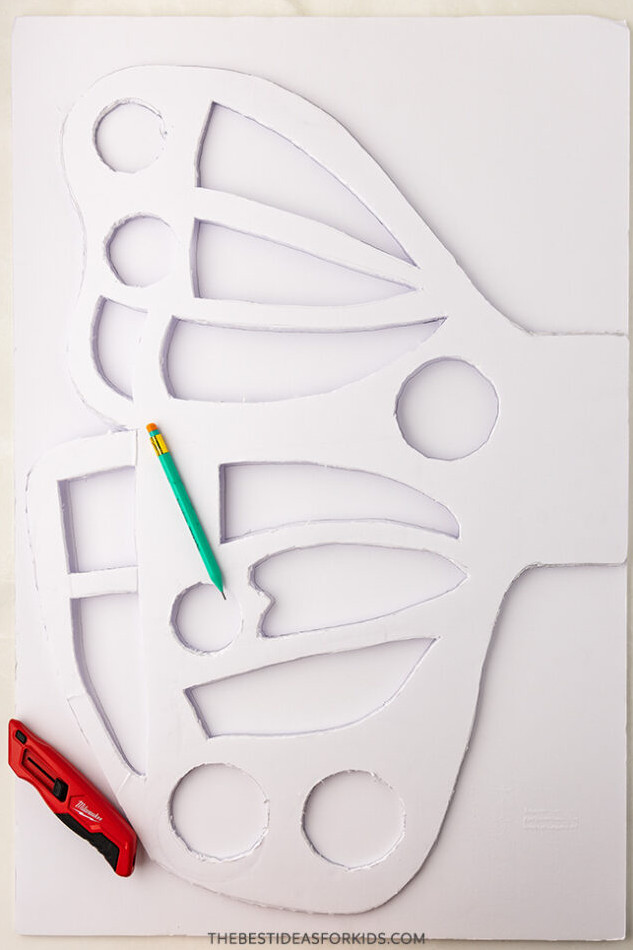
3. Trace a second wing onto the other poster board by using the completed wing as a template.
This helps the two sides line up and gives you a great chance to introduce children to symmetry! After tracing the shape, cut out the second wing in the same manner.
4. After cutting out the second butterfly wing, brighten it with the cellophane sheets!
Trim each sheet so it extends slightly beyond the corresponding opening in the wings. We held the cellophane over each shape to estimate the proper cutting size.
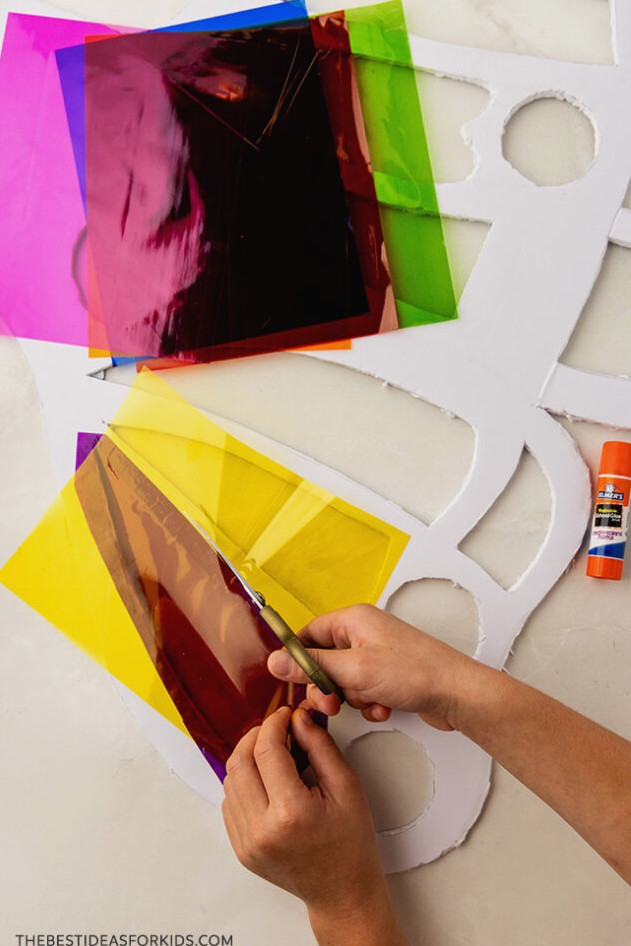
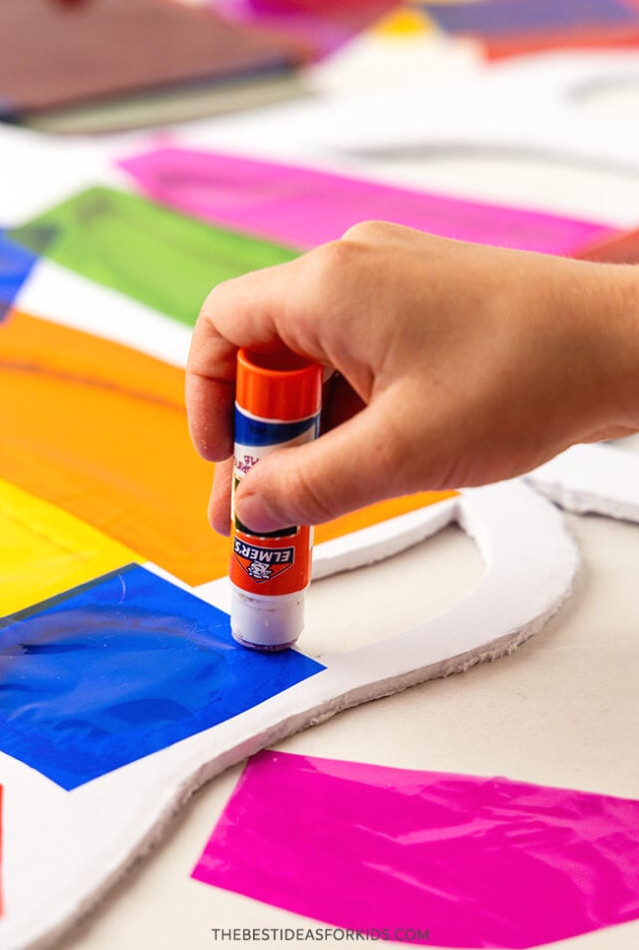
5. Spread plenty of glue stick adhesive along the border of each opening.
Handle one opening at a time, attaching a single cellophane sheet to each one.
TIP: Be certain you are decorating the proper sides of the wings. We attached the cellophane to the sides facing the child, leaving the back looking tidy and clean!
6. Join the wings together.
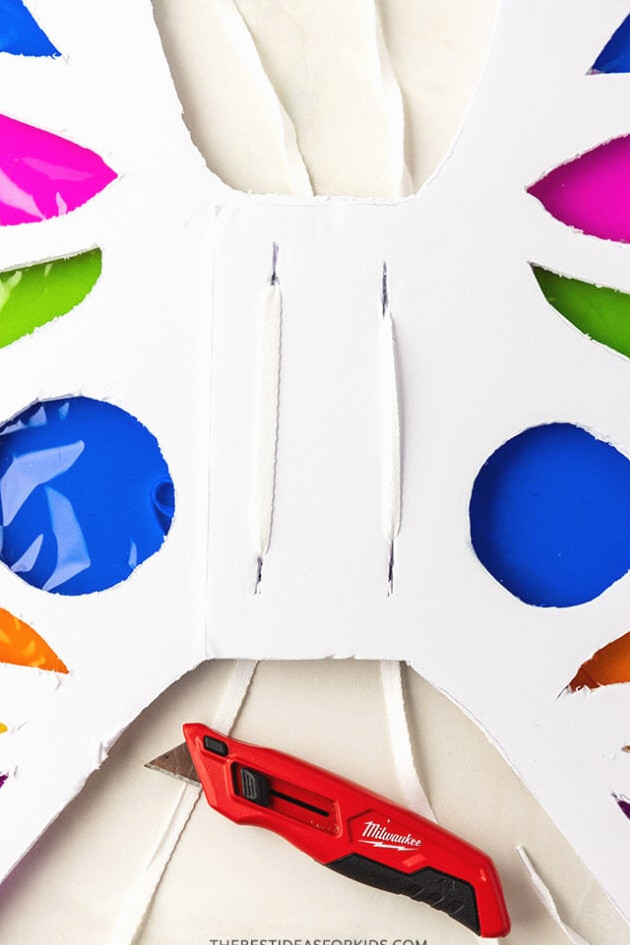
After cutting and attaching all the cellophane sheets to both wings, overlap the butterfly wings and use the box cutter to make slits for the shoelaces or elastic to pass through.
Set one wing on top of the other and make two holes, from top to bottom, for each shoelace. There should be 4 holes altogether.
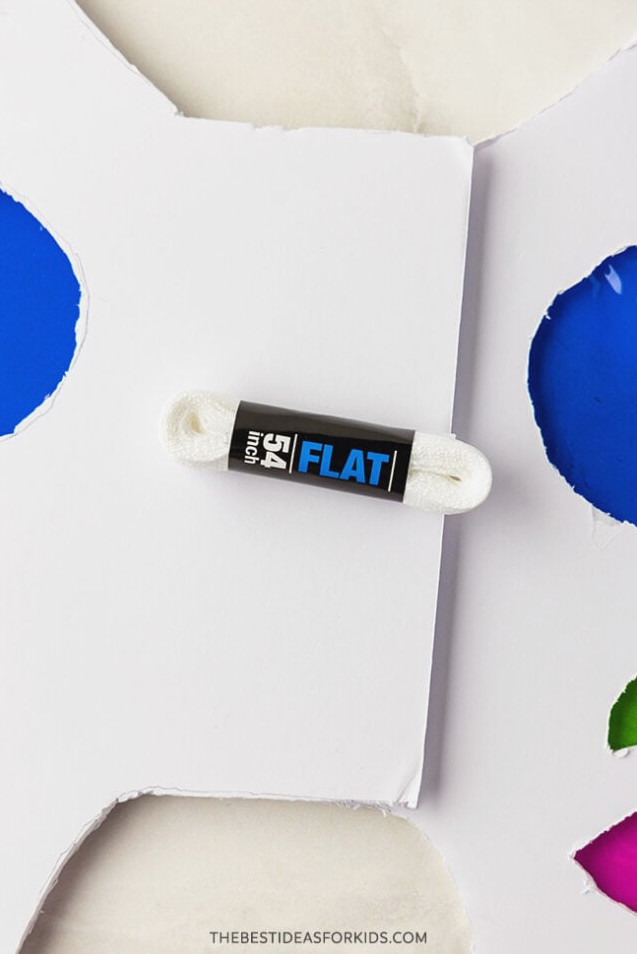
7. Thread the shoelaces or elastic through the openings, and the butterfly wings are ready to wear!
We selected shoelaces because they are simple to tie. Elastic can expand with a child’s arms while they run, leap, and soar, so if the laces feel too restrictive, give elastic a try! We did not experience any discomfort from the shoelaces.
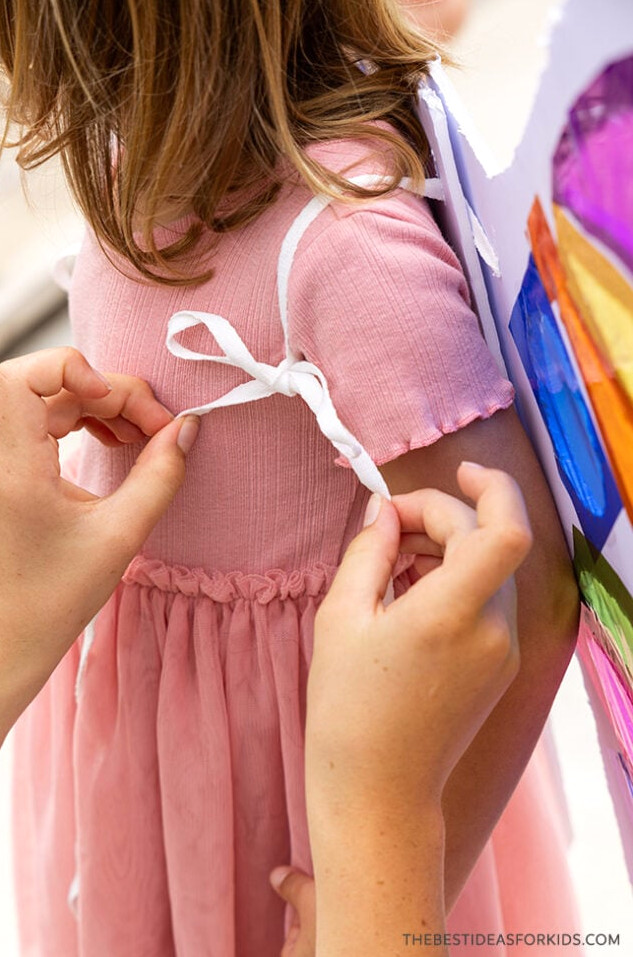
8. Fasten the shoelaces around the child’s shoulders and let their imagination soar!
9. Head outdoors with the wings!
The shadows appear best on a lovely, sunny day. Watch as sunlight passing through the cellophane creates delightful patterns!
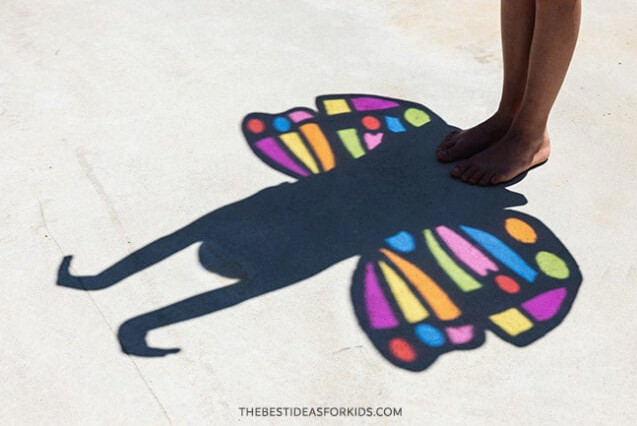
These DIY Butterfly Wings are one of our favorite outdoor projects for a sunny day!
Children will enjoy imagining they can fly while wearing their wings and admiring the lovely shadows they cast.
For another fun shadow project, try creating this shadow art.