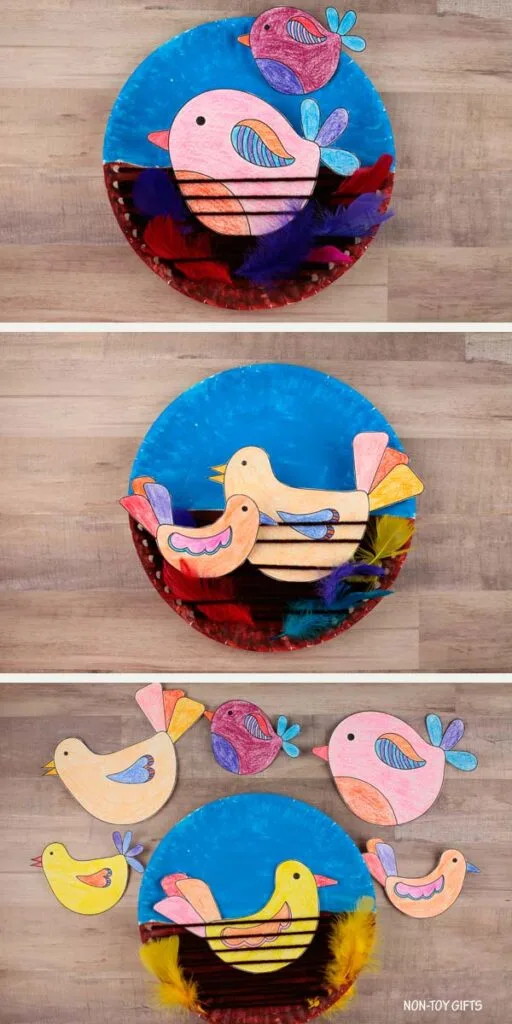
This project is ideal for spring lesson plans, whether you’re teaching in a classroom or a parent hoping to add learning activities at home. With this paper plate bird nest craft, children can have fun making their own nests, along with some charming bird friends.
To begin, each child needs only a paper plate, yarn, paper, and feathers.
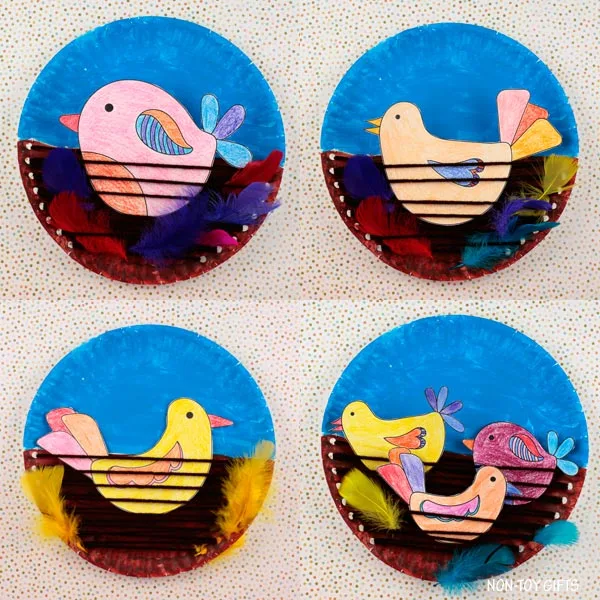
Our template offers multiple bird choices in large and small sizes. Children can decide which bird style and size they would like to add to their nests.
They can even use their imagination to color the birds in any shades they like!
Like many of our projects, this paper plate bird nest provides an excellent opportunity to develop fine motor abilities.
Children will have fun snipping and weaving yarn to form their nests, then attaching feathers and paper to give their projects extra charm and personality.
More paper plate crafts for kids:
Here’s an interesting bird fact children can learn as they craft: Did you know that certain birds, including bald eagles, return to the same nest each year? They keep adding fresh materials and making repairs to preserve the nest’s strength.
Perhaps your child’s paper plate bird nest will turn into a special project they enjoy saving and enhancing year after year, just like an actual bird’s nest!
This activity works well for both younger and older kids, though younger children might require a demonstration or two to learn how to assemble the nest.
Paper plate bird nest craft
Materials:
Step by step instructions
First, draw a line across the center of the paper plate and paint one half blue.
Next, cover the remaining half of the paper plate with brown paint. Put the plate aside and allow the paint to dry fully.
While you wait, print the birds onto cardstock. Then color and cut them out.
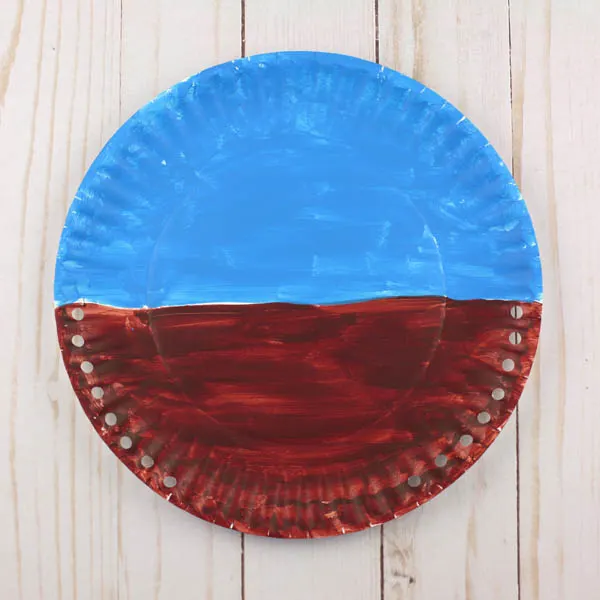
Once the paint is completely dry, punch holes along the brown half of the paper plate.
Snip a piece of brown yarn, pass it through a plastic yarn needle, and knot one end onto the needle. Use tape to attach the opposite end of the yarn to the back of the plate. You can then begin pulling the yarn through the holes.
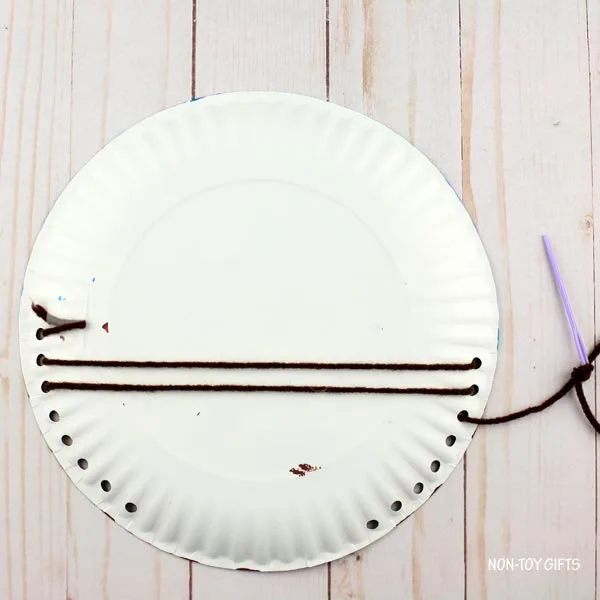
You may pass the yarn through each opening one or two times. Continue weaving until you use up the yarn, then tape its end to the back of the paper plate.
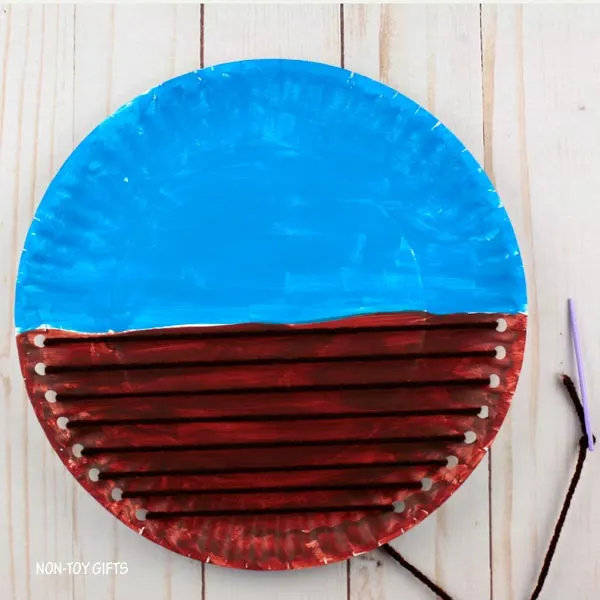
If you use all the yarn before filling every hole in the plate, cut a fresh piece and repeat the process.
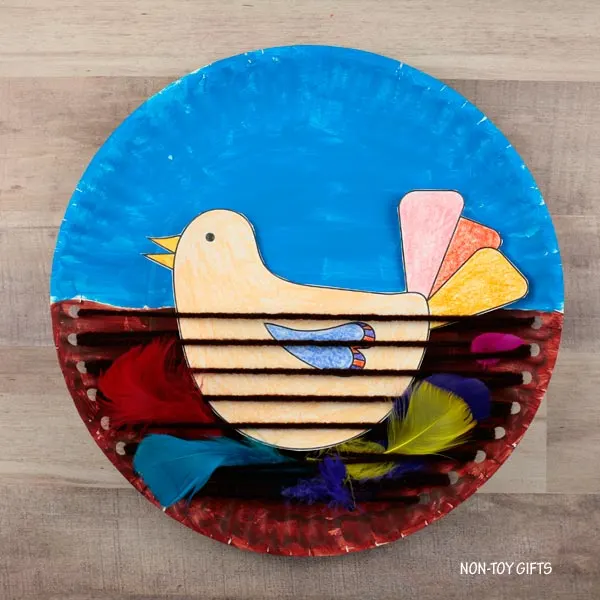
Before placing the birds inside, add feathers to decorate the nest.