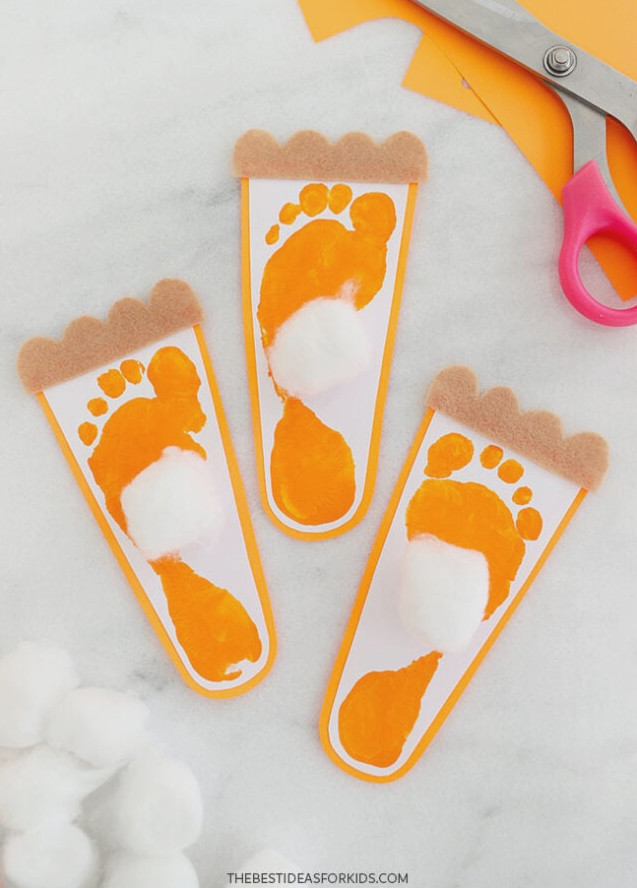
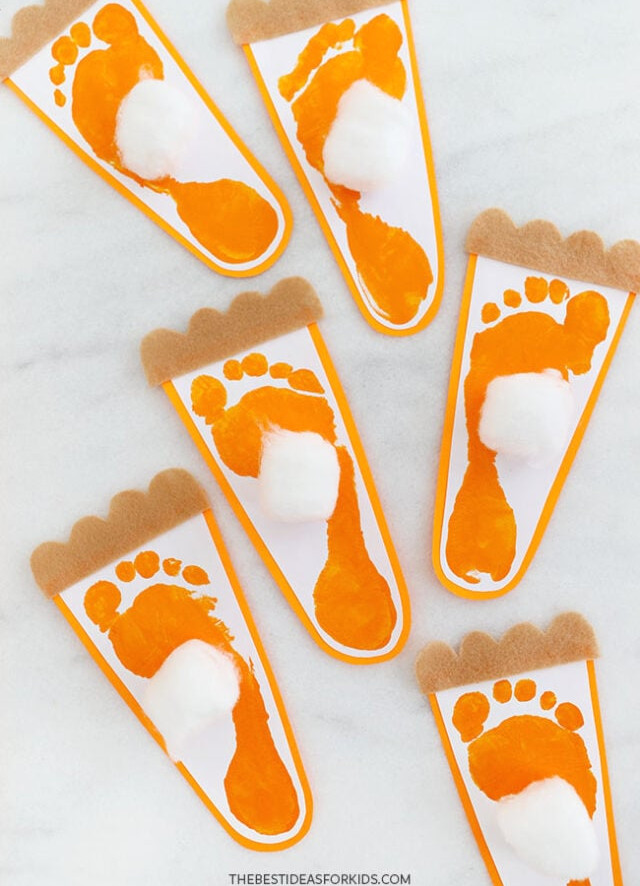
Create this easy Pumpkin Pie Footprint art with your children to celebrate Thanksgiving this year! This fast craft produces charming Thanksgiving decorations and a sweet keepsake to treasure in the future!
RELATED: Autumn Handprint Art
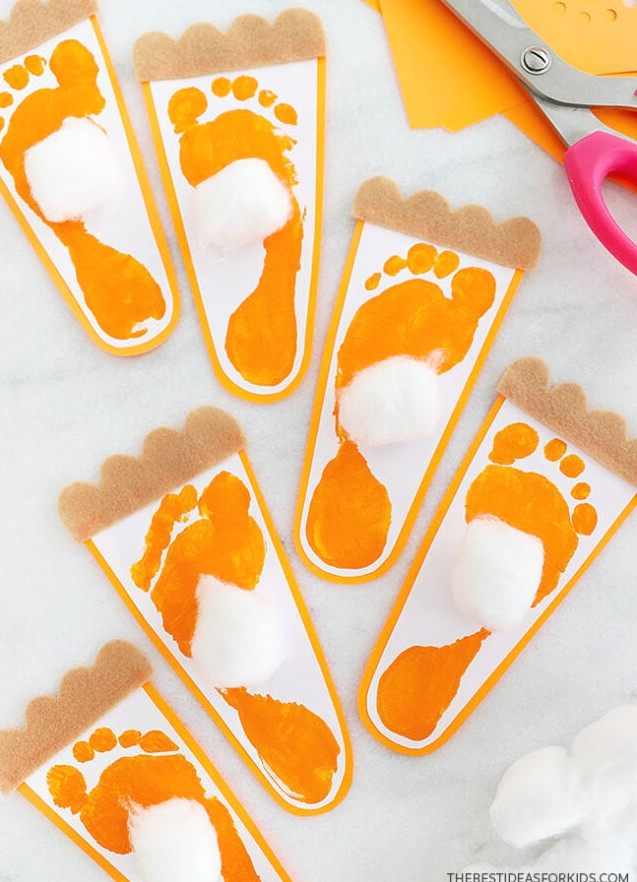
Pumpkin Pie Footprint Craft
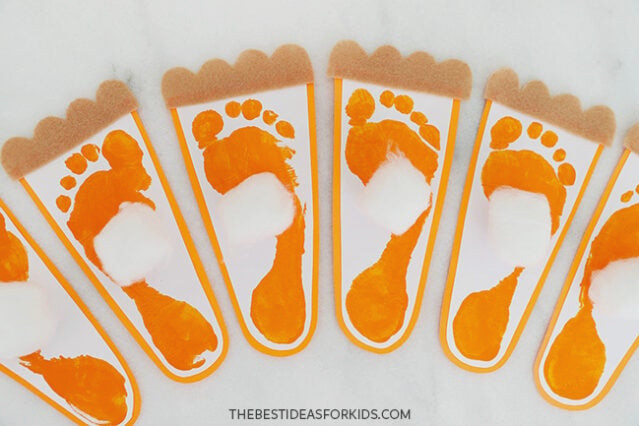
Turn the footprint artwork into a greeting card, or attach string to the backs to create a pumpkin pie garland!
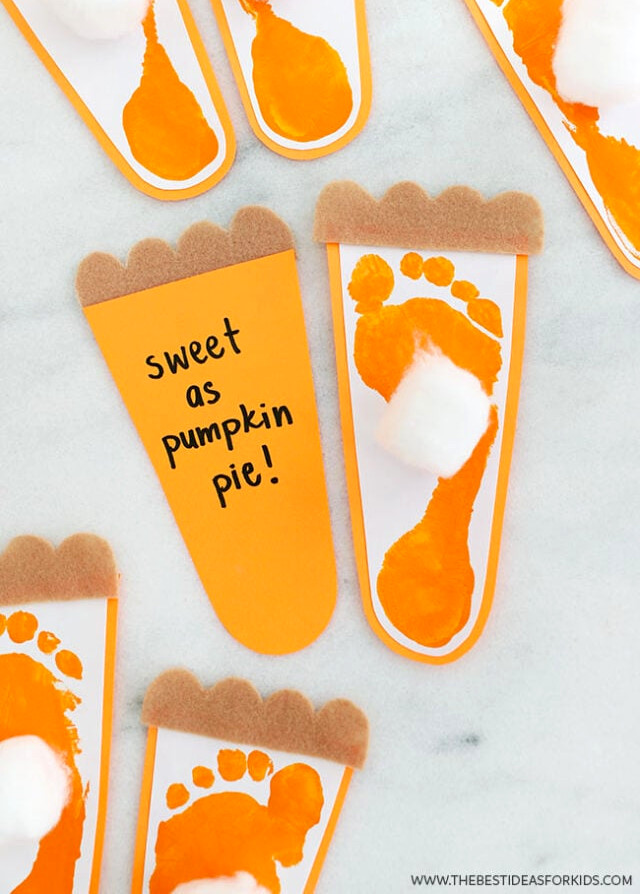
You can also prepare them as Thanksgiving presents and share them with friends and relatives as mementos.
Supplies Required
- Tempera paint – orange, for creating the footprints
- Paintbrush – a medium brush for stamping and a fine brush for facial details
- White cardstock – to stamp the footprints onto
- Colored paper – orange, for placing behind the footprints
- Felt – beige, for crafting the pie crust
- Scissors
- Cotton balls – for the white whipped topping on the pie
- White glue
- Chalk or marker – for tracing the template onto felt
- Pie crust template – available at the end of the post
View the Video Tutorial
How to Create Pumpkin Pie Footprint Art
1. Create the footprints.
First, gather the orange tempera paint, paintbrush, and white cardstock. Prepare a bowl or dish of warm, soapy water to clean your child’s feet afterward, or keep baby wipes nearby.
For footprint crafts, setting everything up on the floor works especially well. Have your child sit on a short stool or chair while placing the white cardstock on the floor.
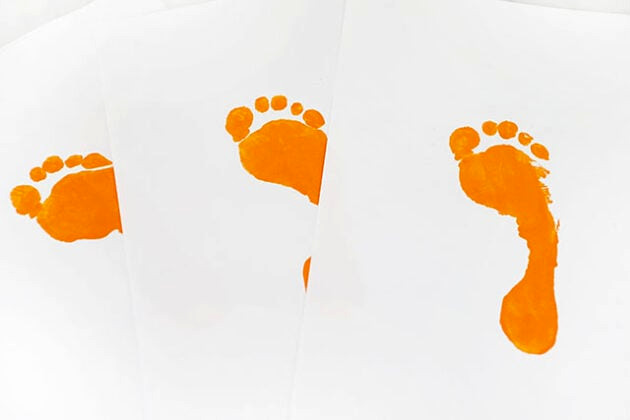
Brush a layer of orange, non-toxic tempera paint over the sole of your child’s foot. Help them press their foot onto the cardstock – based on the size of the foot, you can usually make 1 or 2 prints on each page.
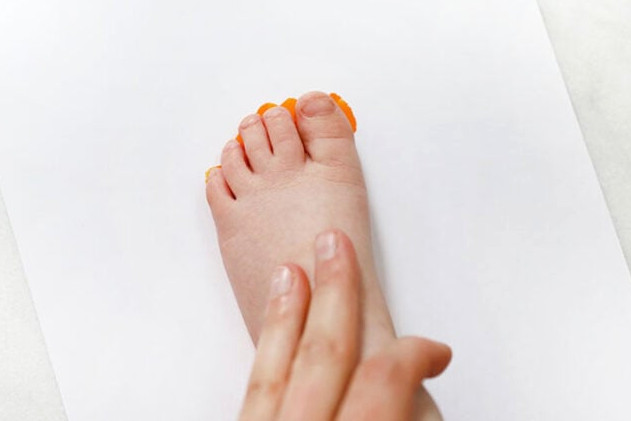
Lift the foot, add more paint, and create another print.
After finishing, place the footprints aside until they are fully dry and wash your child’s feet.
2. Trim the footprints.
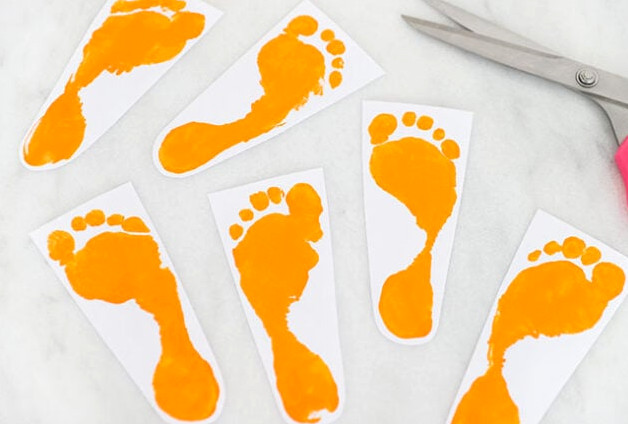
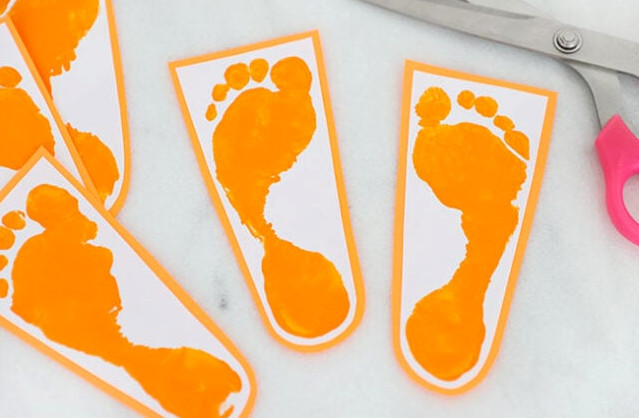
After the paint dries, cut out the footprints with scissors. Make straight cuts along both sides of the foot, leaving out the arch’s curve.
At the toe end, make another straight cut so the footprint resembles a triangular slice of pie.
3. Attach the orange backing.
Draw thin lines of white glue on the backs of the white cardstock footprints, then place them onto a sheet of orange paper.
Should the paper begin curling or wrinkling, weigh it down with a book to keep it flat as it dries. Avoid applying excessive white glue, since it can cause bubbles beneath the paper. A thin brushed-on coat or a glue stick works better.
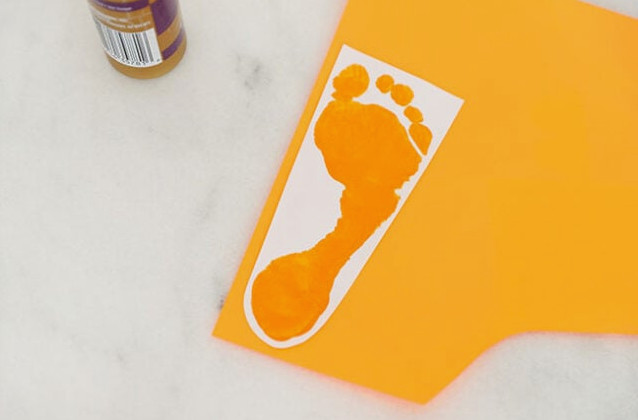
Cut around the cardstock with scissors, keeping an approximately 1/4″ border.
4. Attach the pie crust.
Print the pie crust template, located at the end of the post, and compare it with your footprints. Choose the size that best spans the straight top edge, then cut it out.
Trace the template onto beige felt using chalk or a marker, and then cut out the shape.
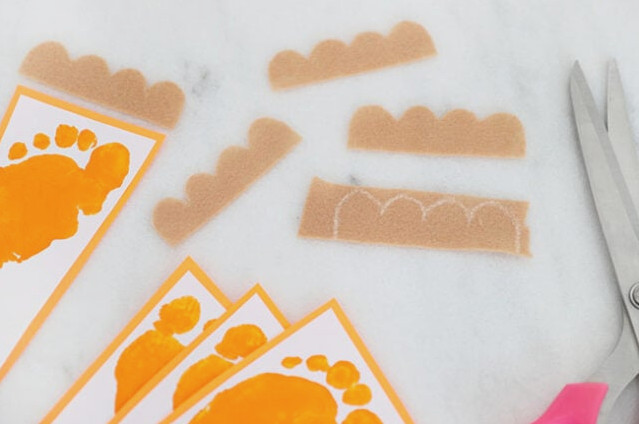
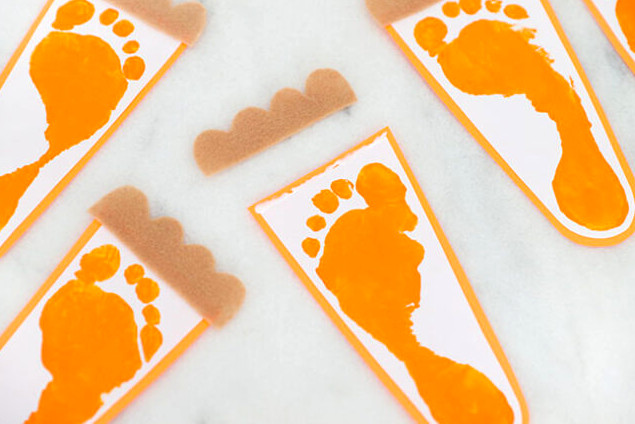
Run a narrow line of white glue along the flat upper edge of the footprint paper, then press the felt crust into place.
5. Add the cotton ball.
Complete the footprints by placing a small amount of white glue in the center of the orange footprint and pressing on a cotton ball. Leave it aside until completely dry.
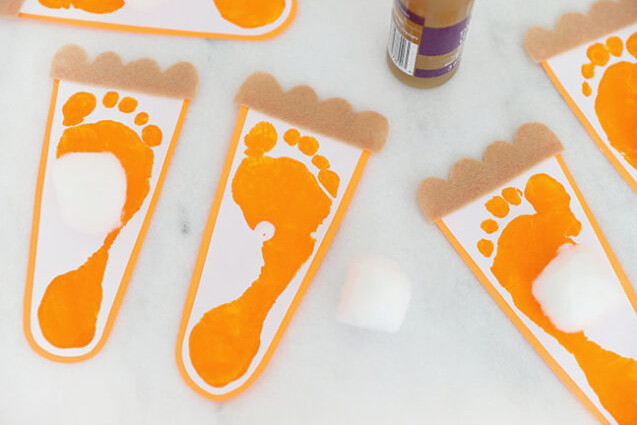
Your pumpkin pie footprint artwork is finished!
Remember to add your child’s name and the date to the back, together with the words “Sweet as pumpkin pie!”.