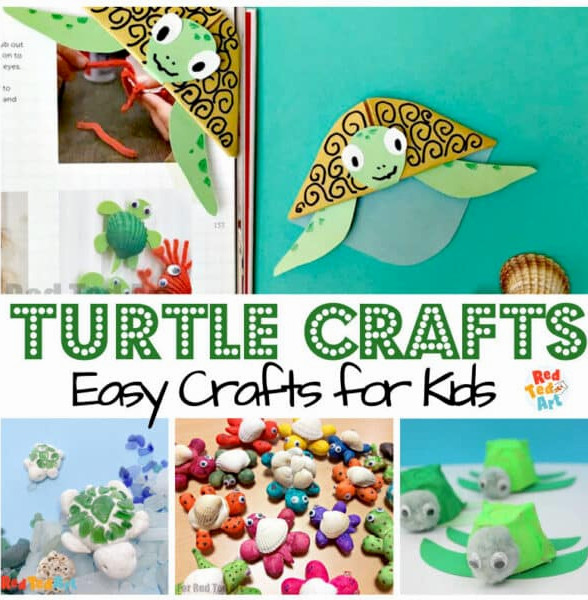
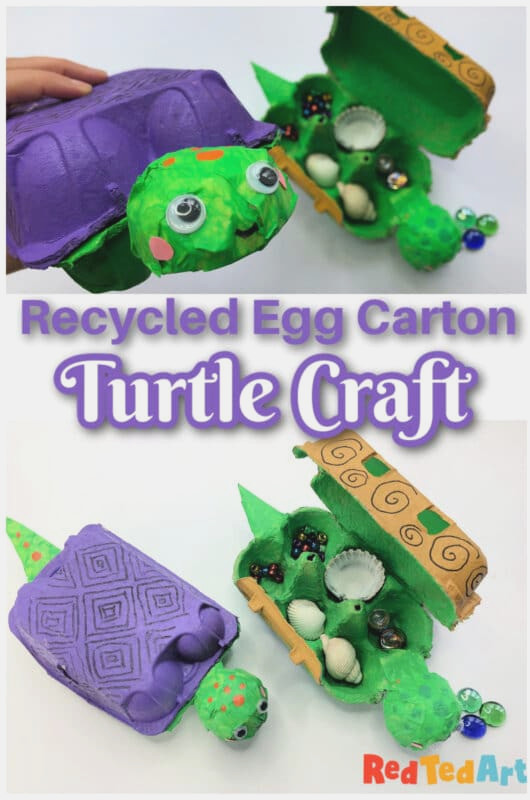
We adore a smart little egg carton project! We have created Egg Carton Treasure boxes before.. but this time we are taking our craft up a notch! Let’s create an incredibly fun Recycled Turtle Craft from Egg Cartons. You get to build, paint, sketch and, best of all, use your little turtles as tiny treasure boxes! Keep your nature discoveries (and other odds and ends) protected! If you enjoy turtle crafts, keep reading!
Egg Carton Turtle Craft for Children
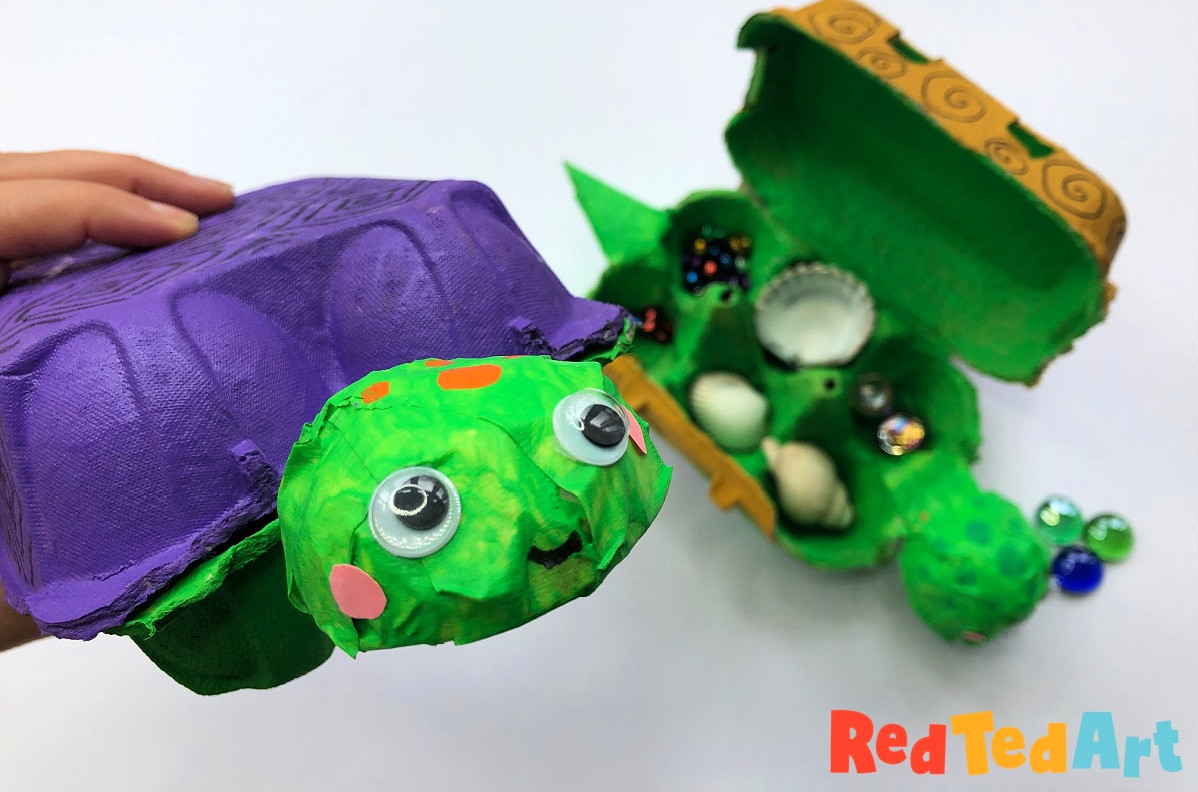
Isn’t that cheerful little turtle face adorable? Such fun!
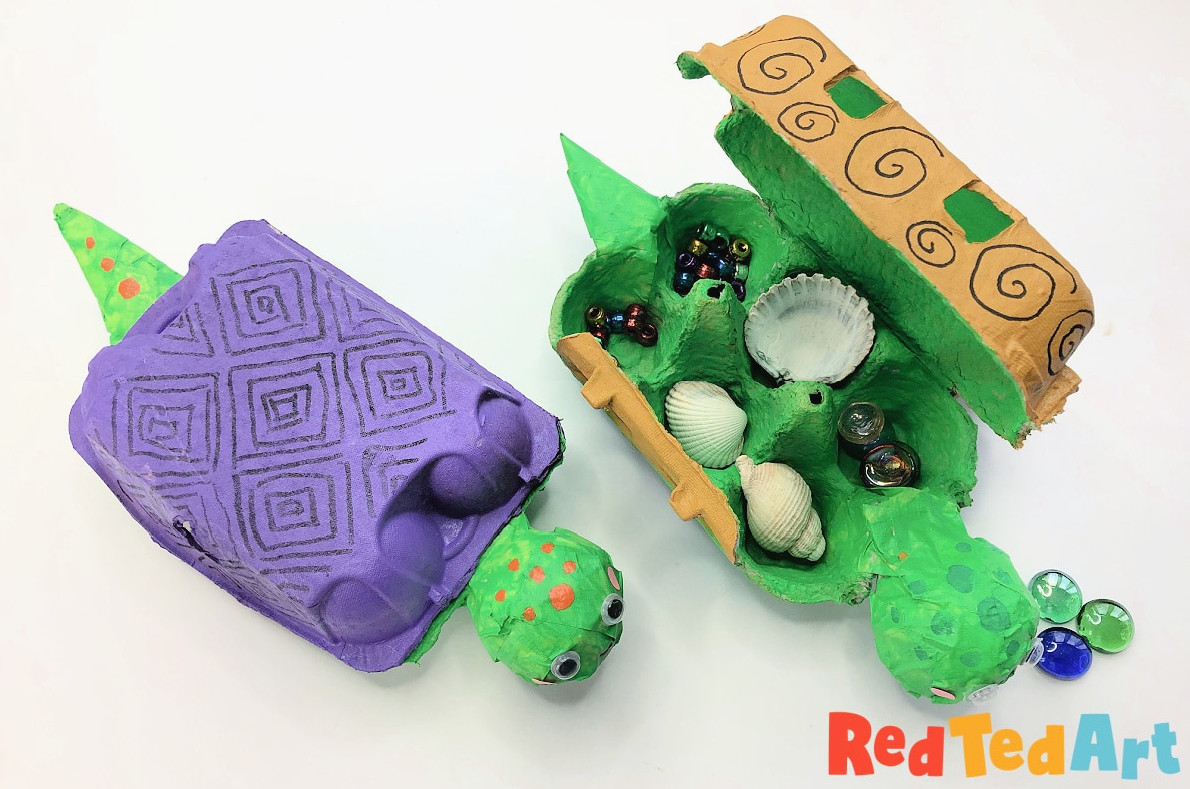
It’s wonderful that you can enjoy plenty of doodling and add final details to your egg carton treasure boxes!
These enjoyable recycled turtles were first created and shown with Sky Kids, as part of their UK Best Makes Ever series! It is a collection created to make simple crafts every day, using everyday craft materials! Nothing elaborate, just plenty of fun!
Materials required for this Egg Carton Turtle:
Note: this project uses Paper Mache CONCEPTS.. without the mess/ trouble/ drying time of paper mache!
- 1 Egg Carton for each turtle
- A small amount of recycled cardboard (such as a cereal packet or another egg carton)
- Recycled paper or newsprint
- Masking tape (this is essential – do not use sello tape, if you don’t have masking tape, you can follow the same steps using homemade paper mache and dipping newspaper into the diy paper mache glue)
- Paints in your chosen colors
- Pens for drawing details
- Googly eyes (optional)
Egg Carton Turtle Video Guide:
As with many of my projects, I have prepared a video tutorial for you to watch, or scroll down for the simple step-by-step photo and written directions!
Egg Carton Turtle Step by Step directions
I really like that this small project includes some papier mache “concepts” without the mess or lengthy drying periods of paper mache!
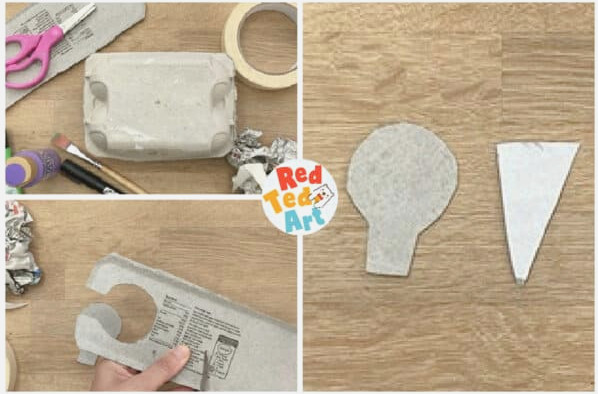
Cut a turtle head and tail
Begin by cutting out a turtle head with a neck and a fairly long tail. Hold them against your egg carton to check that they “look right,” while making sure there is also a small tab to fold down.
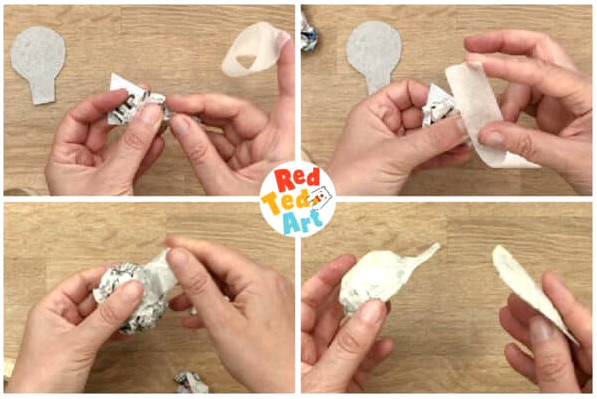
Give the head and tail a 3d shape (NOT Paper Mache – but a similar idea)
Crumple a little newspaper and place it over your shape.
Hold it in place with masking tape. Masking tape matters because you can paint directly over it! If masking tape isn’t available, use newspaper strips and a little homemade paper mache glue – you only need flour and water to make it.
Repeat the process with the other shape!
Viewed from the side, the turtle head and turtle tail should have a 3d form.
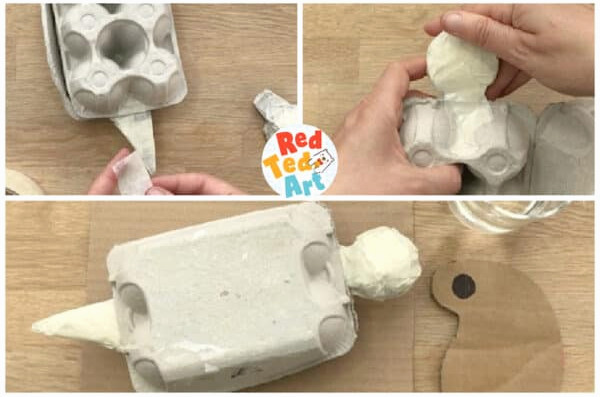
Fix the turtle head and tail onto the treasure box
Once again, use masking tape to fasten the tail and turtle head to the egg carton. If masking tape is unavailable, paper mache can also secure them, although you’ll need to apply a few additional layers and perhaps support the head and tail while they dry completely.
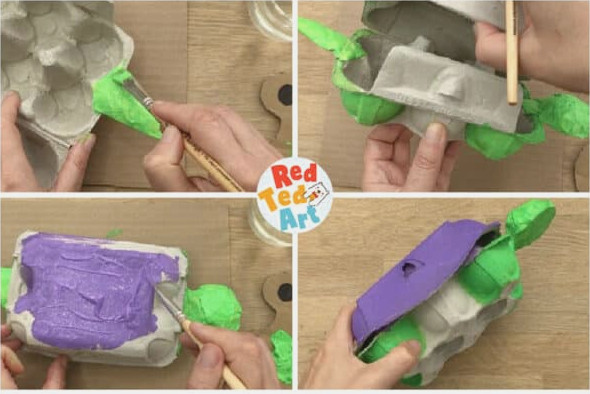
Paint the Egg Carton Turtle
Now enjoy painting your turtle body and shell in bright, playful colors!
Note: keep the middle section of the box “plain” so that you have four little Turtle legs!
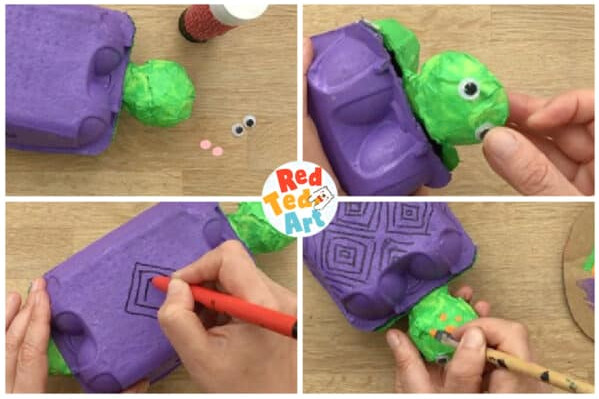
Apply the final details to your turtle
This is my favorite part – have fun drawing a shell pattern. Begin at the center of the egg carton turtle shell and gradually move outward.
Attach paper eyes, pink cheeks and remember to draw a tiny mouth.
To finish, add a few extra details by painting contrasting spots onto your turtle!
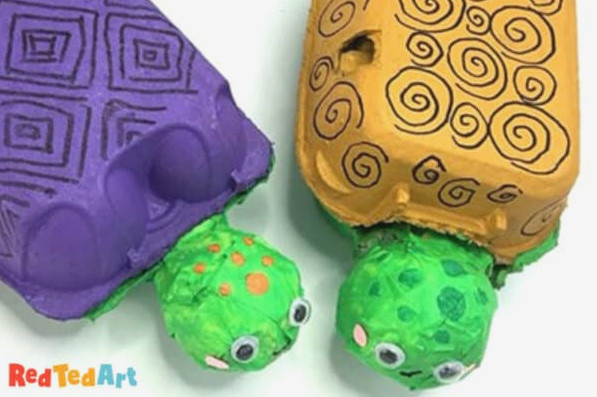
Your Recycled Turtle Craft is complete! How adorable?!
Additional Turtle Crafts for Summer and beyond: