
If you enjoy adorable creatures or like referring to your children as your little monsters, this simple Monster Handprint craft is sure to be a favorite! We transformed these handprints into cards, making them perfect for Father’s Day, birthdays, or a playful Halloween project.
RELATED: Monster Rocks
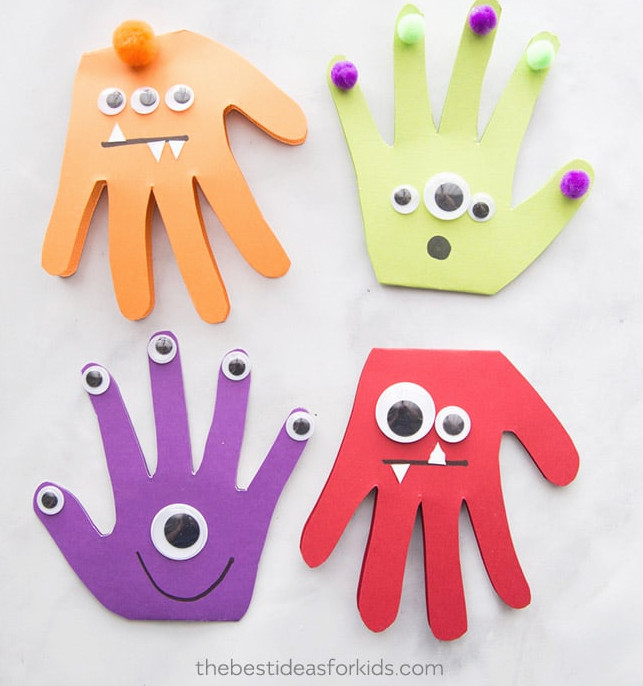
It’s hard to choose our favorite monster handprint card, although the red one may be at the top of the list. The orange monster comes in a close second. We adore the playful googly eyes! This project offers countless possibilities. Try various colors, eye sizes, and pom-poms to create unique designs. Your little monster will have so much fun making them!
Supplies Needed
- Colored cardstock – red, orange, purple, white, and green cardstock – cardstock is our preferred choice for cards because it lasts longer
- Pom Poms – we chose orange, purple, and green
- Glue – choose tacky glue, glue dots, or hot glue (adults only) to attach the pom-poms and googly eyes
Watch the Video Tutorial
How to Create a Monster Handprint
1. Begin by folding your cardstock in half.
2. To create these cards, trace around your hand with the wrist resting over the folded cardstock.
3. Cut around the handprint, making sure to curve the upper section of the card as you trim.
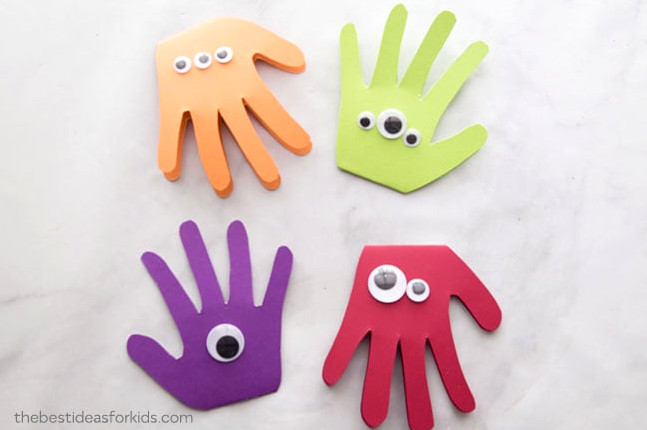
4. After cutting out the handprint, attach googly eyes in assorted sizes. We designed some cards with the fingers facing upward and others with them pointing downward. Whichever direction you choose, the creatures will look wonderfully monstrous!
Purple Monster – attach one large googly eye
Red Monster – attach one large eye and one medium-sized eye
Orange Monster – attach three small googly eyes
Green Monster – Add one medium-sized eye with two smaller eyes on either side
5. Next, draw the mouth and decorate your monster with extra pom-poms and additional googly eyes!
For the orange monster, we placed a big pom-pom on the top of the card and drew a straight mouth.
Tip: Apply tacky glue when securing pom-poms or googly eyes.
For the purple monster, we drew a cheerful smile and placed one eye on every finger.
For the green monster, we attached pom-poms to each finger and created a round mouth.
For the red monster, we drew a straight mouth as well.
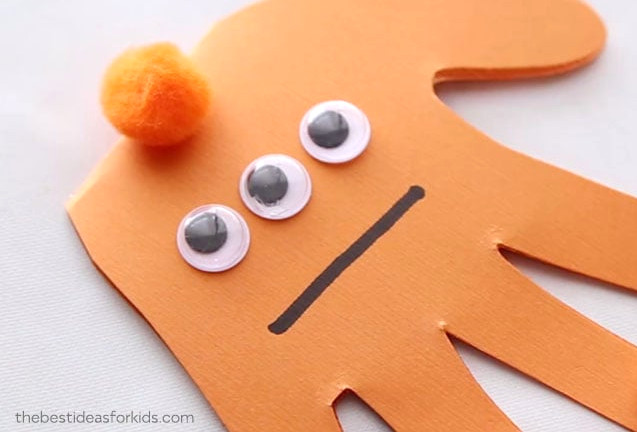
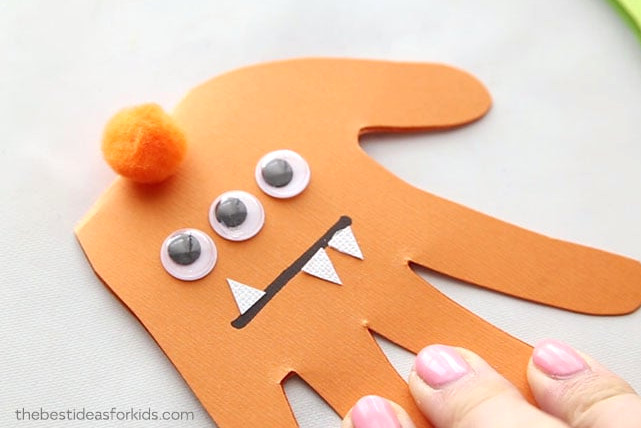
6. To give the orange and red monsters teeth, cut out several tiny white triangles and glue them into place.
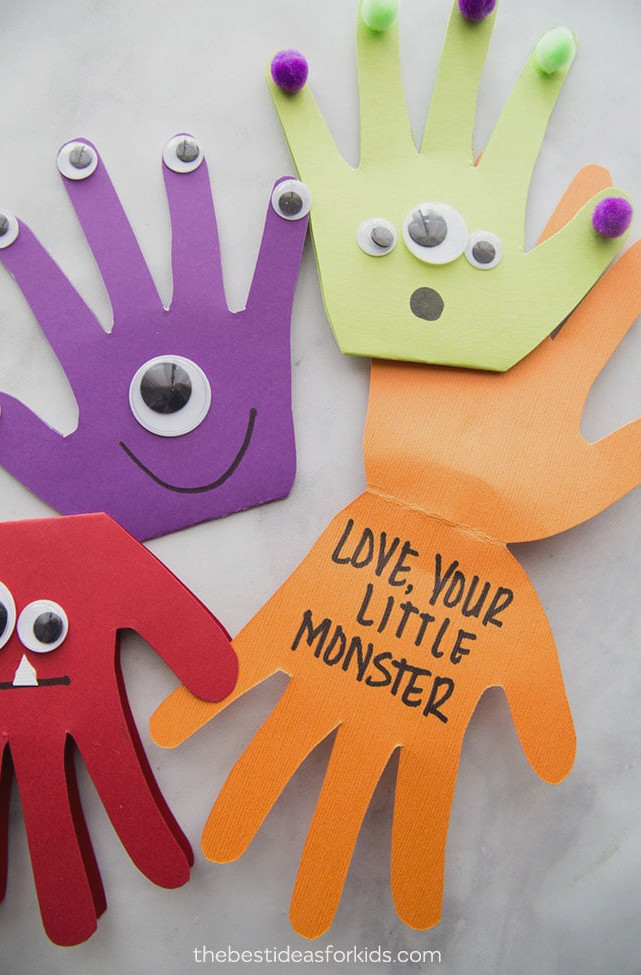
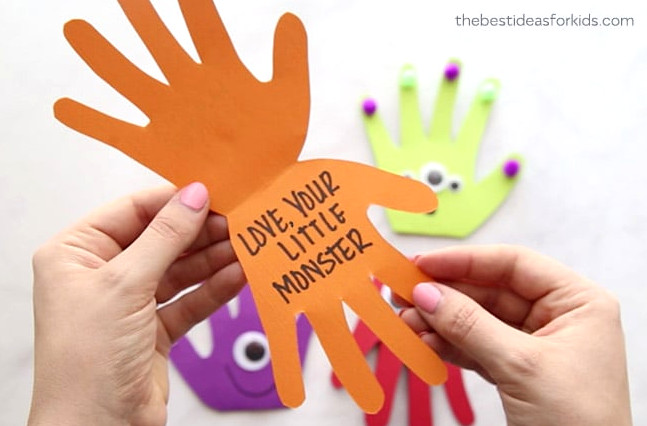
7. Add your greeting inside the card. We especially like the message, “Love, your Little Monster!”.
This fun monster project is incredibly easy! We love that children can design their own creatures. Simply set out the materials and let them start creating!
Searching for a present to pair with these cards? We adore the book Love Monster. It would be a charming gift for Mom or Dad to enjoy reading with their little monster.