
This simple paper plate pumpkin project creates the sweetest Halloween activity for children! Kids will enjoy designing their own silly pumpkin expressions, or they can use our free printable template to combine various eyes, noses and mouths!
RELATED: Halloween Crafts for Kids
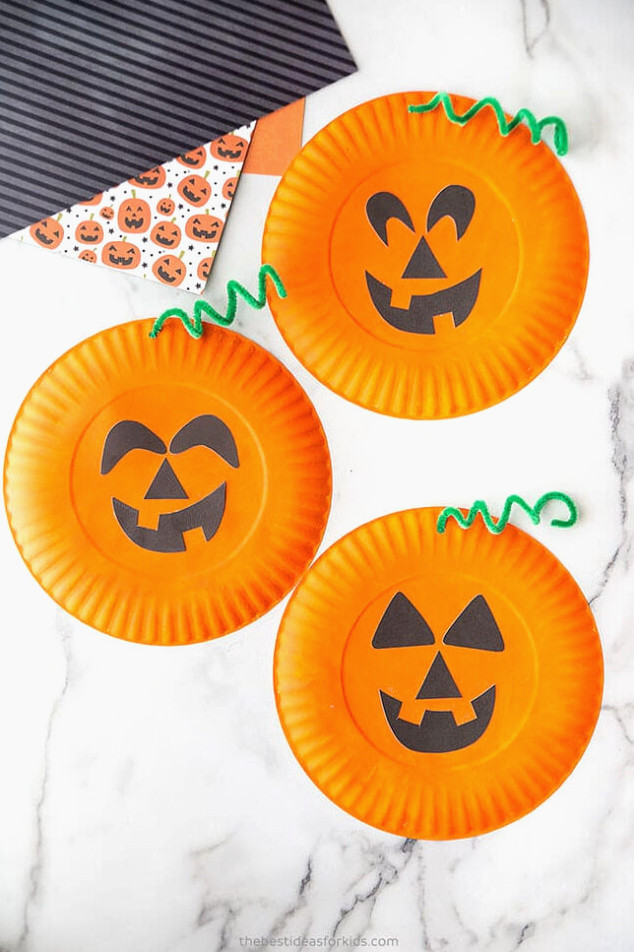
Create this enjoyable and simple pumpkin project with the kids! They will have a great time making these as a Halloween activity, and you can also use them to adorn your home or classroom!
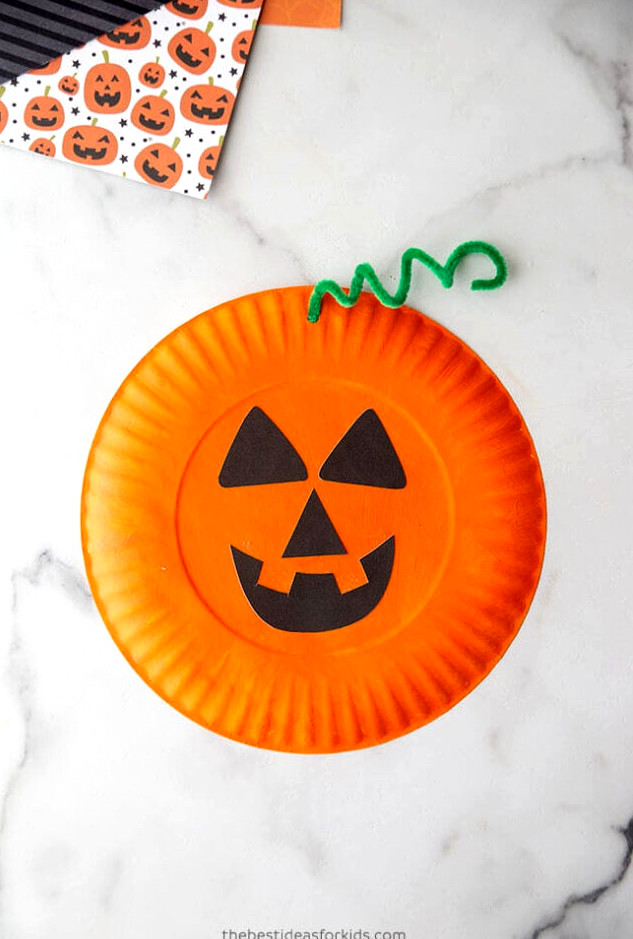
Supplies Needed
Only a small number of materials are required for these pumpkin paper plates! Without paint, markers or crayons can be used to color the plates orange.
If pipe cleaner is unavailable, twist a strip of green paper to use as the stem instead. There are plenty of possibilities when working with different materials. You may even sketch or paint the faces directly!
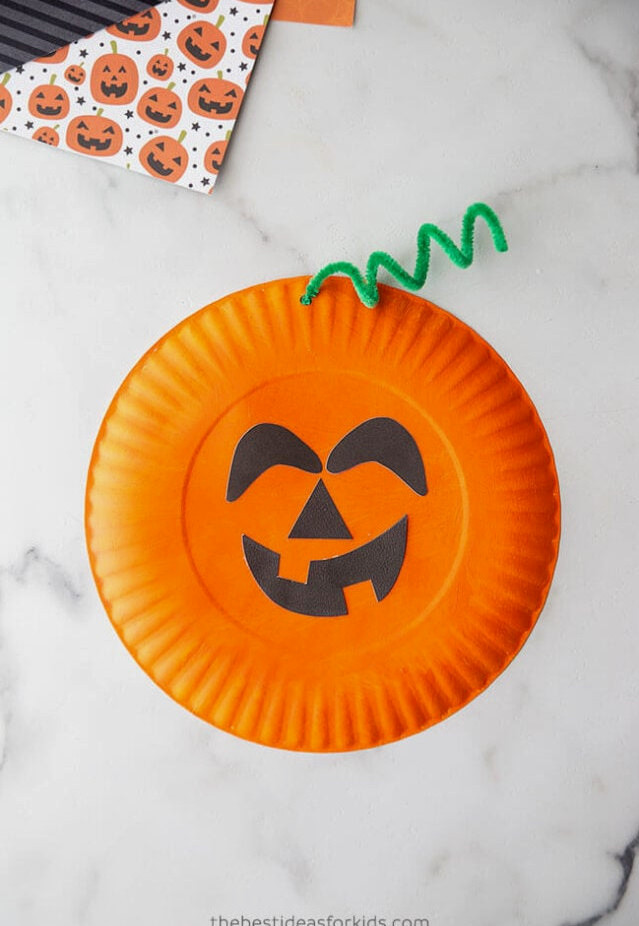
Watch the Video Tutorial
Directions to Make a Paper Plate Pumpkin
1. Color the paper plates orange and allow them to dry.
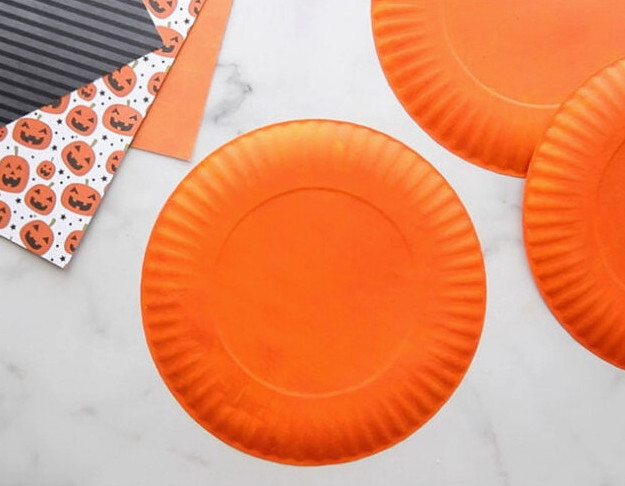
2. Cut out the pumpkin facial pieces.
Either sketch and trim your own pieces or choose our free printable template!
Find the free templates at the end of the post.
Invite children to combine the eyes, nose and mouth in different ways to discover how many unique expressions they can create.
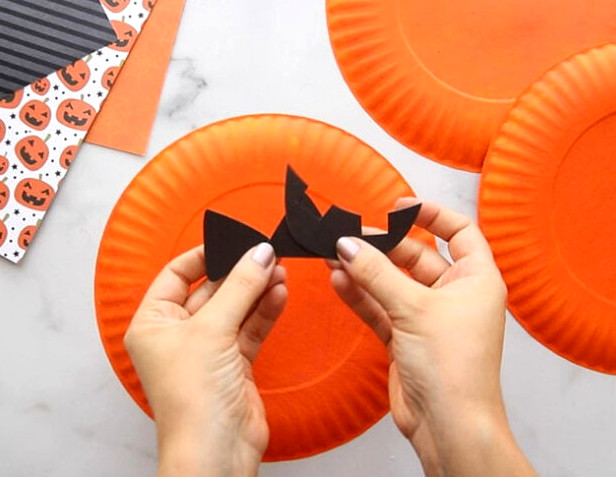
3. Attach the facial pieces to the paper plate with glue.
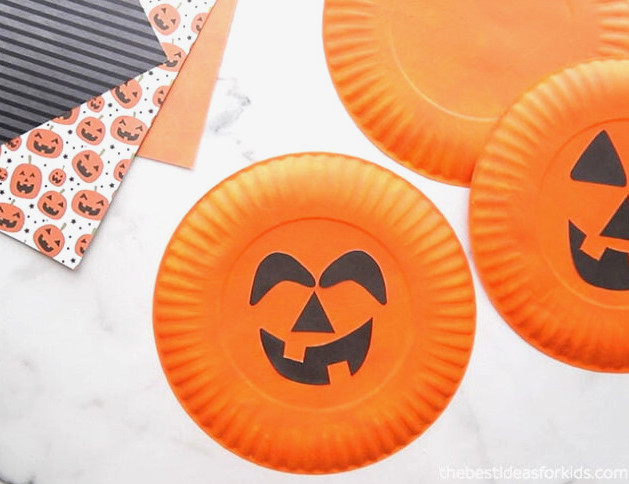
4. Snip off a section of green pipe cleaner and coil it around your finger.
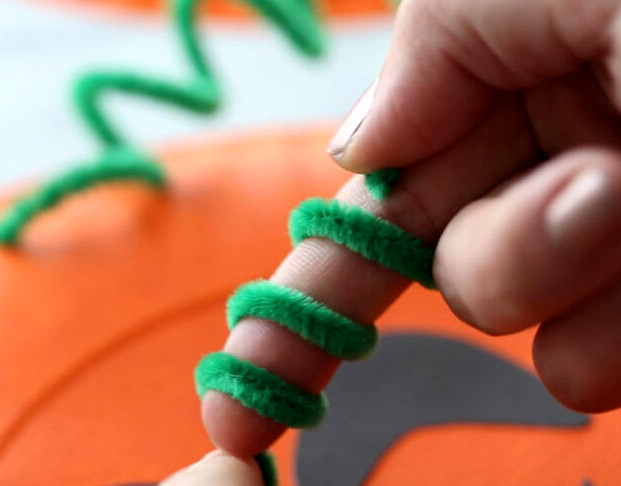
5. Punch a hole in the top of the paper plate.
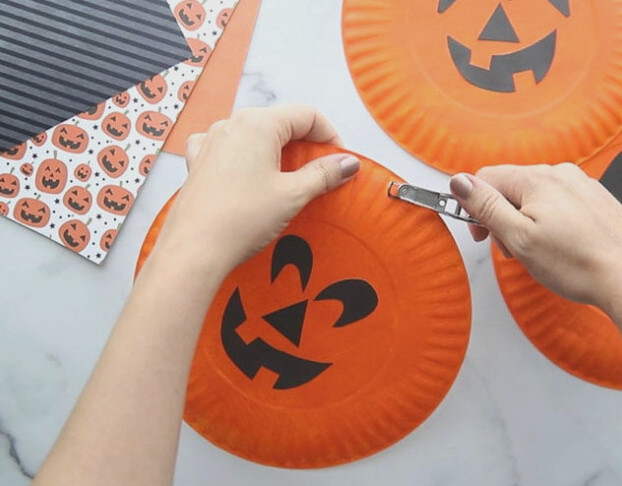
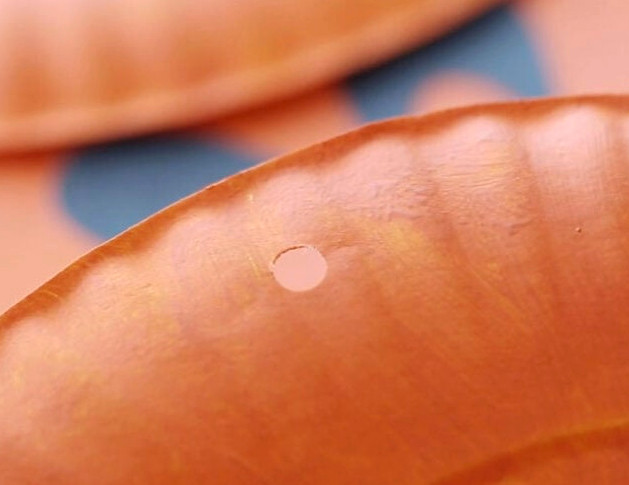
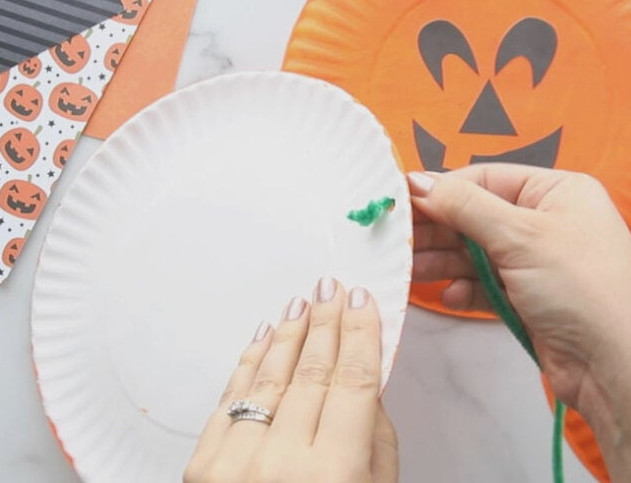
6. Push the pipe cleaner through the opening, then secure it at the back.
Tie a knot behind the plate to keep it from slipping out. You may also fasten it with tape.
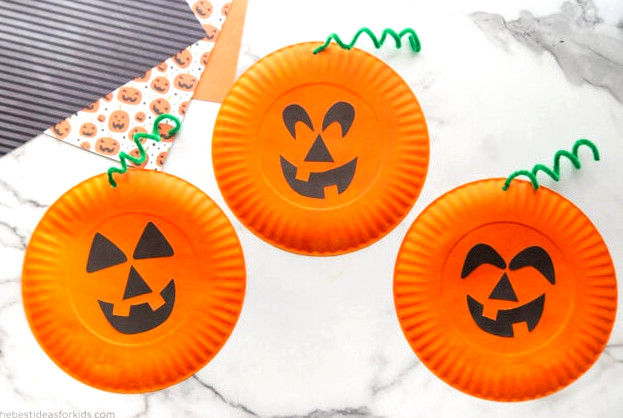
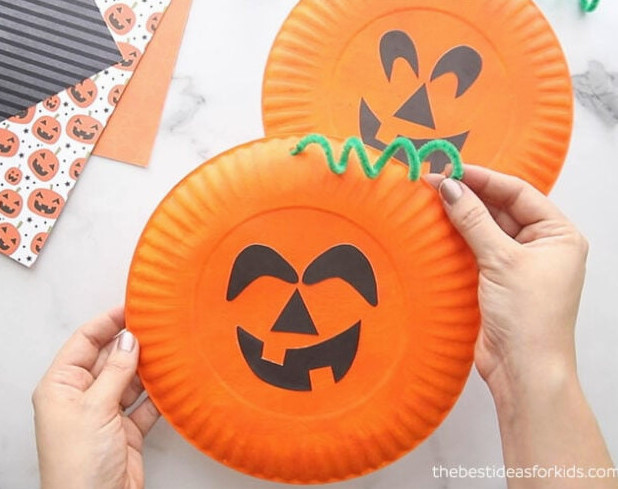
7. Your pumpkins are complete!
Try creating as many different facial combinations as possible. Pair the pieces in new ways or design your own!
For additional easy and entertaining Halloween projects, explore 50+ Halloween Crafts for Kids.