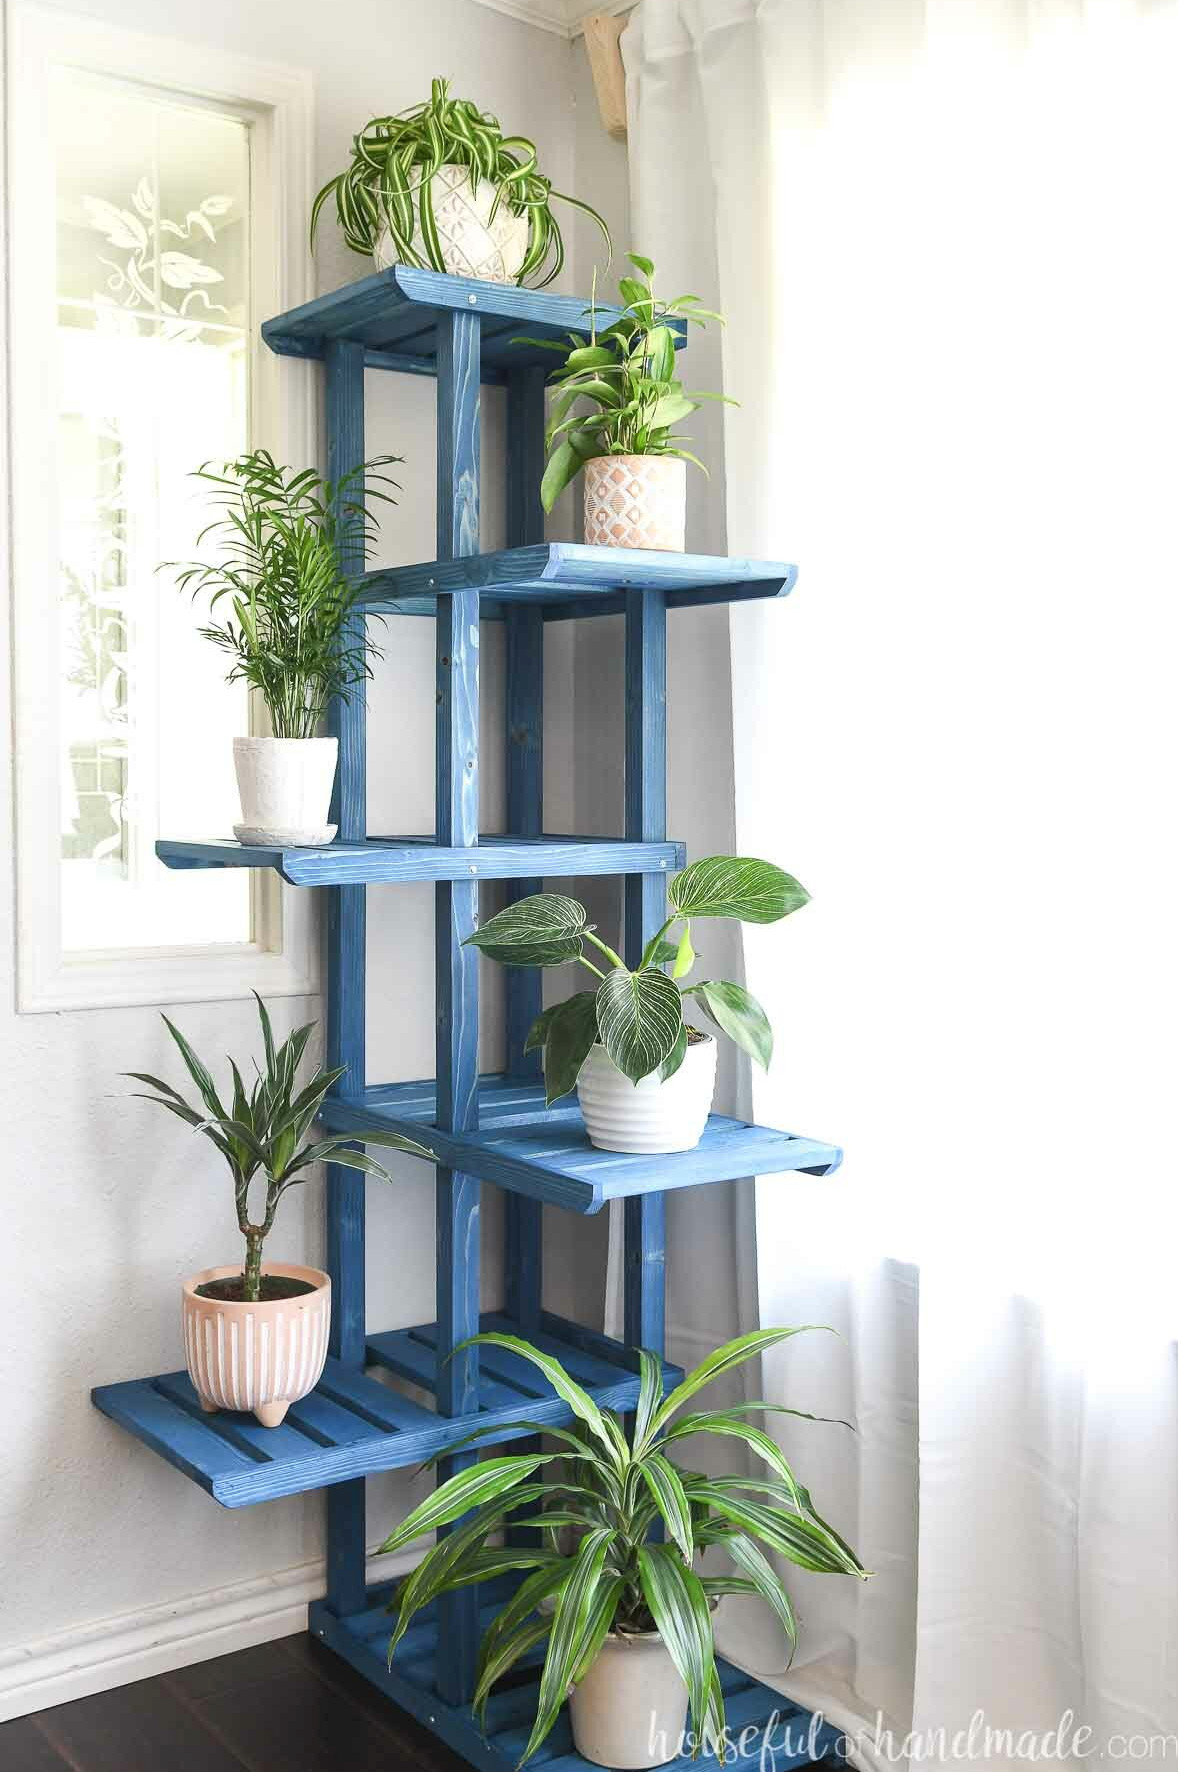
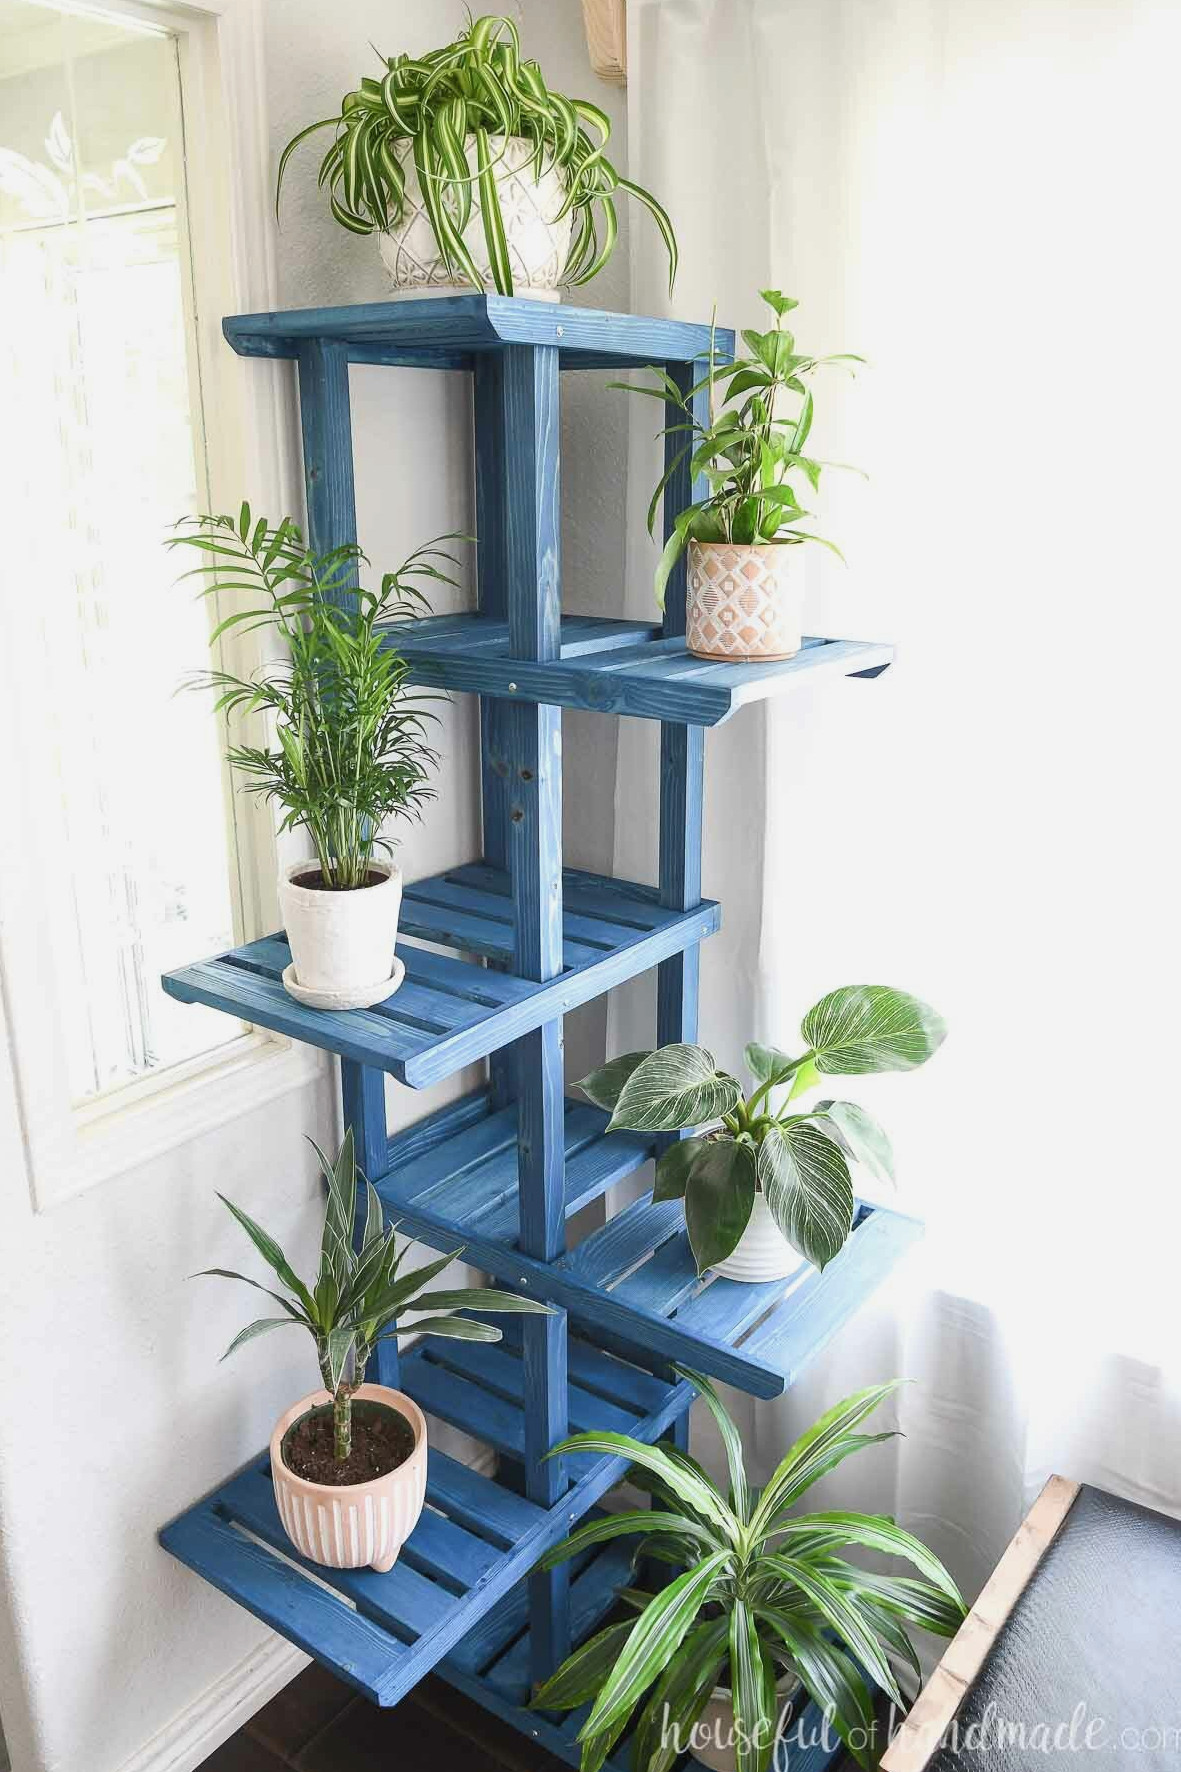
This simple DIY corner plant stand gives you plenty of space for greenery.
Create a stunning multi-level corner plant stand that can hold plenty of plants without costing much. This tall stand features 6 shelves for displaying potted plants.
Best of all, it was made from affordable 1×2, 1×3 and 2×2 lumber! You can enjoy abundant storage for your plants without spending a fortune.
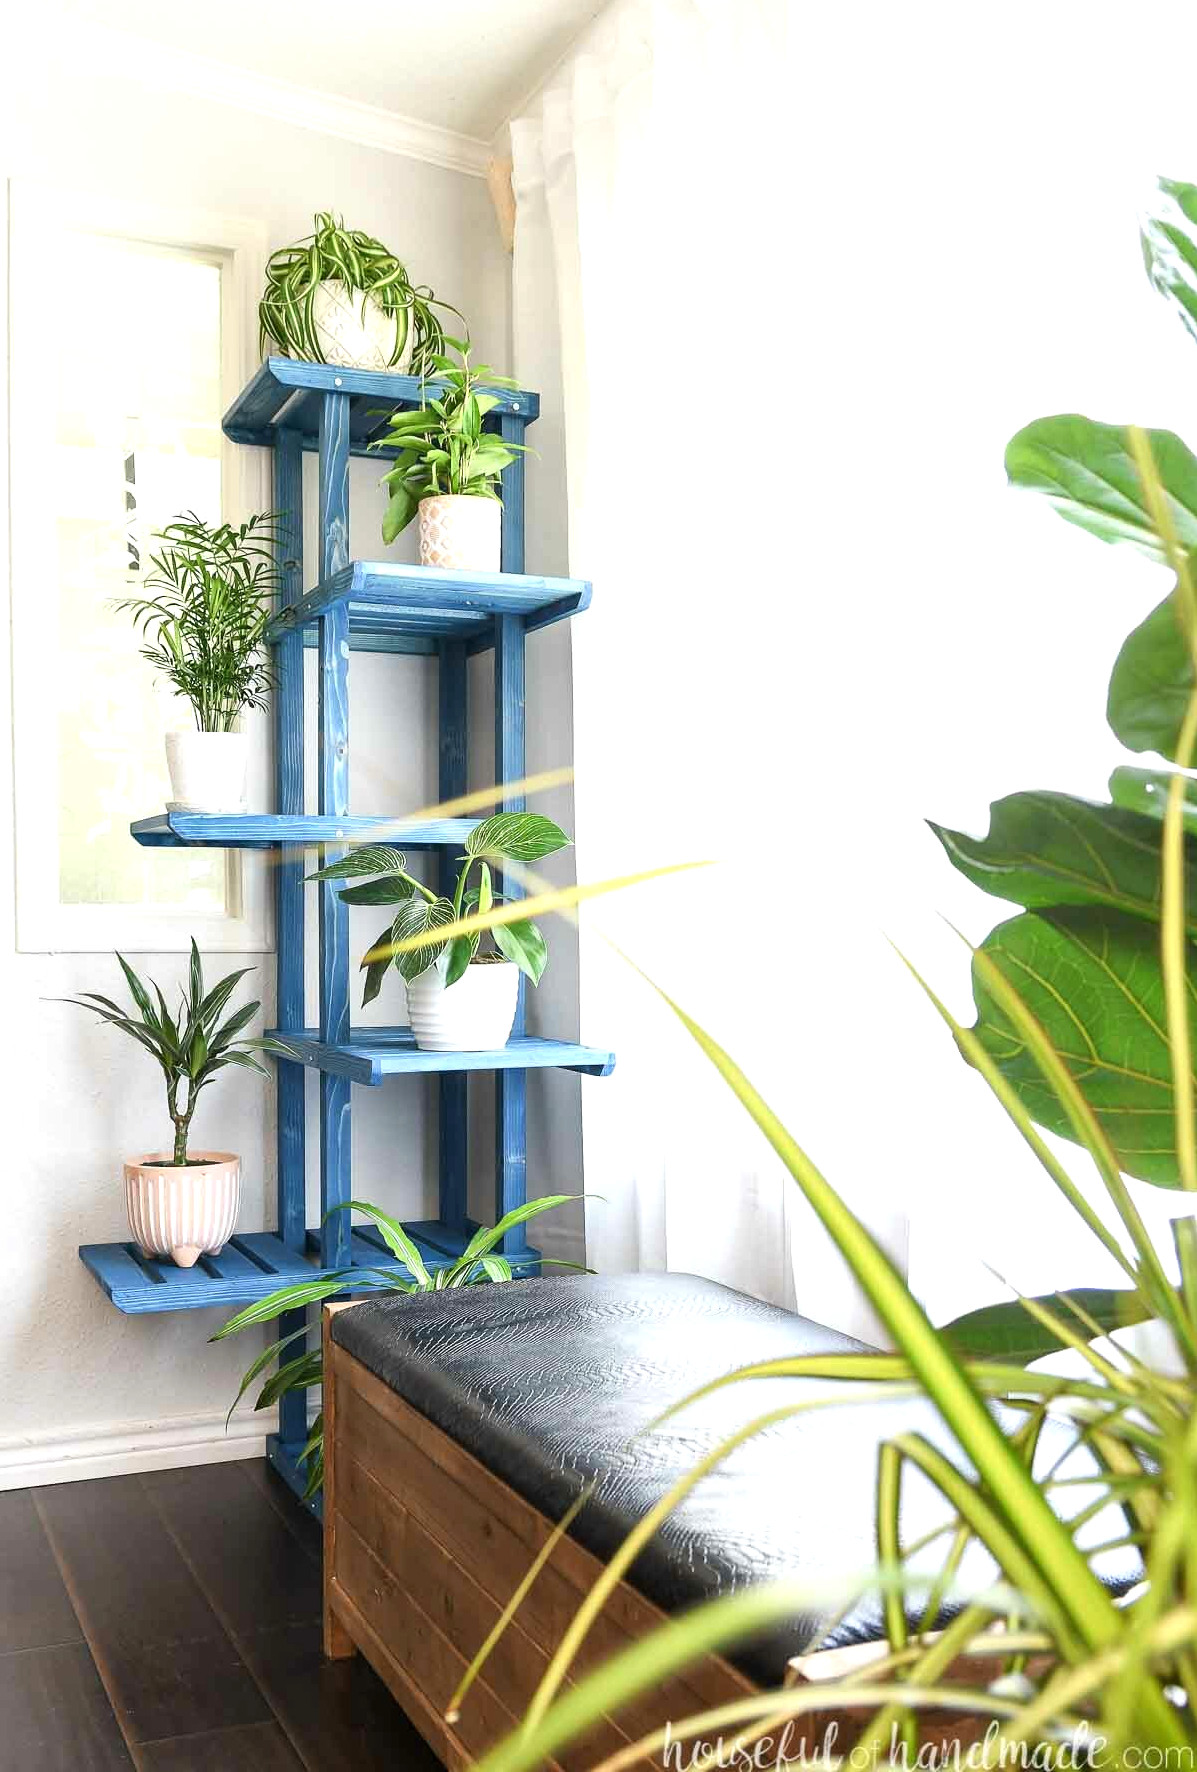
Tiered Plant Stand
Whether you are bringing your outdoor plants inside before winter arrives or simply adore everything related to plants, this tiered stand is sure to become a favorite.
This tall corner shelving unit includes 6 spacious levels for displaying numerous potted plants. Every shelf features one portion extending outward and another section positioned in the middle.
The outside portions rest against the walls in a corner, providing generous plant storage while conserving valuable floor space. Place it near a window so your plants can benefit from plenty of beautiful natural light.
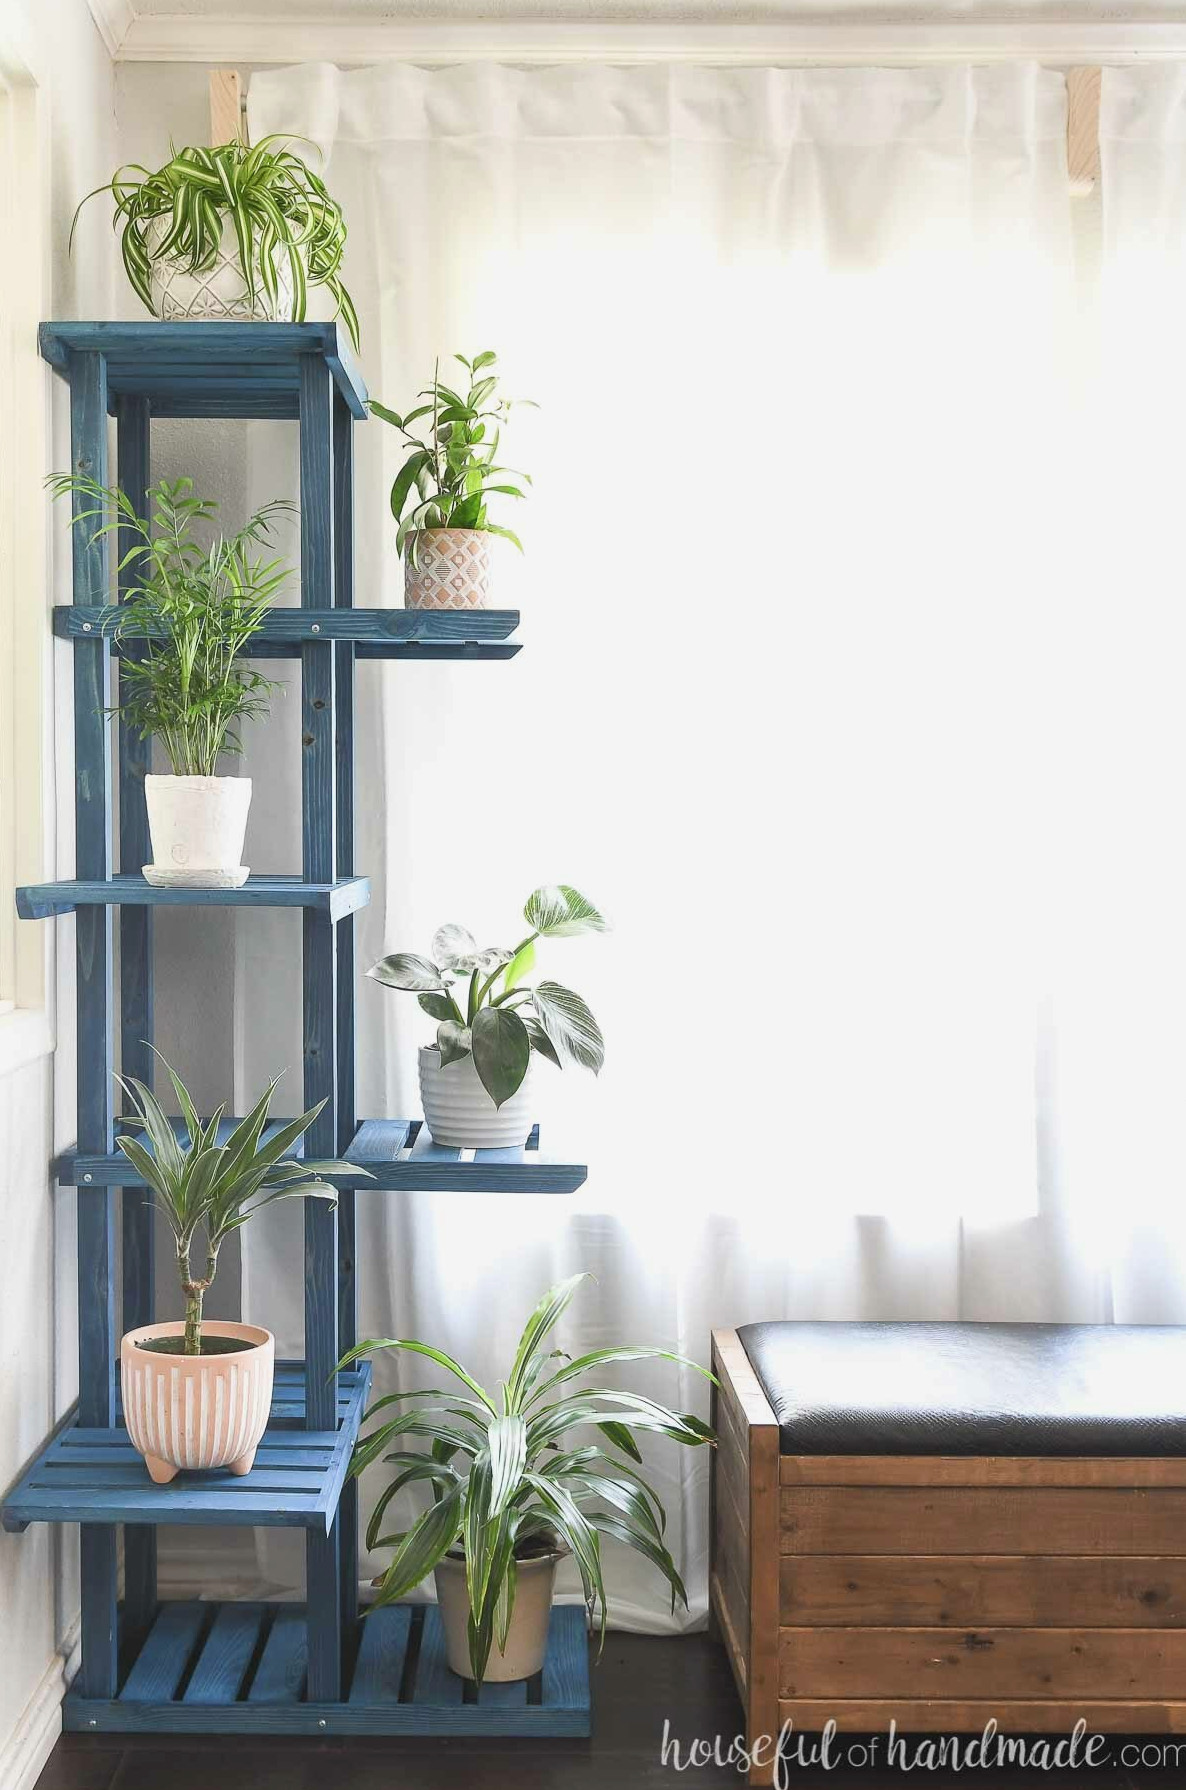
The middle sections on each shelf are ideal for smaller plants. They also work well for varieties that prefer lower light levels.
I appreciate that every shelf is roomy enough for one large potted plant or a pair of smaller ones. It is also excellent for raising new plants from cuttings, something I am currently very interested in.
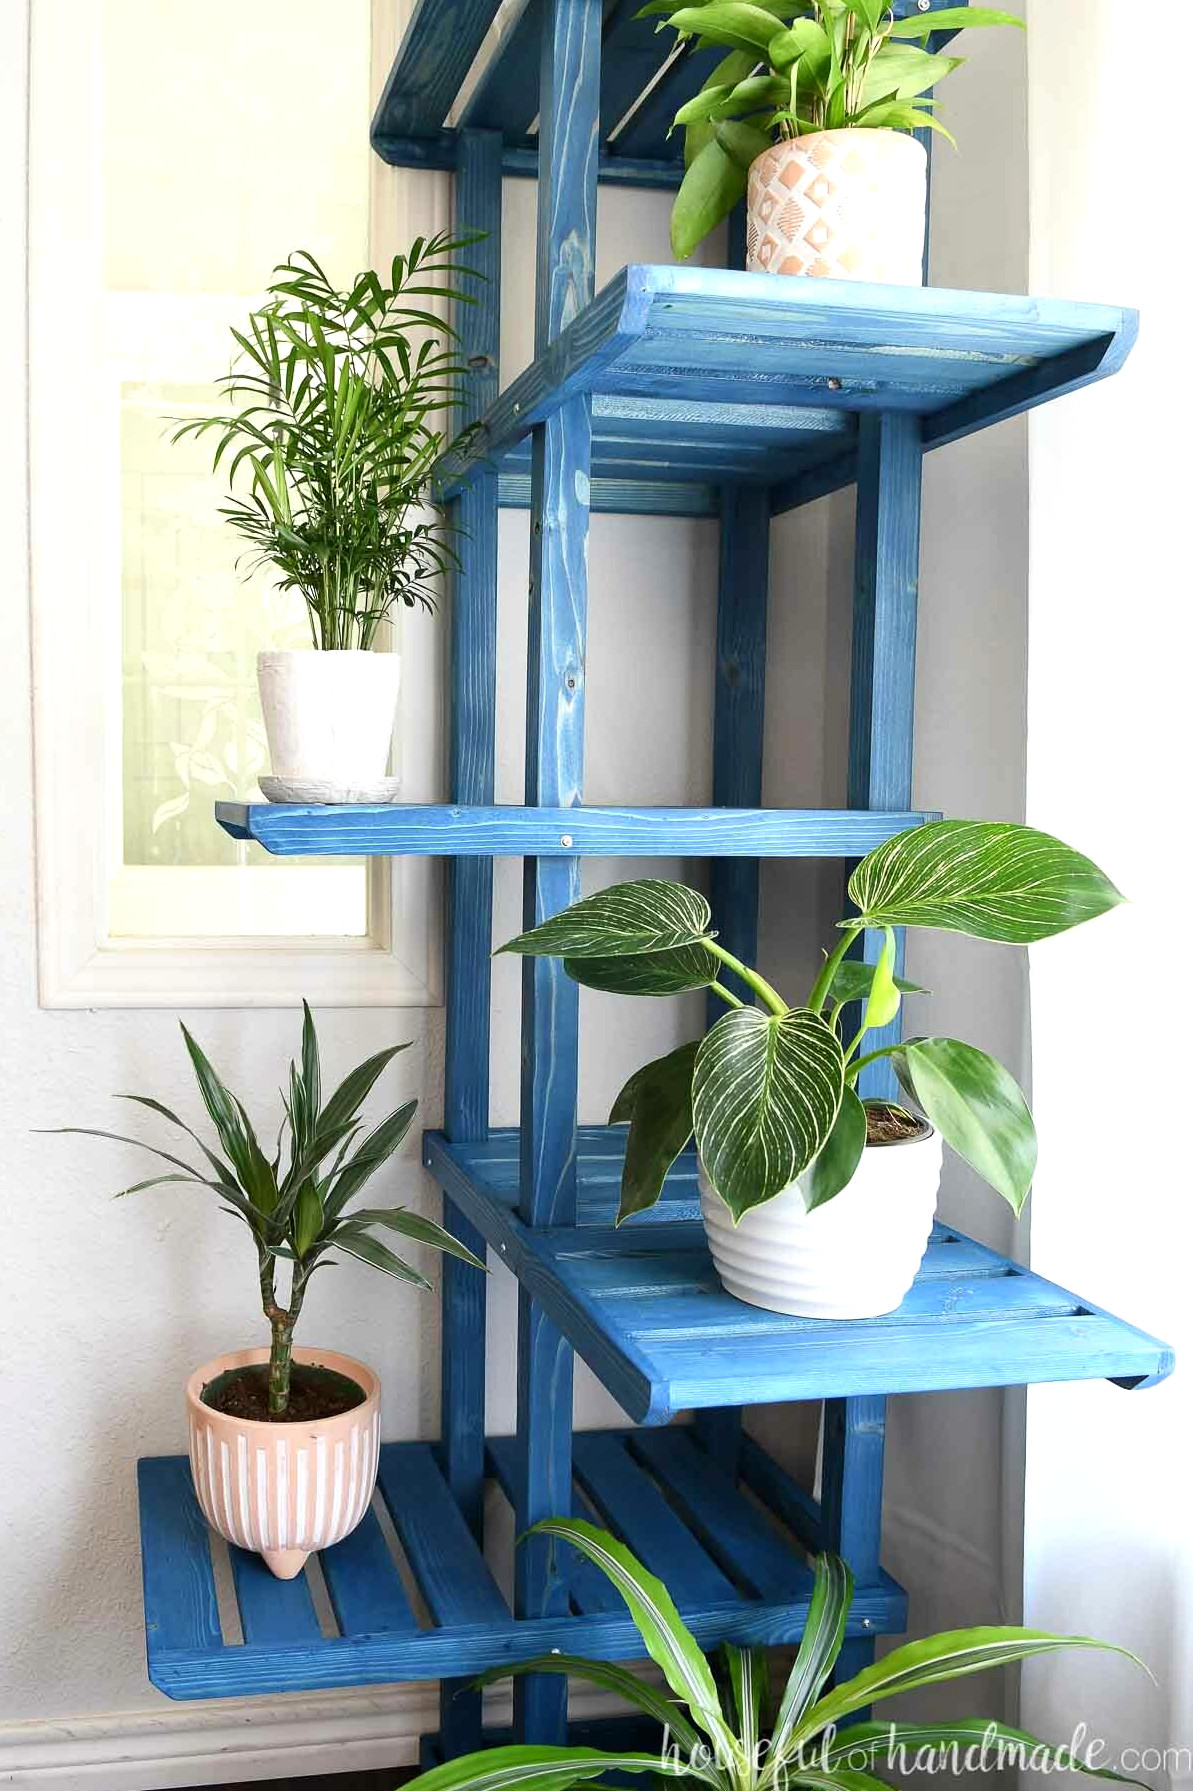
Plant Stand for Indoor or Outdoor Use
This roomy corner plant stand is perfect for displaying your favorite houseplants indoors. Apply stain or paint that coordinates with your decor, then enjoy the natural beauty your plants bring into the room.
Place it in a corner beside a window or somewhere with plenty of filtered sunlight, and your plants will flourish.
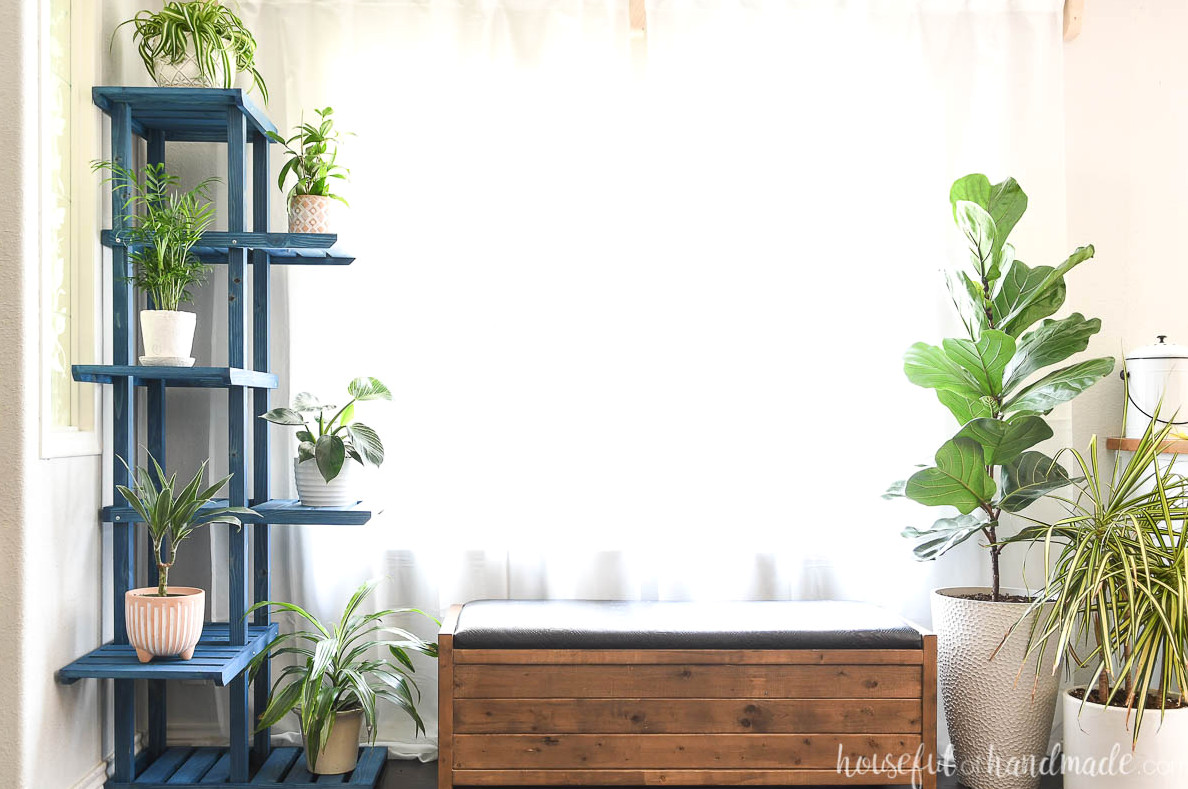
This tiered plant shelf can also be placed outdoors for cultivating potted herbs and flowers.
It is also useful when you want to let your indoor plants enjoy additional sunshine and fresh air during warmer months.
Outside, this corner plant stand provides extra storage for plants on a porch, patio or walkway. Once again, reserve the center column for plants that prefer less light and use the outside shelves for plants that enjoy abundant direct sunlight.
Additional Plant-Loving DIY Projects
If you can never have too many plants, take a look at these wonderful projects designed to help your greenery thrive!
Building a Tiered Plant Stand
Tools & Supplies
Suggested Tools:
- Miter saw
- Optional: Table saw or router
- I used a table saw to create a groove in several shelf boards. It gives the shelves a polished appearance but is not required.
- Finishing nail gun
- Drill
- Impact driver (optional, though I appreciate not needing to change bits on the drill)
- Measuring tape
- Clamps
- Sander
Finished Measurements
The completed plant shelf measures 69″ high and extends 26 1/8″ deep along both walls of the corner.
Cutting Guide
Prepare the pieces based on the measurements provided in the PDF building plans.
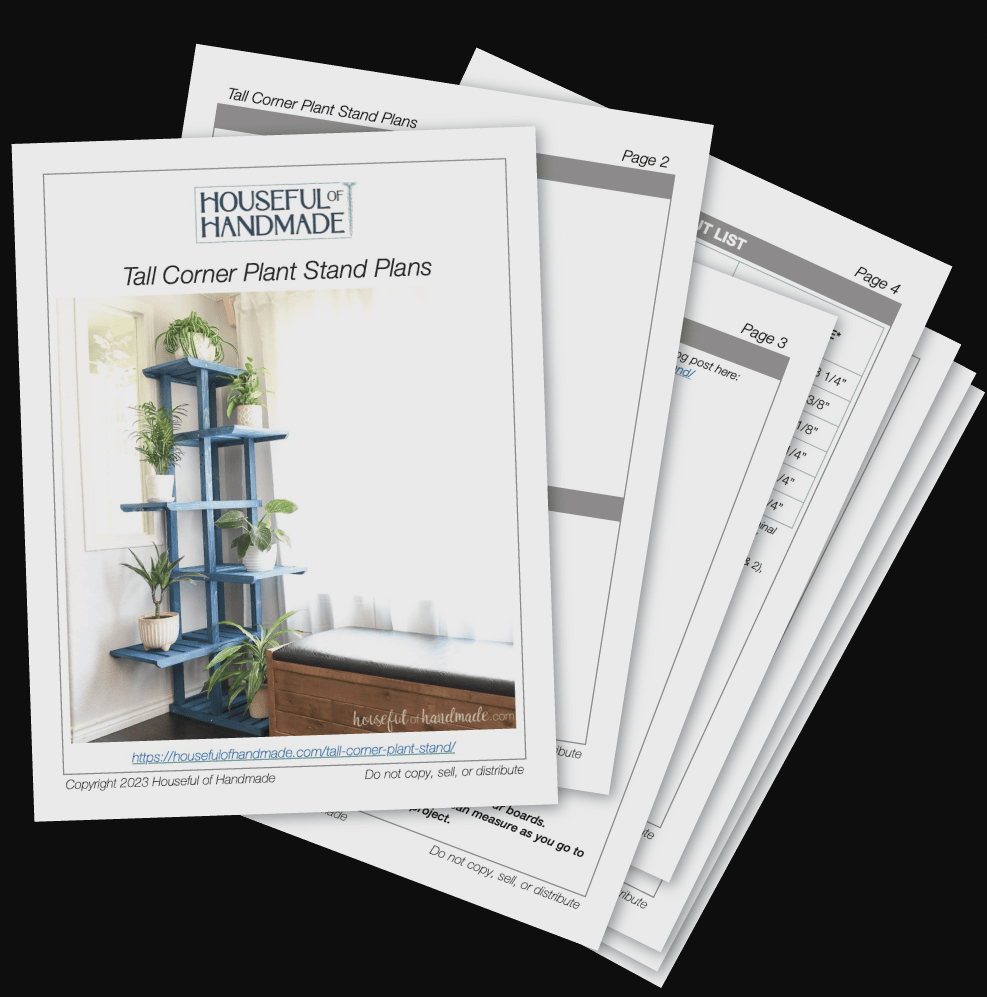
Download the Premium PDF Woodworking Plans
PDF plans contain- Simple Cut List, Shopping List, Suggested Tools, Detailed Instructions with 3D illustrations, & Useful Resources
BONUS- 3D SketchUp Model
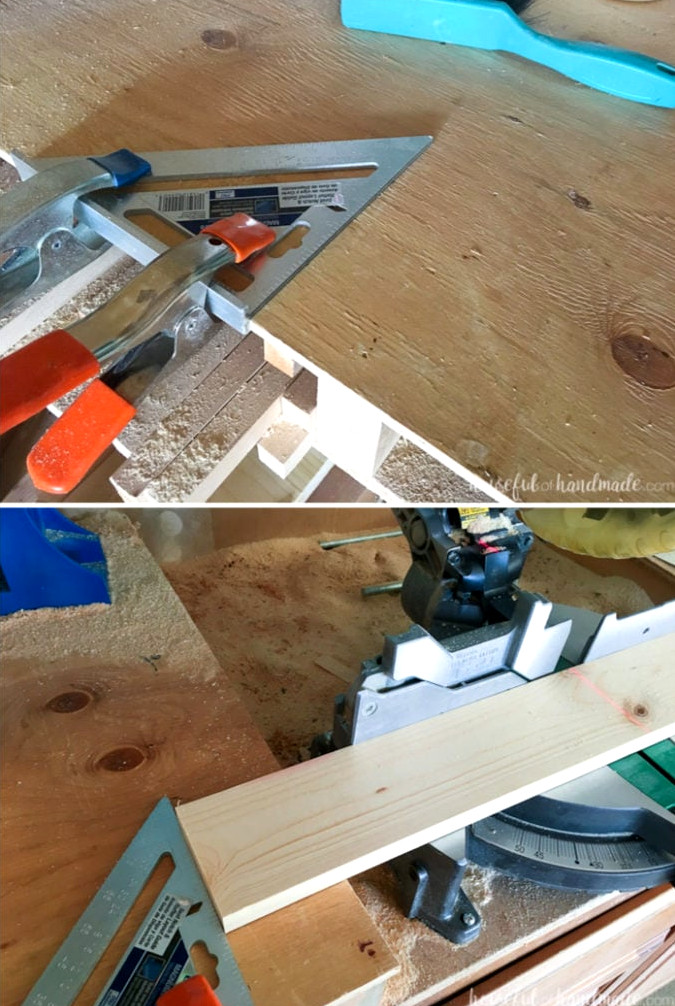
EXPERT TIP:
When producing many pieces with identical measurements, use a stop block—which can simply be a clamped square or scrap of wood beside your miter saw—to speed up the cutting process.
STEP 1- Create a groove in the shelf side pieces
This following step is optional and may be omitted if you do not have a table saw or router for cutting a groove into the boards.
The building plans provide dimensions for the parts both with and without the groove.
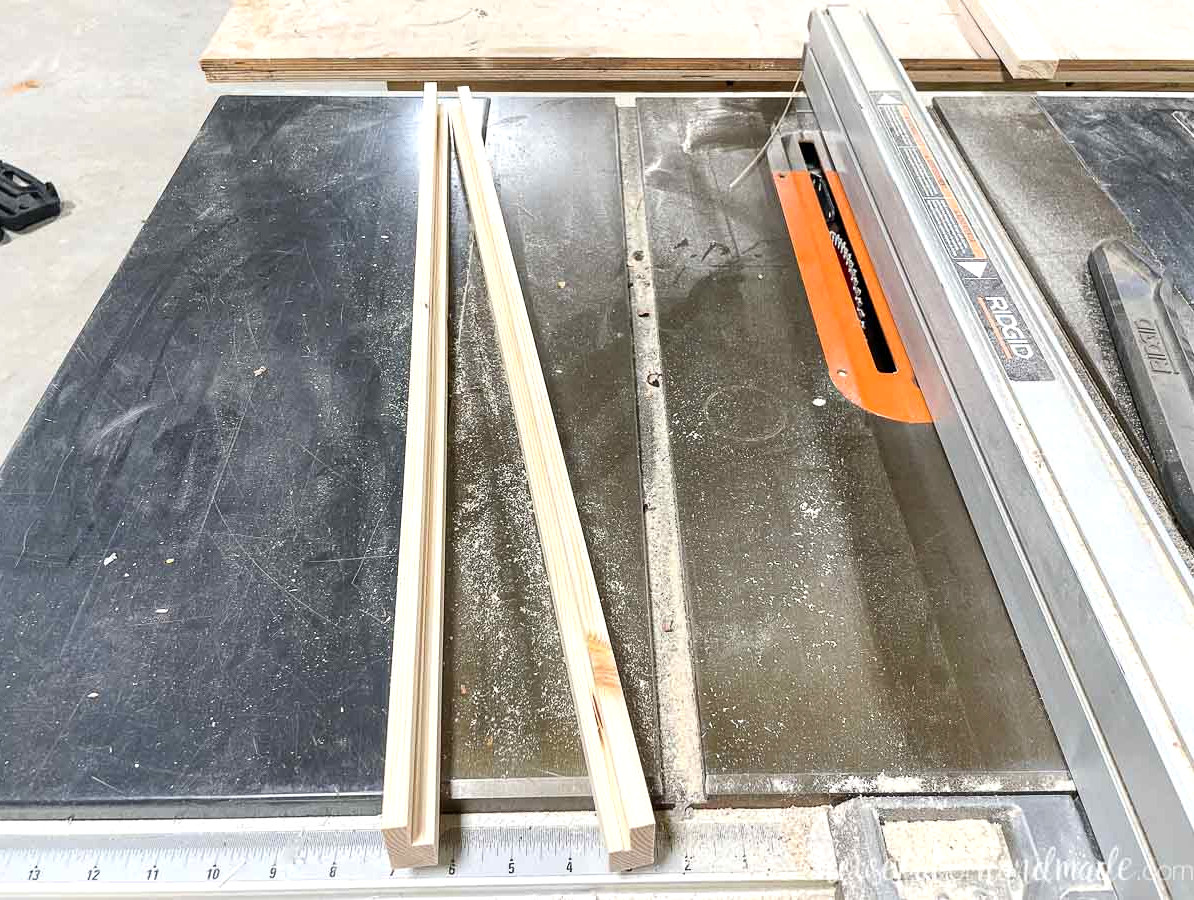
I used my table saw to cut a groove 3/4″ deep and 1/4″ wide along the inside top edge of each shelf side board. Begin by adjusting the table saw blade to 3/4″ high and positioning the fence 1/4″ from the side of the blade.
Pass every shelf side piece through the table saw.
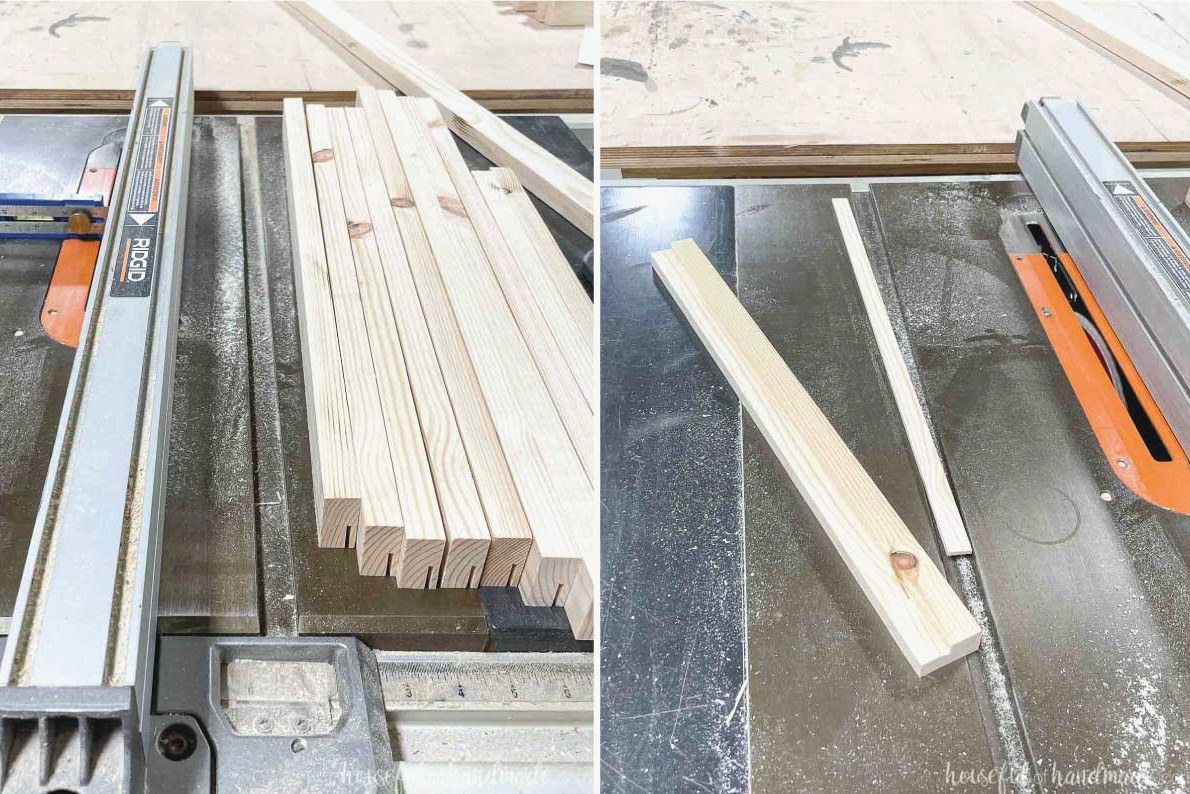
Next, adjust the blade to 1/4″ high and position the fence 3/4″ from the blade. Pass the pieces through once more so the center section drops out, forming a clean groove.
Match the pieces in pairs with the grooves facing opposite directions, then label them.
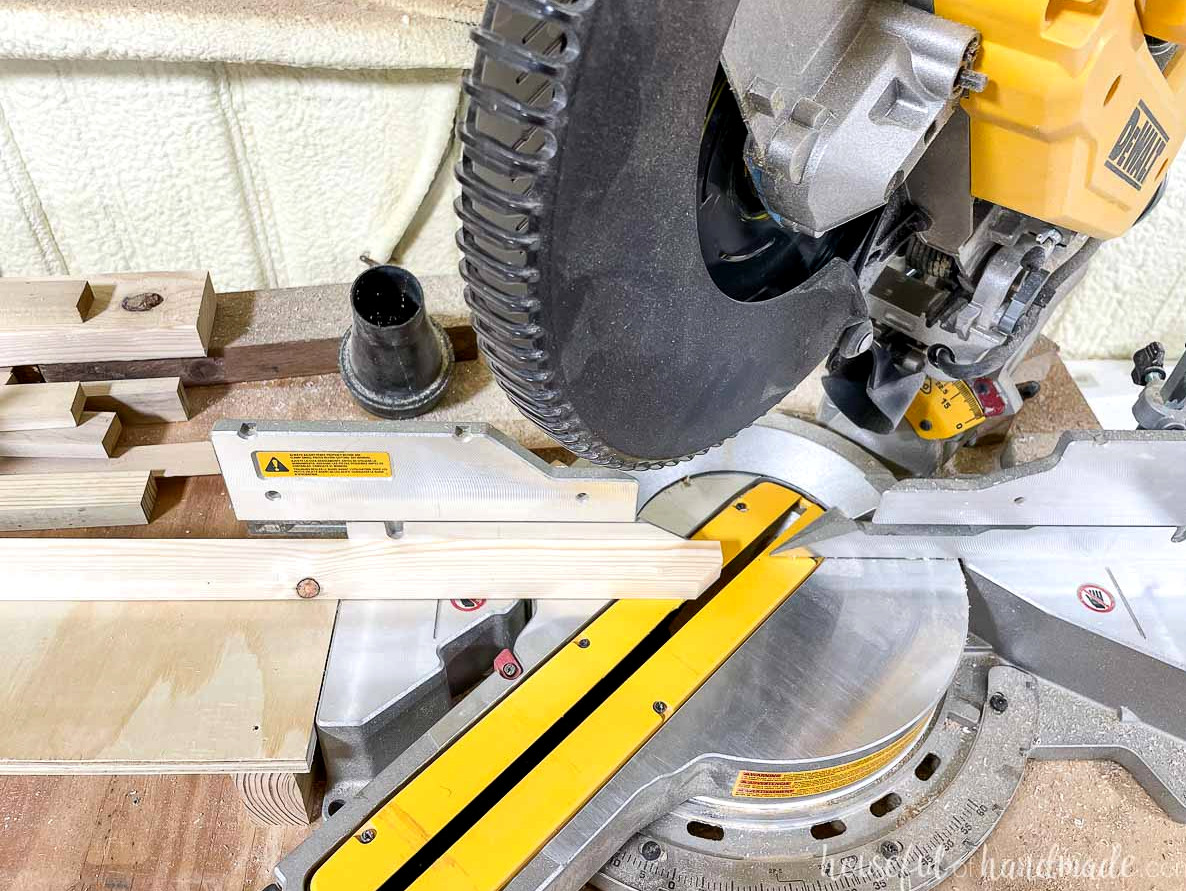
For every shelf other than the bottom one, bring the grooved boards over to the miter saw. Adjust the saw to a 45 degree angle.
Remove the lower 1/2″ tip from the front of each side board. Pay close attention to the groove location so the boards remain mirrored during cutting.
STEP 2- Construct the plant shelves
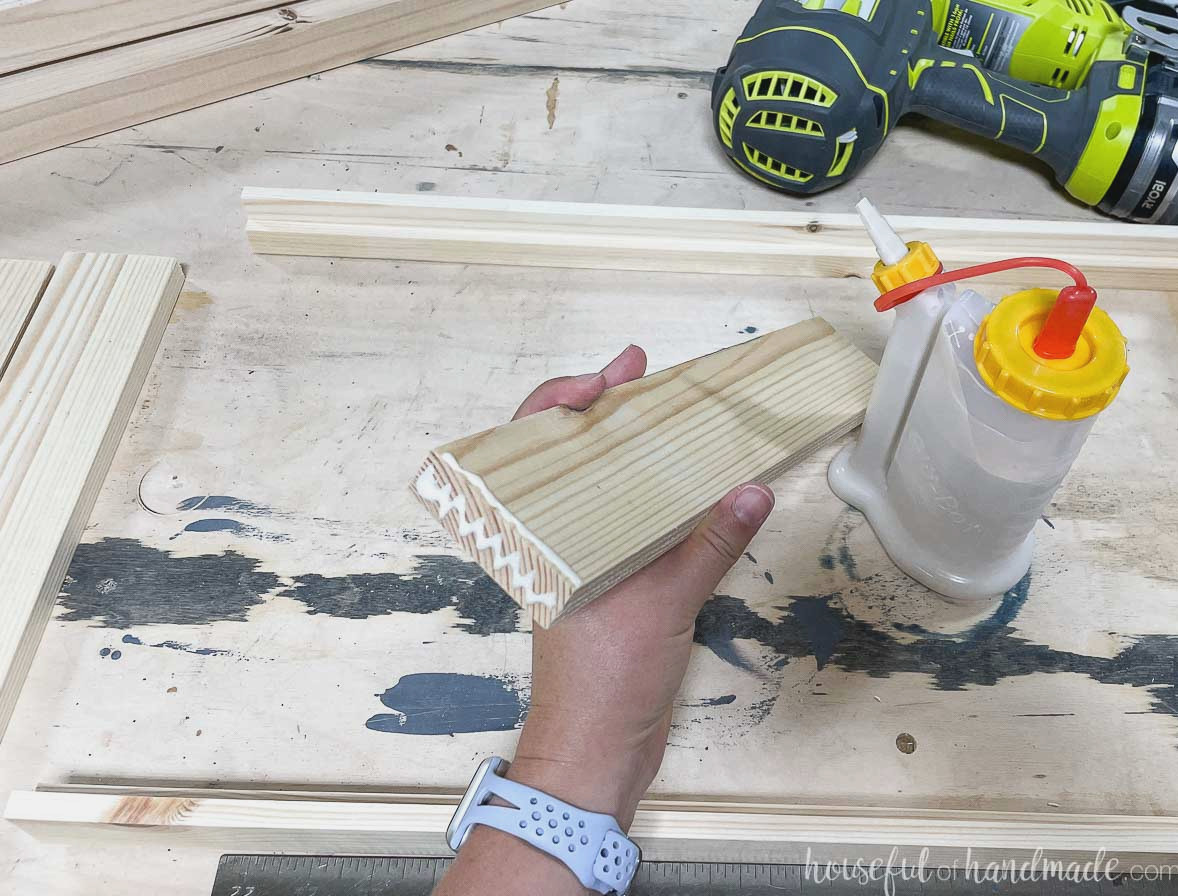
Apply glue along the sides and lightly across the bottom edge of the shelf boards.
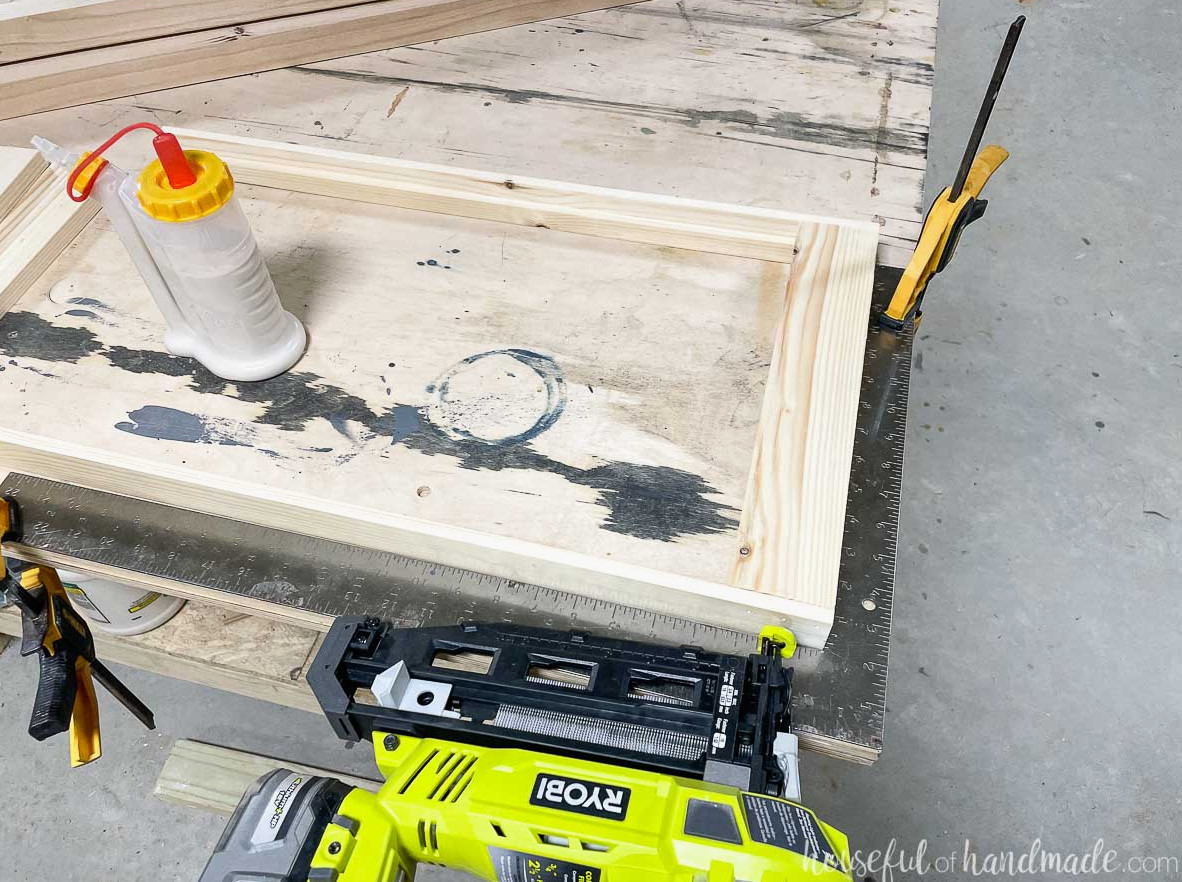
Fit them between the shelf sides, then fasten them with finishing nails. The boards should sit neatly inside the grooves.
Begin at the front, leaving 3/4” of space between each slat.
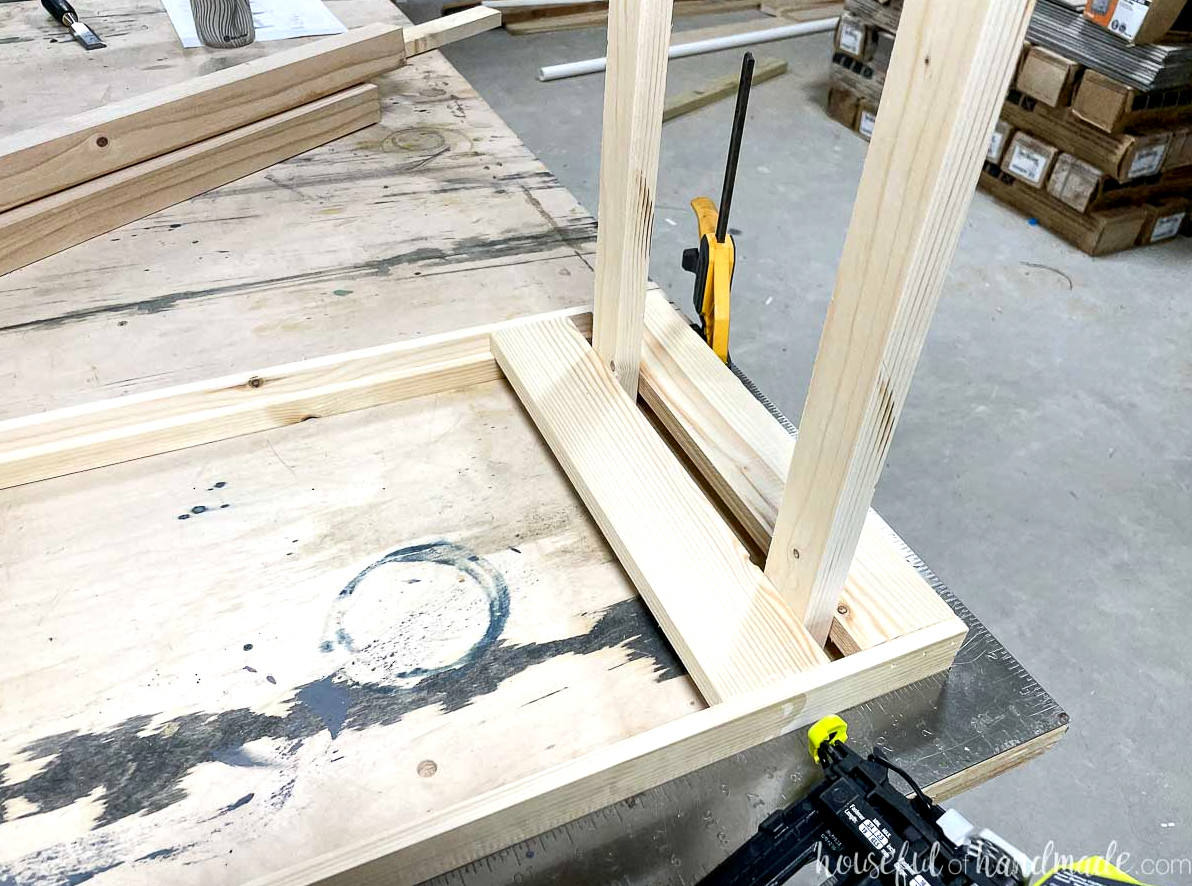
Position the side back piece against the rear of the shelf, keeping it flush with the sides and the top/bottom edges of the shelf side boards.
Fasten it with wood glue and 1 1/4” finishing nails.
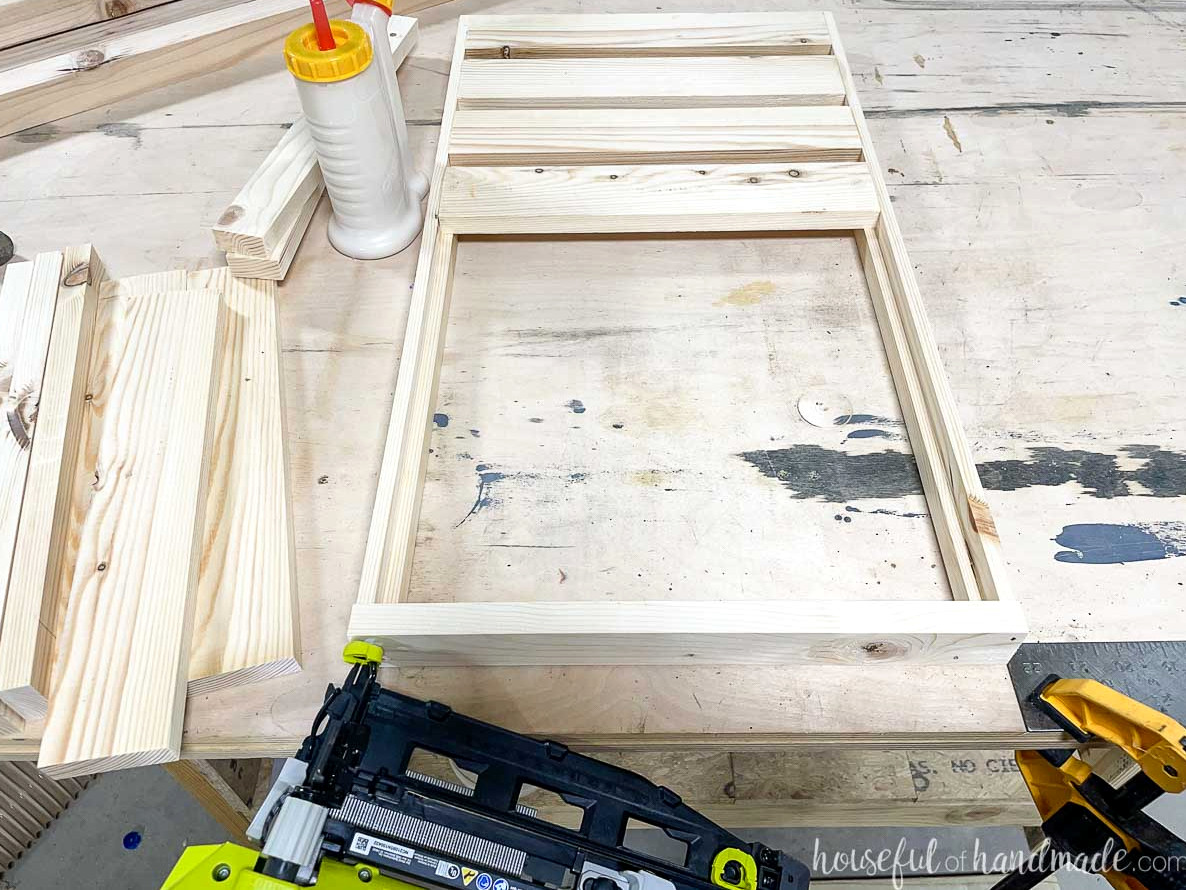
Keep a 1 7/8” space between the final slat and the back; there should also be a 2 1/4” opening in the middle.
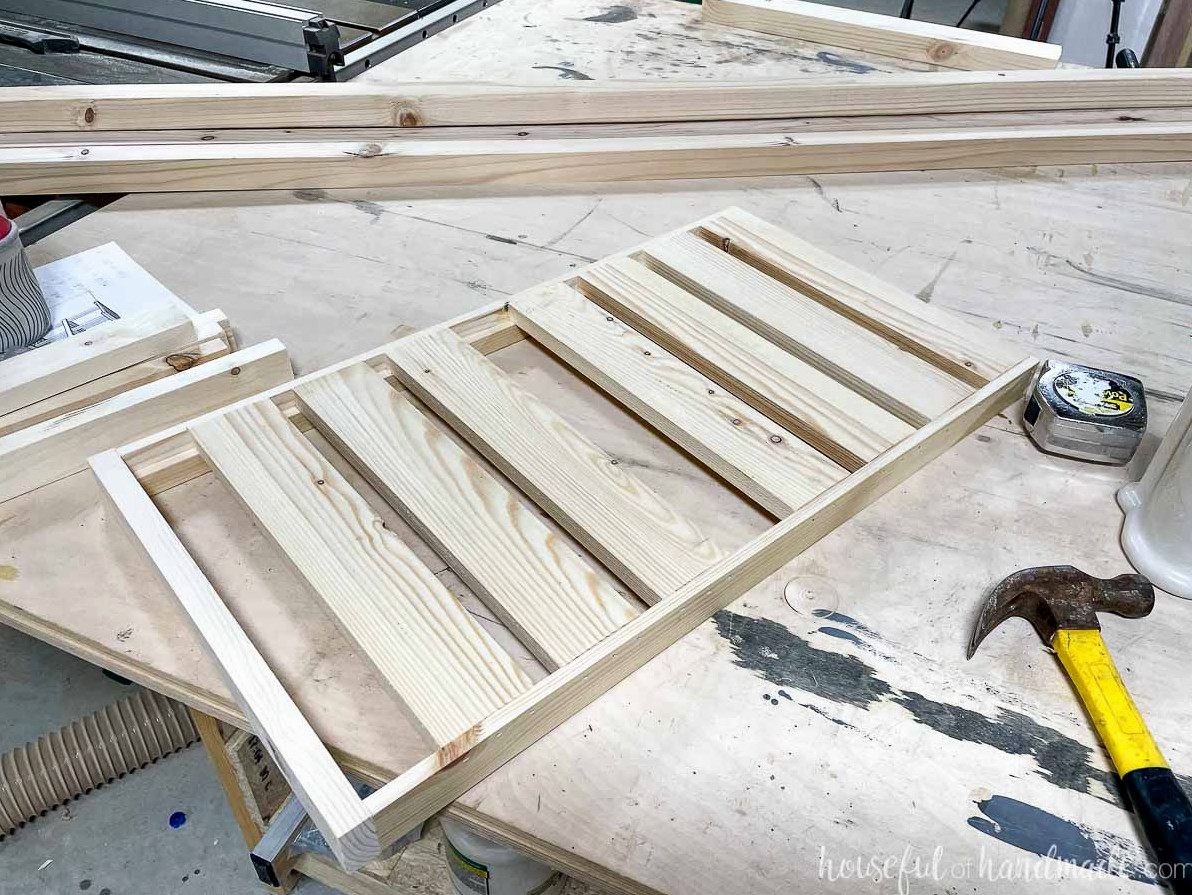
Build the remaining shelves in the same manner.
In total, you should have:
- 3 lower shelves (one without notches in the sides)
- 2 middle shelves
- 1 upper shelf
The lower shelves will contain 4 slats after the center opening. The middle shelves will contain 3.
On the top shelf, leave only 3/4” of space between the slats.
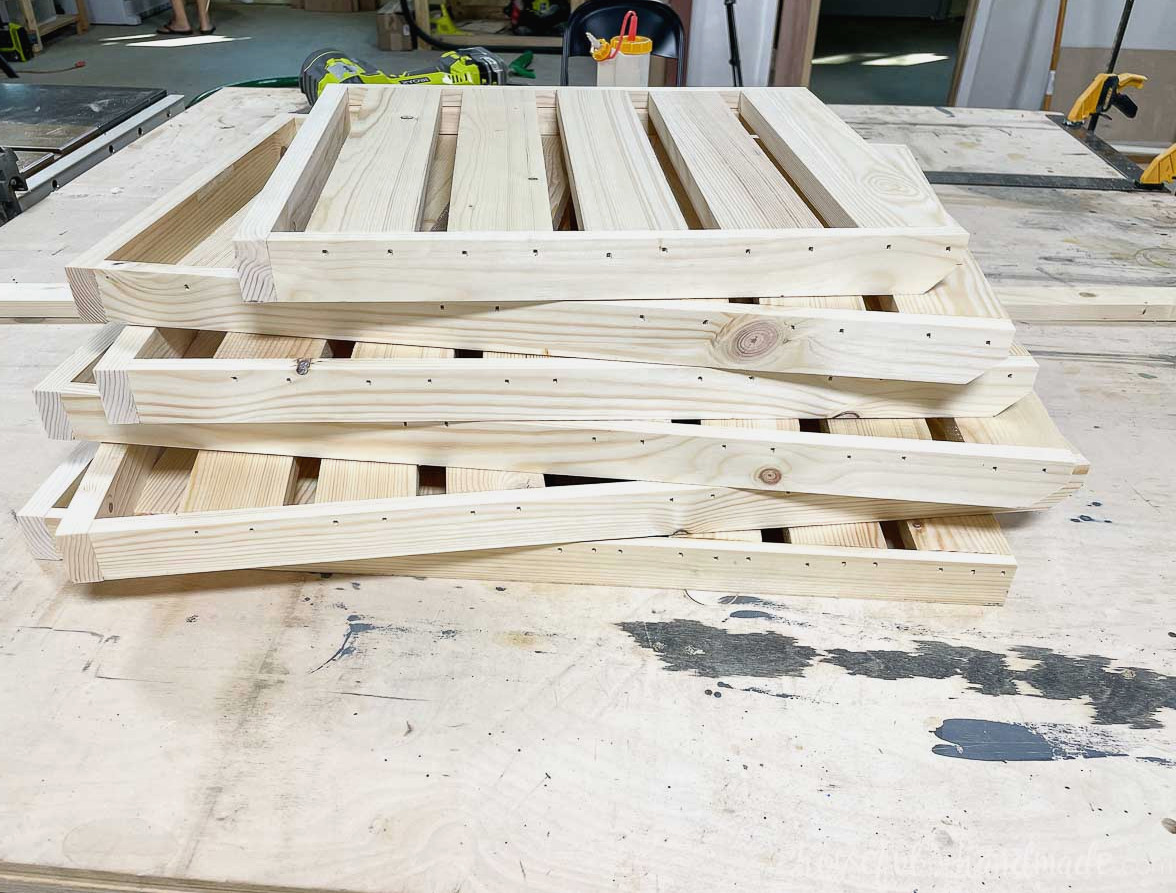
Use filler to cover the nail holes in every shelf.
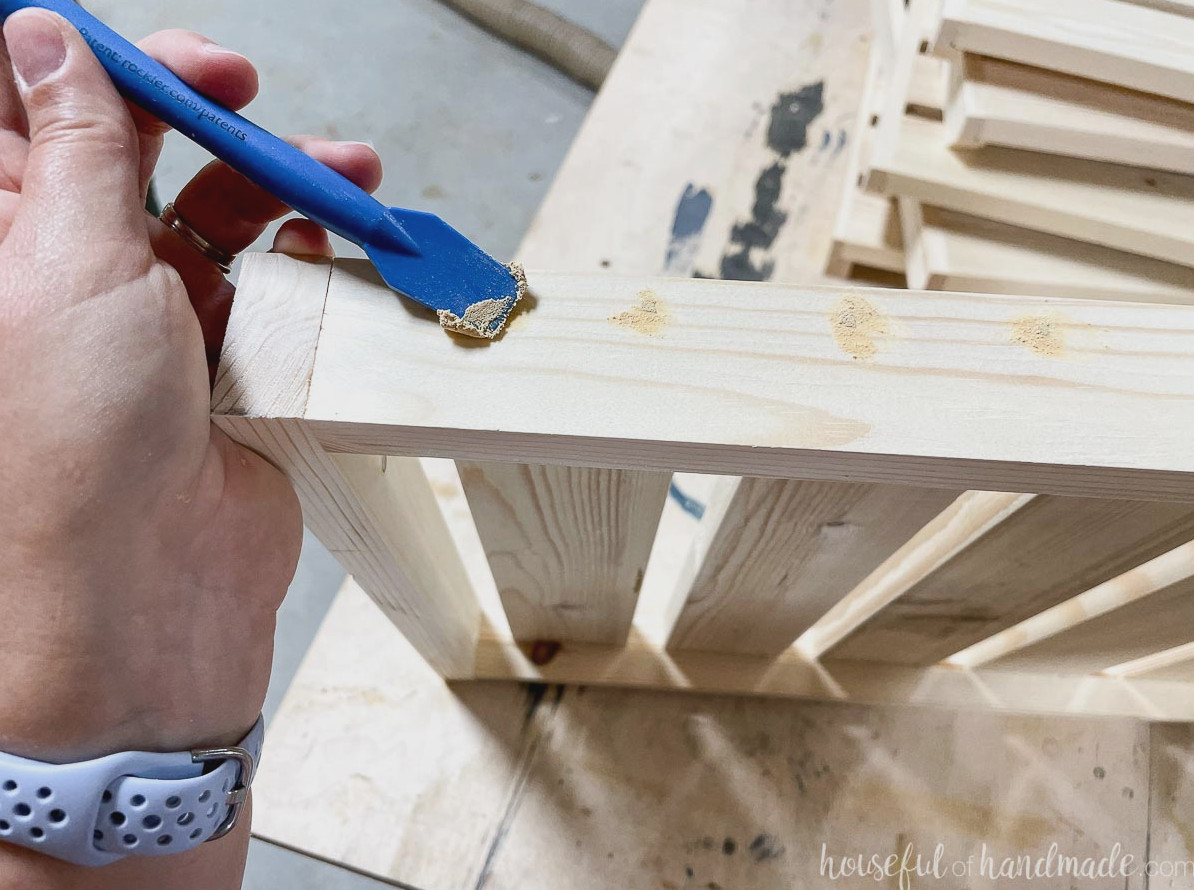
STEP 3- Complete all the pieces
Sand and finish each shelf. Doing this before assembly will be much simpler.
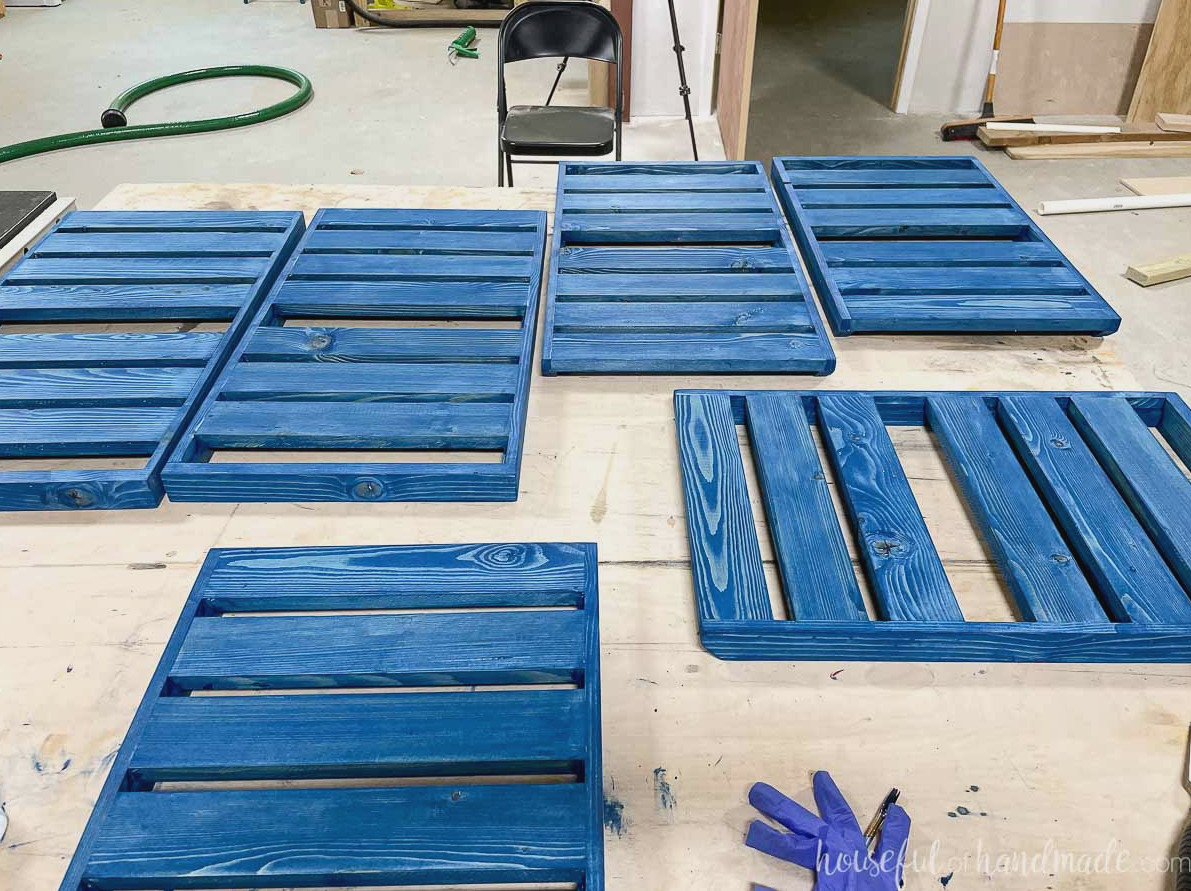
You should also cut, sand, and finish the leg boards.
STEP 4- Put the stand together
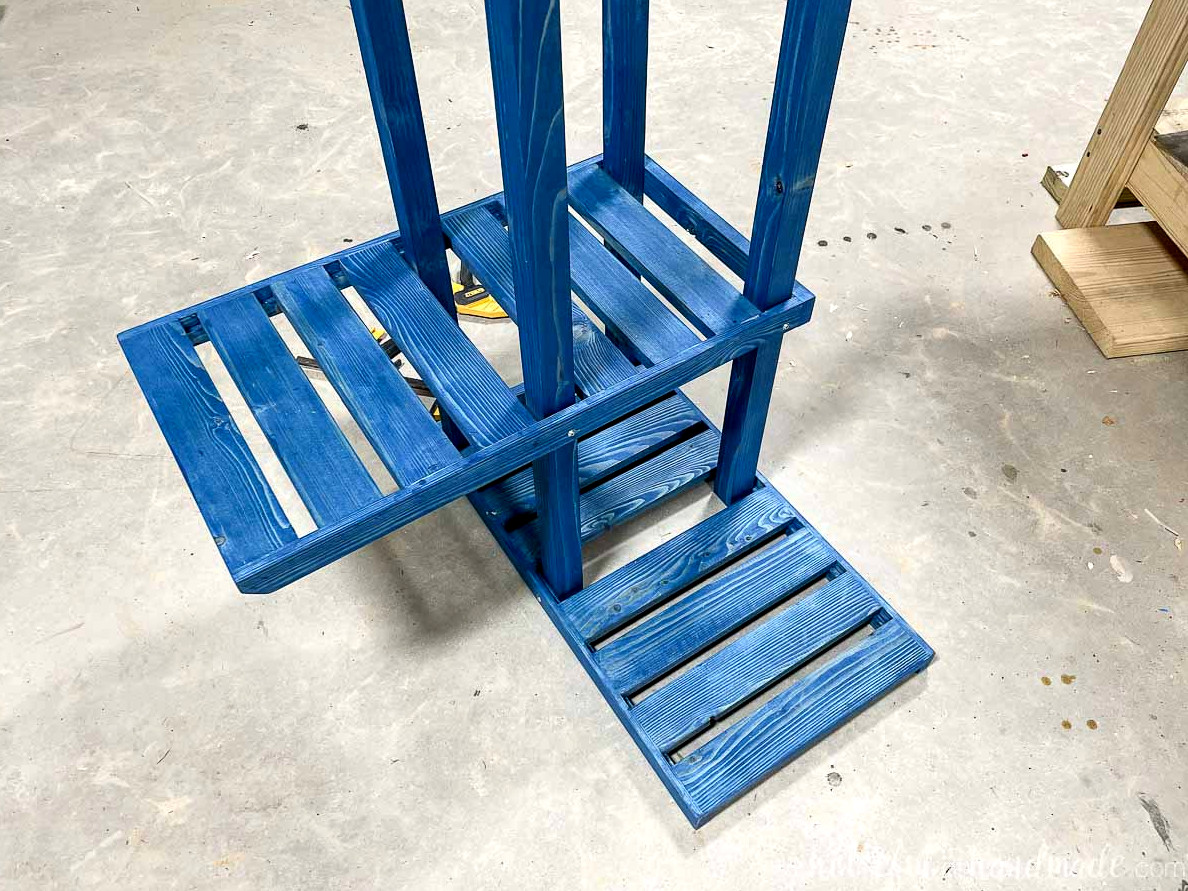
Position the leg boards inside the bottom shelf and align them.
Using the self-tapping pan head screws, fasten two legs to the rear corners of the shelf. Drive one screw through the shelf side board and another through the back board.
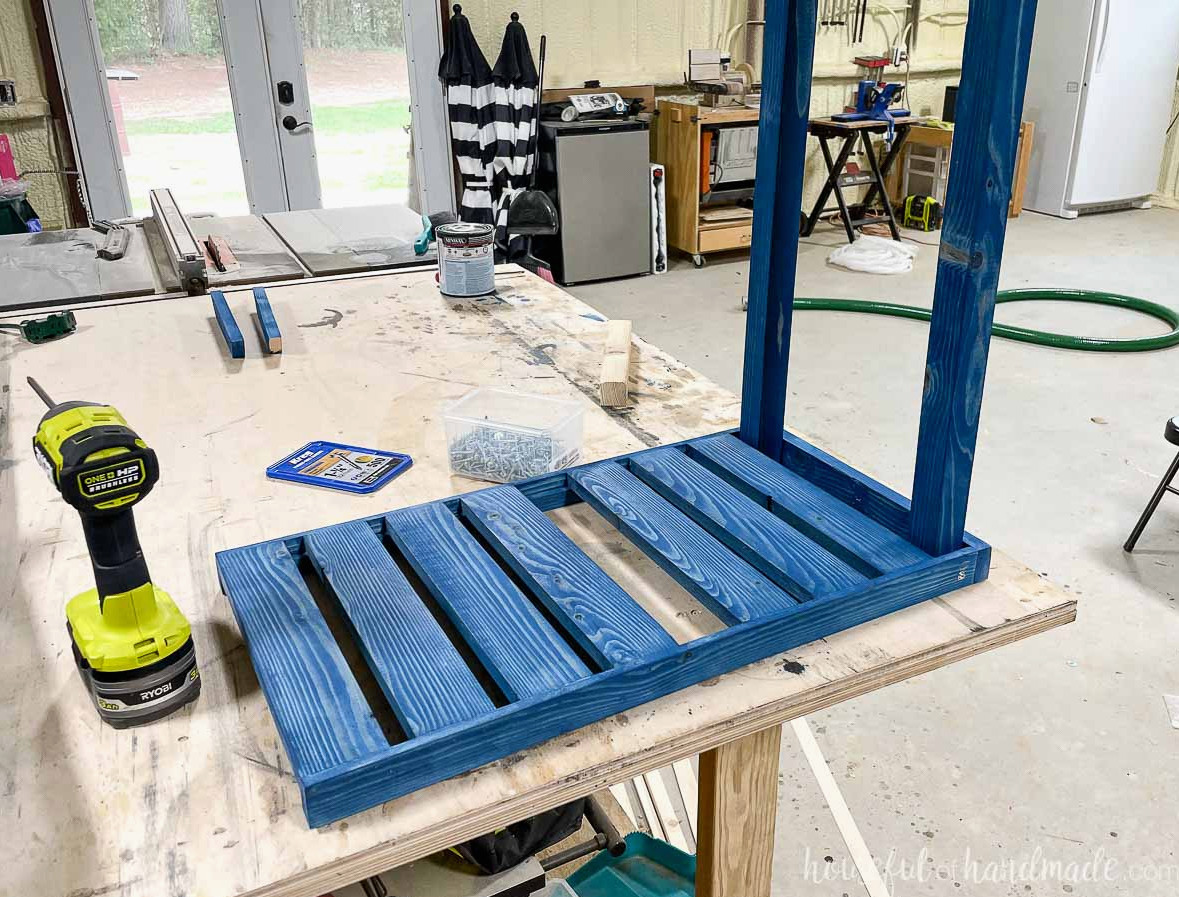
Install the center legs in the middle opening, leaving 3/8” of space on either side of each leg. Fasten them to the shelf side boards with one screw.
Continue attaching the remaining shelves to the legs, alternating their orientation.
Begin at the bottom by adding the 2 remaining lower shelves, followed by the 2 middle shelves.
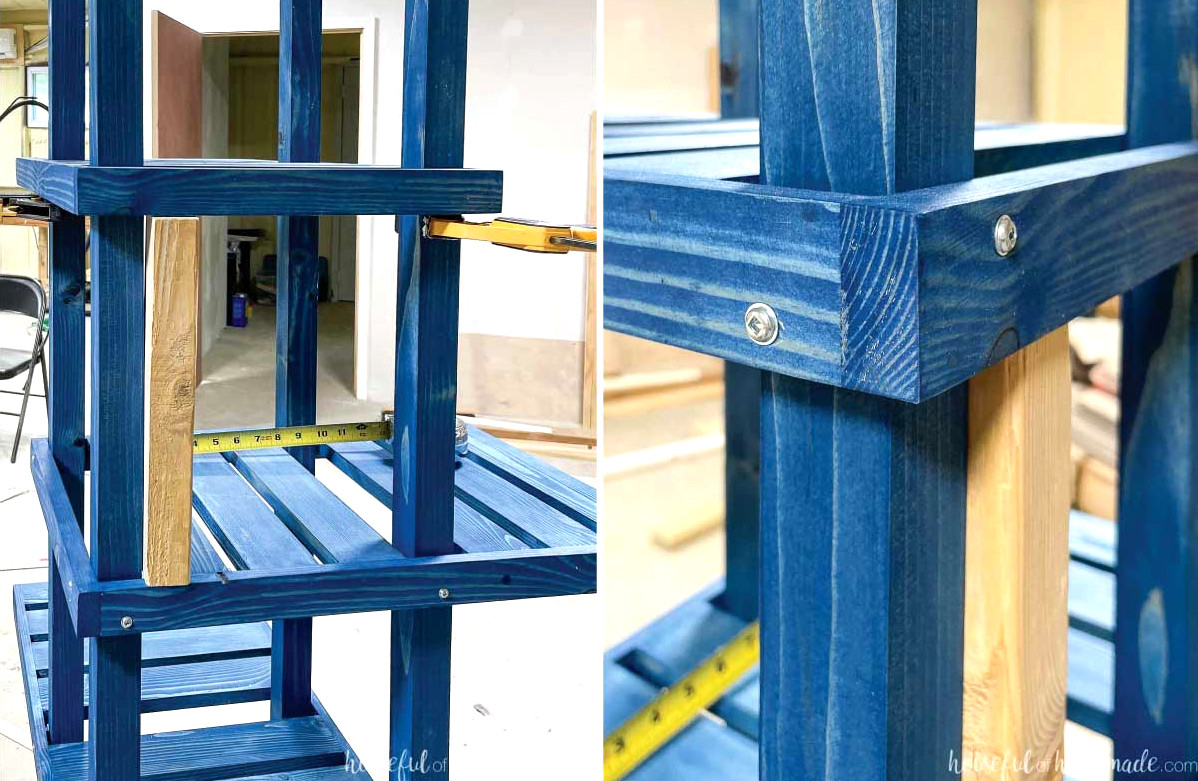
EXPERT TIP:
Cut a scrap piece of wood to the spacer width and use it to position the shelves evenly.
Use the 1 1/4” screws, placing 2 in every corner and one in the center, just as you did on the bottom shelf.
Offset the screws to prevent them from colliding inside the leg board.
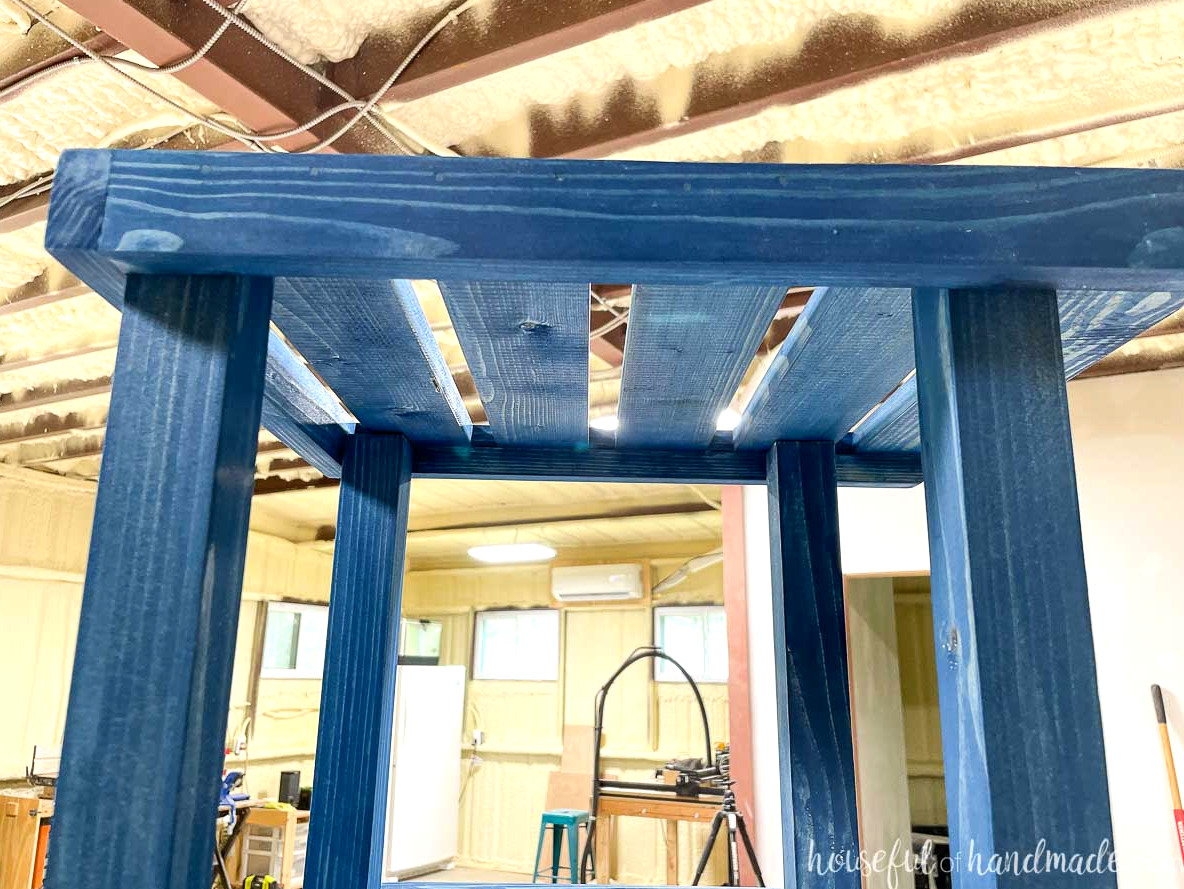
Place the upper shelf on top of the 2×2 legs.
As with the other shelves, alternate its position) the top shelf should sit opposite the bottom shelf).
Attach it to the legs from the sides using screws.
You’re finished!
Remember to Get the Printable PDF Plans Here!
Premium plans feature:
- Suggested Tools
- Materials list
- Simple-to-follow cut list table
- Cutting diagrams
- Detailed instructions with 3D renderings
- Useful resources
- BONUS: 3D SketchUp file
Set your shelf in the corner, then fill it with plants!
If children or pets might climb the shelves, fasten the unit to the wall (be sure to anchor it into the studs).
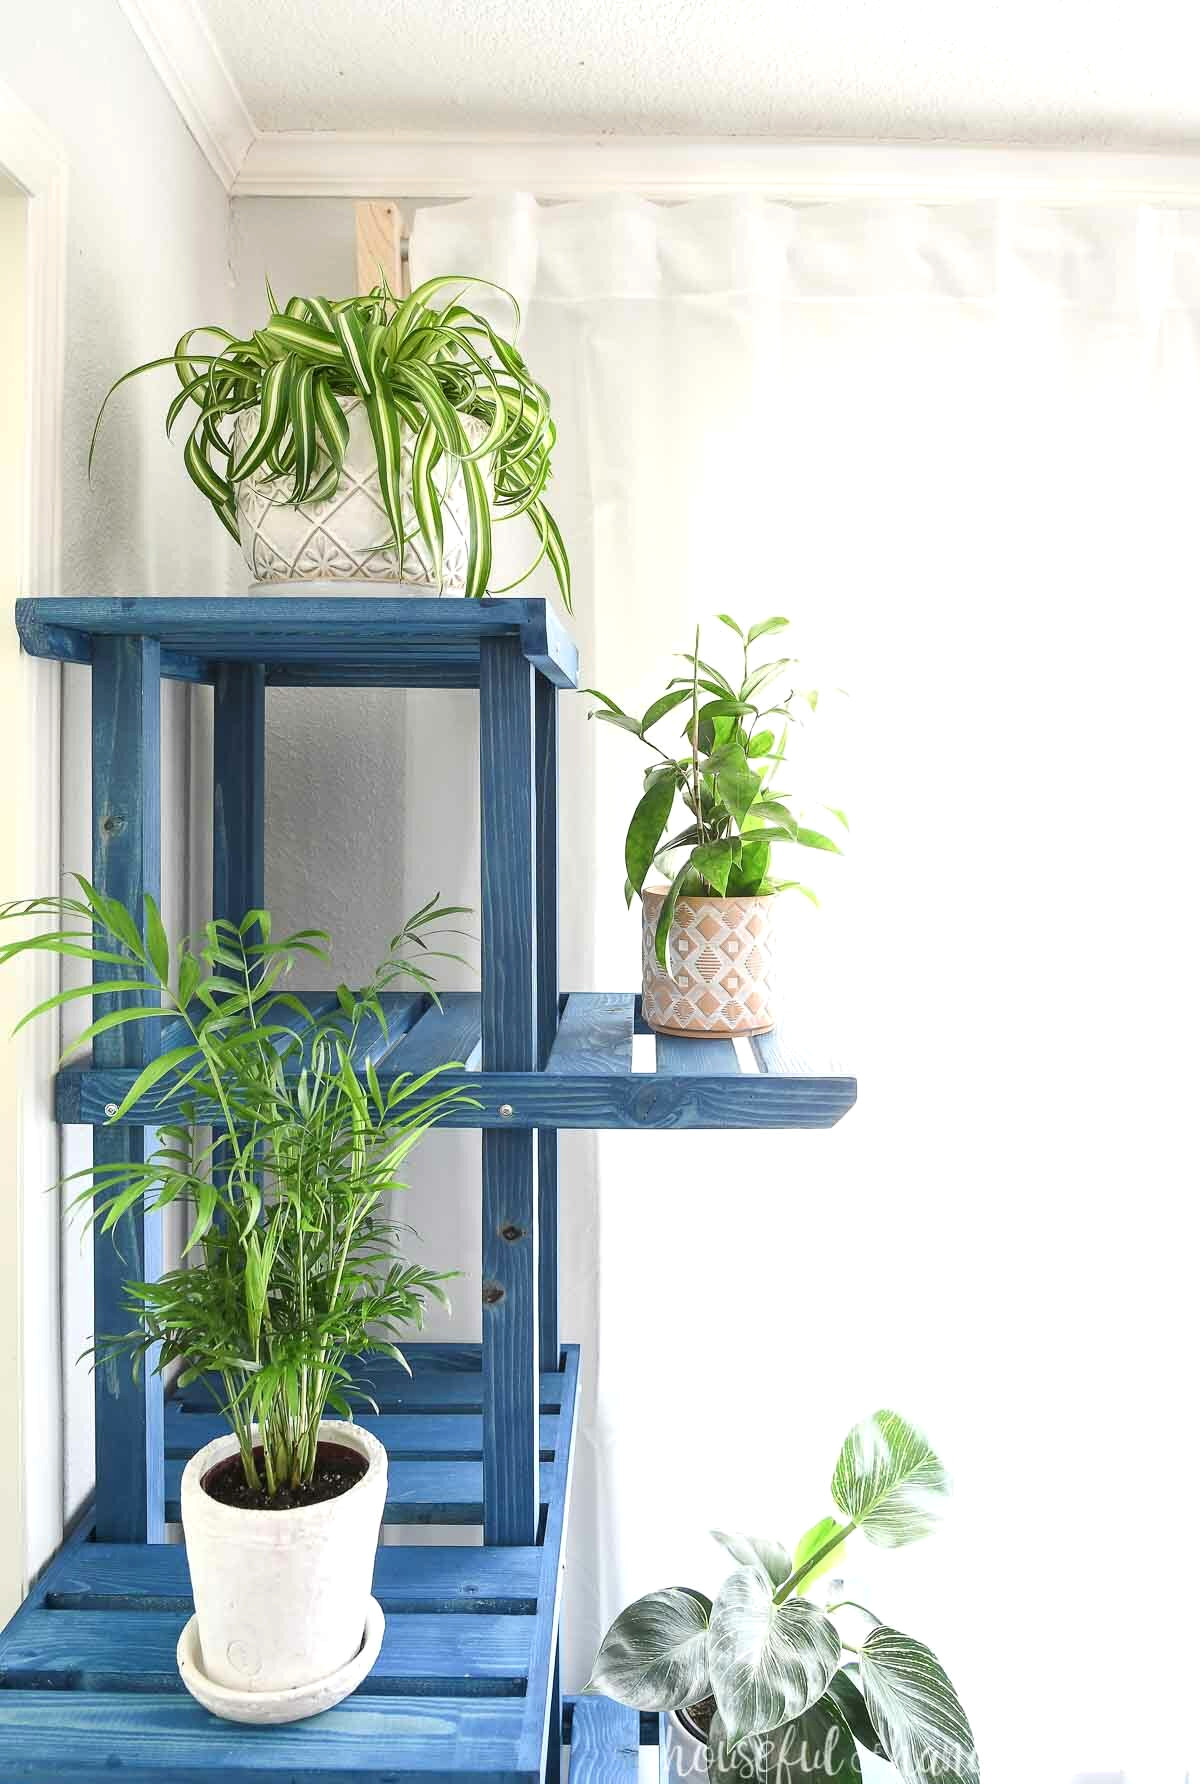
Position your multi-level plant stand in a bright corner where it can receive plenty of light. This will help your plants grow their best!
I use sheer curtains on the window beside the plant stand to filter the direct sunlight reaching my houseplants. They are thriving in their new spot on the corner plant shelf.
Enjoy Building!