
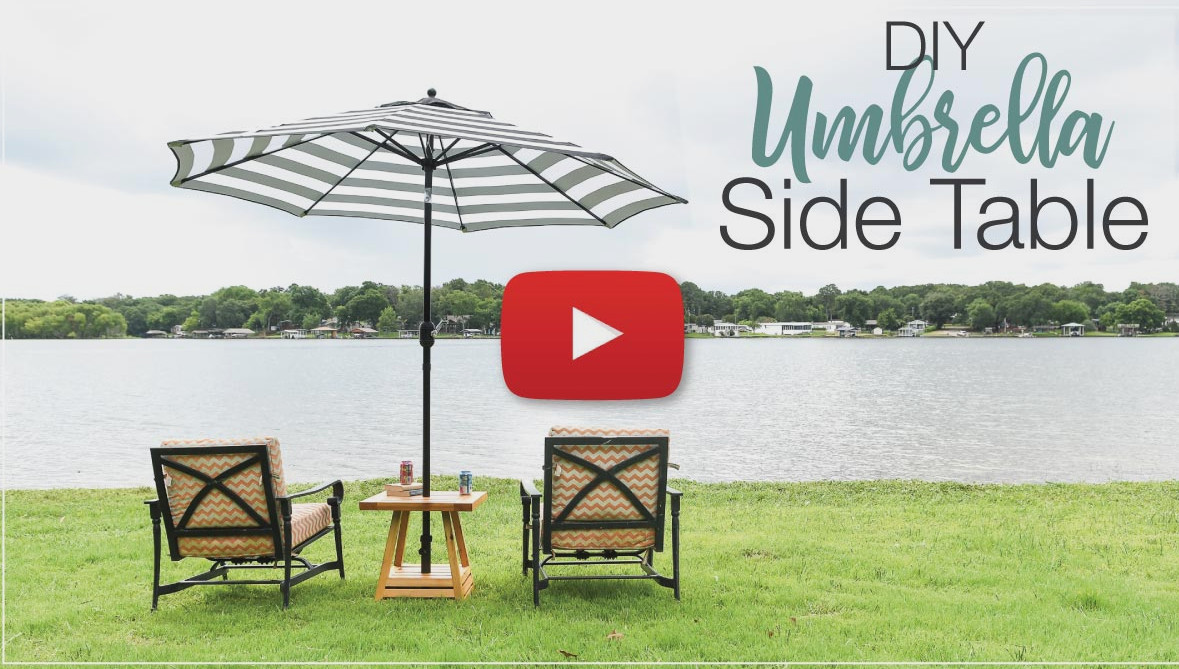
Keep comfortable outdoors with a gorgeous new side table that supports an umbrella.
The temperature is rising outdoors! Rather than stop enjoying the fresh air, I decided it was time to create some shade.
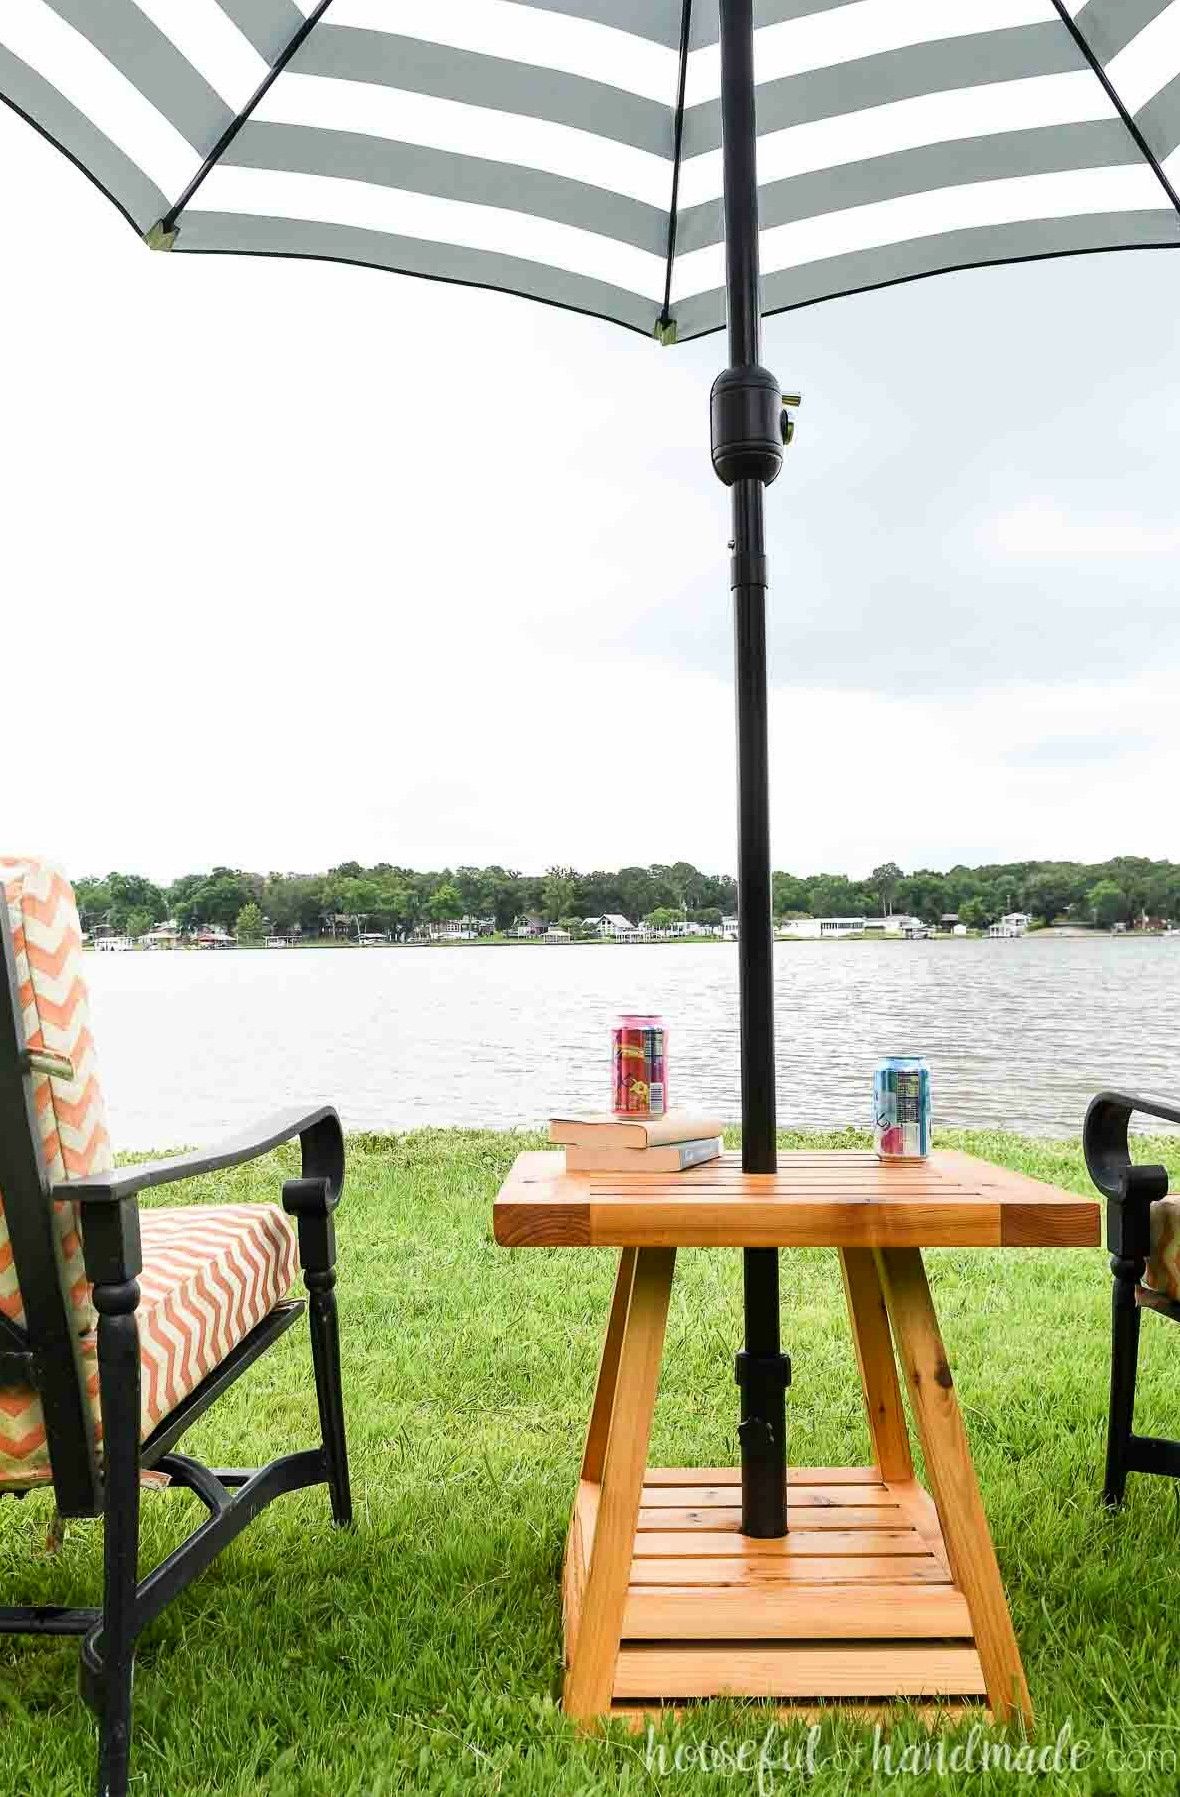
I constructed a pair of lovely outdoor side tables. However, these are more than ordinary side tables—they are made to support an umbrella so you can remain comfortable outside.
These DIY umbrella side tables also feature 2 shelves for storing your summer book, chilled drink, beach music and more! Are you ready to enjoy the outdoors again?
Design of the Outdoor Side Table
This project began when my husband discovered some affordable outdoor umbrellas online. Because our previous umbrella stand with an attached side table did not come with us to Texas, we needed replacements.
I hoped to create a distinctive look for the side tables—something that would conceal the umbrella stand base while still looking fantastic.
After countless different concepts, it finally came together…
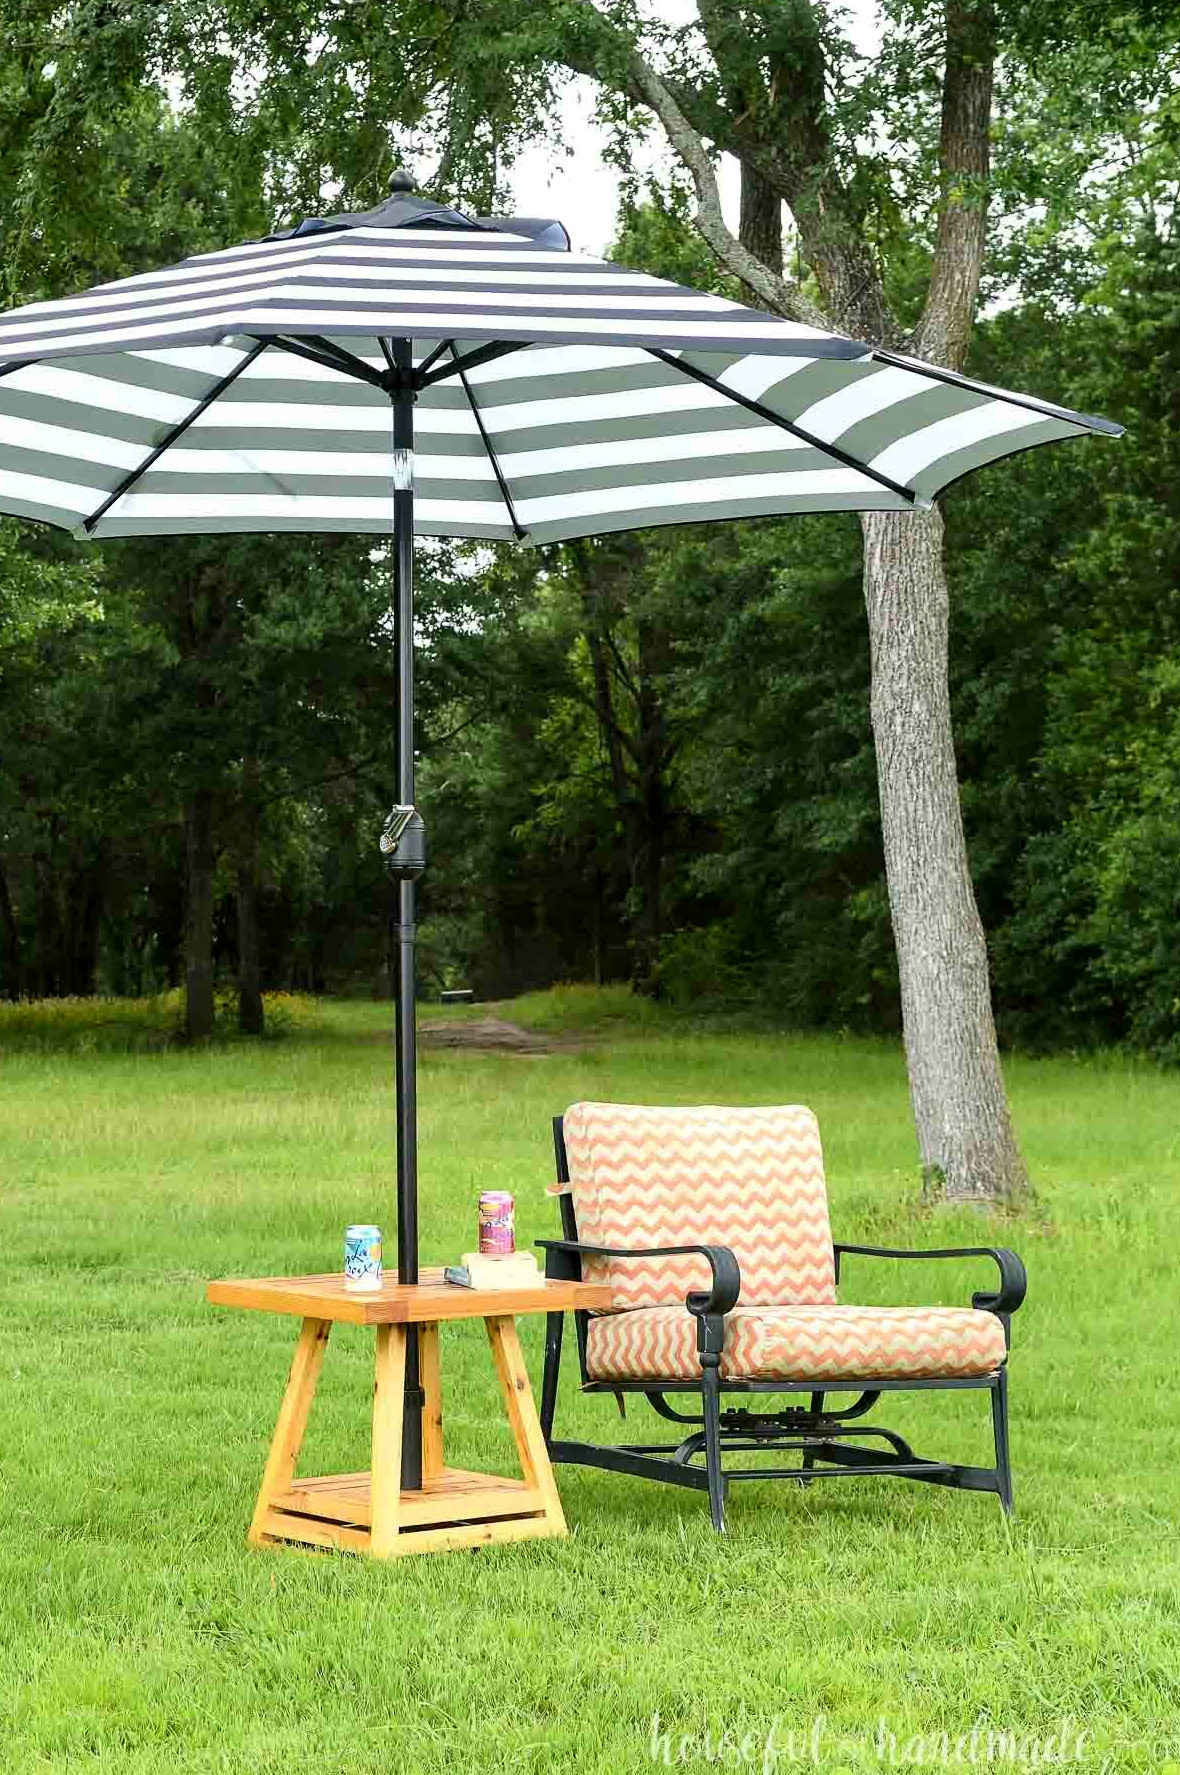
The umbrella table’s base has a pyramid form. This design makes room for a second shelf while concealing the umbrella base. It also provides the distinctive and eye-catching detail I wanted.
But don’t be concerned that the pyramid shape is difficult to construct. Even someone new to woodworking can take on this outdoor side table.
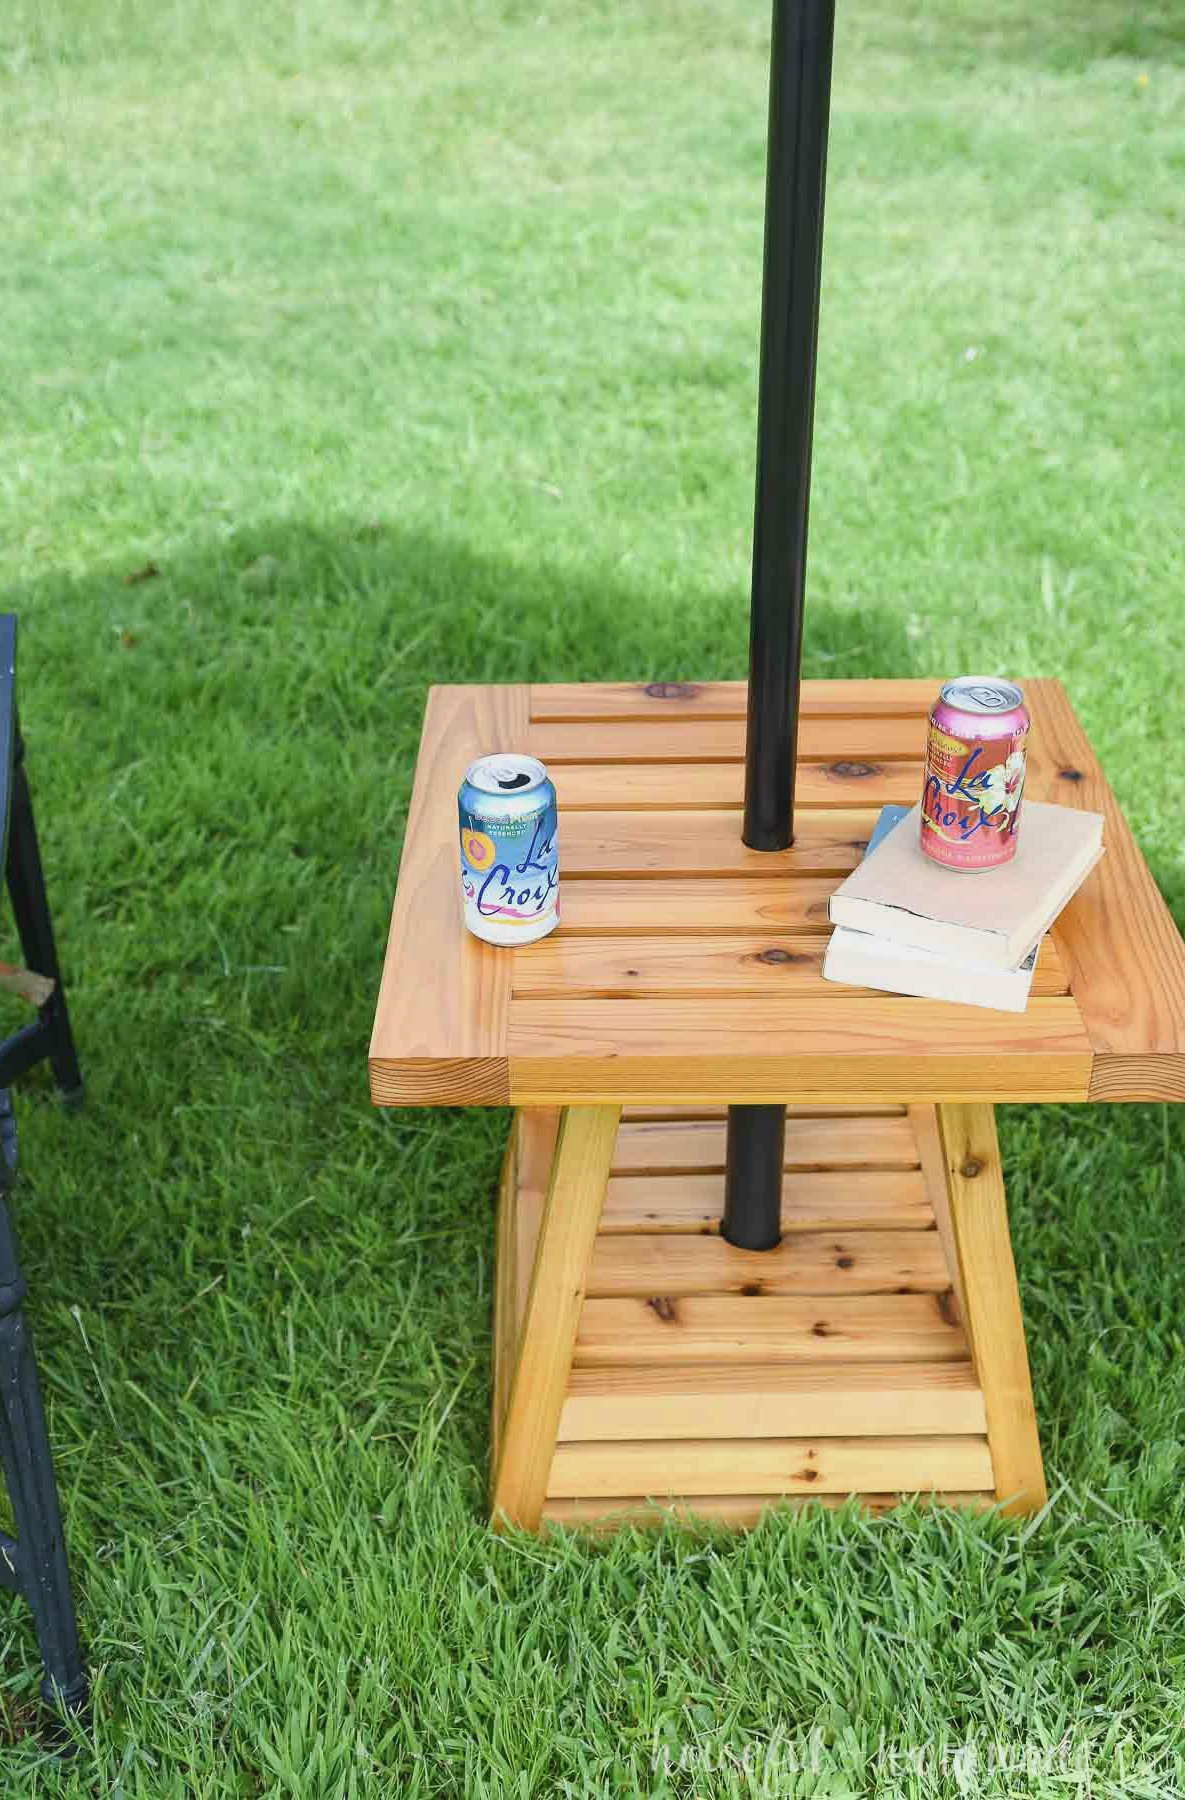
The pyramid shape is created by making a compound-angle cut with the miter saw.
Usually, cutting a board at an angle means adjusting either the miter saw’s base or its top.
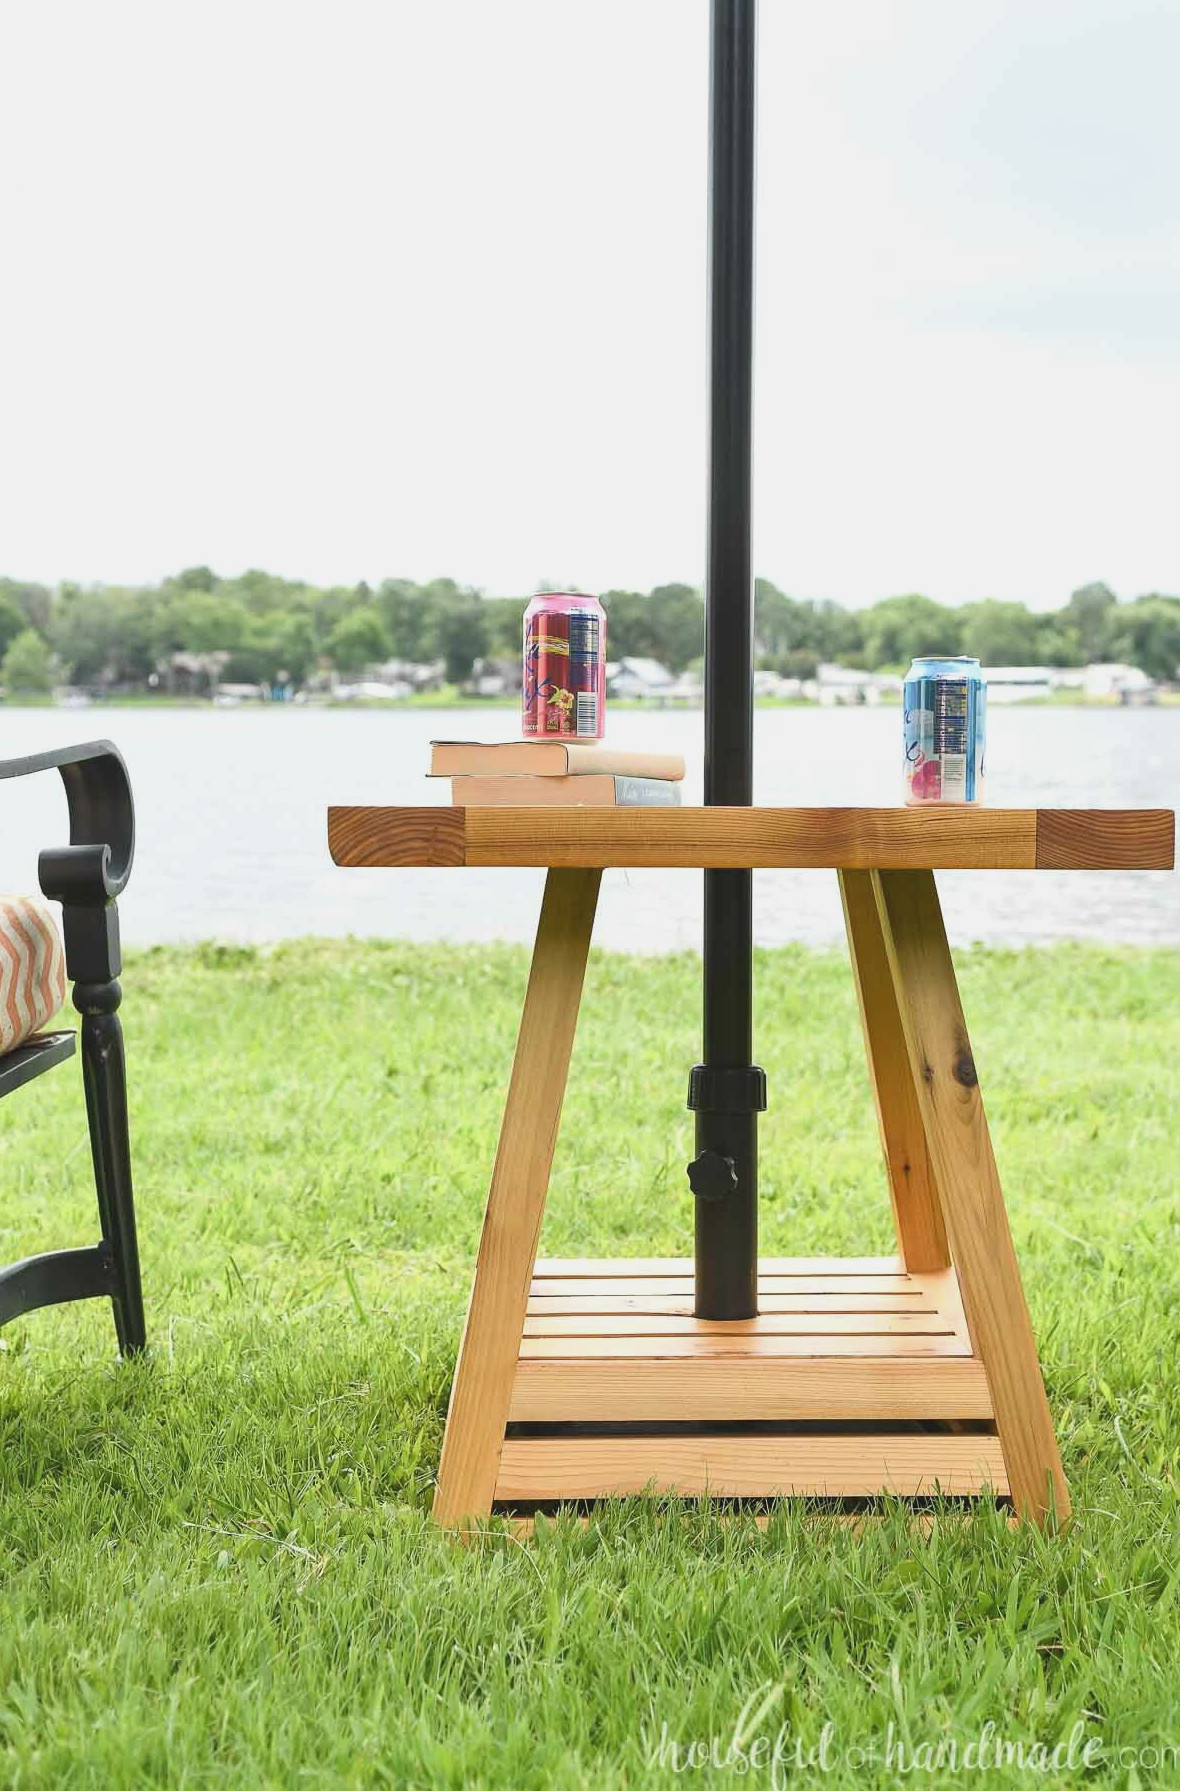
With a compound angle, though, both areas are adjusted simultaneously. As a result, one cut produces a complex-looking shape, but the process is surprisingly simple!
Only the legs need this compound angle, which forms the pyramid shape.
Every other board requires only straightforward cuts, making this project accessible to everyone.
Additional DIY Patio Furniture Projects
Make the ideal summer retreat with these other fantastic outdoor projects.
Building an Umbrella Side Table
Tools & Supplies
Finished Dimensions
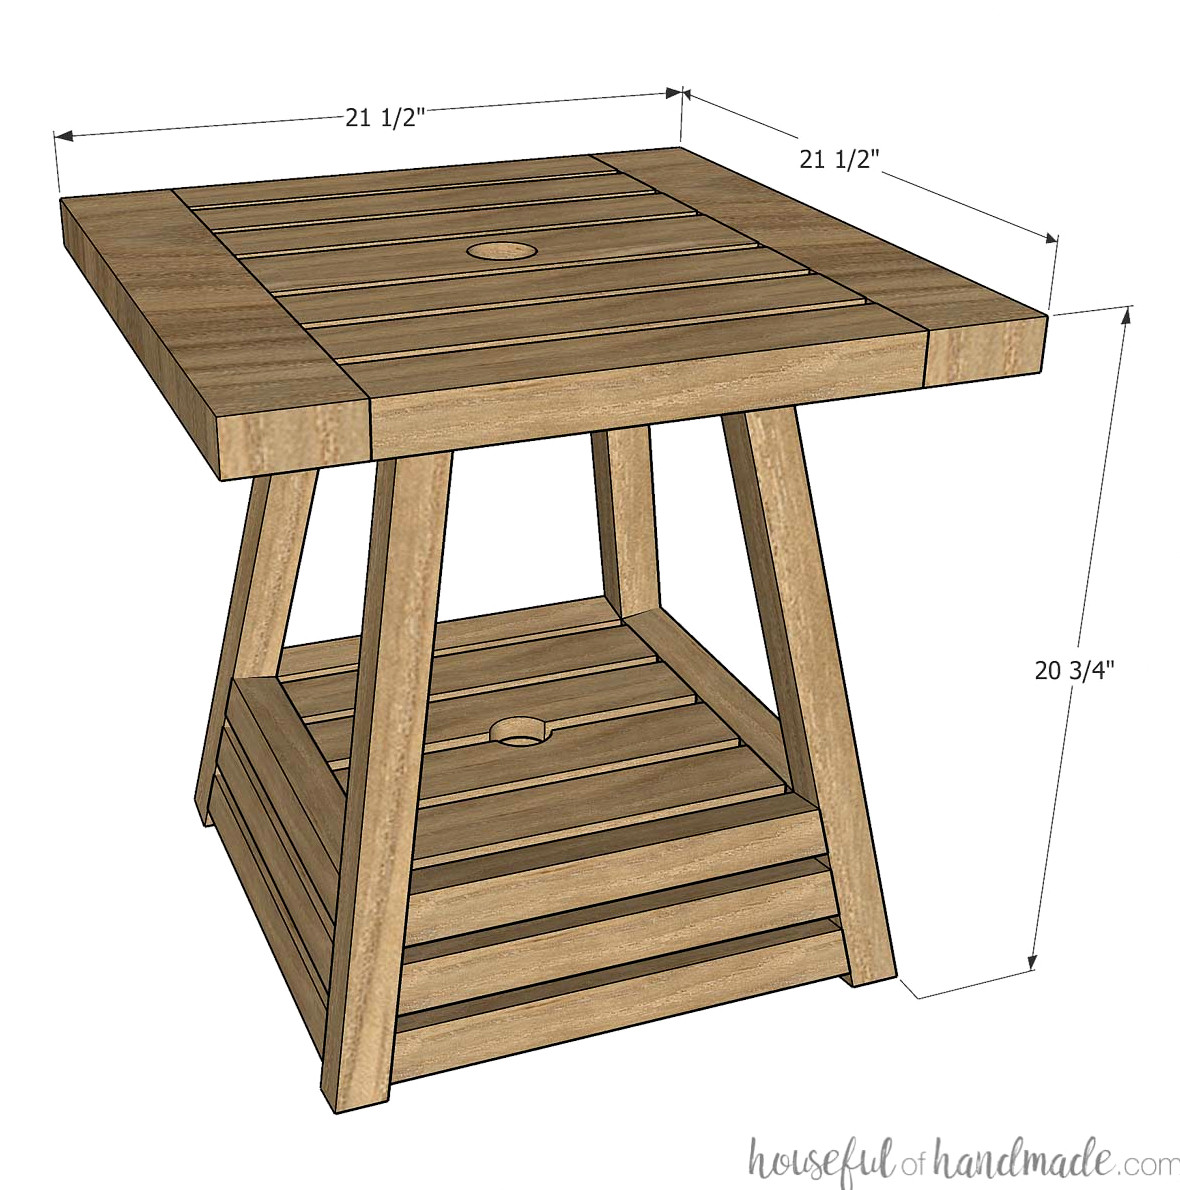
Once complete, the side table measures 21 1/2″ wide, 21 1/2″ deep, and approximately 20 3/4″ tall.
The table’s base conceals a standard umbrella base. To fit within the side table, the base needs to be under 14″ wide.
Piece Cut List
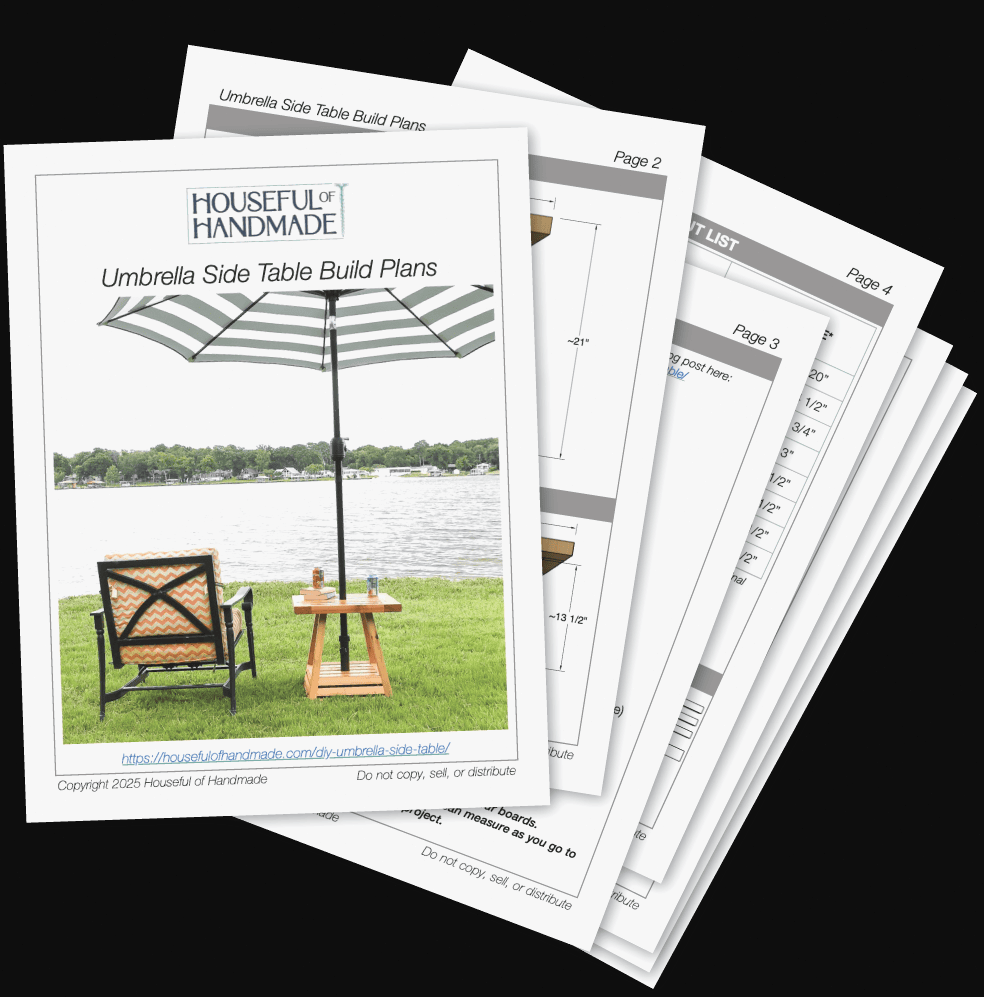
Prepare the components using the straightforward chart in the PDF plans.
Download the Premium PDF Woodworking Plans
PDF plans contain- Easy-to-Read Cut List, Shopping List, Suggested Tools, Step-by-Step Directions with 3D Drawings, & Useful Resources
BONUS- 3D SketchUp Model
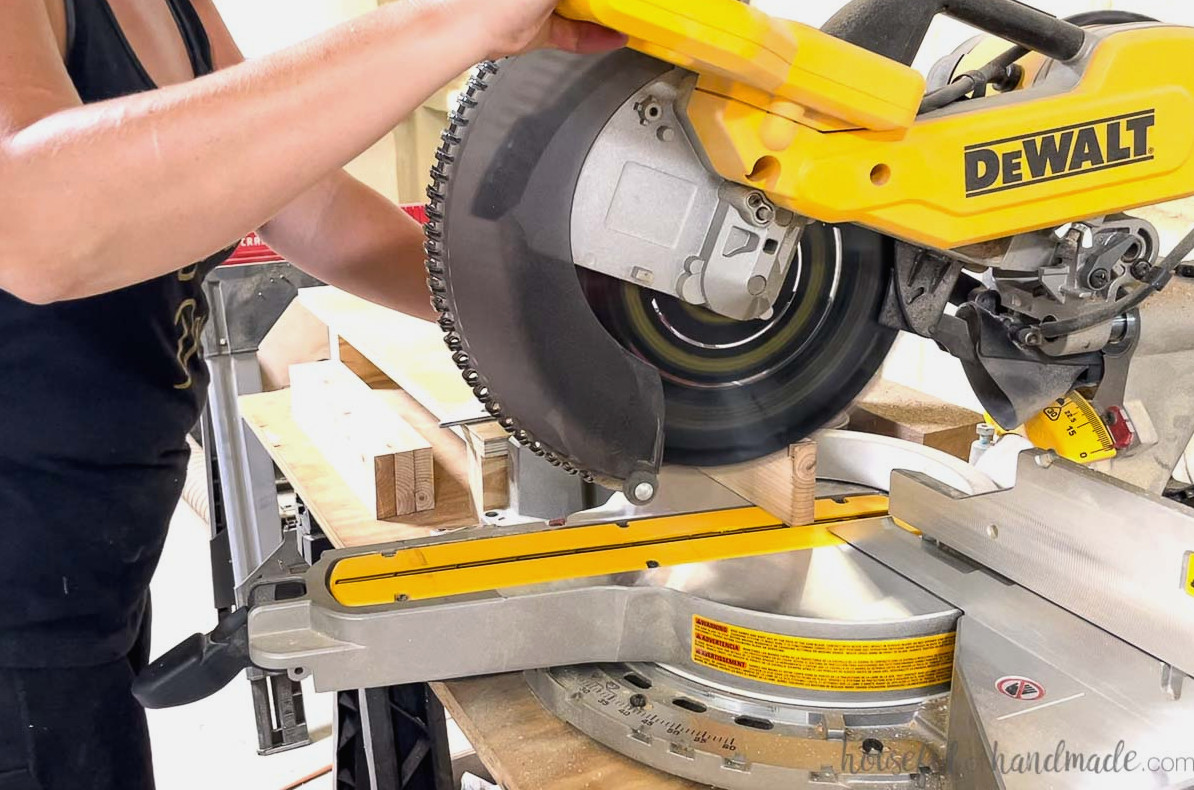
Both ends of the leg boards must be trimmed at a compound 10 degree angle.
To create a compound angle, set the base of your miter saw to 10 degrees and tilt the top of the saw to 10 degrees before cutting.
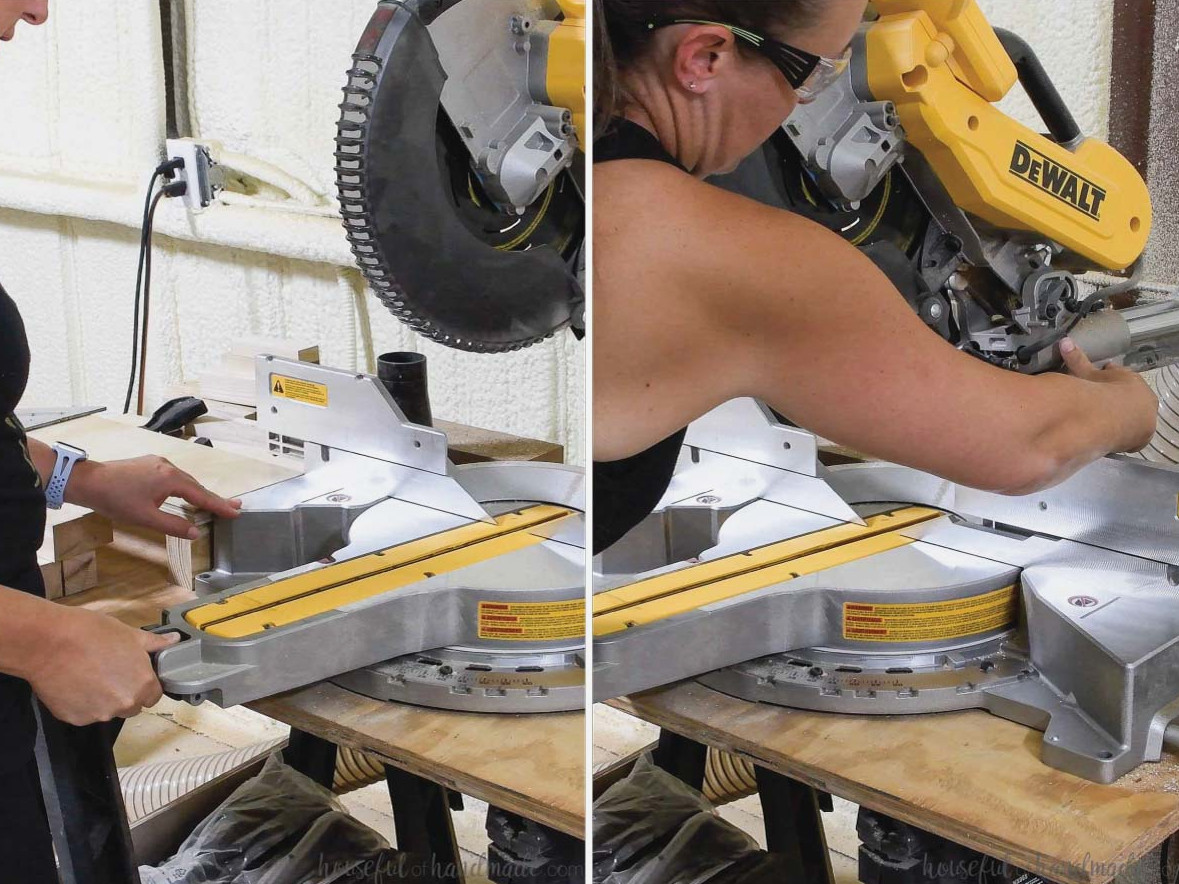
This double-angle cut creates the pyramid-shaped base.
Cut both ends of the legs using this double 10 degree angle to ensure the ends run parallel.
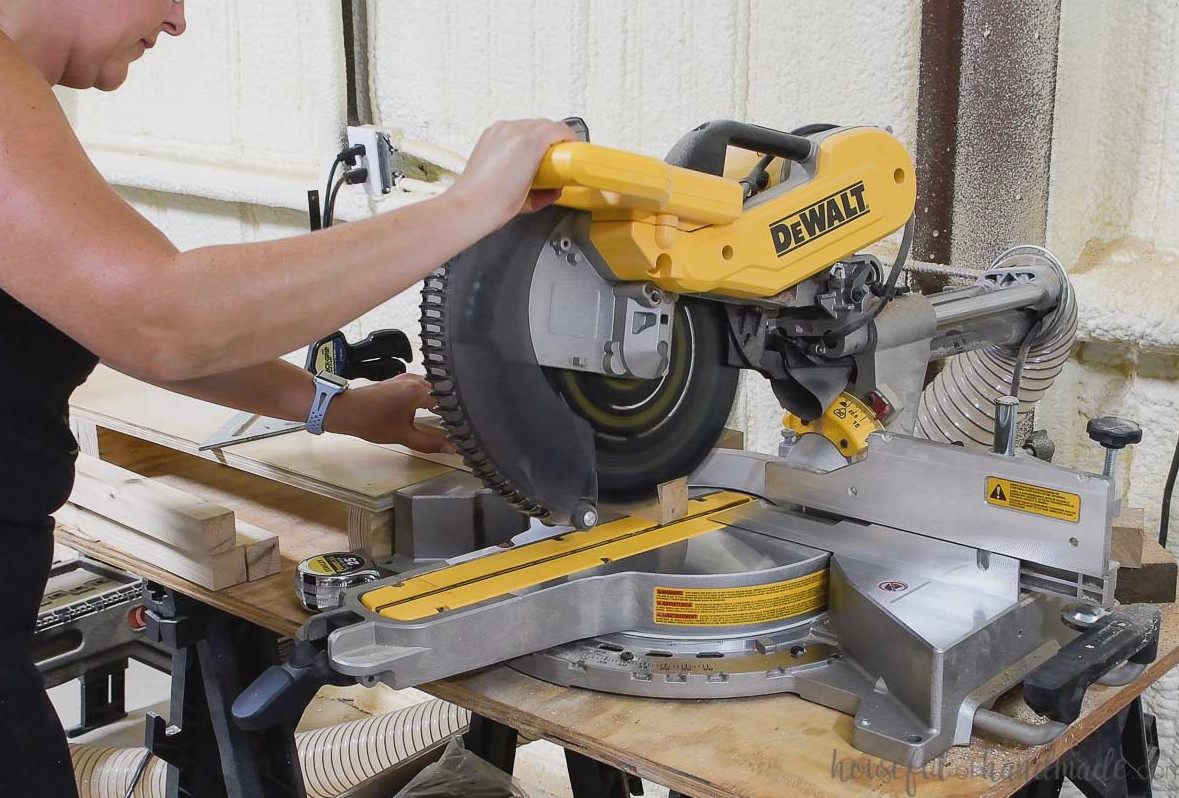
The side slats positioned between the legs receive a regular 10 degree cut on each side (not compound).
Cut these boards at an angle so that they point toward one another.
STEP 1- Assemble the Base Sides
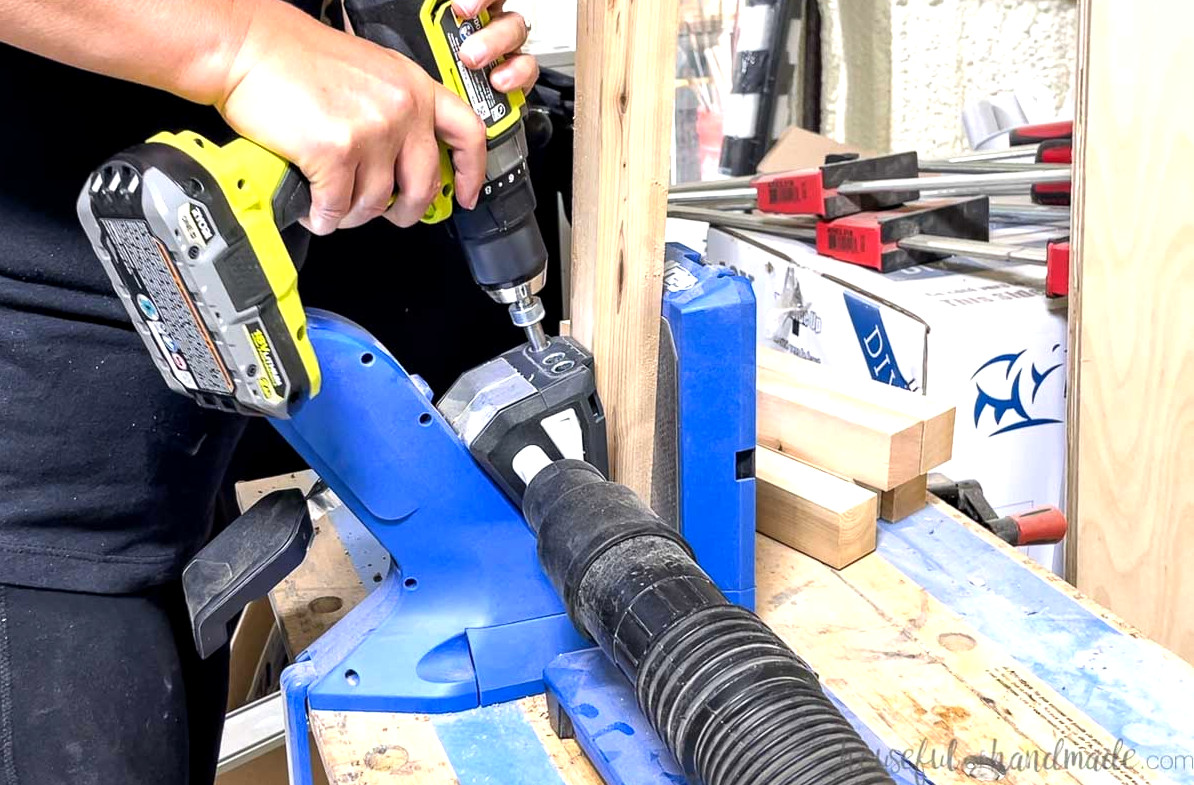
Make 1 pocket hole set for 1 1/2″ thick material at each end of the angled side slat boards.
Build the sides by fastening one slat of each size between two leg sections.
Place the longest piece at the bottom, 1/2″ above the leg’s bottom. Then maintain a 1/2″ space between the remaining side boards.
Fasten everything with wood glue and 2 1/2″ pocket hole screws.
As you connect the leg pieces, take note of their angle. The leg’s longest edge, created by the compound cut, must face the outside corner of the completed side.
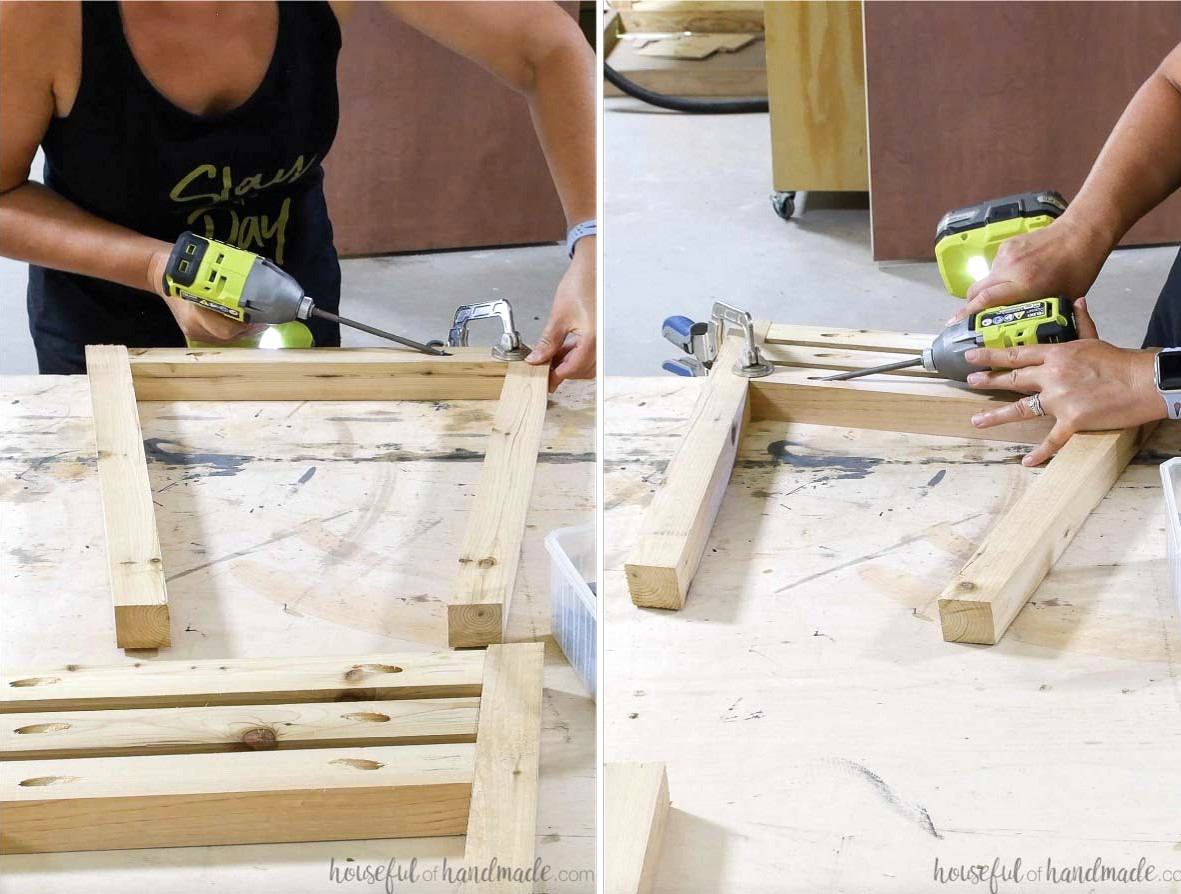
Do this again to create two completed sides.
STEP 2- Complete the Base
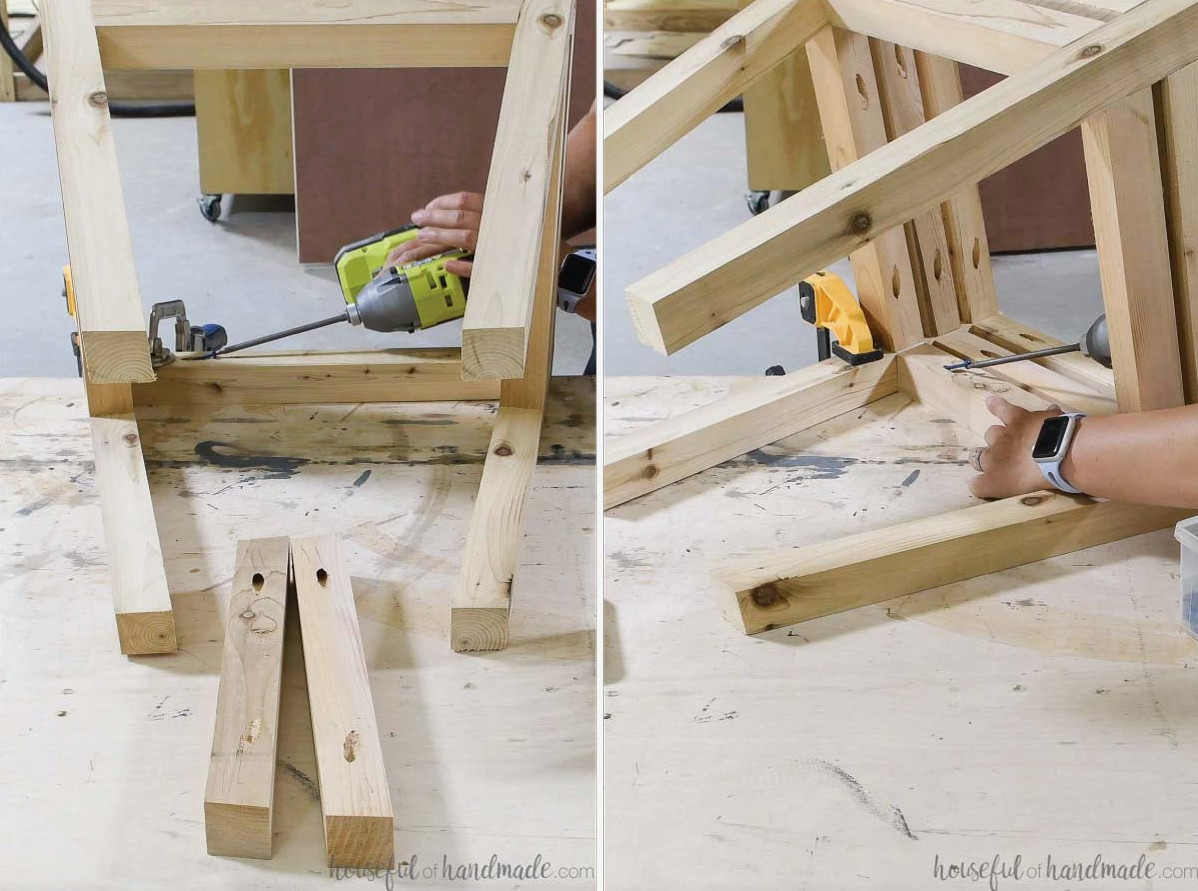
Join the two completed sides by installing the remaining bottom, middle, and top side slats between the legs.
Position the slats to match the others. Attach them with glue and 2 1/2” pocket hole screws.
Once more, observe the angle of the leg boards. Also, ensure every pocket hole is concealed inside the pyramid.
Determine the width of the opening between the upper side boards.
Trim the lower shelf slats to fit this space, cutting both ends at a 10 degree angle so they point toward each other.
Create 2 pocket hole sets for 3/4″ thick material on the back of each board. Then fasten them to the upper side boards with equal spacing.
Use 1 1/4″ pocket hole screws and wood glue for a secure connection.
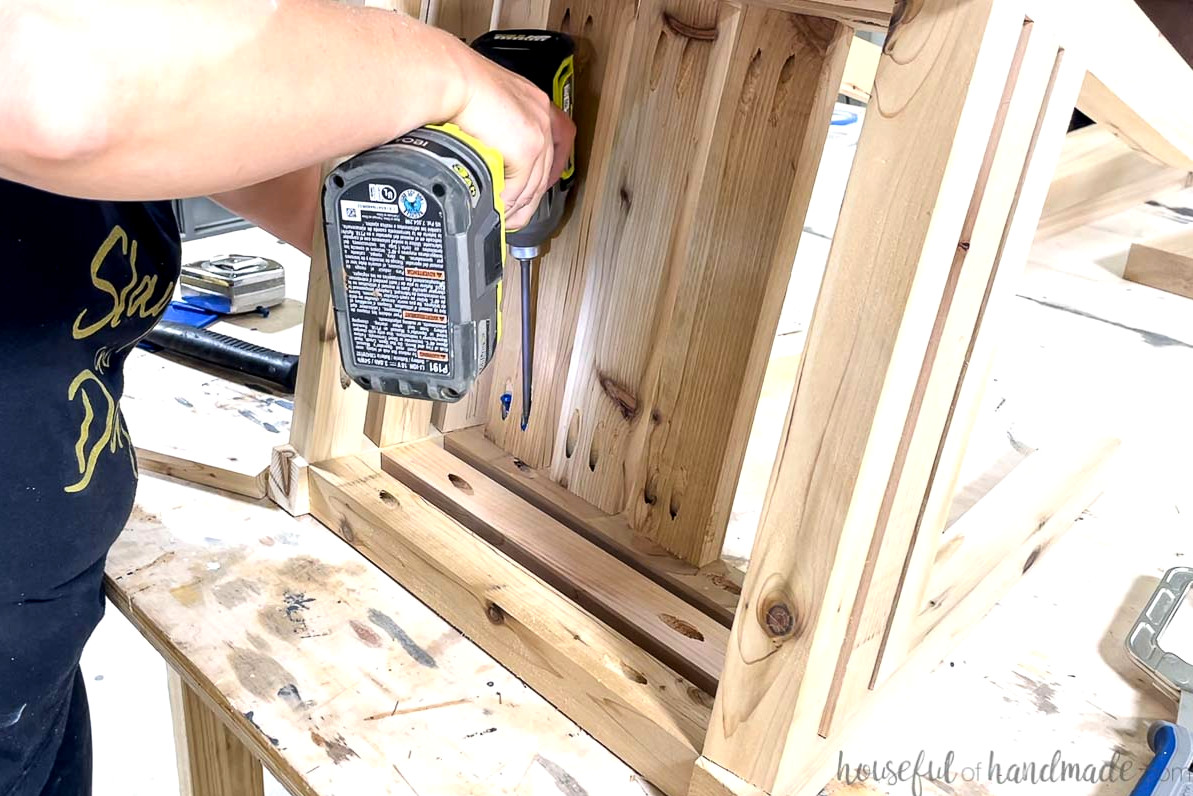
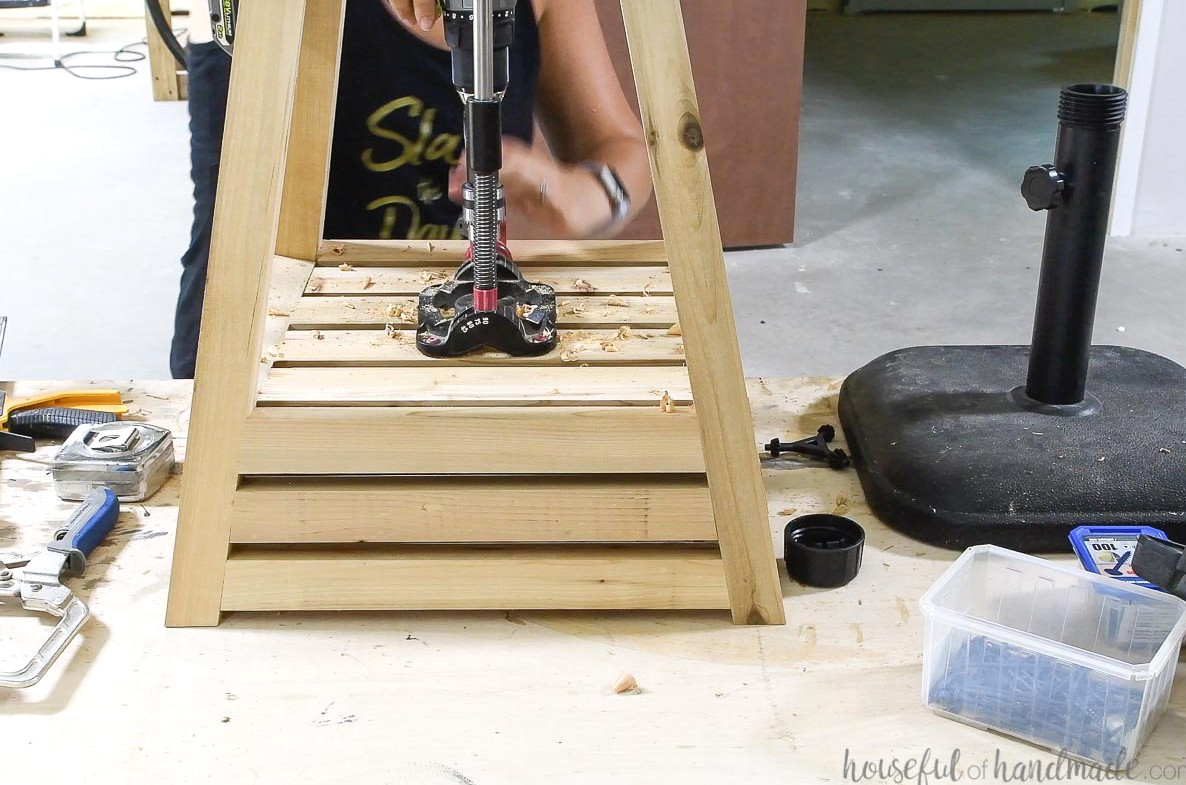
Find the precise center of the base across these shelf boards. With a drill guide, bore a center hole large enough for the umbrella base to pass through.
I made the opening only slightly larger than the base pole. This means I must either disconnect the pole and reinstall it inside the umbrella table or take off the tightening screw and threaded upper section so it can slide over the table.
This results in minimal space around the umbrella base pole.
STEP 3- Construct the Table Top
Make pocket holes for 1 1/2″ thick material at both ends of every top center board.
Indicate on the top sideboards where the other boards will be fastened. Position the 2×4 board in the middle, with the 2x3s placed on both sides.
Maintain a 1/2″ gap between each board. The outer 2×3 boards should align flush with the ends of the 21 1/2″ boards.
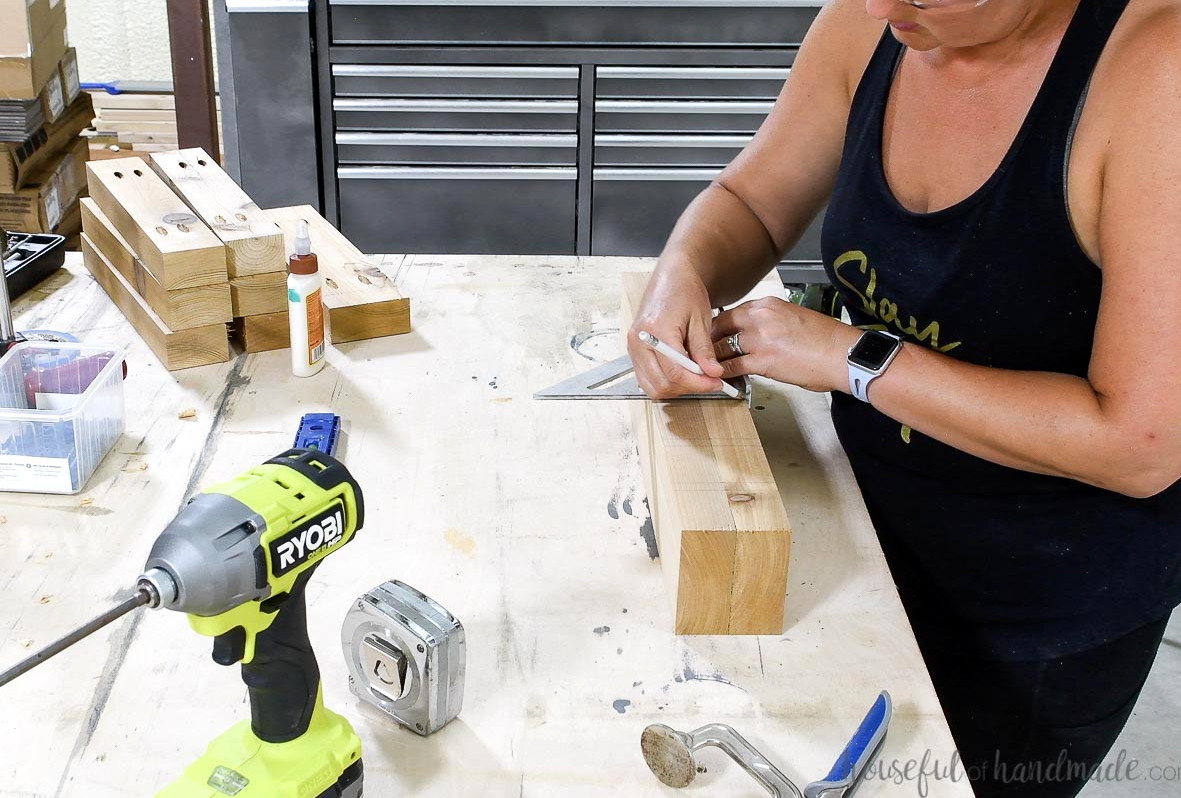
Fasten the boards using 2 1/2″ pocket holes and wood adhesive. Hold everything evenly flush with a face clamp as you attach the boards.
Begin by securing every board to one of the side pieces.
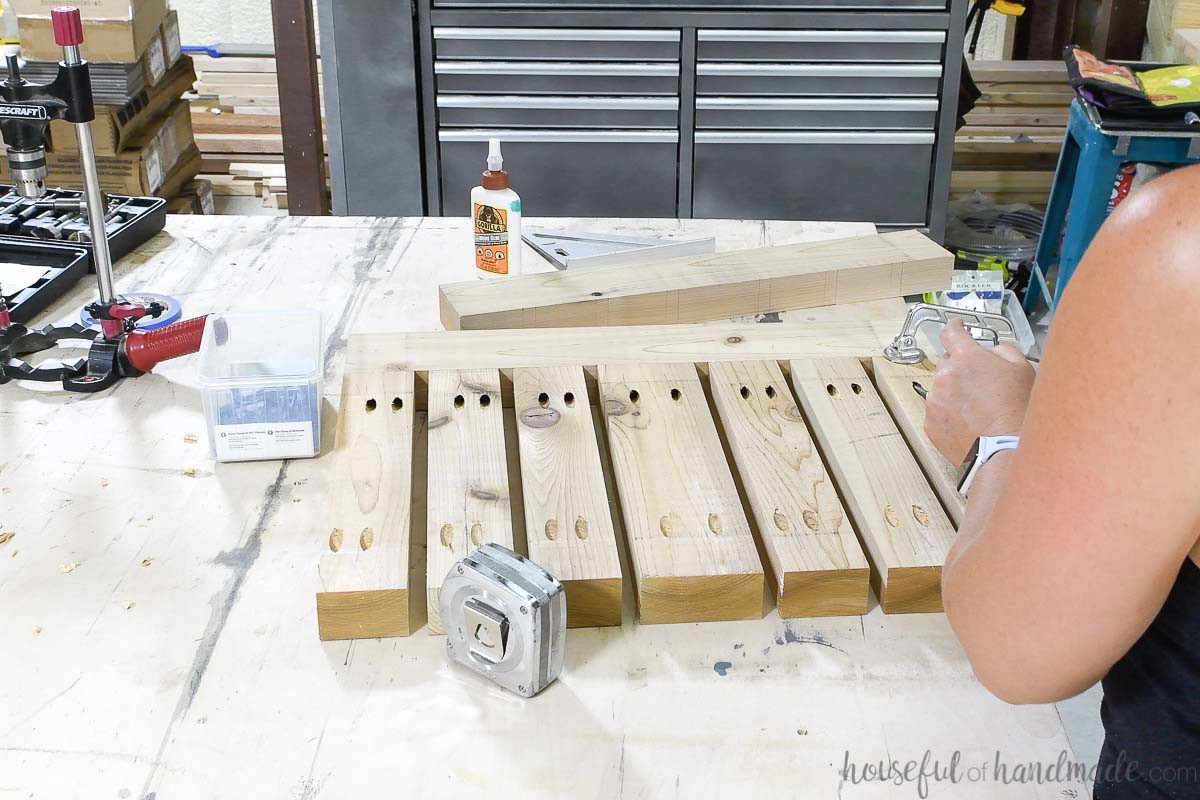
After that, secure the second side piece, aligning it carefully with your marks.
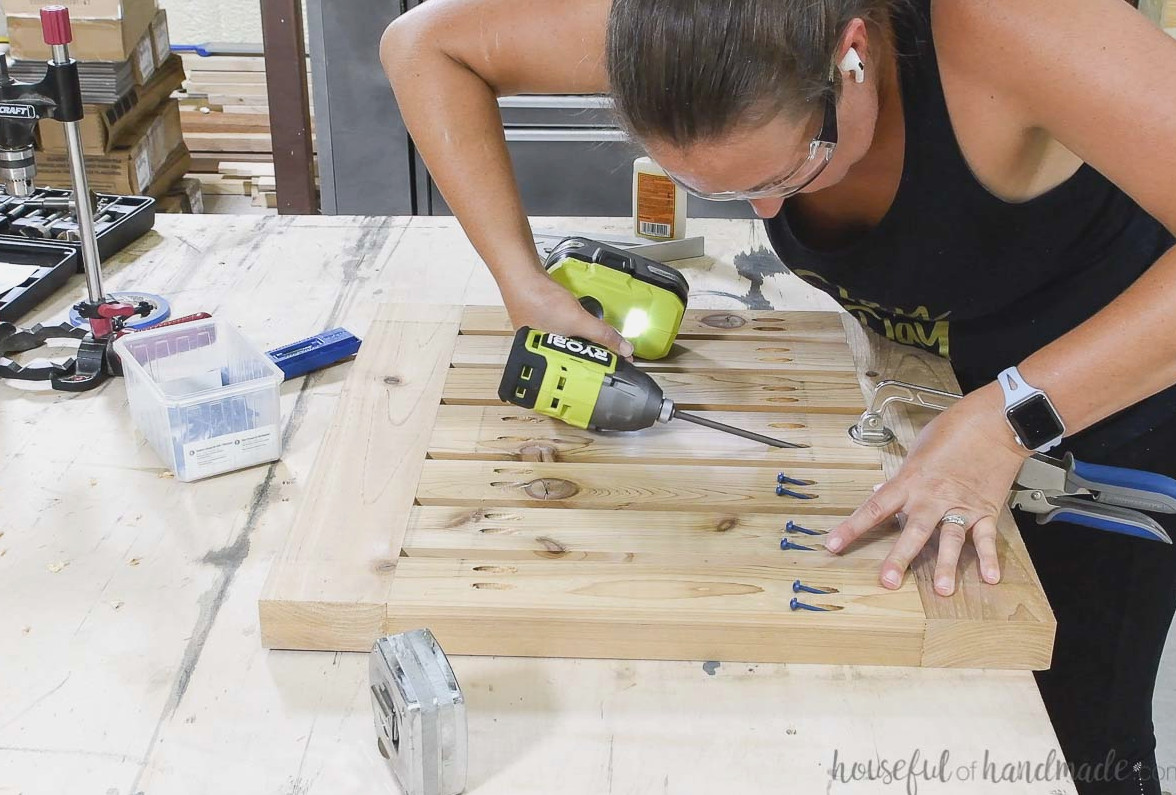
Find the diameter of your umbrella pole, then bore a hole through the center of the table top that is large enough to fit it.
To keep the opening perfectly straight, use a drill guide.
STEP 4- Fasten the Table Top
On the top of each leg, drill a hole matching the size and thickness of your figure 8 fastener.
One half of the figure 8 fastener should extend beyond the leg’s edge. Note which side it projects over so it matches up with a table top board.
Secure the fastener inside the hole at the top of the leg using a 3/4″ wood screw.
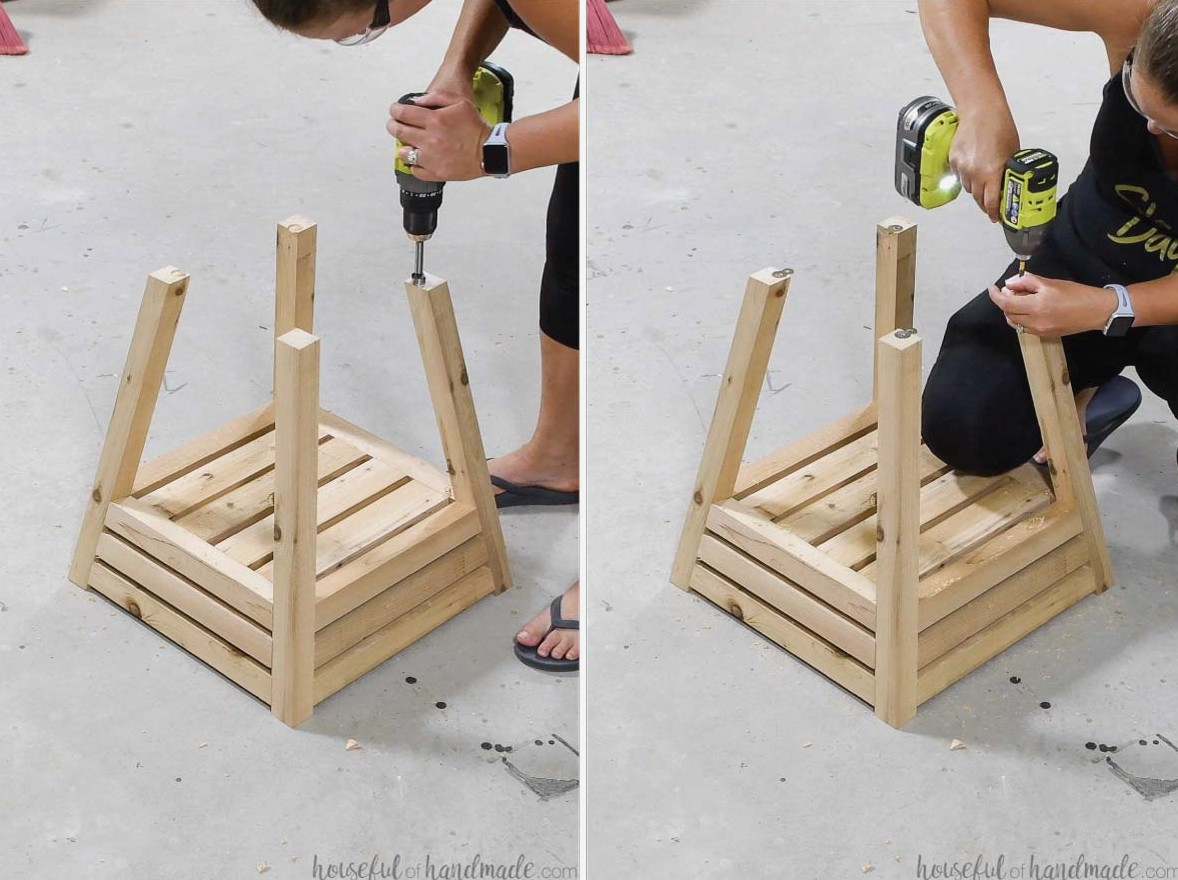
Next, turn the table base over and set it on the table top.
Position the base in the center, then fasten it to the table top with 3/4″ wood screws through the opposite side of each figure 8 fastener.
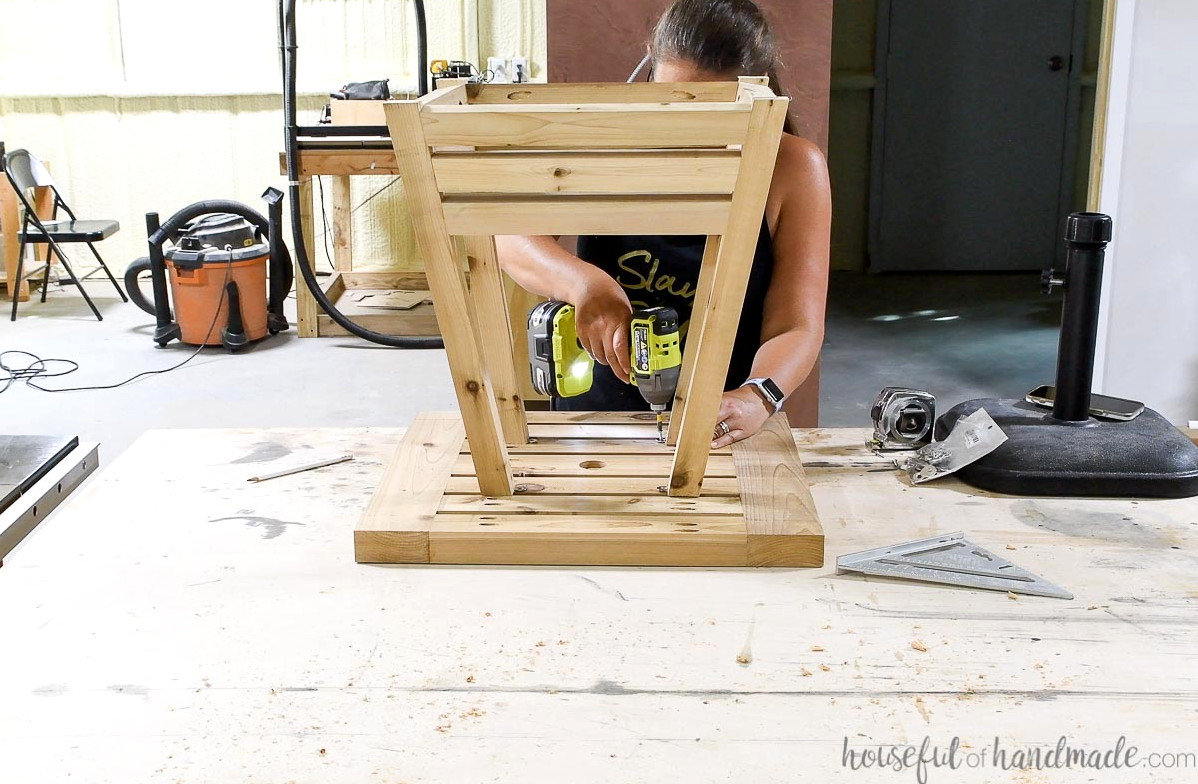
Smooth the completed umbrella side table with sandpaper.
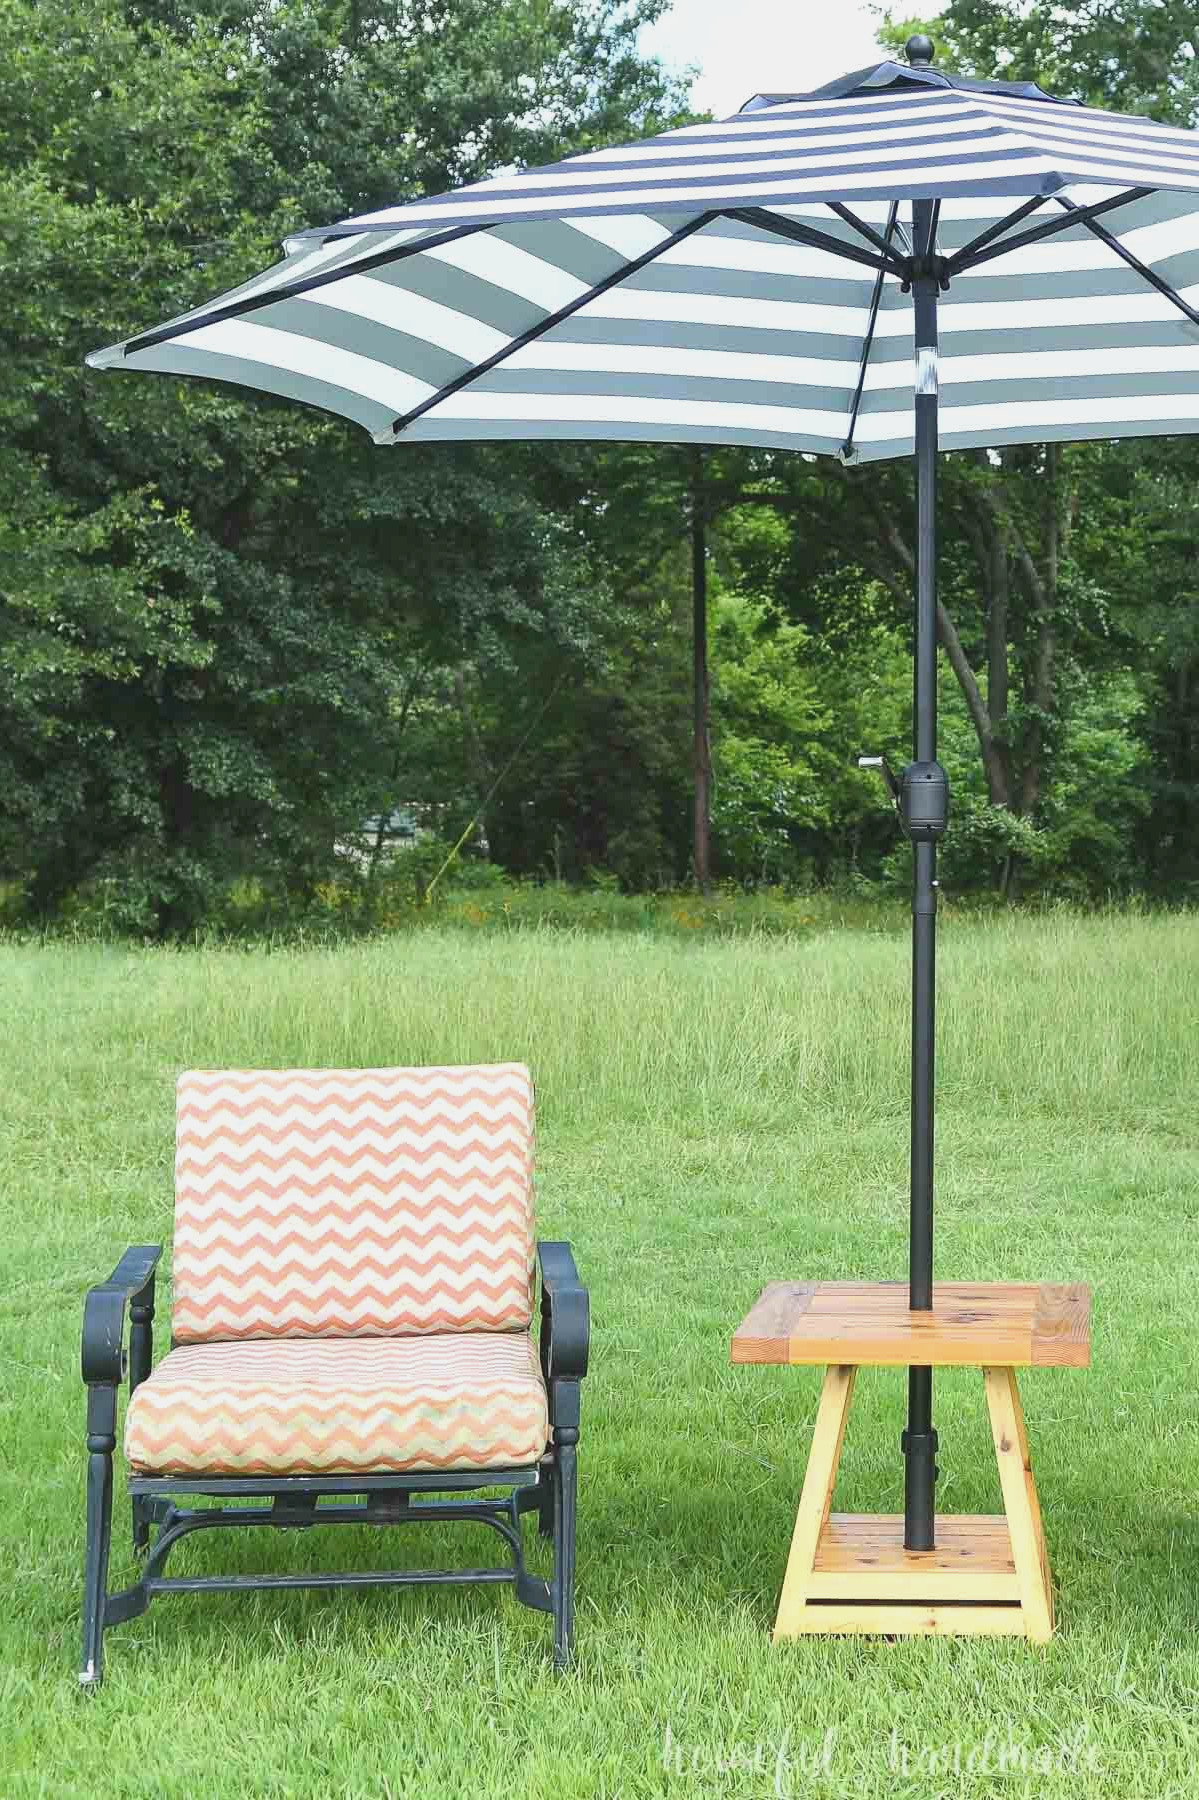
I coated my tables with Waterlox Marine Finish so they would stay beautiful from one year to the next. For this product, sand the wood down to 100-grit sandpaper.
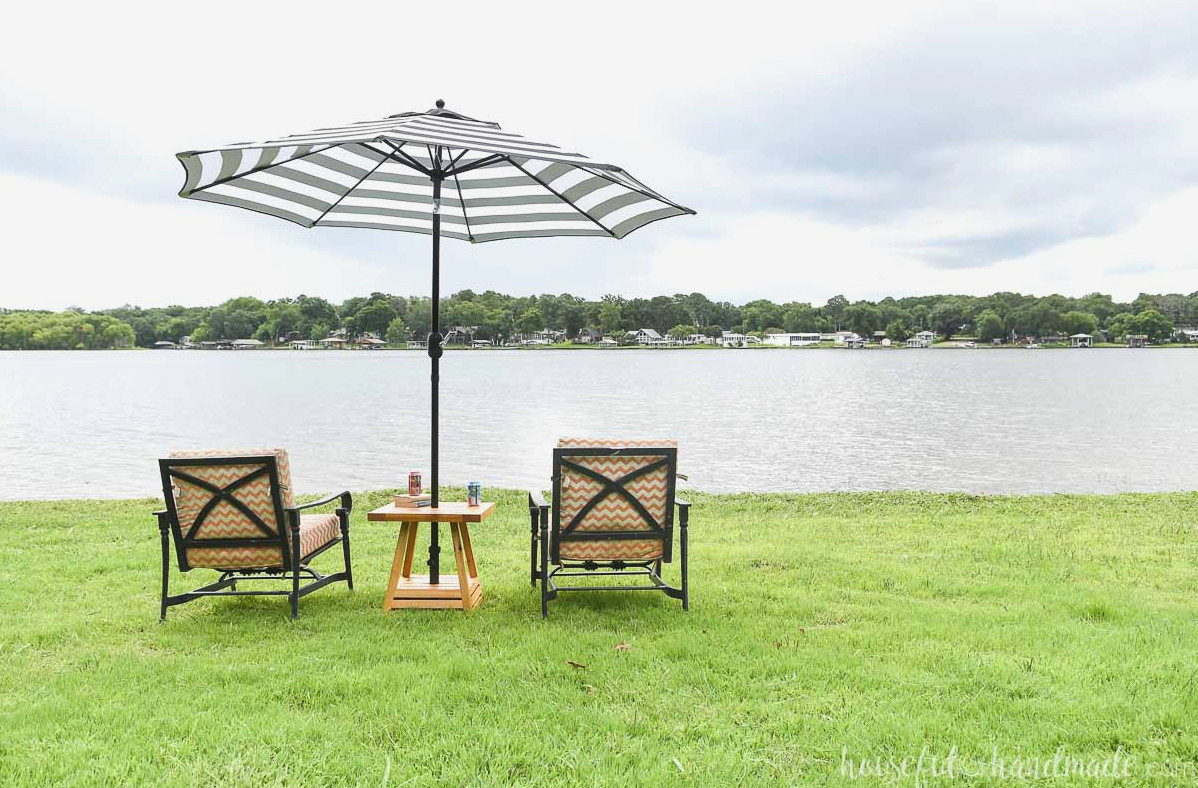
Your outdoor side tables are now complete. Set the umbrella stand in the base and fasten your umbrella in place.
I’m looking forward to enjoying plenty of shade from them throughout the hot summer months.
Would You Rather Watch? View the Video Below
When you need me, I’ll be by the lake!