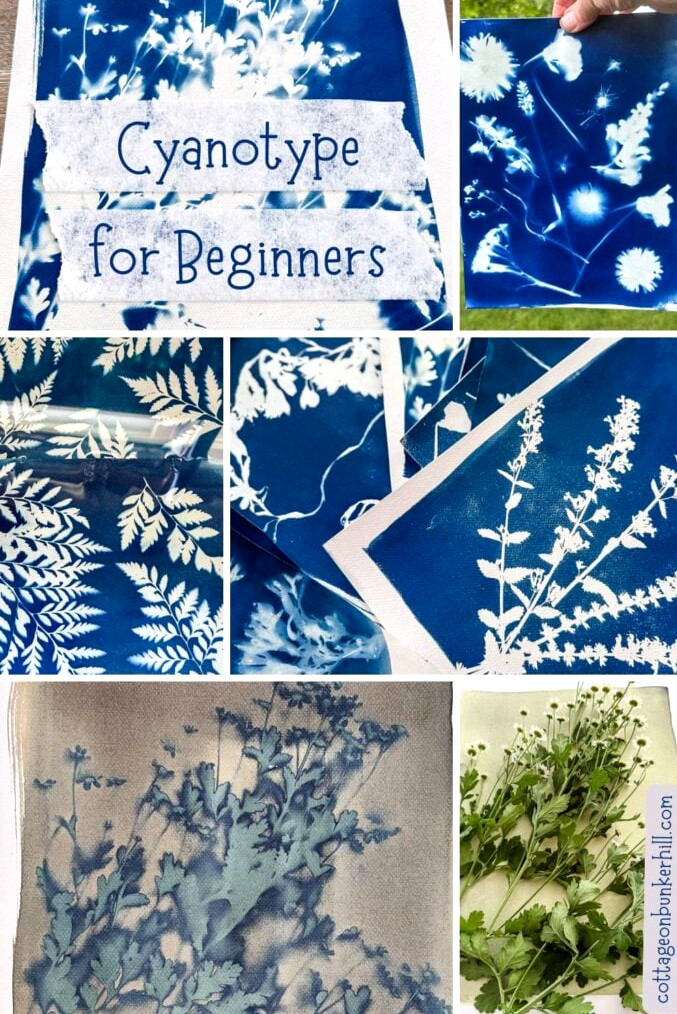
I Tested Cyanotype Sun Printing 6 Times So You Can Skip the Trial and Error (The Good, The Bad, and The Ugly)
If you’ve been here for a while, you already know I’m drawn to anything that transforms what’s growing in my garden into something beautiful for my home. So when I fell into the cyanotype rabbit hole a few weeks ago, I was completely captivated before I had even prepared my first batch of chemicals.
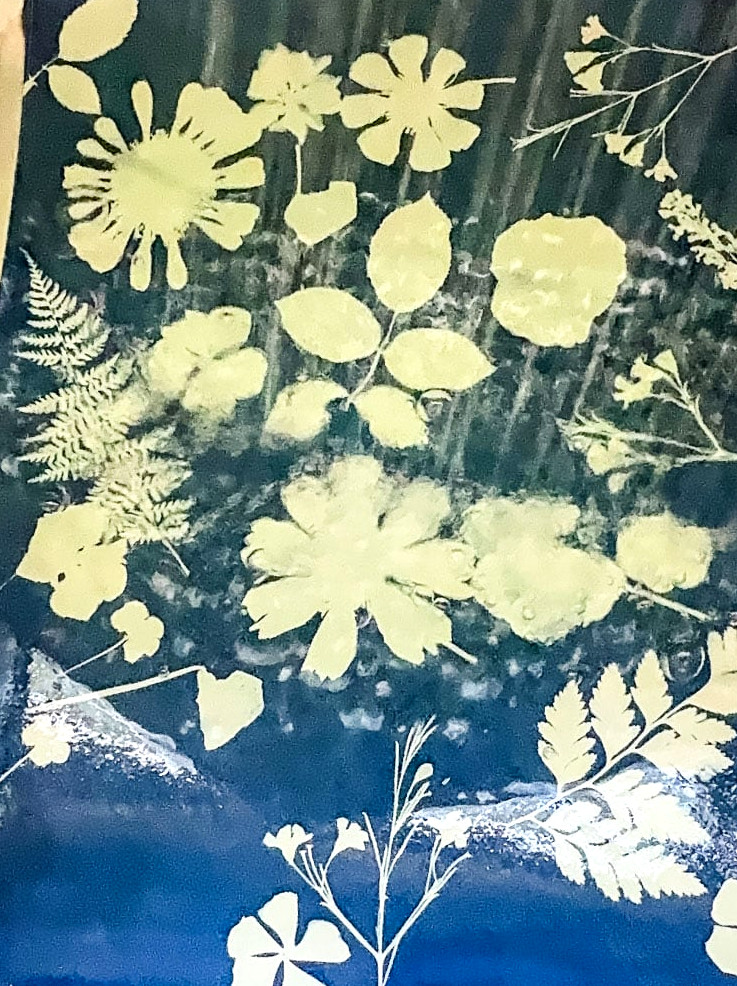
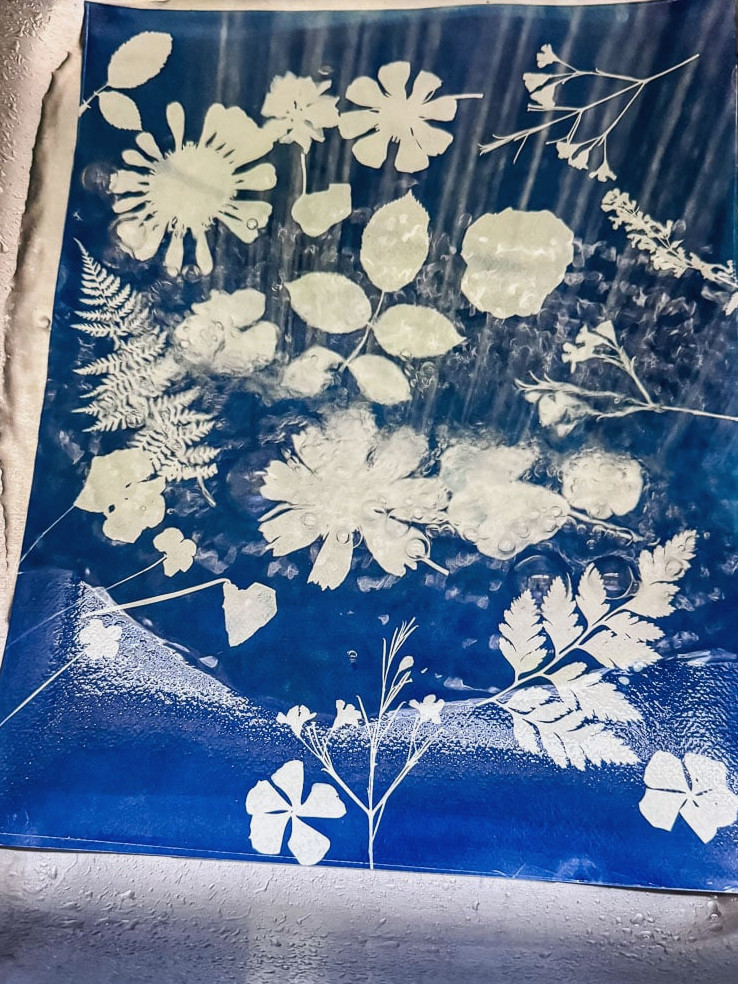
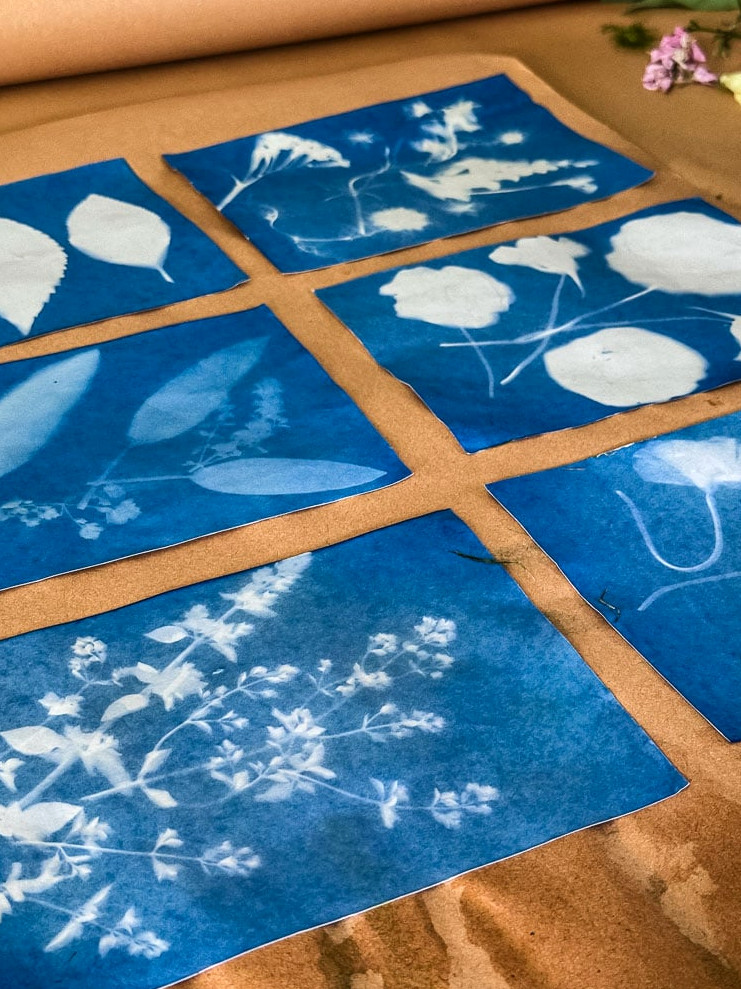
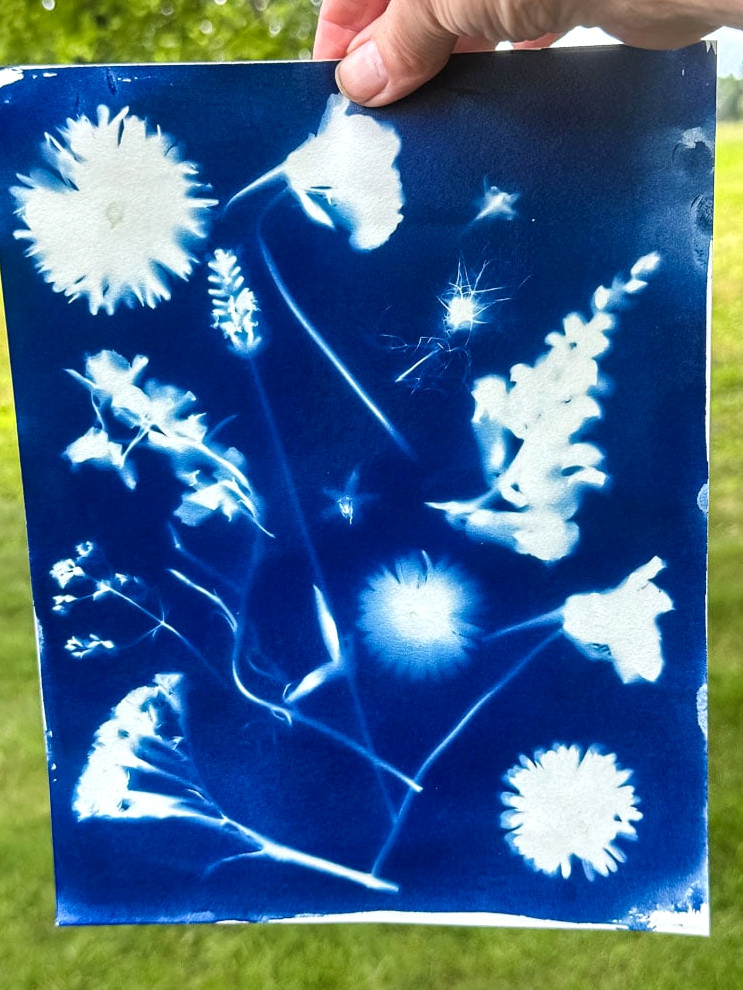
If this is new to you, cyanotype is a vintage photographic printing method: paper is covered with a light-reactive solution, flowers or leaves are arranged on top, the sun handles the exposure, and then everything is rinsed with water. The result is a stunning, rich blue image featuring a ghostlike white outline of whatever plant material you chose. It’s garden-to-home creativity at its finest.
Here’s what no one really mentions beforehand: although this craft appears easy—and technically it is—the outcome can vary dramatically based on your paper, your plant materials, and even the day’s UV index. I’ve created six batches of prints so far. A few were beautiful, while others were truly underwhelming—and I’m sharing all of it so you can get to the successful results faster.
Welcome! I’m Jennifer, and I’ve always felt that nature provides the most gorgeous art materials. For years, I’ve preserved New England’s flowers and foliage by pressing, drying, and crafting. Let me show you how to preserve a small piece of the season and bring it inside—easily and beautifully.
What You’ll Need
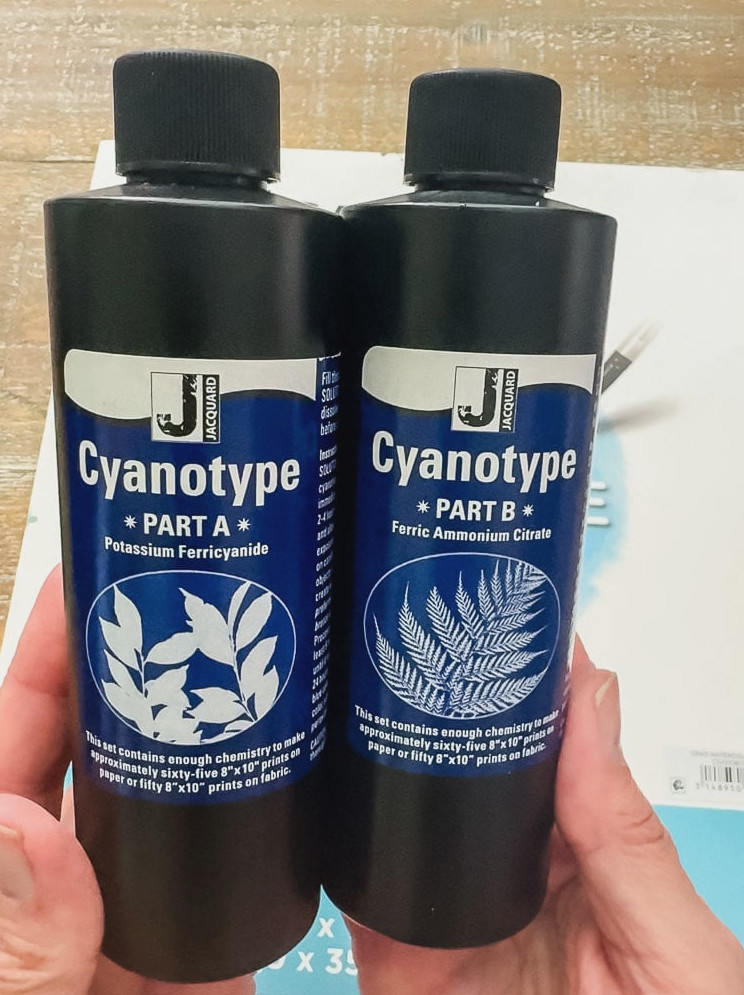
To begin, you’ll need a cyanotype chemical kit, watercolor or printmaking paper, and a sponge brush. You’ll also need a sheet of glass to place over your print while it exposes in the sun—I reused an old picture frame that was sitting unused, placing the cardboard backing beneath the paper and the glass above it. To keep everything secure, gather a few binder clips (or chip clips, which are what I ultimately chose).
Although you can leave out the glass and place your botanicals directly on the paper, I strongly suggest using it. Even a slight breeze can move your objects during exposure, while the glass holds everything firmly and flat, creating a cleaner and more sharply defined outline in the finished print.
Supplies for This Project
Cyanotype Sun Prints: A Step-by-Step Guide
Creating these sun prints really involves two stages. First, you cover the paper with the solution and allow it to dry, which needs to be done in advance. Whenever I prepared a batch of cyanotype prints, I coated a pile of paper ahead of time and left it to dry in a dark room. I simply drew the blinds in my office and closed the door; there was no need for anything elaborate. After the chemicals dry on the paper, they’re ready to respond to light, so this stage must take place away from light sources.
The next stage is the enjoyable one: arranging and making your actual prints. Before beginning, make sure everything is organized and within reach. One practice that helped me considerably was taking out only one sheet of paper at a time and keeping the remaining sheets protected in the dark until needed.
Step 1: Blend and Brush On the Solution
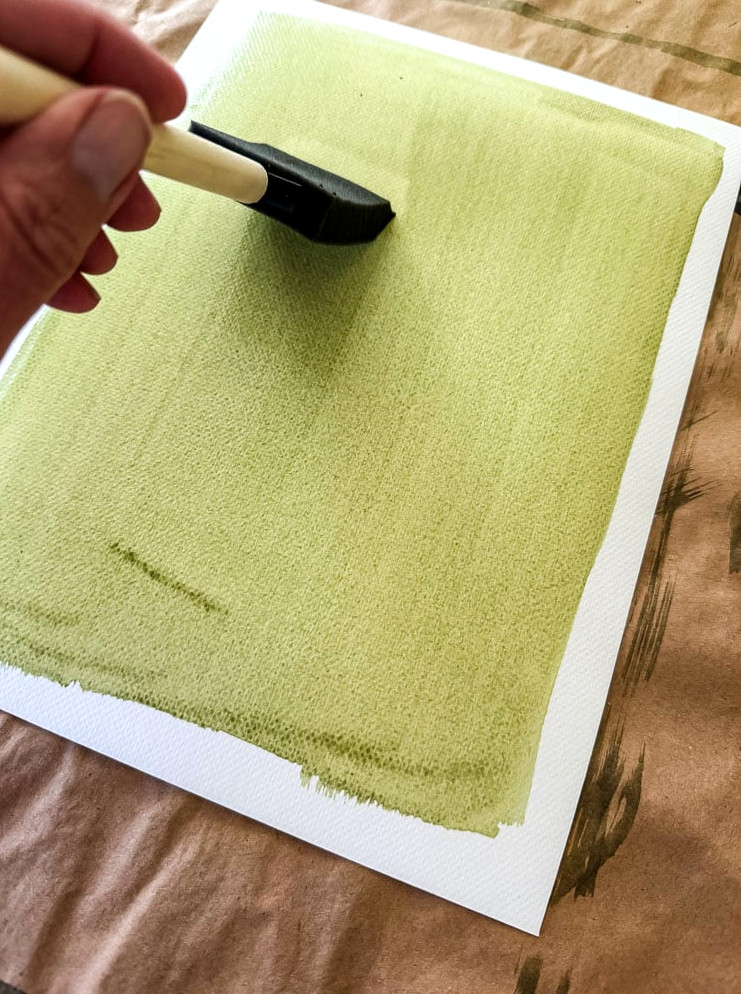
Following your kit’s directions, combine the two chemicals, then use a sponge brush to spread the mixture over your paper. This step is more important than it may seem. My first batch turned out uneven because I rushed the process & used too little of the solution.
This method finally produced a smooth coating for me: begin by brushing a rectangular border around the edges, fill the center, and then cover the entire surface once more while brushing in the reverse direction. That crisscross technique helps create an even finish.
If you’d like a neat white margin around the completed print (which I personally adore), leave a narrow strip of the paper without any coating.
Allow it to dry fully in a dark room before continuing.
Quick Guide to Mixing & Coating Your Paper
Prepare your two-part cyanotype solution according to the directions included with your kit
First, use your brush to outline a box near the paper’s edges
Brush the solution across the center area
Then brush across the entire surface in the opposite direction (this cross-hatching creates an even layer without streaks)
Keep a narrow strip of paper uncovered if you’d like a crisp white border around your finished print
Allow the paper to dry fully in a dark space before continuing to the following step
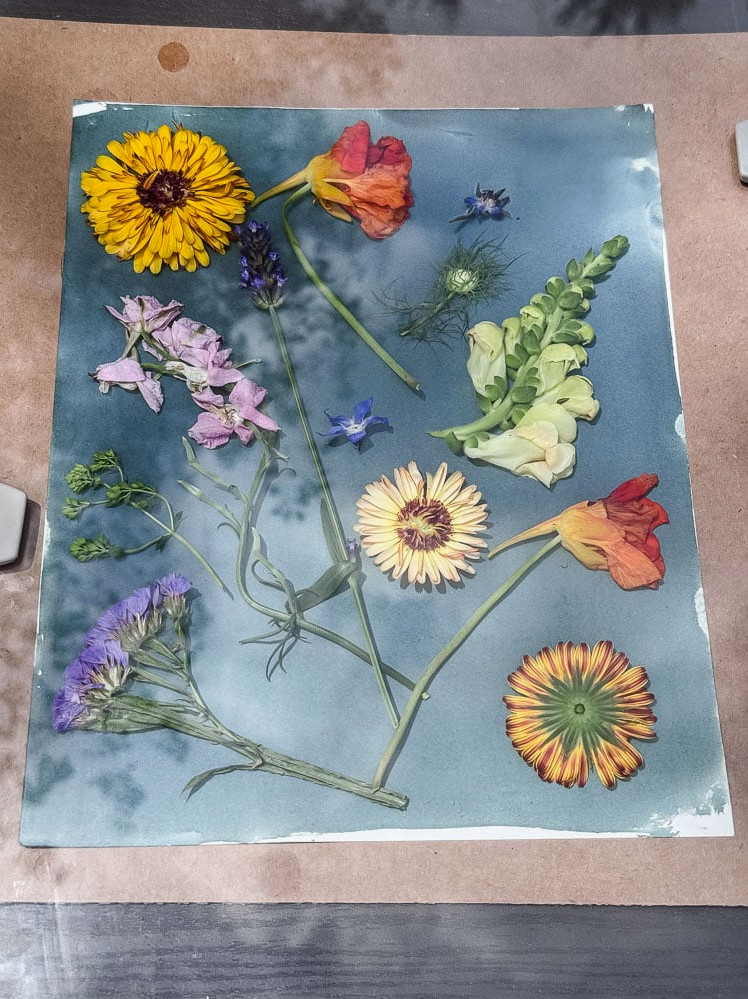
Step 2: Position Your Botanicals
Here’s one crucial thing to know before beginning: the paper is now sensitive to light, so complete this stage away from direct UV exposure. Stay away from windows and keep the lighting dim until you’re ready to expose the paper; otherwise, it may become fogged before you even take it outdoors.
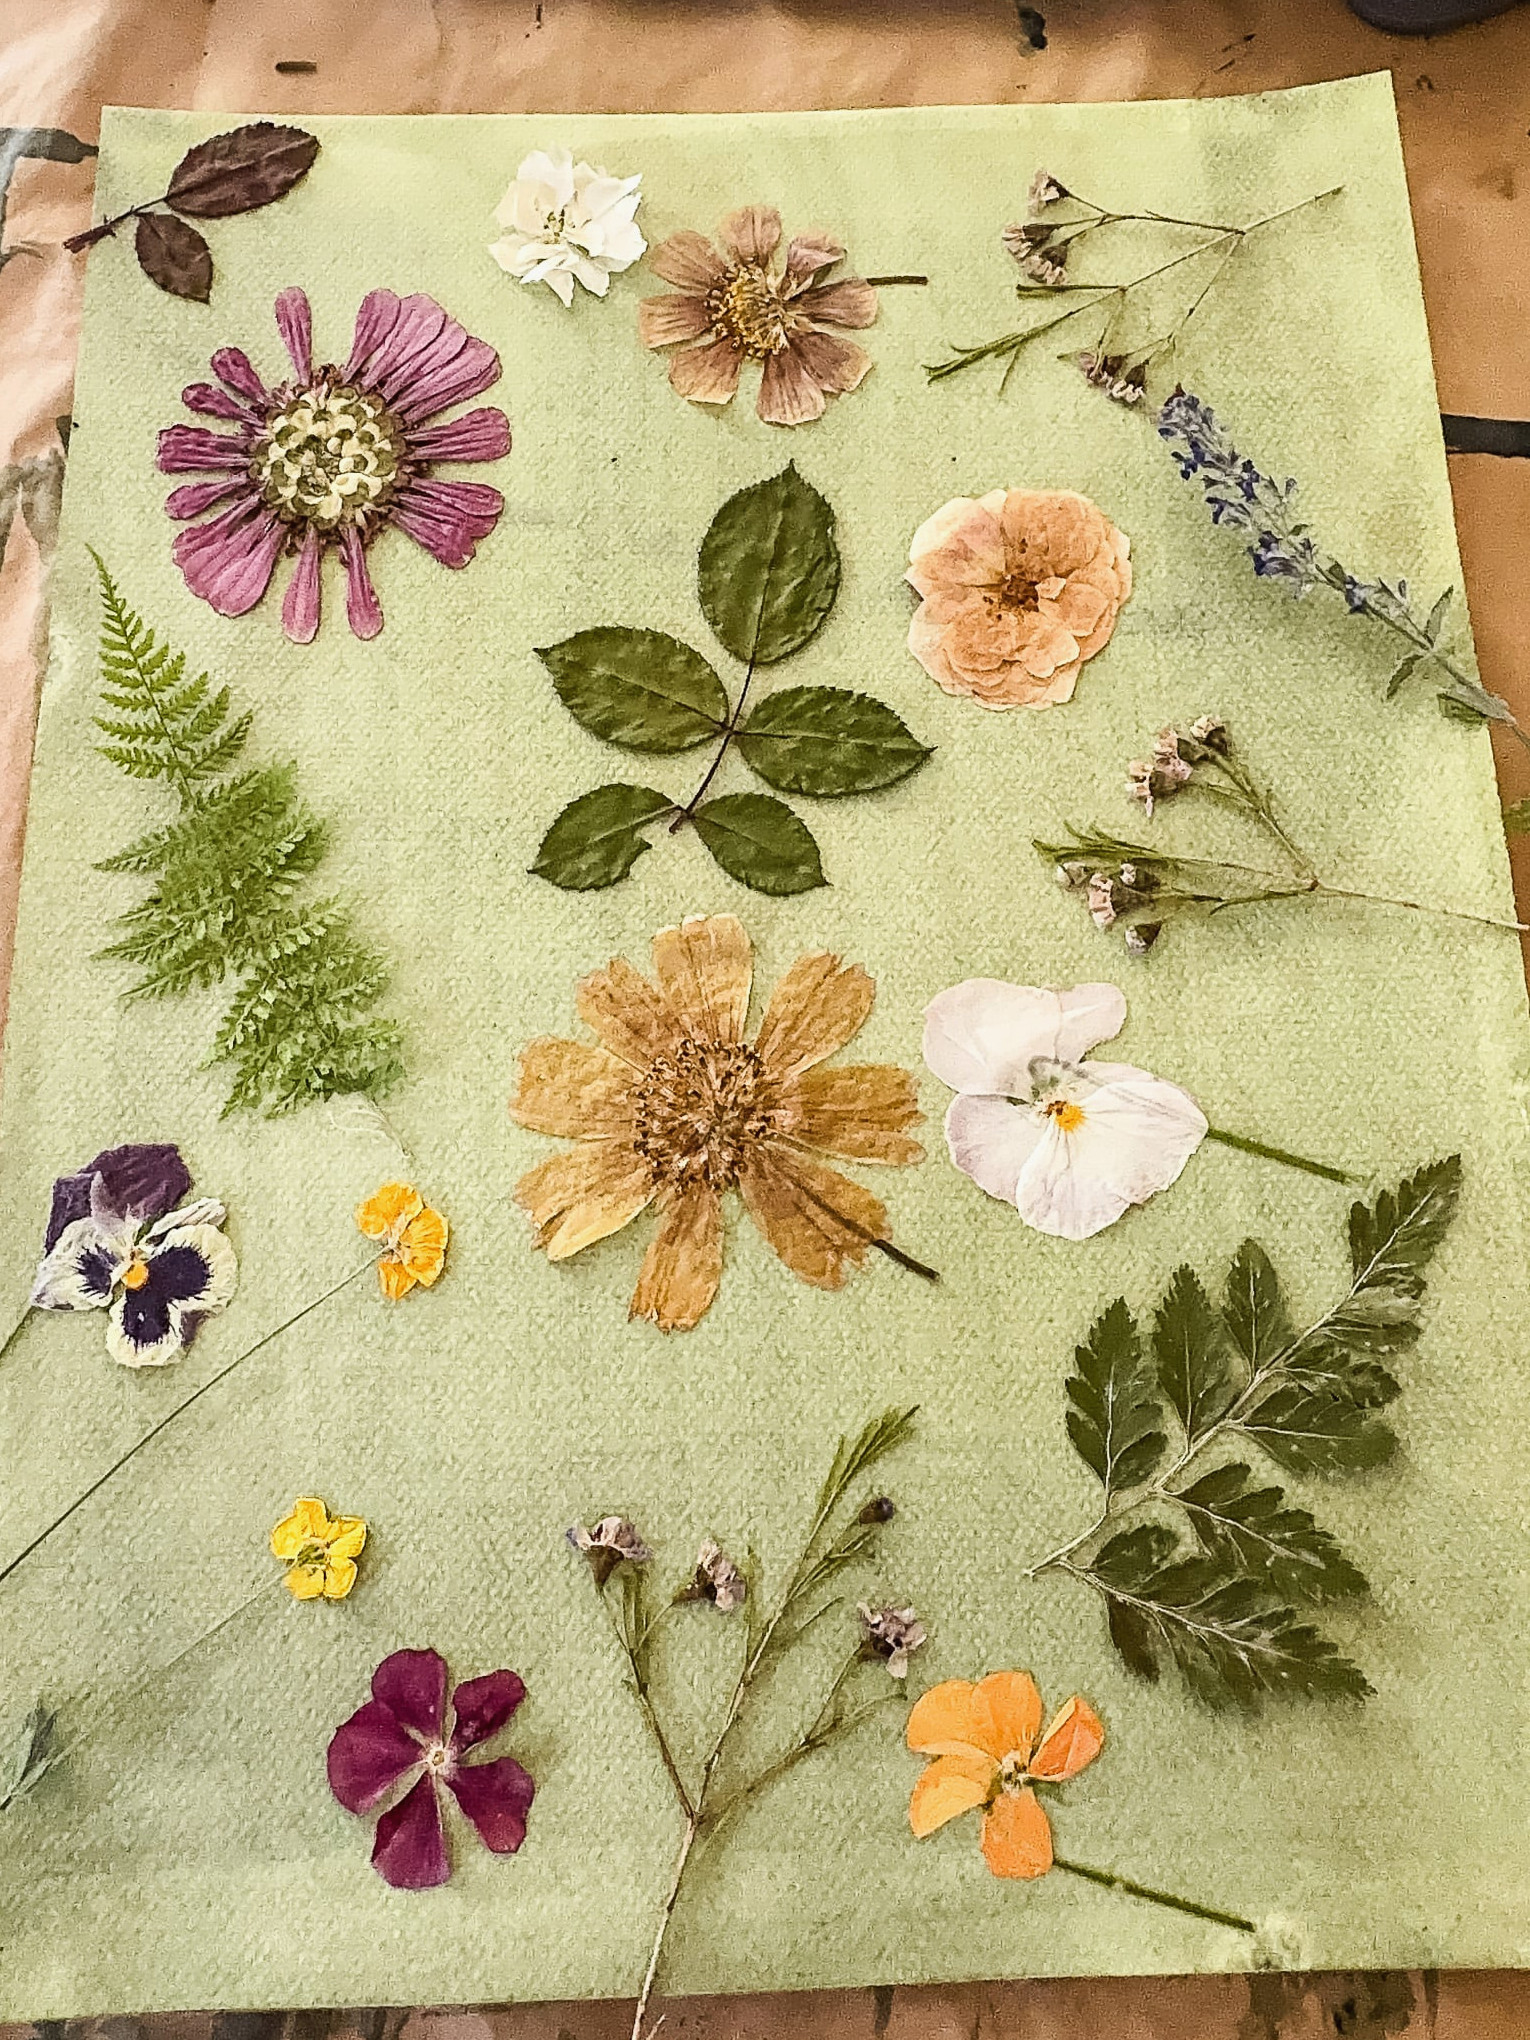
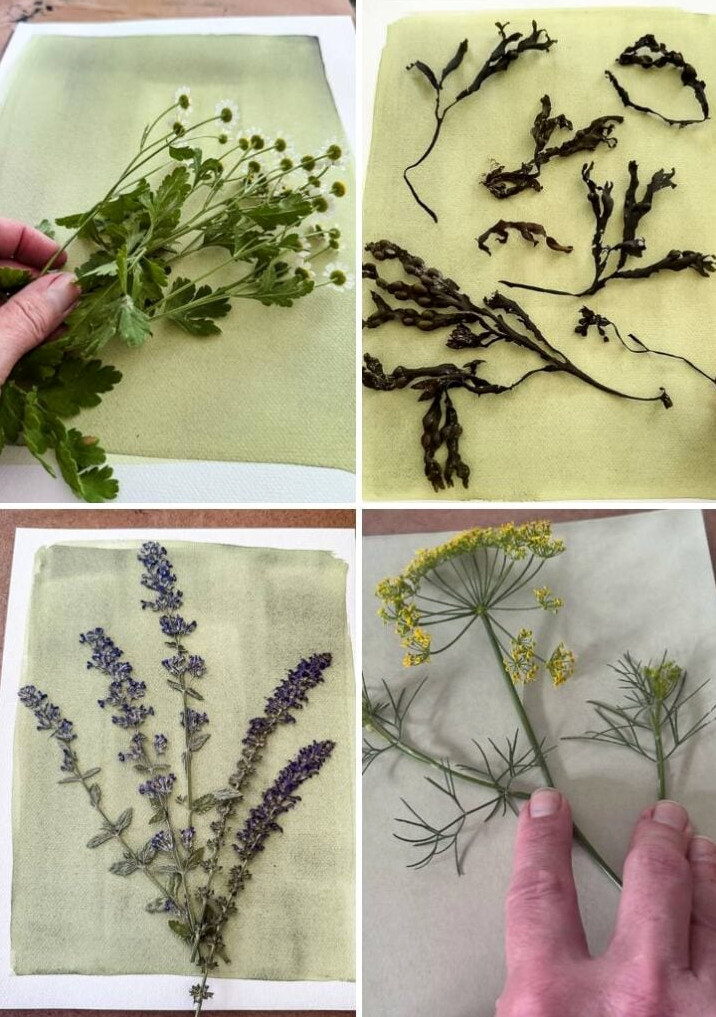
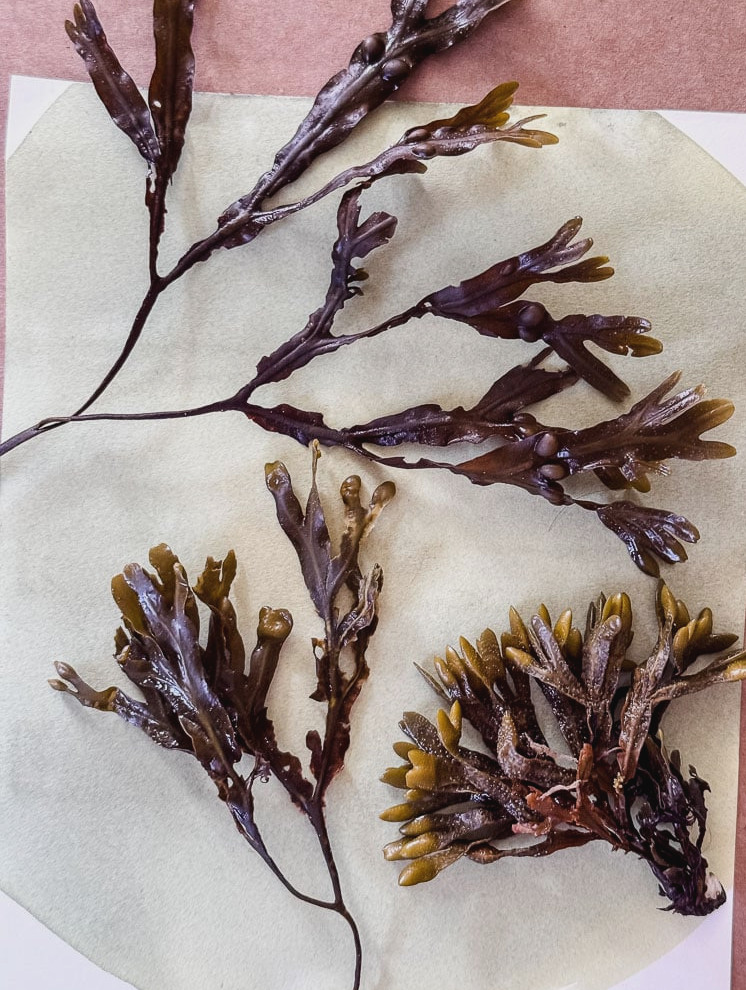
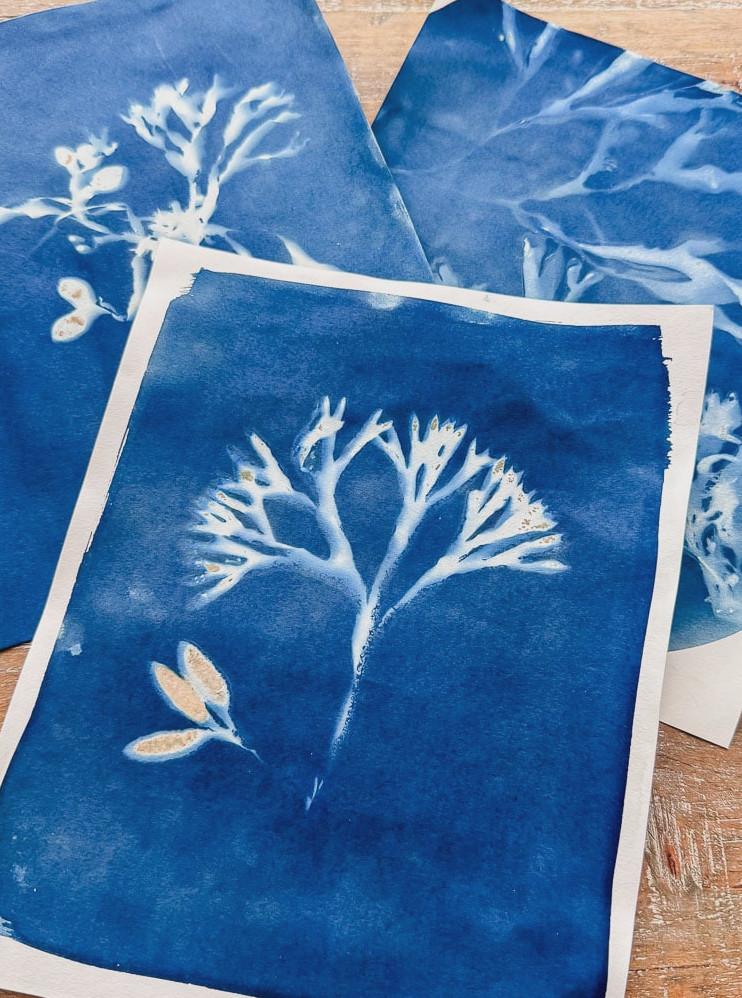
This is the enjoyable part. Try ferns, flowers from the garden, assorted collages, or even seaweed if you live near the shore. I’ve experimented with all of them and have achieved lovely results every time.
For this stage, I found a large, older photo frame. I placed the cardboard backing beneath the paper and set the glass front on top. You’ll need a firm holder that makes it easy to take your print outdoors.
Position your botanicals on the coated paper, then place the glass pane over the arrangement and fasten it securely. The glass holds everything level and pressed closely against the paper, resulting in a sharper print.
Here are a few lessons I picked up about botanicals:
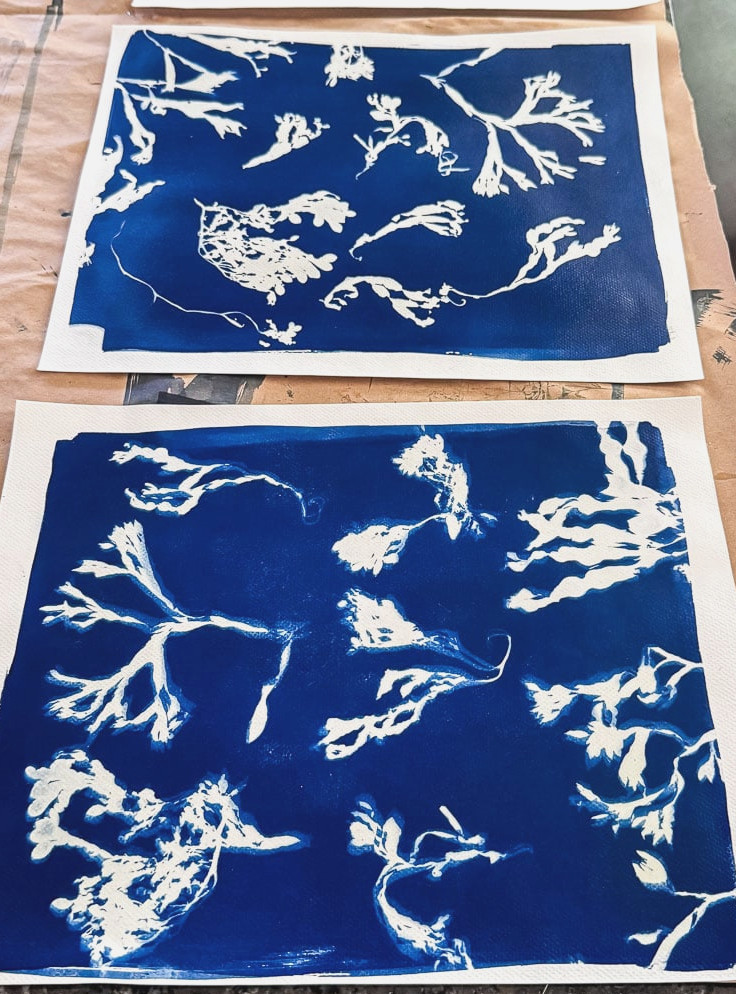
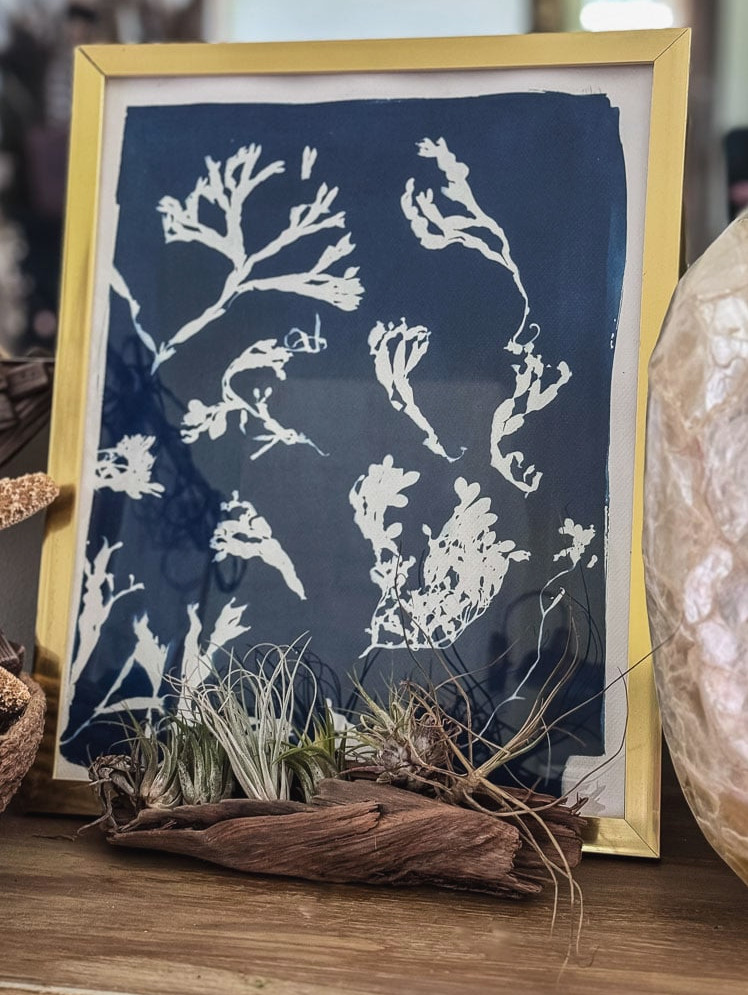
Moisture can affect the outcome: I gathered seaweed from the beach and attempted to remove the extra water, but some dampness remained. That batch developed a little brown staining. After allowing the seaweed to dry completely and trying another print, I achieved beautiful, clean results. The takeaway: when using freshly picked plants or beach finds, your cyanotype results may differ.
Item thickness makes a difference: Smooth pieces such as pressed flowers and slender seaweed produce lovely prints. Bulkier objects, including poppy pods, were much less defined because they don’t rest tightly against the paper, allowing UV light to reach beneath them.
Quick Guide to Arranging Your Botanicals
Stay away from direct UV exposure. Avoid windows because the paper is now light-sensitive.
Pick your botanicals: ferns, garden flowers, assorted collages, and seaweed can all produce beautiful results.
Place your botanicals straight onto the coated paper in the arrangement you prefer.
Place a sheet of glass over the entire arrangement.
Secure the glass firmly with binder clips (I used chip clips) so everything stays flat and touches the paper closely.
Step 3: Place It in the Sun
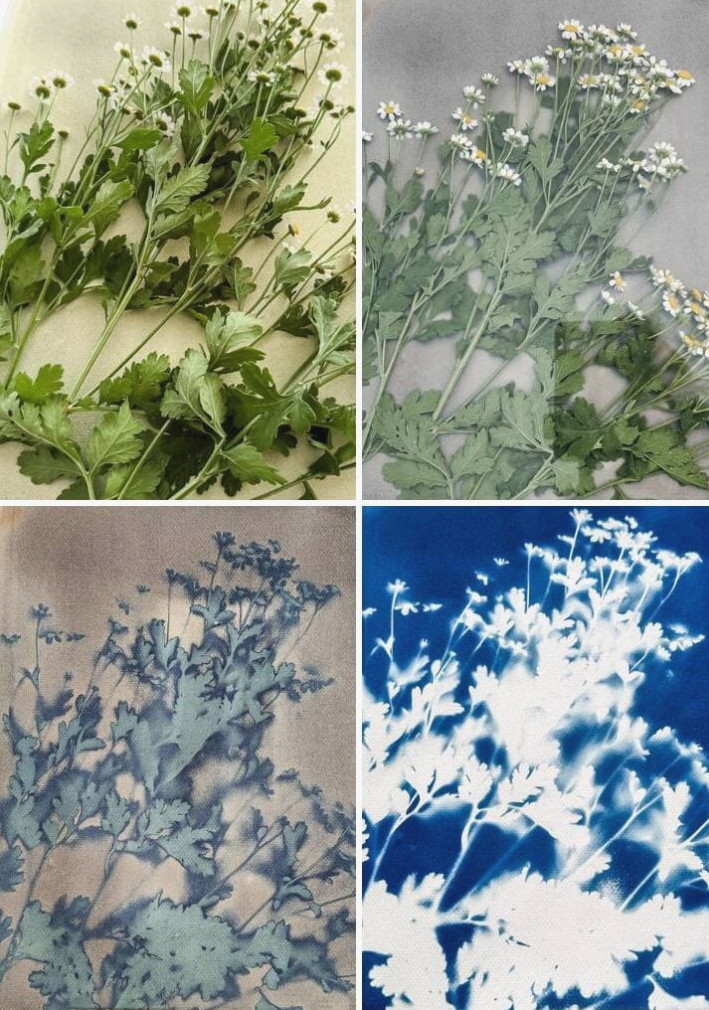
Set your covered paper in full sunlight and observe it. As it develops, the paper will change from a yellow-green shade to a muted gray-bronze color. That shift in color isyour sign that the process is working. This is where I discovered the most important lesson from the entire project:
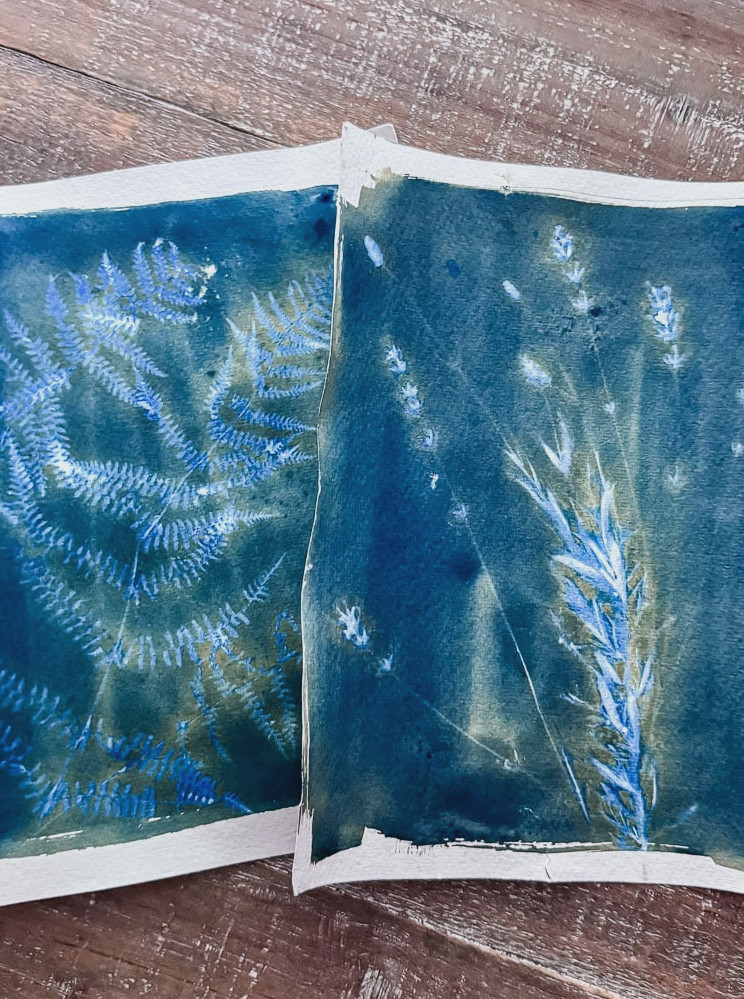
The UV index more or less determines your exposure time. During an intensely sunny July afternoon with a UV index of 9, my paper changed and produced vivid, richly saturated blue prints in roughly 1 minute. With a UV index of 6, I ended up with a paler, nearly denim-colored print despite using the usual exposure time. On a hazy day (wildfire smoke had moved into the area), I kept the paper outside for more than 15 minutes and still achieved only an “it’s fine” result. Therefore, if your prints look washed out, look at the UV index before assuming your method is the problem.
Prints made on a low UV index day (they needed more time outside!)
If you’re unsure, leave it exposed for a bit longer. A familiar guideline among cyanotype makers is that overexposure is preferable to underexposure. Underexposed prints often rinse out looking faint and feeble, whereas an overexposed print will generally retain its deep color. So, if you’re observing that grayish-bronze shade and can’t tell whether the print is ready, wait another minute or two instead of removing it prematurely. Don’t discard an underexposed print; simply appreciate its gentle, faded appearance. At times, those prints can be especially lovely in their own way.
Quick Guide to Exposing in the Sun
Place your covered paper in direct sunlight and look for the color to change.
Check the UV index in your area before beginning; it influences the timing more than the clock. A higher UV index means quicker exposure and darker, more saturated blues. A lower UV index or hazy/cloudy conditions requires a longer exposure, and the colors may still appear lighter
If you’re uncertain, allow it to expose slightly longer. Overexposure is better than underexposure
Step 4: Wash & Uncover
Remove the glass, then take away any items you placed on the paper to create the print. Now it’s time to wash away the cyanotype chemicals. I used a shallow plastic container along with my garden hose. Rinse the print until the water becomes clear. The rich blue shade will begin to appear right before your eyes. It’s wonderfully satisfying!
Next—and this is the moment that genuinely seems like magic—fill the pan again with clean water, squeeze in a little hydrogen peroxide, and place your print inside. The blue intensifies almost immediately before your eyes. It’s easily one of the most rewarding stages of the entire process.
Allow the prints to dry fully away from direct sunlight before handling them extensively.
Quick Guide to Rinsing
Wash it in a pan filled with water. Continue rinsing until the water is clear.
Fill the pan again with clean water and squeeze in some hydrogen peroxide.
Place your print into the water and watch the blue become deeper almost instantly.
Allow the prints to dry completely away from direct sunlight.
What I Discovered About Paper (This Is the Crucial Part)
If there is one takeaway I want you to remember, it’s this: your choice of paper matters far more than you may expect. Across my six attempts, I tried four different papers, and the contrast between them was enormous.
Inexpensive watercolor paper
Inexpensive watercolor paper: This was my starting point, and the results made that obvious. I initially grabbed some basic watercolor paper I already had at home. Along with my inconsistent brushwork, it produced streaky, underwhelming prints. The paper wasn’t completely to blame, but it certainly didn’t improve things.
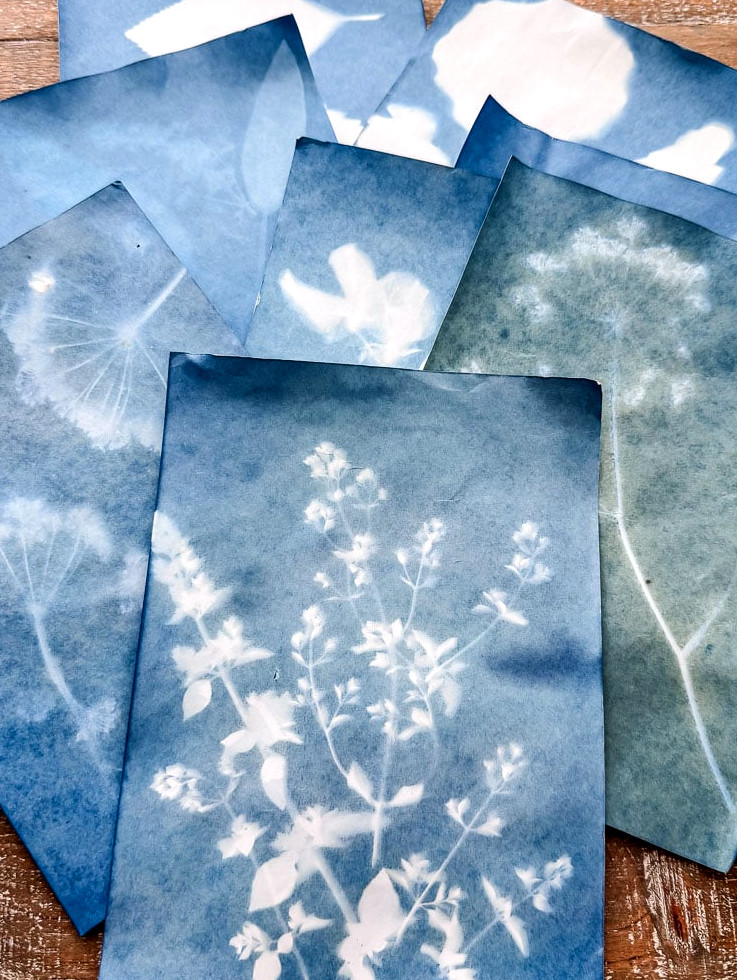
Pre-treated sheets
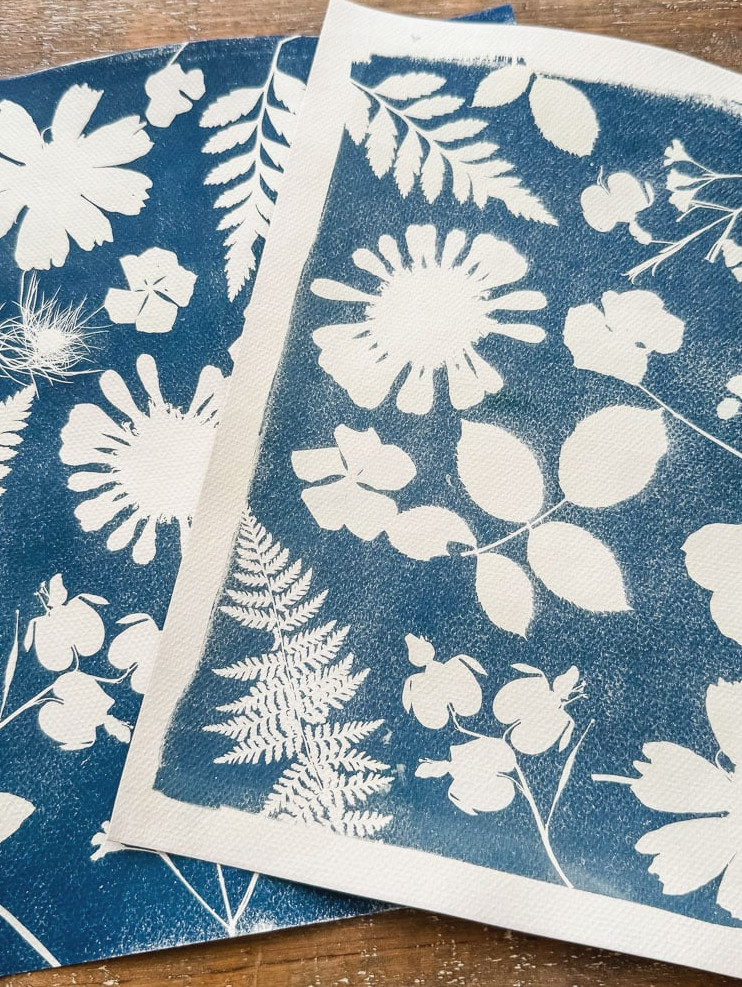
Pre-treated sheets (purchased on Amazon): These were especially handy because the chemicals had already been applied, and I experimented with several different botanicals on them. The results were lovely! However, regardless of what I tried, I couldn’t move beyond a soft, vintage-blue shade.
For a rich, highly saturated cyanotype blue, these probably aren’t the ideal option. Still, I think they’d be an excellent pick for a simple children’s craft project!
Printmaking Paper
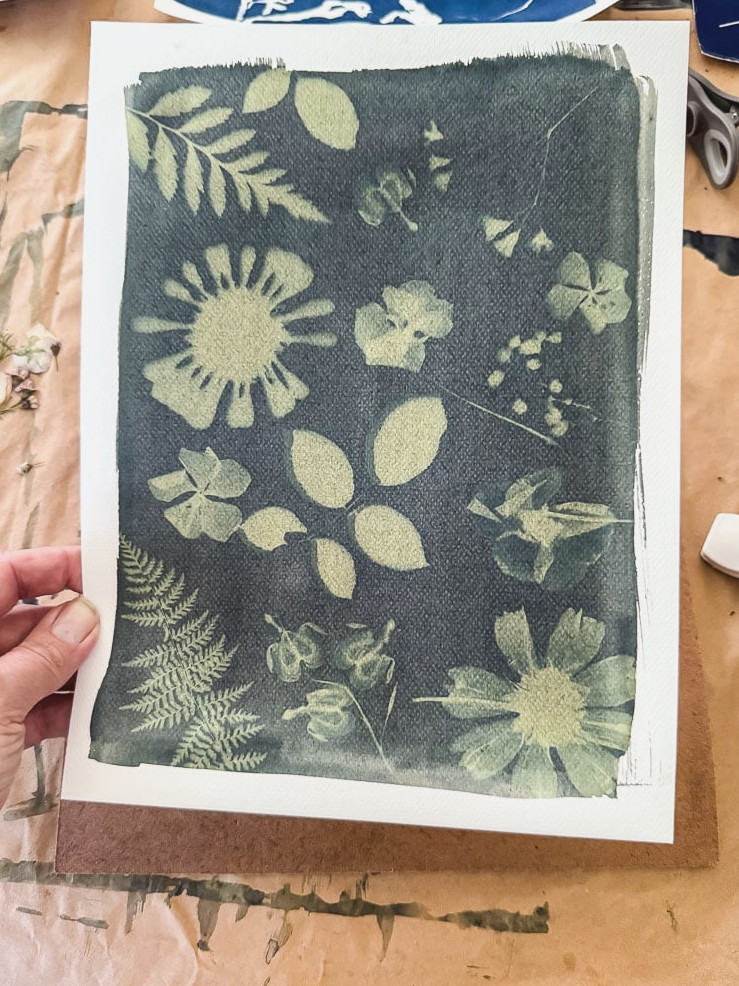
Strathmore 300 Series Printmaking Paper: (Amazon) The outcome here was genuinely good. I only had 8×10 sheets available, so I wasn’t able to evaluate it thoroughly, but it performed reliably. For my taste, I would have liked slightly more surface texture than this paper provided.
The prints were still damp and became a deeper blue shade while they dried.
Canson Graduate Watercolor Paper
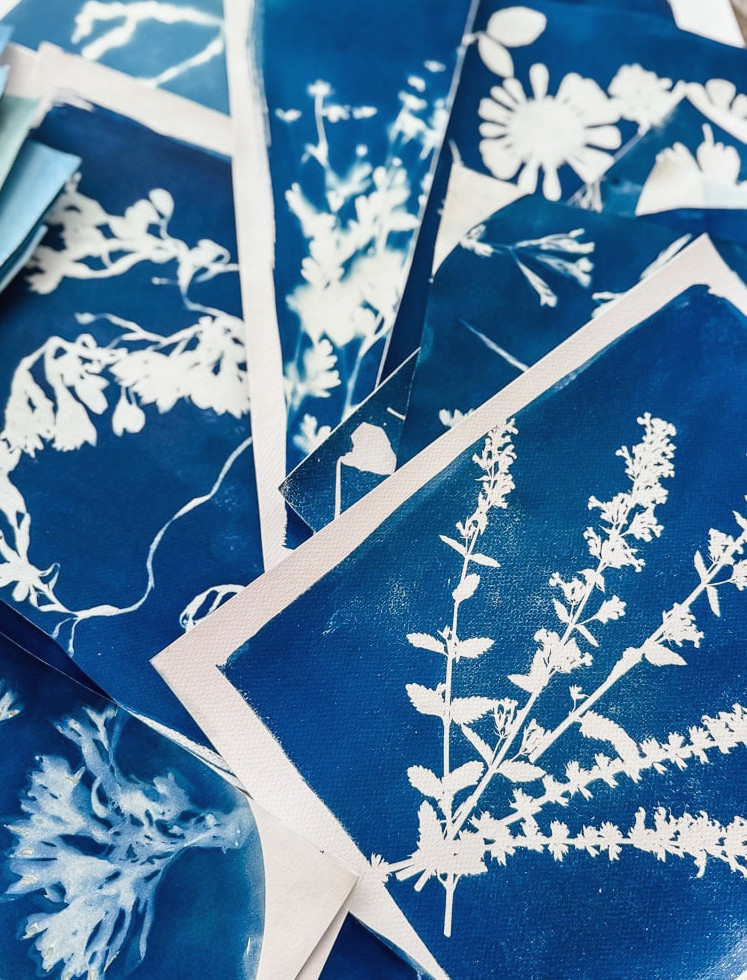
Canson Graduate Watercolor Paper Pad (140lb/300g): (Amazon) or (Walmart) This was easily the best option. It produced rich, vivid blues, offered just enough texture to add personality to the prints, and was reasonably priced and widely available. If you’re going to test only one paper, choose this one.
Troubleshooting: Mistakes I Actually Made
My fingerprint is visible along the upper right edge, while the clip left a mark in the lower right corner.
•I accidentally touched the paper and left a fingerprint. Because the chemistry was still damp, I brushed against the paper by mistake, and a clear fingerprint appeared after it developed. The takeaway: hold coated paper only along the outer edges, and avoid contact with the coated side until it has dried completely.
•Hand lotion and wet chemistry create a permanent mark. This was similar to the mistake above, only more noticeable — I had recently applied hand cream before handling the paper, which left an obvious spot on the finished print. It’s safest to handle the paper as little as possible.
•A clip overlapped a small section of the paper.I repeated this mistake several times! Although the rest of the print looked perfect, one clip rested slightly across the paper’s edge rather than solely on the glass, leaving a noticeable mark there. These days, I make sure the clips secure only the glass and do not extend over the paper.
A Note About Preserving Your Prints
Something I didn’t expect was that, although sunlight creates a cyanotype, it may also cause one to fade over time. If you’re hoping to frame any of yourprints (I’ve got several seaweed ones I’m definitely framing), a few simple steps will help preserve them:
Choose UV-protective glass for the frame. It’s the most helpful thing you can do
Place framed prints away from direct sunlight, even when they’re behind quality glass
Stay away from damp areas such as bathrooms
If a print gradually loses its color, soaking it in hydrogen peroxide (yes, the same method used during the rinsing step) can frequently restore the blue
The Sun Prints I Love Most
I have to admit it… sun printing has become a bit of an obsession for me! Taking up this enjoyable hobby has been such a delight, and I absolutely plan to continue creating cyanotype prints while refining my technique. Printing on fabric is next on my list to try. I can already picture a tote bag. These are my favorite pieces from this batch so far.
Give It A Try!
After six tries, I’m still discovering something different each time I place a batch in the sunlight. That’s truly what I enjoy about this craft: you can learn the basics in an afternoon, yet the chemistry and timing add just enough variation that every batch turns out a little differently. With a sunny location and a handful of garden flowers, leaves, or anything intriguing, you already have nearly everything required to try it yourself.
If learning new hobbies through books appeals to you, I just purchased this Printing With The Sun so I can explore the full process in depth and pick up some advice about using fabric.
If you create prints of your own, I’d be delighted to see them and feature you in the Reader’s Spotlight gallery. Email a photo to jennifer@cottageonbunkerhill.com
xo, Jennifer
Enjoy projects like this?Don’t miss out! Become part of my newsletter familyfor more warm, affordable DIY inspiration sent straight to your inbox. You’ll receive special tips, advance access to tutorials, and all the ideas you need to make your home feel personal and full of heart.