Let me show you how to add a personal touch to your garden with these DIY plant labels crafted from air-dry clay.
DIY Plant Markers: Creating Personalized Clay Garden Labels
Do all your herb seedlings look identical after they emerge? Have you ever purchased a beautiful succulent and then forgotten its name just days later? If you enjoy gardening but find it difficult to identify your plants, thesehandcrafted clay plant markersoffer an ideal solution!
They’re not onlyadorably rustic, but alsohighly durable, easy to customize, and remarkably simple to create. Skip the flimsy plastic tags—these clay labels bring a cozy cottagecore feel to potted herbs, vegetable patches, and even indoor plants. They also makeheartfelt presentsfor fellow gardening enthusiasts!
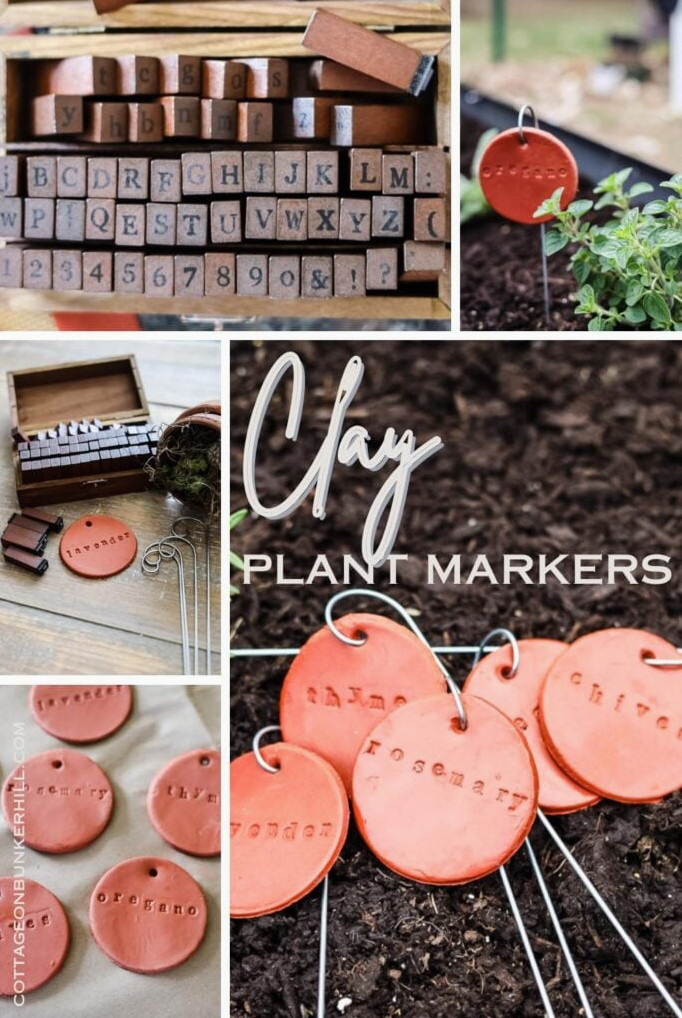
In this guide, I’ll explain how to make your ownpersonalized clay plant labelswith uncomplicated air-dry clay and several basic supplies. There’s no need for special equipment—only a bit of imagination!
How To Create Clay Plant Markers
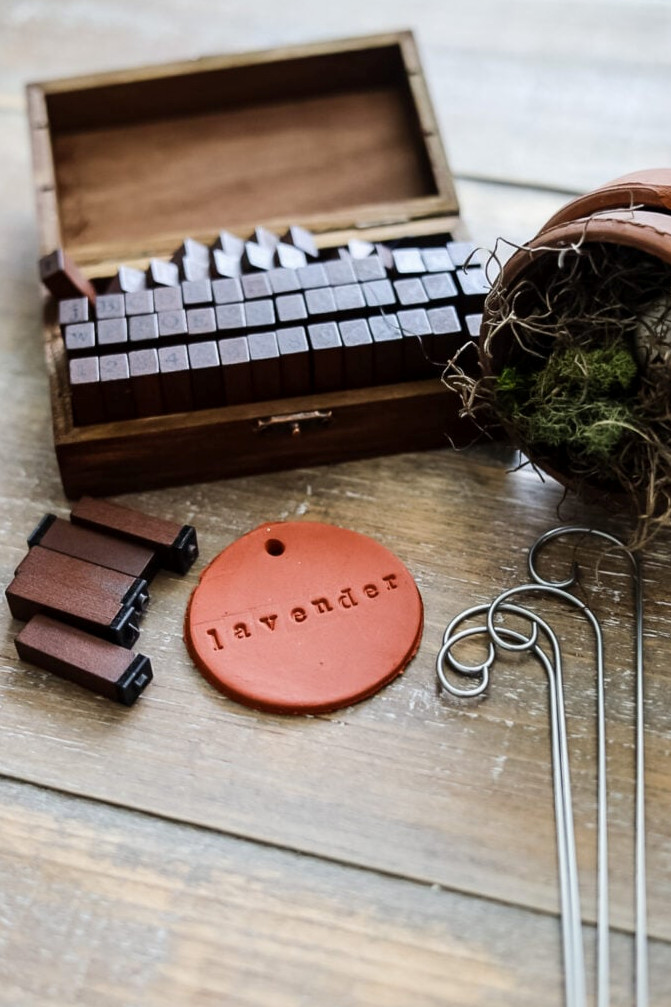
Supplies Needed for This Project
DIY Rustic Clay Plant Markers: A Step-by-Step Tutorial
Step 1: Roll and Shape Your Clay Markers
Supplies for This Step
- Terra cotta air-dry clay (or white clay—either option works!)
- Silicone baking mat (or parchment paper)
- Rolling pin (or a smooth wine bottle)
- Round cutter (cup, cookie cutter, or jar lid)
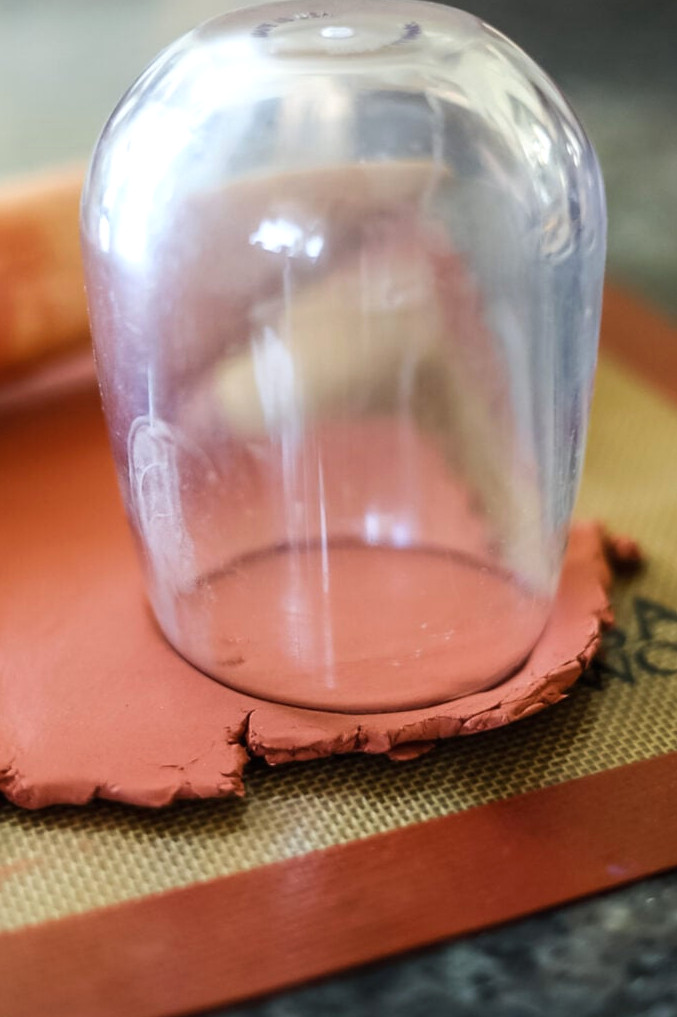
Directions:
- Prepare Your Work Area:Place asilicone baking maton your counter to prevent stickingandsimplify cleanup. Don’t have a mat? Parchment paper is a suitable alternative.
- Flatten the Clay:
- Work the clay briefly until it becomes soft and pliable.
- Flatten it to¼-inch thickness(a little thicker than 1/8” helps prevent cracking).
- Helpful Tip:Position two wooden dowels beside the clay as “guide rails” to maintain an even thickness.
- Shape the Circles:
- Push a2.5-inch-wide cup rim(or cookie cutter) into the clay, twisting gently to create smooth edges.
- No cup available?Use a mason jar lid or shape the clay by hand into rectangles. Uneven rustic forms bring extra character.
Helpful Tip: Smooth and Refine Your Clay Disks
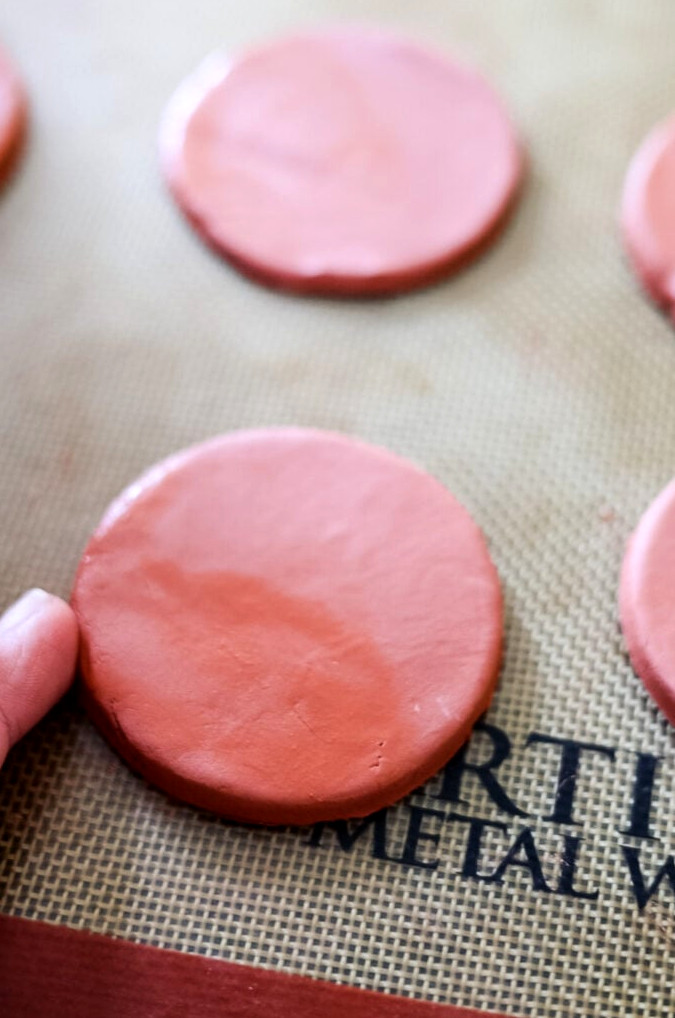
The Key to Smooth Markers:
Once your clay circles have been cut, be sure not to overlook thistransformativestep!
- Dip your fingertip into water(or use a moist paintbrush for greater control).
- Carefully run it alongthe bordersto remove cracks or coarse areas.
- Refine the surfaceusing circular motions—this helps stop flaking once it dries!
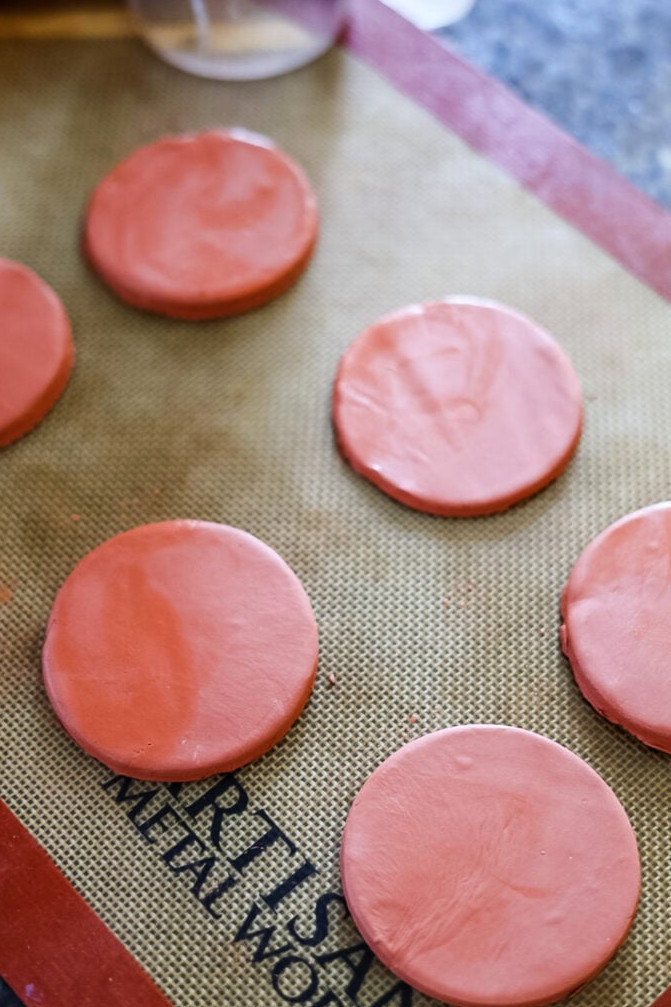
Why it matters:Water works as a “clay eraser,” smoothing joins and producing a polished finish. Forultra-smooth markers, do this again once the clay has become slightly firmer (10-15 minutes).
Step 2: Impress & Customize Your Markers
Here comes the enjoyable part! Use a collection of small alphabet stamps to imprint the plant names onto the clay markers.
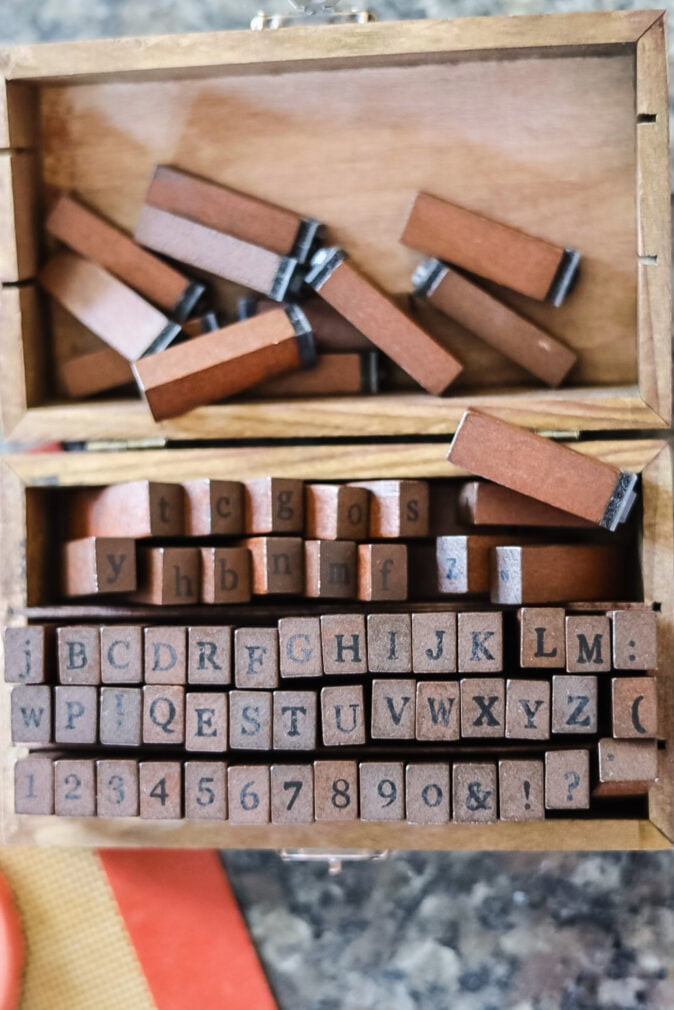
Supplies Needed for This Step
- Alphabet stamps (or a toothpick for carving by hand)
- Straw or Chopstick (for creating hanging holes)
- Moist paintbrush or fingertip
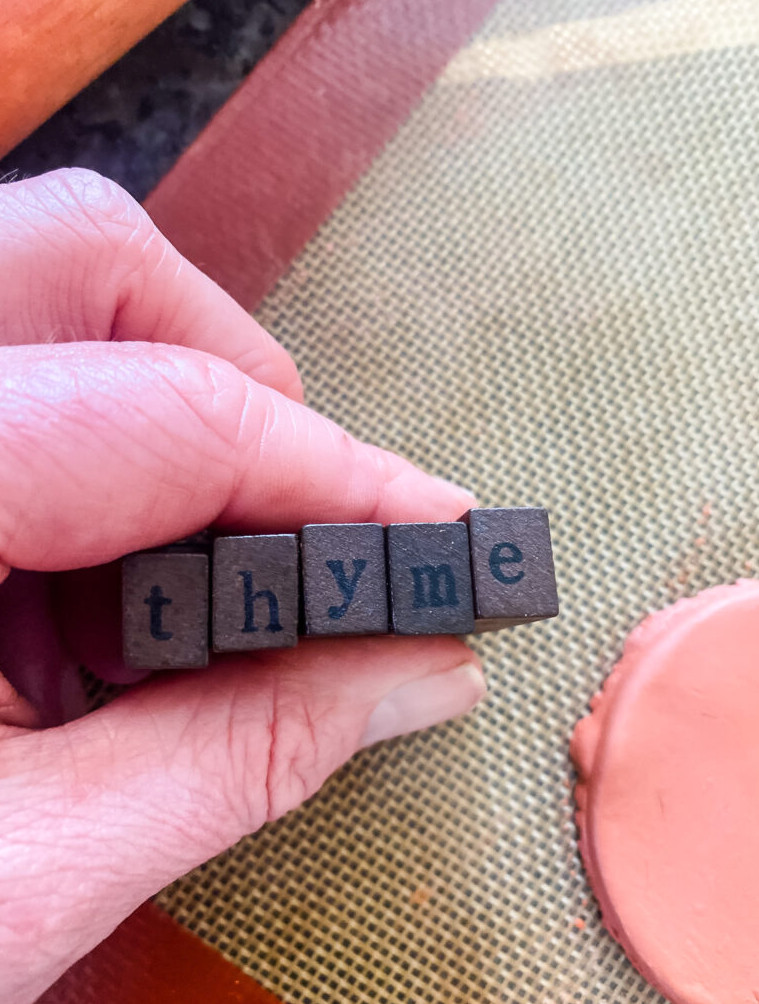
- Arrange Your Design:
- With longer names (such as “Broccoli”), position the stamps on the claywithout pressingfirst to check the spacing. (I skipped this step when I first stamped “broccoli” and had to roll the clay back up and begin again…you need the “i” at the end!)
- Stamp in Small Groups:
- Pressno more than 3 letters at once to stay in control. If it feels simpler, you may also stamp one letter at a time.
- Apply steady, even pressure—but avoid pressing too far or the clay could become misshapen.
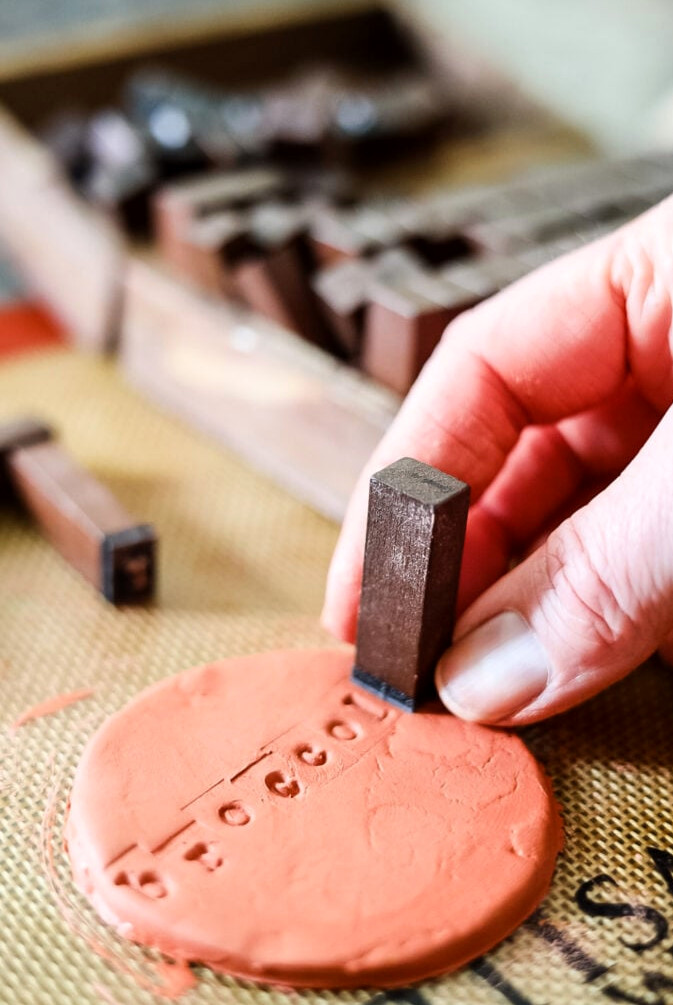
Create a Hanging Hole
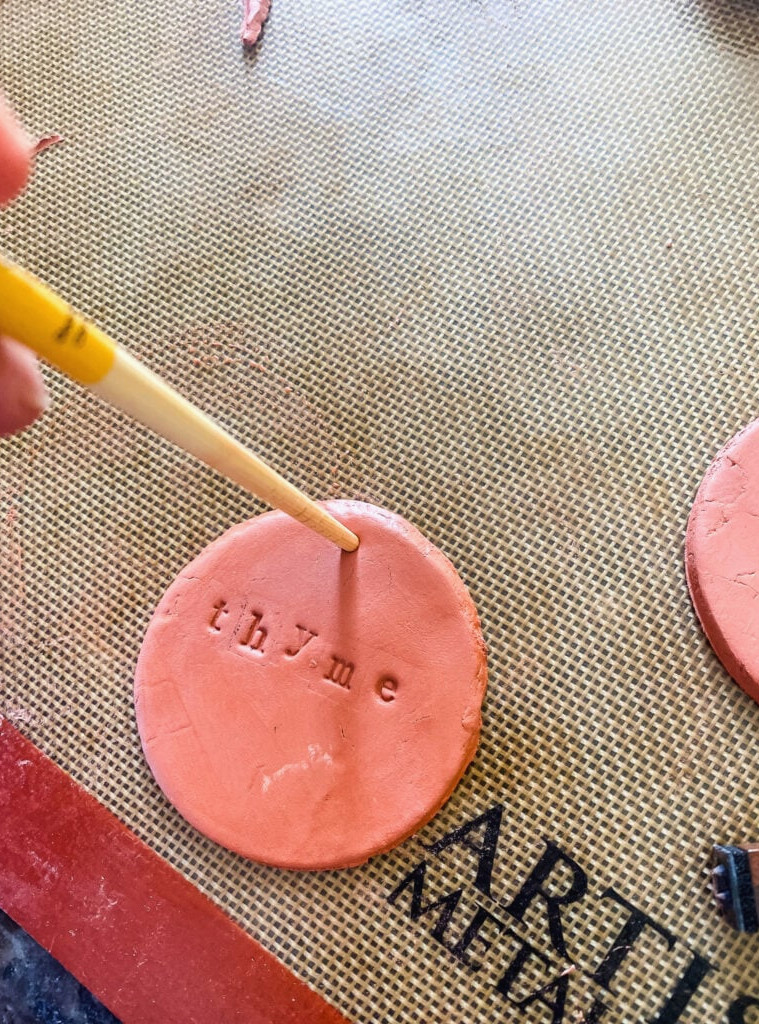
- Make a hole close to the upper center using a straw or chopstick.
- Keep away from the edge:Allow at least ¼” of space to help prevent cracks.
- With a damp finger or paintbrush, soften the impressions left by the stamp corners on the clay.
Step 3: Dry Your Clay Markers (The Proper Way!)
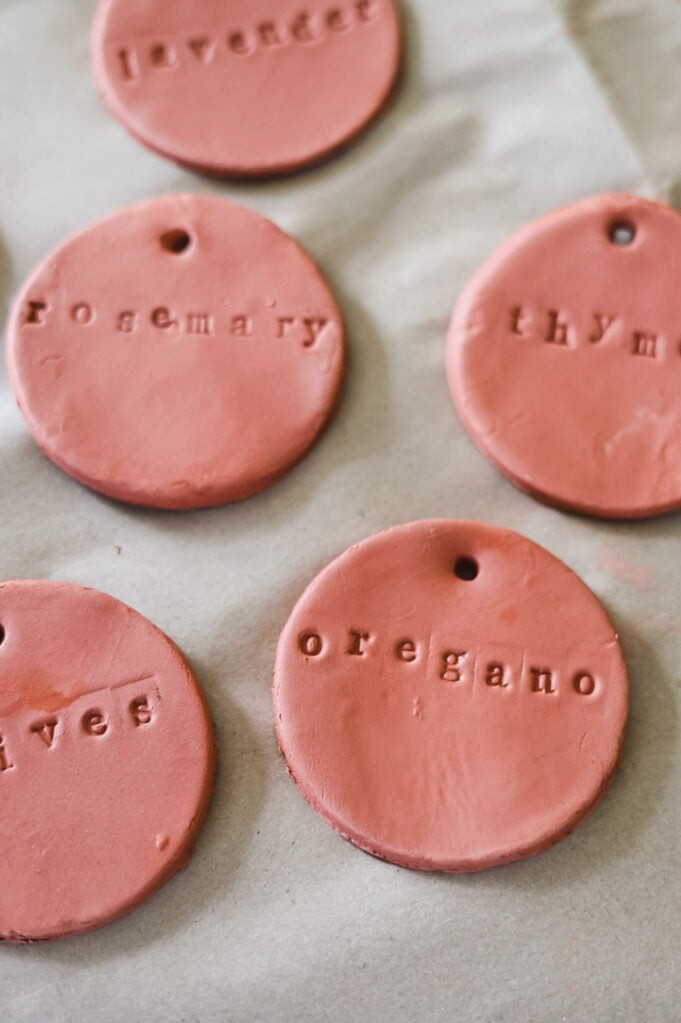
Drying Duration & Conditions:
- Usual drying period: 24-48 hours (although warm weather may accelerate the process)
- Best conditions: A warm, dry spot with proper air circulation
- Stay out of direct sunlight (it may lead to crackingor warping!)
What Worked For Me:
I set my markers on a wire cooling rack (not pictured) atop a warm patio table. Air circulating underneath allowed them to dry consistently in roughly 4 hours. They’re ready when you notice:
- The color has faded considerably
- The surface feels cool to the touch
- There’s no softness when pressed gently
Step 4: Protecting Your Markers for Outdoor Use
(Because all that hard work shouldn’t be spoiled by rain!)
Sealants to Consider:
- Krylon Triple Glaze(your pick – creates a lovely ceramic-style finish)
- Mod Podge Outdoor(a brush-on choice for accurate application)
- Clear Polyurethane Spray(for especially durable protection)
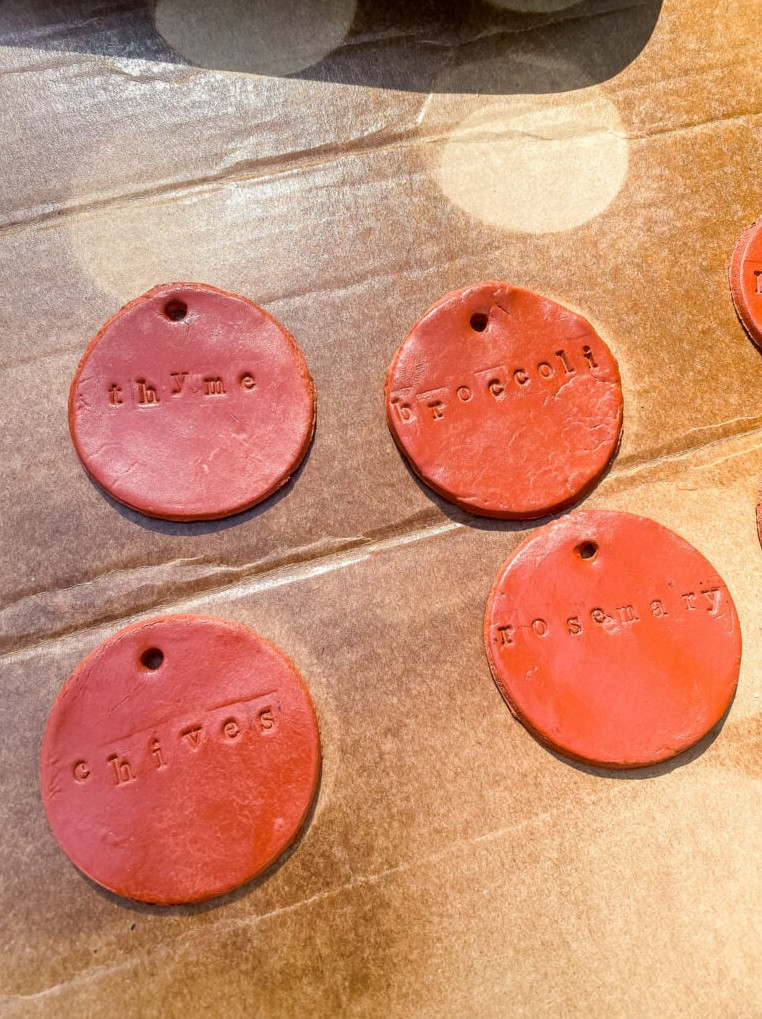
How to Seal Like an Expert:
- Preparation:
- Choose a well-ventilated workspace (garage or outside)
- Set markers on wax paper or cardboard (to stop them from sticking)
- Put on gloves and a mask (safety comes first!)
- Application (for spray sealant):
- Keep the spray 8-10 inches away
- Use thin, consistent coats – 2-3 light layers work better than 1 heavy coat
- Allow 15 minutes of drying time between coats
- Carefully turn them over with tweezers to cover every area
- Application (For Mod Podge Outdoors)
- Apply Mod Podge to the top with a brush, let it dry, and then coat the back
Helpful Tips:
• Try the spray on a single marker first – different clays may respond differently
• For detailed patterns: Apply sealant to stamped letters with a small brush
• Live in a rainy area? Put an additional coat along the edges (the most exposed section)
Drying Duration:
- Dry to the touch: 1 hour
- Completely cured: 24 hours (let them sit before putting them outdoors in damp weather)
Step 5: Putting Together Your Plant Markers
(The simplest way to showcase your handmade creations!)
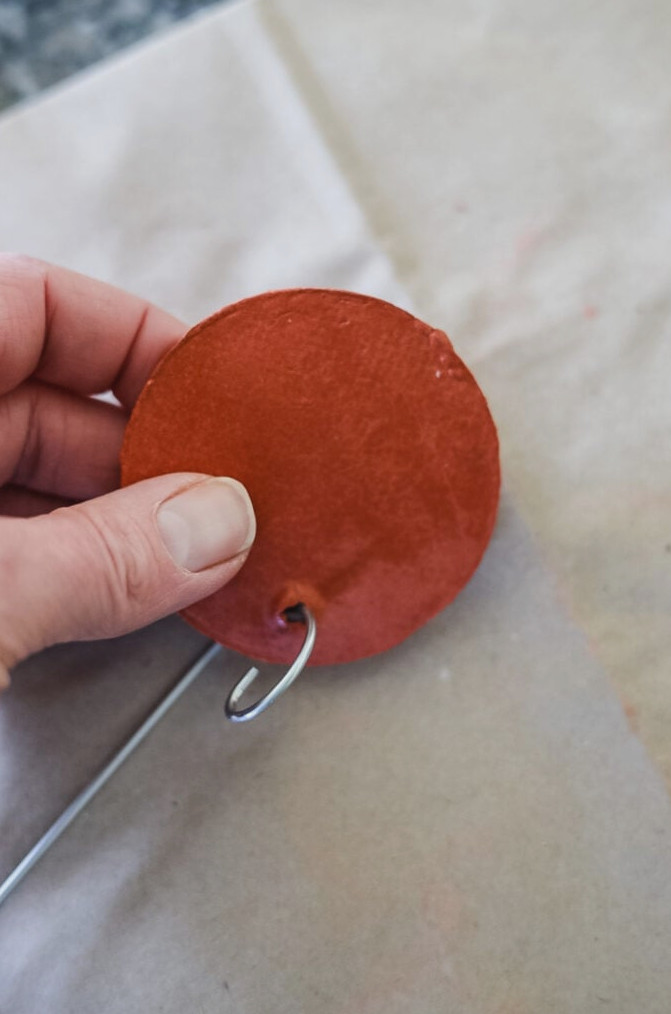
- Slide It Easily:Place the stakeupwardthrough the opening (no wrestling with the curled end!).
- Set the Height:Keep the marker 2-3″ above the soil line so it’s easy to see.
Final Details: Your Handmade Garden Charms Are Complete!
Just like that—you’ve turned basic clay intopersonalized garden decorations! Whether they identify herbs, succulents, or young vegetable plants, these markers bring a specialCottage on Bunker Hillfeel to your garden areas.
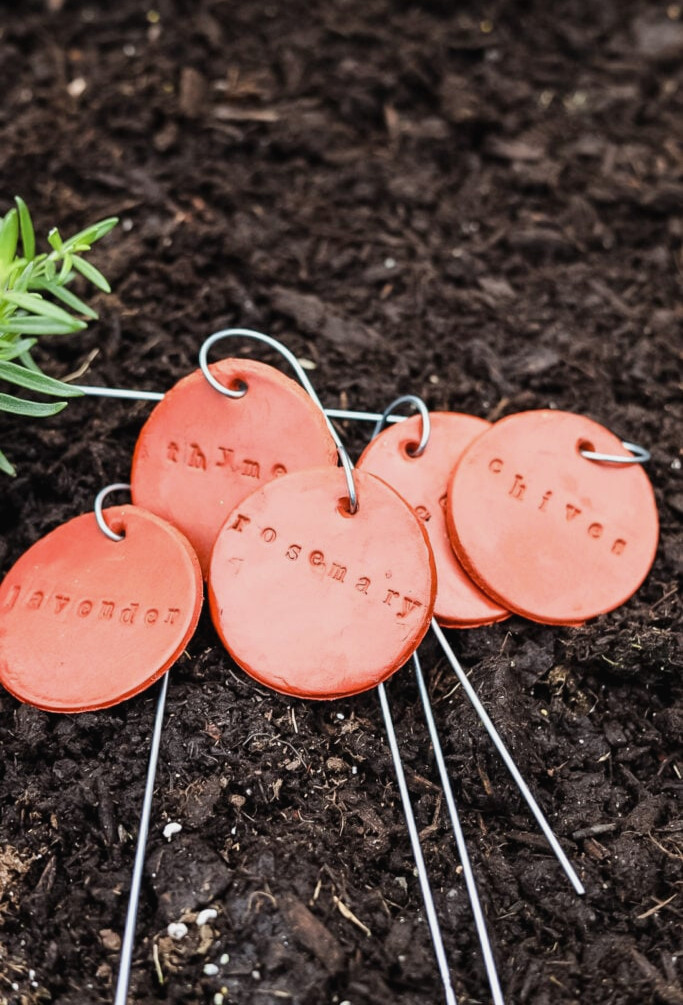
Now it’s time to head into the garden and plant some herbs so these markers can be put to use.
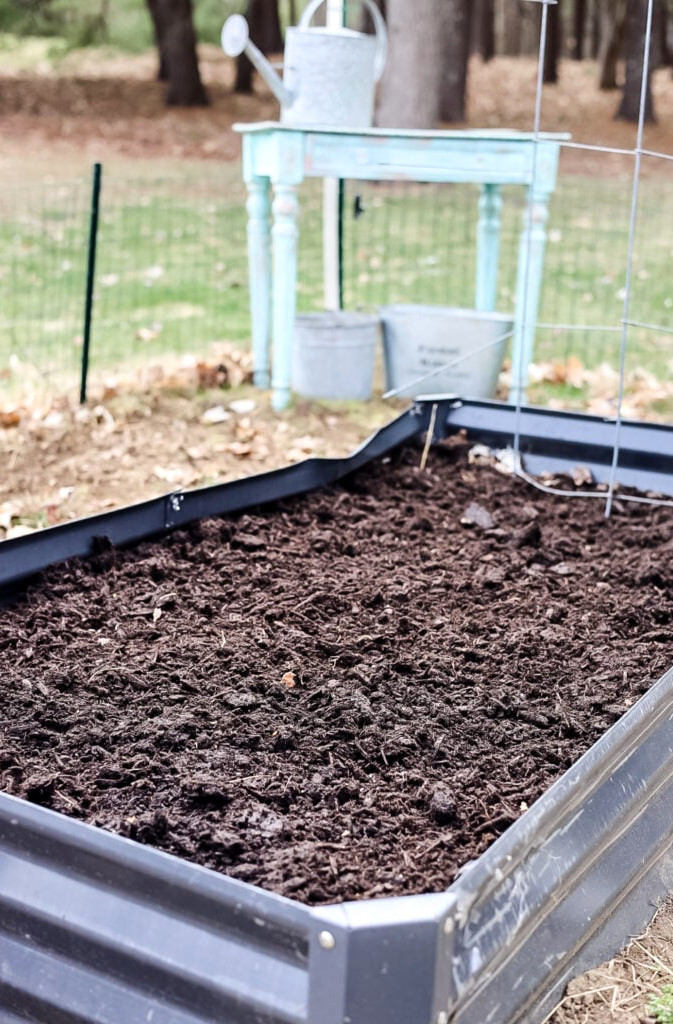
The warmer season has finally arrived in New England, and it feels wonderful to get back outside in the garden!
To get this raised garden bed ready for new plants, I began by adding several small bags of garden soil and compost to give the new growing season a strong start.
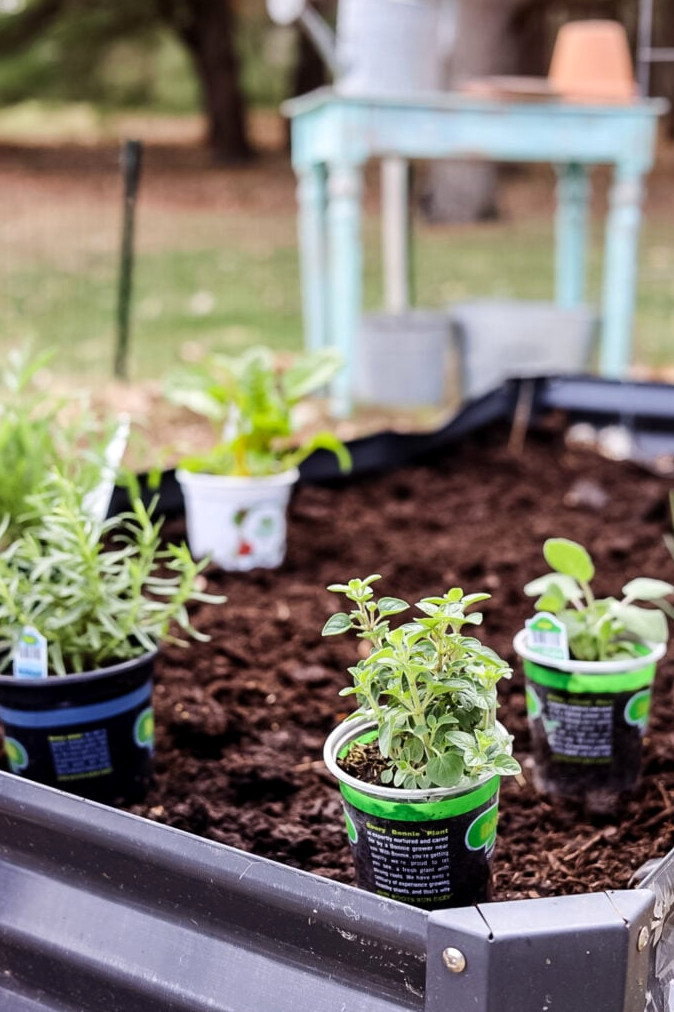
Earlier today, I brought home a handful of herb plants from Home Depot and my nearby nursery, Gardener’s at Rolling Green.
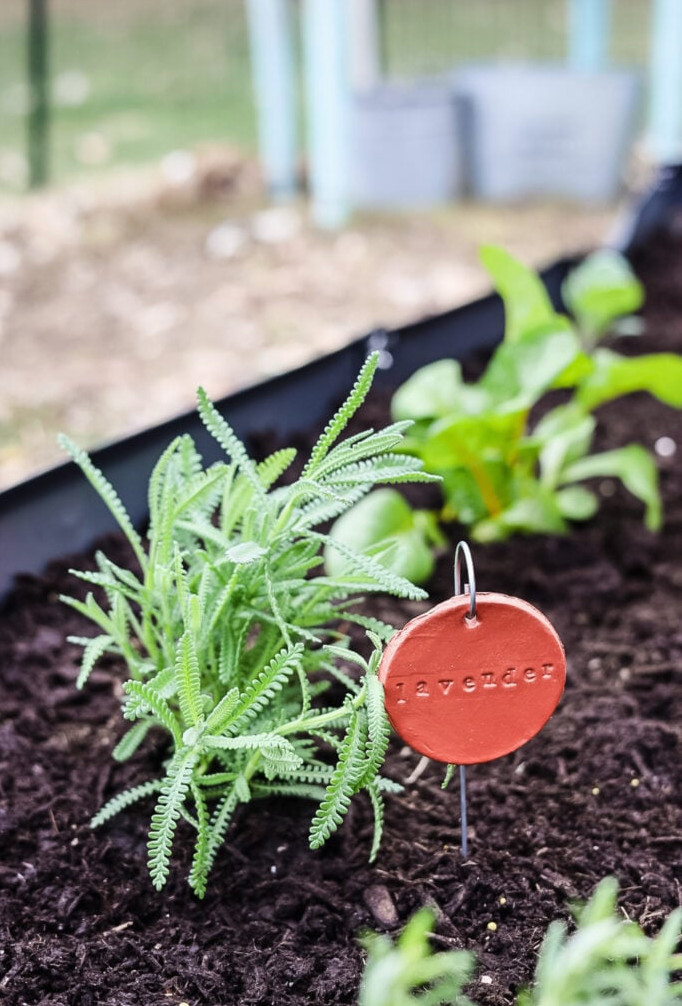
Don’t you think the foliage on this French lavender is gorgeous?
Garden Ideas: Add Charm with Mixed Planting
Why I Can’t Get Enough of Cottage-Style Mixing:
Last year, I abandoned the “one crop per bed” rule andcombined herbs, flowers, and vegetablesin one space—and the result was absolutely magical! My raised beds transformed into a lively, flower-filled haven with thestorybook English cottage feelI love so much.
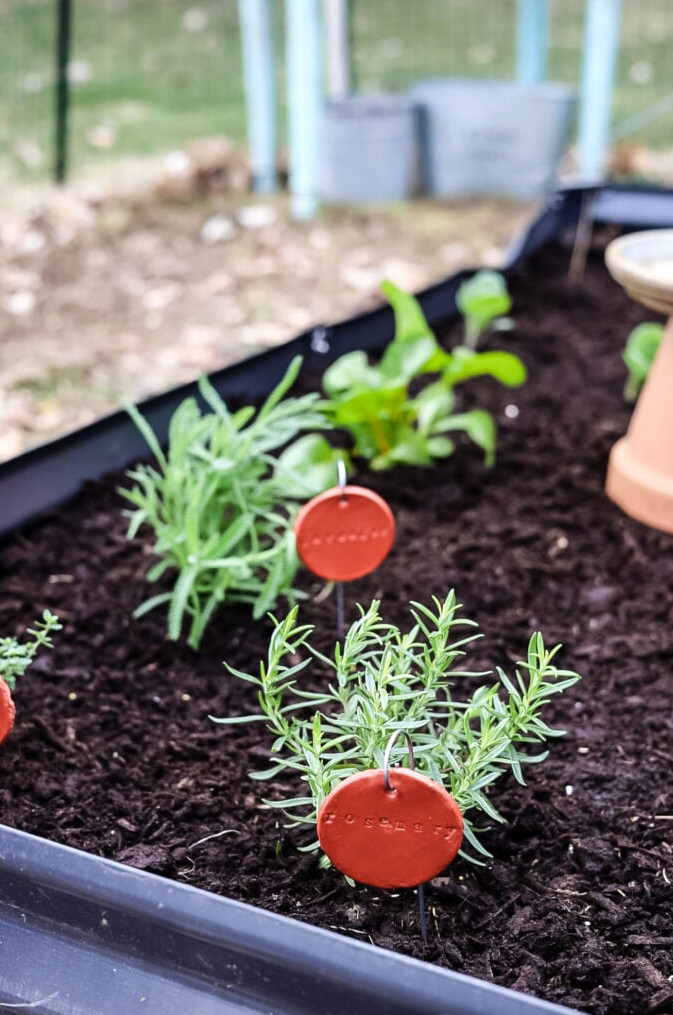
This Year’s Favorite Pairing:
I’m plantingcalendula seedsamong the lavender and sage in this bed. Why? Because these cheerful blooms:
- Keep thriving through frost(fall’s final bright stars!)
- Draw in pollinatorsto increase herb and flower production
- Require no maintenance—sow the seeds and leave them be!
Learn More:
For additional mixed-bed ideas (including which plants make the best companions), explore myCottage-Style Companion Planting Guide.
Extra Garden Idea: Make an Easy Bee & Butterfly Water Bar
Supplies You’ll Need:
- 1 terra cotta pot (turned upside down for the foundation)
- 1 coordinating saucer (serving as the “water bar”)
- A handful of glass beads, marbles, or tiny stones(so small wings can remain dry while sipping)
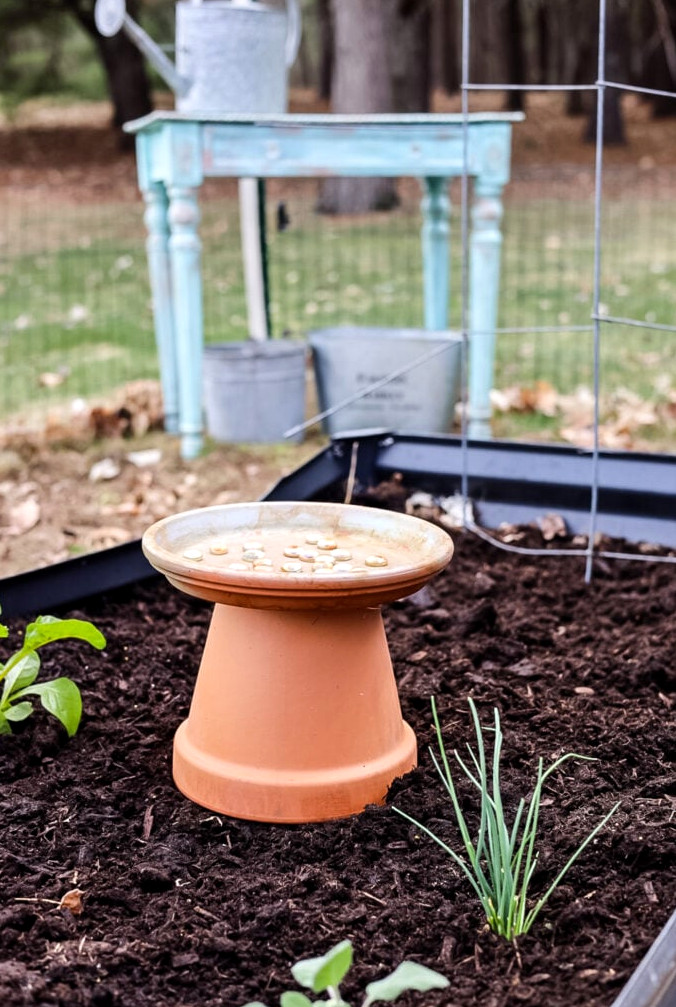
As someone who welcomes pollinators, I want my garden to provide more than blooms alone – every thirsty bee and butterfly should have a suitable place to drink! My go-to idea? A5-minute repurposed watererthat is attractive as well as useful.
Why It Works So Nicely:
- Easy on the wallet(makes use of extra pots!)
- Lovely rustic appearancethat fits naturally among garden beds
- Butterfly-tested—last summer, I saw a swallowtail pause there for 10 minutes!
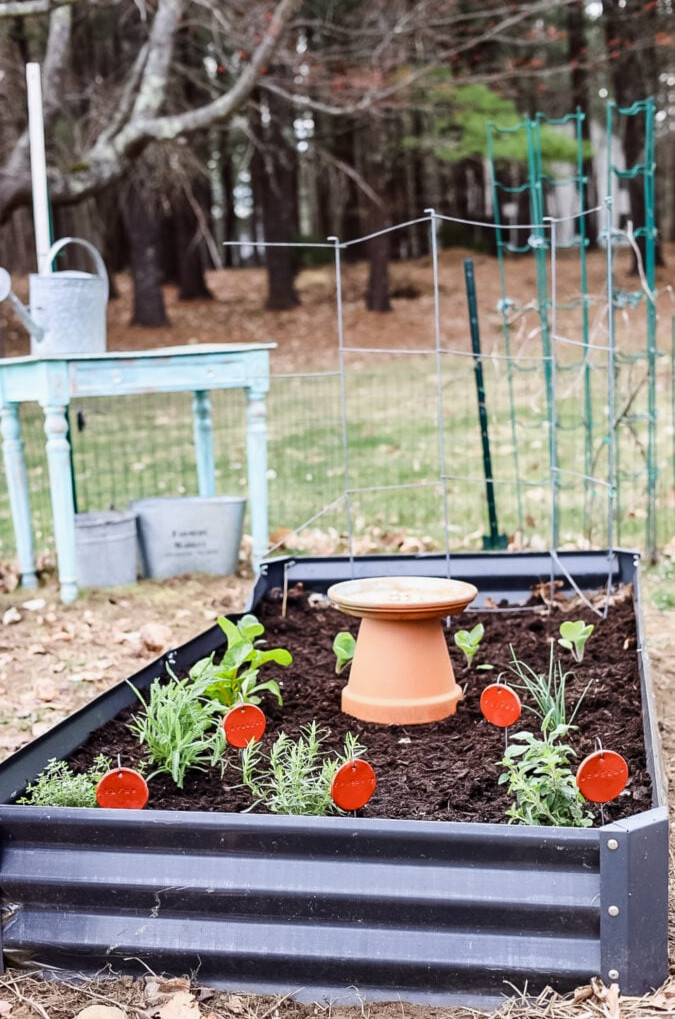
Helpful Tips:
- Set water stations in dappled shade to reduce evaporation
- Position them beside blooming herbs such as lavender or thyme for a pollinator rest stop
- Replace the water every 2-3 days to help keep mosquitoes away
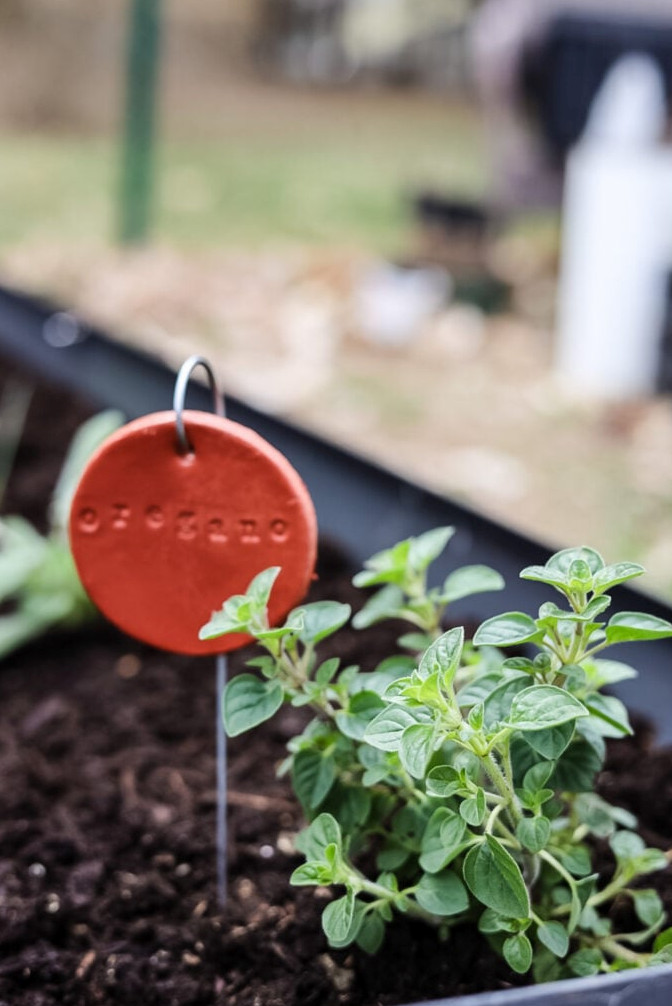
Want to have your projects showcased! If this project or any of my other DIY ideas inspires you, I’d be delighted to see your work and include you in the Reader’s Spotlight gallery. Email a photo to jennifer@cottageonbunkerhill.com
xo, Jennifer
Searching for more clay crafts?
Cottage-Style Garden
Top Products
Explore my favorite gardening essentials! From raised beds and plant supports to tools, everything you need to help your garden thrive.
Supplies
- Terra Cotta Air-Dry Clay
- Alphabet Letter Stamps
- Mini Plant Stakes
- Spray Glaze
Directions
- Flatten the air-dry clay until it is approximately 1/8 inch thick
- Use a circular cookie cutter or the rim of a drinking glass to create 2.5-inch circles
- With small alphabet stamps, mark the names of herbs, plants, or flowers
- Make a hole near the upper center for hanging, keeping it away from the edge
- Allow the clay to dry naturally
- Seal the clay markers with spray glaze for added protection
- Place the clay discs onto the metal plant stakes.
Helpful Notes
For sealing the clay markers, I suggest Krylon Triple Spray Glaze; it creates a pottery-style glazed finish on the plant markers.
Suggested Products
As an Amazon Associate and participant in other affiliate programs, I receive earnings from qualifying purchases.
- Amazon.com: Temlum Wooden Plant Labels, 25 Pcs Garden Markers with Stake & Marker Pen, Garden Labels Plant Sign Tags for Flowers, Herbs, Potted Plants, Seed : Patio, Lawn & Garden
- Crayola Air Dry Clay, Terra Cotta, 5 lb. Resealable Bucket, Modeling Clay for Kids
- Krylon I00500A00 12-Ounce Triple Thick Clear Glaze Aerosol Spray,High-Gloss
- Amazon.com: Alphabet Stamps Set, KMIKE 70pcs Letter/Number/Symbol Vintage DIY Craft Card Making Wood Rubber Stamp : Arts, Crafts & Sewing