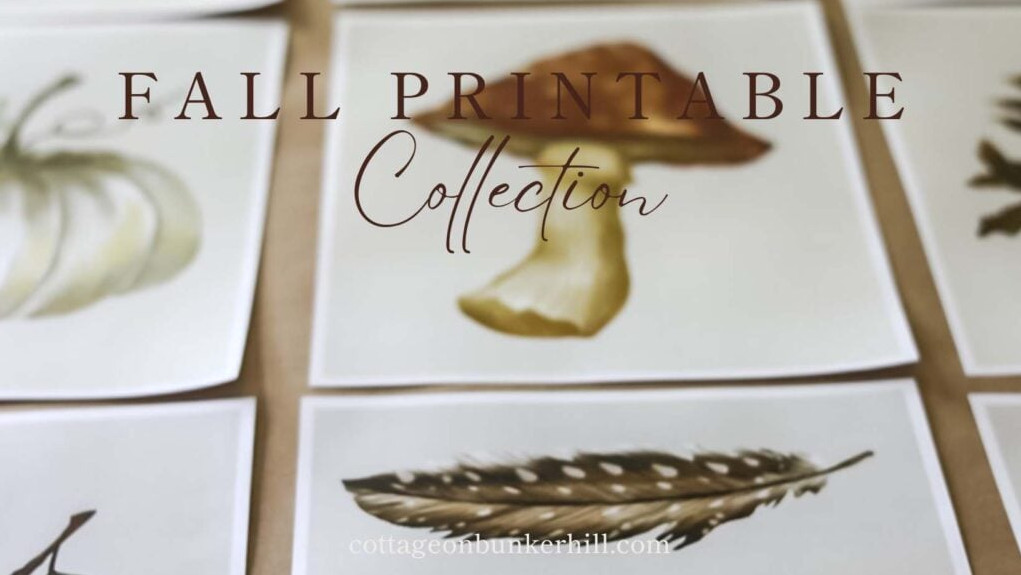
Are you excited to welcome the magical shades of Autumn into your home decor? I’ve recently put together a fresh assortment of complimentary Fall printables, which I used to design a warm gallery wall in my dining space.
Today, I’ll show you a simple way to bring a Fall-inspired atmosphere into your home and turn it into a comfortable retreat. And there’s more—I’ve created a charming selection of free Fall art printables for you to download and use to refresh your space.
Designing a Fall Gallery Wall
I adore decorating ideas that are easy on the budget! I’m constantly trying to prove that creating a lovely home doesn’t require spending a great deal of money.
Today, I’m going to demonstrate an exceptionally affordable method for putting together the coziest Fall gallery wall. I’ve designed a series of Fall printables featuring soft Autumn shades for a contemporary approach to seasonal decorating. I’ve also added this year’s biggest Fall decorating trend…mushrooms!! Those tiny fungi are definitely enjoying their moment in the spotlight this year!!
This latest Fall printable set is available for you to download at no cost!
Warm Fall Decorating
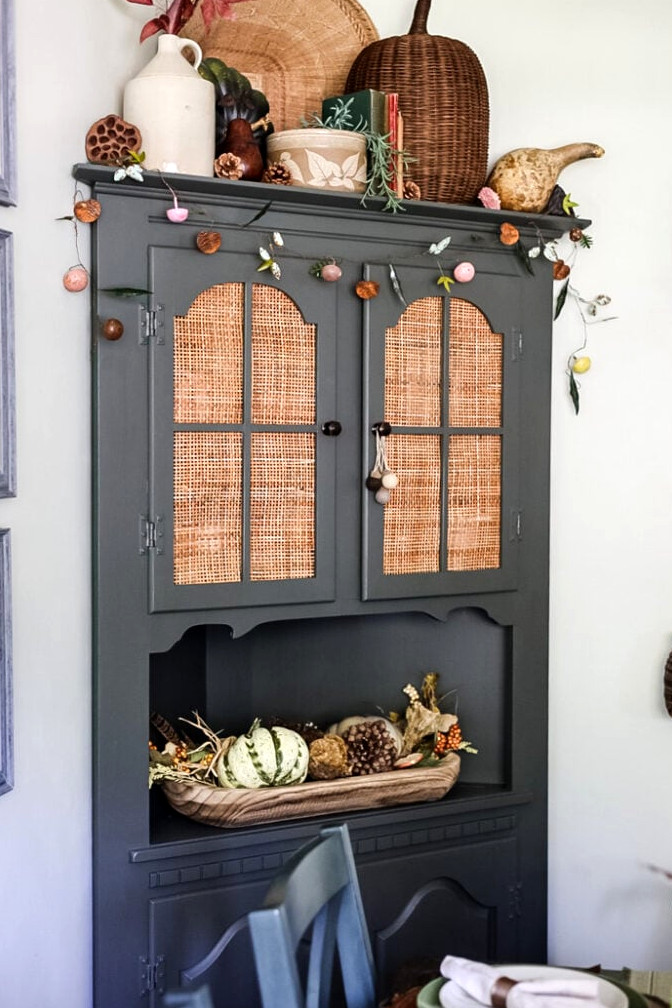
Fall is a season of transformation! It appears that nearly everyone enjoys decorating during this part of the year. Perhaps it’s because the weather begins to cool and daylight hours become shorter. We stay indoors more often and crave a cozy environment.
That’s why incorporating seasonal accents into our rooms helps make our homes feel comfortable and welcoming.
One of my favorite simple decorating tricks for any season is swapping out the artwork, and I’m here to assure you that it doesn’t need to be costly!!
Planning Your Warm Gallery Wall
For a noticeable effect, look for an empty wall in your home that you’d like to refresh for Fall. Today, I’ll show you the gallery wall I installed on the dining area wall in my kitchen.
I previously had a botanical gallery print display in this spot, so locating the holes was simple, even though I had filled them in.
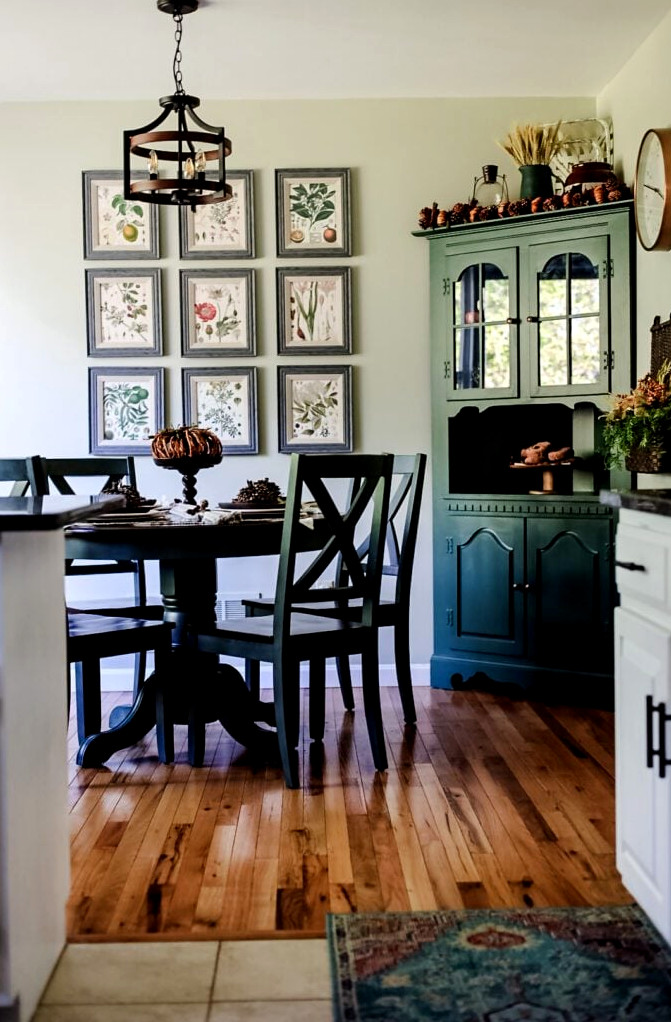
When I first placed the frames on the wall, I determined the wall’s midpoint and chose the height for the top row. I marked the location with a pencil, inserted the nail, and hung the print. Once that was done, it became much simpler to decide how much distance to leave between each frame.
Since every wall has unique dimensions, I suggest getting a measuring tape, a level, and a pencil.
- Measure the widths of the frames, then choose the amount of room you’d like to leave between them.
- Add up those inches and, after locating the center of the wall (mark it with a pencil), use the measurement to establish the gallery wall’s outer edges.
- Because the hardware sits in different locations on each frame, you’ll need to calculate the exact placement of every frame after identifying the center and outside edges.
- When creating a grid wall, always use a laser level since the arrangement needs to remain perfectly aligned.
Putting Together Your Gallery Wall
To begin, gather several frames for your prints. My top recommendation is to visit local Home Goods, Michael’s, or other home decor shops. I’ve owned my frames for 5 years, and they came from Christmas Tree Shops ( I miss them!!).
Printing Instructions
You have several choices for producing this Fall artwork. Printing at home is possible, although I’d suggest doing so only when you’re making one or two prints. Otherwise, you’ll go through all your ink!
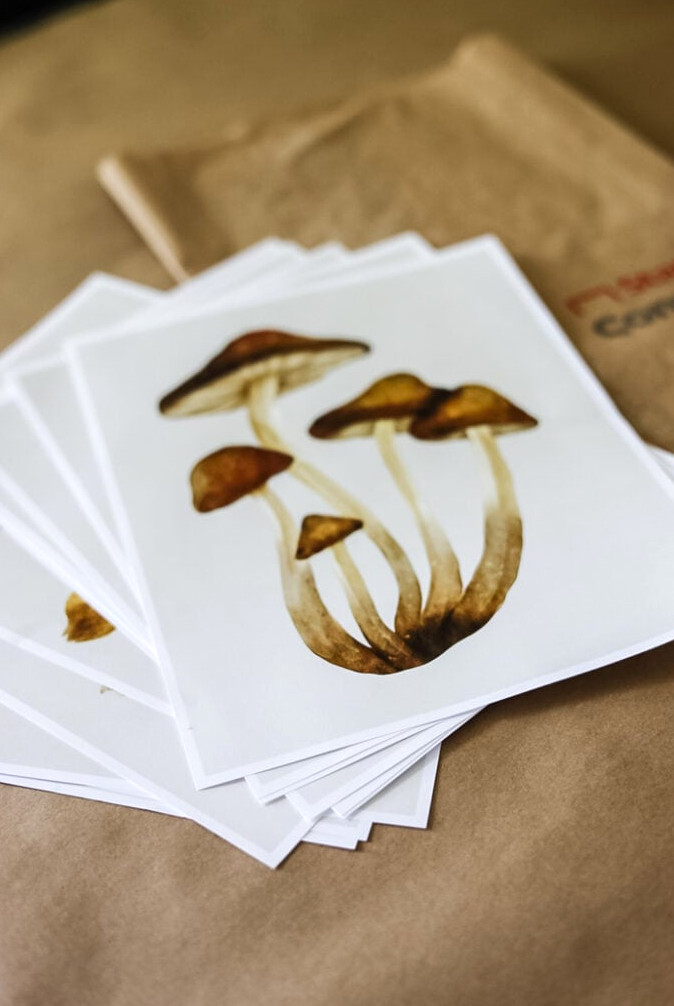
I had mine printed at Staples. Select professional printing and choose a thick paper or cardstock. I had my prints produced on linen resume paper.
Because they’ll be printed on standard 8.5 x 11 paper, you’ll need to trim the edges so they fit inside your 8×10 frames.
Another option is to order the Fall printables as 8 x 10 photographs, though this costs more than printing them as copies at an office supply store.
planning the arrangement
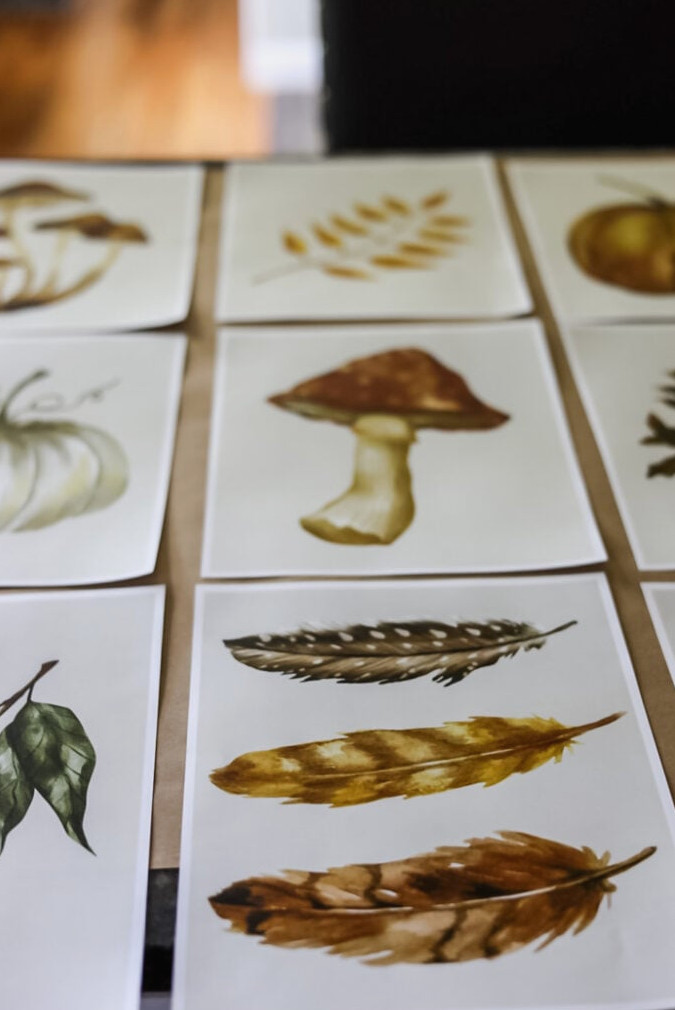
This Fall printable set includes many different designs. You’ll find 3 mushroom illustrations, 2 pumpkins, feathers, leafy branches, a pinecone, and a deer.
You’ll need to determine how many pieces you’d like to include in your own home project. For the gallery wall behind my dining
table, I plan to use 9 of the prints.
I spent a few minutes experimenting with the arrangement until it felt balanced. I placed one mushroom print in every row, then distributed the deeper shades throughout to achieve a unified appearance.
Framing & Displaying the Fall Printable Gallery
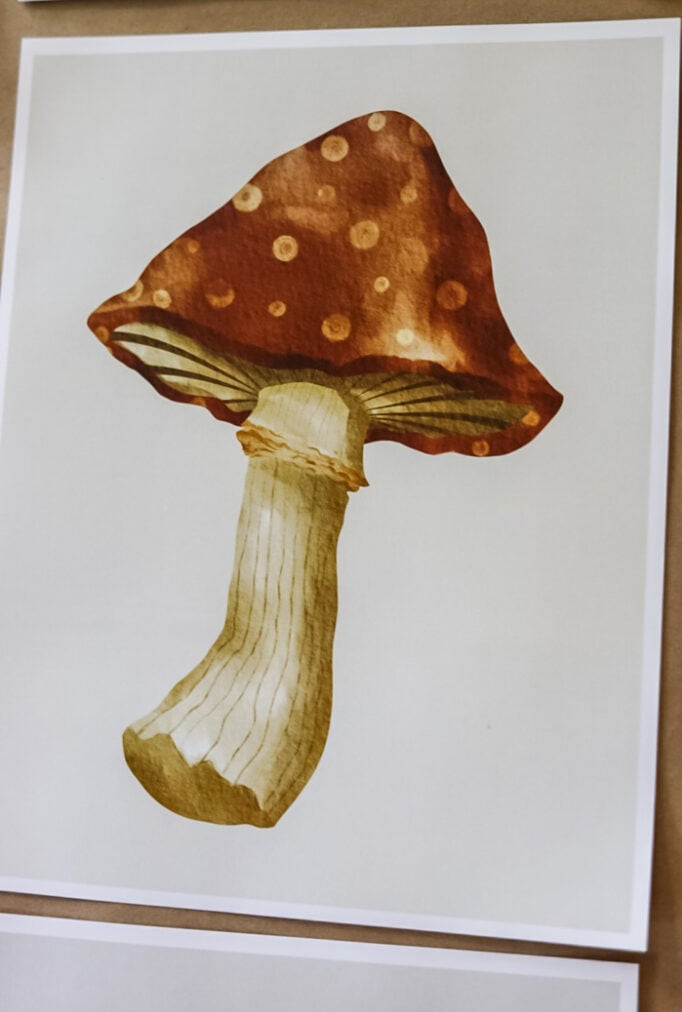
If you are printing these designs on paper rather than cardstock, handle them carefully so they do not wrinkle or fold before you place them in frames.
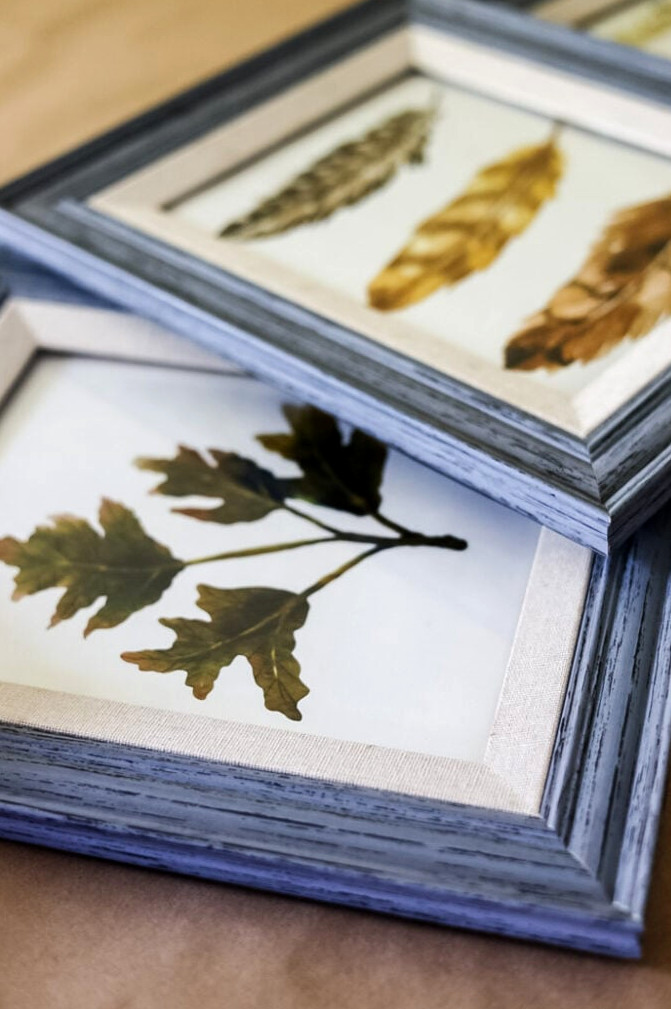
I trimmed away the extra paper to make each piece 8 x 10 and then placed them in my frames. Before securing the backs, check that no loose dust or paper bits remain on the glass.
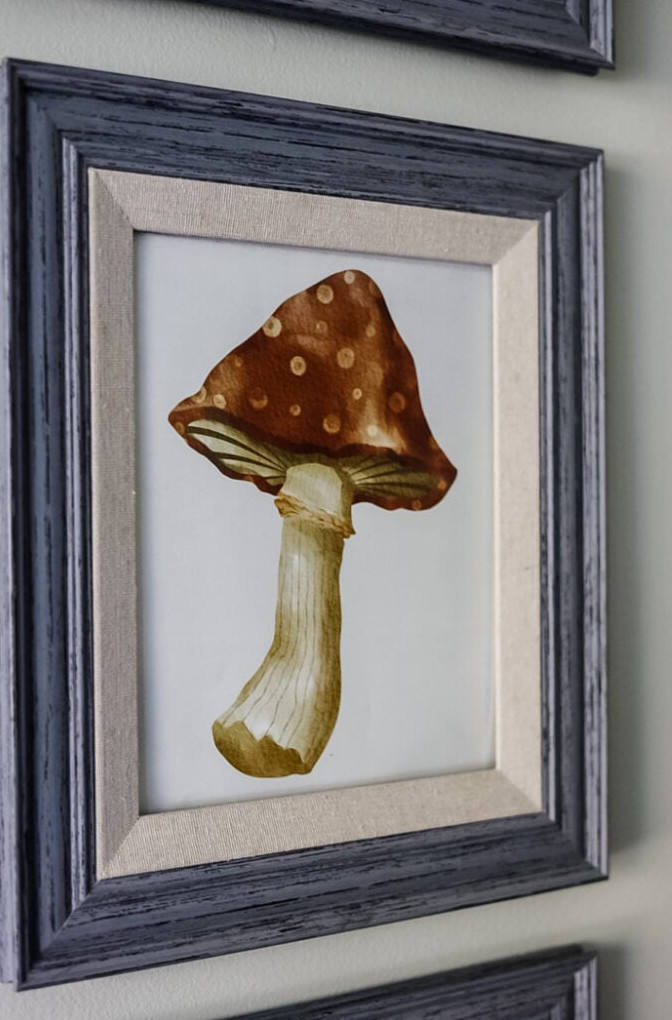
Once all of the Fall printables were framed, I put up my updated gallery wall.
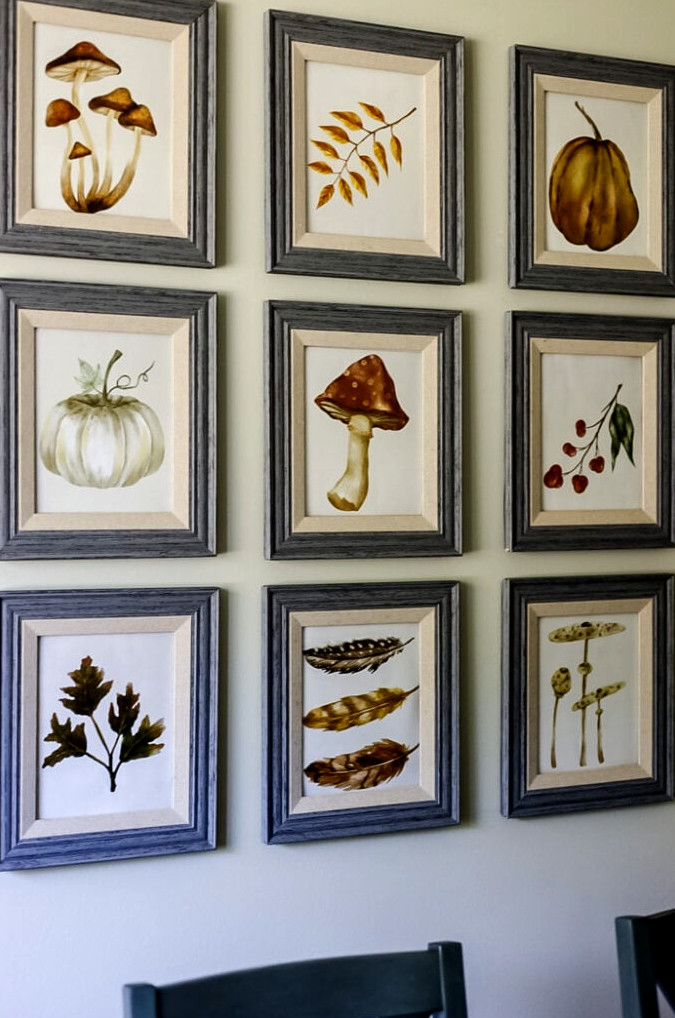
Doesn’t it look wonderful?? I was amazed by how vibrant the simple Staples copies turned out! The entire set of prints cost about $10.
Completed Fall Printable Gallery Wall
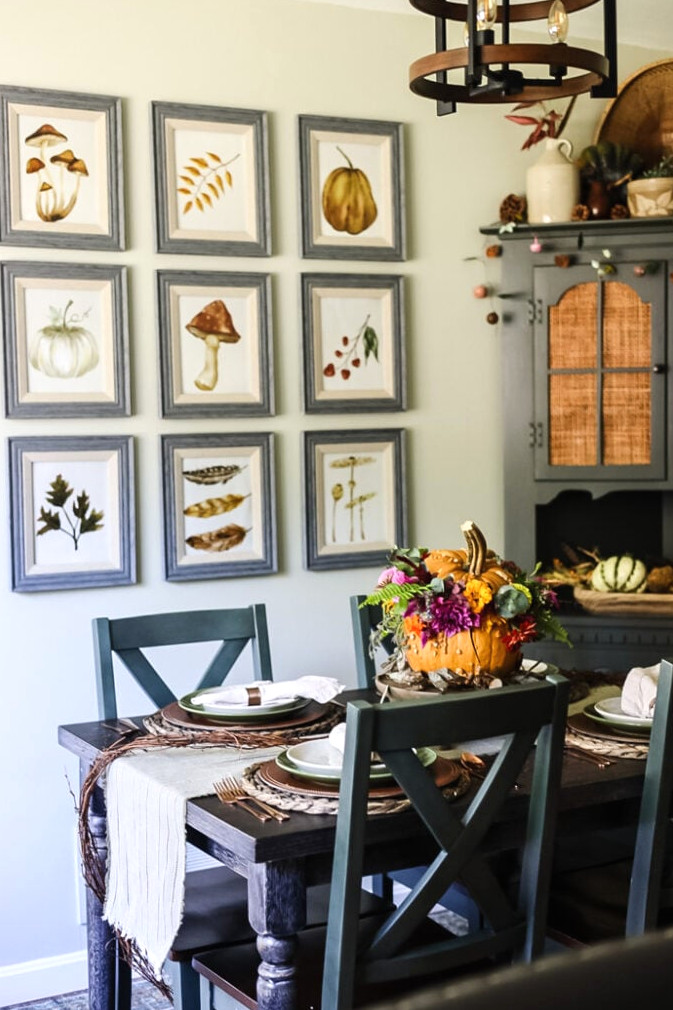
In the dining area, the Fall gallery wall creates an ideal backdrop for the rest of my organic-inspired Fall decorations.
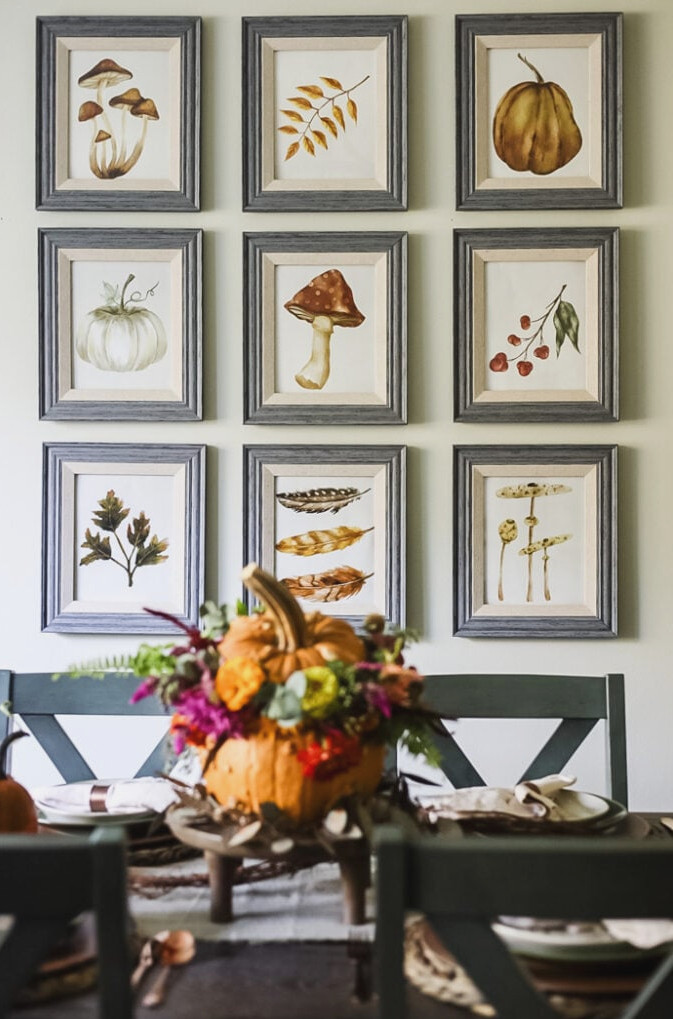
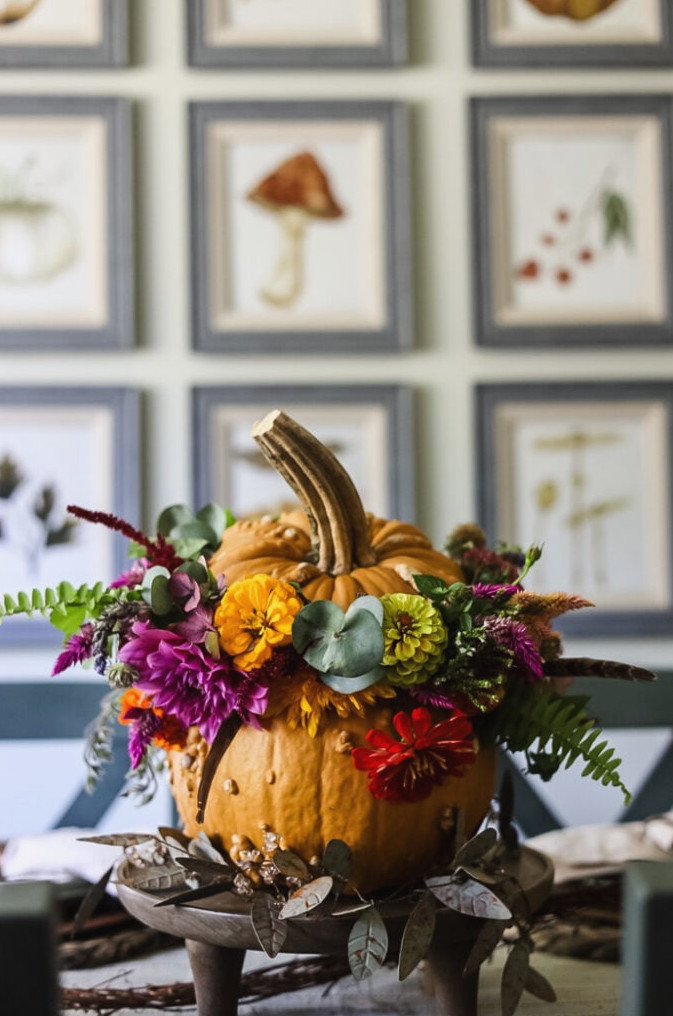
As the dining table’s focal point, I placed this whimsical DIY pumpkin filled with fresh flowers. Isn’t it delightful?
I would love to see how you have incorporated these Fall printables into your home! Send your photos to jennifer@cottageonbunkerhill.com for a chance to be featured on the website!
Find Your Free Fall Printables Here!
xo, Jennifer