Oooh, I absolutely adore a charming paper craft! Today, we’re sharing a wonderful project that can be used in so many different ways – a fabulous little DIY Birthday Cake Box with a free template! It comes from the brilliant Crafty Happy book (more details below) and is ideal for a little self-care/self-affirmation, while also serving as unusual paper décor and/or a sweet little DIY Birthday Cake Gift Box. SO ADORABLE!
Craft Happy the Book
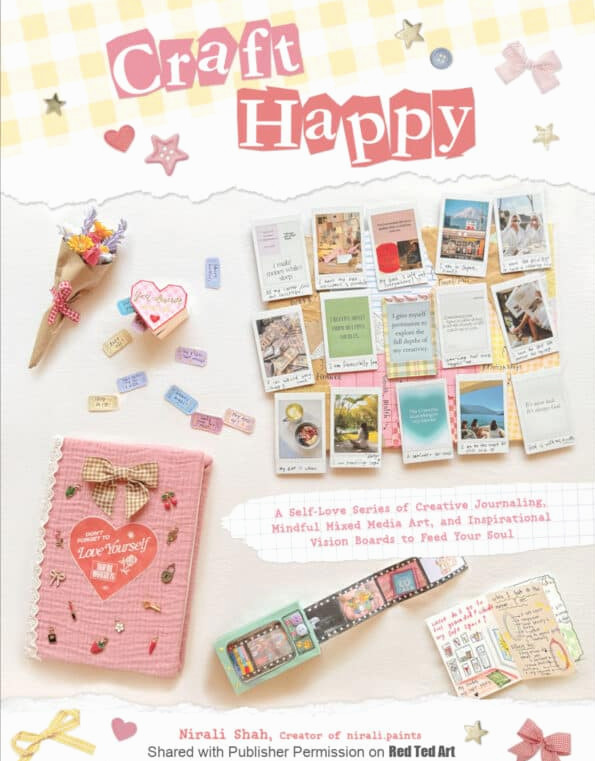
This delightful craft, as mentioned, is taken from Nirali Shah’s Craft Happy book:
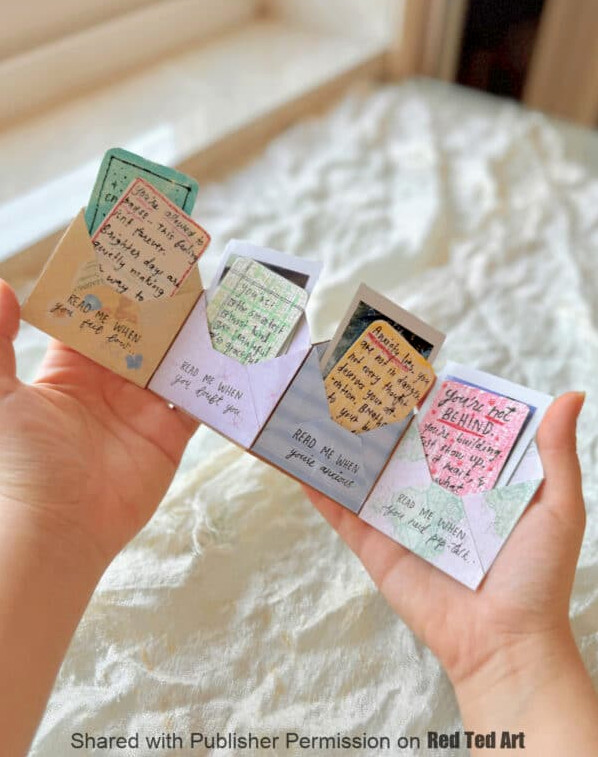
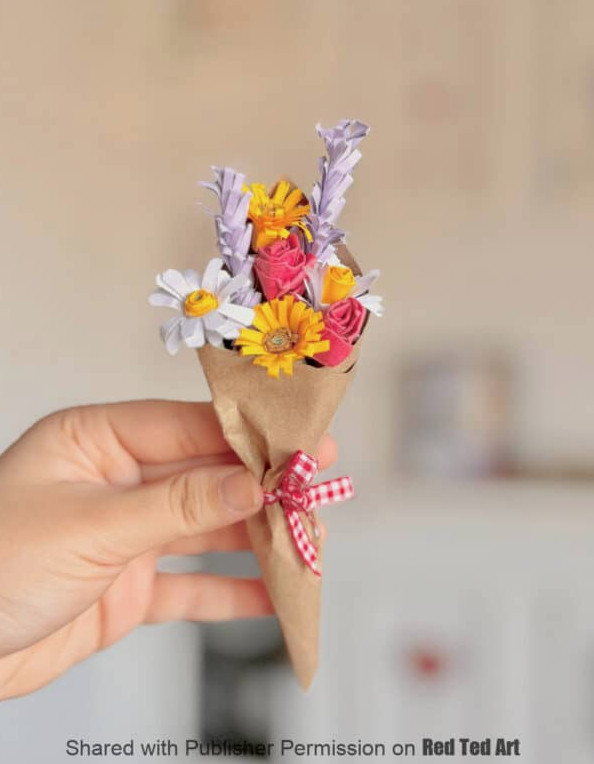
You can find Nirali on social media under Nirali Paints, a beautiful Instagram account where creative crafts and paper art blend with watercolors and painting! The best part is that, although her projects appear wonderfully polished and professional, Nirali is excellent at leading you through each stage step by step, making it easy for everyone to participate and enjoy themselves.
She now combines her creative skills in one volume – Craft Happy! It’s a book overflowing with positivity, self-care, and self-love. While I believe anybody could enjoy it, I think teenagers, students, or even mum would especially love giving it a try. Spend 30 minutes focusing on yourself while creating something incredibly cute and imaginative, all while including loving messages or affirmations. Simply wonderful.
The book is filled with templates too, allowing you to create a wide variety of paper crafts with ease. Today, I’m delighted to share this lovely little DIY Cake Box with you – time for a Slice of Compliments!
Get your own copy of Craft Happy on Amazon or from all good bookstores today!
Reprinted with permission from Craft Happy by Nirali Shah. Page Street Publishing Co. 2025.
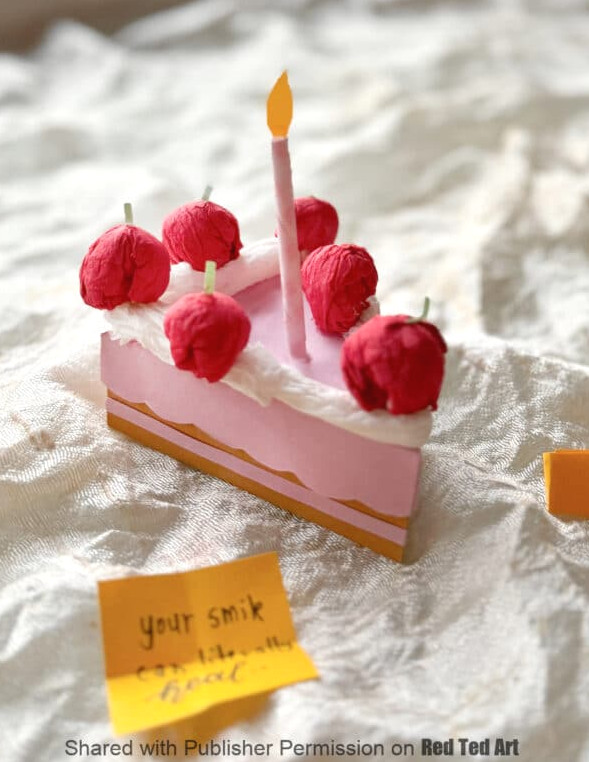
Slice of Compliments – DIY Cake Box with Template
Picture this . . . You’re standing by your dressing table, ready to begin the day, when you notice an irresistibly cute slice of cake. But this is no ordinary cake; it contains little compliments that remind you of your value, because you deserve happiness, celebration, and a daily serving of self-love. In this tutorial, we’ll make a delicious-looking cake slice box that brings a charming detail to your room while storing encouraging words. Think of it as your own personal slice of joy, ready to brighten your spirits whenever you need it!
Materials
- Cake slice template (see the large red button below “Click for Your Printable”)
- Plain sheet of paper (to print the template)
- Cardstock in a selection of colors you prefer
- Scissors
- Pencil
- Craft adhesive or a glue stick
- Thin double-sided adhesive tape
- Paint or felt-tip markers
- Paintbrush
- Decorative supplies (ribbon, small stickers, and so on)
- Red and white tissue paper
- Small paper pieces (for writing compliments)
- A trinket dish (for showcasing)
I’ve included the straightforward cake box template in THREE SIZES, so it can suit a variety of projects and requirements!

How to make a DIY Birthday Cake Box
1. Prepare Your Template
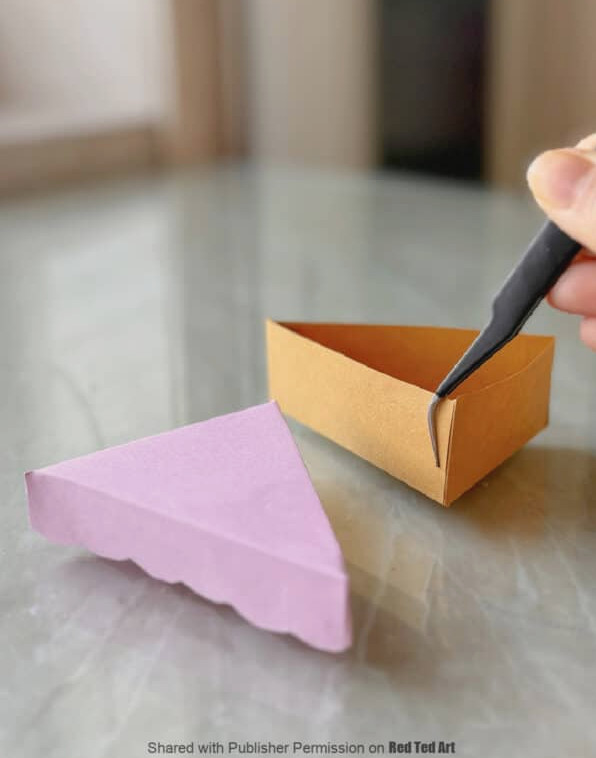
Print the cake slice template. Carefully cut it out with scissors, then trace the shape onto the cardstock you selected. There are two template pieces: the base and the lid. Select a cardstock shade according to the cake slice style you would like to create.
Consider choosing two contrasting colors, using one for the lid and another for the base. For example, try warm brown with red for chocolate cake, pastel pink with pale cream for strawberry, or soft cream with brown for vanilla.
Cut carefully along the solid lines on both the base and lid, then crease the dotted lines to create the forms.
Ensure the creases are sharp so the finished box looks neat and well-defined.
2. Assemble the Cake Slice Base and Lid
Put glue on the side tabs of the base template, then fold and join it to create a firm triangular box.
Do the same with the lid, checking that it slides comfortably over the base without fitting too tightly. Both pieces should be firmly assembled so they can contain your compliments without falling apart.
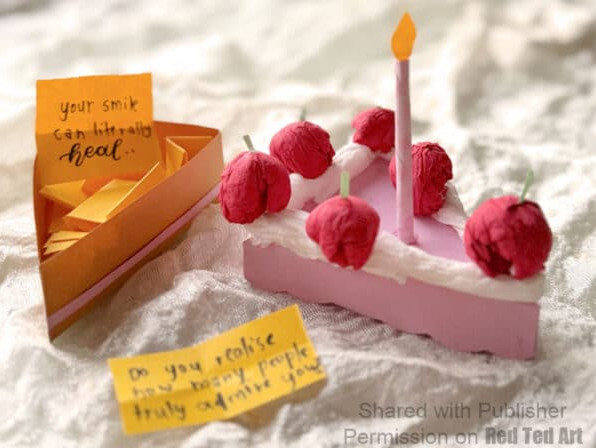
3. Decorate Your Cake Slice
This is the stage where the charm really begins! Gather your paints, markers, paintbrush, and other embellishments, then add features to your cake slice to give it its own character.
Take a colored piece of paper and roll it into a little cylinder. Then, attach a small flame-shaped piece of yellow paper to the top so it looks like a candle.
Add frosting drips, draw tiny paper shapes for a “sprinkled” effect, or apply shimmering paint to achieve a glossy appearance.
4. Create a Cherry Topper with Icing
Twist some white tissue paper with a little craft glue, then attach it around the edges of the cake slice to form the icing.
Take a small piece of crimson tissue paper and carefully scrunch it into a tiny sphere.
To create a lifelike detail, twist a little white tissue paper, color it green, and fasten it to the cherry as a stalk. Use a small dab of adhesive or narrow double-sided tape to secure the cherry and stem on top of your cake slice for that final, tempting detail.
5. Create Your Compliments
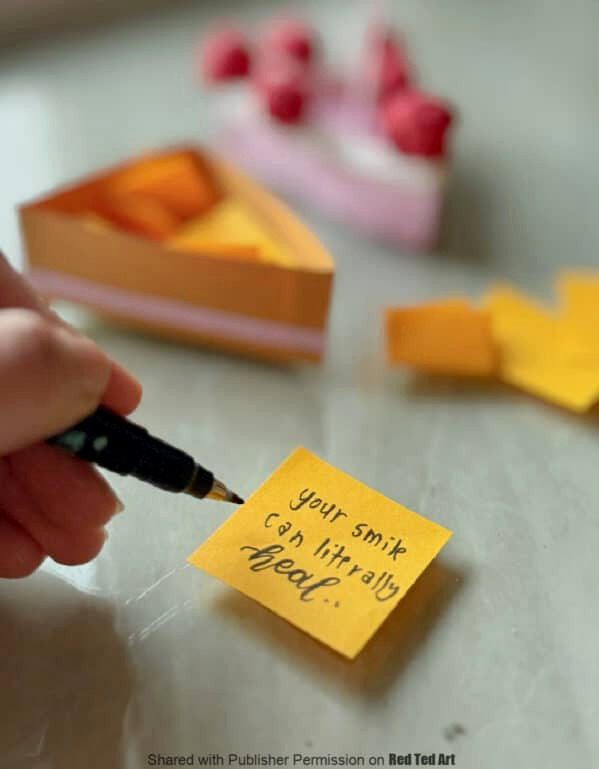
Snip little pieces of paper, write kind and encouraging compliments that make you smile, then fold them into small notes. They might be thoughts that honor your special qualities and the way you bring brightness to the people and places around you.
You might write messages such as,
- “Your smile brightens every room,”
- “You make everyone nearby feel valued,”
- “Your hair is gorgeous!” or
- “Nothing compares to the warmth you share.”
Choose affirmations that call attention to your natural radiance, appeal, and the small details that make you one of a kind. Fold or roll every compliment and tuck them into the cake slice.
When everything is finished, set your cake slice on a trinket dish and choose a place to showcase this charming little treat as a reminder of how amazing you are!
Project Thoughts
In the same way we enjoy a delicious treat, pause each day to “unwrap” small moments of joy and remind yourself that you deserve compassion, affection, and self-belief.
Decorated with this lovely reminder, your trinket dish shows that happiness begins in the mind, and it is up to us to preserve it.
Therefore, breathe deeply, smile, and remember that you will complete this chapter with a heart filled with support and a daily reminder of your personal sparkle. Now go ahead and turn your world into a celebration of yourself!
Enjoy this template and craft? Looking for more amazing Craft Happy inspiration.. then:
Purchase your copy of Craft Happy on Amazon or from any good bookstore today!
Reproduced with permission from Craft Happy by Nirali Shah. Page Street Publishing Co. 2025.
Enjoyed this project? Here are several more brilliant Page Street Publishing Books you might want to explore (ahem, two of these are naturally Red Ted Art books!!!):