
Keep all your jewelry arranged and concealed with this lovely DIY wall-mounted jewelry organizer.
This simple-to-construct wall jewelry organizer will quickly become a favorite feature in any room. The cabinet’s front is a contemporary wooden sign that can display any design you choose.
However, the real surprise is inside. I also teamed up with Kreg Toolsto provide the building instructions at no cost!
Who can resist the enjoyable trend of decorating with wooden signs? I certainly cannot!
They bring plenty of character to your home and are straightforward to make, particularly when you own a Kreg Jig! When I finally decided to deal with the tangled pile of jewelry in my dresser drawer (rather embarrassing, I admit), I chose to merge my passion for wooden signs with my need for better jewelry storage.
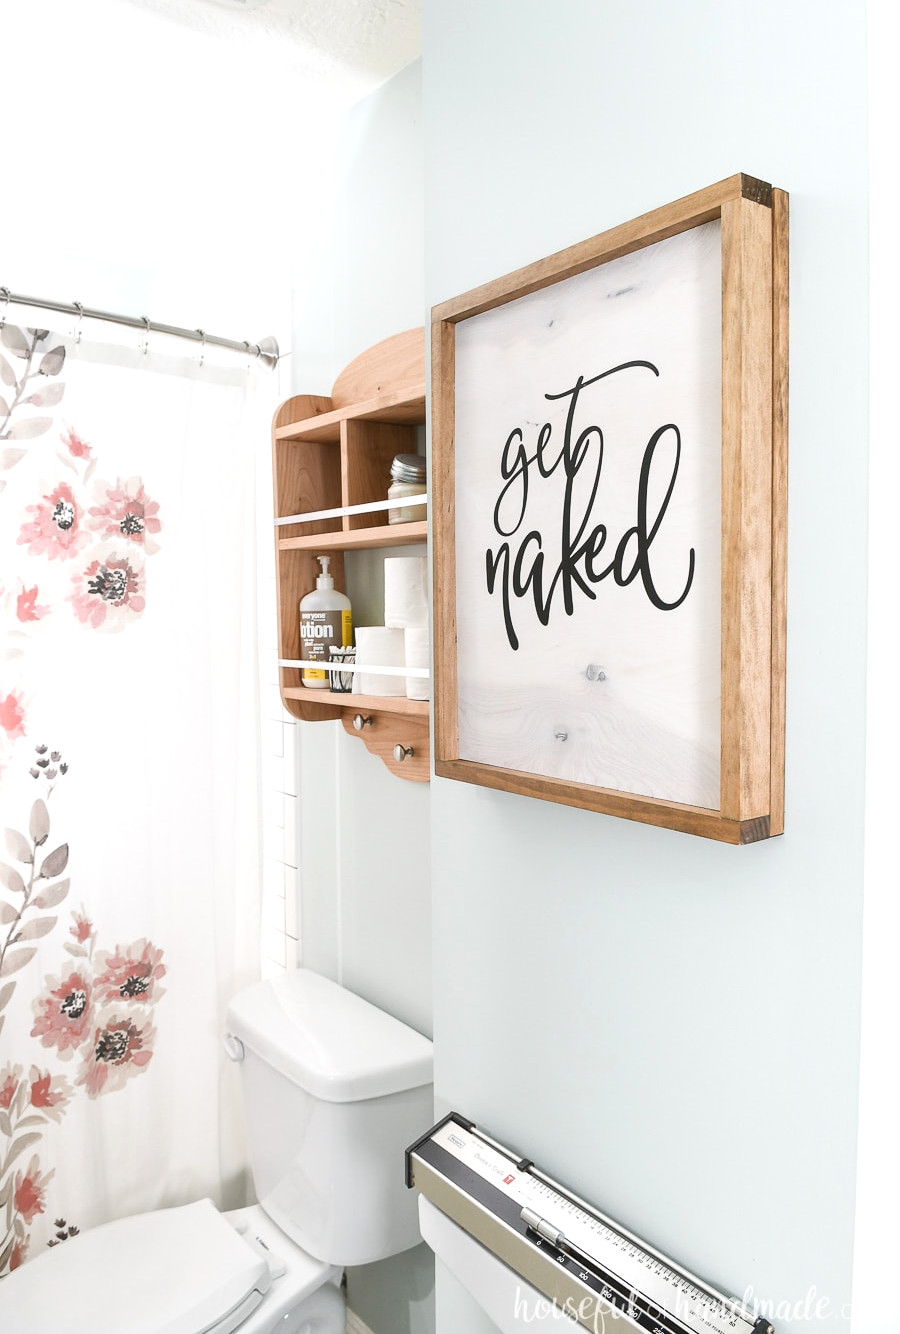
The finished project turned out wonderfully!
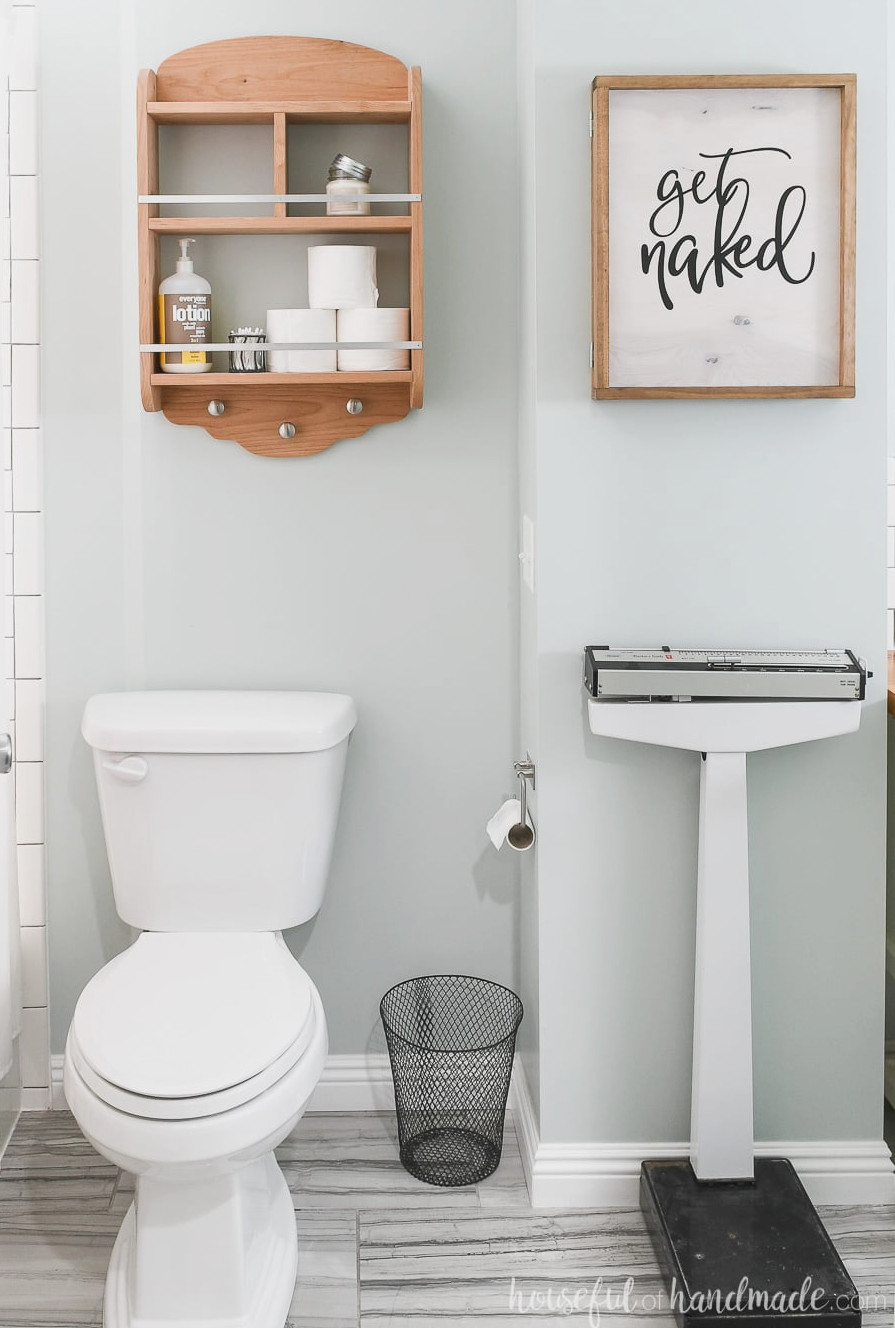
Guests visiting my home only notice humorous bathroom artwork (he he). Once the thick wooden sign swings open, though, they discover a wonderful jewelry storage area! Seeing everything neatly arranged makes me incredibly happy.
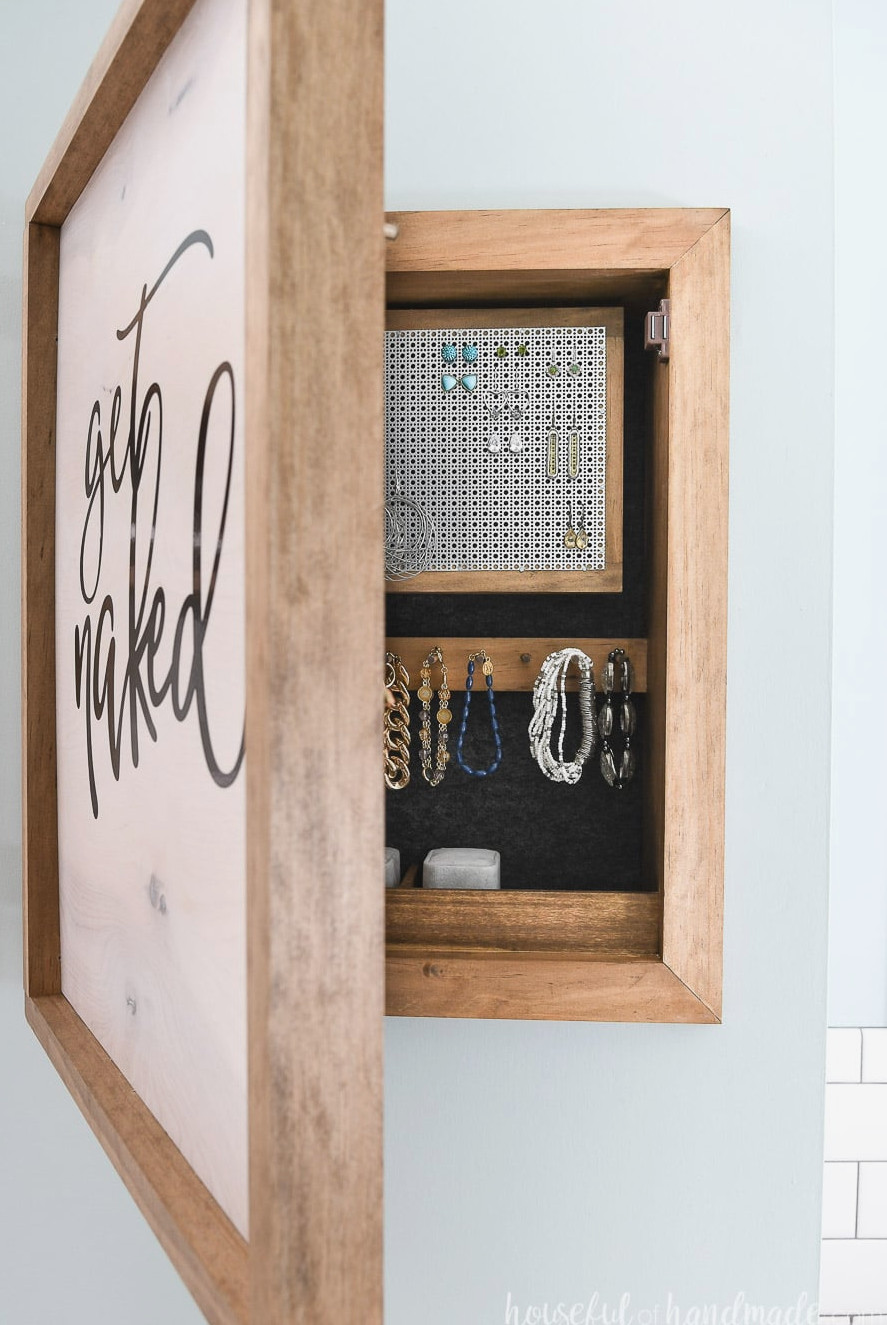
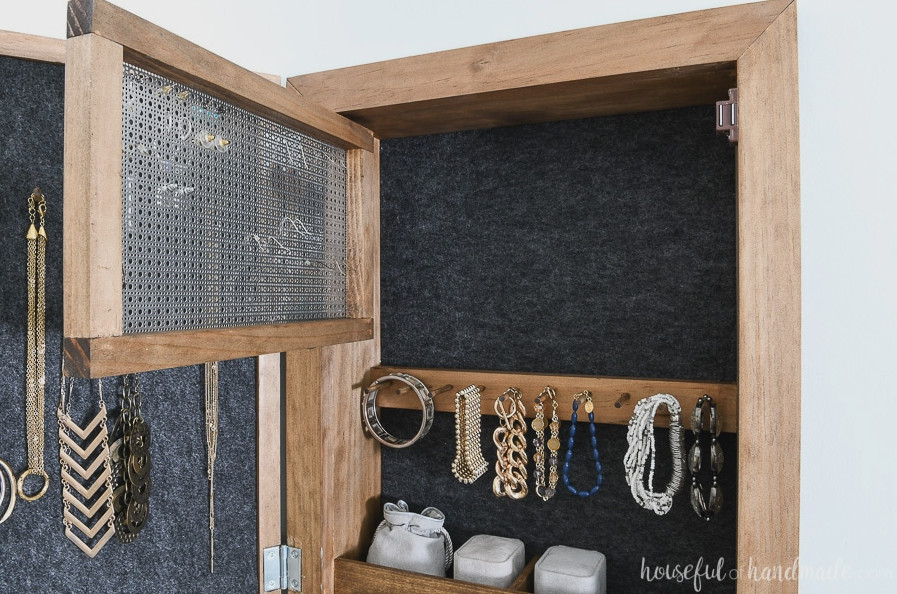
Necklace hooks are attached to the rear of the wooden sign. The felt lining glued inside serves another purpose besides safeguarding the necklaces: it conceals the pocket holes that securely join the sign together.
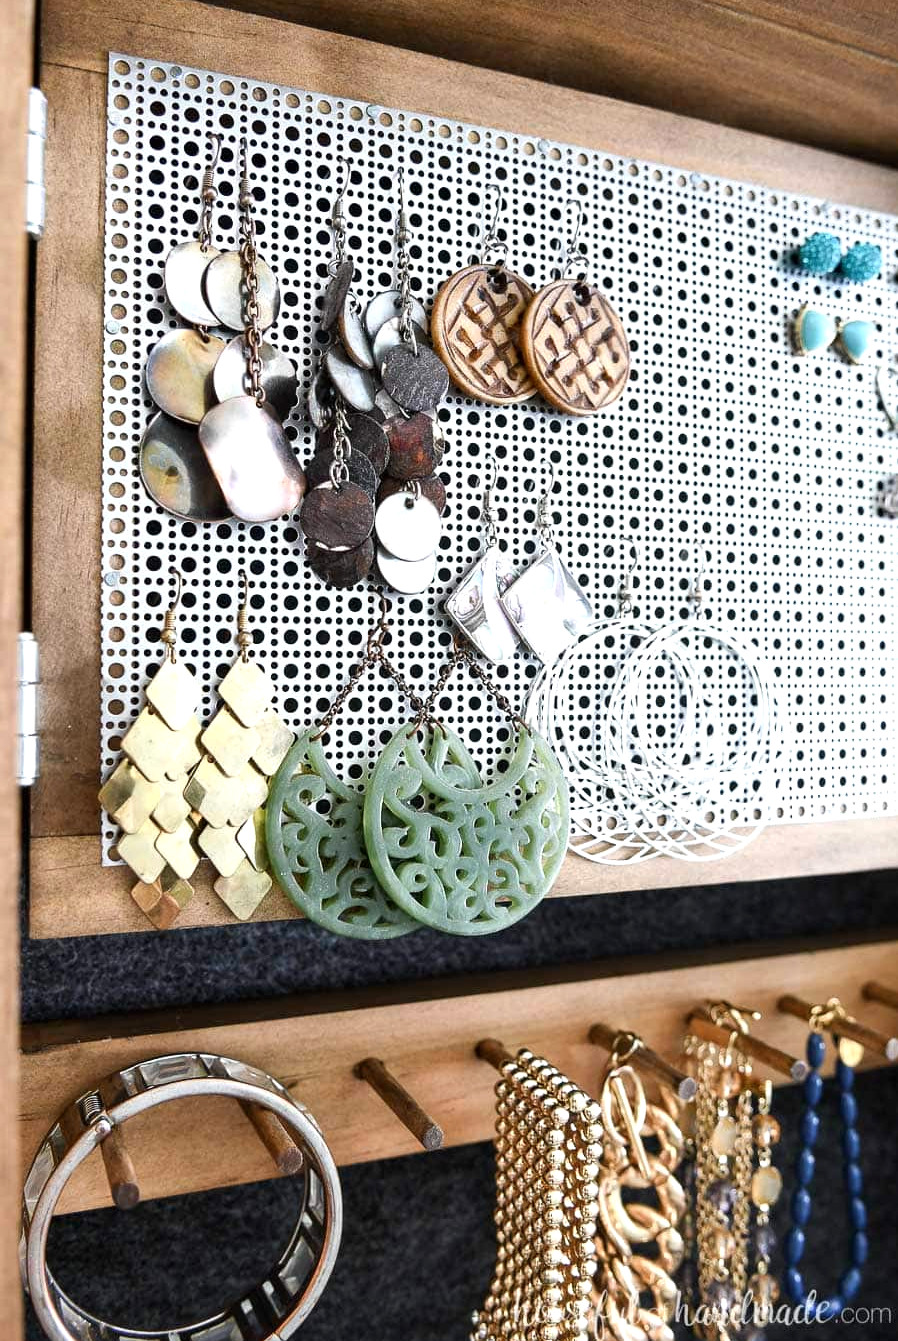
Inside the wall-mounted unit, there is also an ideal solution for keeping earrings organized. The earring panel is hinged, allowing easy access to its reverse side. That arrangement works beautifully for both dangling earrings and studs!
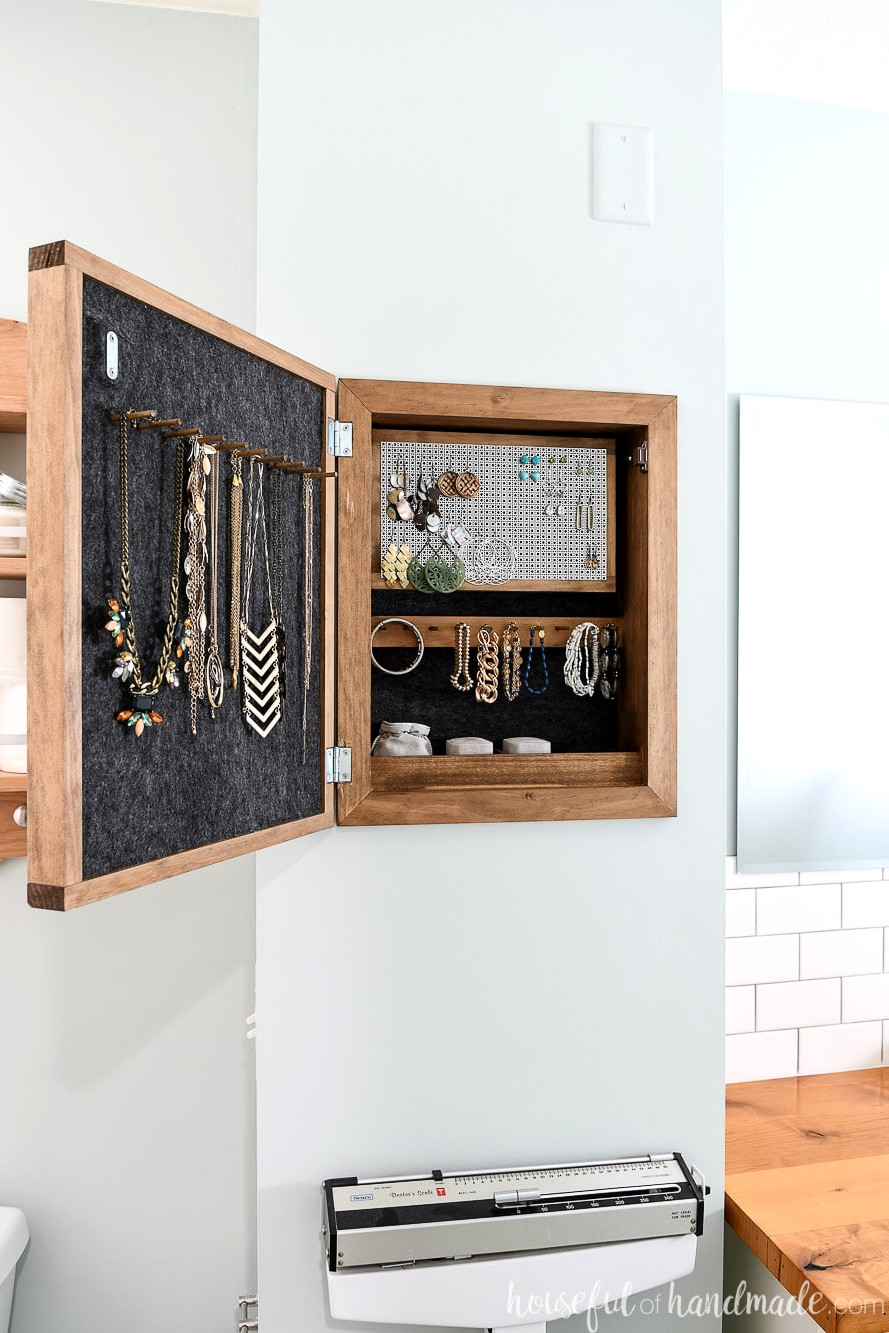
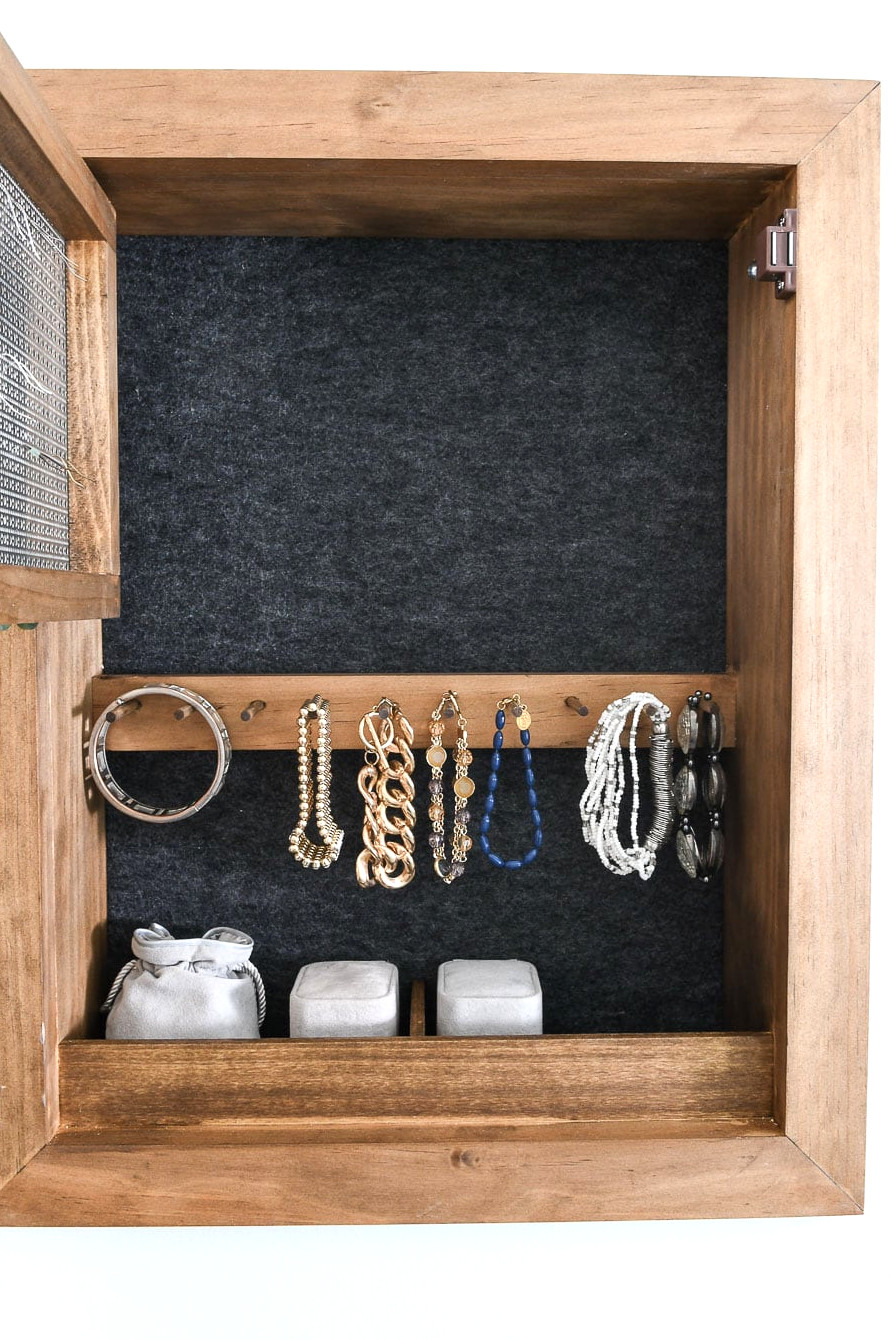
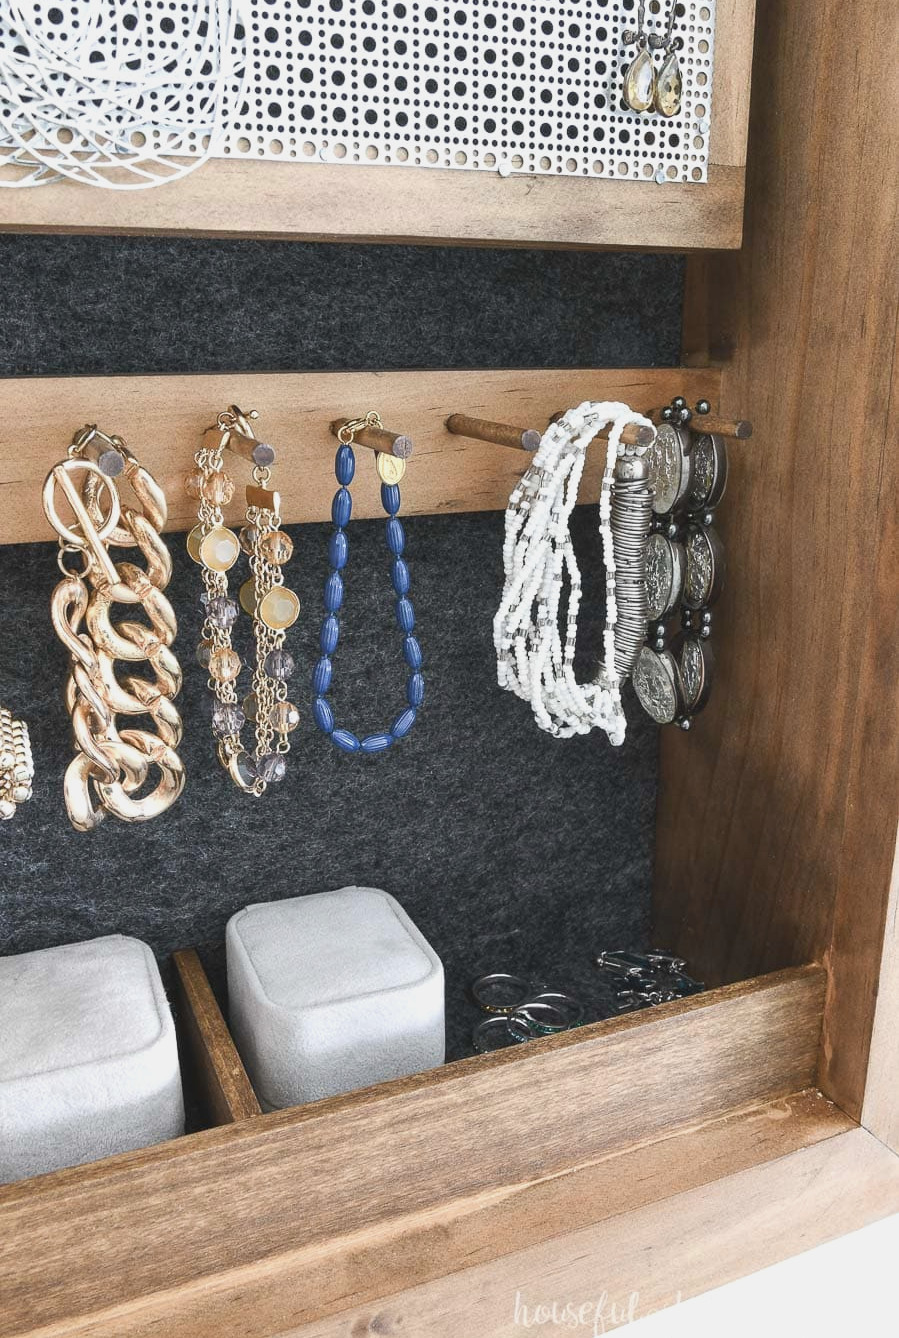
A further line of hooks provides room for bracelets. It is incredibly simple, yet the result looks fantastic, doesn’t it? At the bottom, two sections offer convenient storage for rings—or anything else you would like to tuck away inside your concealed jewelry cabinet!
This DIY wall jewelry organizer makes an enjoyable weekend project and would also be an excellent handmade present. Who wouldn’t appreciate having a dedicated spot to arrange and conceal their jewelry? For an extra special surprise, place a new necklace inside the cabinet ????
Yet this project nearly failed to become reality! I designed the plans and constructed the wall jewelry organizer, but that was when the trouble began…
Before cutting everything to its final dimensions, I made a small opening in the wall to verify that the cabinet would fit. Since I had installed drywall there only a few years earlier, I felt confident that nothing was in the way. Once I checked, I began building.
When I returned to complete the opening, I struck the studs just 1/4″ from my marked line! Yikes. I assumed shifting the cabinet 1/4″ in the opposite direction would solve the issue, but sure enough, studs appeared there too, only 1/4″ from my line… I had misjudged the spacing between them. Fortunately, this should not affect you, since studs are generally 16″ apart and the cabinet measures only 14 1/2″.
Thankfully, these studs were not structurally significant; they merely supported the drywall covering a vent from the furnace. I therefore asked my husband to notch them so the cabinet I had already assembled could be placed inside.
Was everything smooth from there??? Not at all! After installing the gorgeous jewelry organizer in the wall, I tried attaching the wooden sign that would conceal the jewelry inside.
Unfortunately, this revealed a flaw in my design. I believed I had planned it well enough, but I soon discovered that no hinge available would let the cabinet’s front open in the manner I had envisioned.
My goal was for the wooden sign to extend across the cabinet’s upper edge. This would leave the frame just 1/4″ away from the wall, making the hidden storage space virtually impossible to detect. It seemed like the perfect plan!
Still, I found it surprisingly difficult to abandon that approach. I experimented with hinges positioned in countless locations and orientations. For nearly an hour, I simply stared at the project, wishing the solution would suddenly become clear. Eventually, it did—the answerwas to cut the wooden sign to match the cabinet’s dimensions so it would hinge correctly.
After admitting defeat, I promptly cut the wooden sign again, and voilà—the entire project finally came together! Despite the difficulties I encountered, I absolutely love my new concealed jewelry organizer. The playful bathroom artwork is delightful, the felt-lined cabinet is wonderful, and the hinged earring rack is so useful. I love every part of it!
Best of all, it was simple to construct. With the Kreg Jig and their Shelf Pin Jig, the entire project assembles effortlessly (this tool is especially handy for anyone building any type of cabinet).
Tabletop Jewelry Organizer
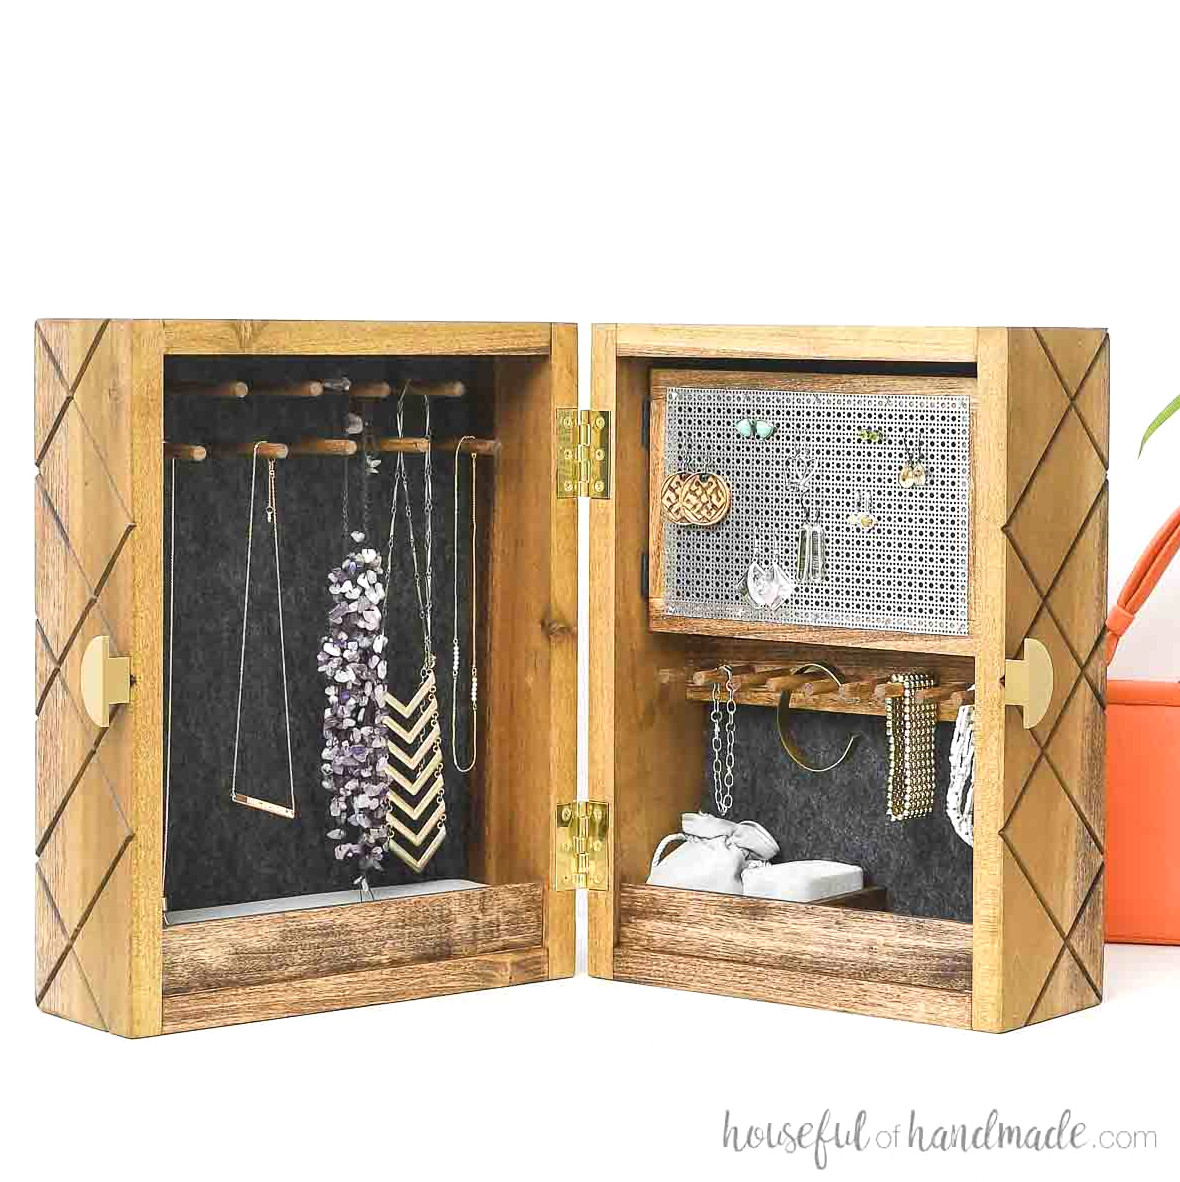
I was so fond of the wall-mounted jewelry box, but after we relocated, I didn’t have anywhere to install another one.
Instead, I redesigned it as a tabletop model. This spacious jewelry box includes all the features I enjoyed in the wall-mounted version, and I can take it with me if we move again someday.
I also provide a printable PDF guide for the tabletop model.
Jewelry Organizer Construction Plans
If you would like to create your own DIY wall jewelry organizer, I’m providing the free instructions over at KregTool.com.
Click here to view the full construction plans.
Enjoy building!