Who doesn’t enjoy complimentary plants!! I’m going to share some incredibly simple methods for propagating plants.
My Mom was always fond of houseplants, and our home was filled with all sorts of unusual and lovely plants while I was growing up. I suppose a house never truly feels like home to me unless there are plants throughout it. I even quietly add a few to my teenage son’s rooms.
Did you know that plants cleanse the air inside your home? That’s what I keep reminding my husband while loading yet another plant into my shopping cart!! Side note: I discovered the most gorgeous Monstera at my nearby Walmart last week for $14.97! If you haven’t visited your Walmart recently, you really should; they have certainly joined the houseplant craze!!
Let me share my simple methods for propagating plants
Pothos
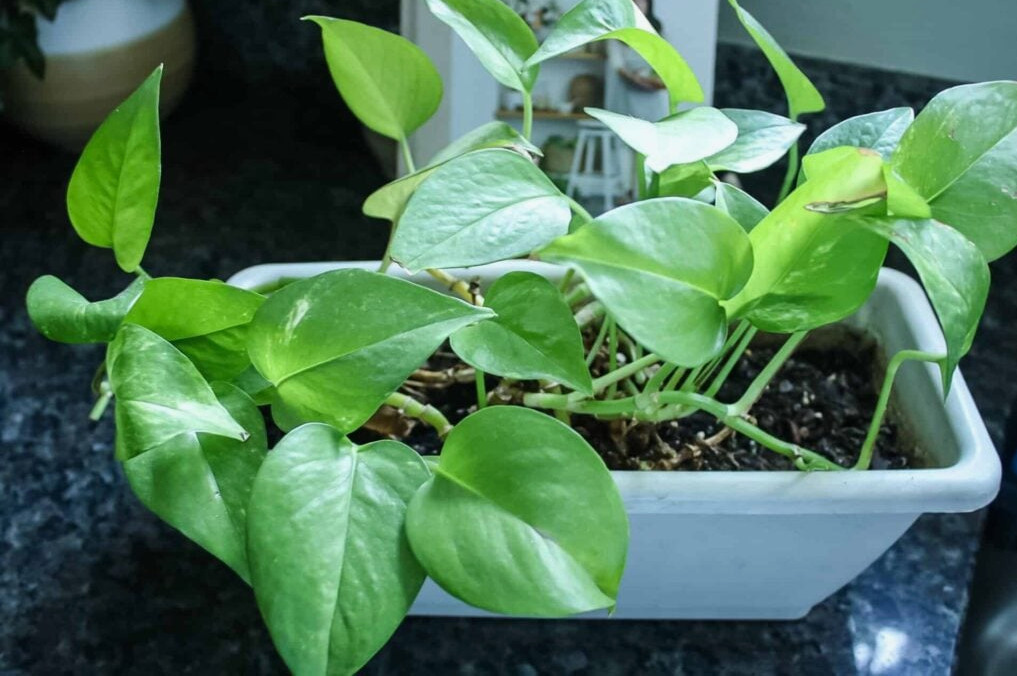
Pothos is an ideal plant for beginners! They grow incredibly easily and are difficult to destroy! They also thrive in spots that receive very little natural light.
I began by taking cuttings from a pothos plant I keep in my son’s room…you know, plants help purify the air, and teenage boys can use every bit of help they can get in their rooms!!!
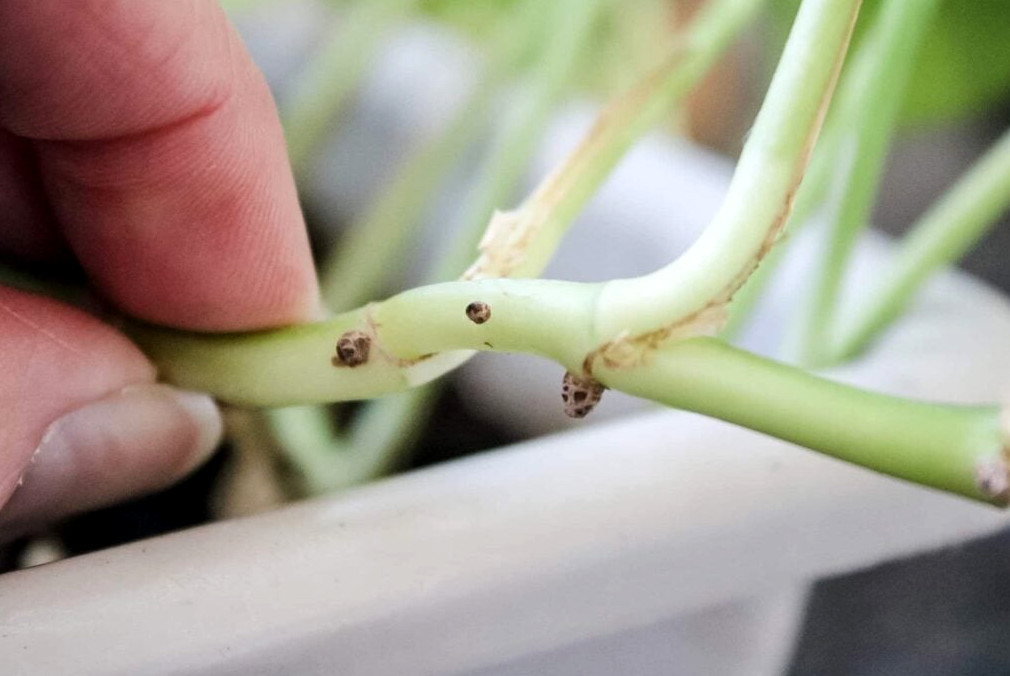
Find the nodes emerging from the pothos stems, then snip the stem beneath them.
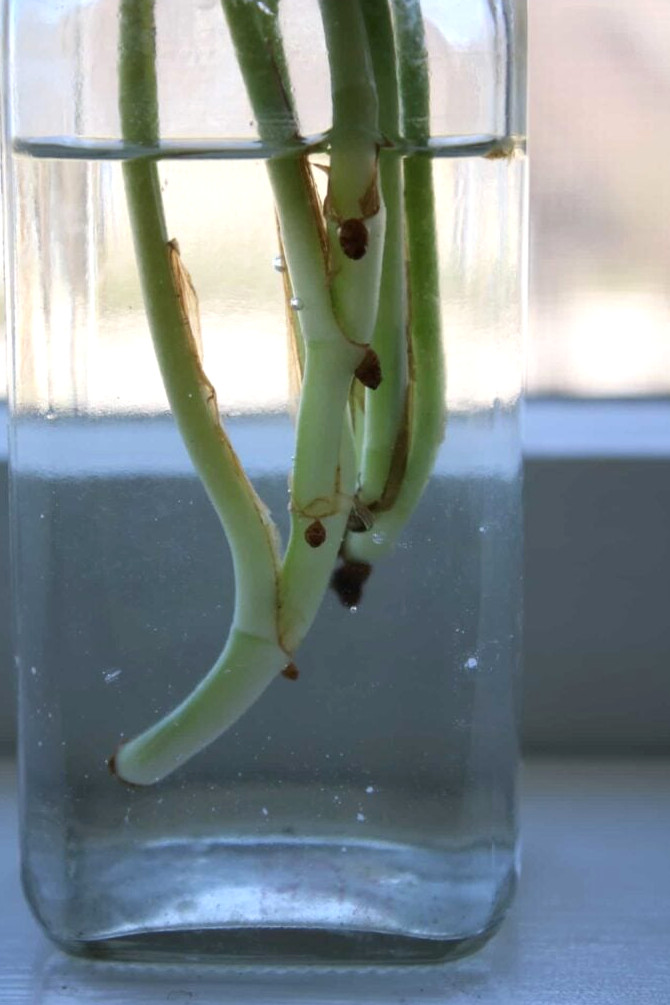
Set your cuttings inside a small water-filled jar. I keep the glass bottles from my Trader Joe’s spices; they’re just the right size for beginning plant cuttings. I place the jar near a bright window where it receives only indirect sunlight.
Within a week or two, you’ll notice tiny roots; once they reach approximately an inch in length, transfer the cutting to a small pot filled with a high-quality potting mix and watch it flourish!
ZZ plant
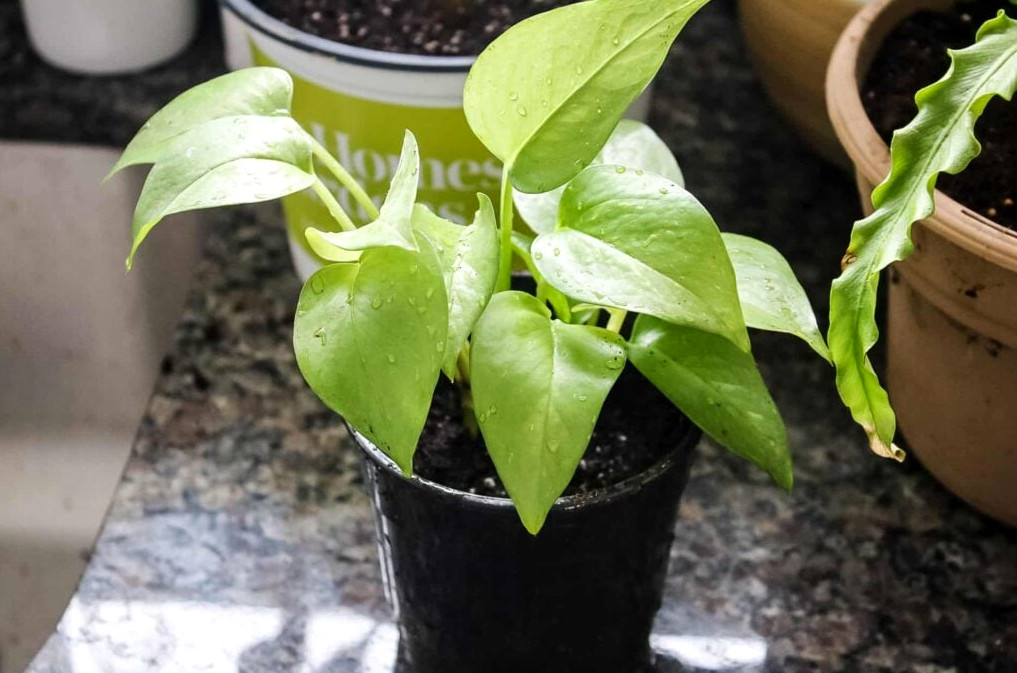
The ZZ Plant is another well-loved houseplant that propagates with ease. This time, I’m trying a different straightforward method by placing my ZZ Plant cutting straight into the soil.
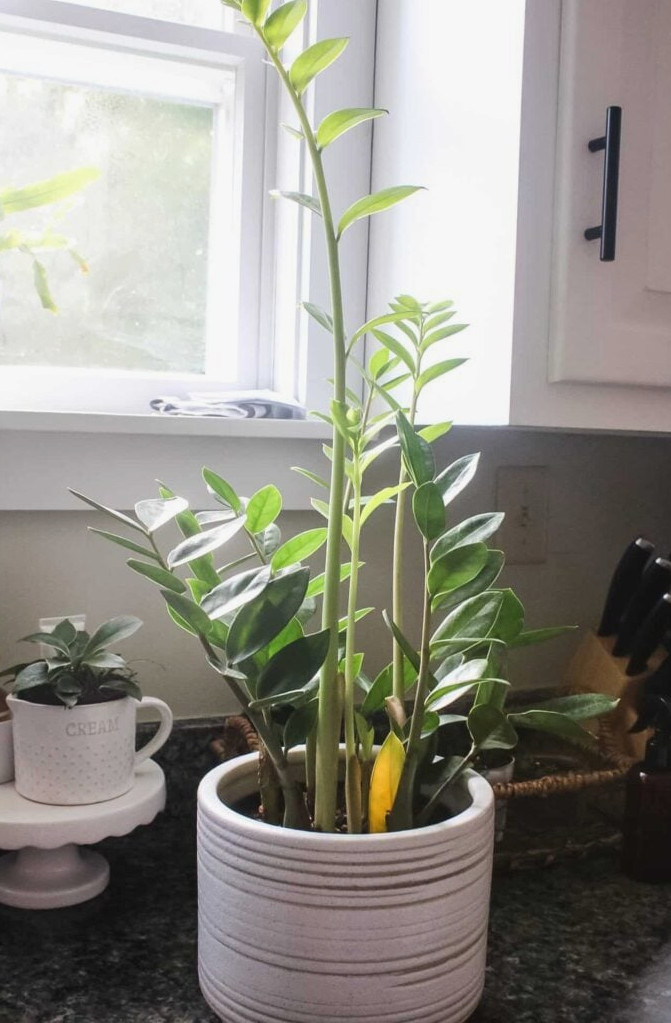
My ZZ Plant has begun producing lots of fresh growth, so I decided it was the perfect moment to propagate it. I removed a cutting from close to the plant’s base, choosing a portion of mature growth.
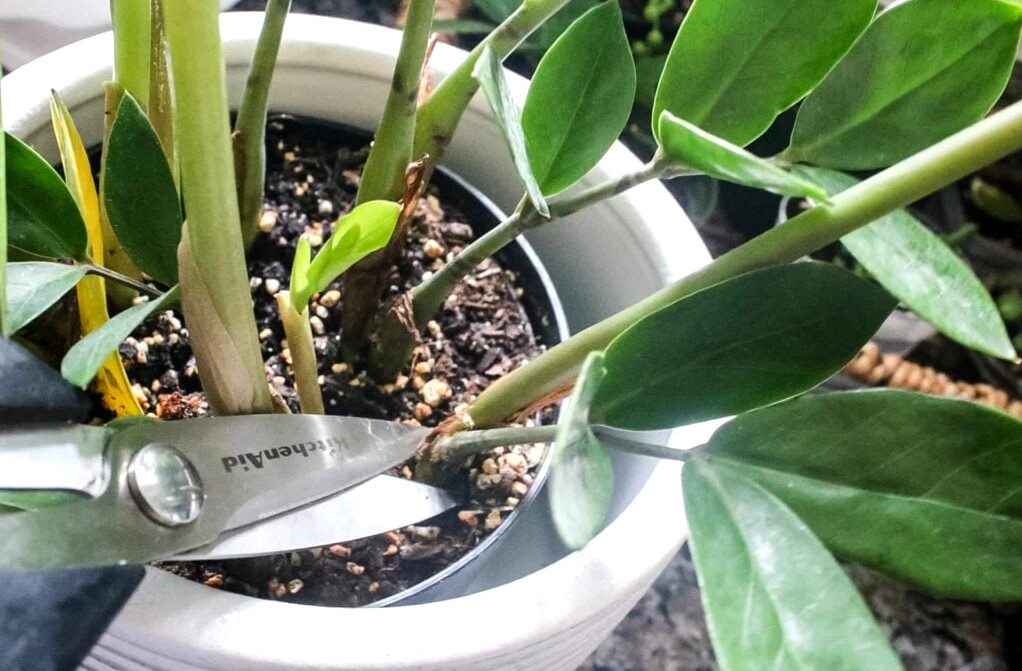
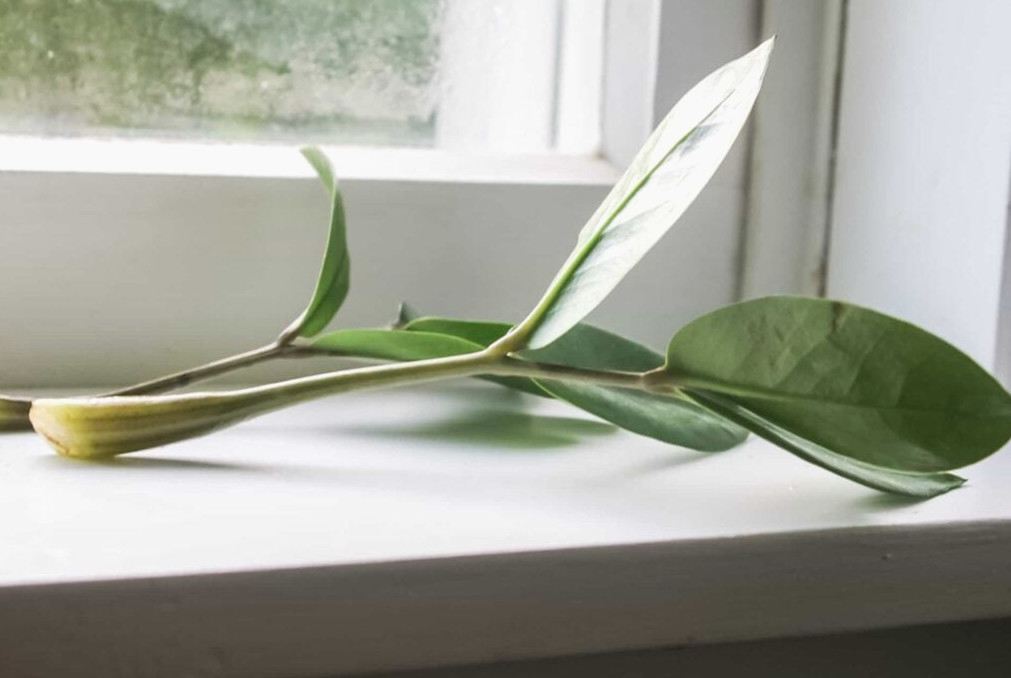
Before planting, I allowed the cuttings to dry and form a callus on the ends for a day or two. This helps keep the ends from rotting.
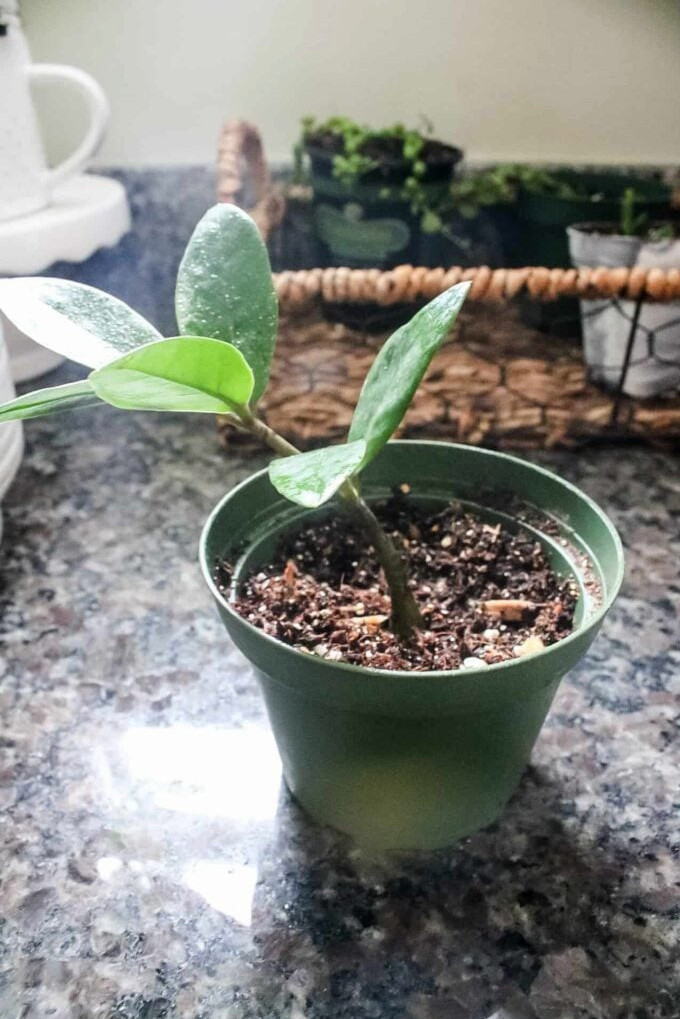
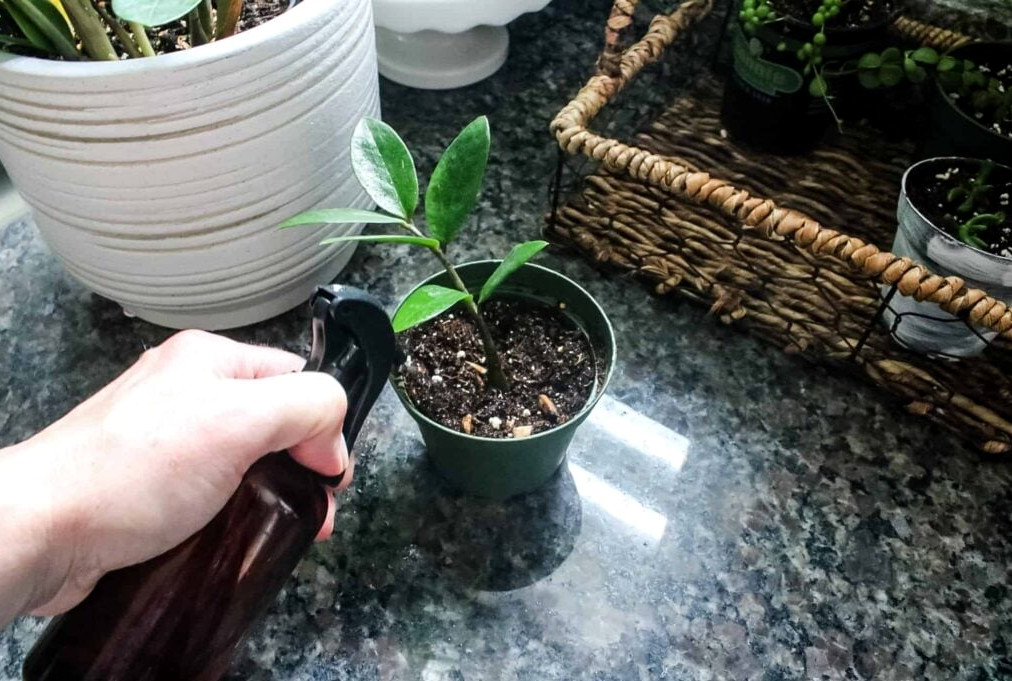
This time, I’m placing the cuttings straight into a pot. I prepared a blend of potting soil, peat moss, and perlite. Using my finger, I made a hole roughly an inch deep in the center and inserted my cuttingin. Keeping the soil consistently moist is especially important when you’re beginning cuttings (but don’t leave it waterlogged). I lightly spray the soil with water each morning.
Succulents
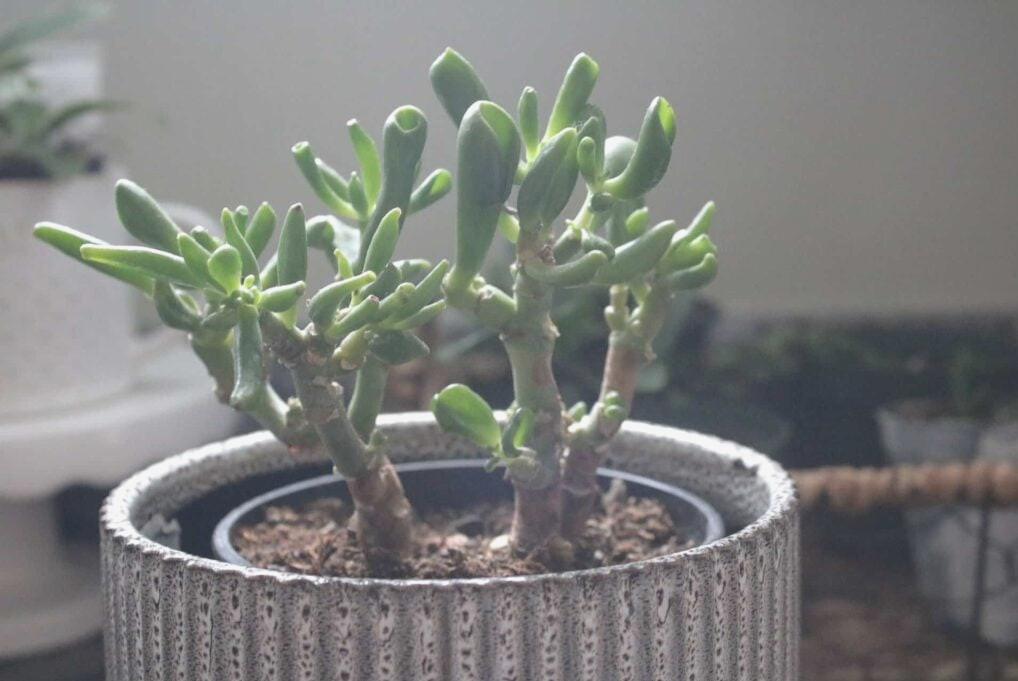
This succulent had begun to grow somewhat tall and sparse, so I decided to take several cuttings and grow a few new plants.
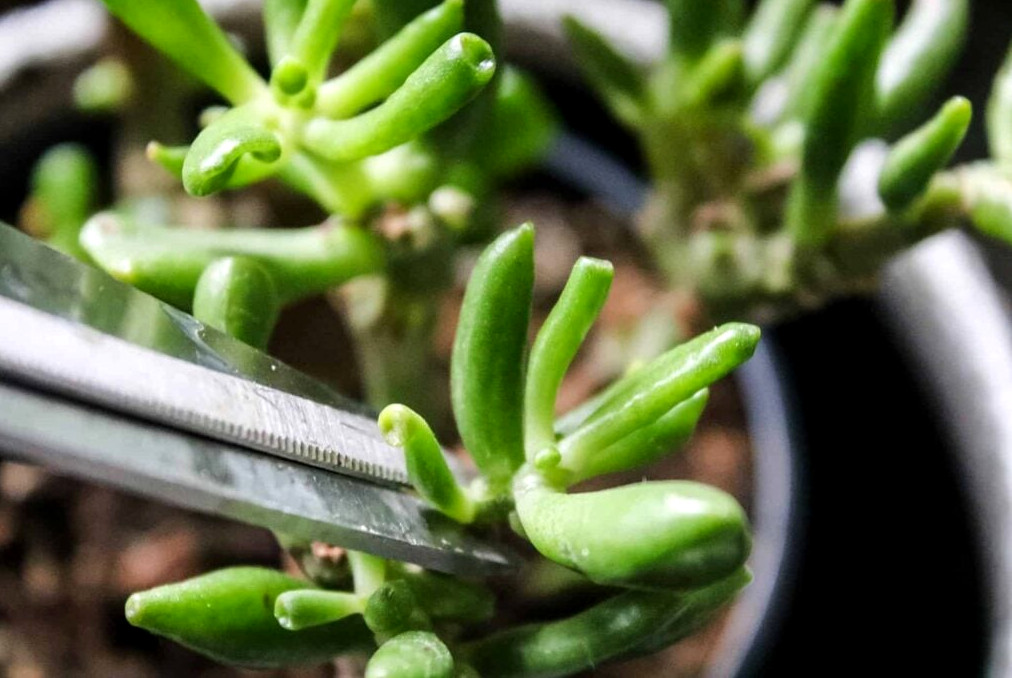
Using a clean, sharp pair of scissors, I cut several sections from the plant. This technique is suitable for most succulent varieties.
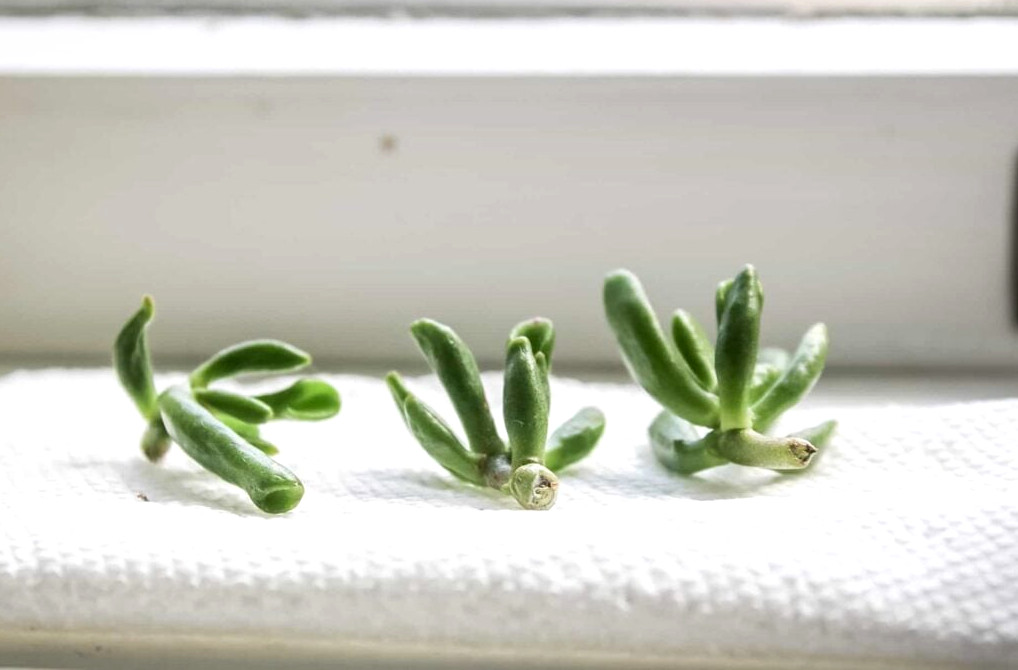
Just as I did with the ZZ Plant, I’ll place these cuttings straight into a pot.
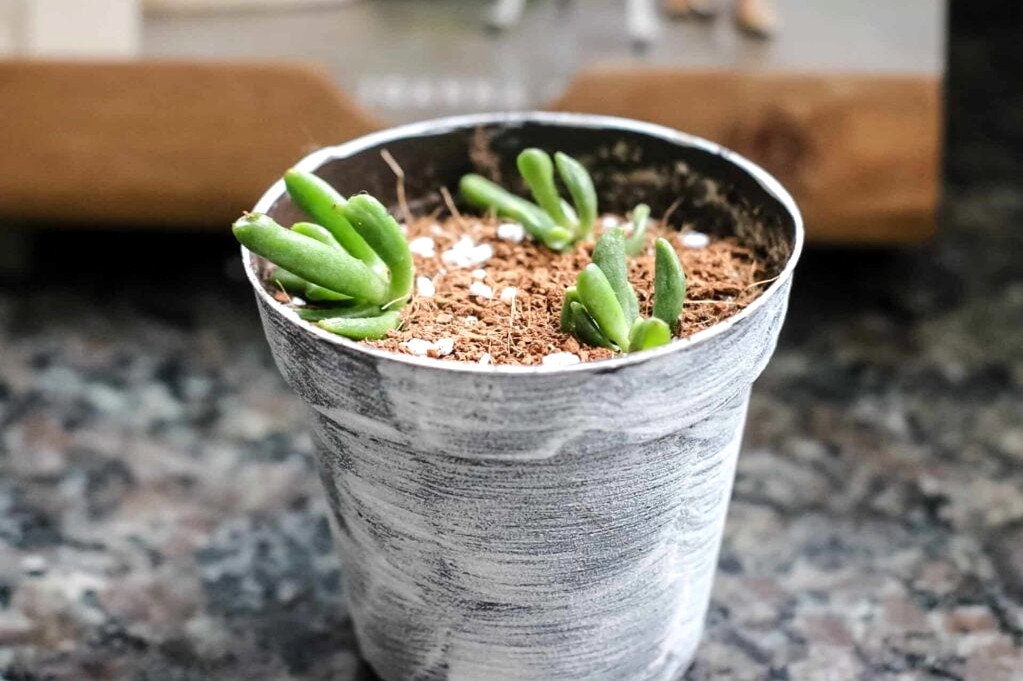
Succulents prefer gritty, sandy soil. For these cuttings, I blended sand and a small amount of peat with my potting mix, then carefully inserted them into the pot. I lightly mist the soil to maintain moisture
I’ve placed several succulent varieties directly into soil, and this approach has worked more successfully for me than rooting them in water beforehand.
Because these plants grow slowly, patience is necessary.
Hoya
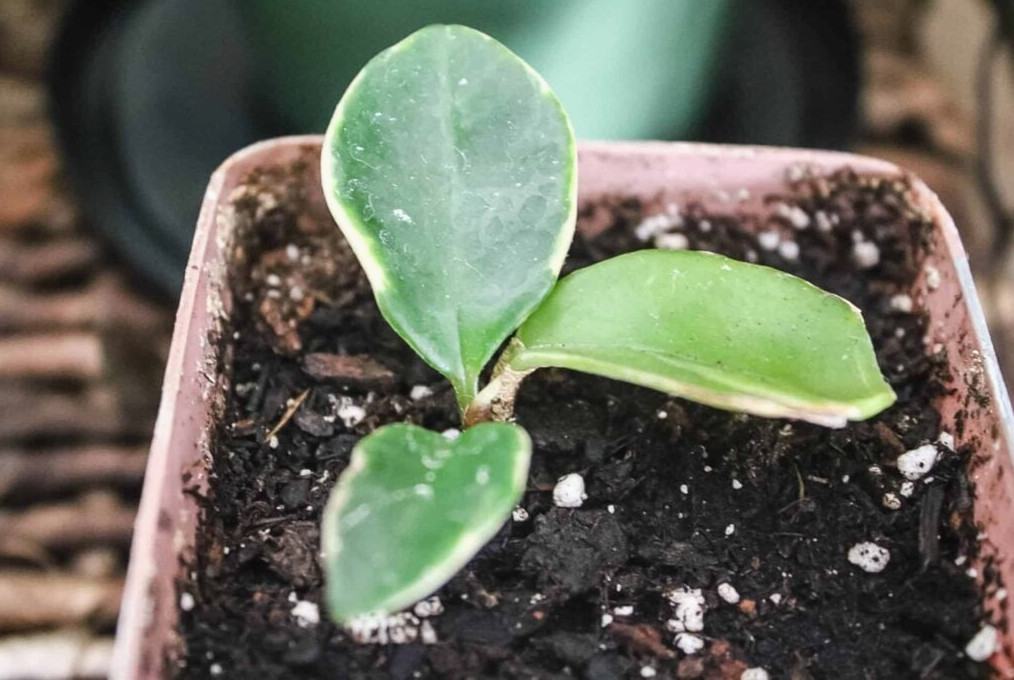
Hoyas are charming little houseplants! They grow gradually, and one of my favorite places to keep them is in my kitchen. My Mom gave me one that sits on a cake stand beside the sink; when one of its leaves became damaged, I chose to remove it and attempt propagation.
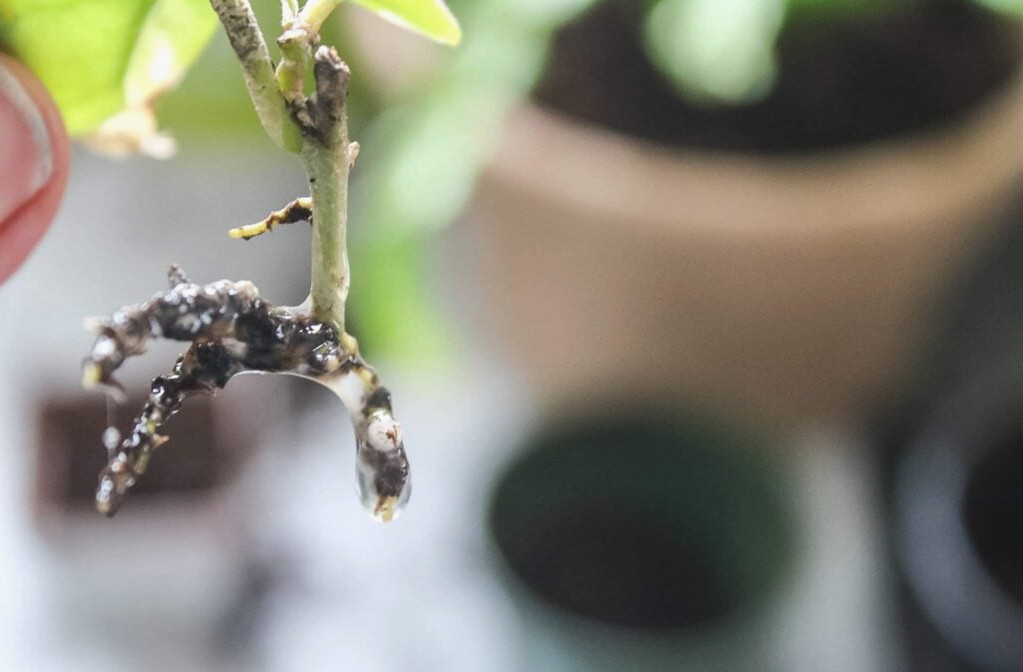
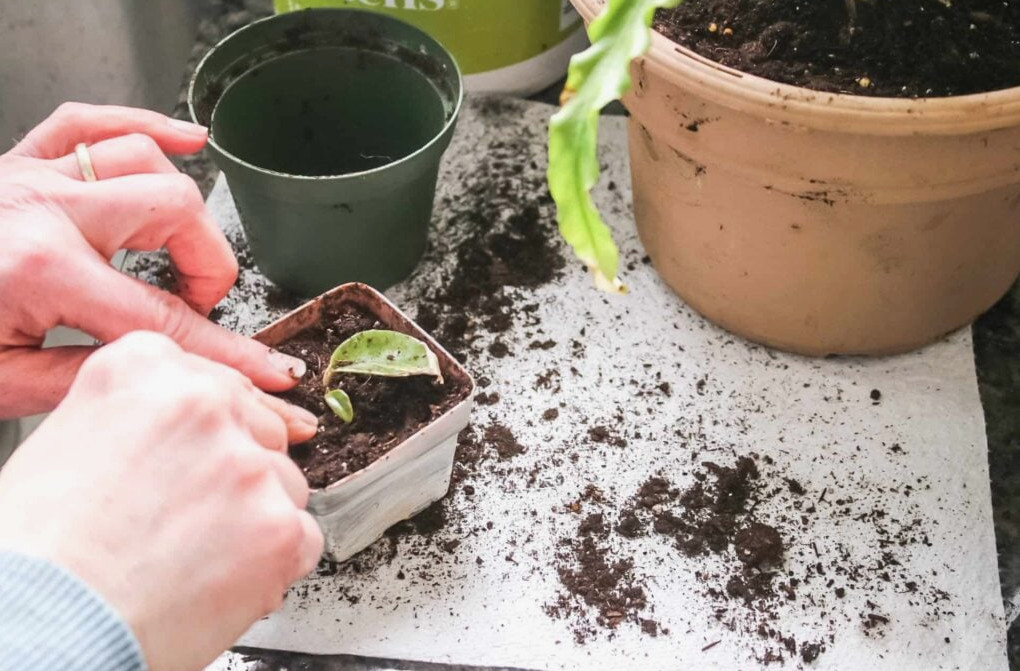
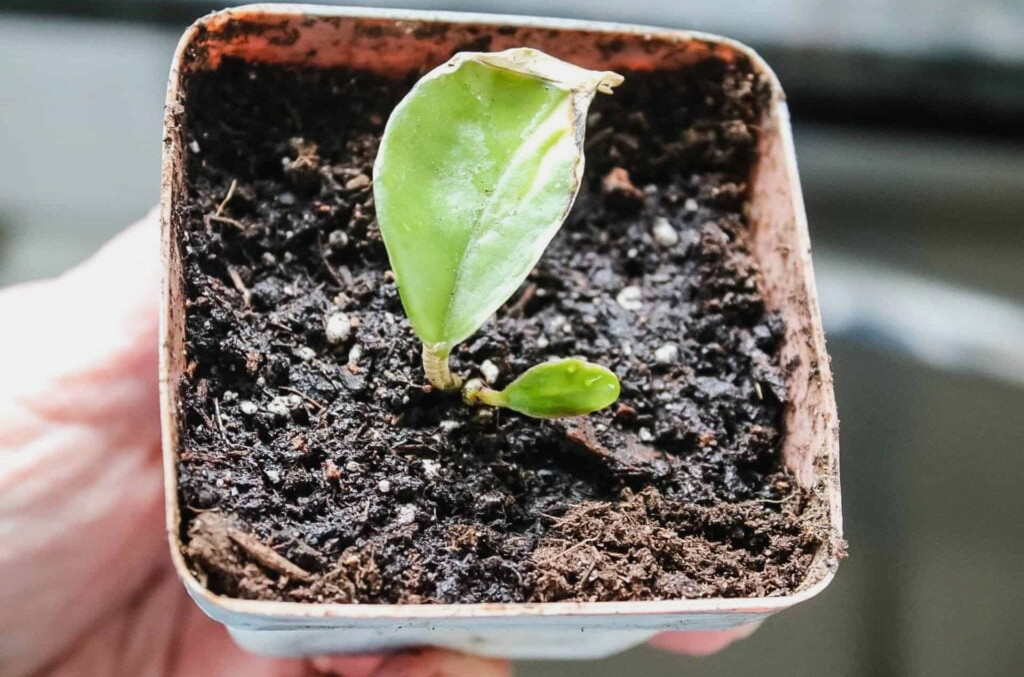
For my Hoya cutting, I used a very small container filled with water (the lid from a baby bottle was ideal because it was the right size and transparent enough to let me observe the roots developing). Hoyas can take quite some time to produce fresh roots. I kept it on the kitchen windowsill until several healthy little roots had formed, then transferred it to a small pot.
I was thrilled when it produced its first tiny leaf…and now it has grown a couple more!
I’ve covered just a handful of the houseplant types that are especially popular today, but both techniques I used—propagating in soil or in water—work with many different houseplants! So grab your scissors and begin growing some new baby plants of your own!
As usual, feel free to leave a comment or send me an email if you have any questions! I always enjoy hearing from my readers.