
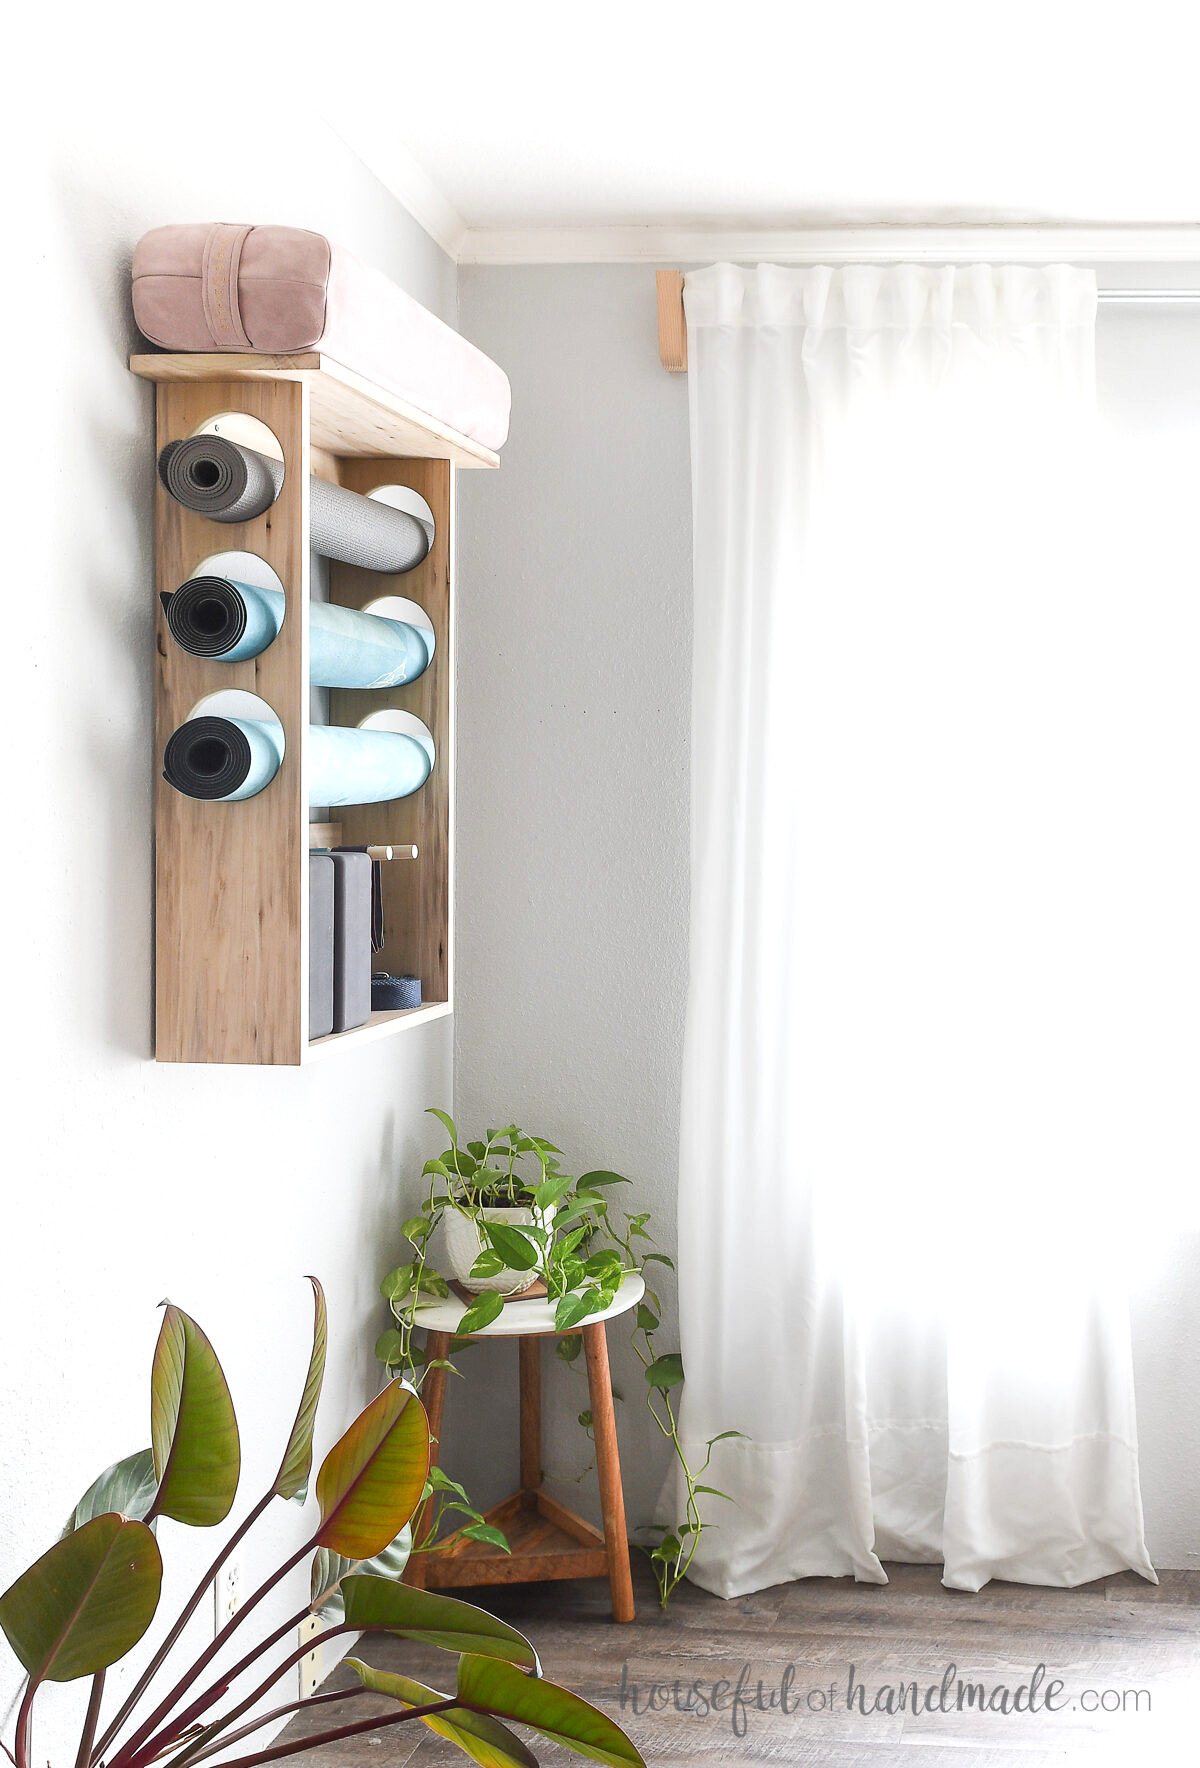
Keep your exercise mat and equipment neatly stored on the wall with this attractive shelf.
One of the biggest challenges of exercising at home is finding a place to store your workout equipment. Without a dedicated fitness room, you need somewhere convenient to keep your mats.
I was tired of rolling them up and hiding them in a corner. They constantly unraveled and quickly collected dog hair.
That is why I teamed up with Kreg Tools to create the ideal yoga mat storage shelf! Using the Kreg pocket hole jig, it is simple to construct and can be mounted on the wall to help keep your area organized.
Storage for Yoga Mats and Accessories
When you exercise at home, you usually have more than an exercise mat to put away!
My corner had become crowded with a yoga mat, bolster, block, straps, and resistance bands.
This wall-mounted yoga mat rack stores 3 yoga mats along with the rest of your workout equipment. I created it for 3 mats, though you can readily modify the plans to accommodate however many mats you own.
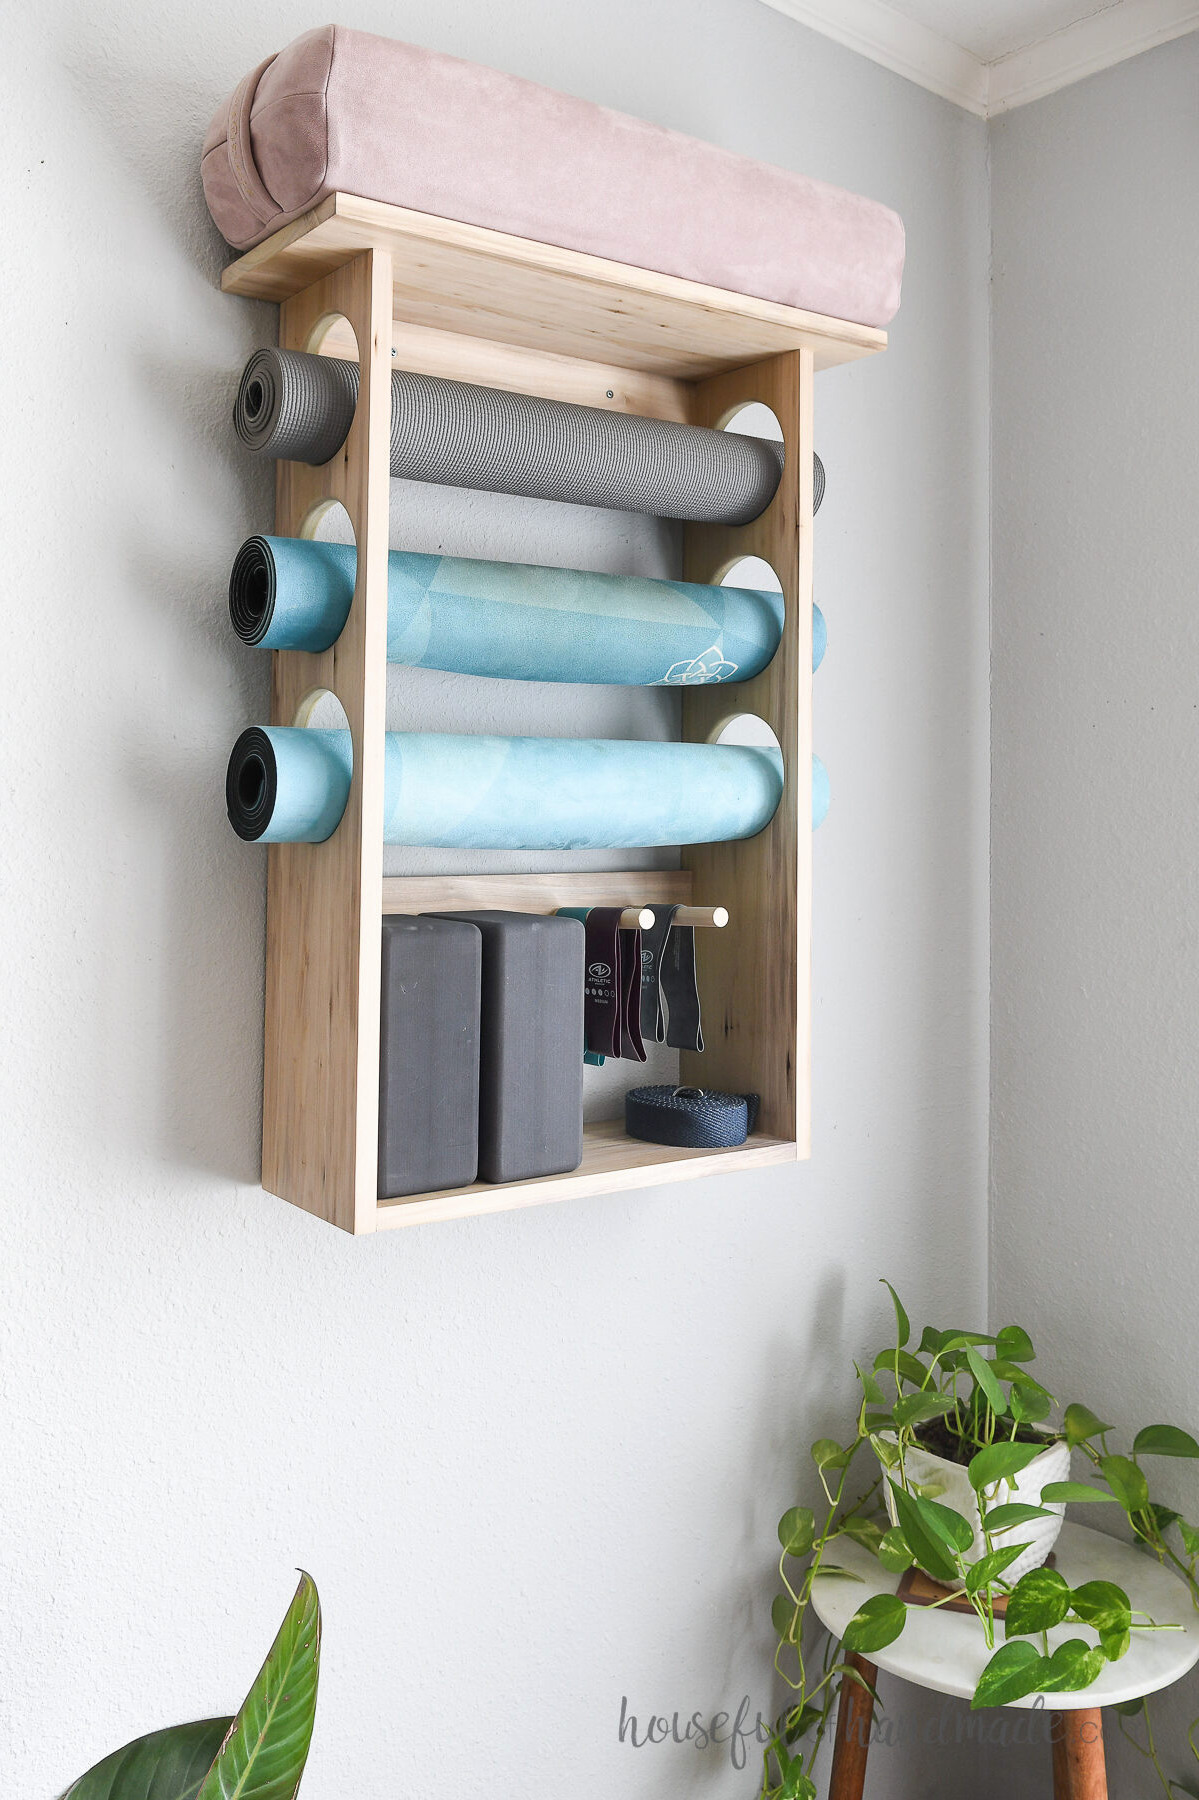
The upper shelf is perfectly proportioned for holding the bolster. However, if you do not use a bolster, it can serve as storage for other workout accessories or decorations.
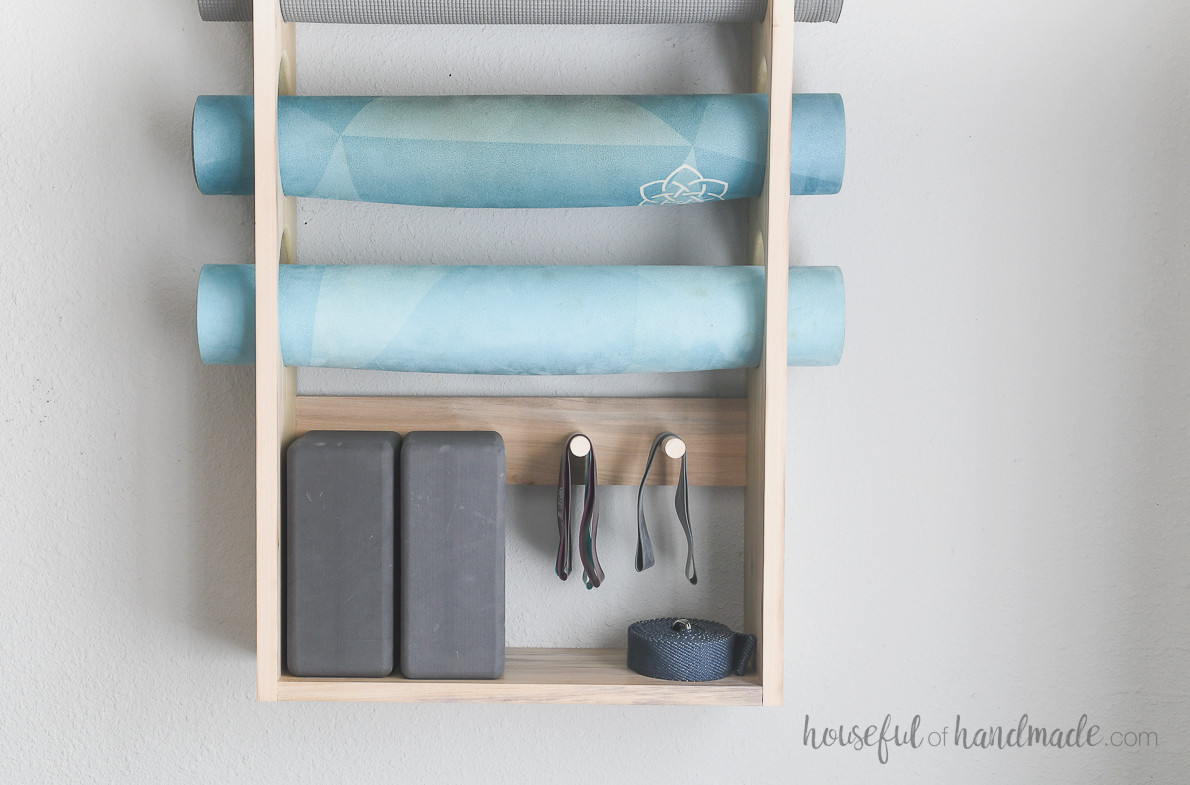
The lower shelf is designed to fit 2 yoga blocks and includes 2 pegs for hanging resistance bands and straps.
Now, everything required for an effective workout is stored exactly where you can easily locate it.
Additional Wall-Mounted Storage Ideas
Clear out clutter and make use of your walls for extra storage with these enjoyable DIY projects.
How to Make an Exercise Mat Holder
Tools & Materials
Overall Measurements
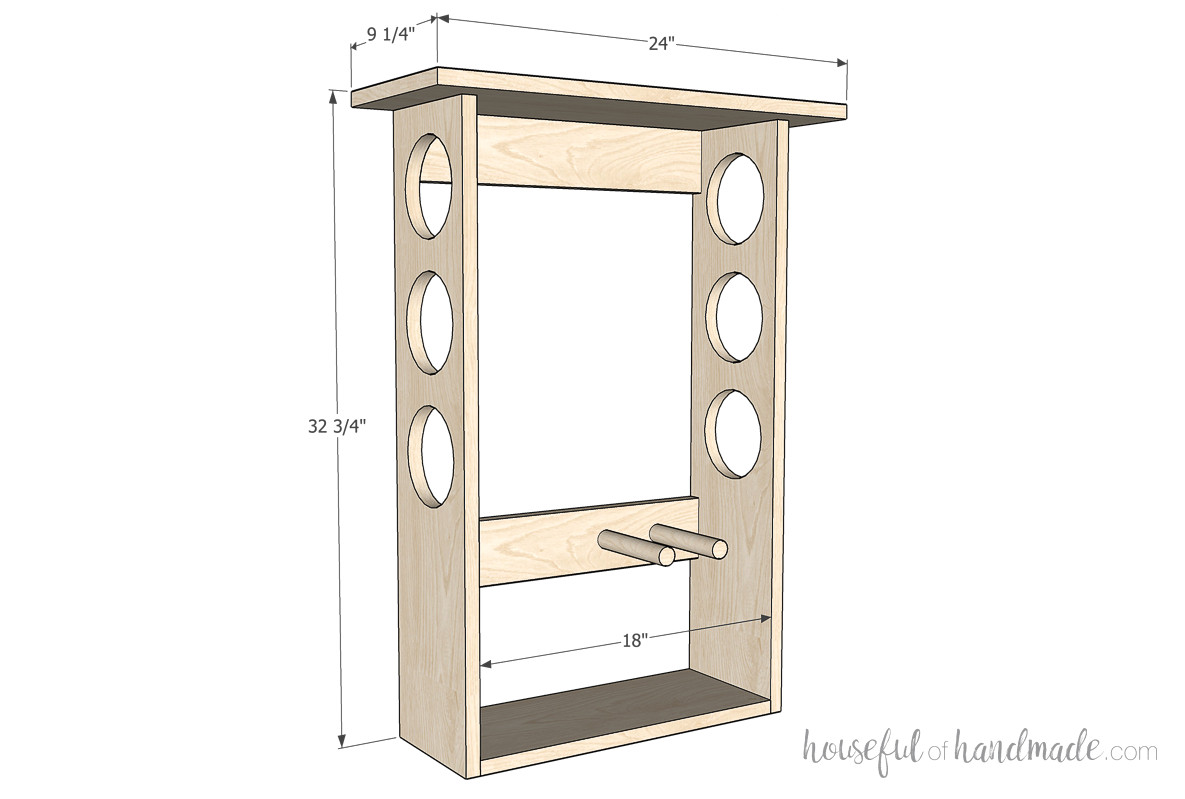
Once complete, the wall-mounted yoga mat holder measures 24″ wide, 9 1/4″ deep, and 32 3/4″ tall.
It accommodates 3 exercise mats, 2 yoga blocks, and a bolster, plus pegs for resistance bands or straps.
Cutting List
Cut each piece based on the plans available for free at Kregtool.com. Click here to view the plans.
If you do not own a sliding miter saw, use a circular saw to cut the wider boards.
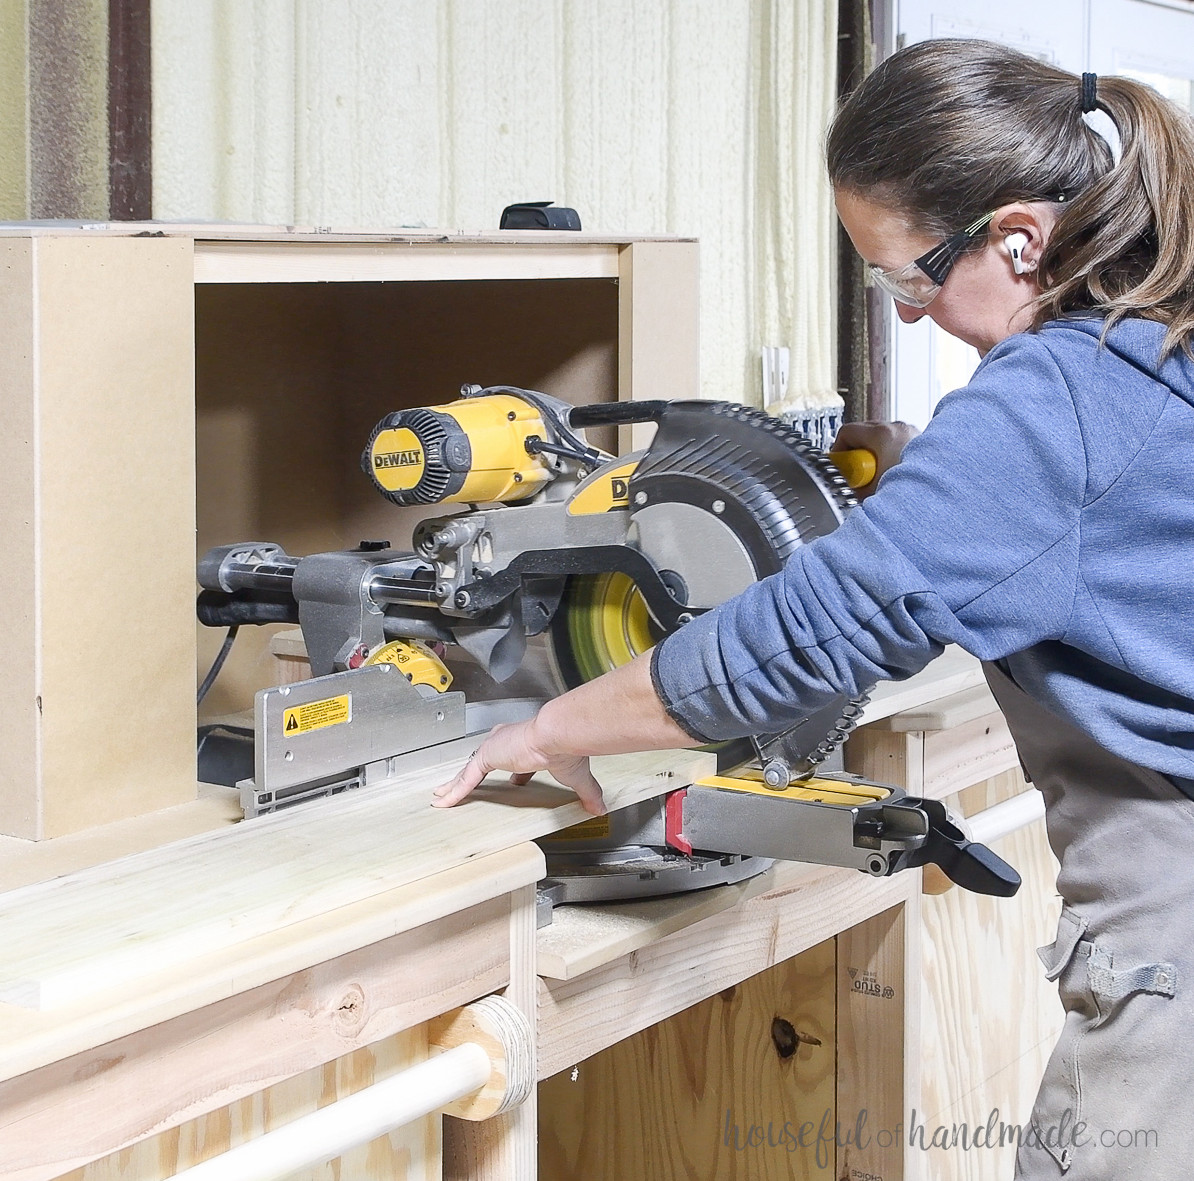
STEP 1- Cut circles into the sides
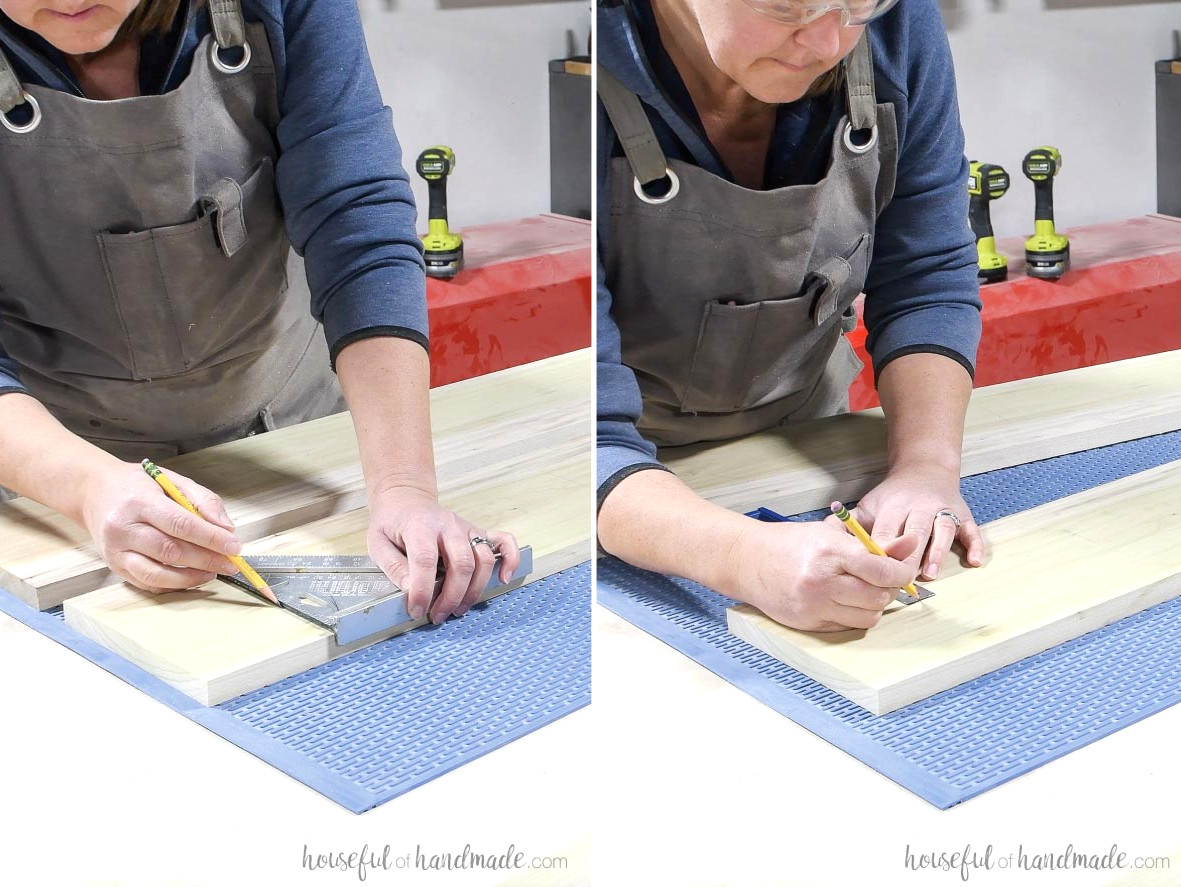
Measure and mark the centers of the 3 openings on the side boards. The plans diagram shows their precise locations.
The circles are positioned slightly off-center toward the front, leaving sufficient space for the rear support boards.
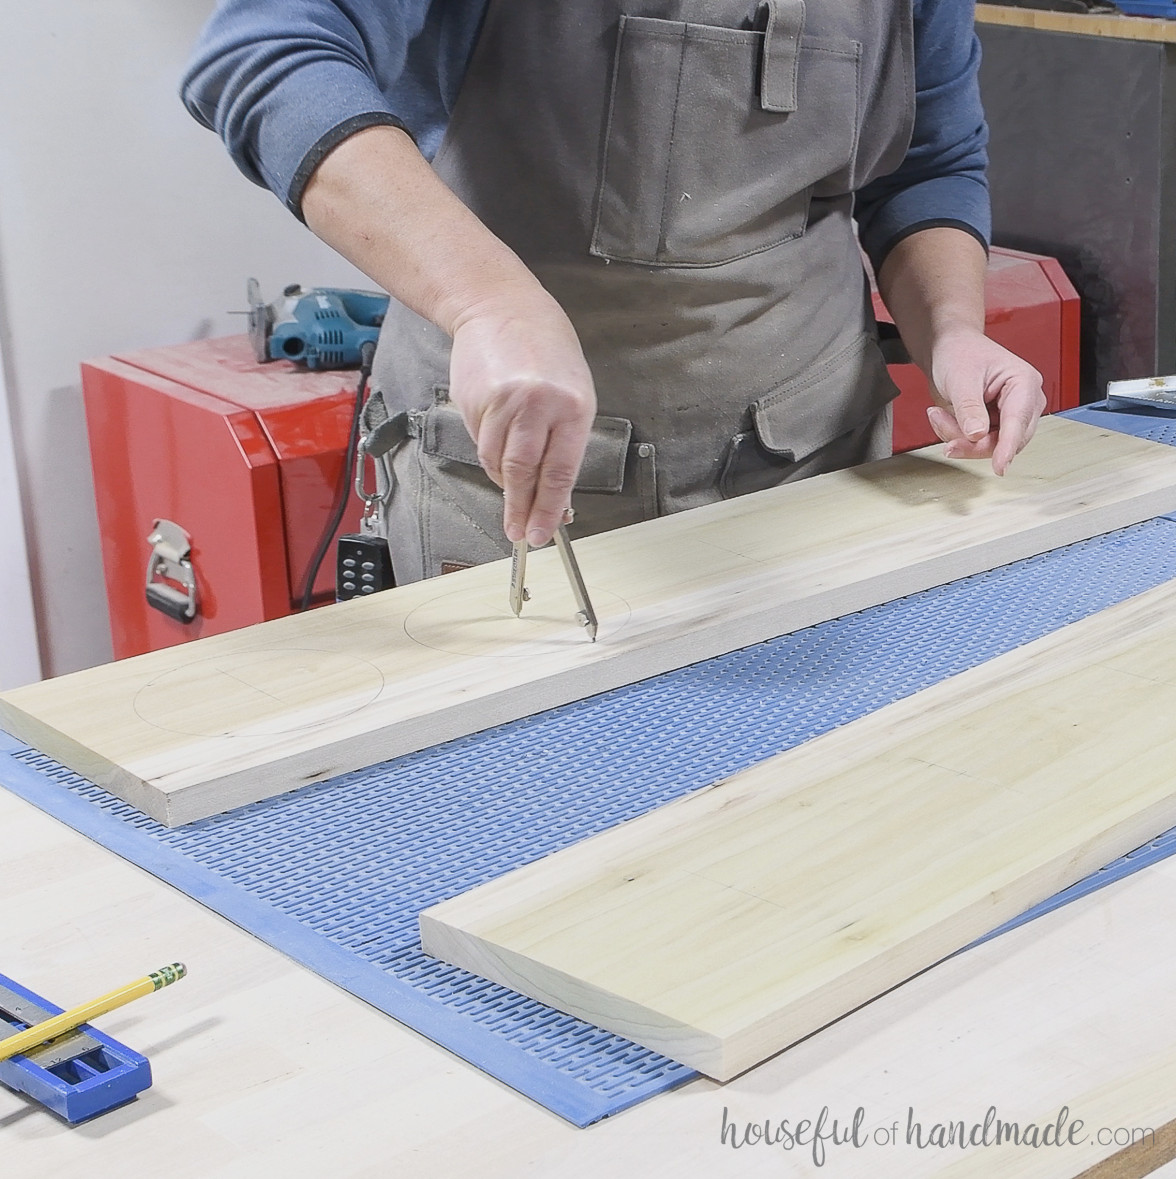
Using these marks as the centers, draw 5″ circles. Do the same on the second side board.
For evenly shaped circles, use a compass or wrap string around a pencil and secure it with a nail at the center to trace them.
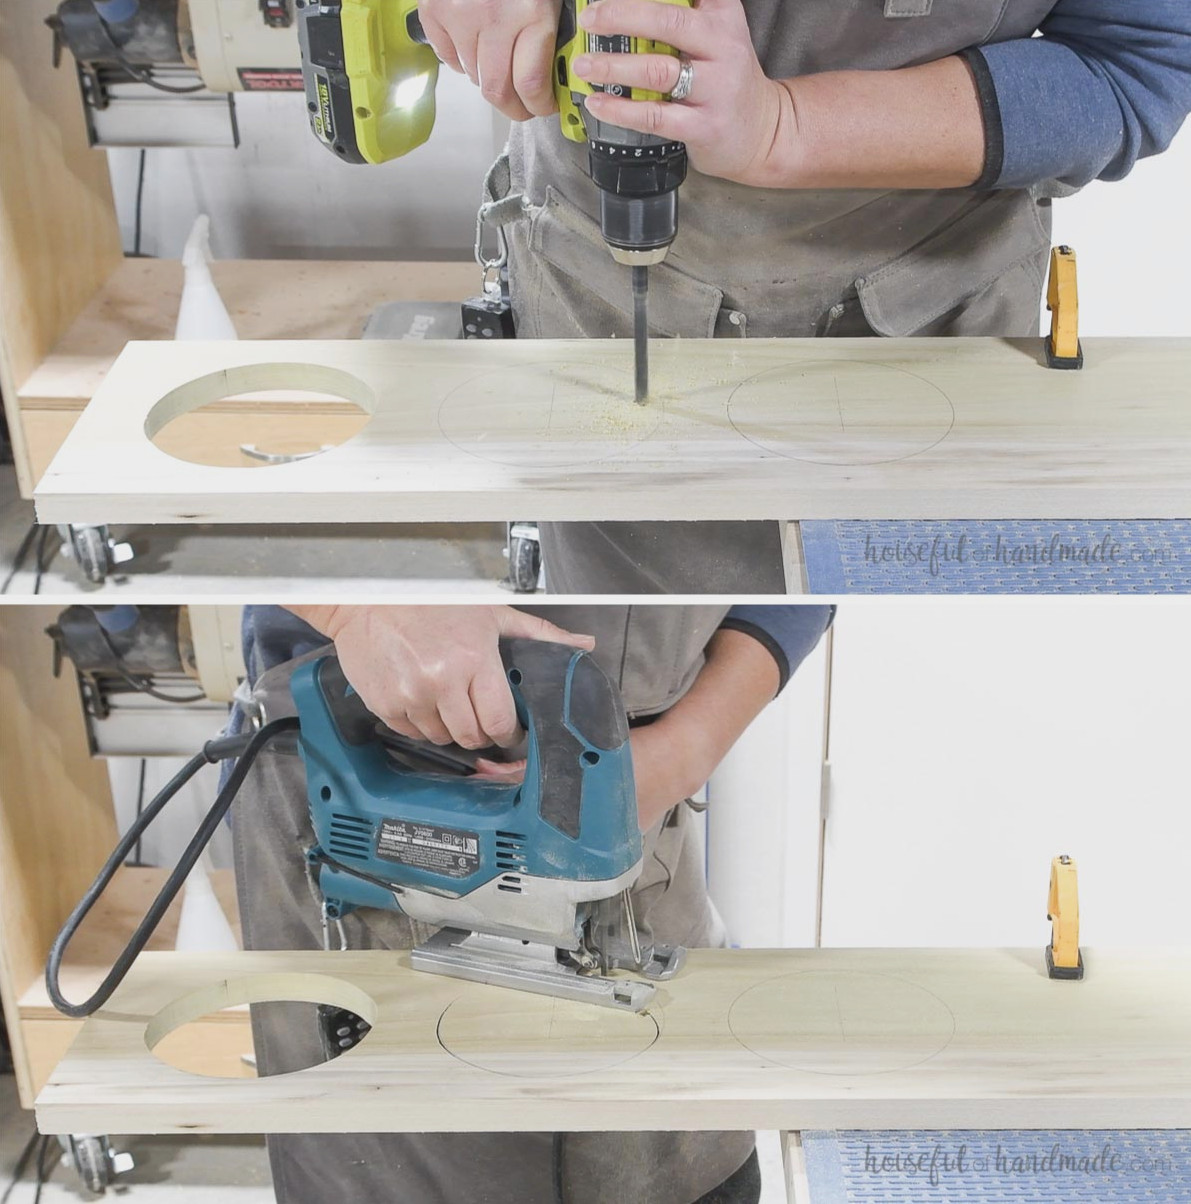
Create a hole inside each circle near the edge, while leaving a small gap.
Place a jigsaw blade into the opening, then cut around the circle to remove it.
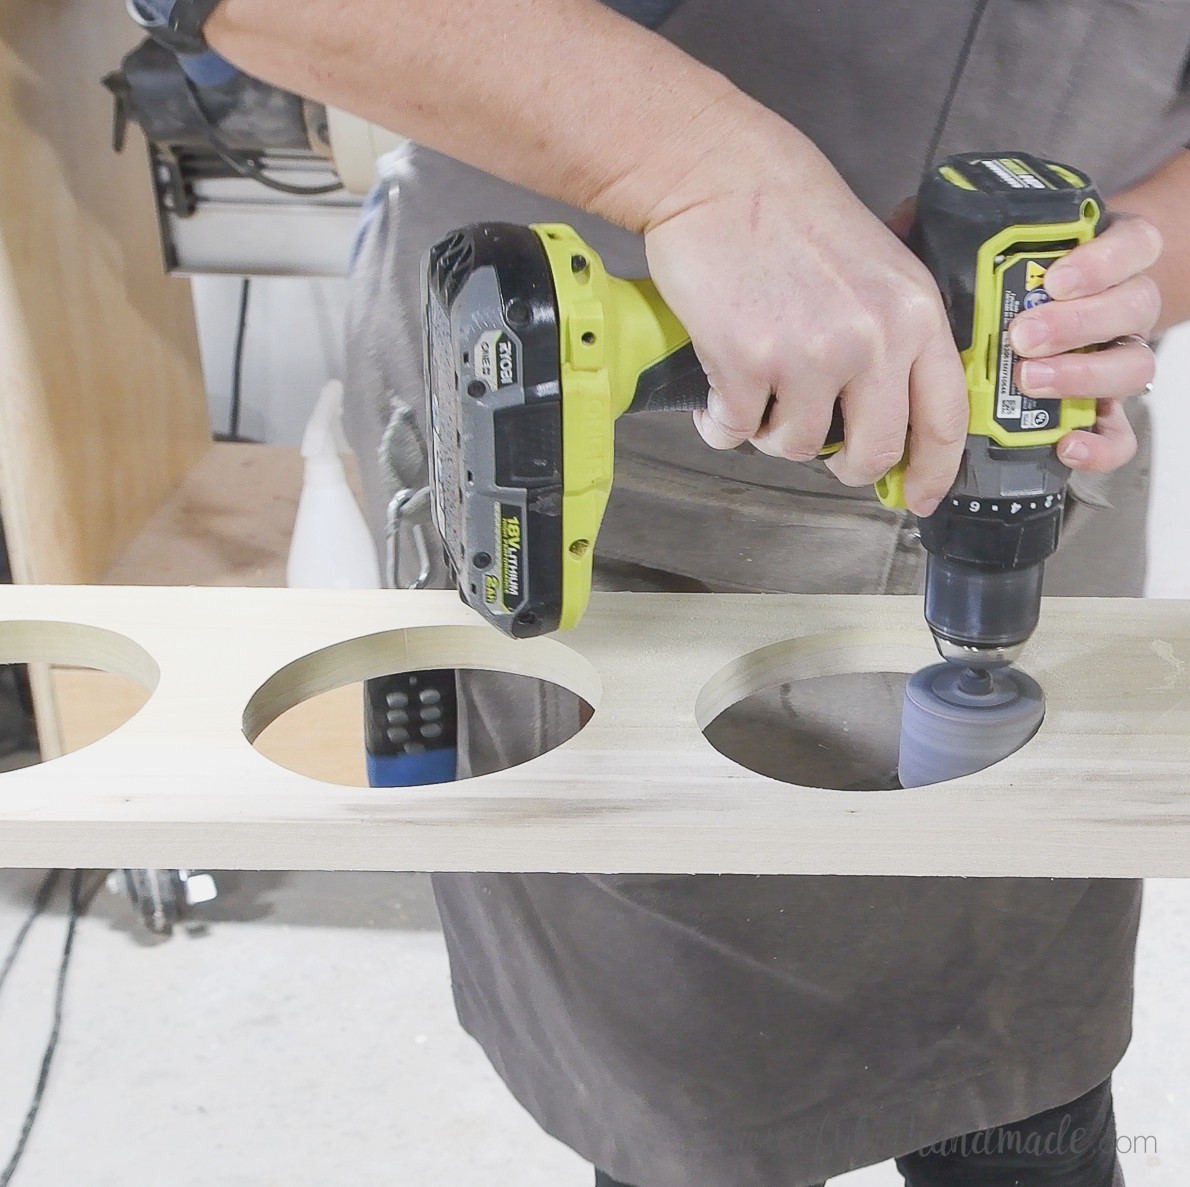
Smooth the interiors of the circles with sandpaper.
For sanding inside openings, handles, and similar areas, I really like these sanding drum drill attachments.
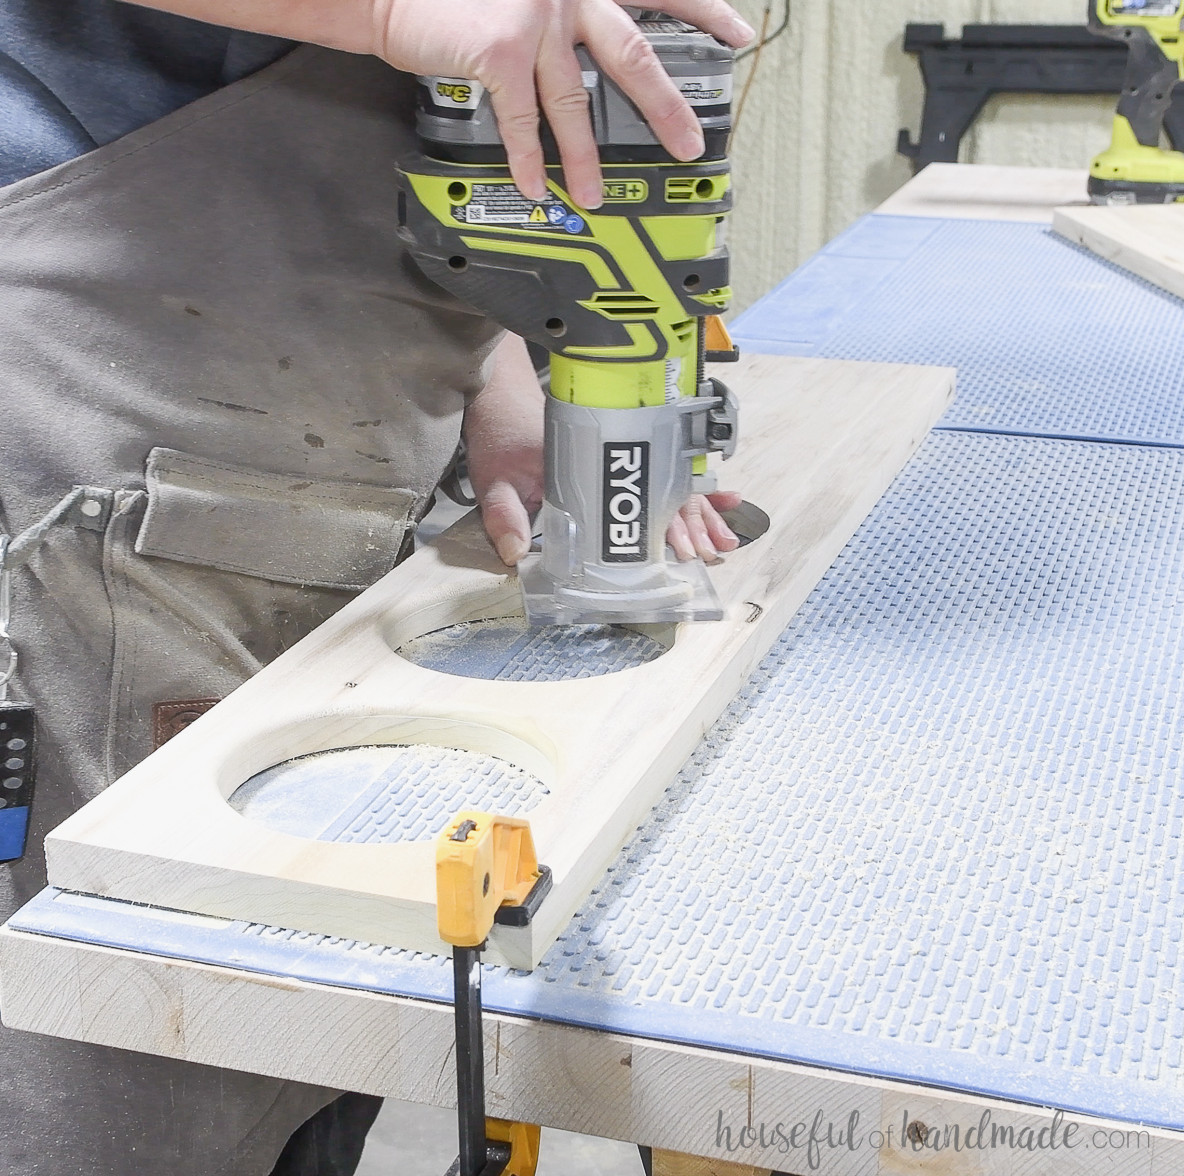
Use a router to round over the inside edges of the openings on both boards.
STEP 2- Make holes for the pegs
The pegs along the side provide space for 2 yoga blocks on the opposite side. Change their location, leave them out, or install additional pegs to suit your own workout gear.
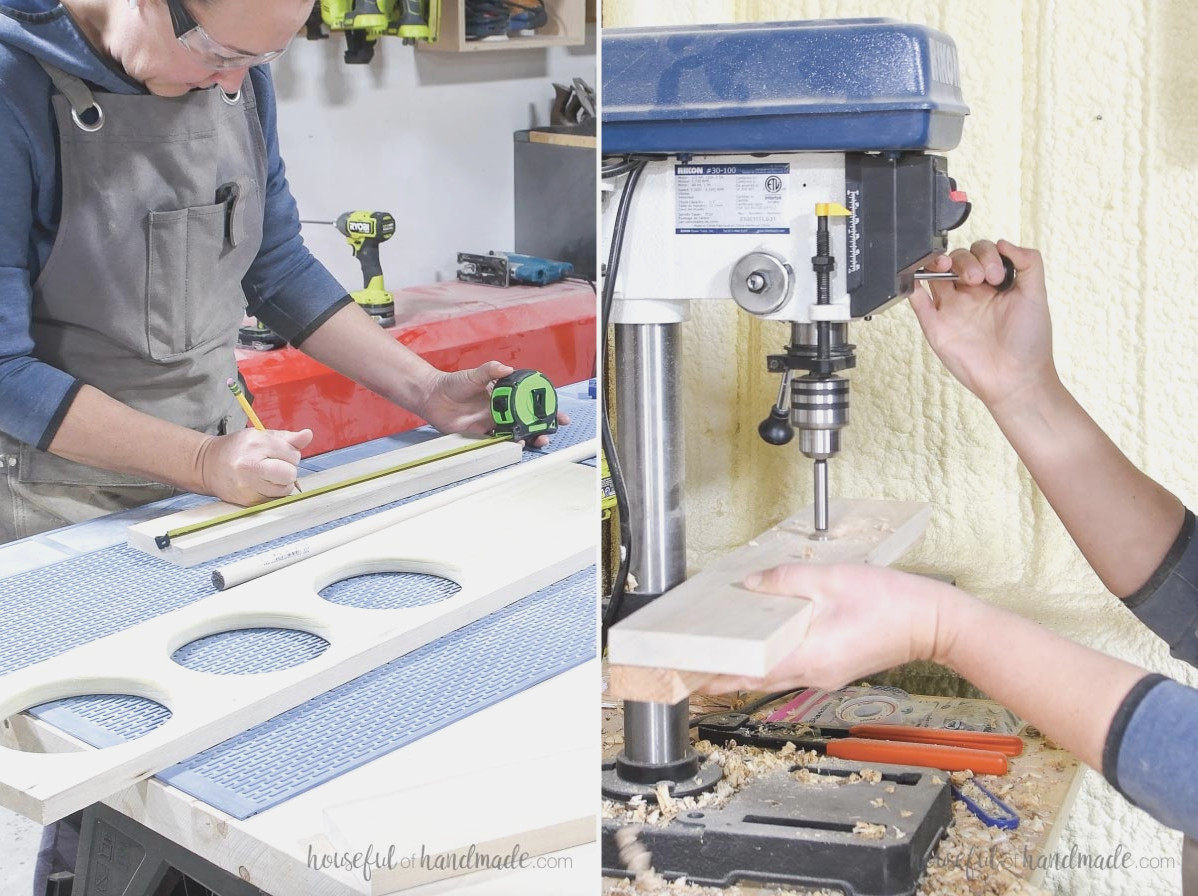
Choose where you want the pegs to go (the exact arrangement I used can be found in the plans here). Mark the midpoint of every peg.
With the centers aligned to these marks, drill 3/4″ holes completely through the board.
STEP 3- Put together the base
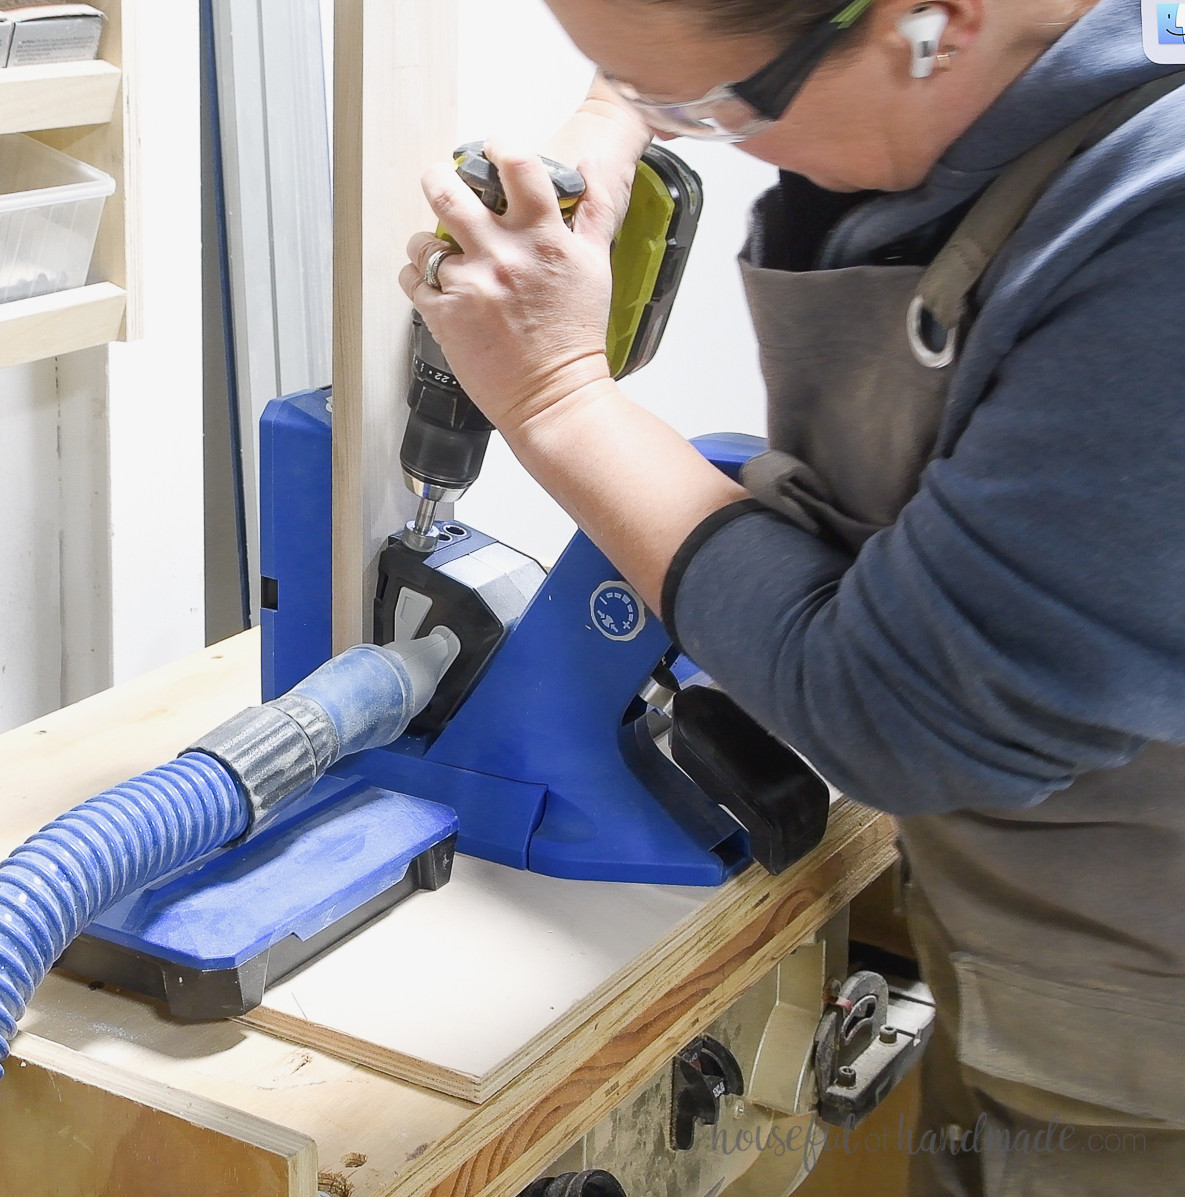
Adjust your Kreg pocket hole jig for drilling into 3/4″-thick material.
Make pocket holes at both ends of the two rear support boards and the bottom board.
Fasten the back supports in place, positioning one flush with the top of the side board and the other 11″ above the bottom.
Fix the bottom board to the base of one side board, keeping it even with the bottom edge.
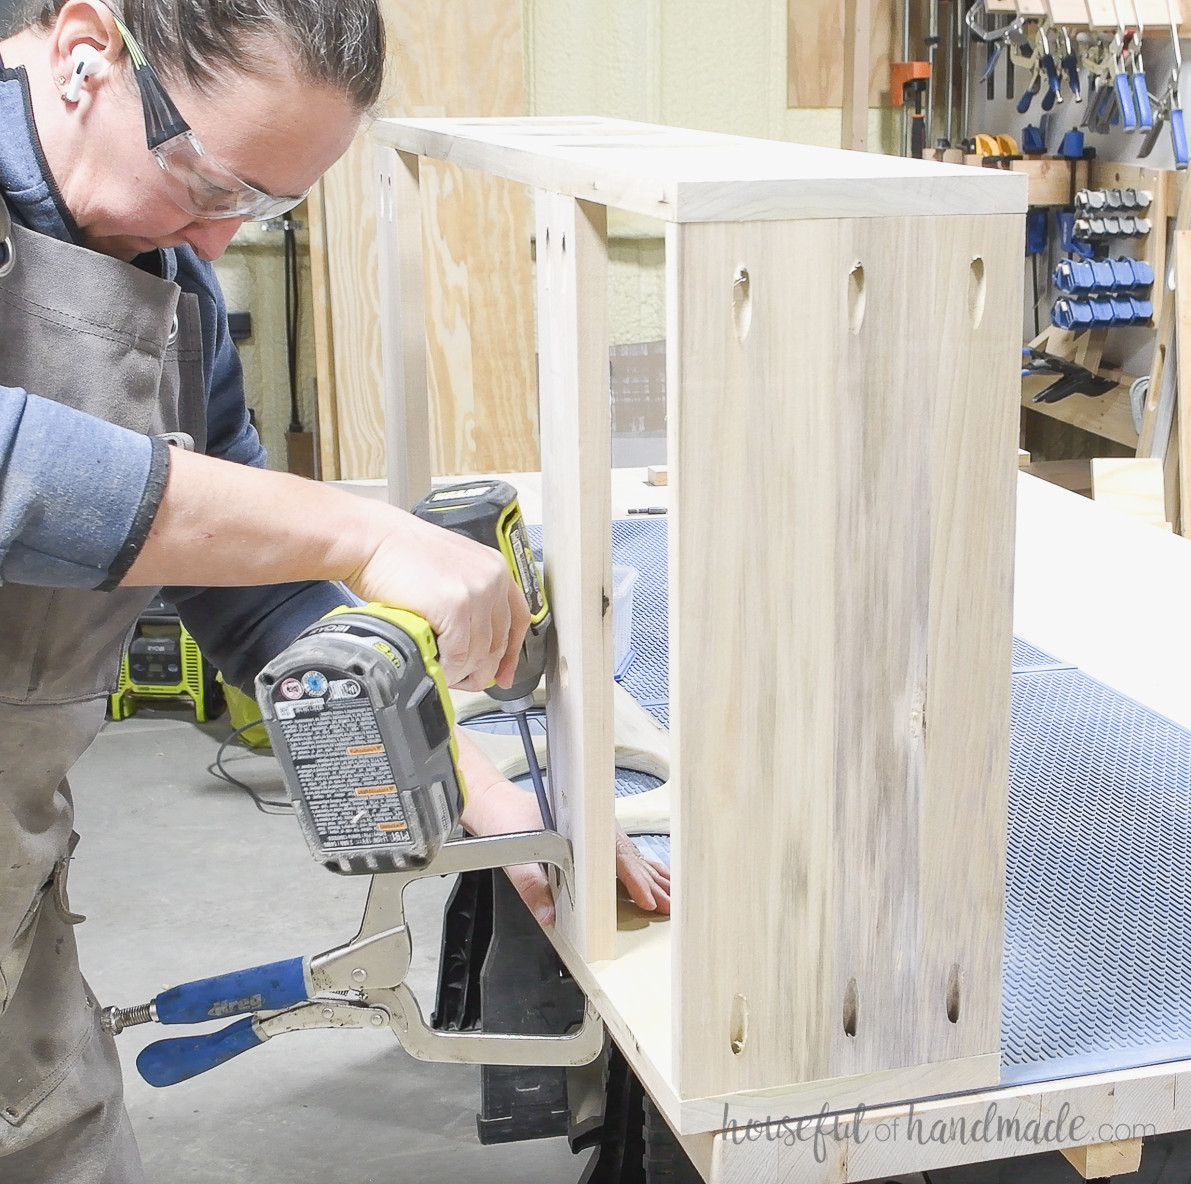
Hold everything firmly with wood glue and 1 1/4″ pocketpocket-hole screws.
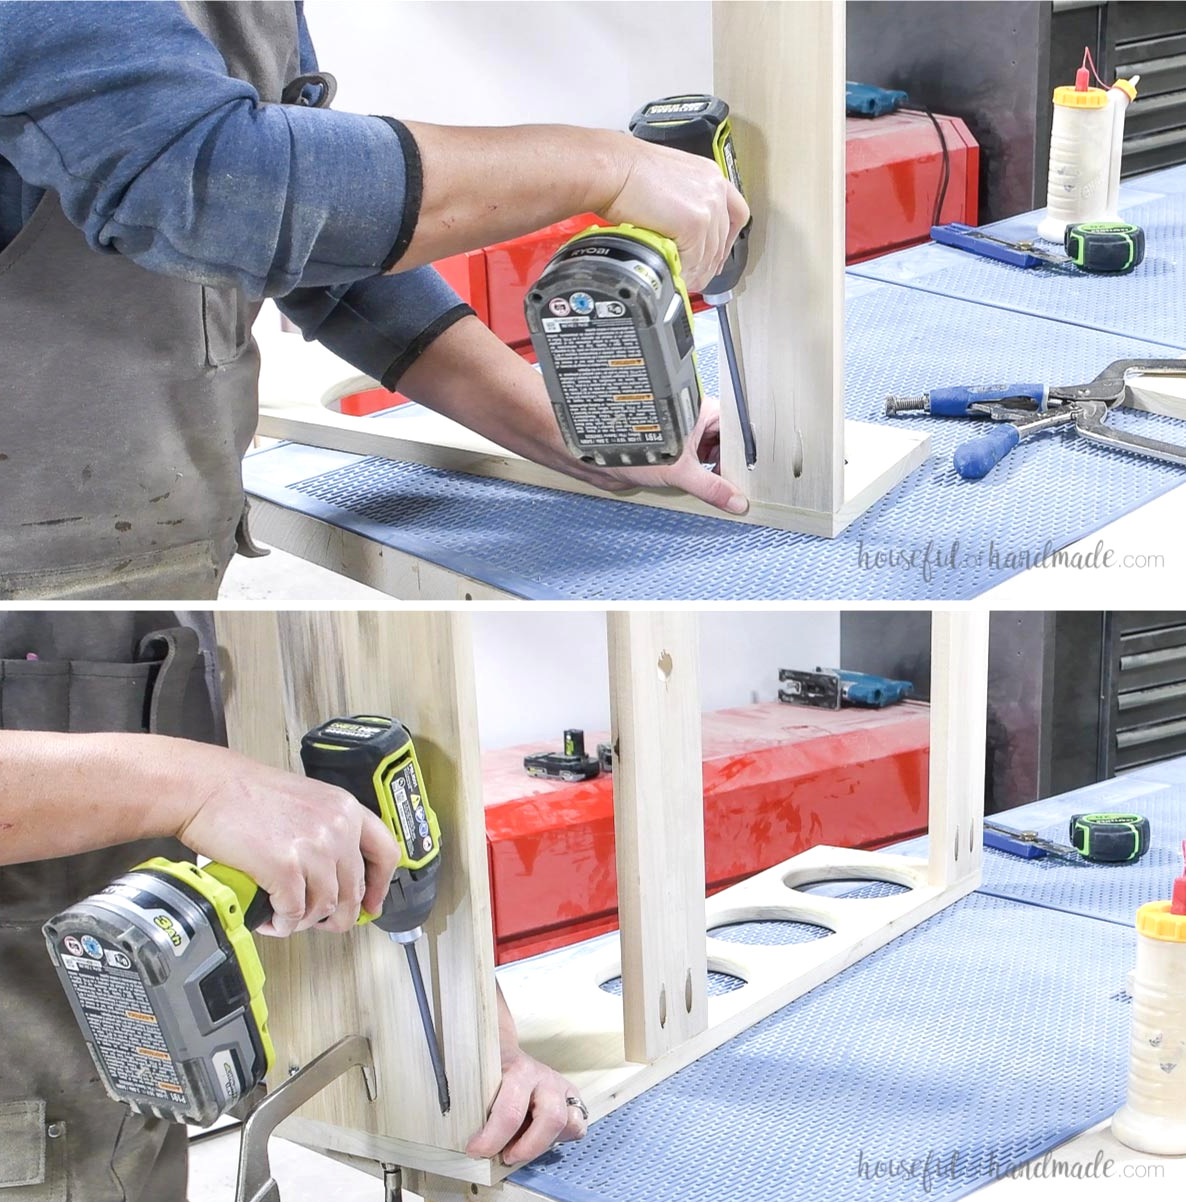
Set the second side panel over the boards, then fasten it with wood glue and 1 1/4″ pocket-hole screws.
Be certain that the pieces are positioned to match their arrangement on the opposite side panel.
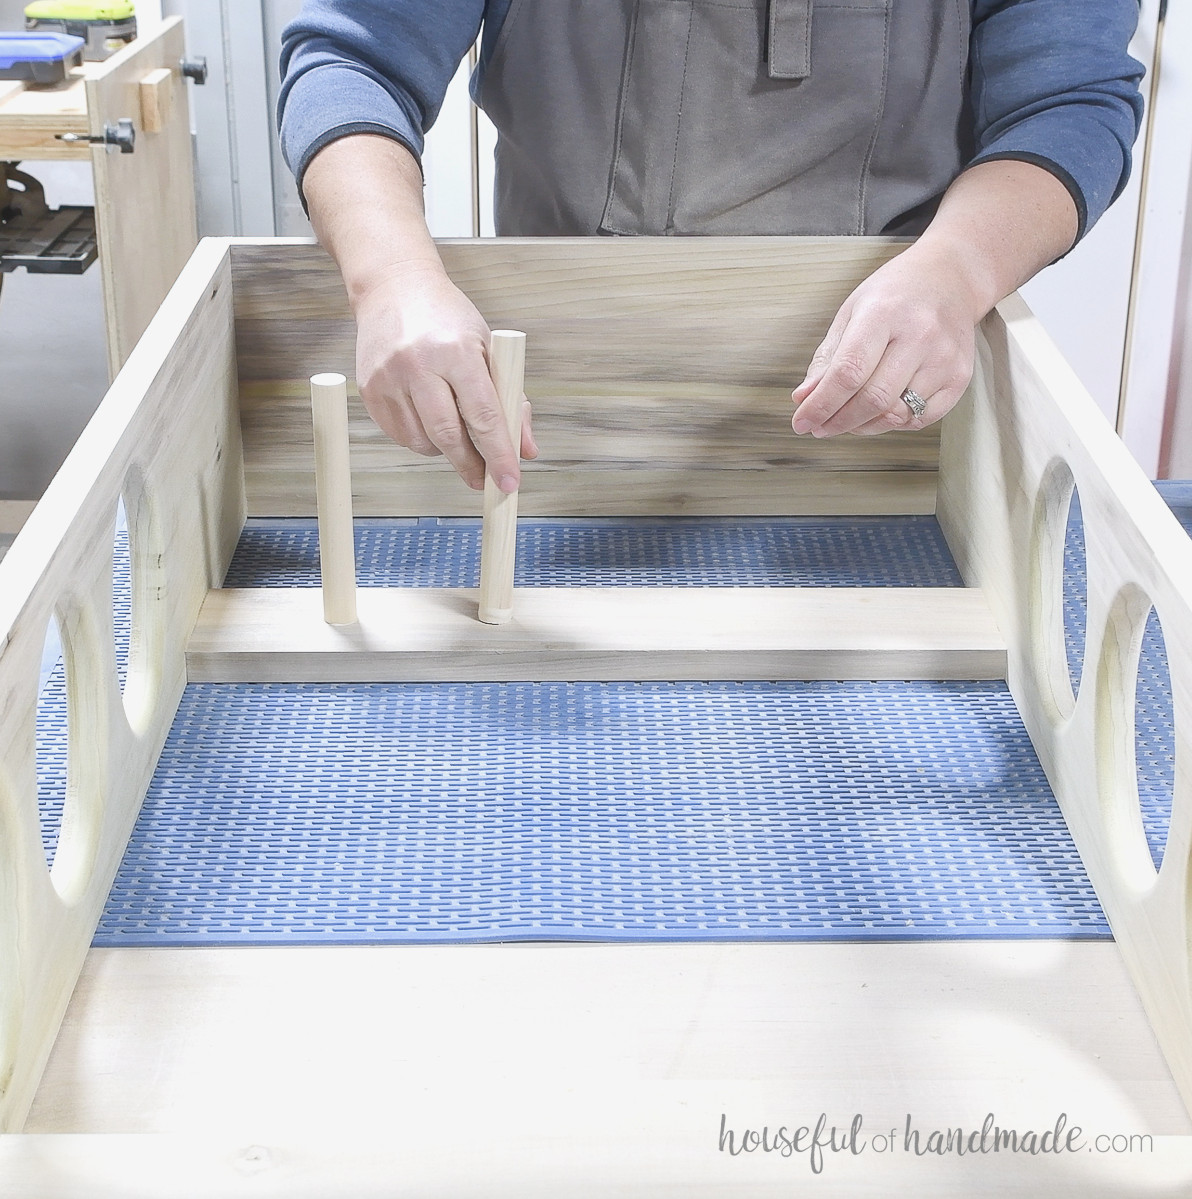
Apply glue to the dowels and insert them into the holes in the back support board.
Push each dowel fully into place until it sits flush with the rear surface of the board.
STEP 4- Attach the top
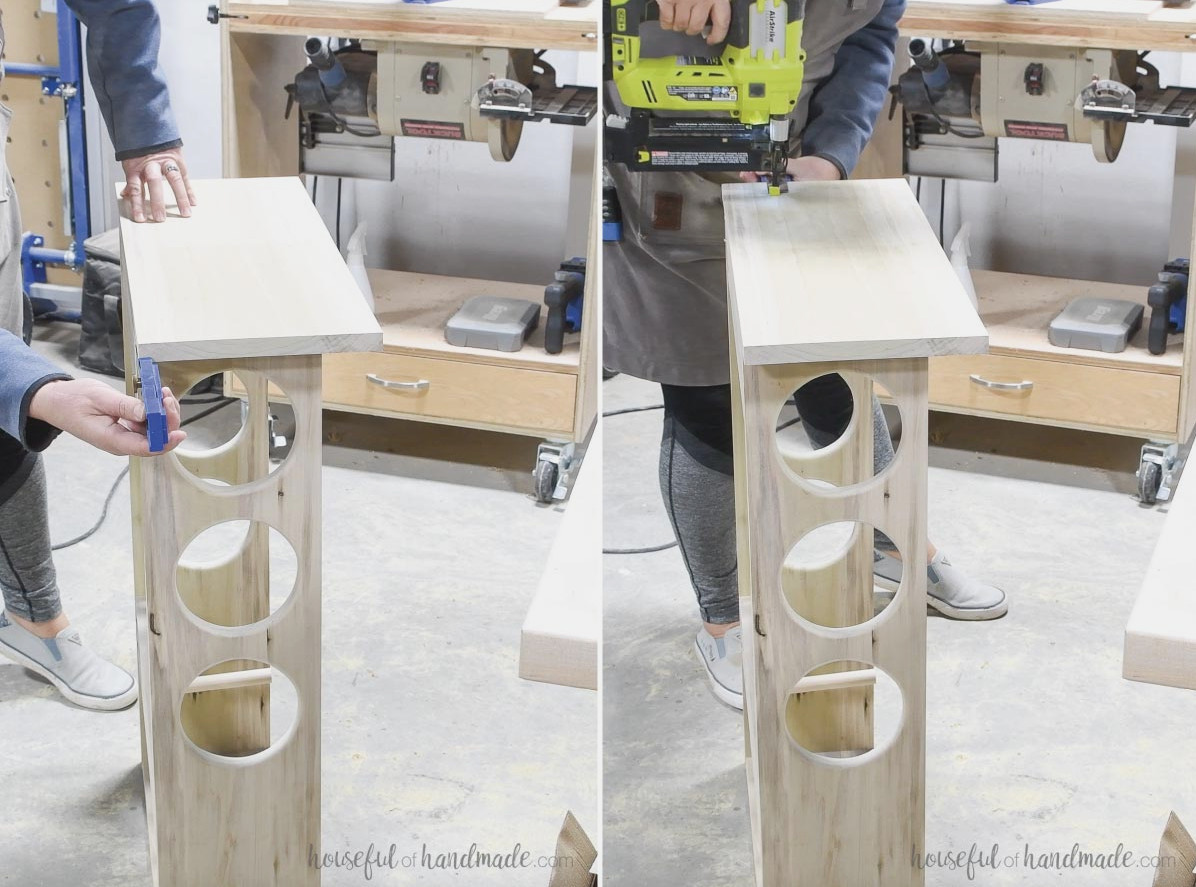
Position the top shelf on the assembled unit, centering it from side to side and keeping it flush against the back. The Kreg Multi-Mark tool is one of my favorite tools for positioning tops like this.
Fasten it with wood glue and brad nails driven through the top and into the side panels and back support.
STEP 5- Finish and Hang
Sand your exercise mat holder, then apply your chosen finish.
I made mine using poplar boards and coated it with wood wax for a subtle matte, unfinished appearance.
To mount your yoga mat storage shelf, secure it to the wall studs with 2 1/2″ wood screws driven through the upper back support board.
You’ve finished it!
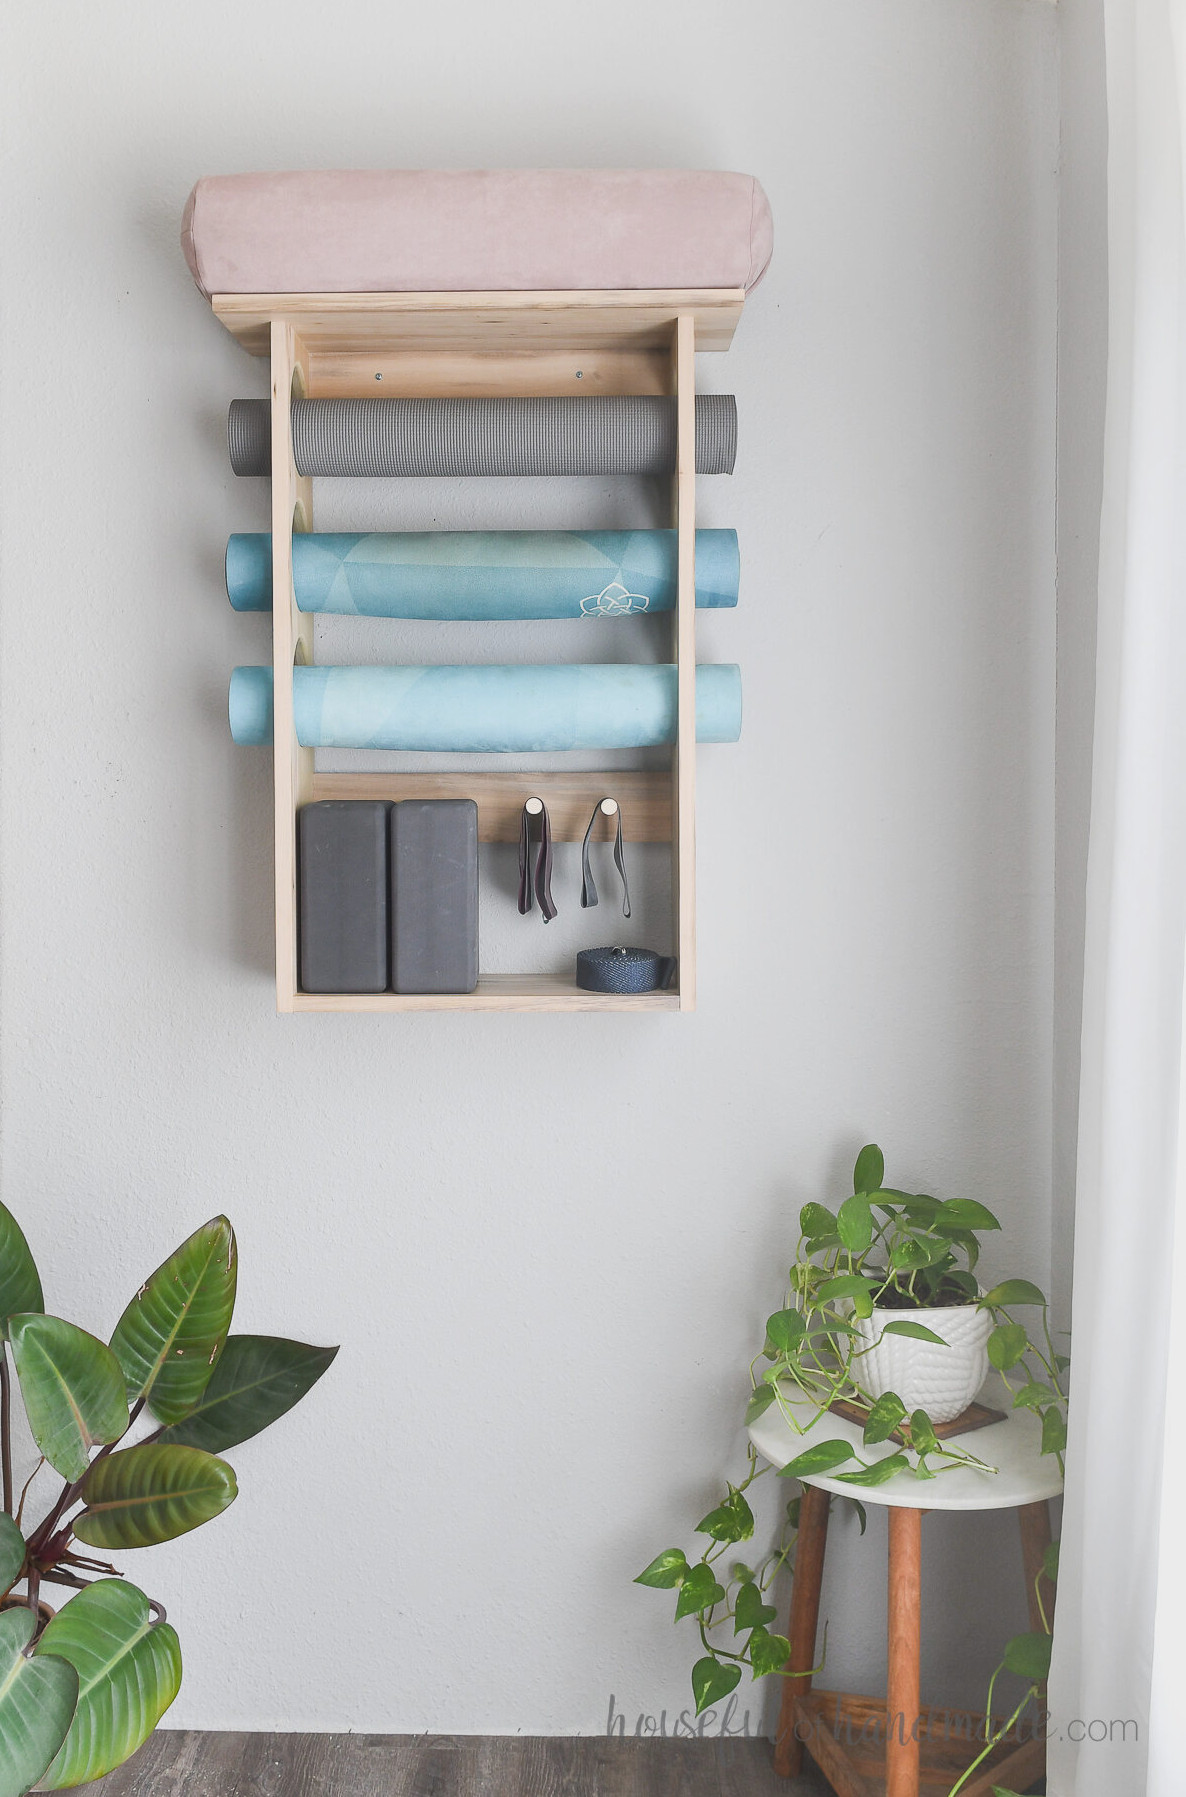
Your mats can now stay off the floor while you enjoy the calm of a tidy workout area.
Enjoy building!