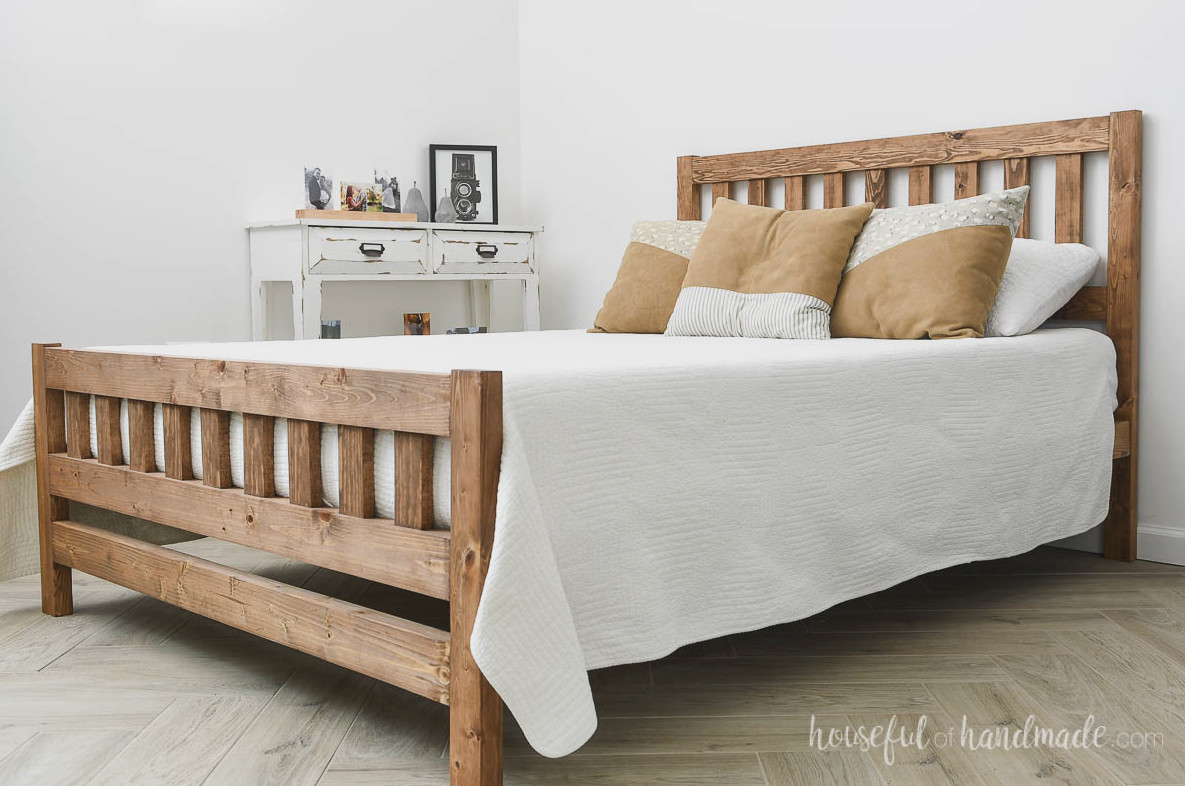
Create an attractive platform bed from ordinary lumber using these simple plans.
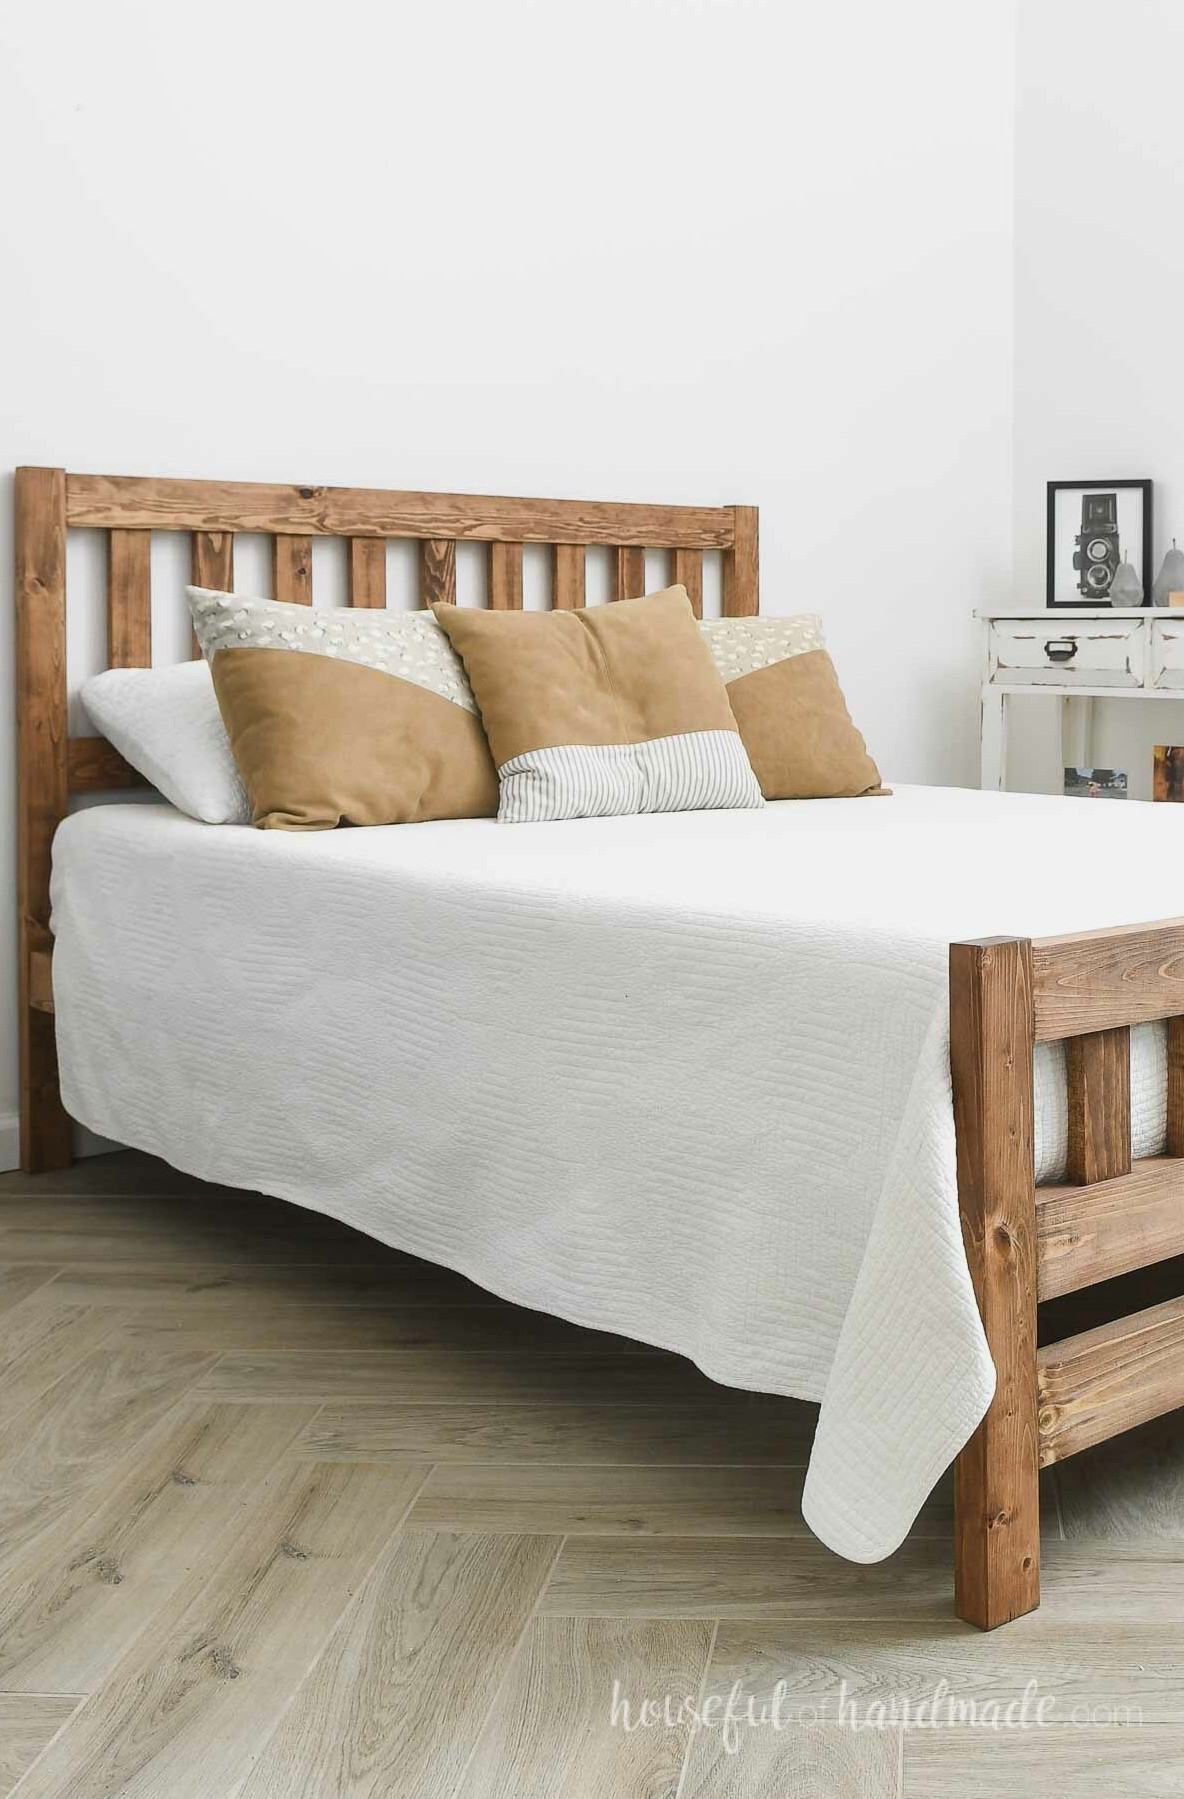
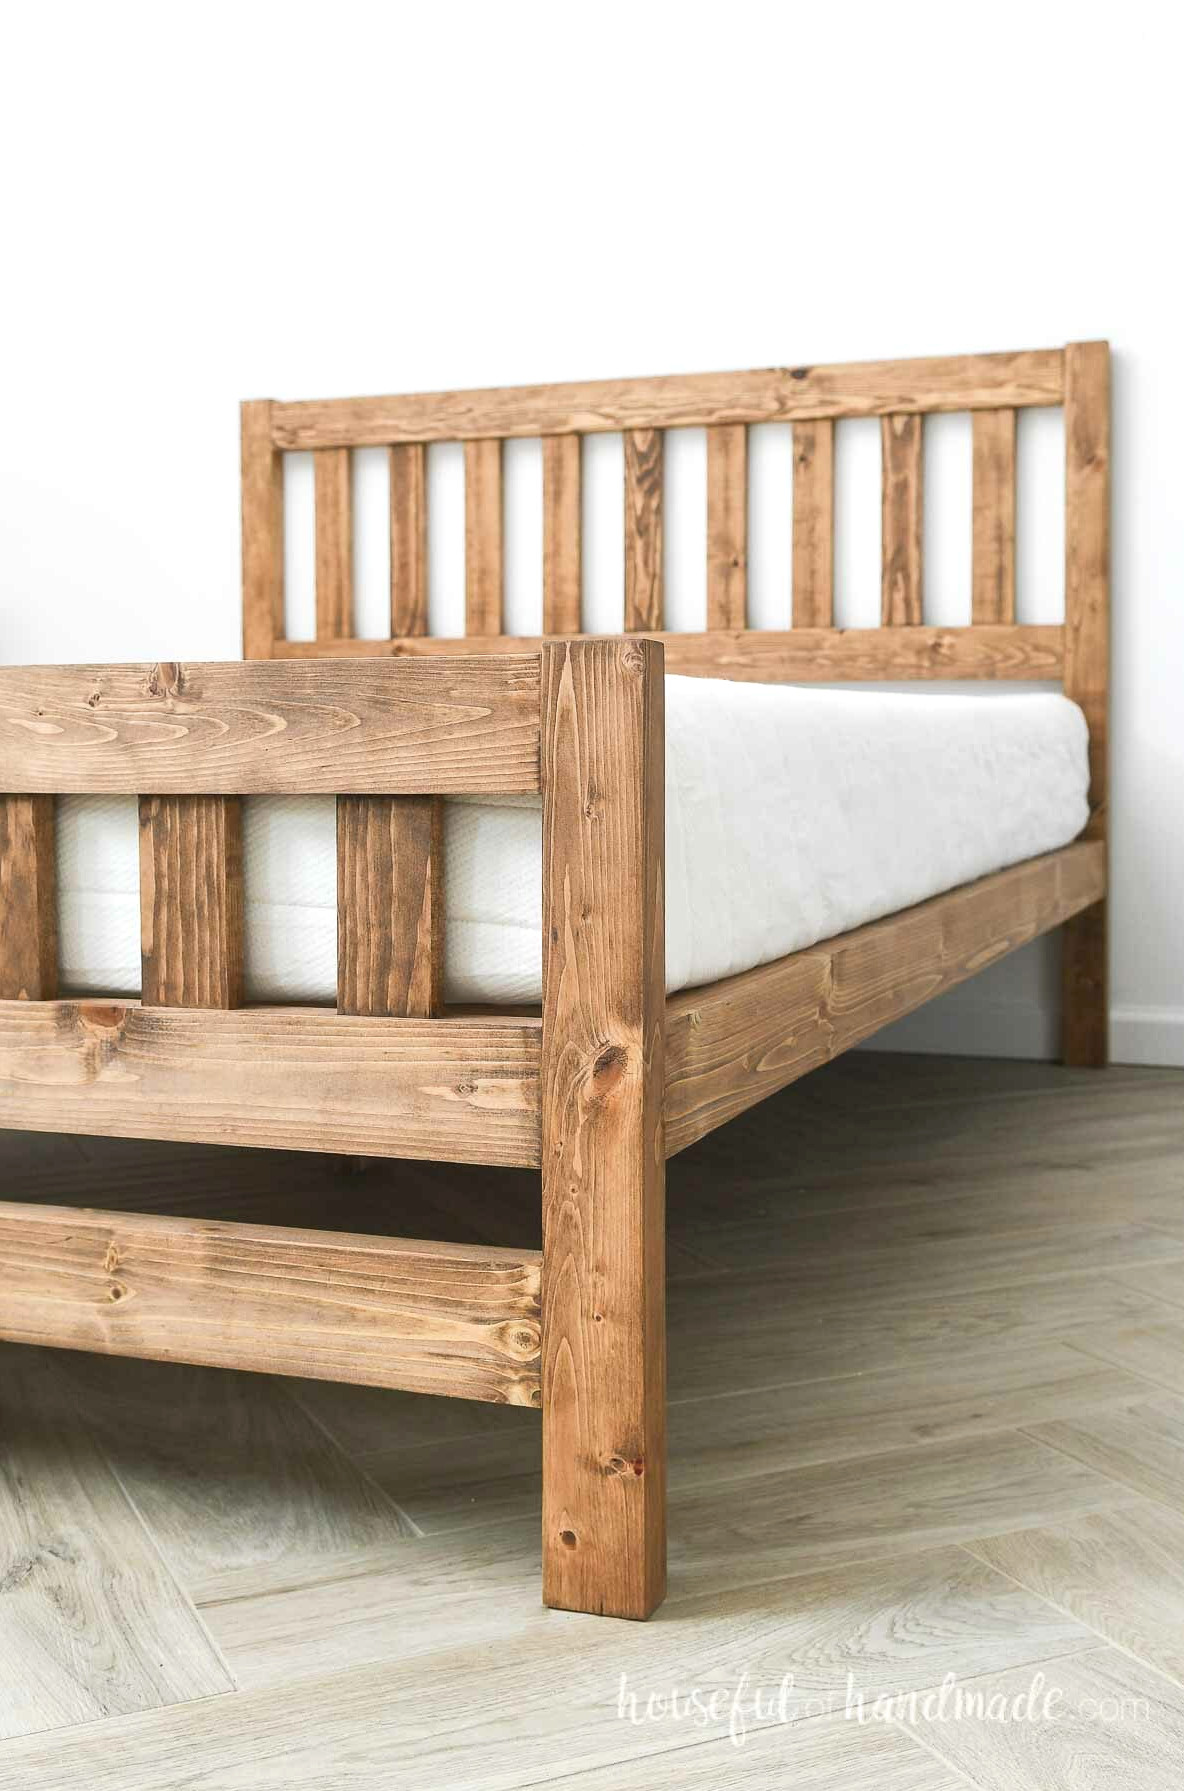
Who knew a handful of 2x4s and 2x3s could turn out this stylish? This straightforward DIY bed gives basic lumber an upscale appearance!
The platform bed supports a modern mattress that does not need a box spring. As a result, your bed has a sleek, low-profile design. You also gain plenty of open space beneath it for storage.
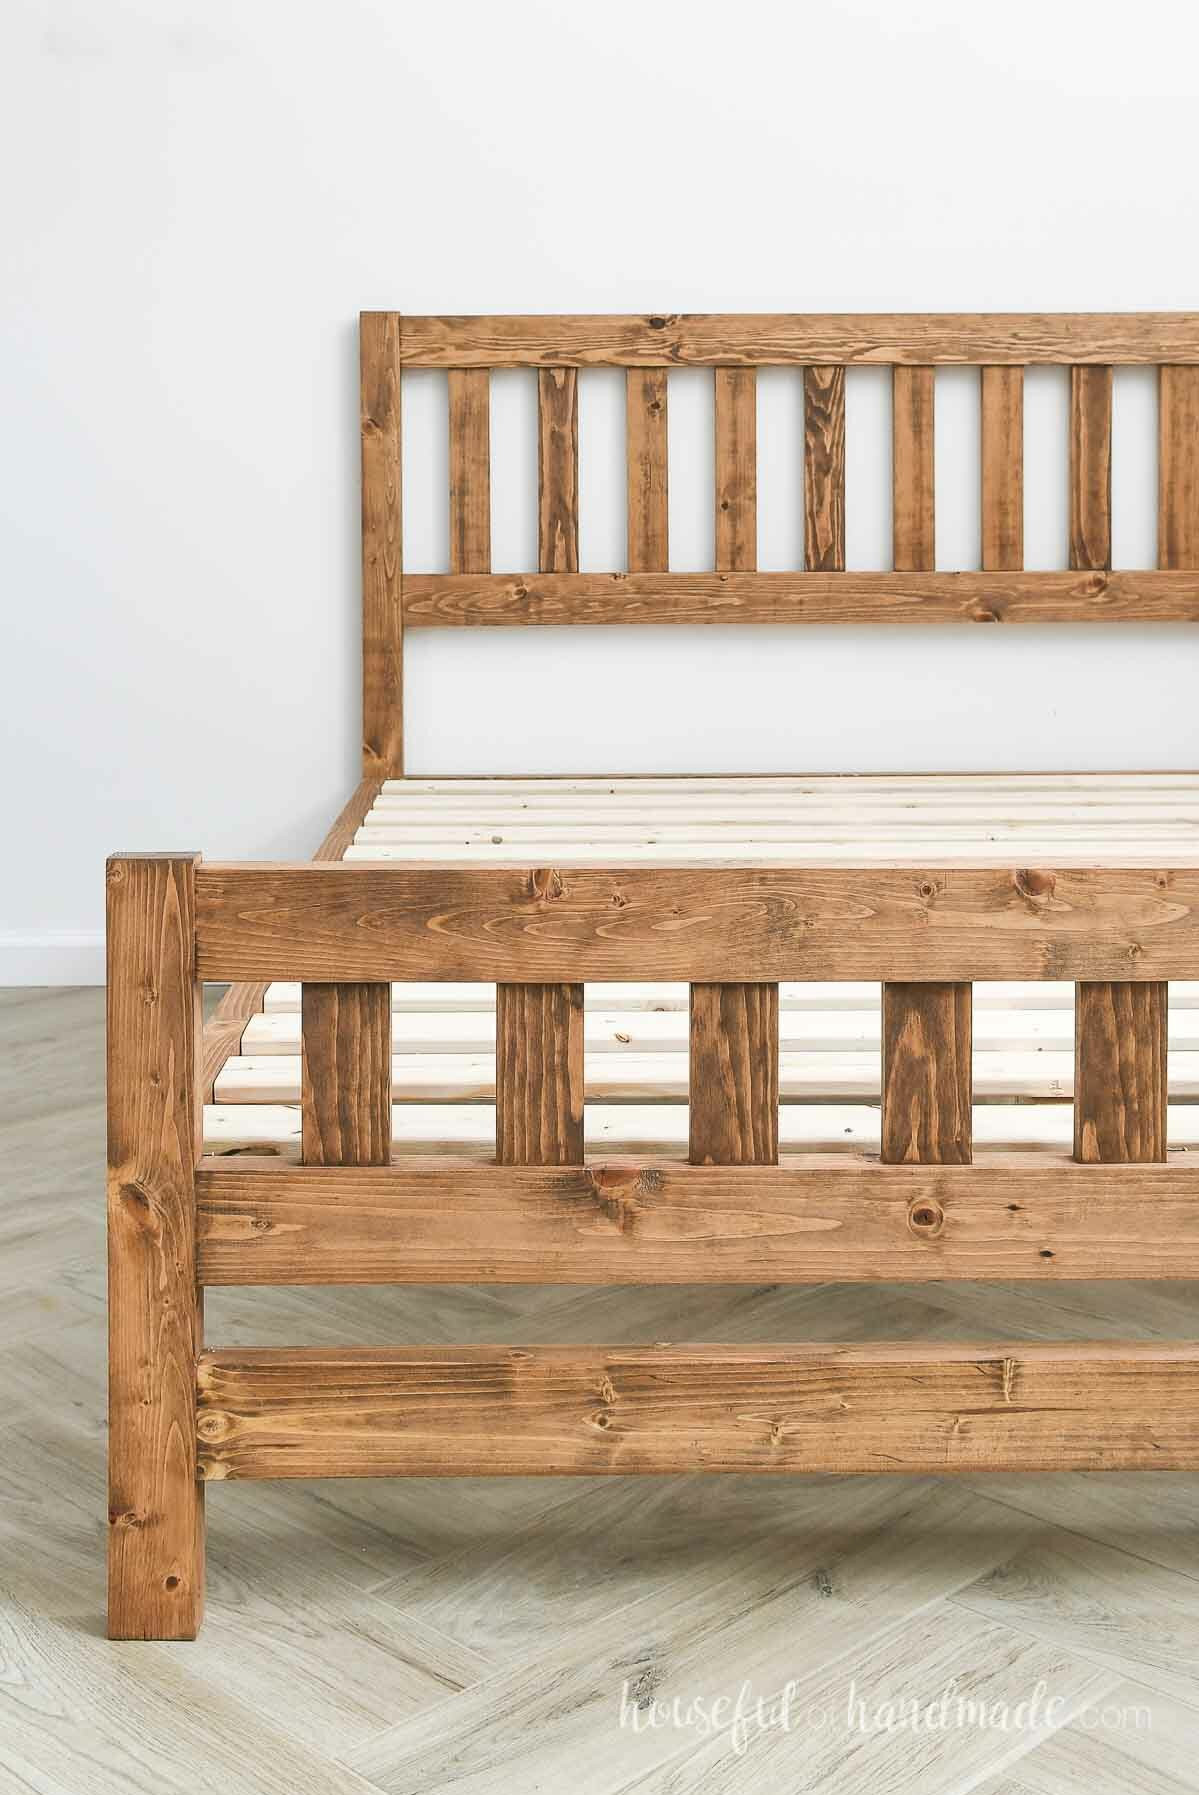
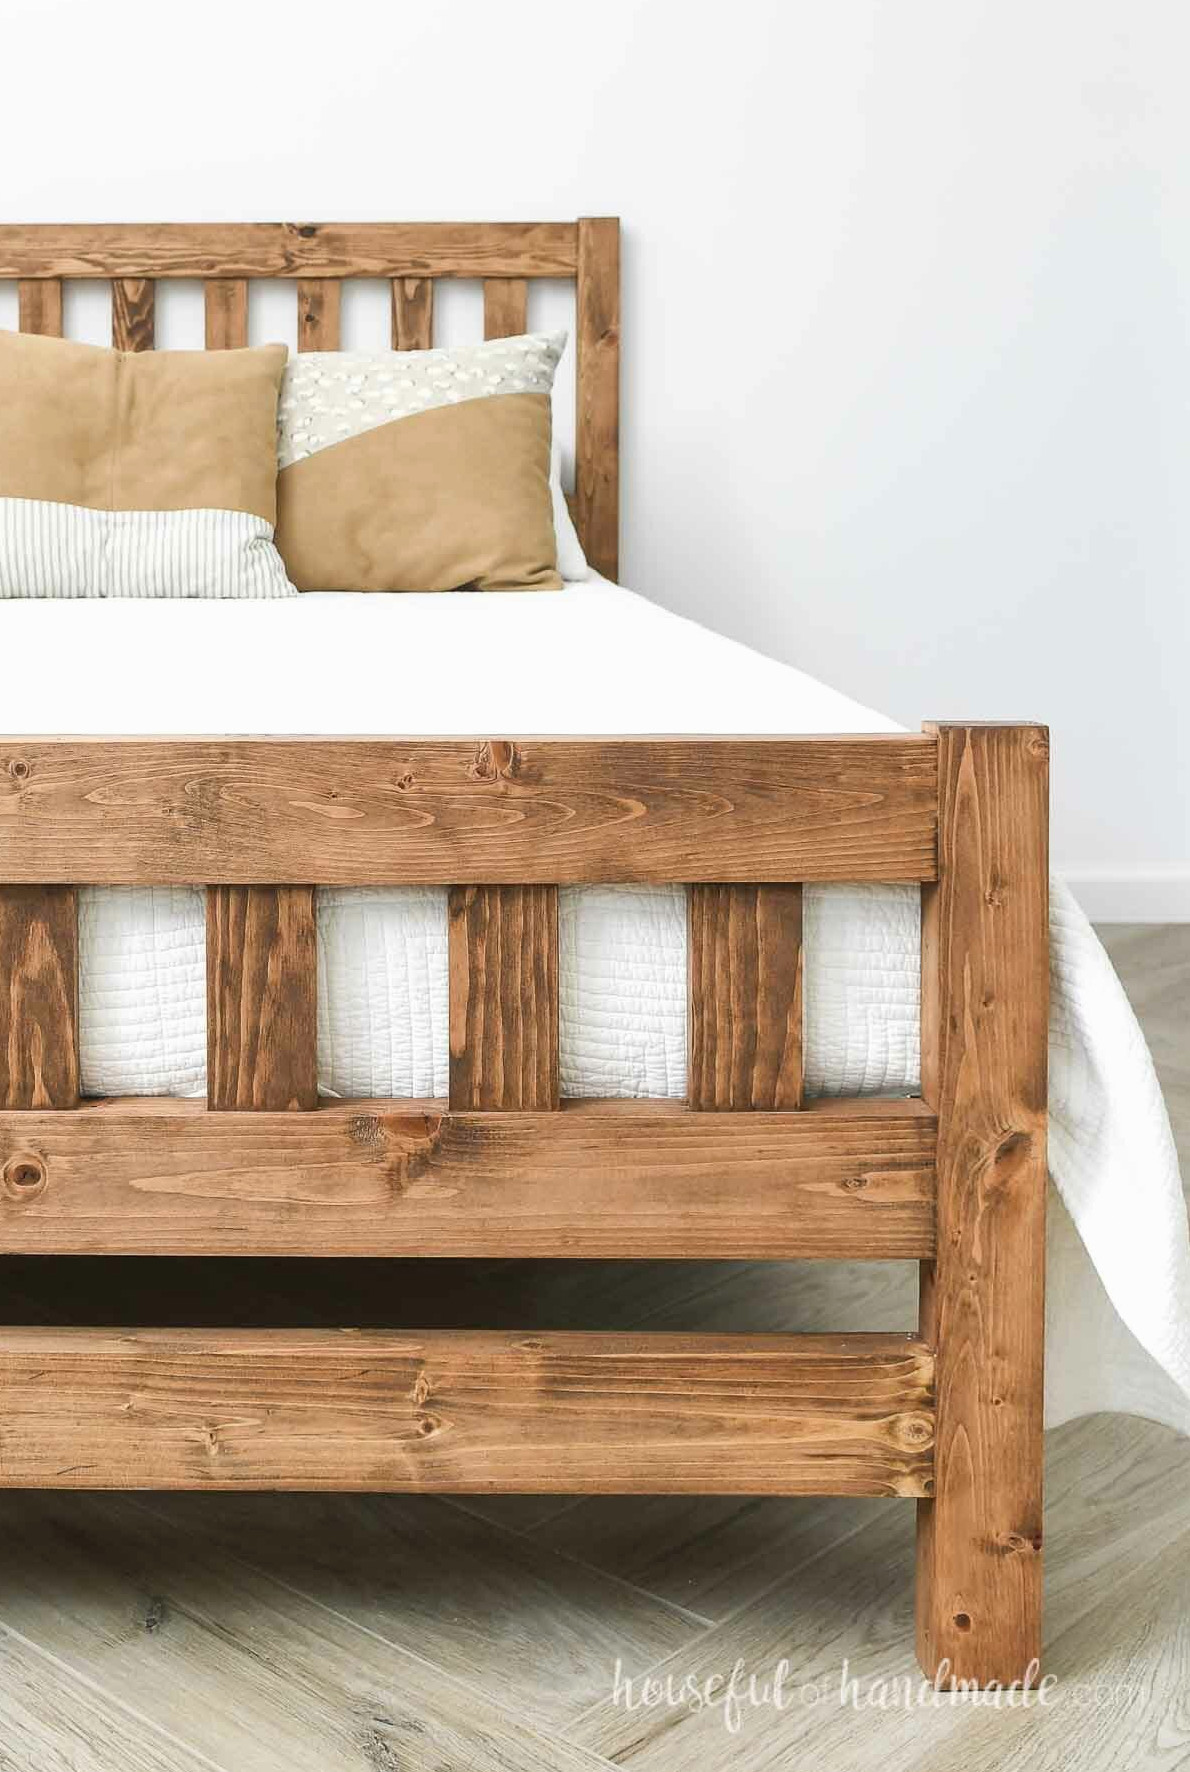
Featuring a basic headboard and footboard made with vertical slats set between horizontal rails, this lovely bed brings a hint of classic charm to an otherwise uncomplicated design.
I teamed up with Kreg Tools to present this DIY bed project. Thanks to the Kreg Pocket Hole Jig, this bed is quick and simple to construct!
You will be amazed at how quickly you can make your own bed compared with driving to the store and choosing one there. I am also providing the full-size bed plans at no cost.
Flattening the Edges of 2×4 Boards
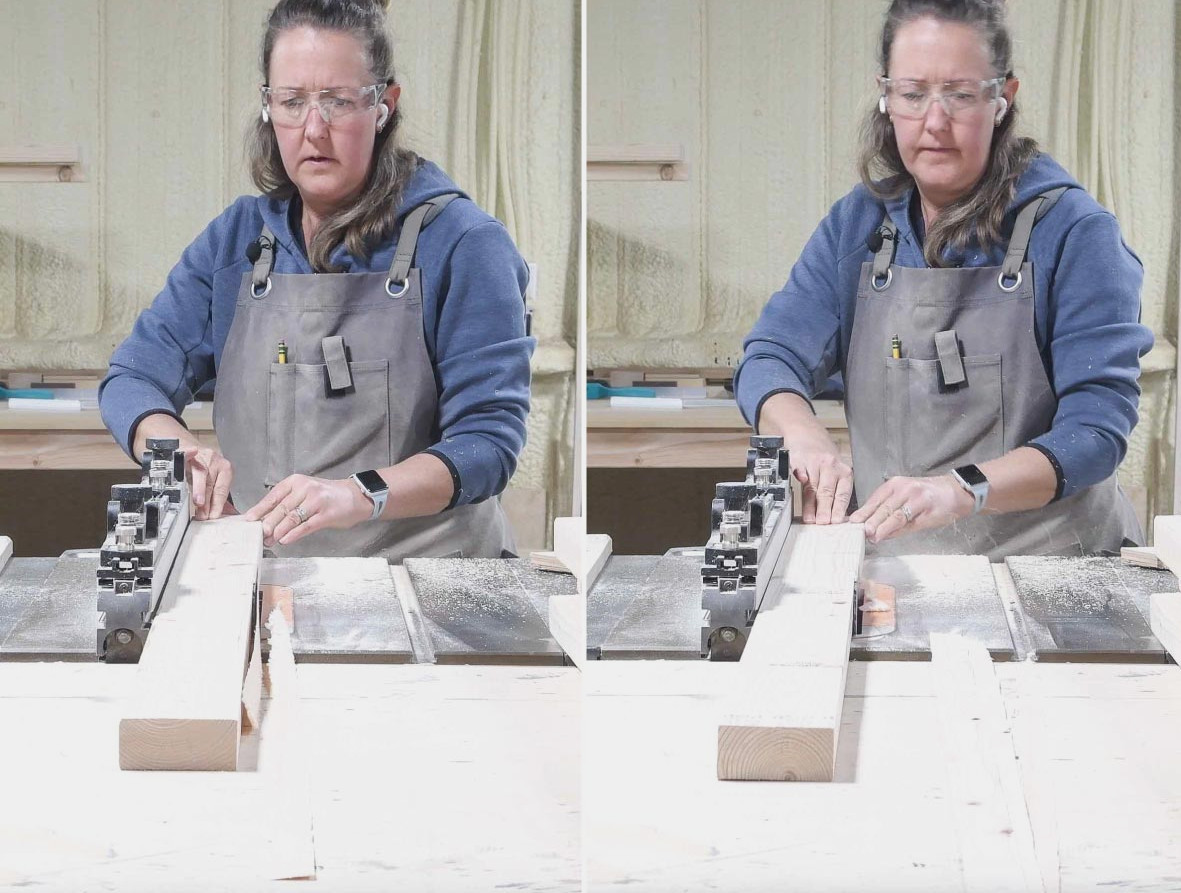
To give budget-friendly lumber a more refined look, I began by trimming the edges of the 2×4 boards.
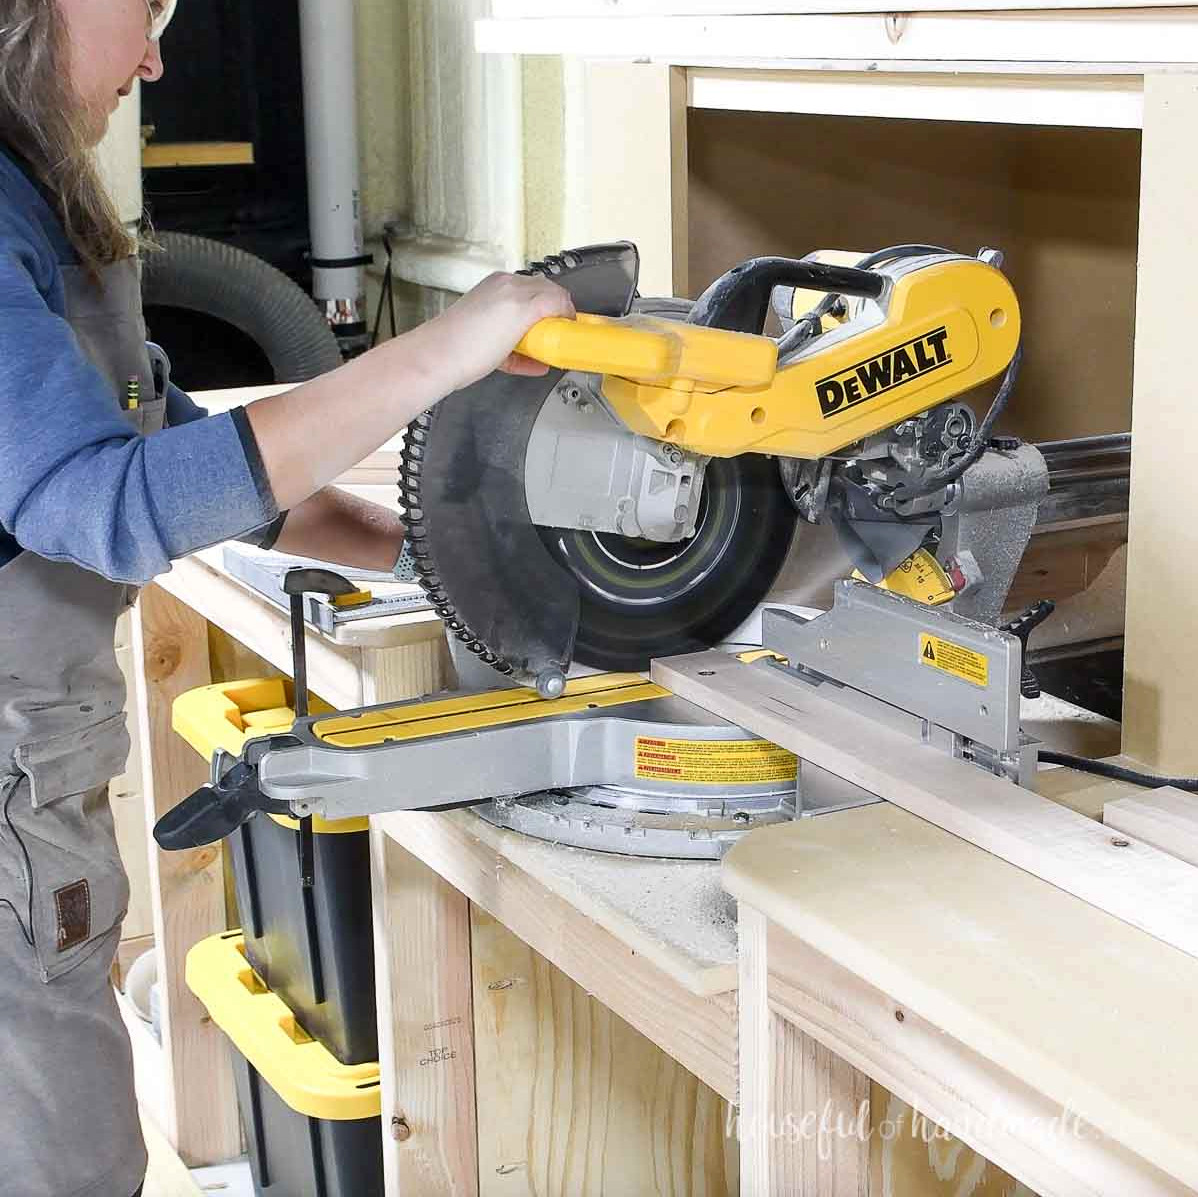
With my table saw, I removed 1/8″ from both sides of each 2×4. This produced boards measuring 3 1/4″ wide rather than the usual 3 1/2″ width.
Since I reduced the width of these boards, I needed to modify the lengths of the headboard and footboard slats. Each piece was cut 1/2″ longer because every board became 1/4″ narrower.
The full-bed dimensions listed on KregTool.com are based on boards that are 3 1/2″ wide. Therefore, if you also decide to square your 2x4s, remember to increase the headboard and footboard slat measurements by 1/2″ when making your cuts.
Rather than purchasing 2×3 boards, I also ripped 2 1/2″-wide pieces from 2x4s. This ensured that the legs were the correct size and had straight edges.
This step is optional, and you can still create professional-looking projects without taking this additional measure. I skipped it when building the attractive platform bed frame in my bedroom, and it remains one of my favorite simple projects!
Additional DIY Bedroom Furniture
Furnish your entire bedroom with pieces you crafted yourself.
How to Make a Basic Platform Bed
Tools & Supplies
Overall Measurements
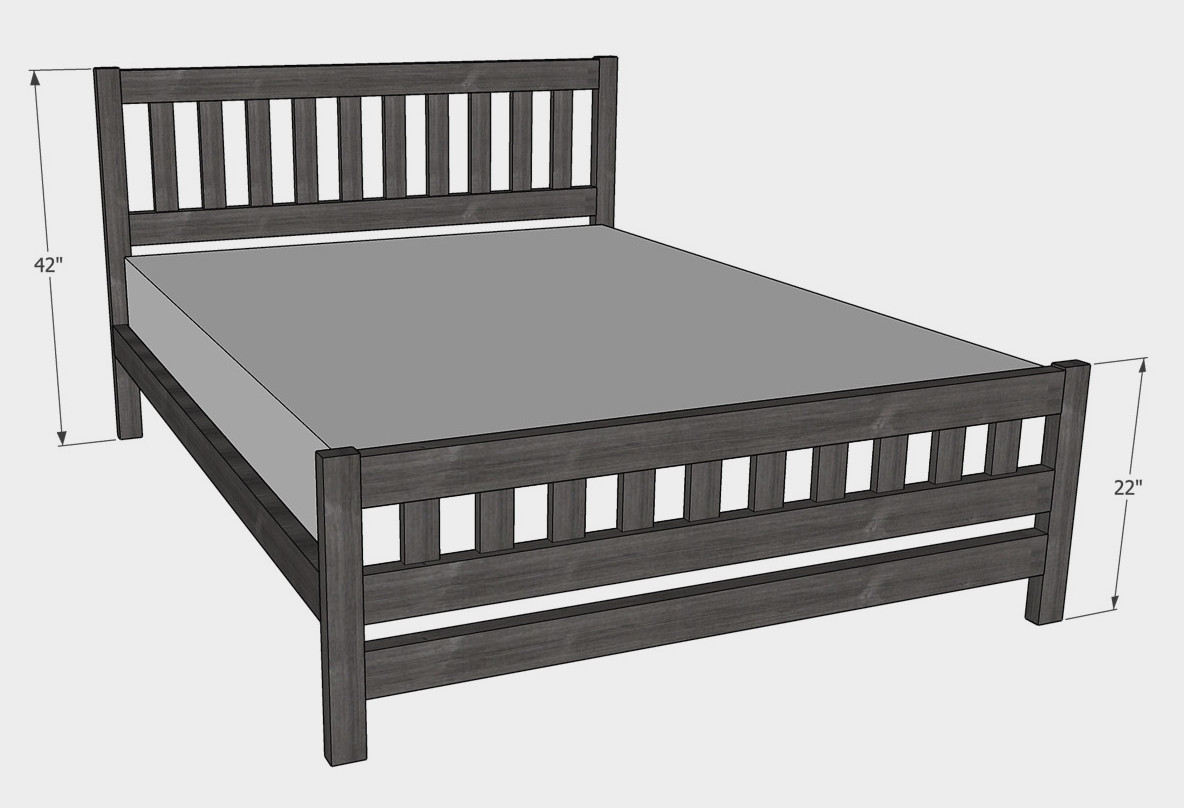
The headboard measures 42″ high, while the footboard stands 22″ high. The bed has 10″ of clearance underneath, making it ideal for storage. The image below displays the bed with an 8″-thick mattress.
The mattress platform dimensions for each bed are:
- Twin- 38 1/2″ x 75 1/2″ platform for a 38″ x 75″ mattress
- Full- 54 1/2″ x 75 1/2″ platform for a 54″ x 75″ mattress
- Queen- 60 1/2″ x 80 1/2″ platform for a 60″ x 80″ mattress
- King- 76 1/2″ x 80 1/2″ platform for a 76″ x 80″ mattress or two 38″ x 80″ mattresses (twin XL)
- California King- 72 1/2″ x 84 1/2″ platform for a 72″ x 84″ mattress
Cutting Guide
The construction plans for the full-size bed are available for free at KregTool.com. Click here to access the cutting list and plans.
For every other size, you can find precise measurements for each model, including the required board count, in the detailed PDF construction plans here.
Download the Premium PDF Woodworking Plans
PDF plans contain- Simple Cut List, Shopping List, Suggested Tools, Step-by-Step Directions with 3D drawings, & Useful Resources
BONUS- 3D SketchUp Model

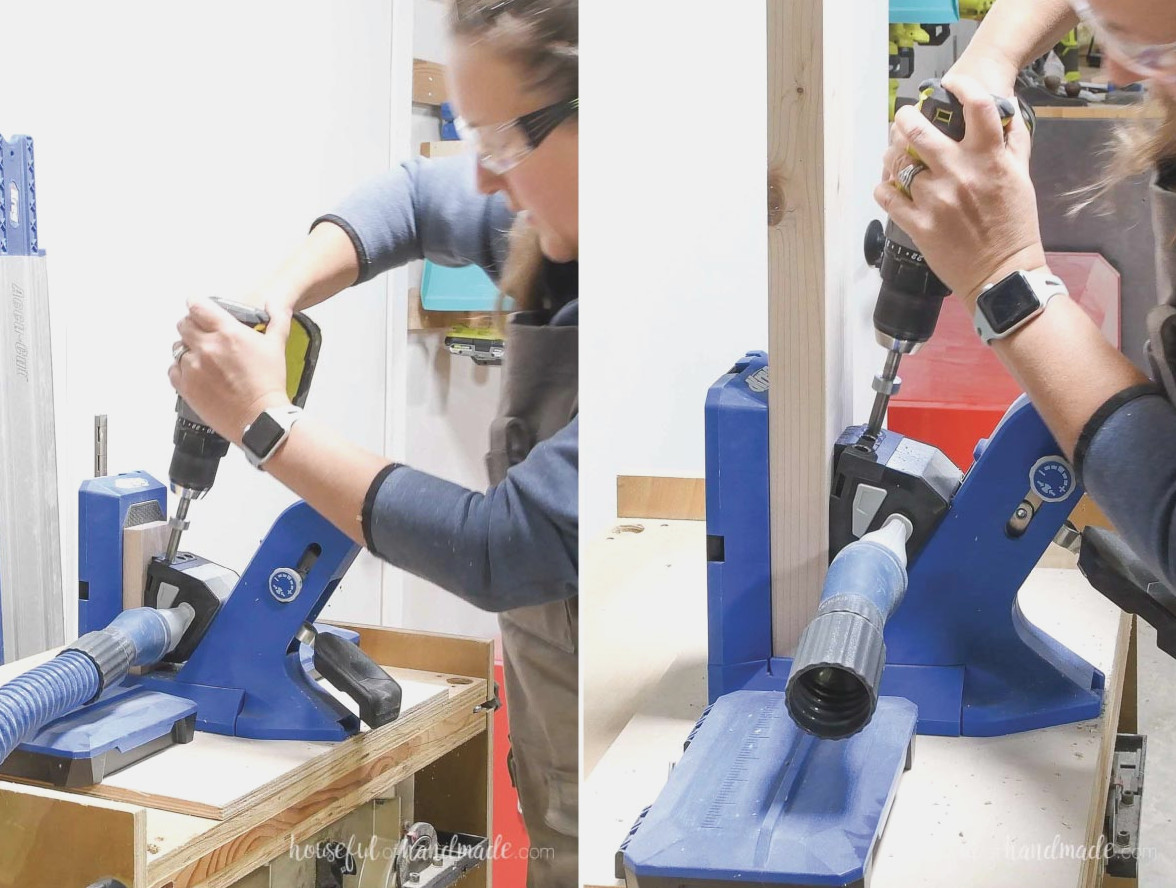
Adjust your Kreg pocket hole jig for drilling into 3/4″-thick material. Make two pocket holes at each end of every footboard slat.
Next, configure the jig for 1 1/2″-thick material and create two pocket holes at both ends of the three footboard rail boards.
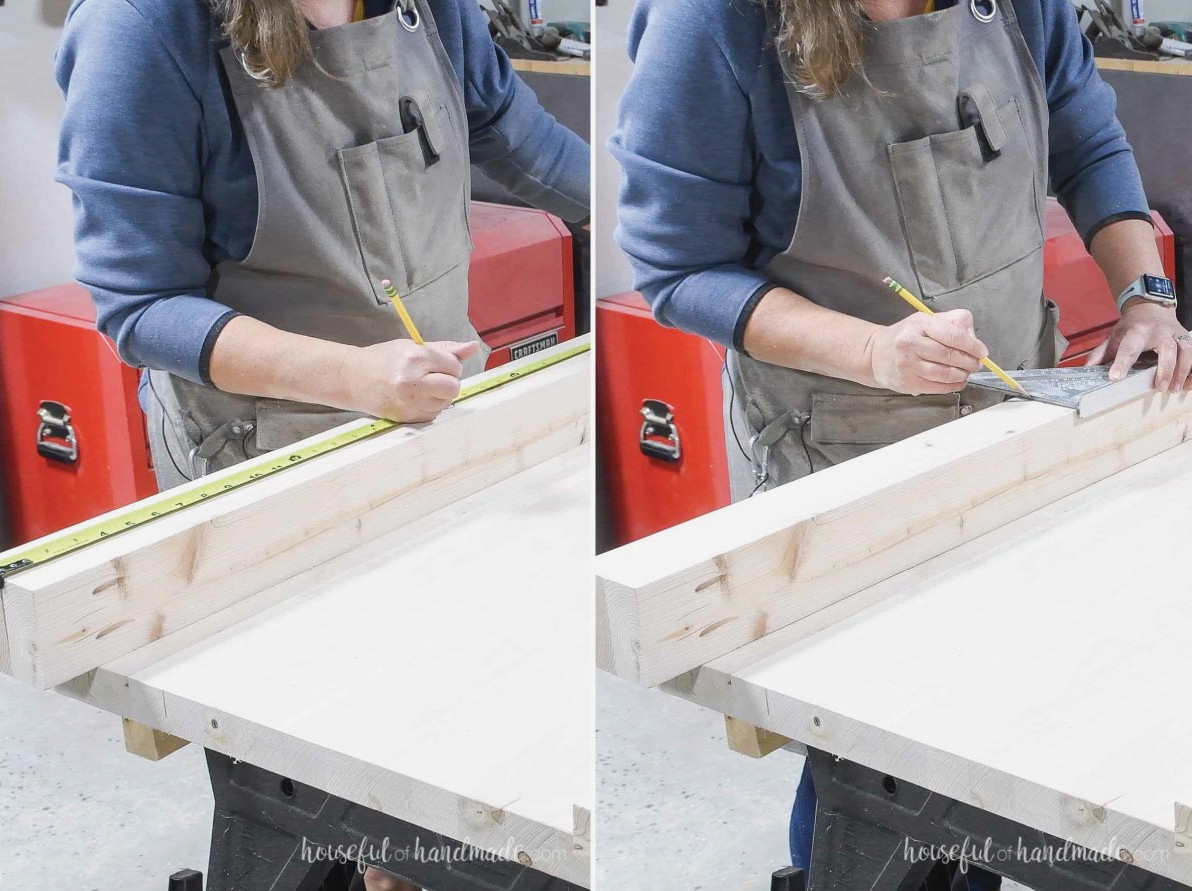
Measure and mark the rail positions on the rail boards. The plans specify the exact placement for every bed size. In the full-bed plans published on Kreg’s website, the rails are spaced 3″ apart and positioned 3″ from the sides.
Keep in mind that 1×3 boards actually measure 2 1/2″ thick. Learn more about board dimensions in this guide to purchasing lumber.
EXPERT TIP:
Draw all the marks on one board first. After aligning both boards, usea square to mark a line across both rails, eliminating the need to measure everything again.
Secure the slats between the two rail boards. Position them 3/8″ back from the front and rear edges of the rails so they remain centered. Fasten them with wood glue and 1 1/4″ pocket hole screws.
For simpler slat installation, attach them all to one rail board first.
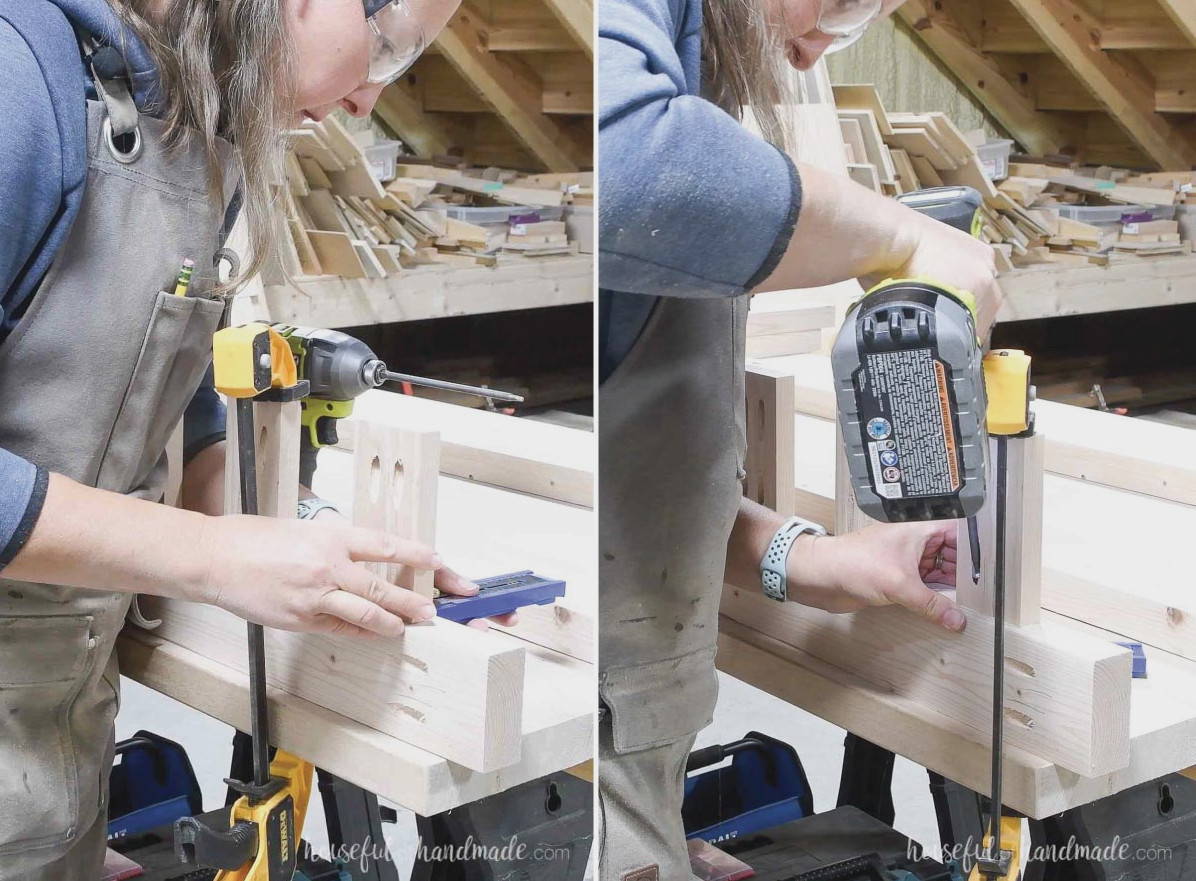
Afterward, fasten every slat to the second rail board.
Be certain that the pocket holes drilled into the rails face the rear of the boards.
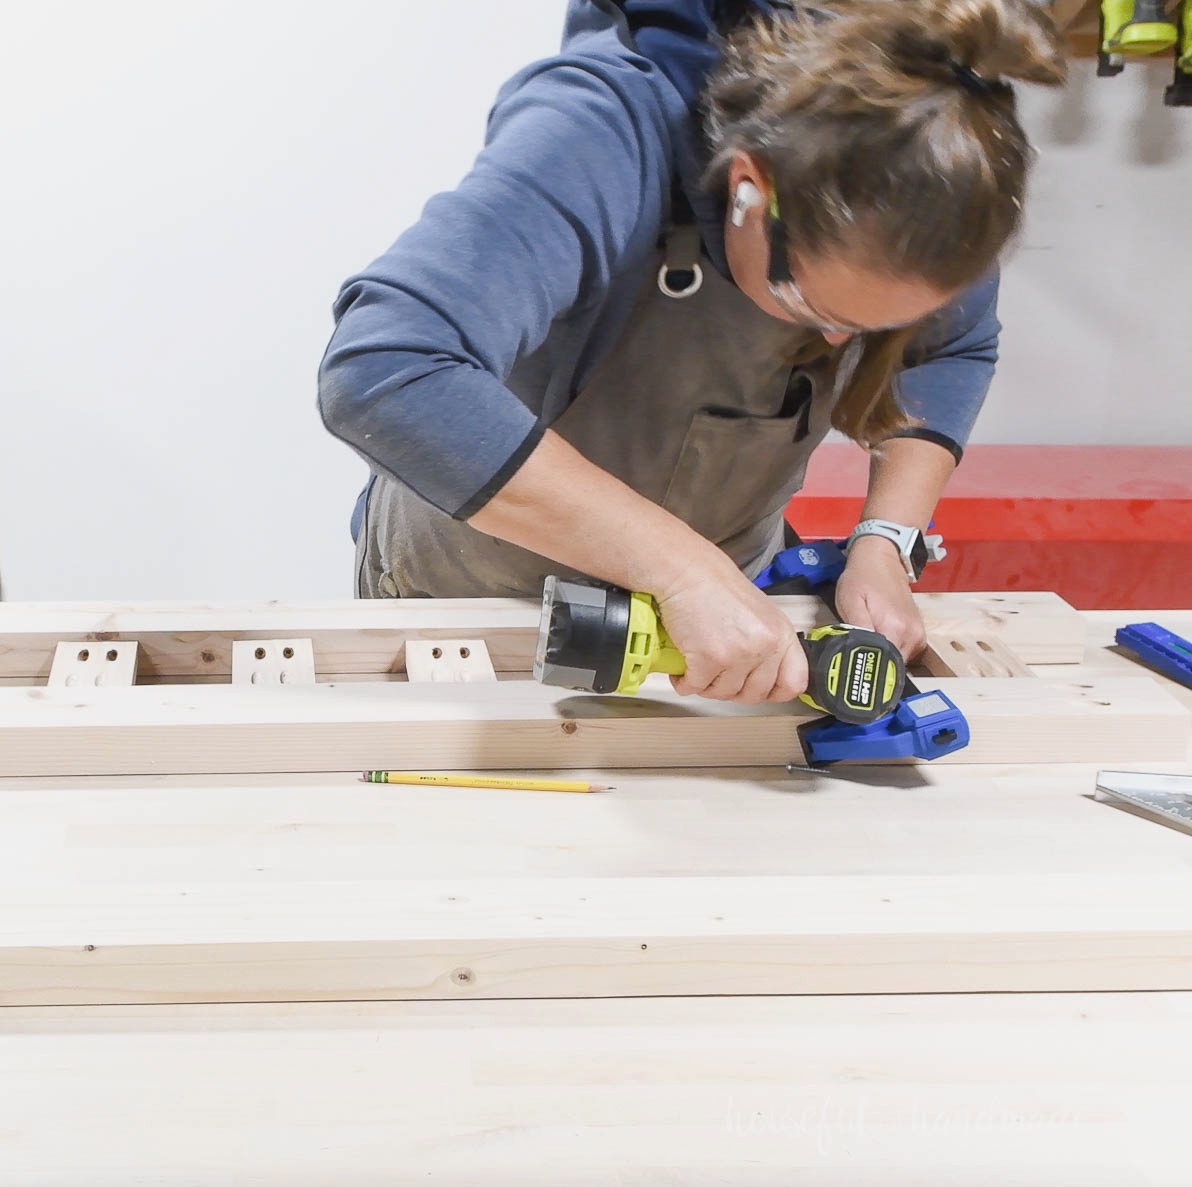
Next, connect the three rails to the footboard legs.
Position the top of the assembled rail-and-slat section 1/4″ below the tops of the legs, with its bottom 10″ above the leg bottoms. The lower rail should sit 4 1/2″ above the bottoms of the legs.
Fasten the three pieces to one leg before attaching them to the other. Apply wood glue and secure everything with 2 1/2″ pocket hole screws. Use face clamps to hold the boards even while fastening them.
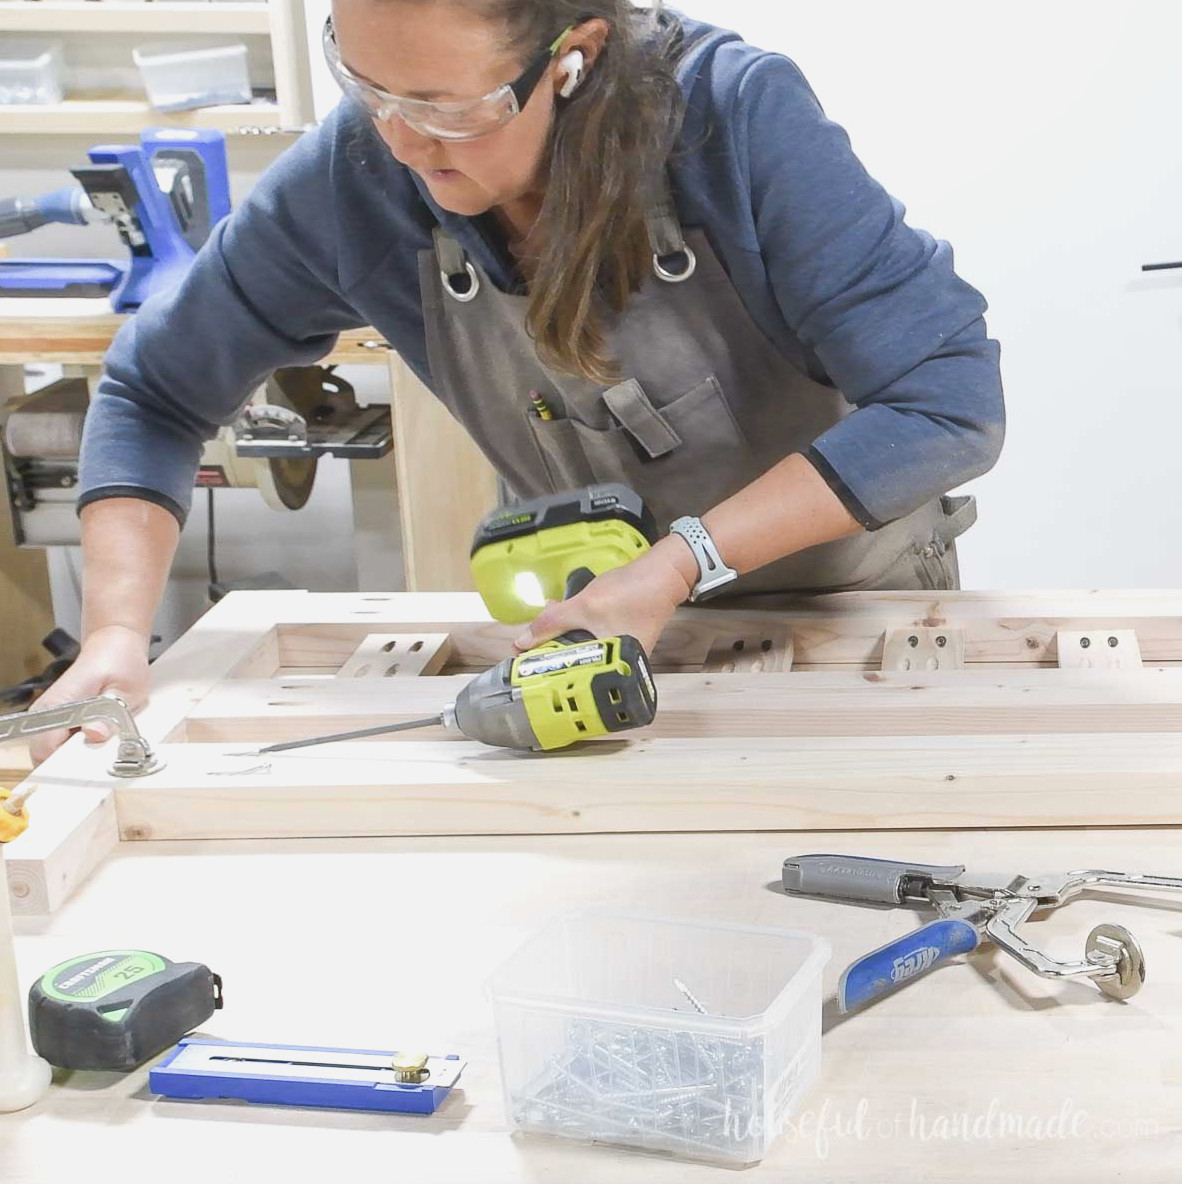
STEP 2- Build the Headboard
Assemble the headboard using the same method as the footboard.
Begin by drilling (2) pocket holes into both ends of each headboard slat and all (3) headboard rail boards. Confirm that the jig is adjusted for the proper wood thickness.
Place the slats between two rail boards, spacing them according to the specific plans and centering them on the rails. Fasten them with wood glue and 1 1/4″ pocket hole screws.
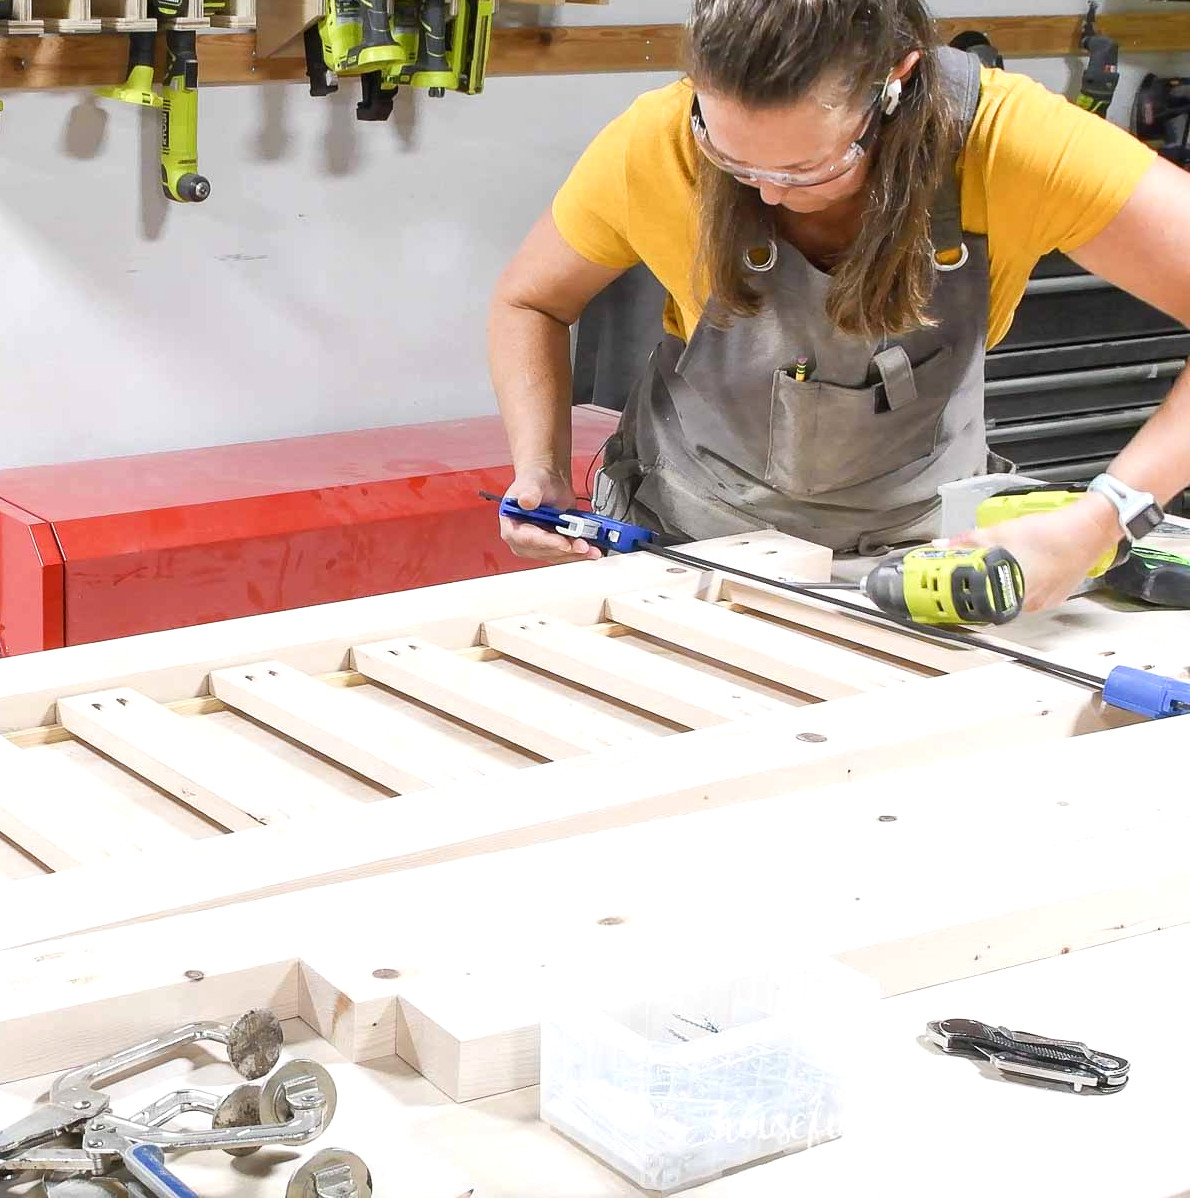
Next, install the three rails between the two headboard leg boards.
The top of the assembled rail-and-slat section should sit 1/4″ below the leg tops. Position the bottom rail, which is not connected to the slats, 10″ above the bottoms of the legs.
Apply wood glue and fasten the pieces with 2 1/2″ pocket hole screws.
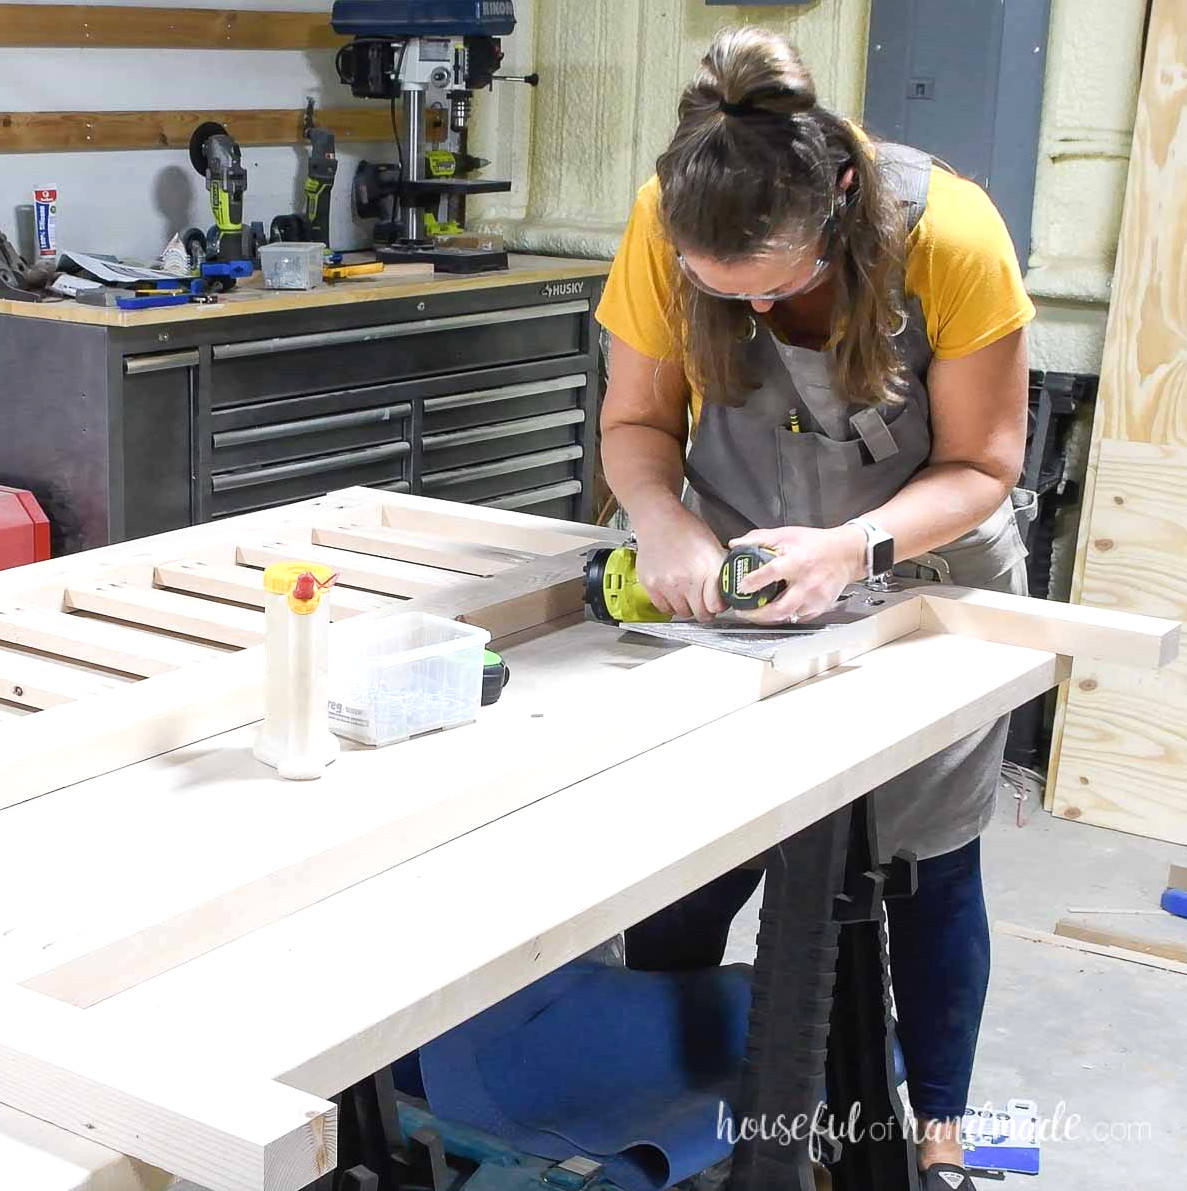
EXPERT TIP:
The bottom rail of the headboard and the middle rail of the footboard are the attachment points that join the two sections and support the mattress. To change the height of the bed, headboard, or footboard, ensure these two boards remain positioned at an identical height.
STEP 3- Build the Side Rails
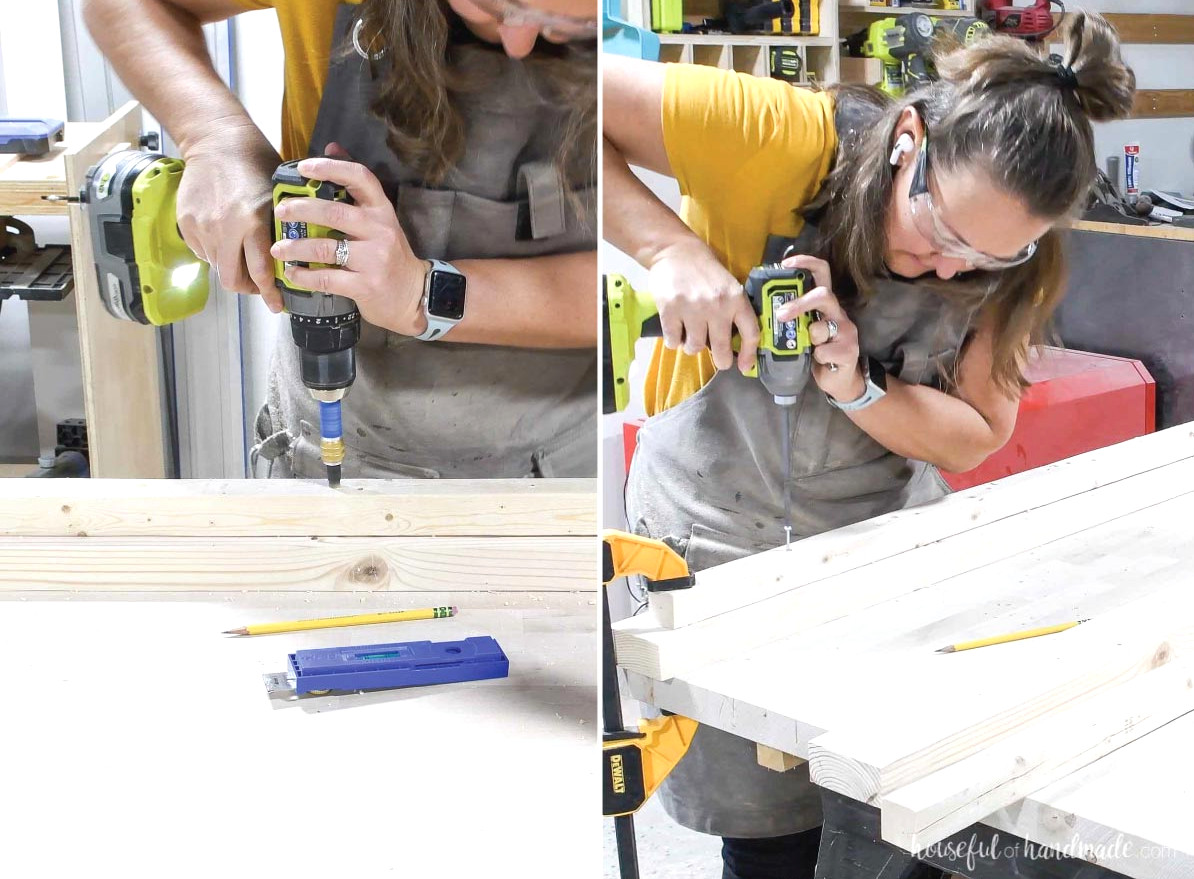
Position the 2×2 rail support on each side rail piece, centering it from side to side and placing it 1″ below the top edge.
If you squared the 2x4s, this board only needs to be set down 3/4″ to allow for the 1/4″ smaller board.
Fasten the 2×2 to the 2×4 using 2 1/2″ pocket hole screws placed every 6″ along the board. Countersink each screw with the Kreg quick-flip tool.
Do the same with the opposite side rail.
STEP 4- Build the Center Rail
With the exception of twin beds, all bed sizes should have a center rail to keep the mattress from sagging.
Drill pocket holes for 1 1/2″-thick material into one end of the center leg board. For larger bed sizes, I suggest using 2 center legs, as indicated in the PDF plans.
Use wood glue and 2 1/2″ pocket hole screws to attach it to the center edge of the rail board.
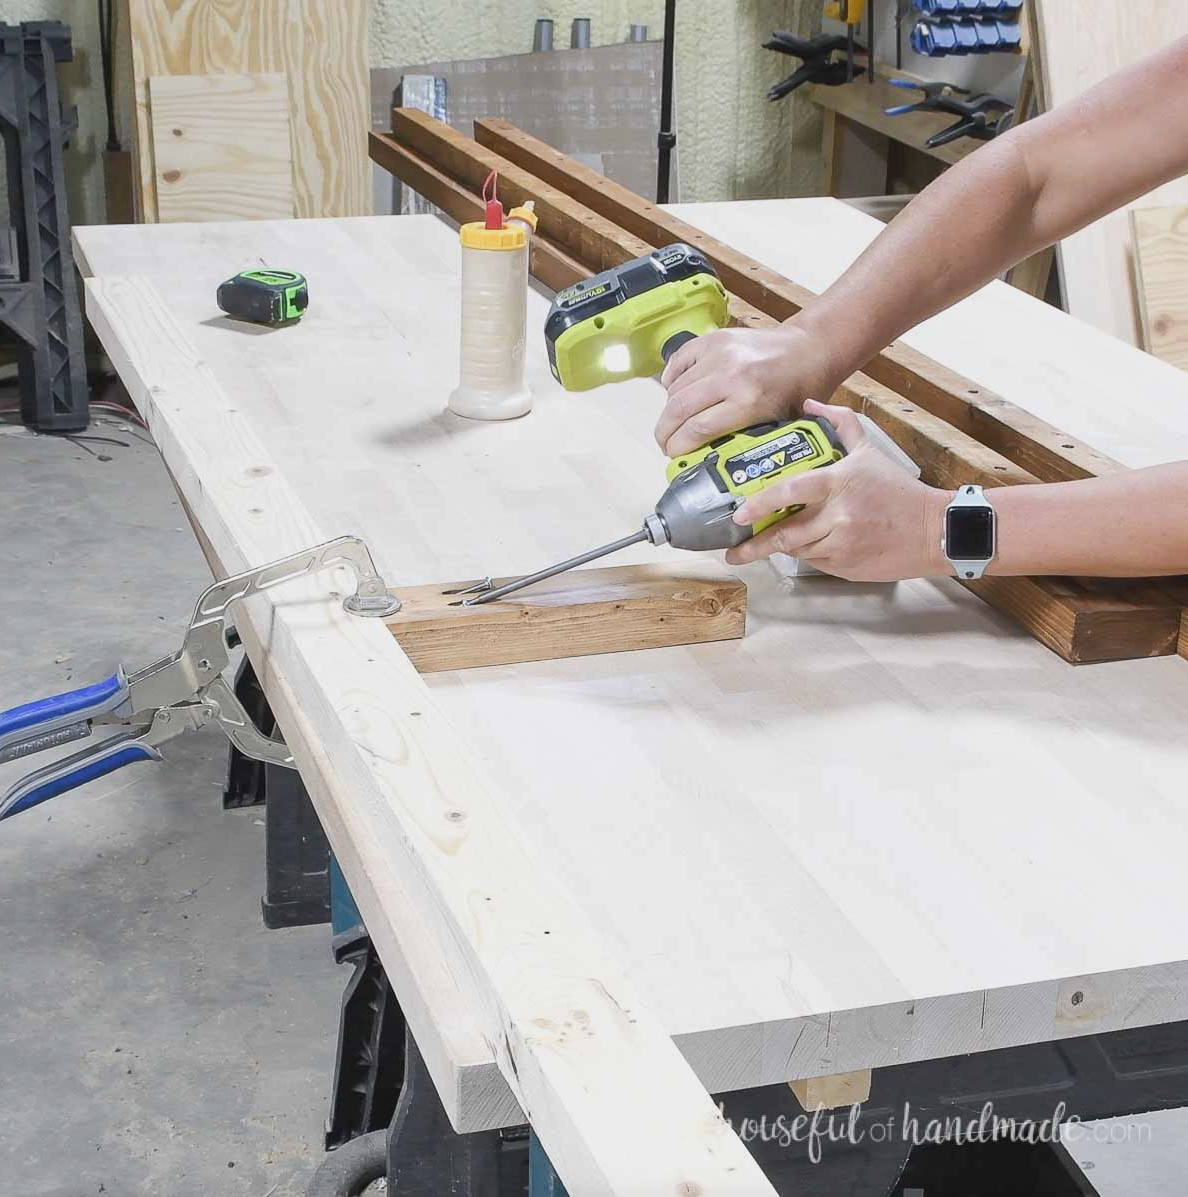
I neglected to attach this board before staining the bed, so I stained the leg separately while everything was already laid out. Since the center rail is hidden after assembly, staining it was unnecessary.
STEP 5- Sand and Finish
Once the mattress is placed on the bed, all of the pocket holes are concealed.
However, you may prefer to fill the pocket holes in the footboard because they will come into contact with the mattress or bedding. Any wood chips could otherwise create a snag.
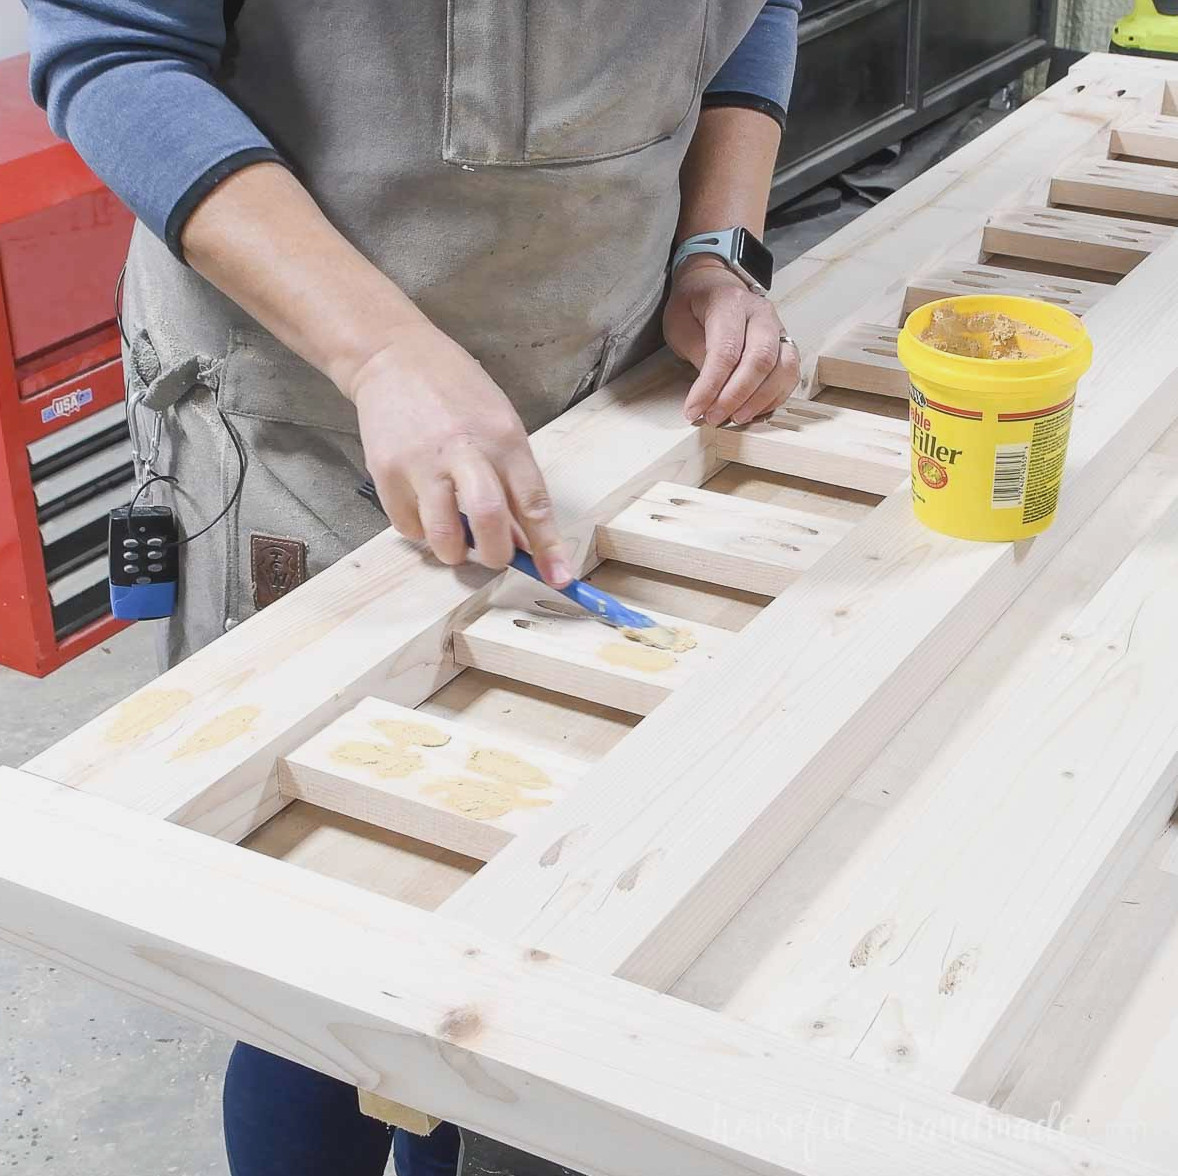
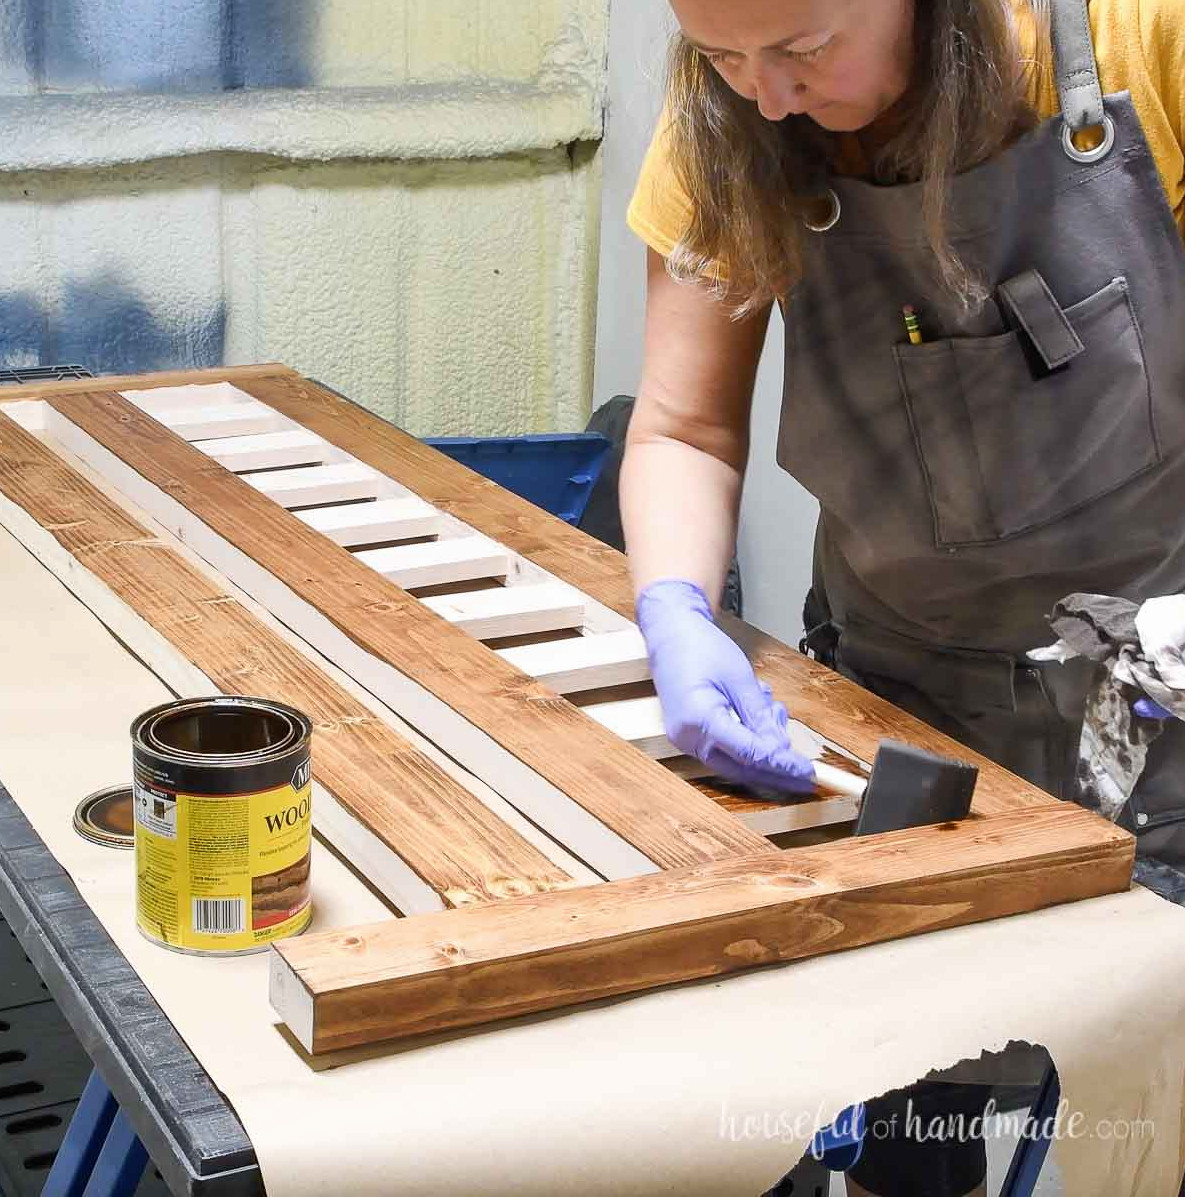
After completing all the pieces, sand and stain, seal, or paint them before installing the bed rail brackets.
I applied Early American stain from Minwax and finished it with furniture wax for a matte appearance.
STEP 6- Attach Bed Rail Brackets
I installed these surface mount bed rail brackets. They are the same brackets I used for our king-size platform bed frame, and they make the bed extremely sturdy.
The sole drawback is that the bolt used to secure the bed rails inside the bracket is a little too long. You can place a washer beneath it, or use the solution shown below.
Indicate where the bracket will be mounted on the back of the footboard or the front of the headboard. Set it 1 1/2″ from the outer edge so the side rails align evenly with the headboard or footboard sides.
The brackets should also sit flush with the top of the footboard’s middle rail or the bottom of the headboard’s lower rail.
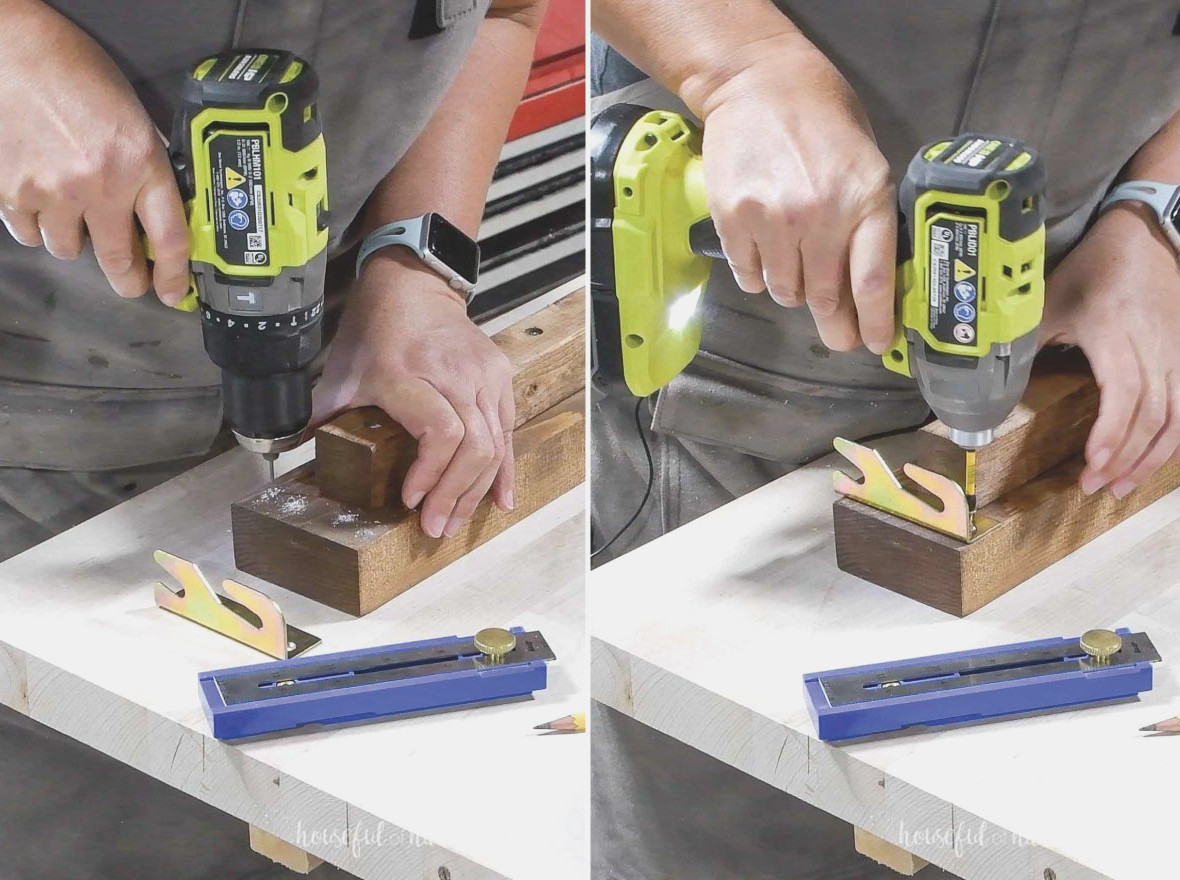
Take the bolts out of the bracket and place it in position. Mark the interior of the bolt hole as well as the screw locations.
Drill a hole 1/8″ deepwhere the bolts will be installed, leaving enough space for them to tighten the brackets.
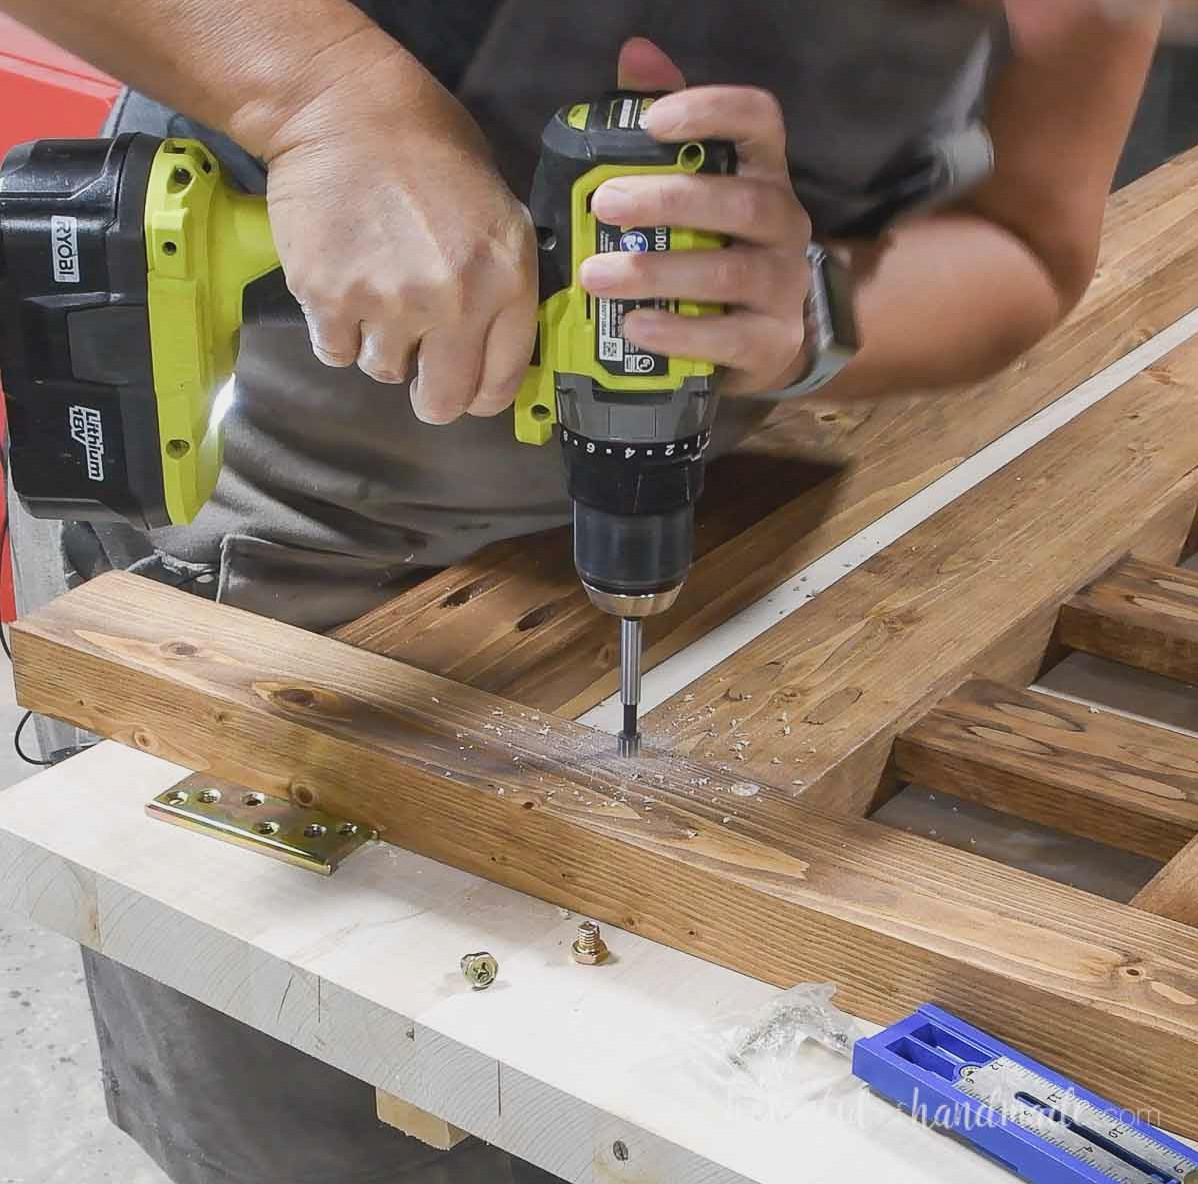
You should also drill pilot holes for the screws.
Next, reposition the bracket and fasten it using the supplied 1″-long screws.
Put the bolts back in, though leave them somewhat loose for now.
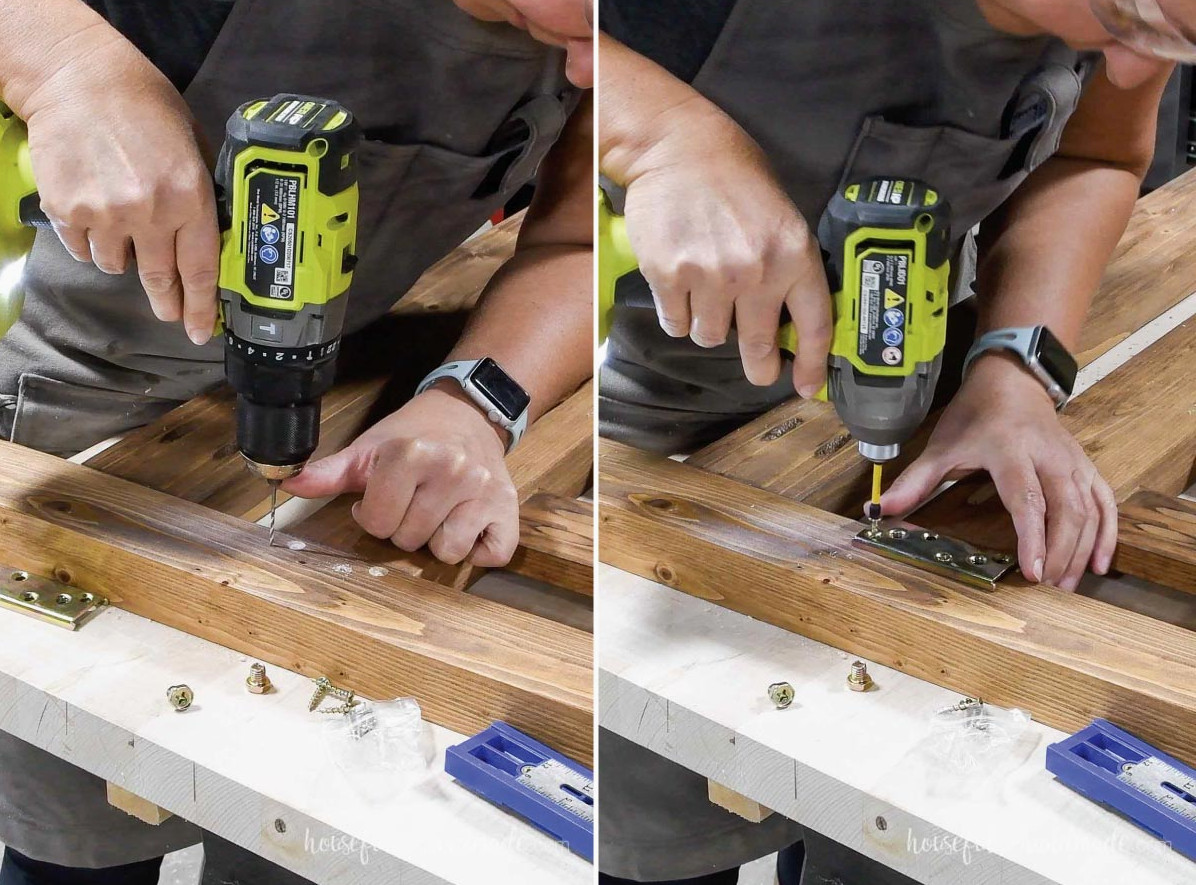
After that, determine the overall height of the installed bracket. The Kreg Multi-mark tool is one of my favorites for this task.
When fixing the bracket piece to the side rails, position it this distance in from the ends.
Be sure the upper edge is level with the top of the rail as well. If you squared your 2x4s and reduced the board to just 3 1/4″ wide, the bracket will extend roughly 1/4″ below it. Once the bed is assembled, this will not be noticeable.
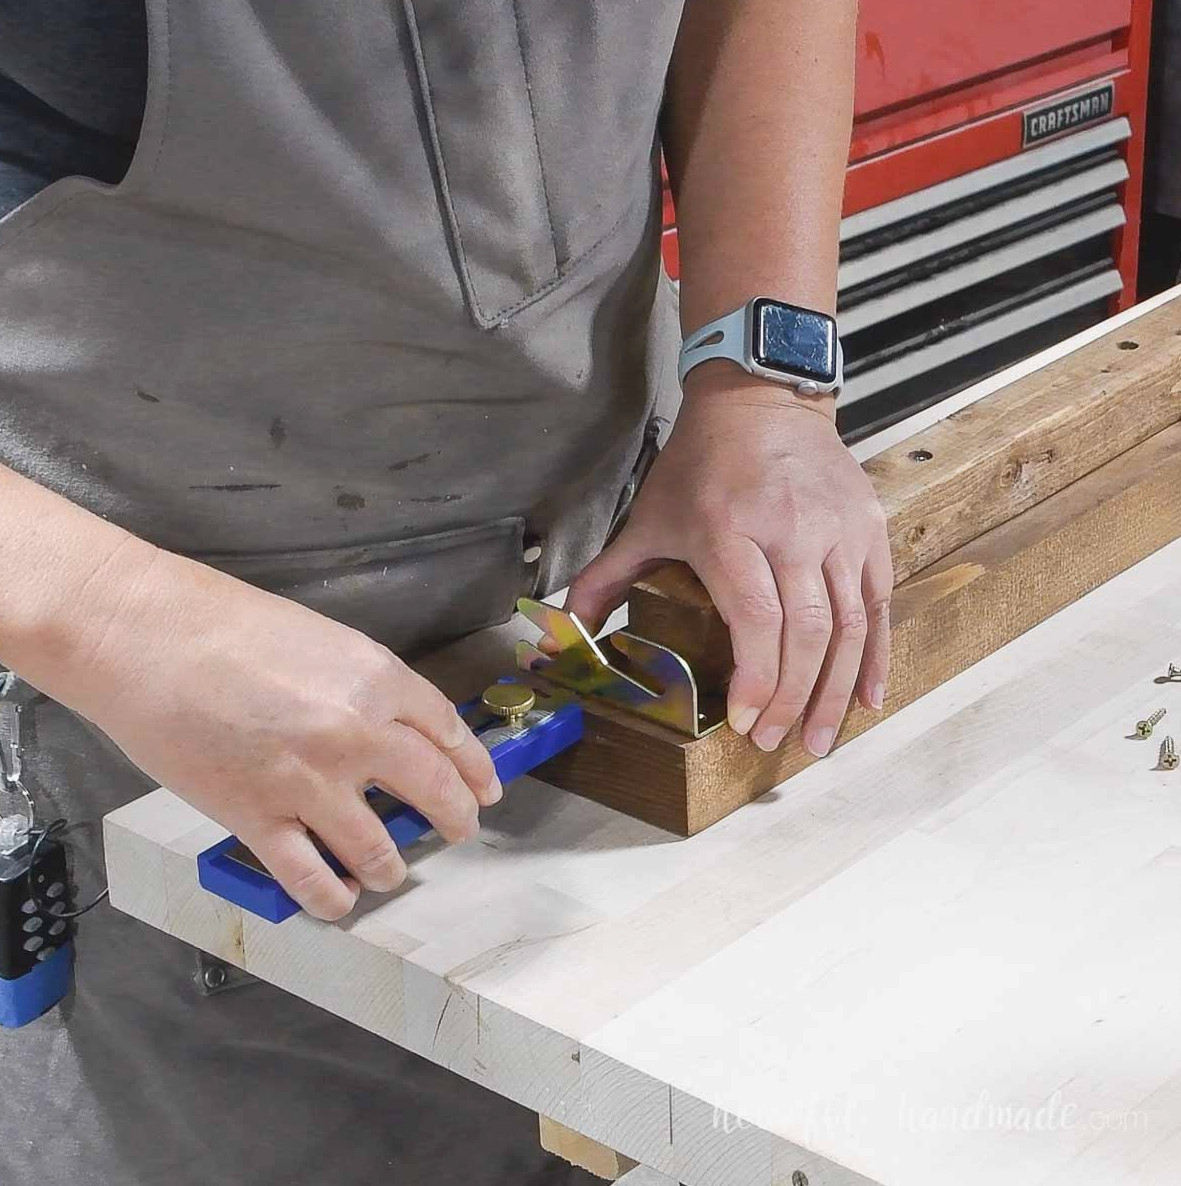
Indicate the screw locations, then take off the bracket and drill pilot holes.
Return the bracket to its position and fasten it with the included 1″ screws.
As you install the brackets on the rails, be sure to position them as mirror images. They are designed for a right and left side.
For the center rail, mount both brackets on one side of the rail, then place them slightly off-center on that same side of the headboard and footboard.
Attach these to the rail positioned 10″ above the bottom of the legs.
The bracket on the center rail should also align with the rail’s bottom edge rather than its top. As a result, it will rise approximately 3/4″ above the rail, matching the height of the other brackets.
STEP 7- Assemble the Bed
To put the bed together, position the headboard and slide the rail brackets over the bolts on the headboard bracket.
Next, connect them to the footboard. After every bracket is in place, tighten the bolts to hold everything securely and stop it from shifting.
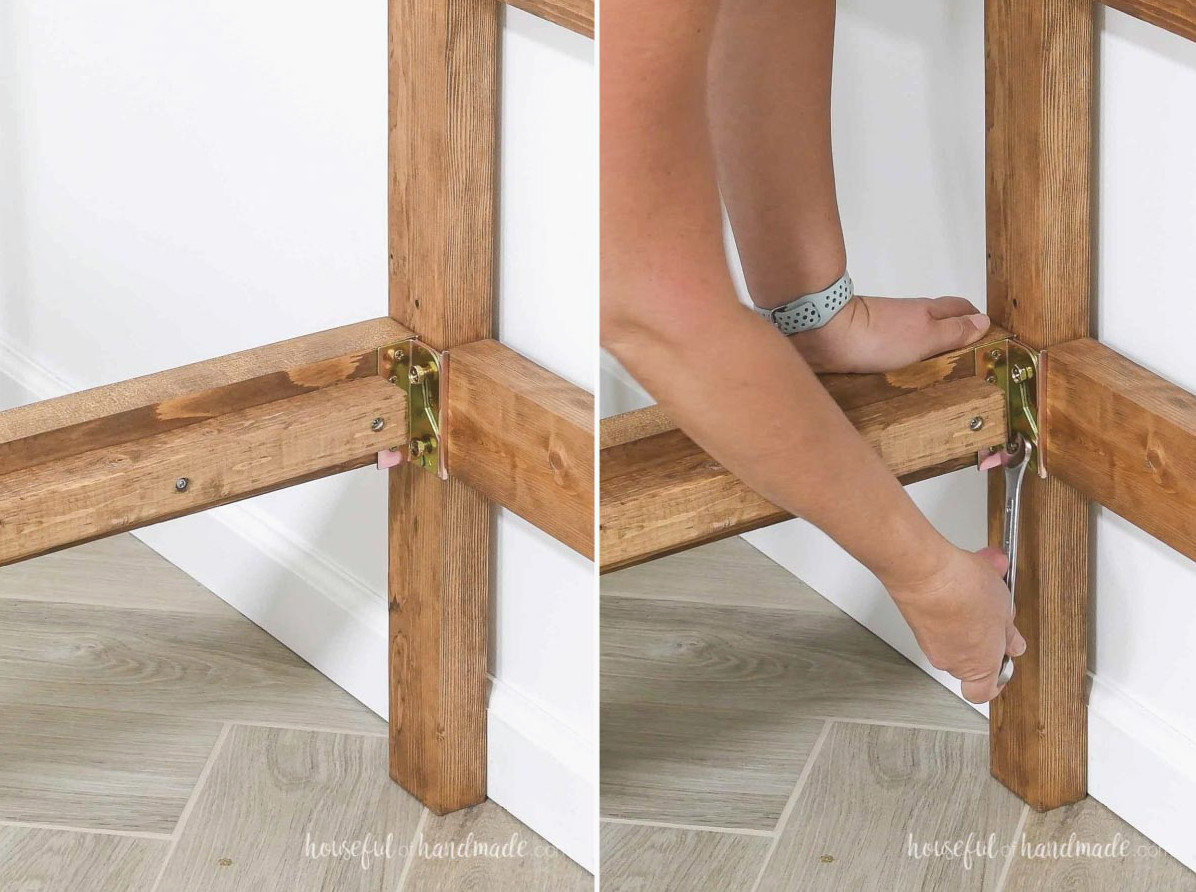
Install the mattress support of your choice. For more information about the various options, check out this general guide on building a bed.
For my bed slats, I cut affordable 1×4 boards—13 pieces total for the full-size bed—to be 1/4″ narrower than the mattress area.
I fastened each board to the side-rail support with a screw and countersunk the screws using the Kreg Quick Flip tool.
The kind of mattress you choose may determine whether you need a plywood foundation or whether the slats should be spaced closer together or farther apart.
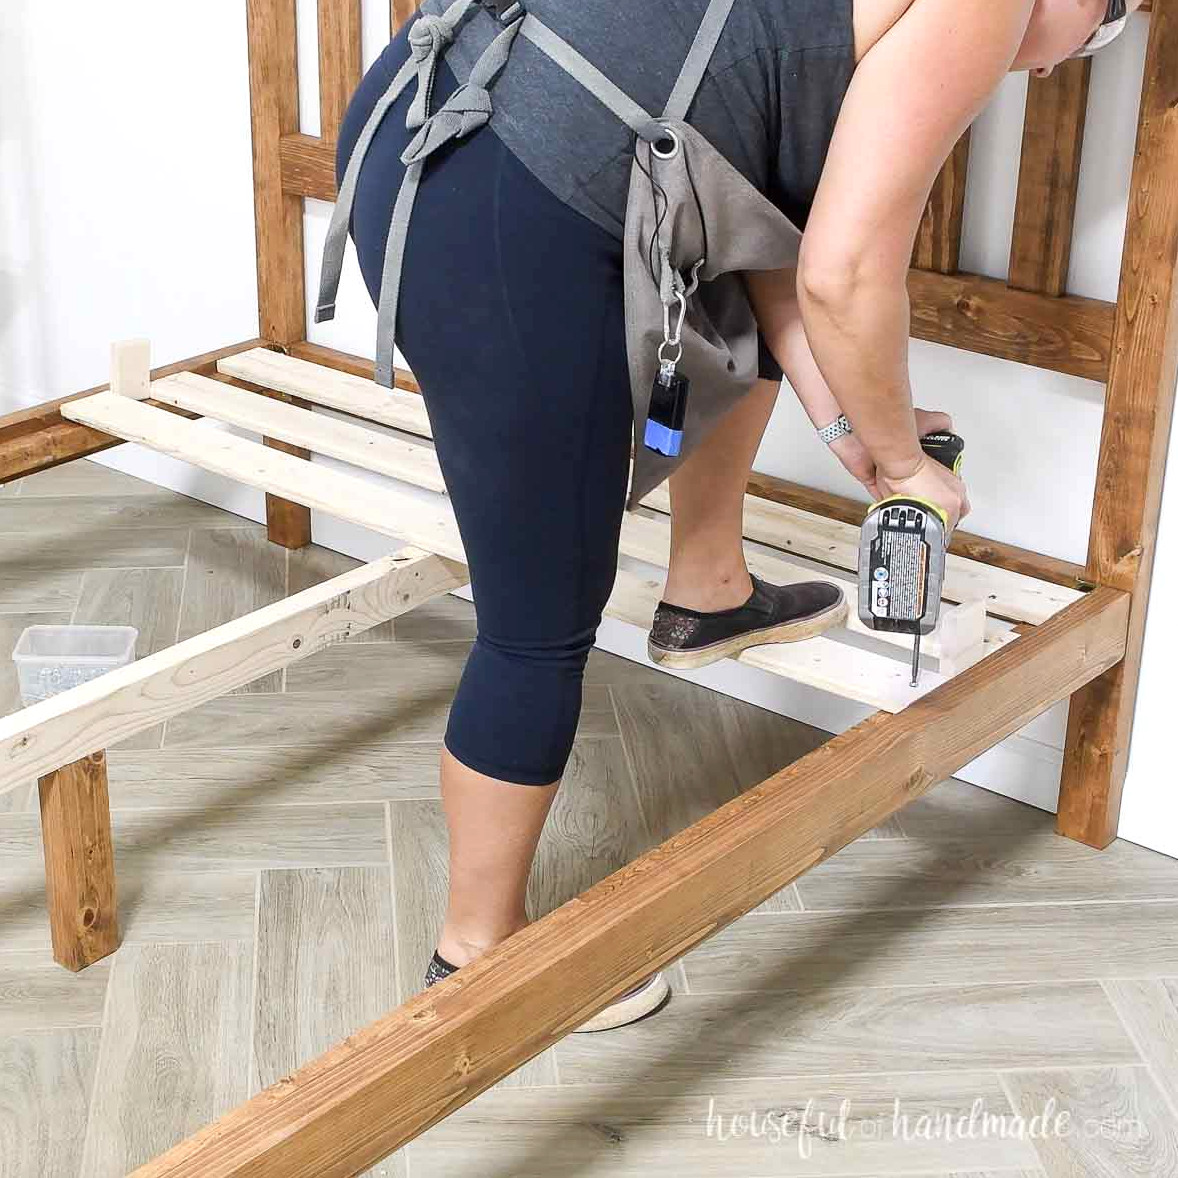
You finished it!
Don’t Forget to Grab the Printable PDF Plans Here!
Premium plans include:
- Suggested Tools
- Materials list
- Clear cut-list chart
- Cutting diagrams
- Detailed instructions with 3D renderings
- Useful resources
- BONUS: 3D SketchUp file
Go stretch out and enjoy your fantastic new bed. You’ve earned it 😉
Have fun building!