Purchasing a bed can cost quite a bit, ranging from several hundred dollars to several thousand. However, constructing one yourself can reduce the expense considerably.
Yet the best thing about making your own bed is that you can customize it precisely to your preferences!
This article provides a broad overview to help answer the questions involved in creating a DIY bed. After reviewing the information below, you will be prepared to design a personalized bed or adjust plans you have already discovered so they suit your exact requirements.
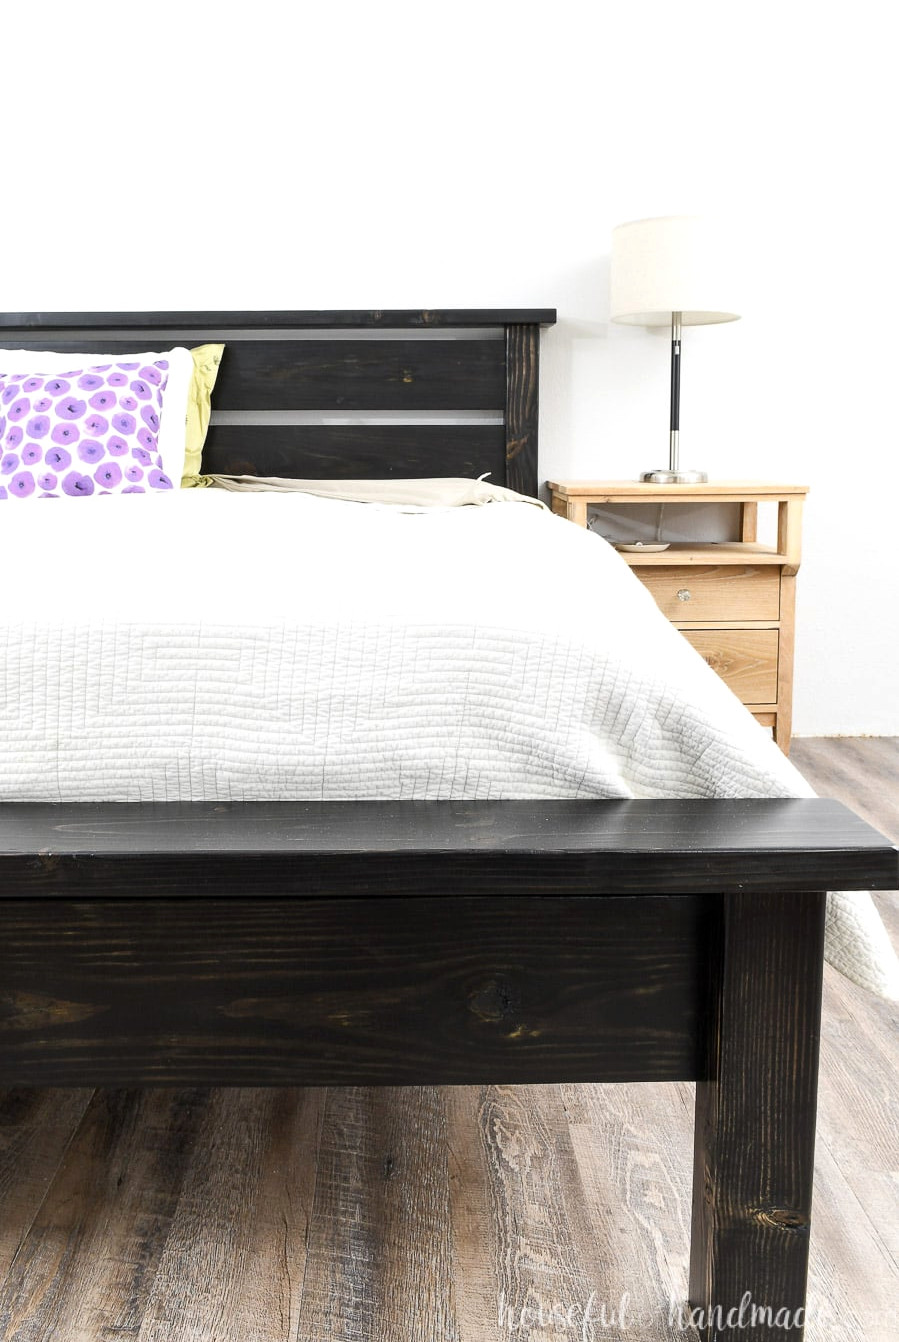
Bed Components
Every bed consists of 4 components:
- Headboard
- Footboard
- 2 Side Rails
Oversized beds (recommended for every size except twin) will also require a center rail and a foot to bear the weight in the middle.
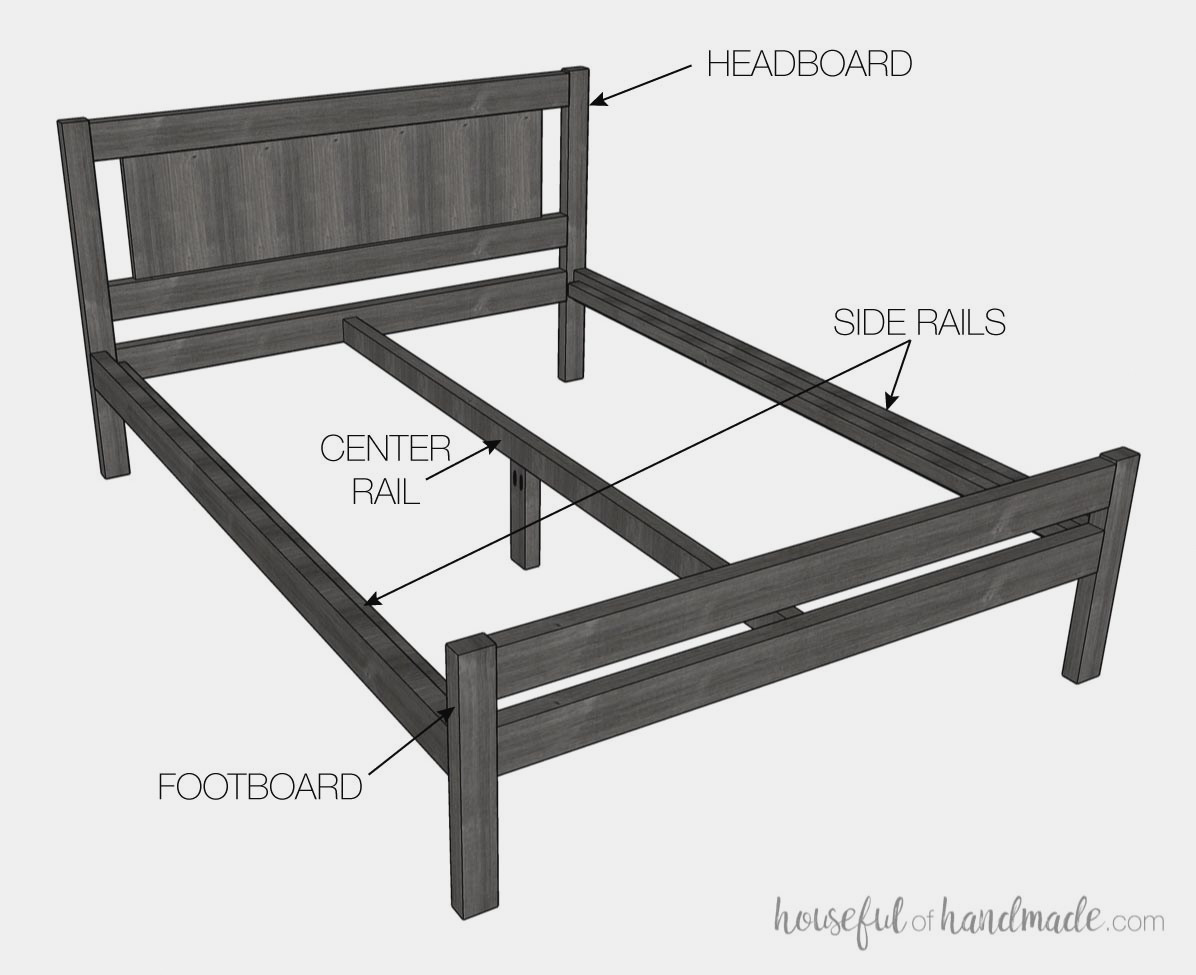
If you plan to make a bed frame without a headboard and/or footboard, you will still require these components; they will simply be the same height as the rails.
Generally, every component is constructed separately before being assembled in the room with brackets (see below).
Twin beds may be built as one complete unit rather than in separate sections since they can still pass through a doorway fairly easily. However, if you want the bed to store flat, intend to build the 4 components and install bed rail hardware.
Bed Rail Hardware
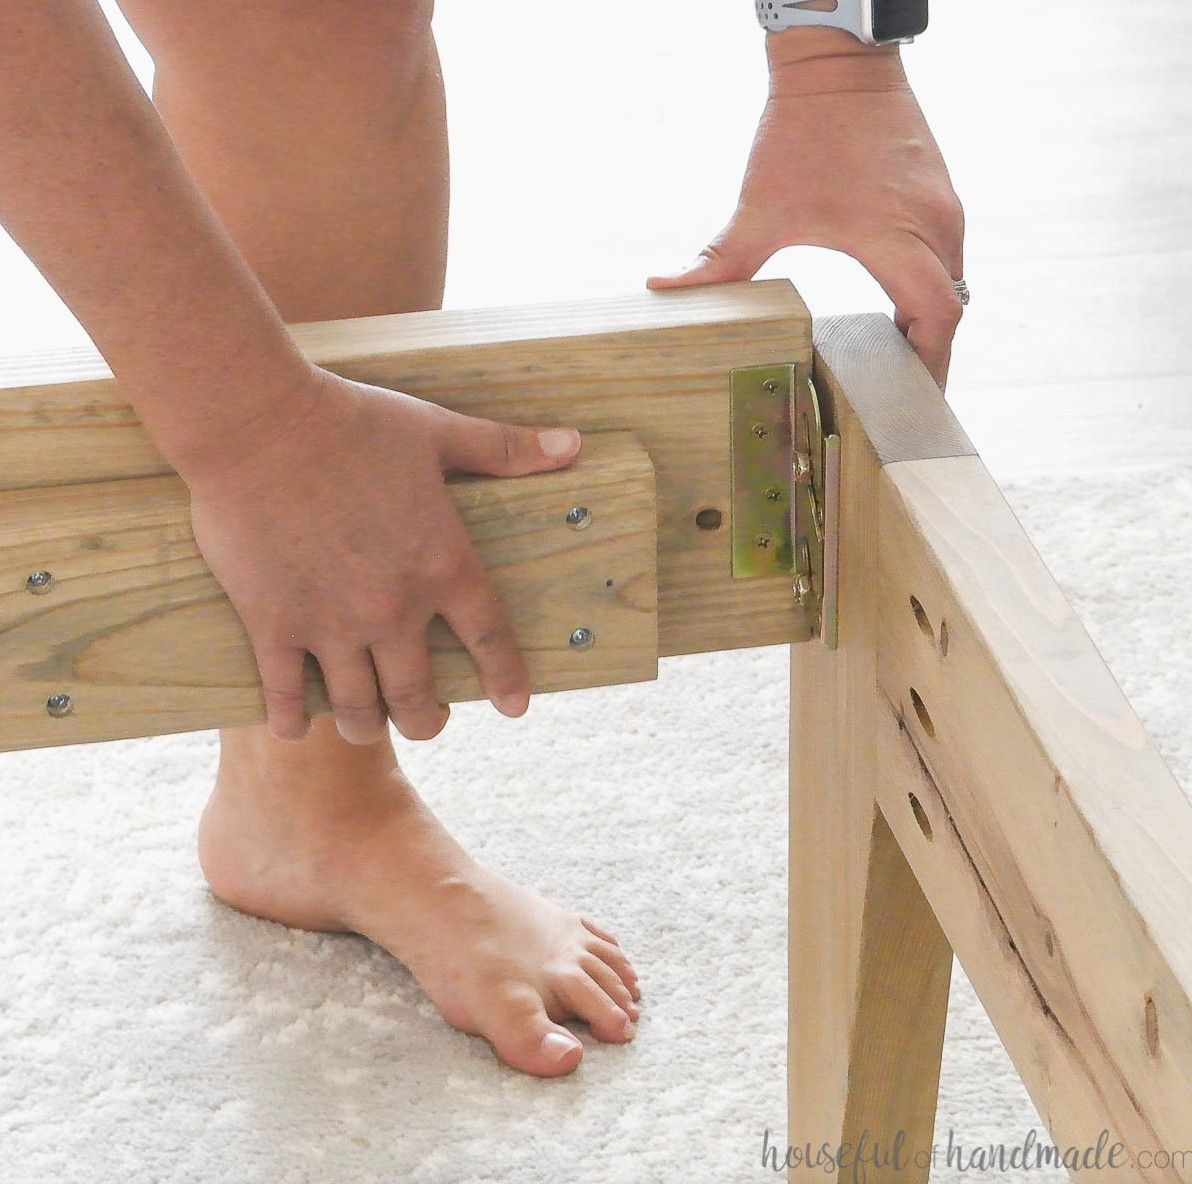
Some type of bracket connects the bed rails to the headboard and footboard. Although attaching the rails with screws can lower the cost slightly, the resulting bed will not be as stable.
Brackets make it possible to assemble the bed components quickly inside the room. A quality bracket set creates a solid bed that stays in place.
Bed rail brackets come in several varieties, with differences in price and installation complexity.
Some styles require routing and/or chiseling a mortise for installation, while others attach directly to the surface.
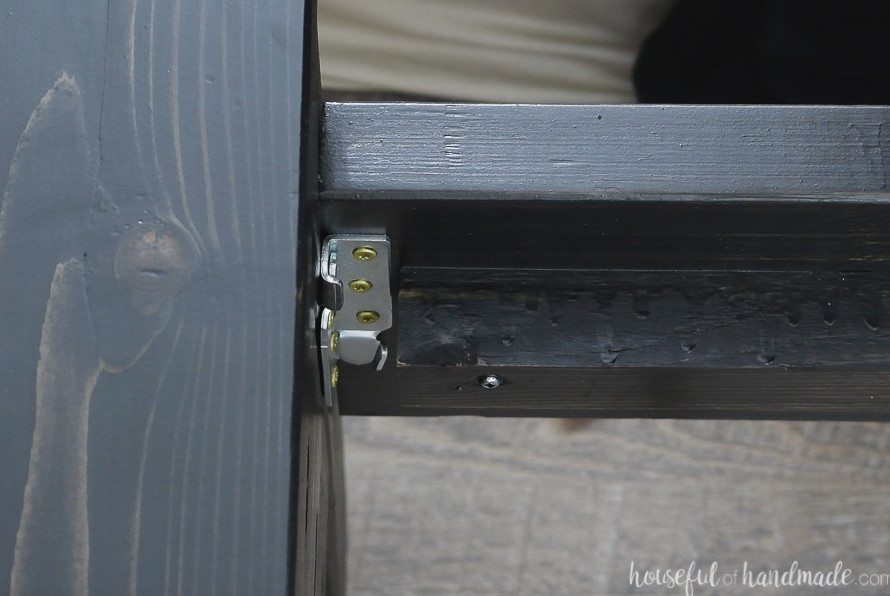
I have worked only with surface-mounted brackets, and they have performed exceptionally well. They are simple to install using a drill and driver, making them ideal for beginners!
For my most recent bed project, I used these bed rail brackets, and they were simple to install; our bed does not shift or squeak. However, the included screws were not the greatest, so I replaced them with my own.
In addition, I had to drill a small recess behind the area where the bolts tighten so the brackets would sit securely, since the bolt was a little too long and contacted the bed wood before it could tighten completely.
Both adjustments were simple, and I have already purchased additional brackets for another bed project that will be coming soon.
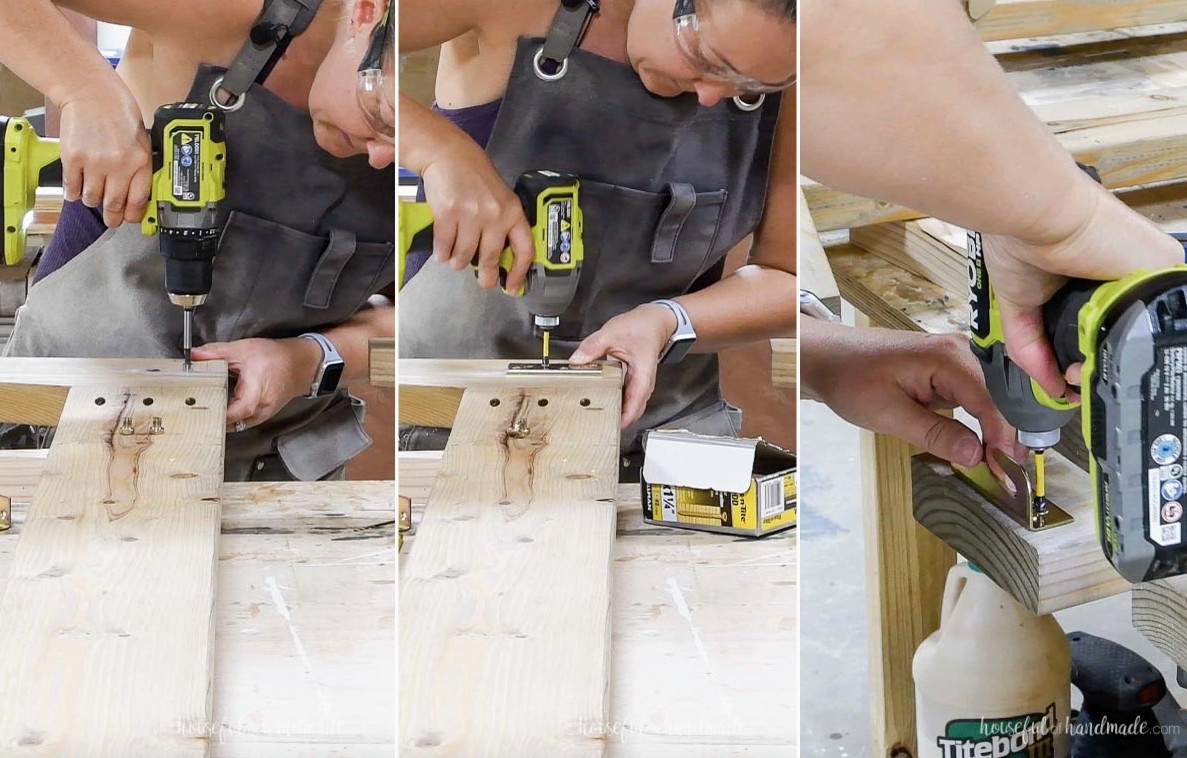
A brief search for bed rail brackets will reveal the available choices, allowing you to select brackets that match your budget and experience level.
Common Bed Dimensions
I prefer to construct my beds with the mattress area 1/2″ wider than the mattress itself.
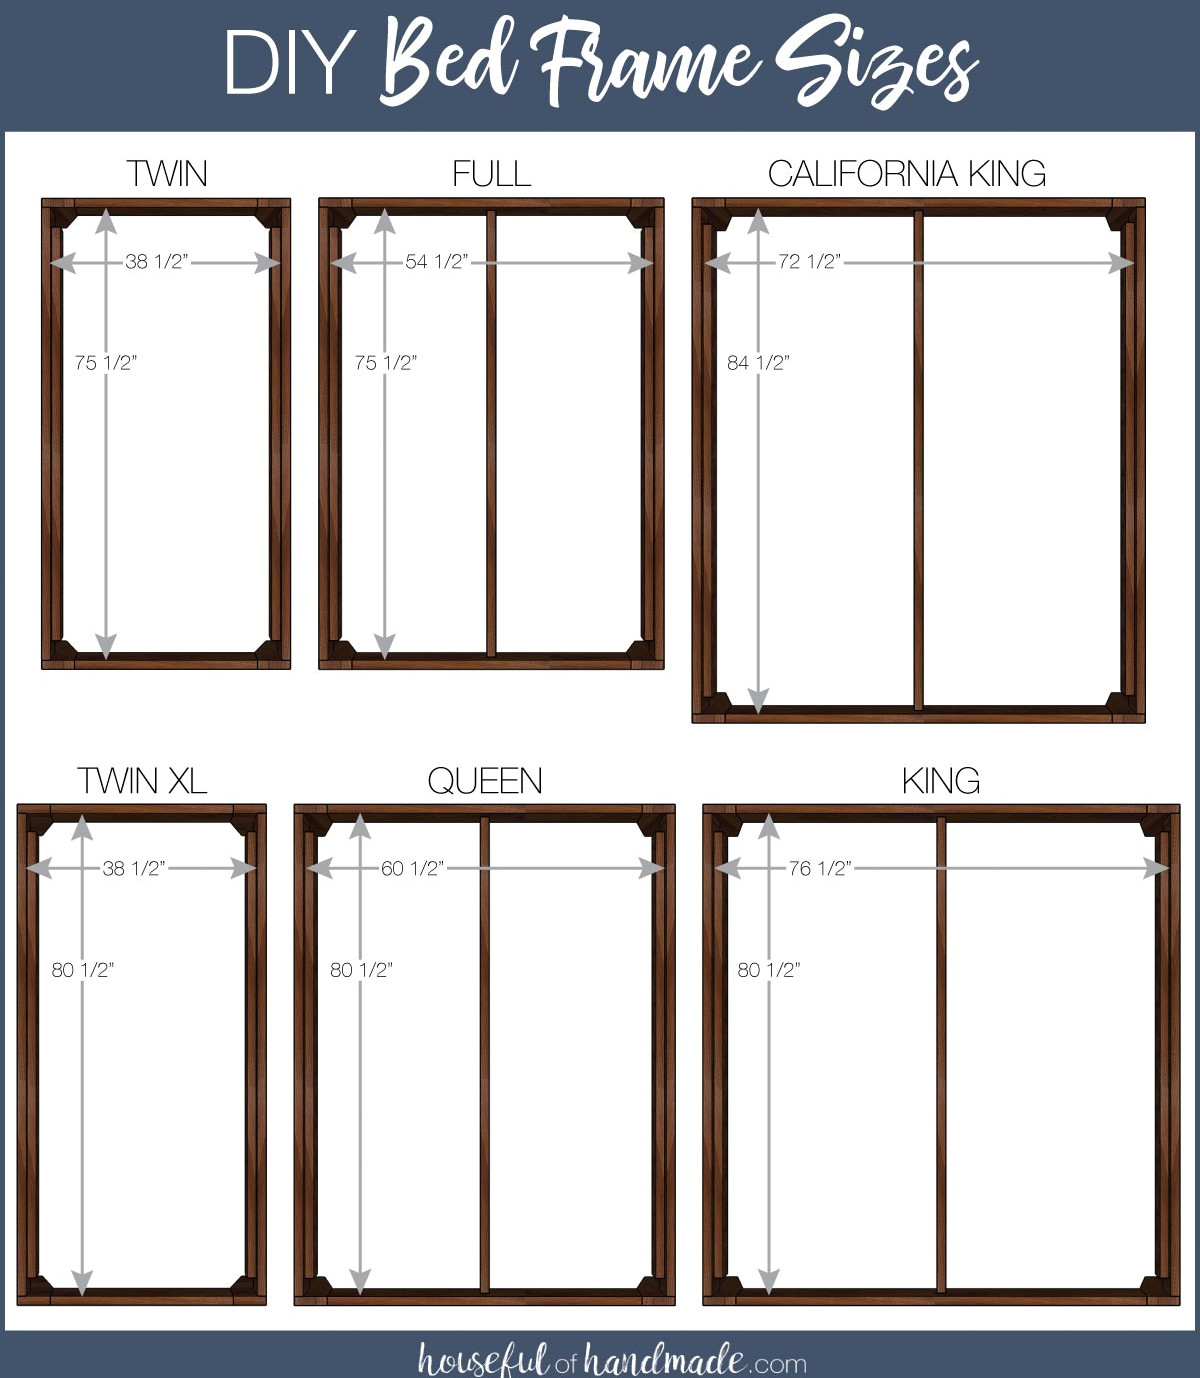
The following are the standard platform dimensions (the mattress area) for each common bed size.
- Twin- 38 1/2″ x 75 1/2″ platform for a 38″ x 75″ mattress
- Twin XL – 38 1/2″ x 80 1/2″ platform for a 38″ x 80″ mattress
- Full- 54 1/2″ x 75 1/2″ platform for a 54″ x 75″ mattress
- Queen- 60 1/2″ x 80 1/2″ platform for a 60″ x 80″ mattress
- King- 76 1/2″ x 80 1/2″ platform for a 76″ x 80″ mattress or two 38″ x 80″ (twin XL) mattresses
- California King – 72 1/2″ x 84 1/2″ platform for a 72″ x 84″ mattress
For an unusual mattress dimension, you can construct a bed specifically to accommodate it. Add 1/2″ to both the mattress width and length to calculate the platform dimensions.
Bed Elevation
A typical bed height falls between 16″ and 24″. Still, you can personalize the height according to several considerations:
- Will you be using a box spring?
- What is the thickness of your mattress?
- How much room would you like beneath the bed?
When a box spring sits beneath the mattress, the bed rails need to be positioned lower (leaving less clearance underneath) so the finished bed does not become excessively high.
Additionally, when using a box spring, the rails must be tall enough to conceal it, or you will have to cover the box spring.
Platform beds without box springs may sit closer to the floor, or they can be raised to create extra clearance below, which is excellent for storage.
In most cases, your knees should form an angle near 90 degrees when sitting on the side of the bed. Since you are making your own bed, though, you can set the height however you prefer, even if it differs from the norm!
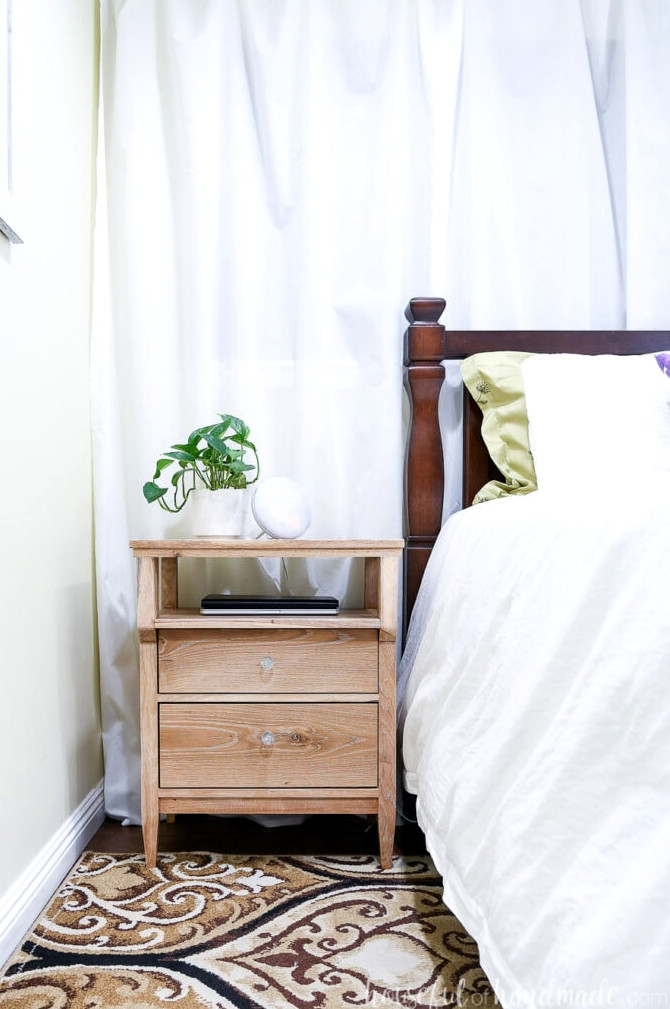
You should also consider the height of your nightstands. Ideally, the nightstand surface should be no more than a couple inches below the top of the mattress.
HeadboardHeight
No exact standards exist for headboard height. You can make yours as low or as high as you prefer.
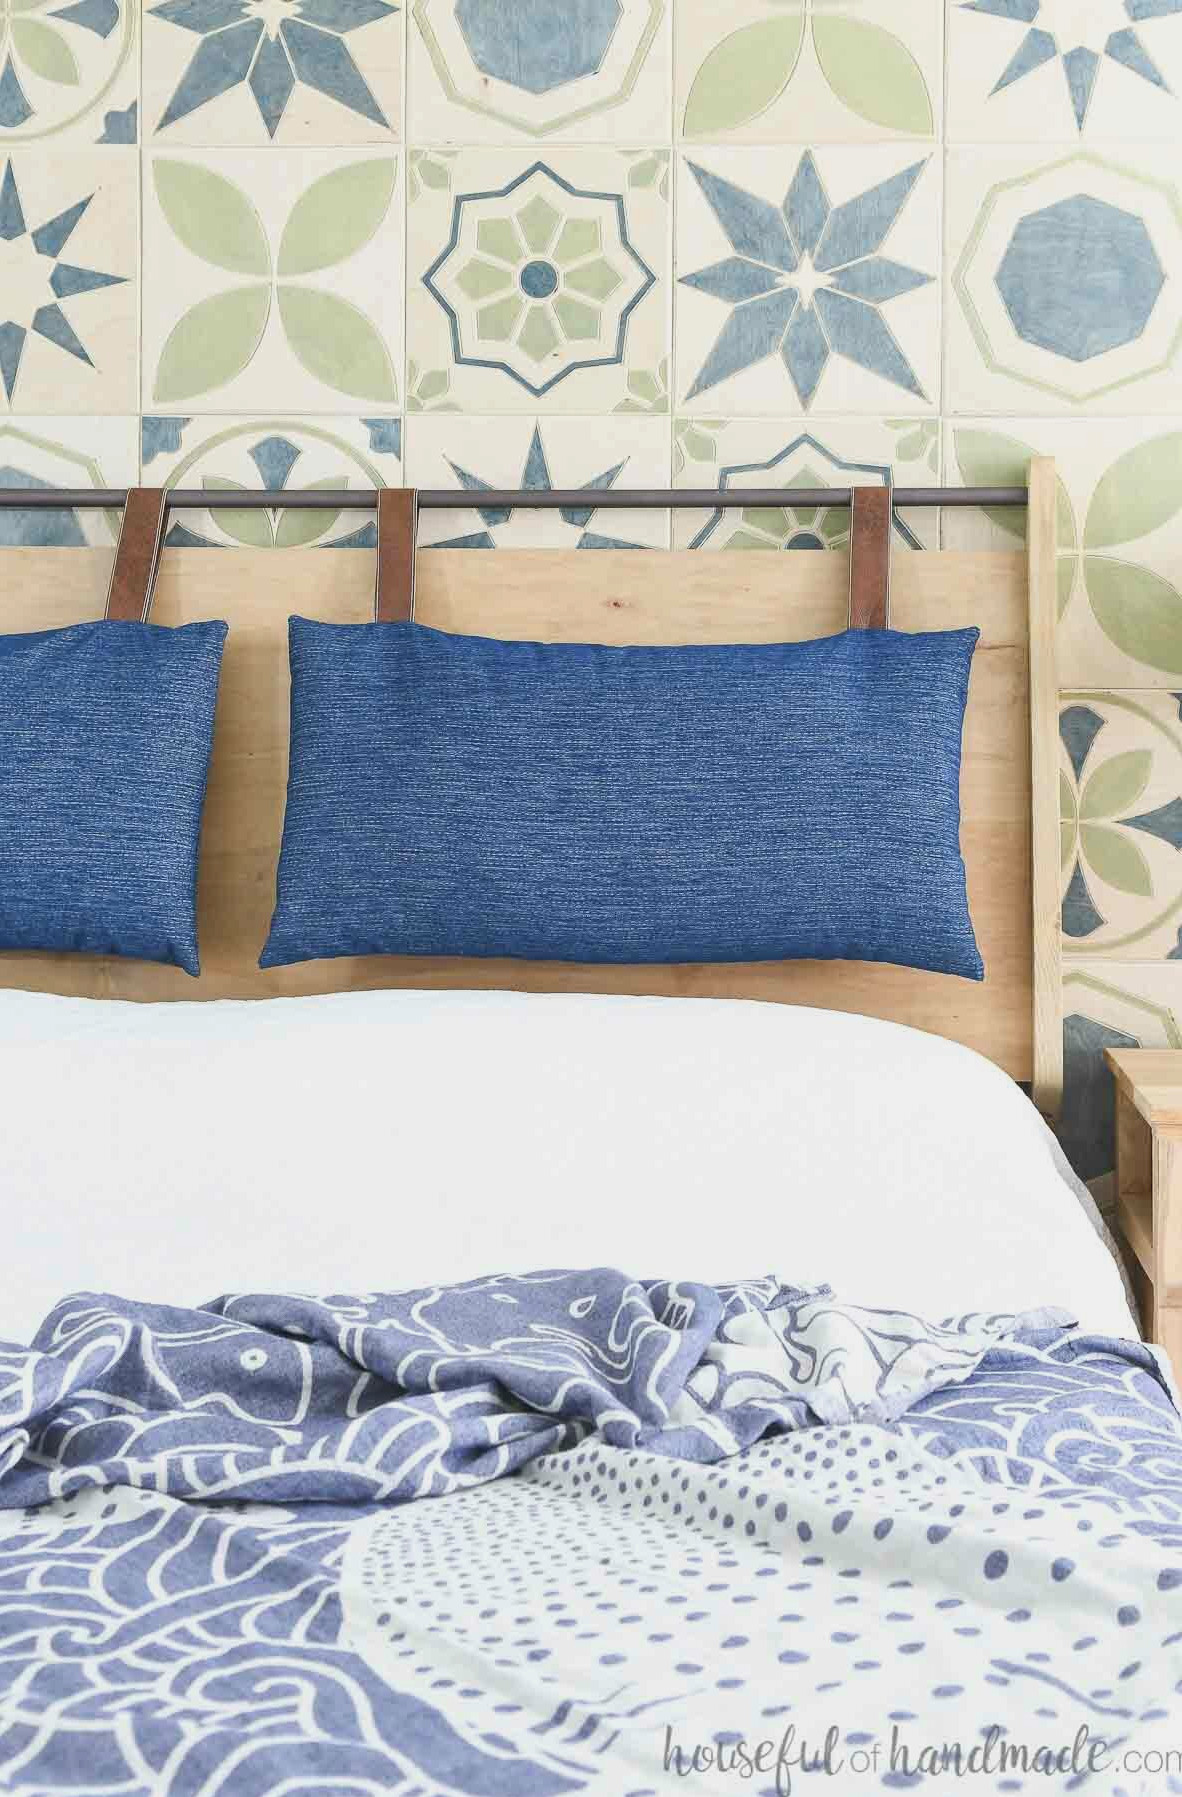
It is worth thinking about the bedding and pillows you plan to use. If you prefer lots of pillows, you may need a taller headboard so it remains visible.
Additionally, if you enjoy resting against the headboard while in bed, measure the distance from your head to the bottom while seated to make sure the headboard is tall enough.
Another possibility is to construct a bed frame without a headboard and then add a separate headboard mounted to the wall.
As with headboards, footboards do not have a fixed standard height. You can choose precisely how tall you want yours to be.
Would you like a statement bed featuring a large, impressive footboard? Or would you prefer a short footboard that barely extends above the mattress?
If you would rather skip the footboard, construct it as a simple rail board between the legs. This maintains the same height as the rails, effectively eliminating a visible footboard.
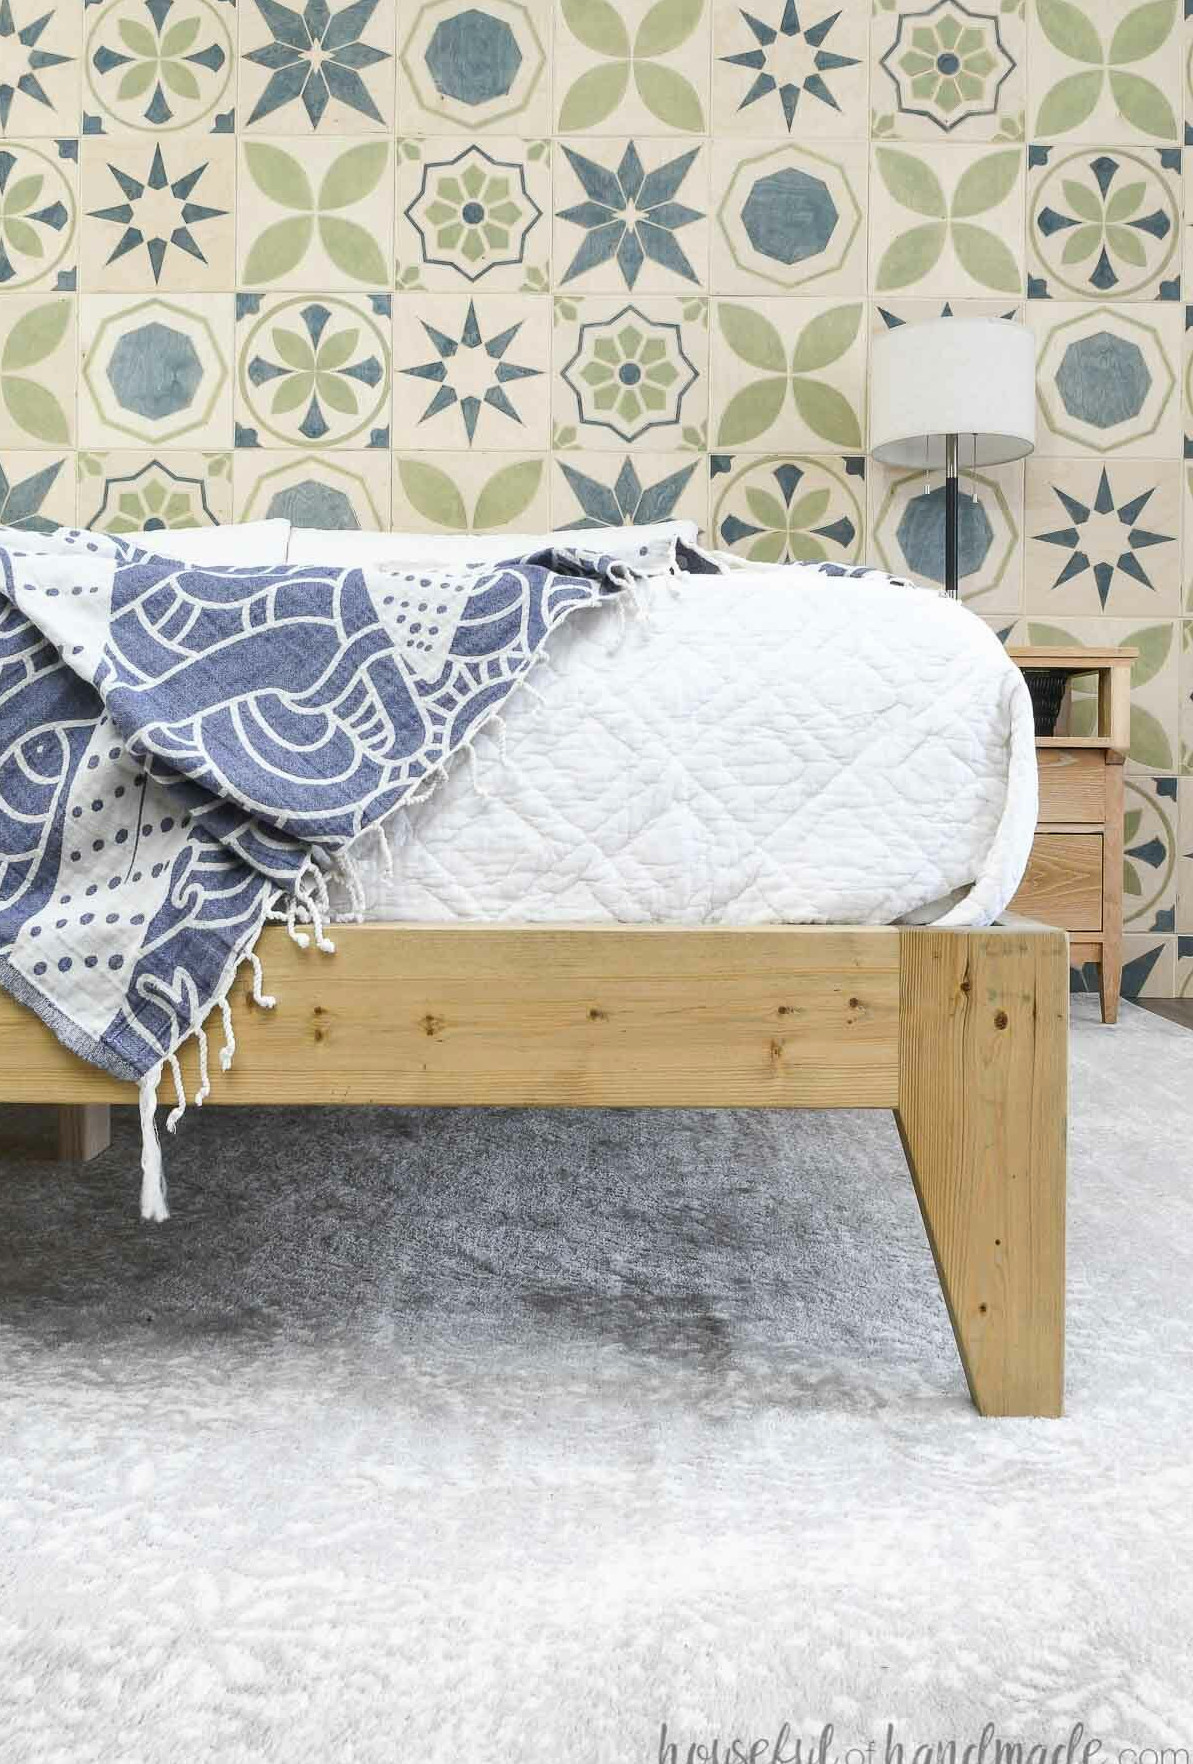
Mattress Support
You can support a mattress on a DIY bed in 3 different ways:
- Box Springs
- Bed Slats
- Plywood
Every mattress has its own support specifications. Be sure to review them so you do not invalidate the warranty or wind up with a sagging mattress.
When choosing bed slats or plywood, avoid saving money with overly thin boards. They should be 3/4″ thick to help prevent sagging.
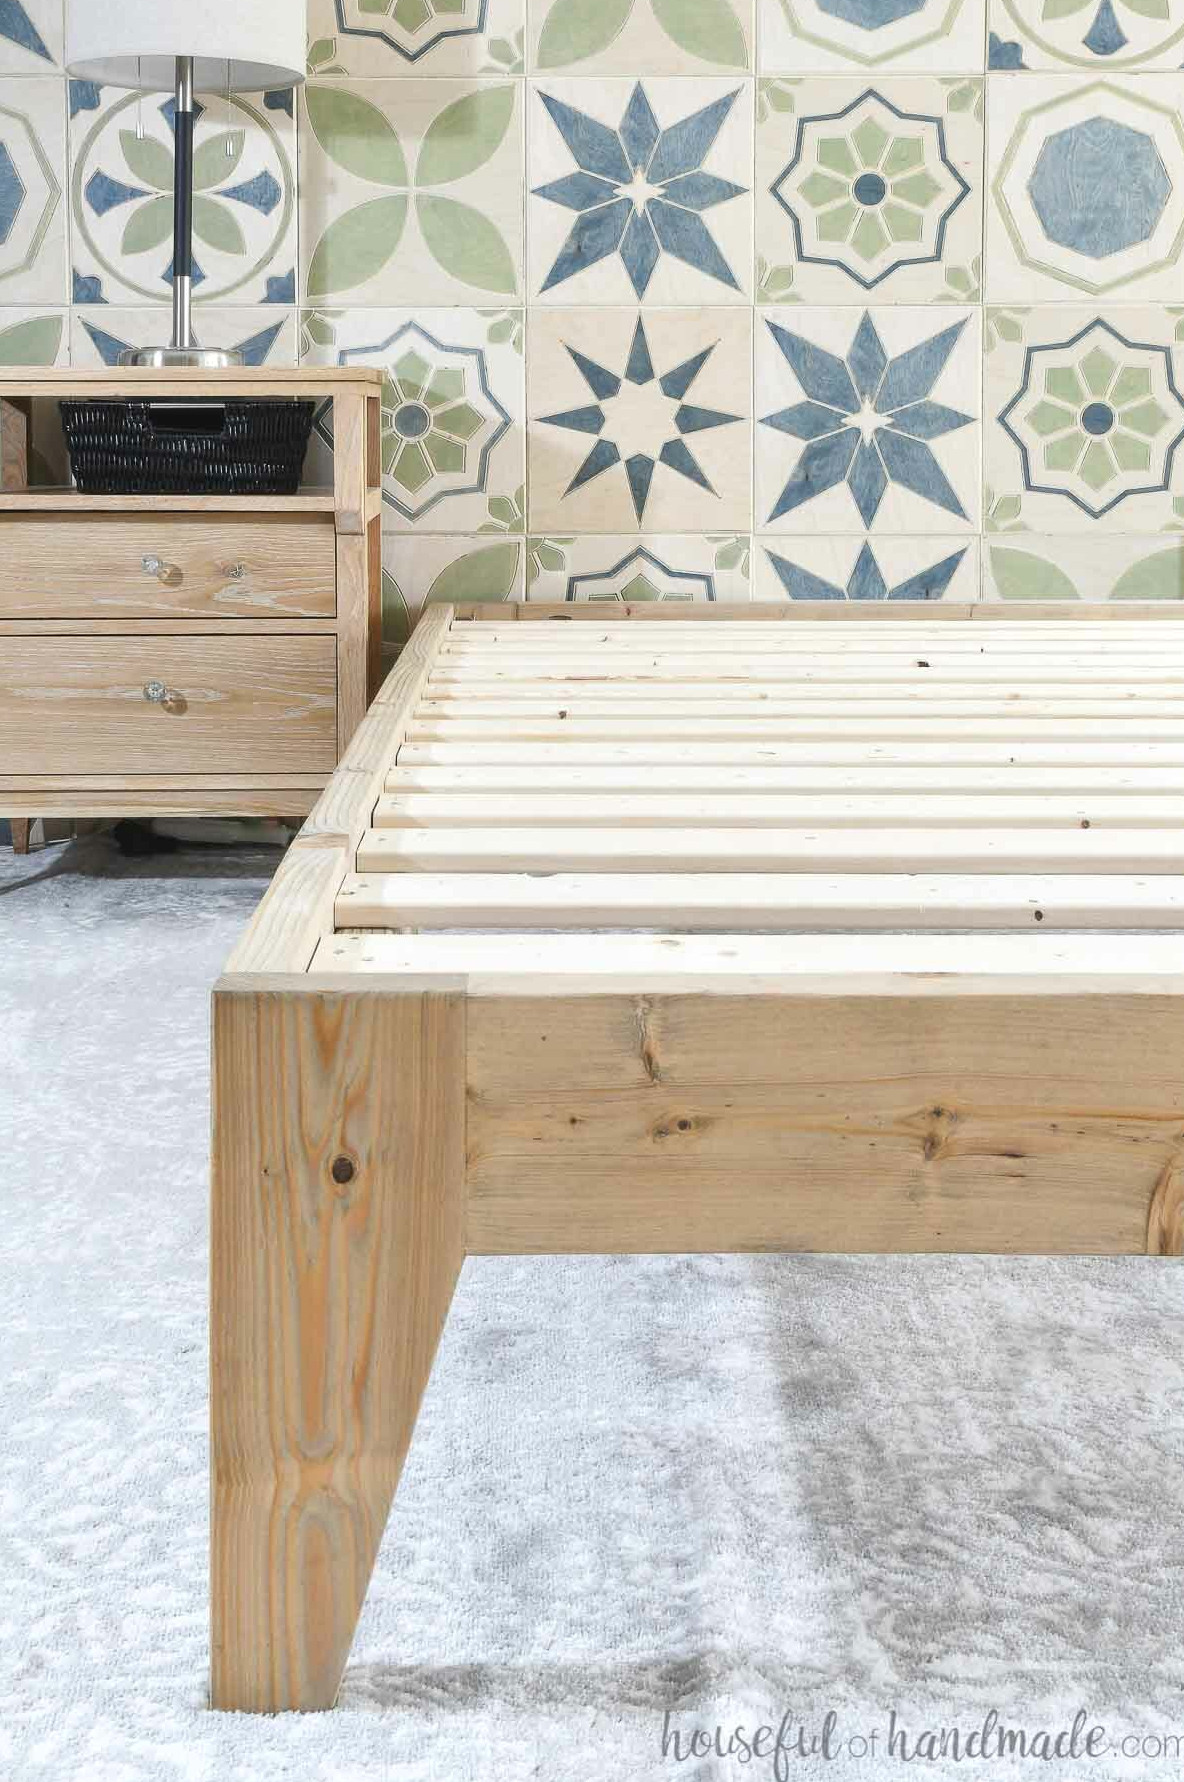
My latex mattress needs bed slats spaced less than 3″ apart or a plywood foundation. A box spring is not advised.
That information helped me decide which kind of mattress support my new bed required.
For this simple DIY queen bed, I chose a plywood foundation. Cutting two pieces of 3/4″ plywood to fit inside the mattress platform area is straightforward. The plywood is not fastened in place; it simply rests on the rails.
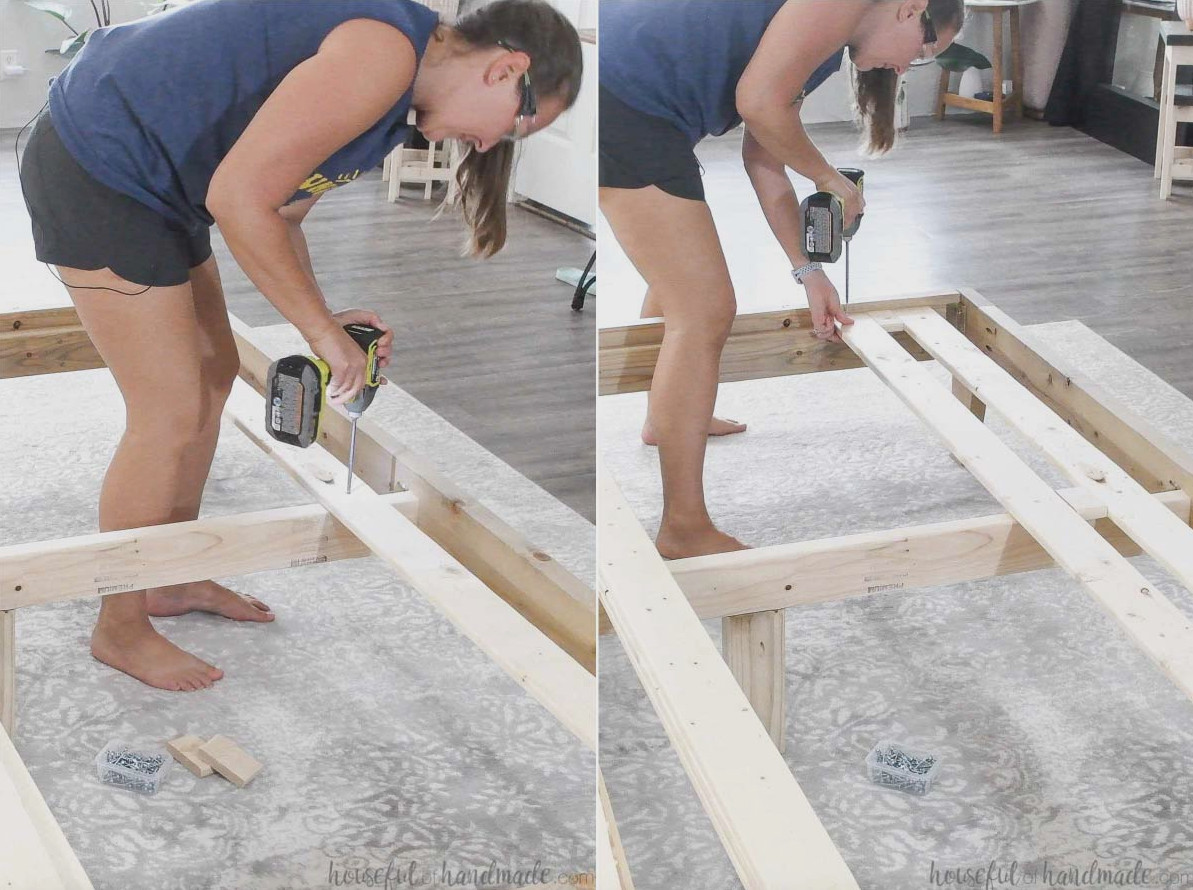
To make your own slats, cut 1×4 boards (the actual dimensions are 3/4″ x 3 1/2″) to match the width of your platform area. Fasten them along the rails with the spacing your mattress requires.
Alternatively, you can cut notches into the rail supports and slide the slats into them, although this method is slightly more advanced.
How to Build a Bed
Tools & Materials
STEP 1- Build the Headboard
Your headboard consists of boards secured between two legs. The legs may be substantial 4×4 boards, flat 2×4 or 2×6 boards, or slim 2×2 boards.
When choosing the leg board dimensions, account for your bed size and the amount of weight it must support. Larger legs will result in a more robust bed.
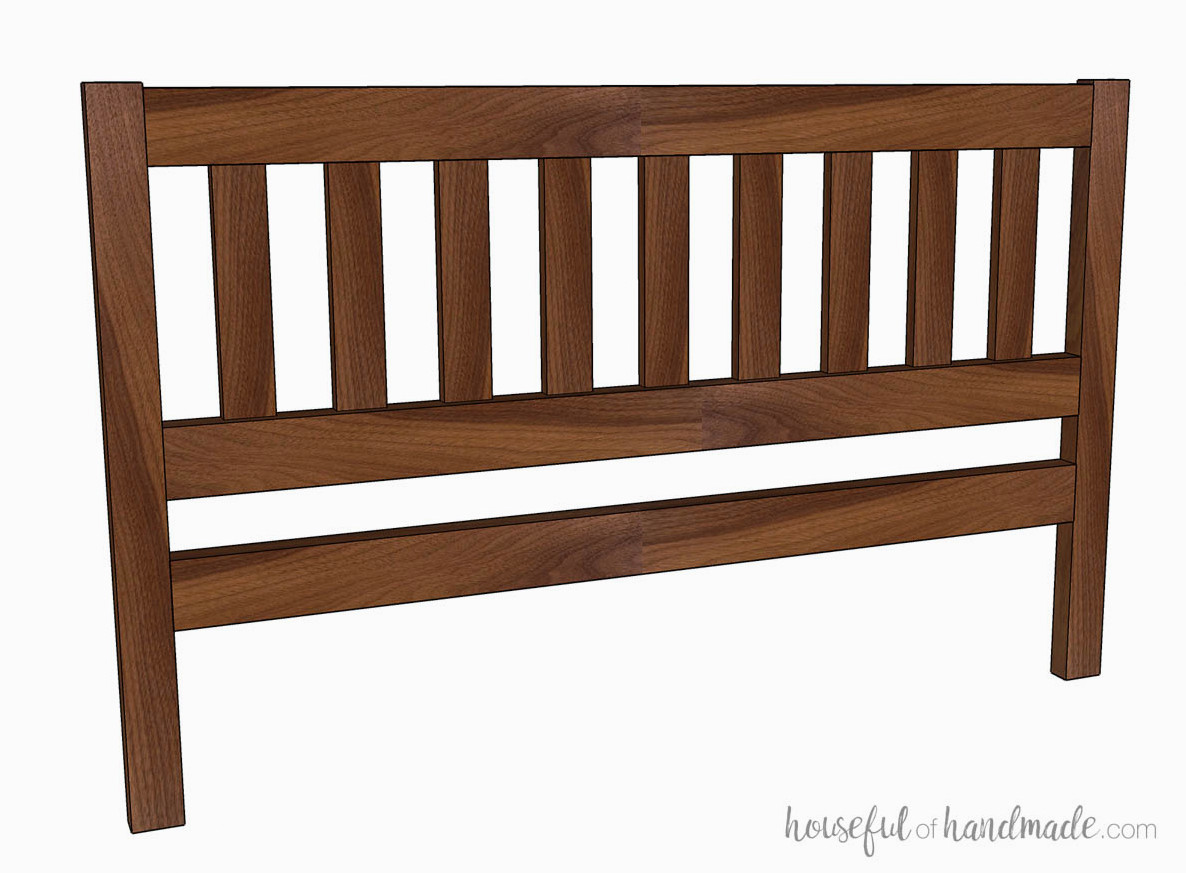
Pocket holes provide an excellent method for fastening the boards between the legs.
Because the back of the headboard rests against the wall, the pocket holes will be concealed. They are also simple to make while offering considerable strength.
EXPERT TIP:
Choose 1 1/4″ pocket hole screws for pocket holes drilled into 3/4″-thick lumber, and select 2 1/2″ pocket hole screws for 1 1/2″-thick lumber.
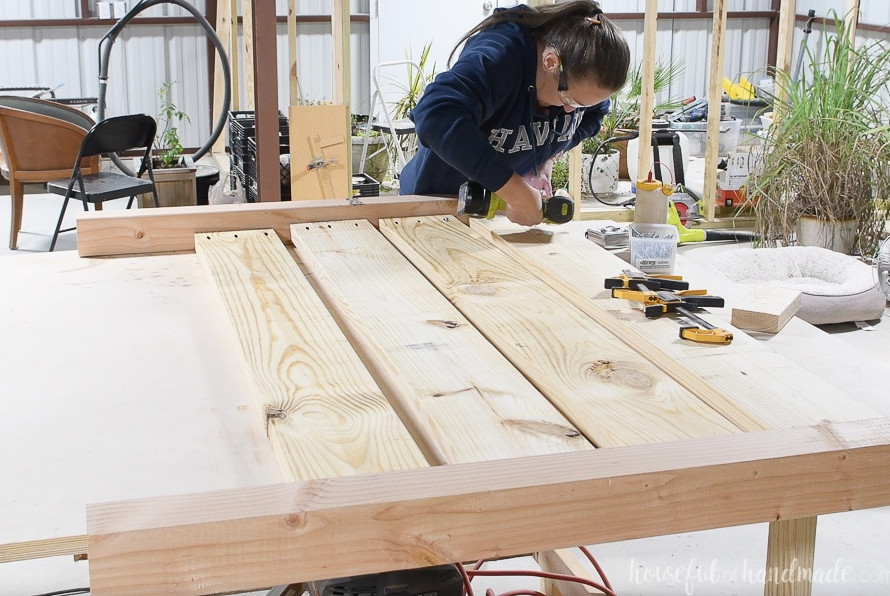
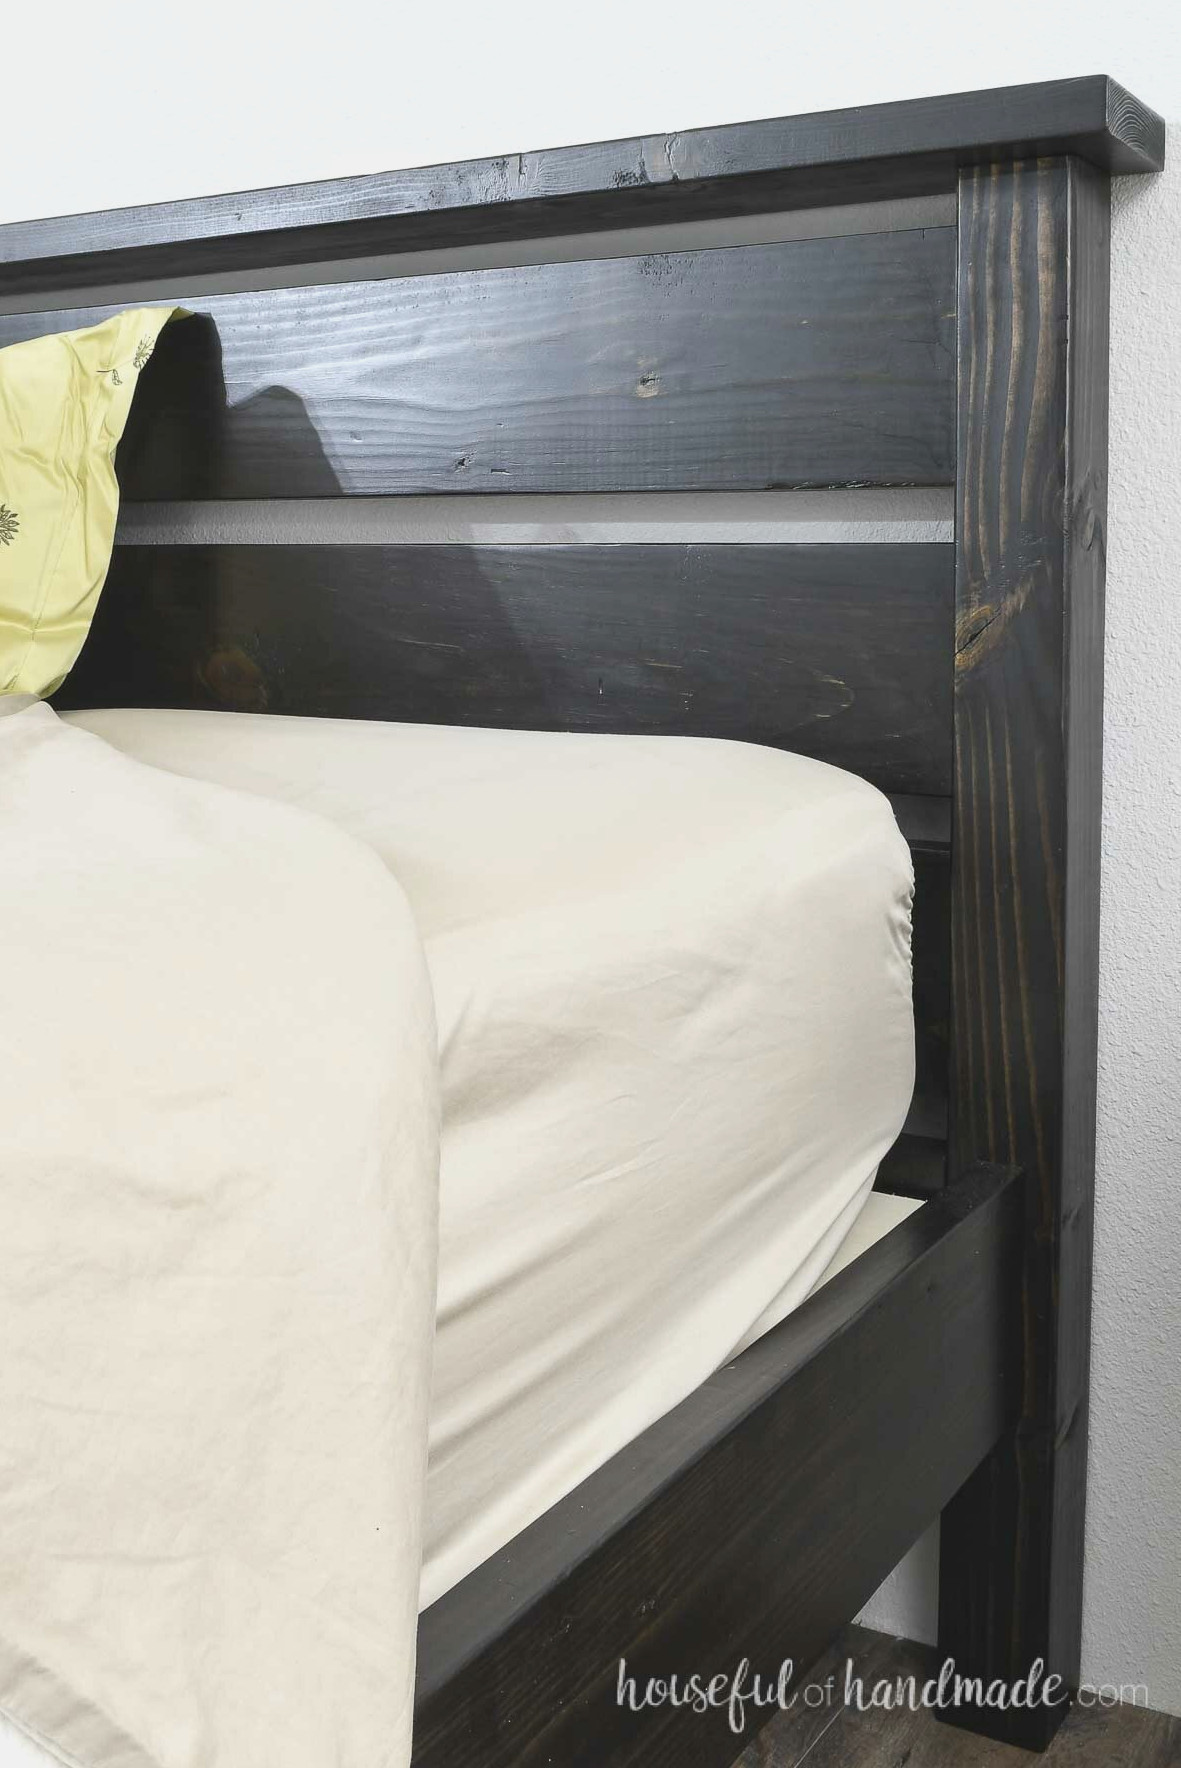
To determine the headboard width, first consider the points where the rails will connect to the legs.
The platform area described earlier must fit between the two rails.
When the rails are positioned inward from the headboard or footboard edges, the headboard must be wider to provide sufficient room for the mattress.
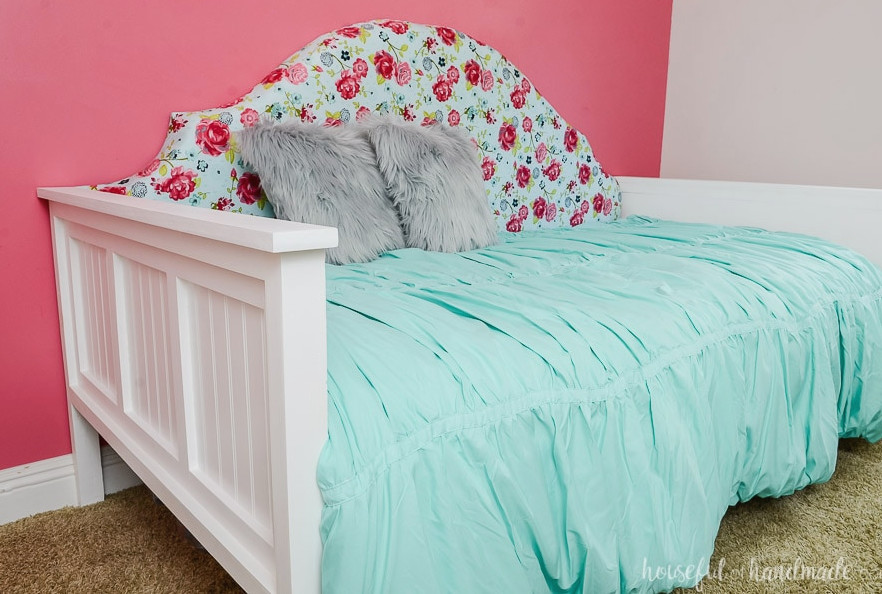
When constructing a daybed, the components can be somewhat confusing.
The side sections serve as the headboard and footboard, built as mirror images. The rear portion against the wall is actually one of the side rails.
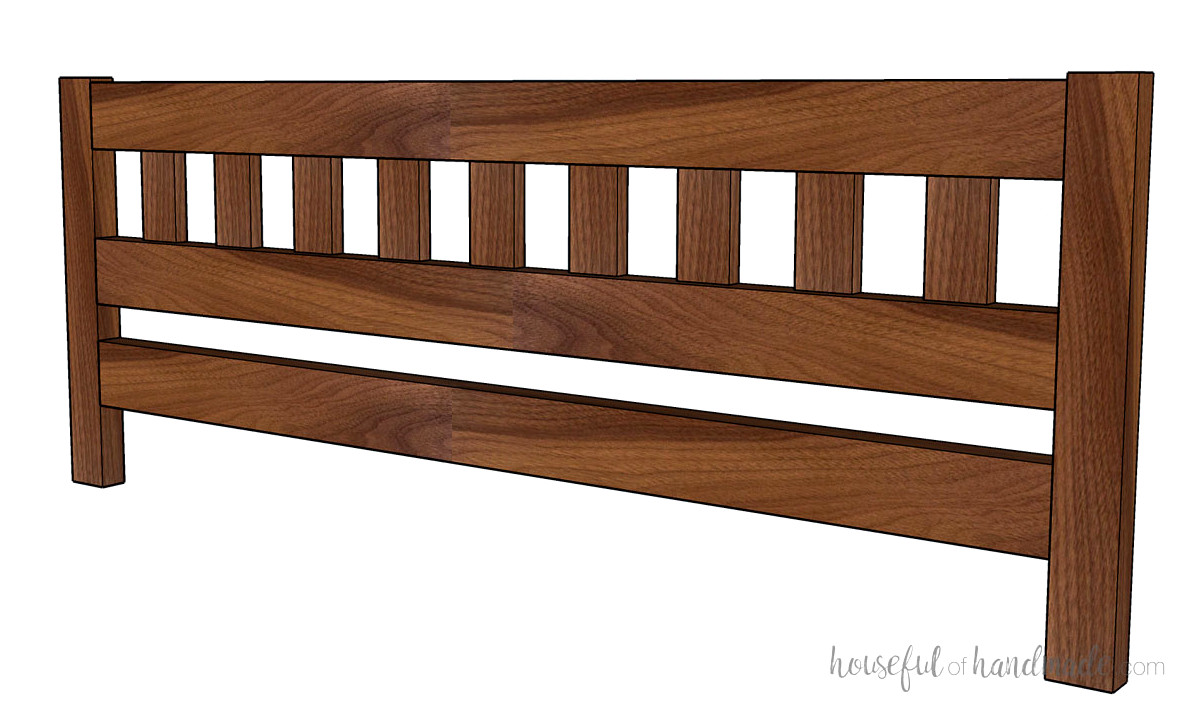
Construct the footboard in the same manner as the headboard. In most cases, the footboard is a lower version of the headboard.
For a footboard that aligns with the mattress top, establish the rail depth (below) and mattress support details before designing it.
When assembling the footboard with pocket holes, cover them with plugs or wood filler to prevent holes from facing the bedding.
STEP 3- Build the Side Rails
Trim the side rail boards so they match the length of the mattress area.
For 1x boards (3/4″ thick), I suggest using 1×6 or wider lumber for a solid bed. With 2x boards (1 1/2″ thick), you can use boards as narrow as a 2×4.
Cut 2x boards for the inner sides of the side rails to form a support ledge for the mattress foundation. I favor 2x lumber instead of 1x lumber because it allows you to fasten the mattress support without causing splits.the timber.
These should be trimmed shorter than the rails to keep them clear of the bed rail brackets. In most cases, leaving a couple of inches at either end is sufficient.
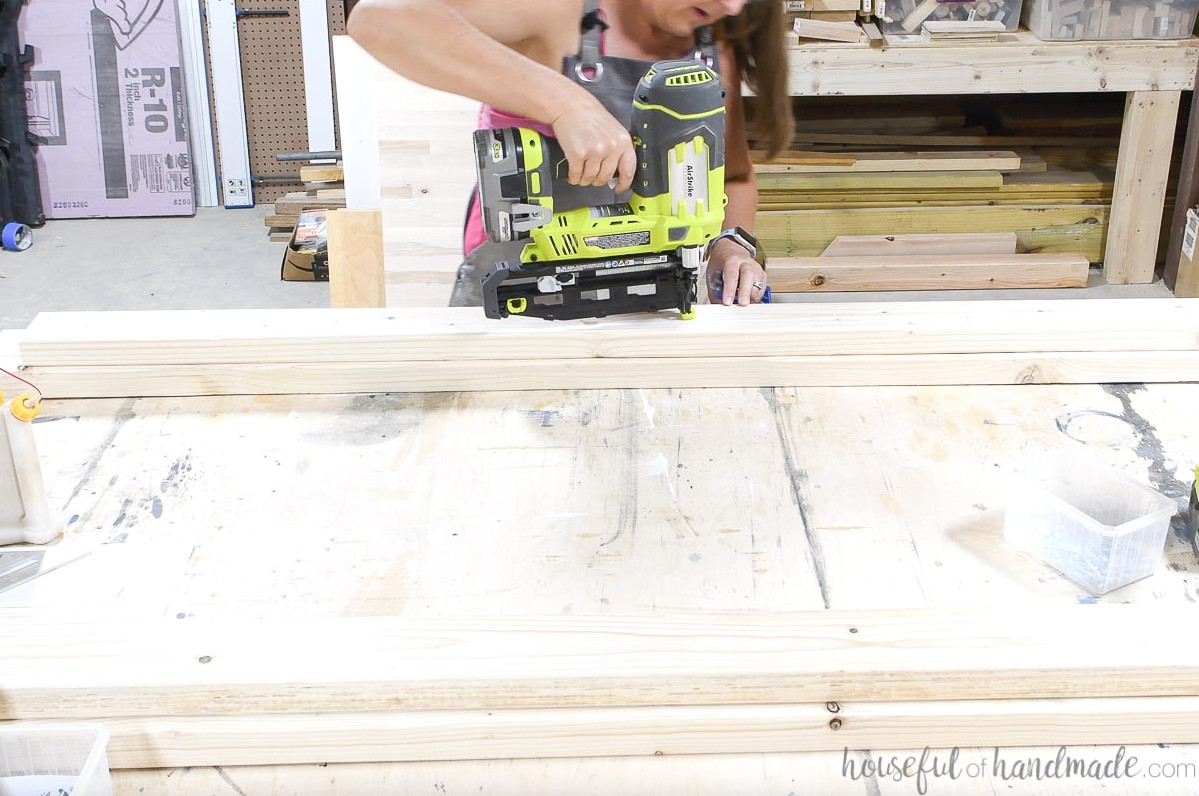
Use wood glue and screws to fasten the 2x boards, driving the screws into the side rails.
EXPERT TIP:
While fastening the 2×2 board with screws, use a brad or finish nailer to hold it temporarily in position.
The position where these supports are installed on the side rails controls how far down the mattress will rest in the bed frame.
To have the mattress level with the rail tops while using 3/4″ plywood or slats for support, install them 3/4″ below the upper edge.
When using a box springs and aiming to conceal it mostly behind the side rails, position it closer to the lower edge.
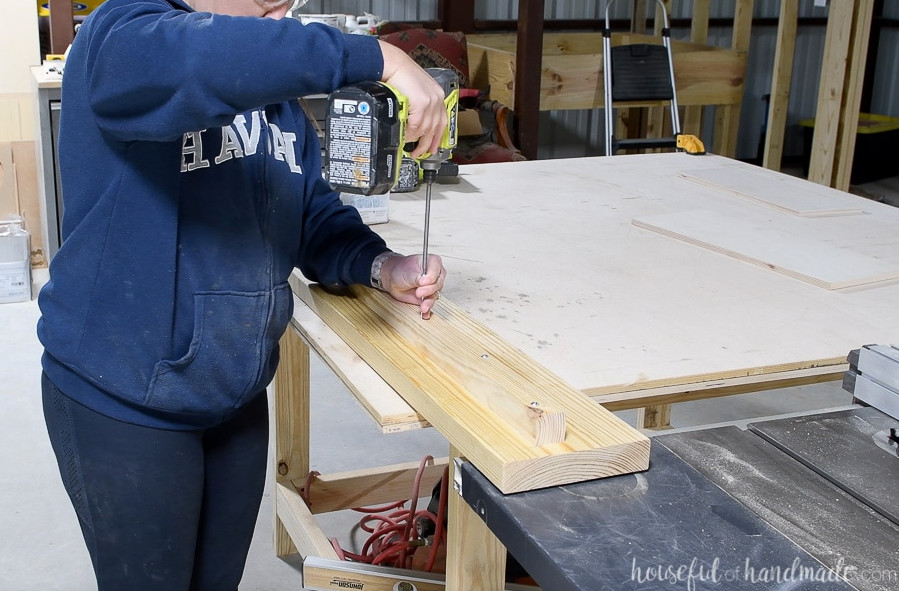
STEP 4- Construct the Center Rail
Unless you are building a twin bed, you will need a center rail to keep the frame from sagging.
A basic 2×4 is what I generally use for the center rail. Since it remains hidden, it does not have to coordinate with the side rails.
Install 1 or 2 feet on the center rail to help support the bed’s center.
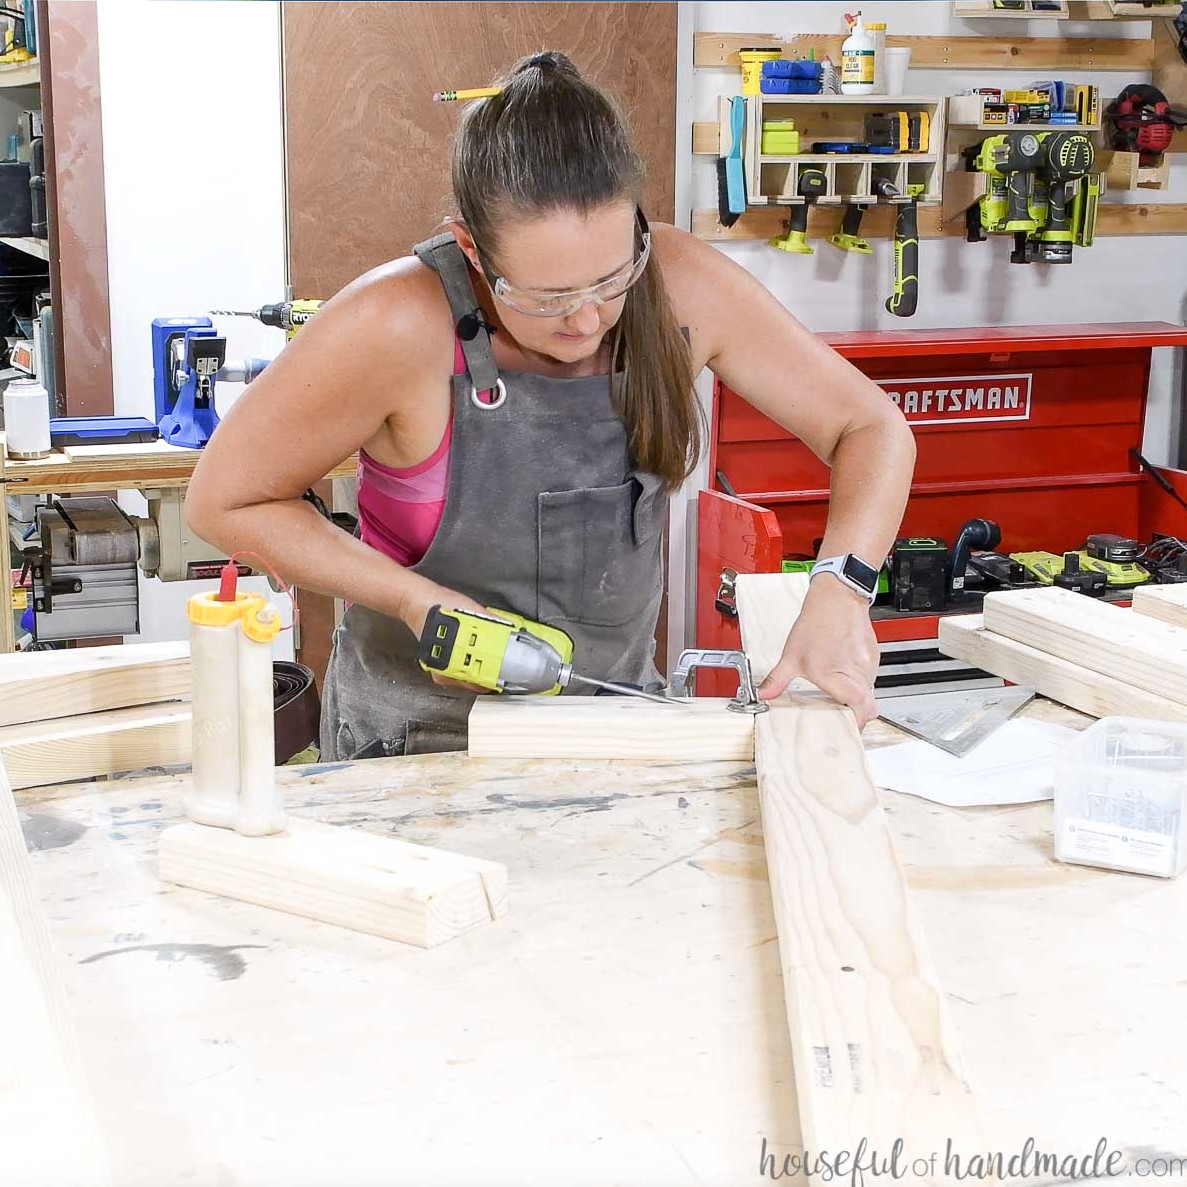
Position the center rail at the same level as the rail support 2x boards. First find that height, then subtract the center rail’s width (3 1/2″ for a 2×4) to calculate the leg length.
Secure the leg to the center rail using wood glue and pocket holes.
When your rail support 2x2s sit along the bottom of the rails, a 2×2 may be necessary instead, since a 2×4 could show beneath the rails or at its connection to the headboard and footboard.
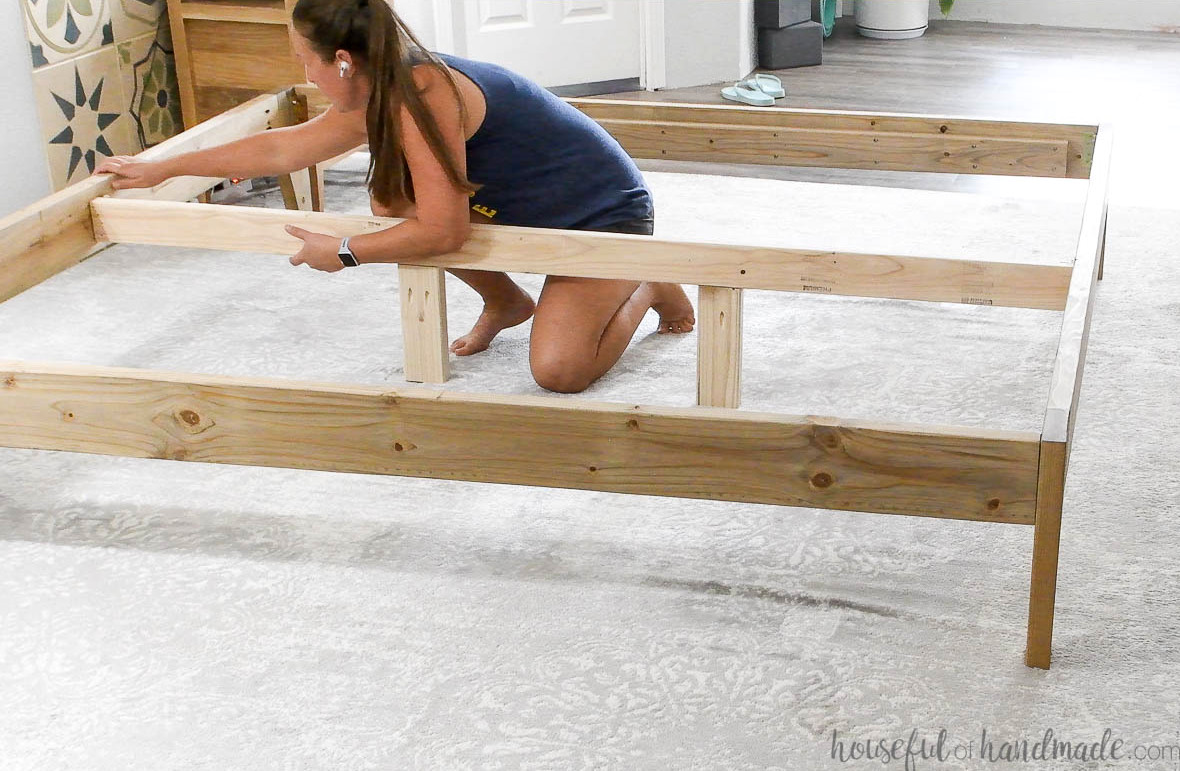
STEP 5- Complete and Assemble your Bed
Sand and apply finish to every piece: the headboard, footboard, 2 side rails and center rail.
Following the individual instructions, fasten the bed rail brackets to the legs and side rails. For wide side rail boards, consider installing 2 sets on each rail.
Connect the center rail to the headboard and footboard using either a 3rd set of bed rail brackets or affordable 2×4 joist hangers.
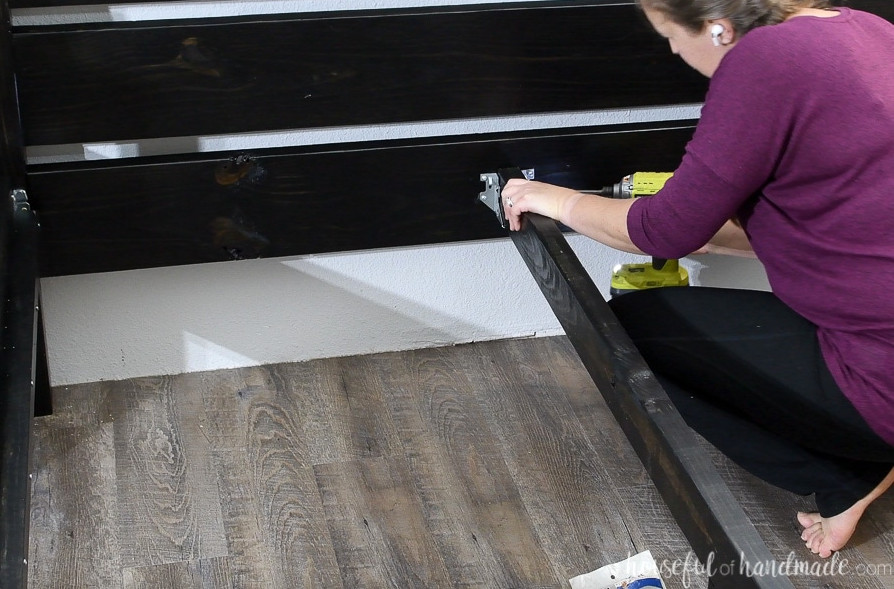
After fully assembling the bed, install the mattress support and fasten it in place if necessary.
And that’s it!
Your new DIY bed is prepared for a mattress, and you are all set for a good night’s sleep.
DIY Bed Ideas
Would you rather not create your own design, or simply need a starting point? Explore these detailed bed tutorials:
Enjoy building!