Create this attractive side table using only one board.
Side tables are incredibly practical and can really complete a room. Even better, they are enjoyable to build!
Because end tables are compact, they do not need much lumber. You may already have everything required for this project in your scrap wood collection.
I had a leftover 1×8 poplar board. I skipped using it for the previous project because the grain featured some bold colors.
Although those colors were unsuitable for the earlier project, this straightforward side table with wheels was an ideal way to showcase the distinctive grain pattern.
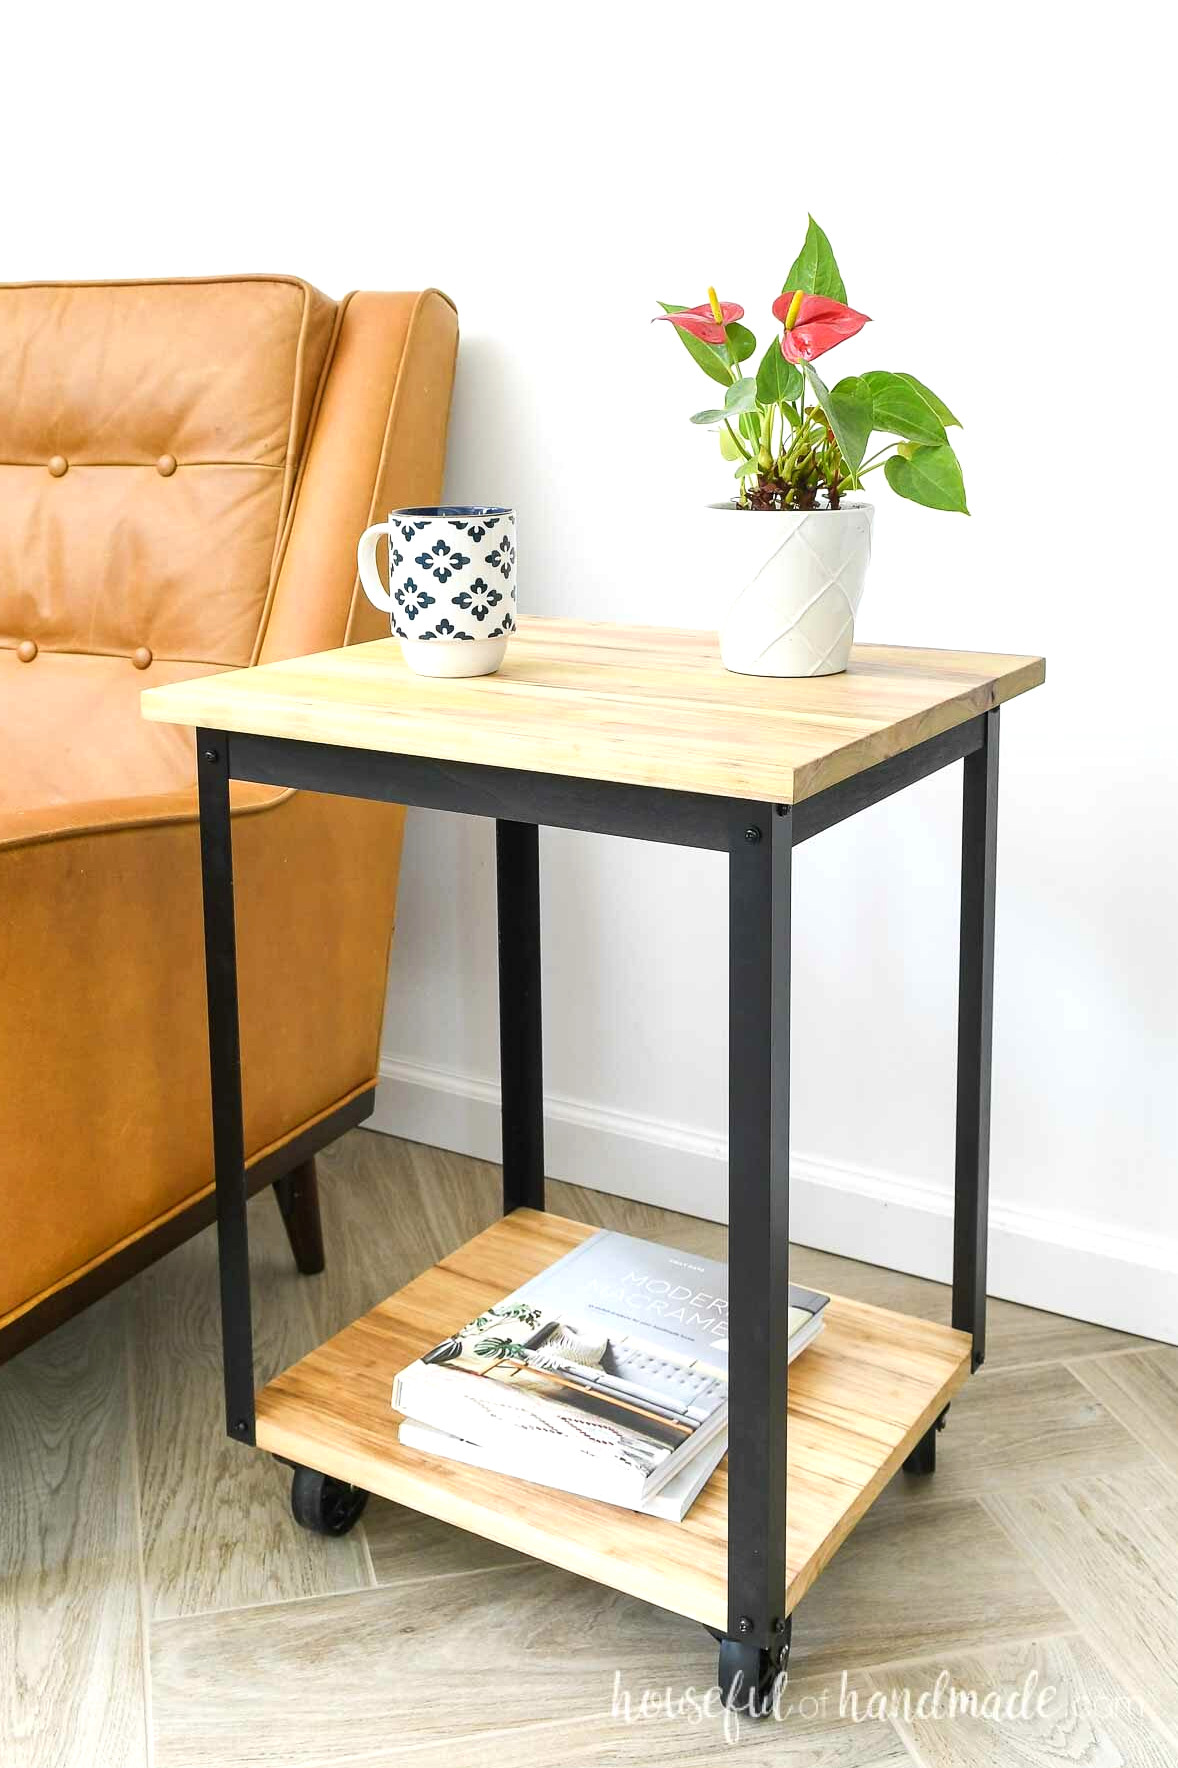
The design for this side table came from another project I built and adore: an impressive kitchen cart.
I also had a few leftover pieces of aluminum angle iron, making it the perfect opportunity to build a matching table.
This uncomplicated rolling side table is an excellent DIY project for beginners. Using only a handful of basic tools, you will be amazed by what you can make!
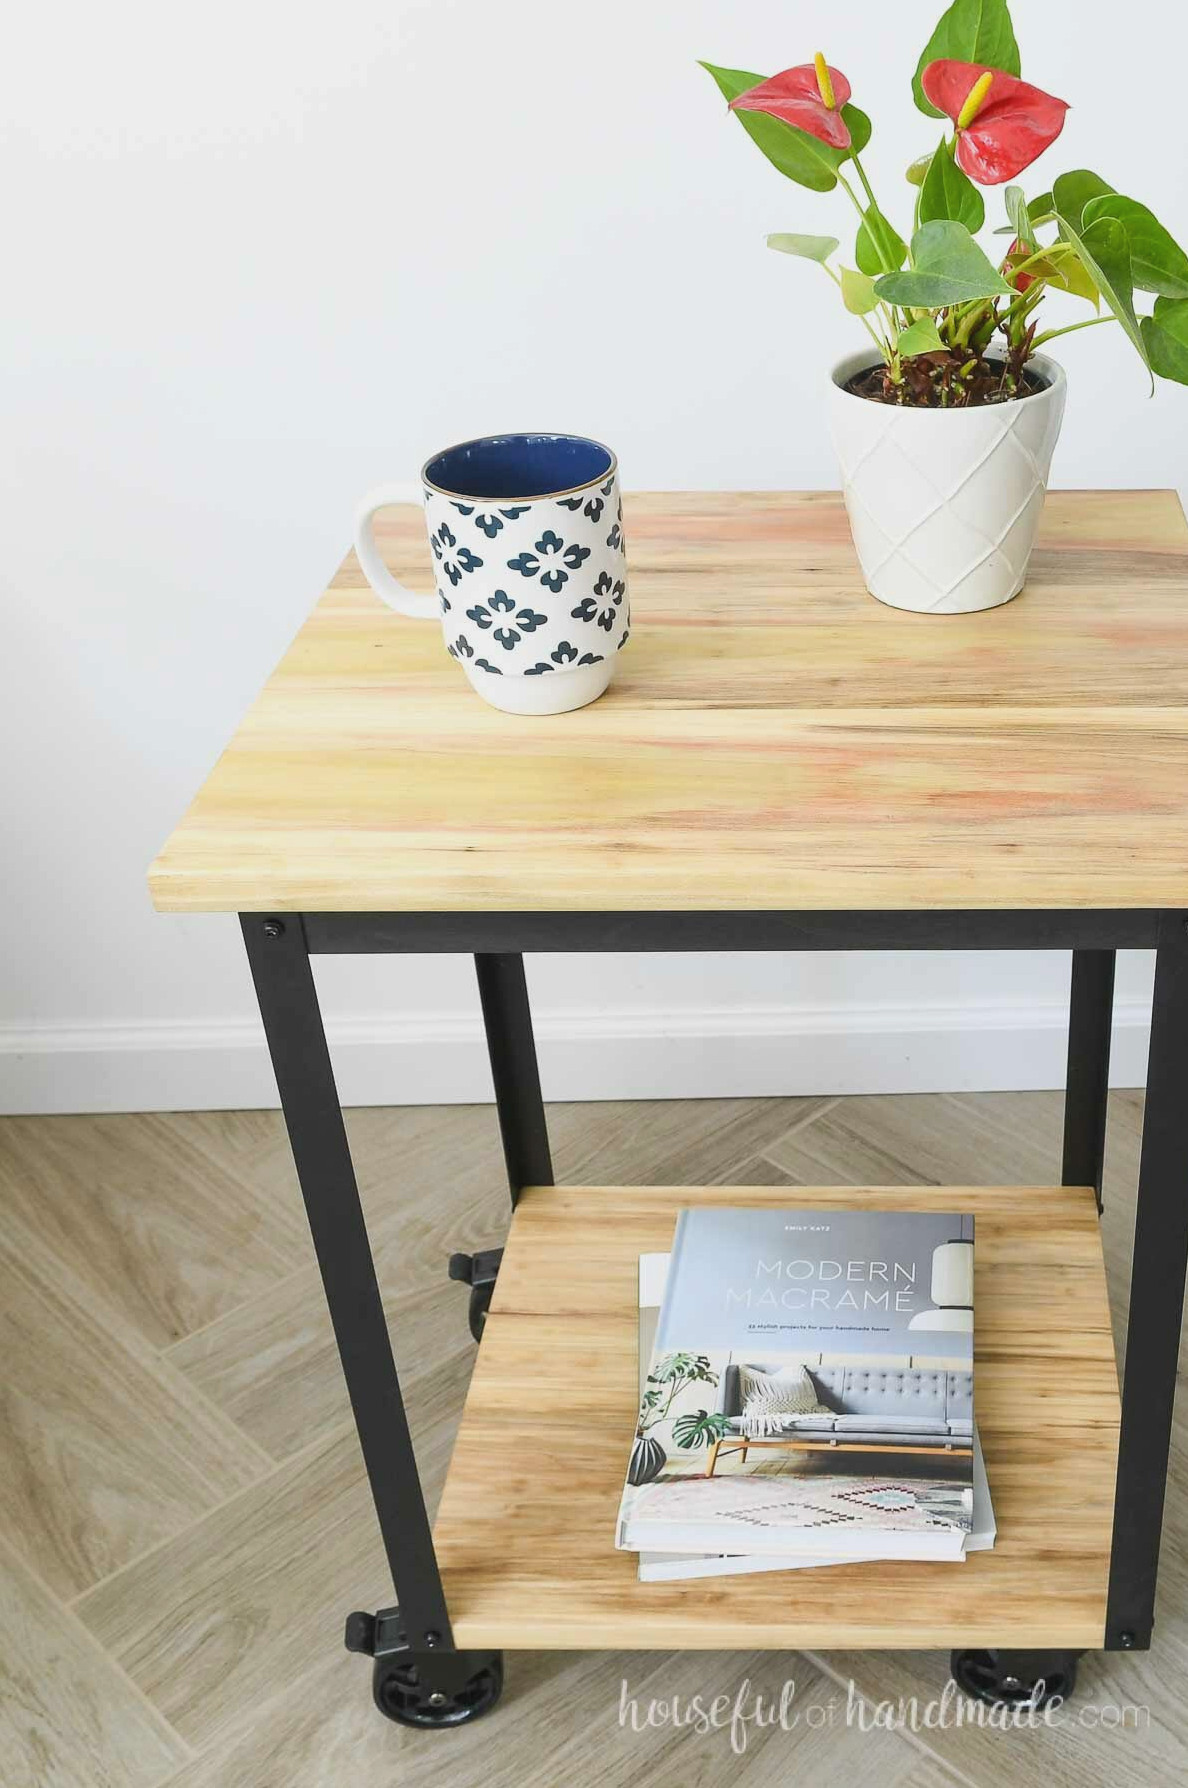
One Board Project
This side table came from a single 1×8 board remaining after we built our DIY built-in desk! Nothing beats turning leftover wood into something impressive.
To obtain all the components from one board, begin by cutting the required 1×8 pieces. Rip the leftover section into a 1×2 (1 1/2″ wide) and a 1×6 (5 1/2″ wide) board.
If you cannot rip the board yourself, you can still build this enjoyable side table using scrap pieces of 1×8, 1×6, and 1×2. Only a few short sections of each are necessary.
You can also purchase the boards you require. This attractive end table is well worth it!
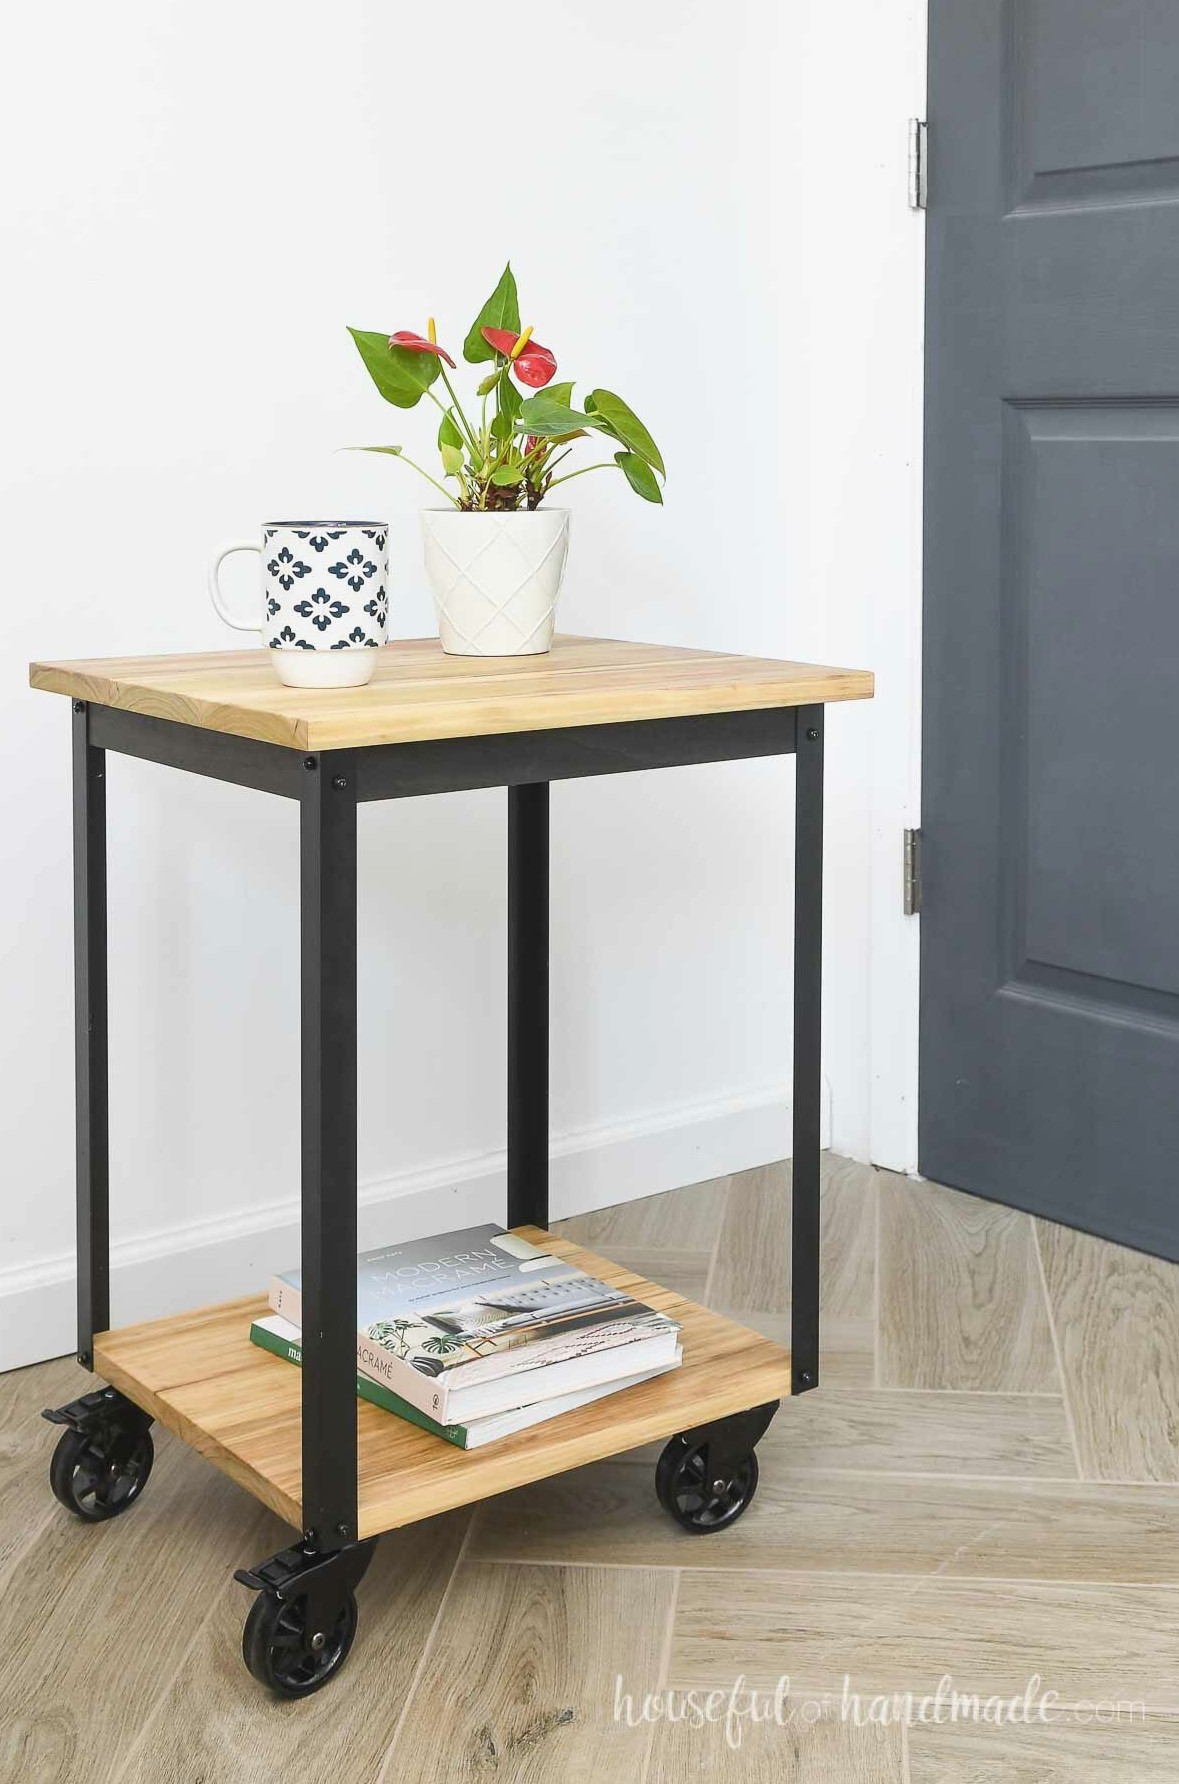
How to Build a Side Table
Tools & Materials
Overall Dimensions
The completed side table measures 18″ x 16 1/2″ and stands 20 3/4″ high without the wheels. Adding 3″ caster wheels brings the table to just under 24″ tall.
You can modify the height of your DIY side table with ease by cutting the leg pieces either longer or shorter.
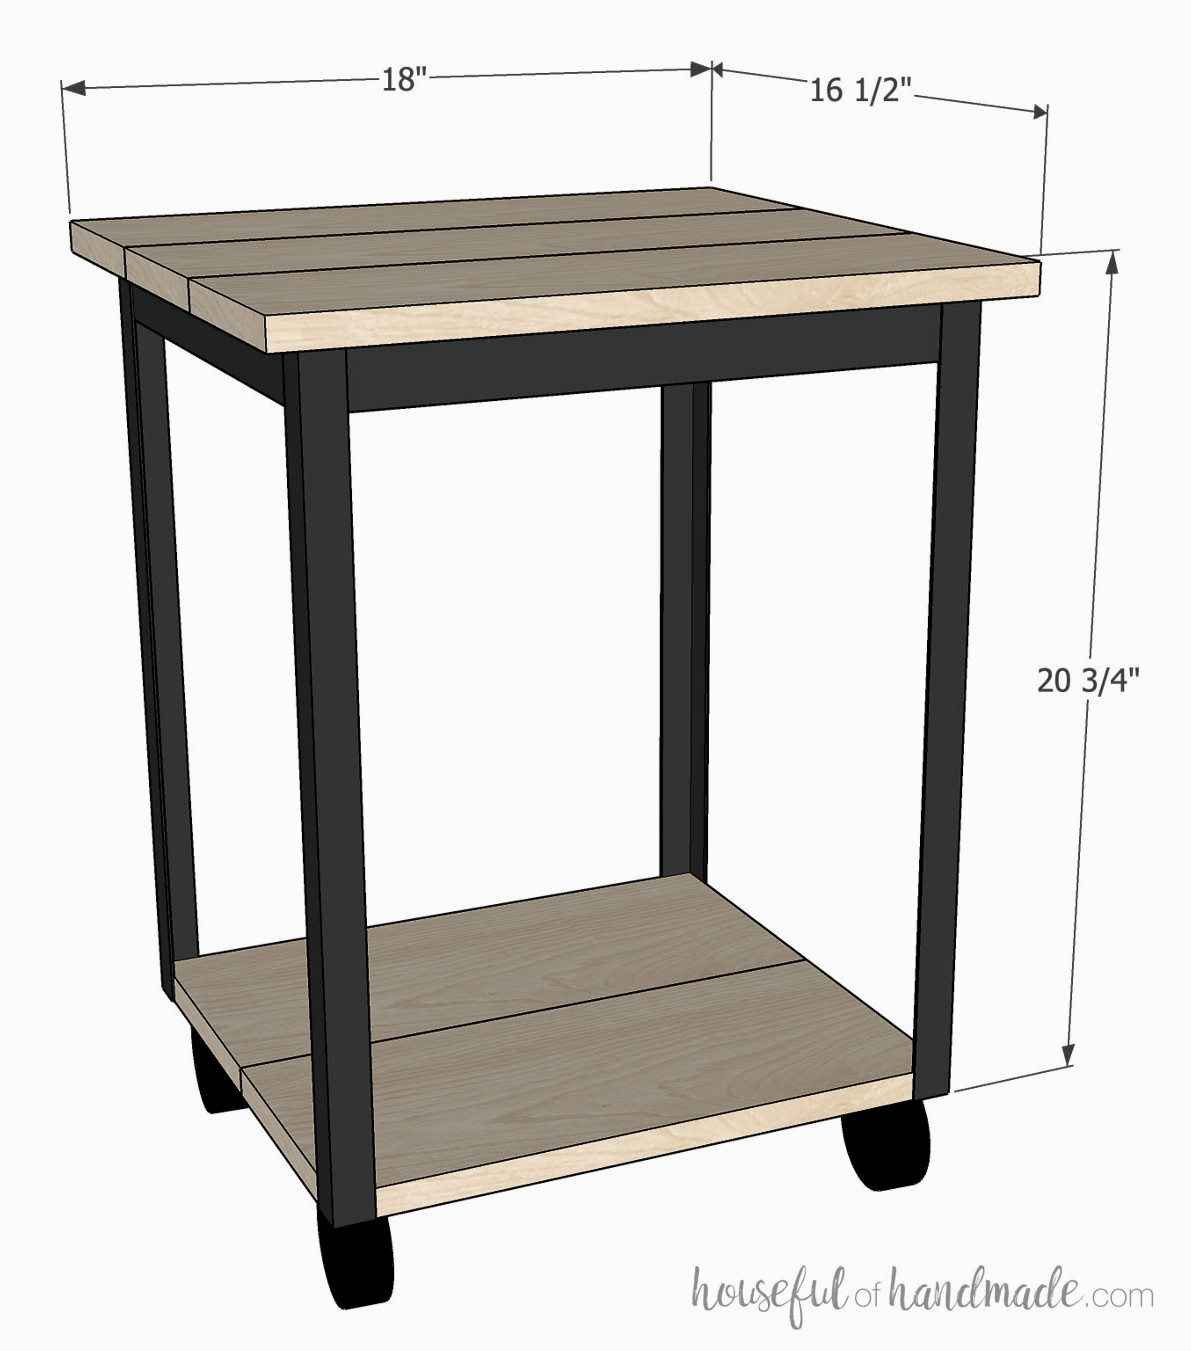
Cut List
Cut the components based on the diagram provided in the PDF plans.
Download the Premium PDF Woodworking Plans
PDF plans include- Easy-to-Follow Cut List, Shopping List, Suggested Tools, Step-by-Step Directions with 3D drawings, & Useful Resources
BONUS- 3D SketchUp File

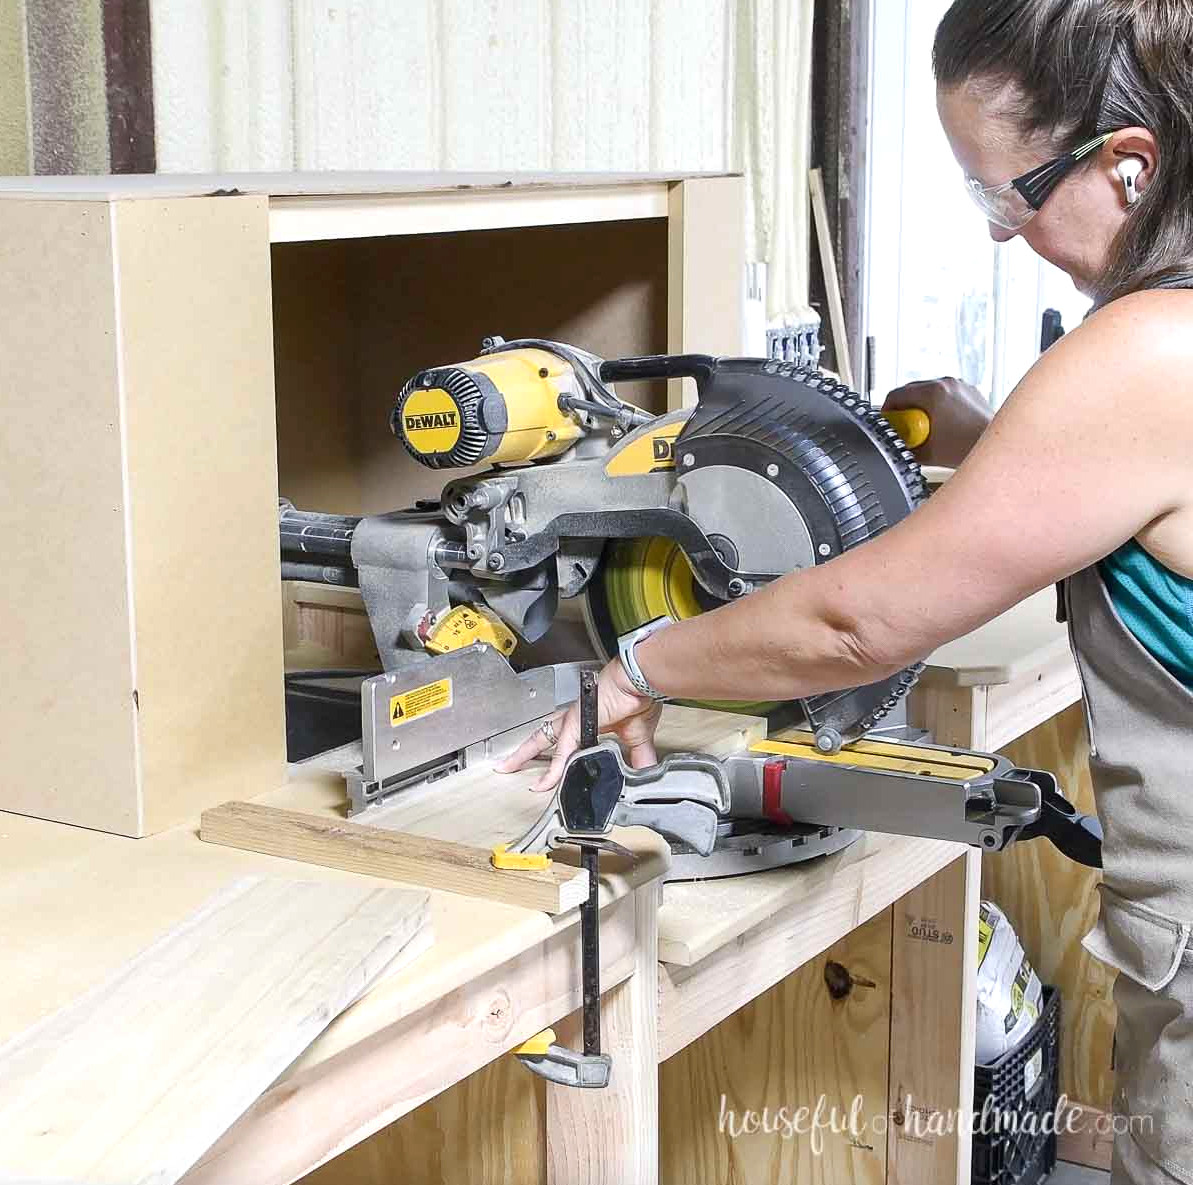
To ensure every piece is cut to the same length, I like clamping a scrap piece of wood to the miter saw table to use as a stop.
This straightforward method improves accuracy across all your cuts, resulting in a squarer and more professionally finished project.
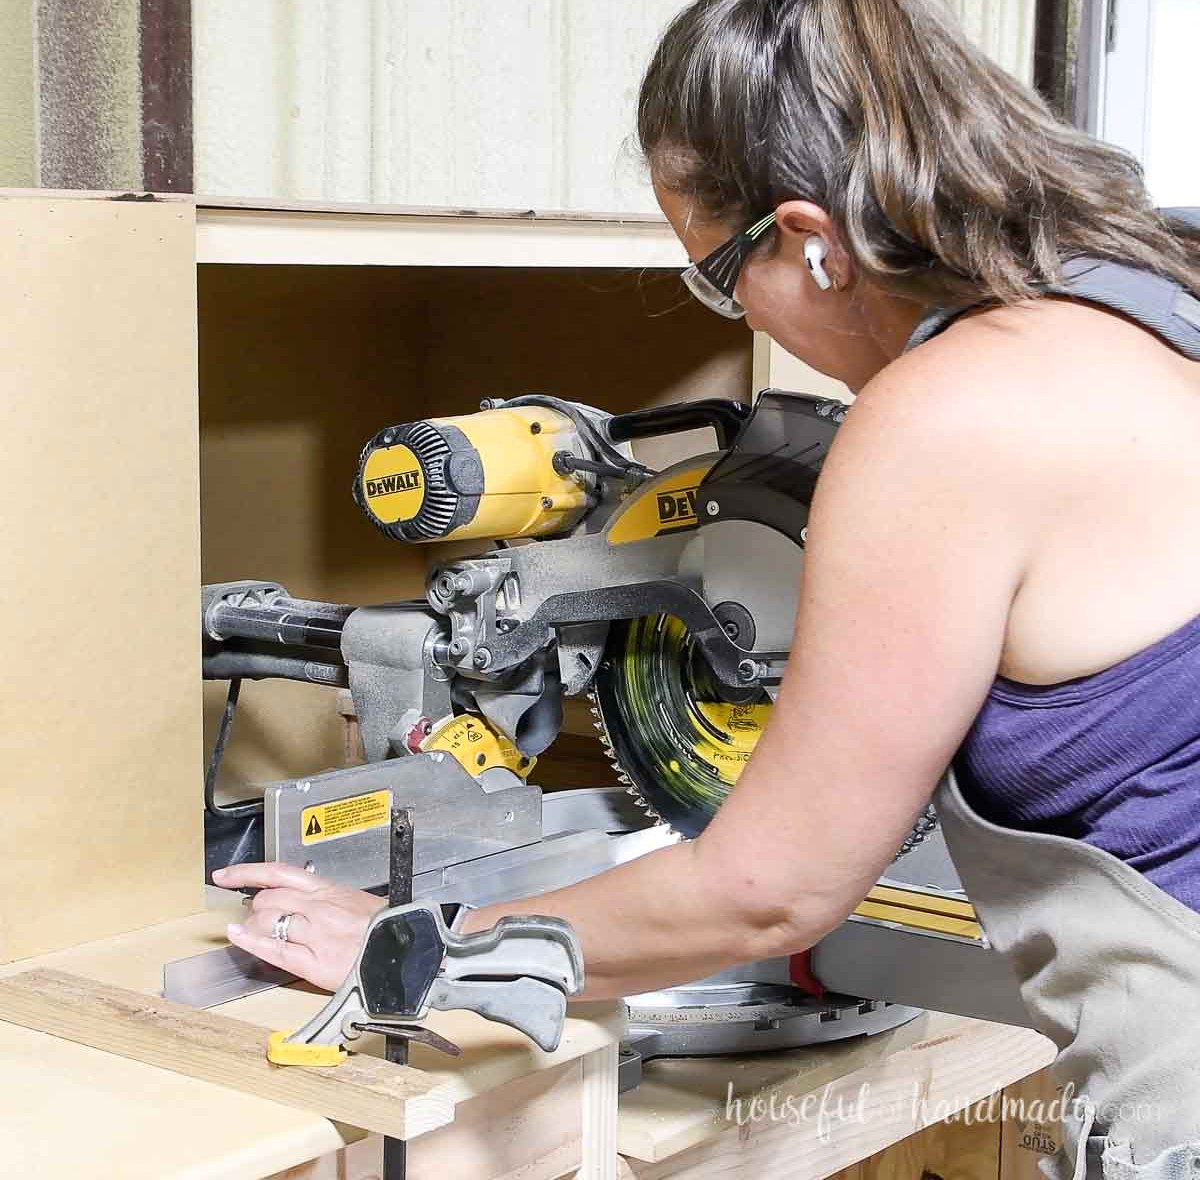
Next, cut the aluminum angle iron sections for the legs. Since it is aluminum, standard woodworking tools can easily handle the cuts.
Once again, I used a scrap wood stop to make certain all 4 legs were precisely the same length.
STEP 1- Put together the table top
Arrange the 3 tabletop pieces next to one another. Examine the grain and colors, then choose the arrangement you prefer for the tabletop.
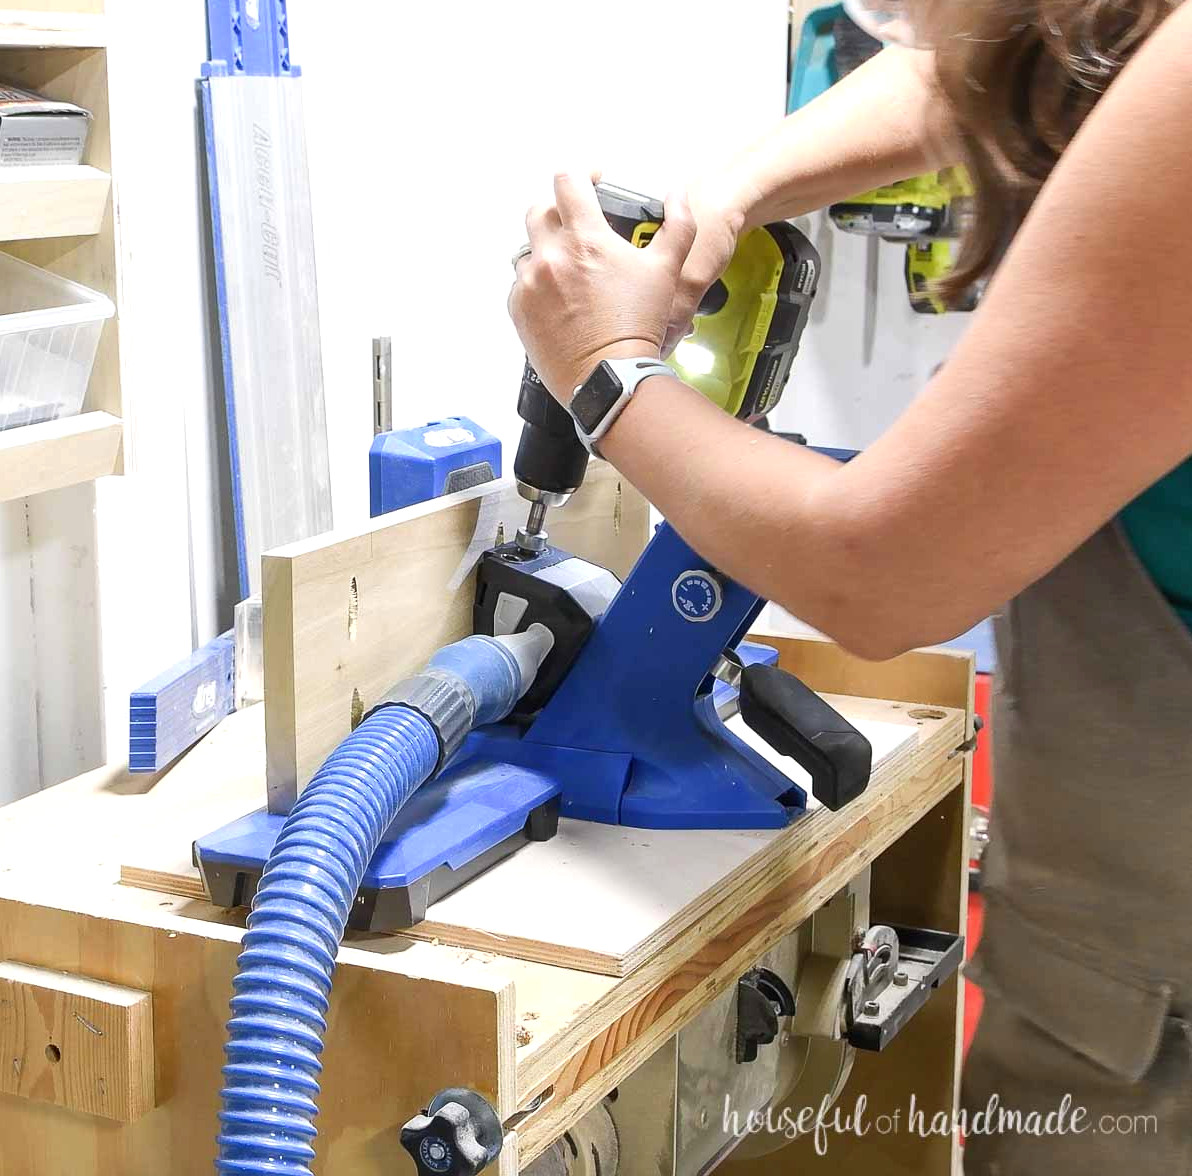
Adjust your pocket hole jig for drilling into 3/4″ thick material. Make pocket holes along the back of both sides of the center board.
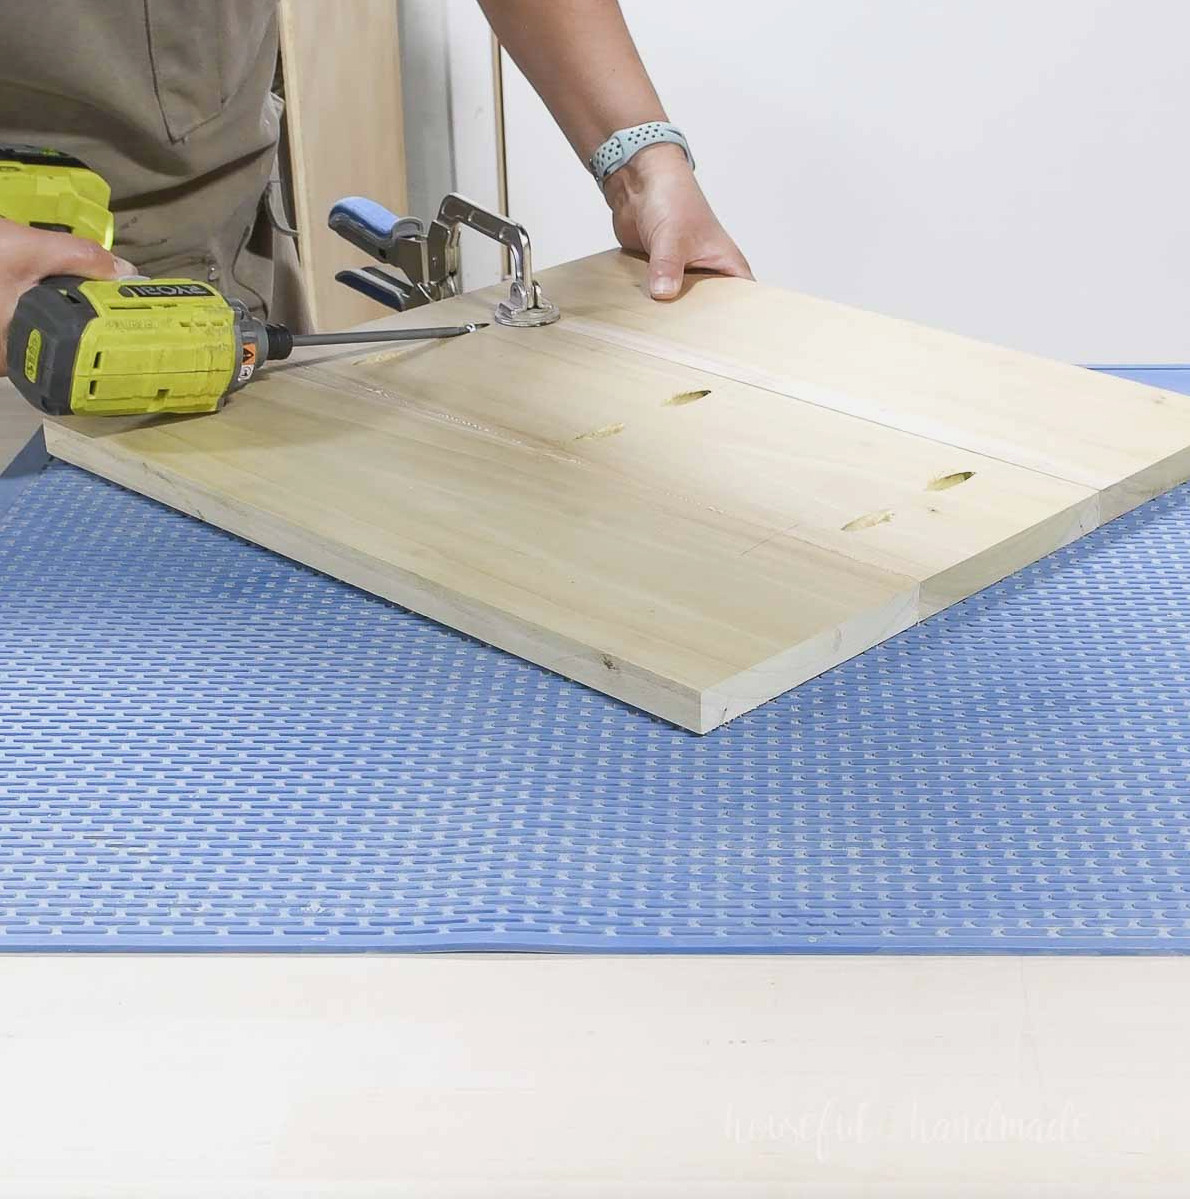
Spread wood glue along the board edges. Fasten the outer boards to the center board using 1 1/4″ pocket hole screws.
As you attach the pieces, use face clamps to hold everything in proper alignment.
STEP 2- Construct the apron
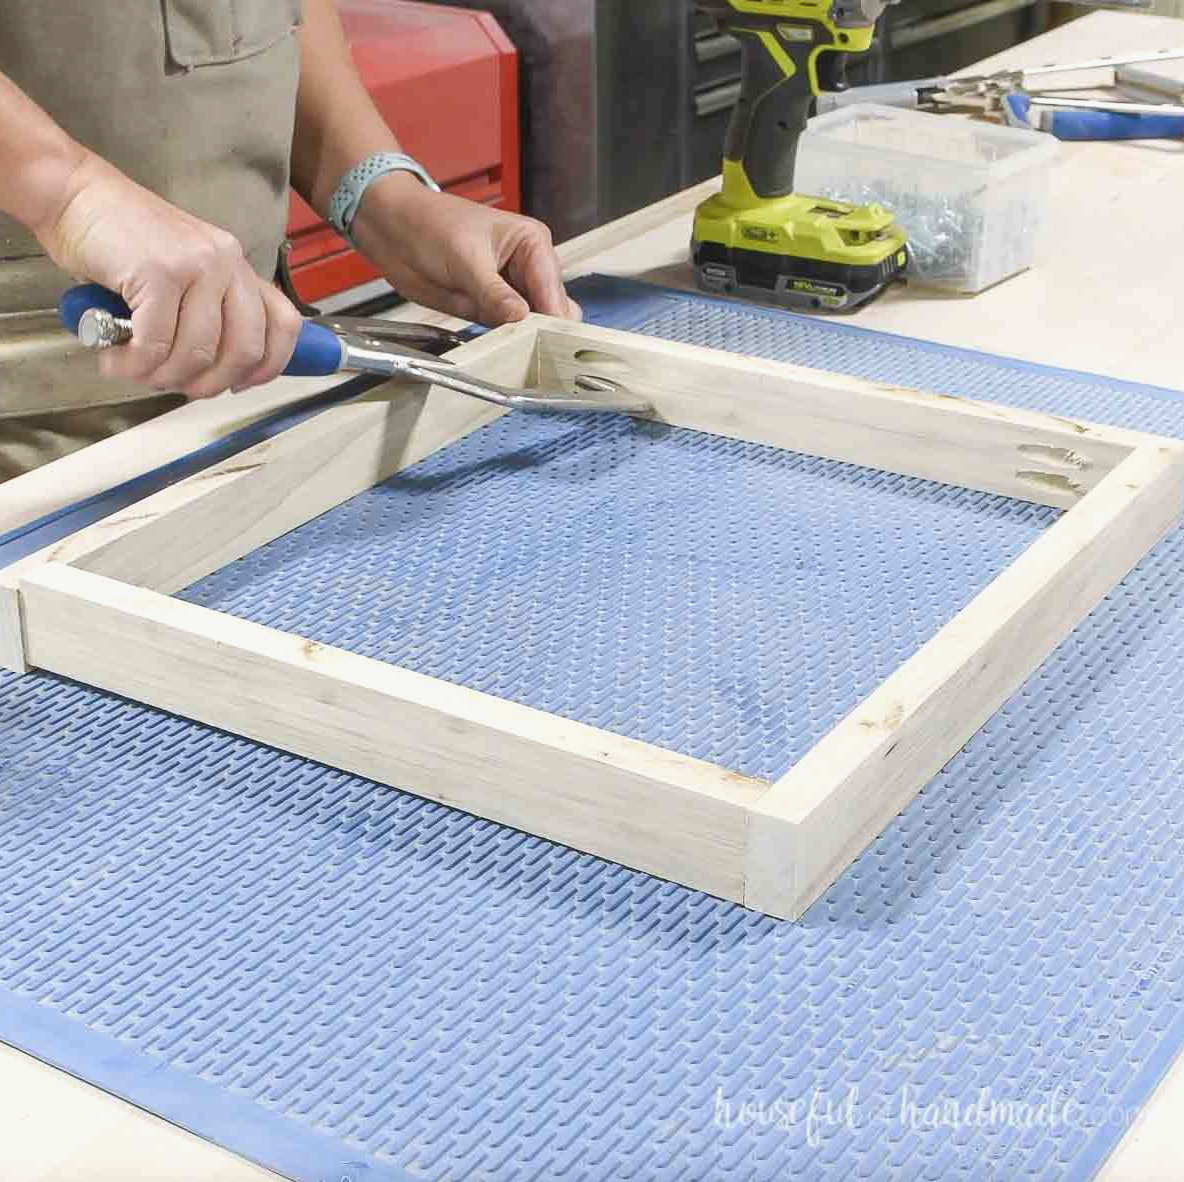
With the jig still set for 3/4″ material, drill pocket holes at both ends of the shorter apron boards.
Position them between the longer boards to form a box. Hold the boards in place with a corner clamp while fastening them.
Apply wood glue and secure everything with 1 1/4″ pocket hole screws.
STEP 3- Put together the lower shelf
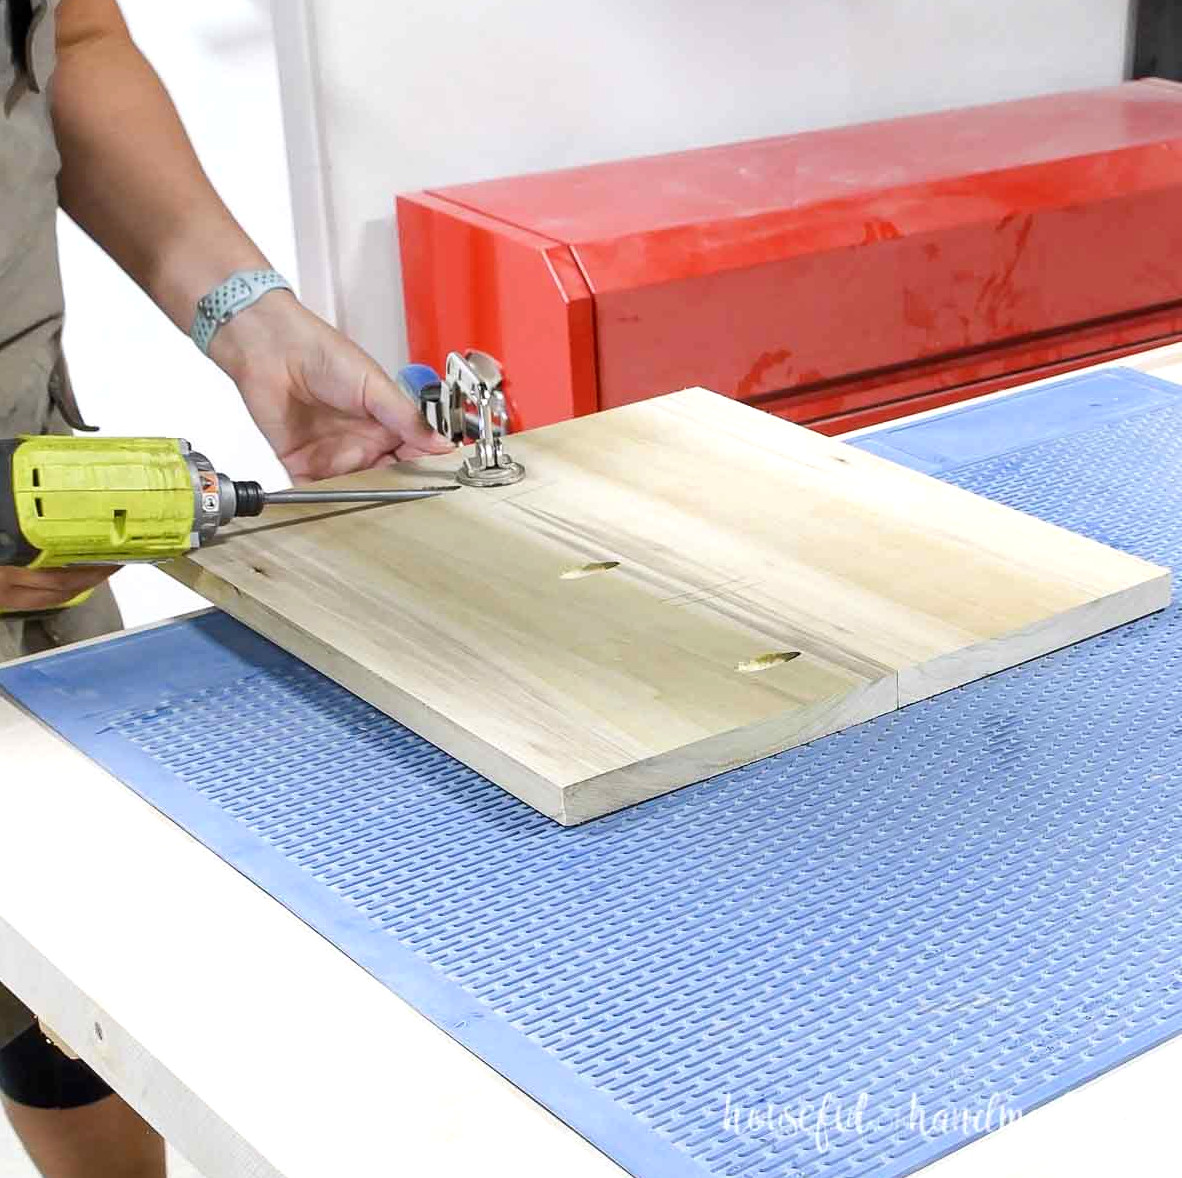
Arrange the lower shelf boards and determine which way you want them oriented.
Drill pocket holes for 3/4″ material along the center edge of one board.
Join the two boards using wood glue and 1 1/4″ pocket hole screws.
STEP 4- Complete the pieces
Once every piece has been cut and put together, you can move on to finishing them.
For the tabletop and shelf, I simply sealed the wood so its distinctive grain and coloring would stand out.
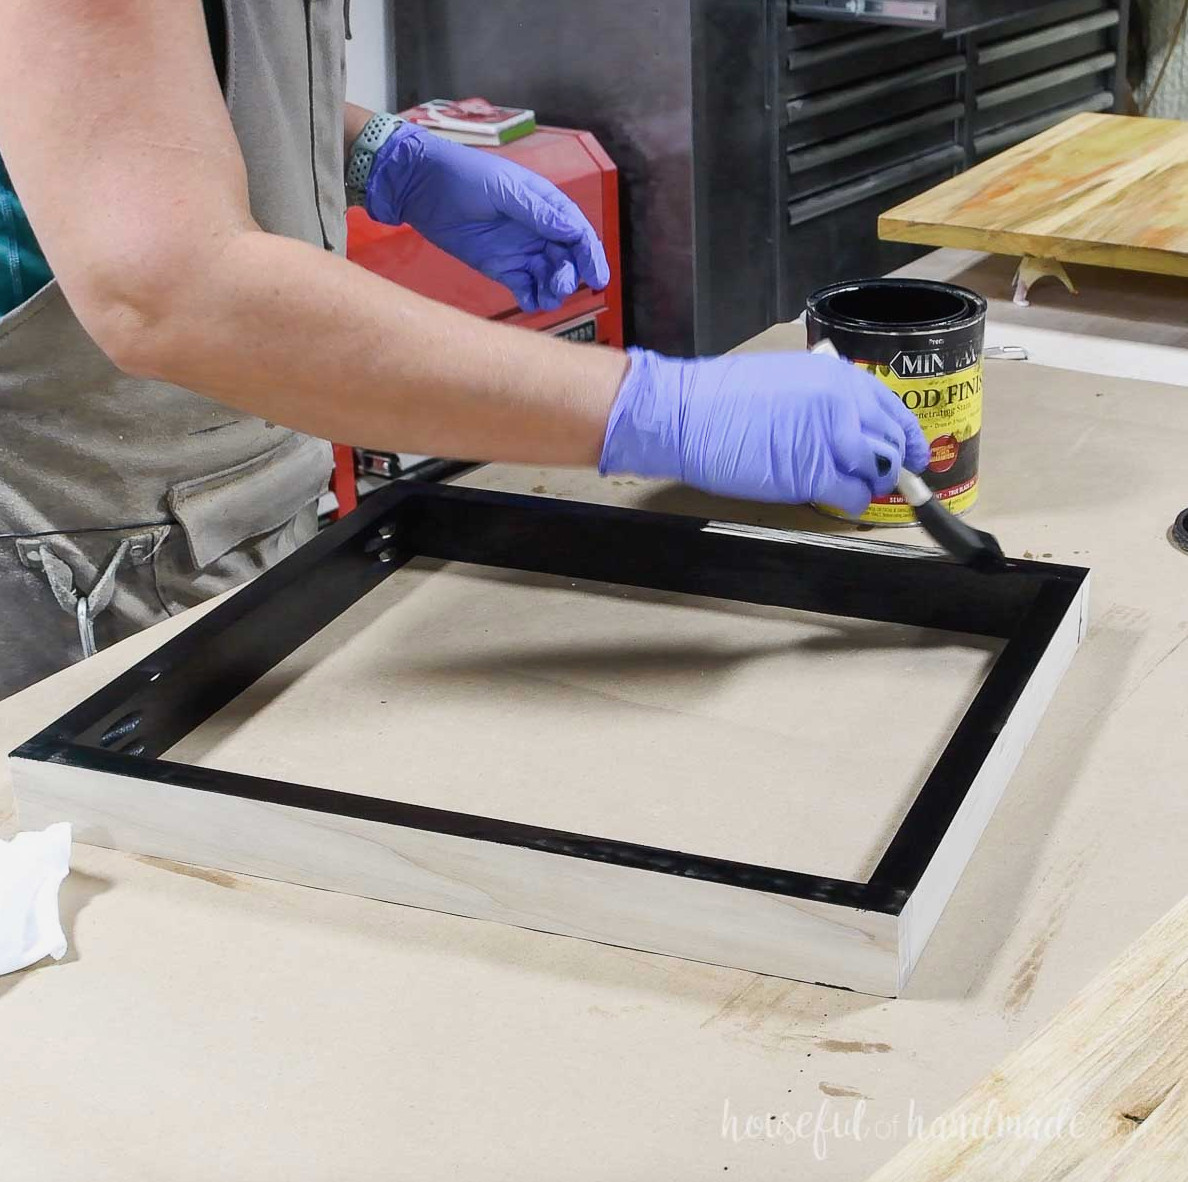
To coordinate with the legs, I stained the table apron black.
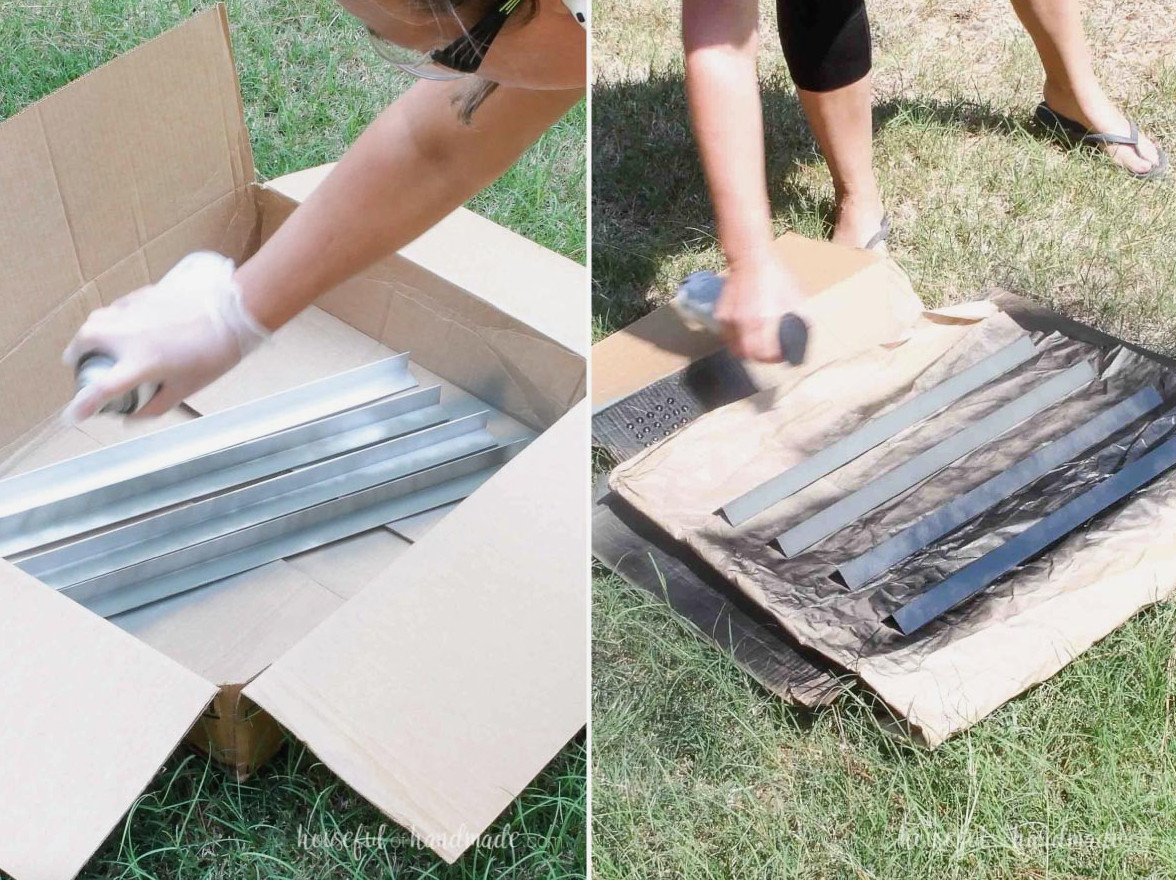
Before painting the aluminum legs, apply a coat of etching primer.
After that, spray them with 3 thin coats of paint (I chose satin black).
I spray painted the heads of 16 pocket hole screws as well, since they will be used to fasten the legs later.
A pan head screw is required for securing the aluminum angle, making pocket hole screws an excellent choice!
STEP 5- Put together the side table
Make holes along the top inner edges of the apron that are large enough to fit the figure 8 fasteners.
Using a chisel or utility knife, clear away material beside the hole to create space for the fastener.
Fasten the hardware with a wood screw.
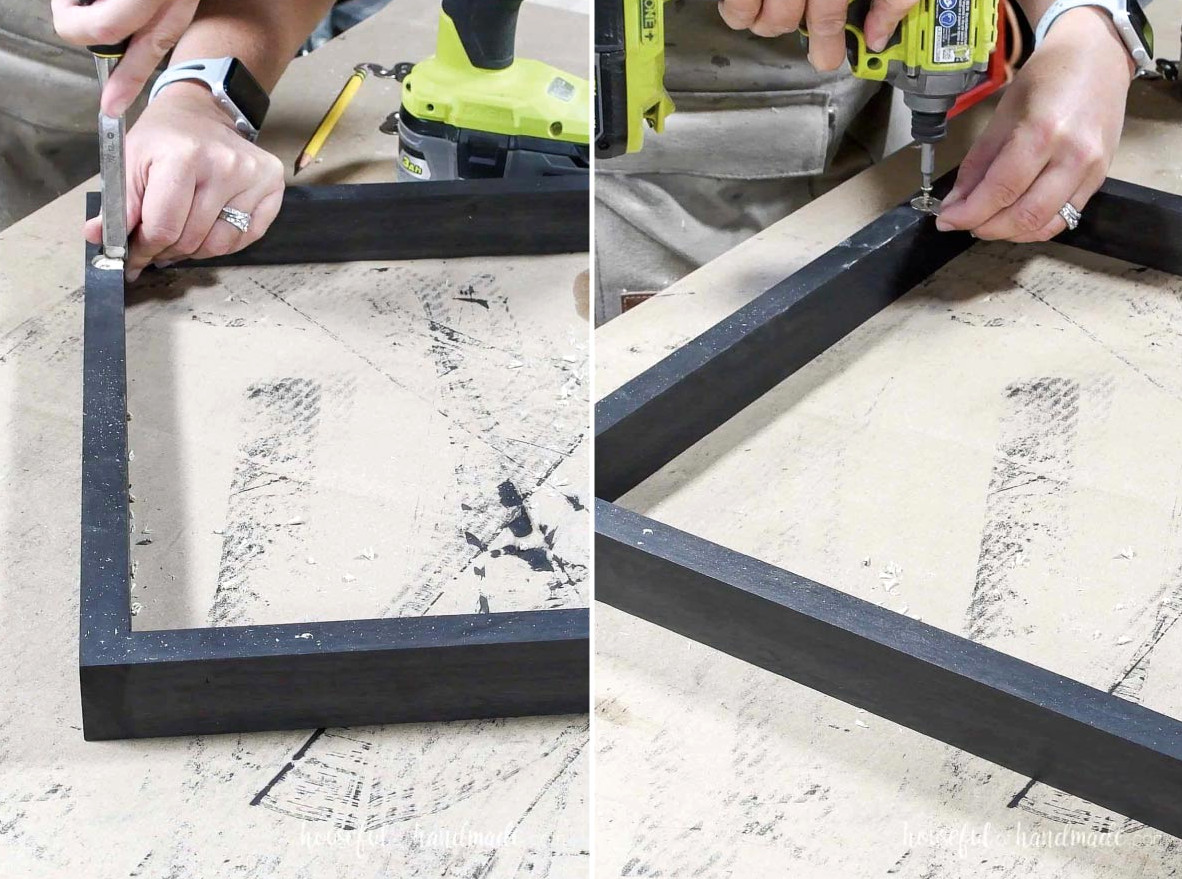
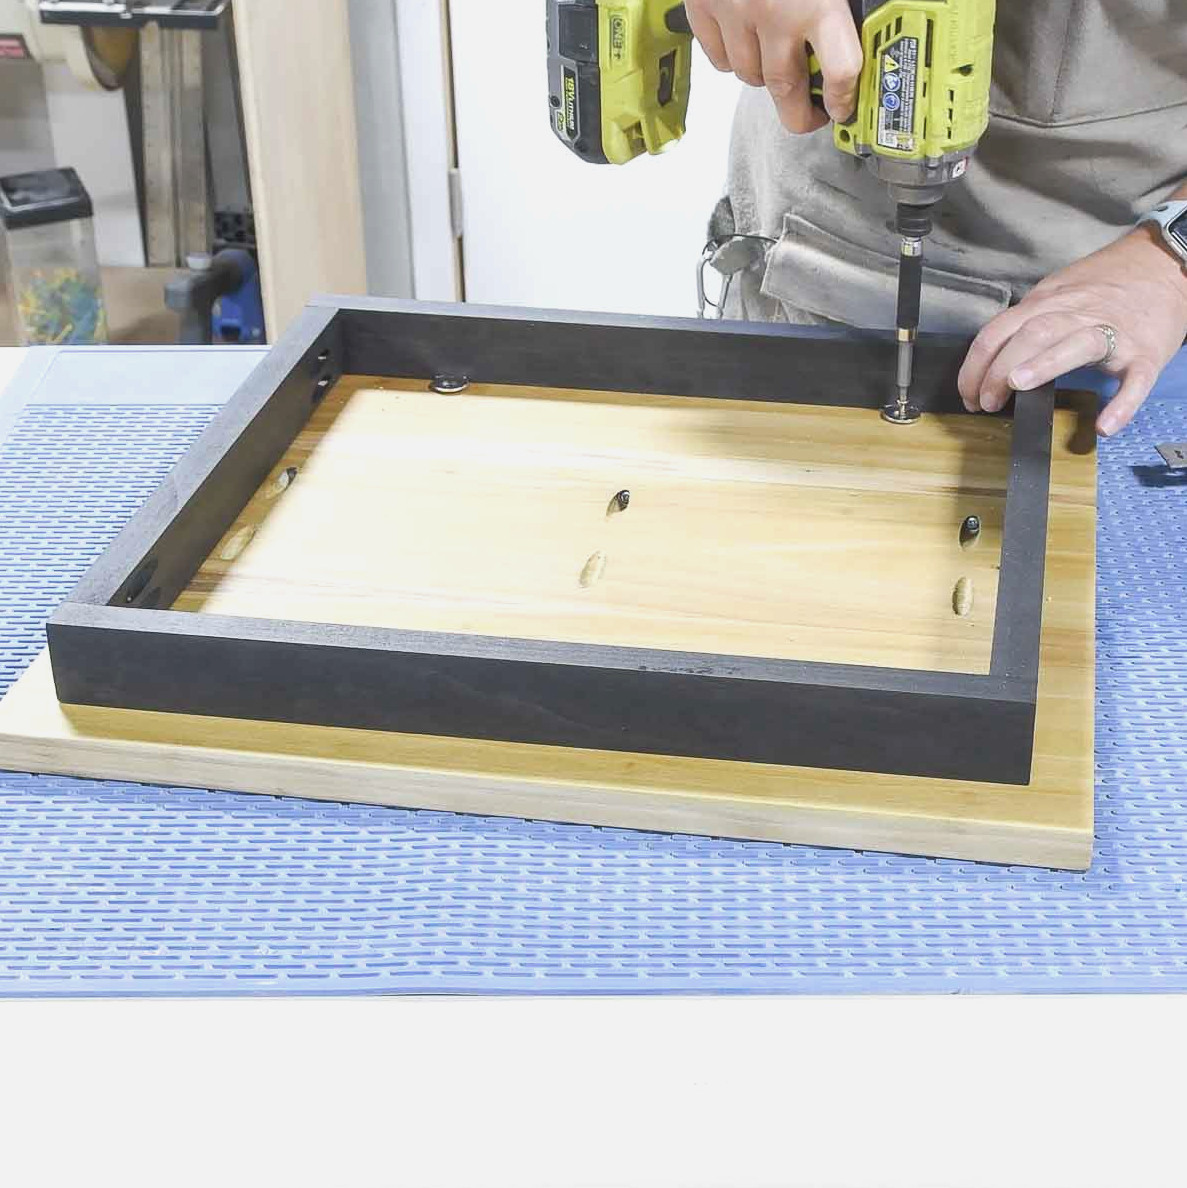
Position the apron against the underside of the tabletop and center it.
Next, use 3/4″ wood screws through the figure 8 fasteners to secure the apron to the tabletop.
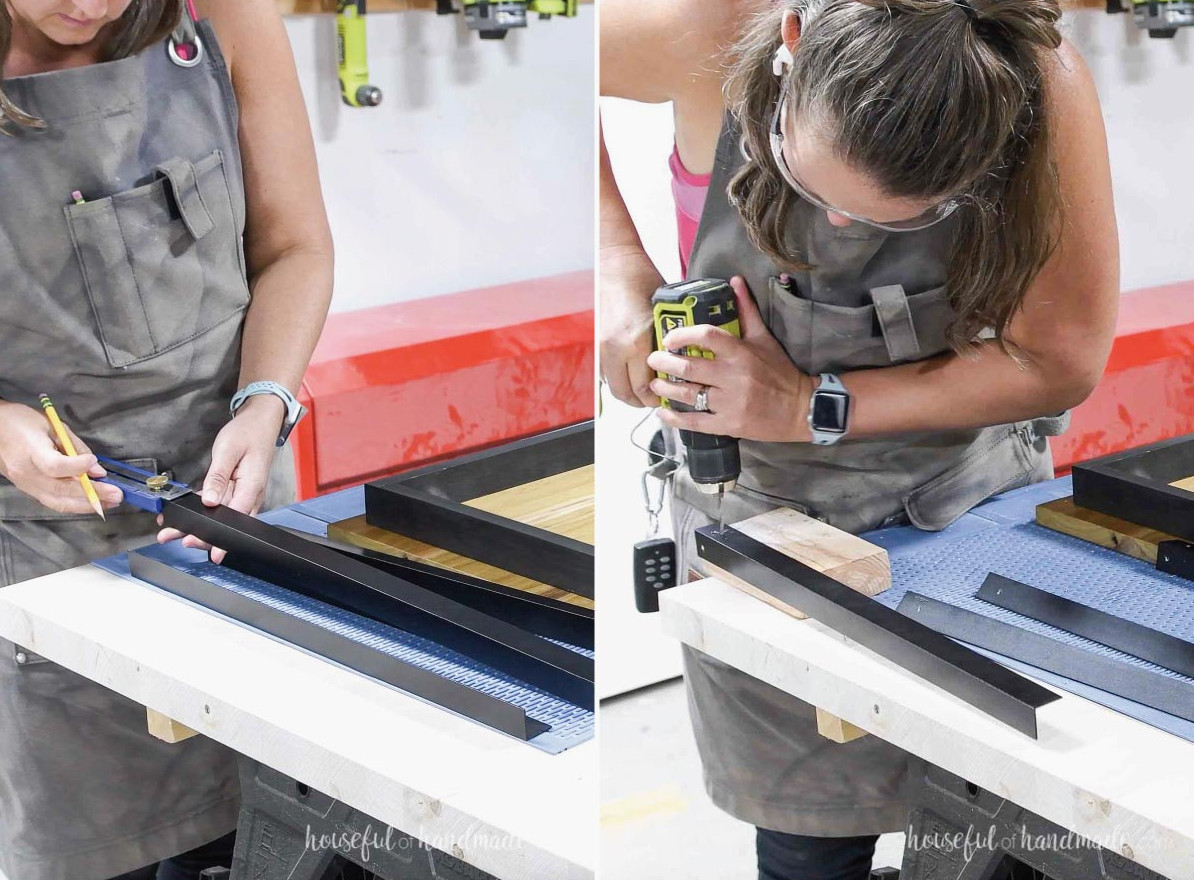
Before attaching the legs, drill pilot holes for the screws.
Refer to the printable plans’ diagram to determine the screw locations. Be sure to offset the screws.
Set the angle piece along the edge of a scrap wood piece. Using a metal drill bit, make a hole large enough for the screws to pass through.
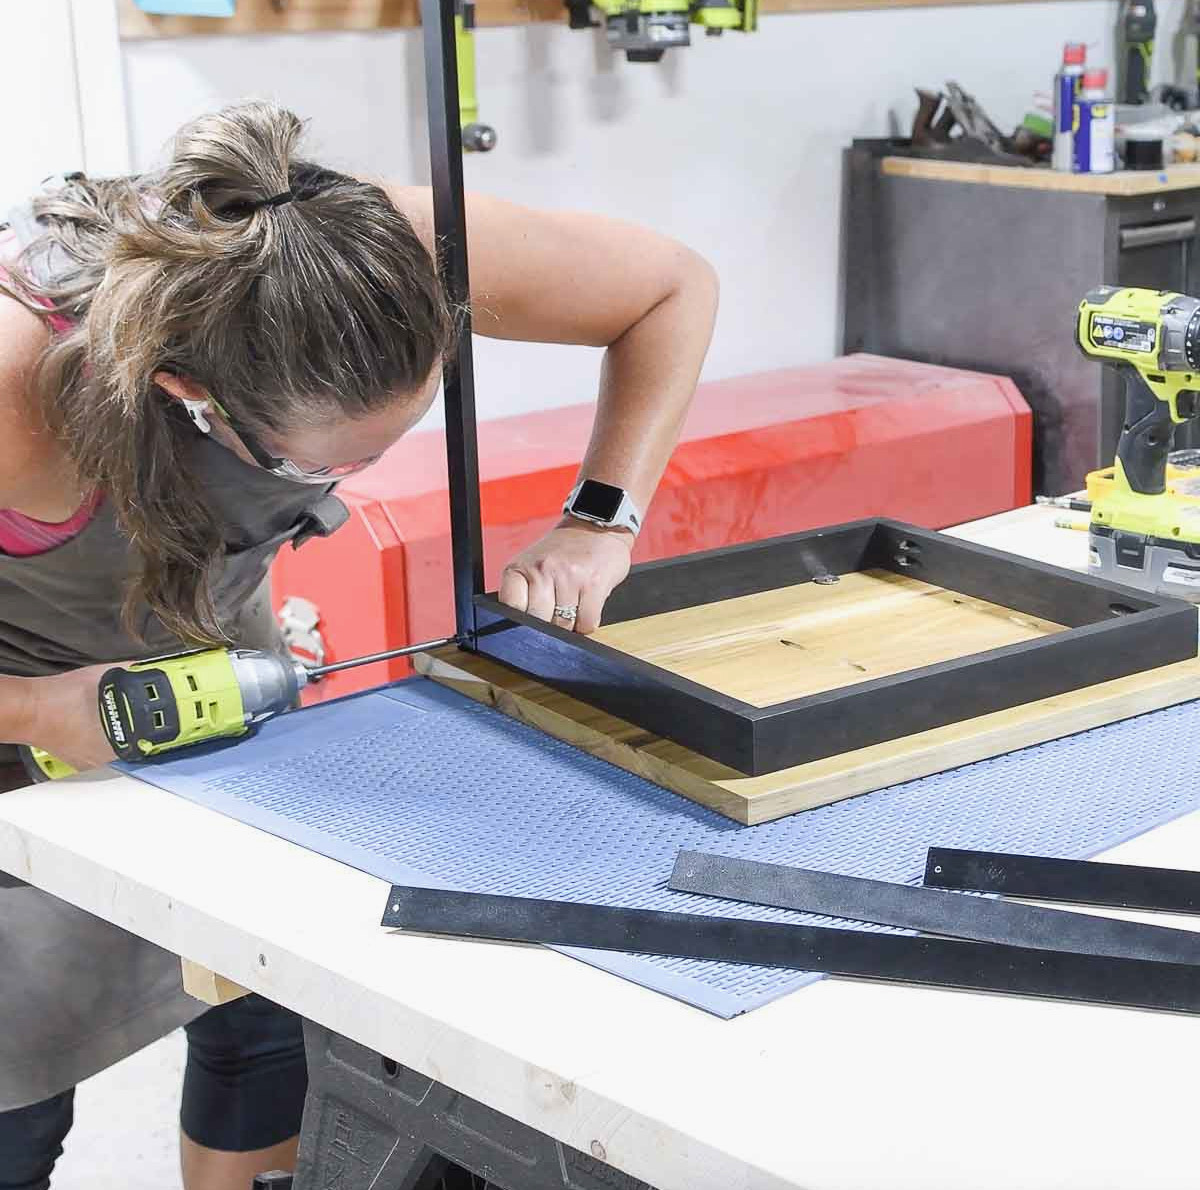
Fasten the leg pieces onto the apron, ensuring they sit flush against the tabletop’s underside.
Use the screws with painted heads to secure them.
Turn the table upside down, then position the shelf between the legs. Fasten it with additional painted screws, keeping it flush with the shelf’s underside.
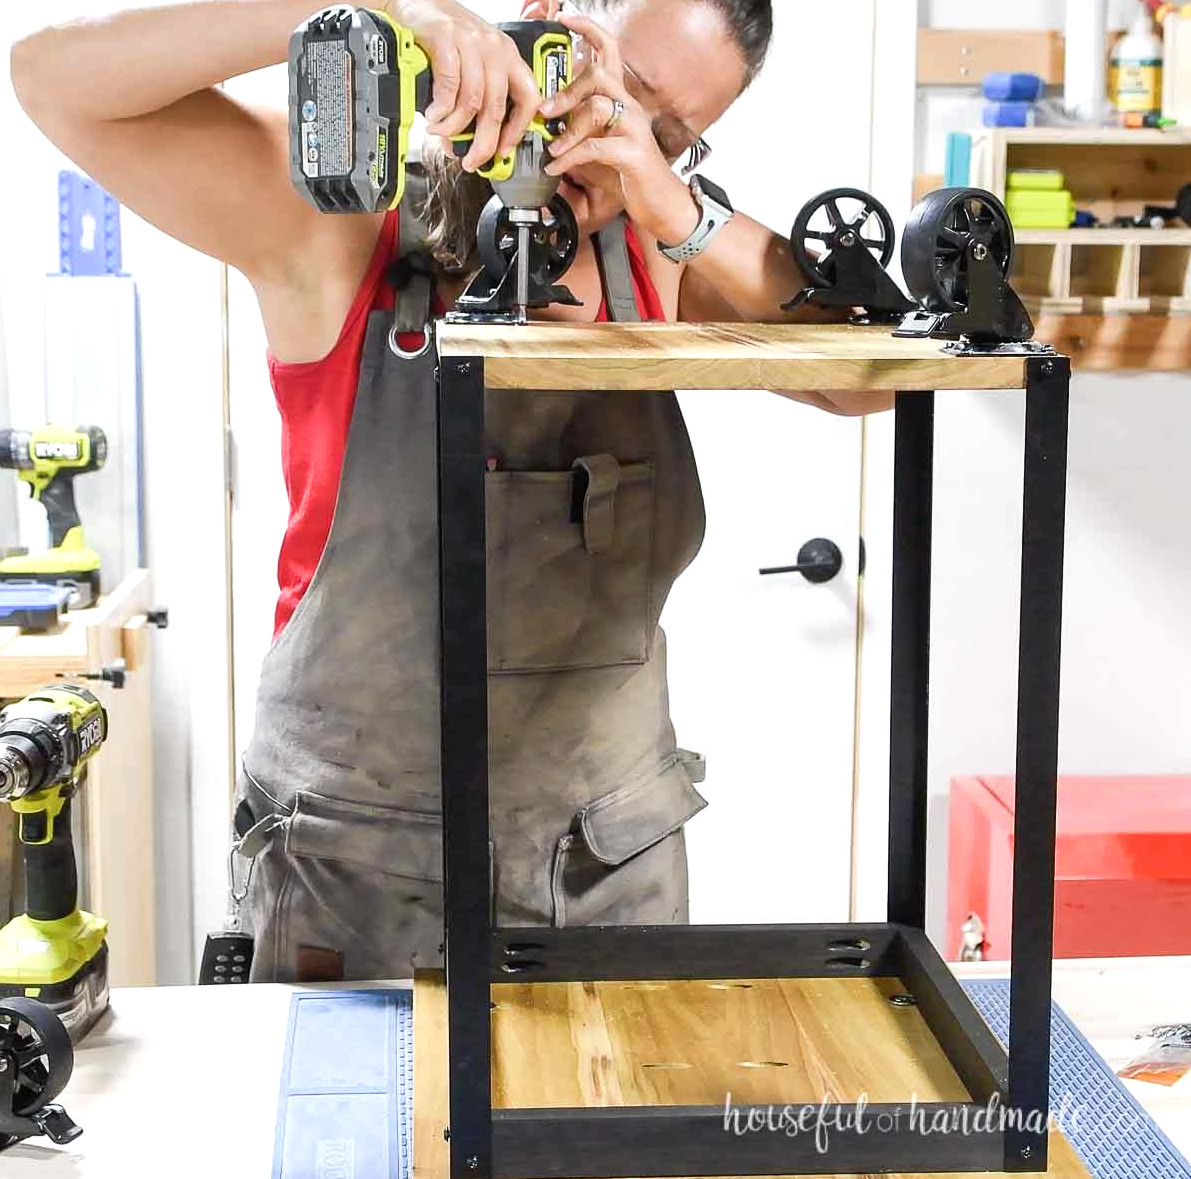
Fasten the wheels beneath the lower shelf.
Use 3/4″ pan head screws to secure them.
That’s it!
Don’t Forget to Grab the Printable PDF Plans Here!
Premium plans include:
- Suggested Tools
- Materials shopping list
- Simple cut list chart
- Cutting diagrams
- Detailed instructions with 3D renderings
- Useful resources
- BONUS: 3D SketchUp file
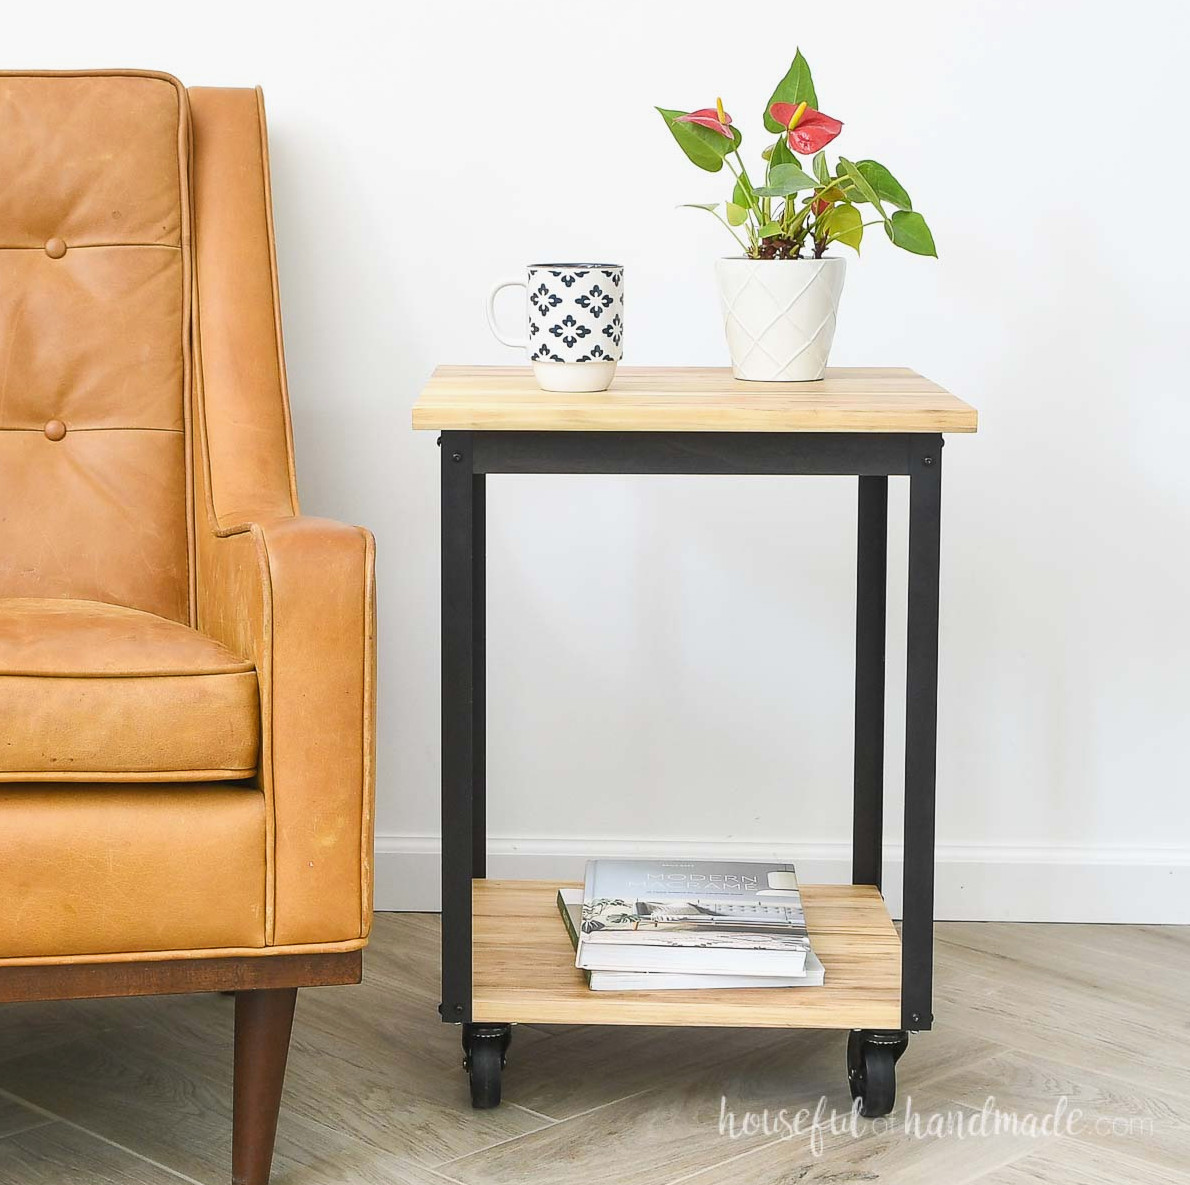
Turn your finished side table upright and take a moment to appreciate your work. This entertaining project is ideal for adding a small table to any room.
The wheels also make it incredibly convenient to move wherever it is needed!
Additional Scrap Wood Projects:
This build belongs to the Scrap Wood Summer series!
Throughout August, Woodshop Diaries and I will introduce a different scrap wood project each week. Rather than spending more, use your leftover scraps to build something new.
Browse the projects you might have missed below, then return next Tuesday for more new builds.
Enjoy building!