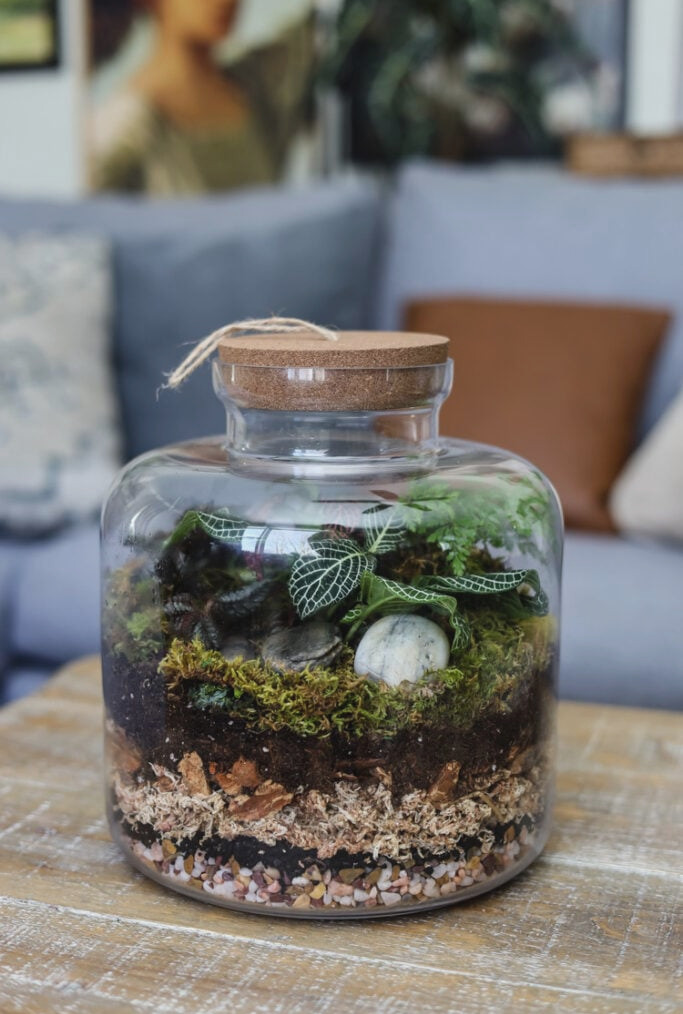
There’s a special kind of wonder in a closed terrarium. Beneath the glass, it becomes a miniature, self-sustaining universe—a living artwork that brings the calm, leafy atmosphere of a forest floor into your home. I’ve always found them captivating, though I’ll be honest—they may feel somewhat daunting at first. Which plants should you choose? What layers are necessary? How can you avoid giving it too much water?
After so many of you asked for terrarium ideas this year, I decided it was finally time to put together the ultimate guide for beginners. I found this beautiful, traditional cylindrical terrarium at Walmart and spent a wonderfully messy morning assembling it. I’m walking you through every step, each layer, and the one easy care tip that turns this into a genuinely “no-fail” project. This was such a fun project to make!
Hi, I’m Jennifer. For me, home is a continual expression of mindful living. As the seasons unfold throughout the New England year, I seek ways to make our spaces more than simply beautiful—they should also feel deeply comforting. I’m delighted you’re here to discover it alongside me.
Creating Closed Terrariums Simply: A Foolproof Guide for Plant Enthusiasts
Today, I’m going to explain precisely which supplies you need for your first closed terrarium, why the layering sequence matters, and which plants are best suited to this setting.
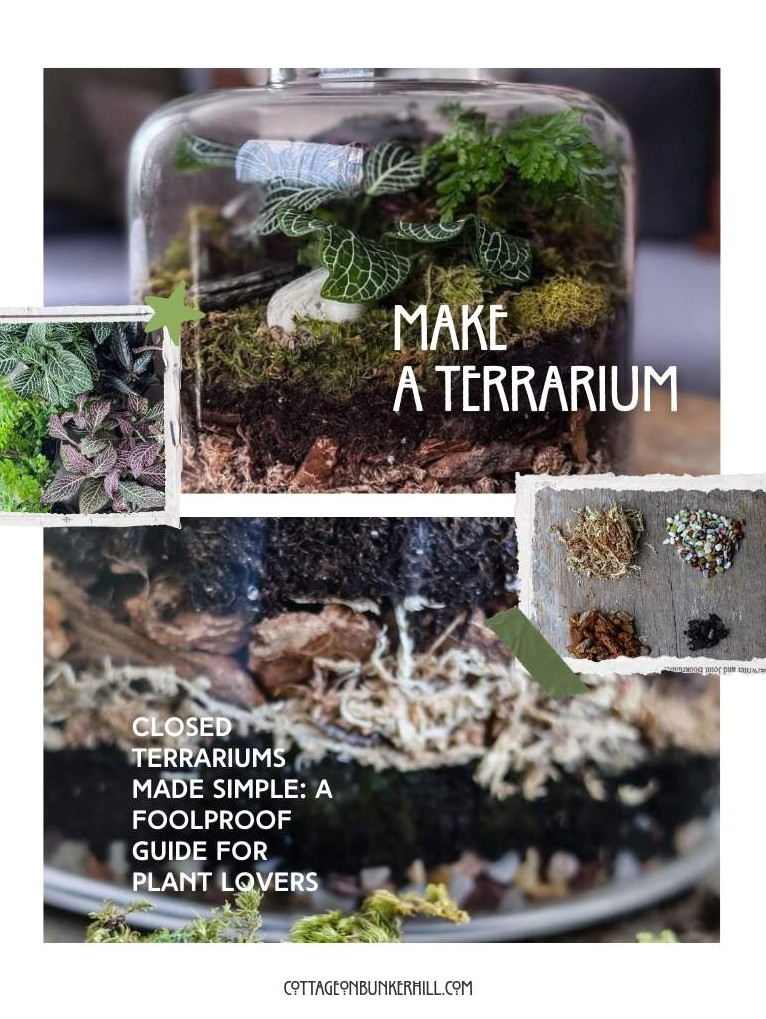
What Makes a Closed Terrarium So Special (and Simple!)
Before we begin, let’s look at why this method works. A closed terrarium functions as a tiny ecosystem. Inside the glass vessel, moisture evaporates, gathers along the glass, and then falls back onto the plants like rain. Once the balance is right, it needs remarkably little upkeep—mostly, you simply get to enjoy looking at it! The secret lies in choosing a proper base and suitable plants.
Collect Your Supplies
These are the items you’ll need to build your first closed terrarium.
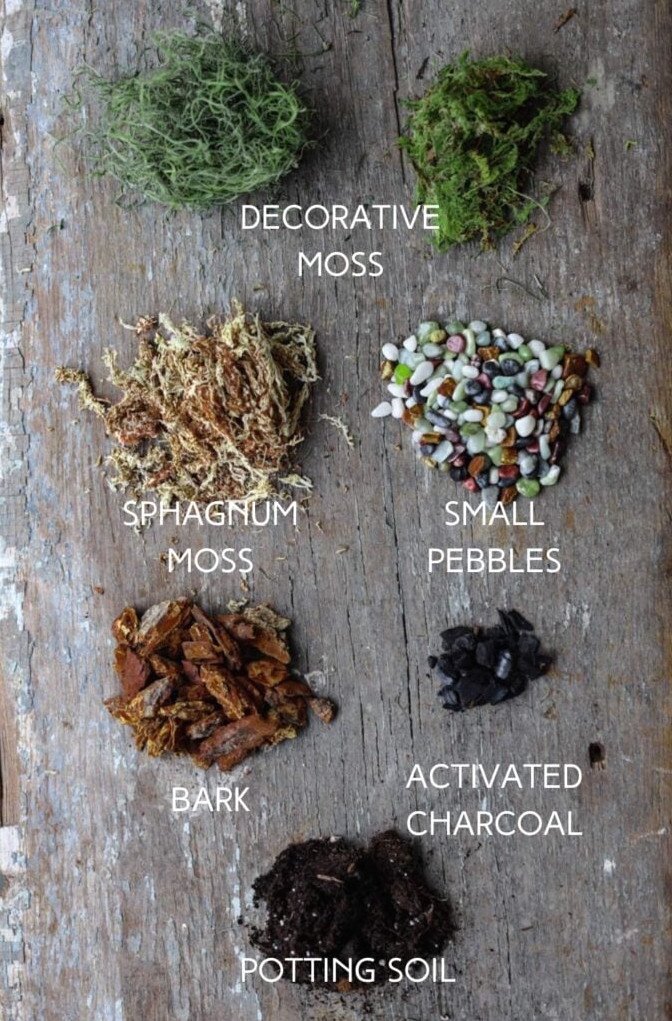
Supplies for This Project
- The Layers (Bottom to Top):
- The Plants:I gathered petite, moisture-loving varieties from Lowe’s. (You’ll find the complete list in the following section!).
- The Tools:A petite trowel, a misting bottle, and… my DIY terrarium tools! (Taking inspiration from a vintage Martha Stewart episode, I made my own using bamboo and old silverware. They aren’t especially attractive, but they worked perfectly!).
- The Decor:Three polished beach stones to serve as a natural centerpiece.
- Helpful Book:

The Main Event: Top Plants for a Closed Terrarium
Not every plant performs well in a moist, enclosed setting.
Choosing appropriate plants is essential. In a closed, humid space, select slow-growing, moisture-loving varieties with compact leaves that won’t quickly exceed the container. I tend to group them into four types: the Colorful Showstoppers, the Lush Carpets, the Delicate Spillers, and the Textural Ferns.
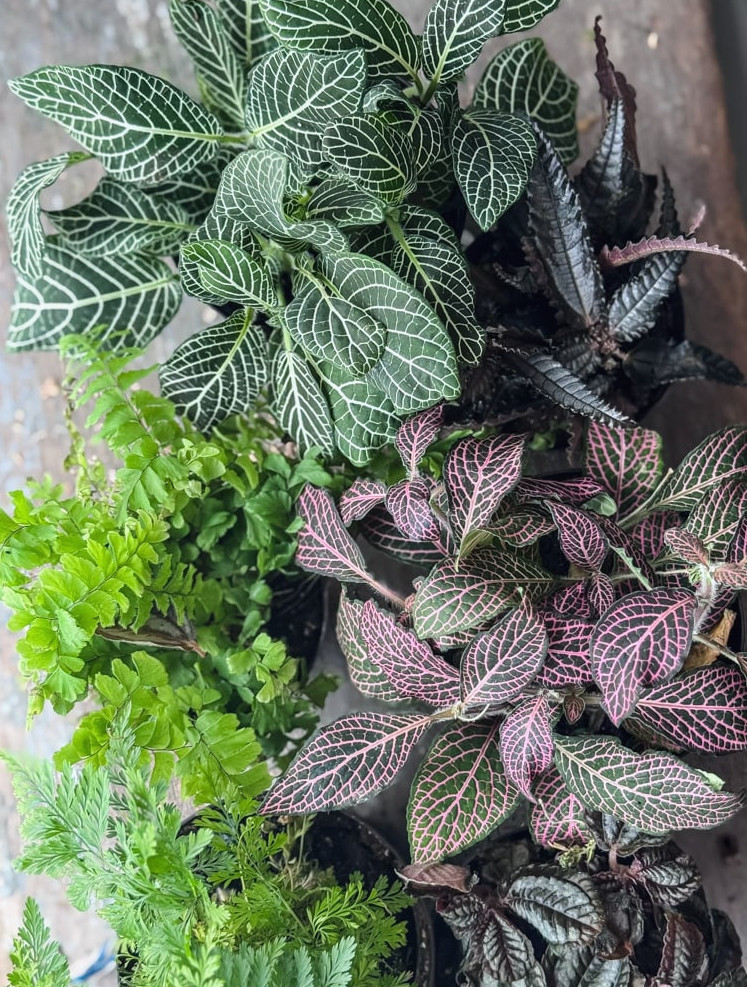
Favorite Choices for Closed Terrariums
For Color and Pattern:
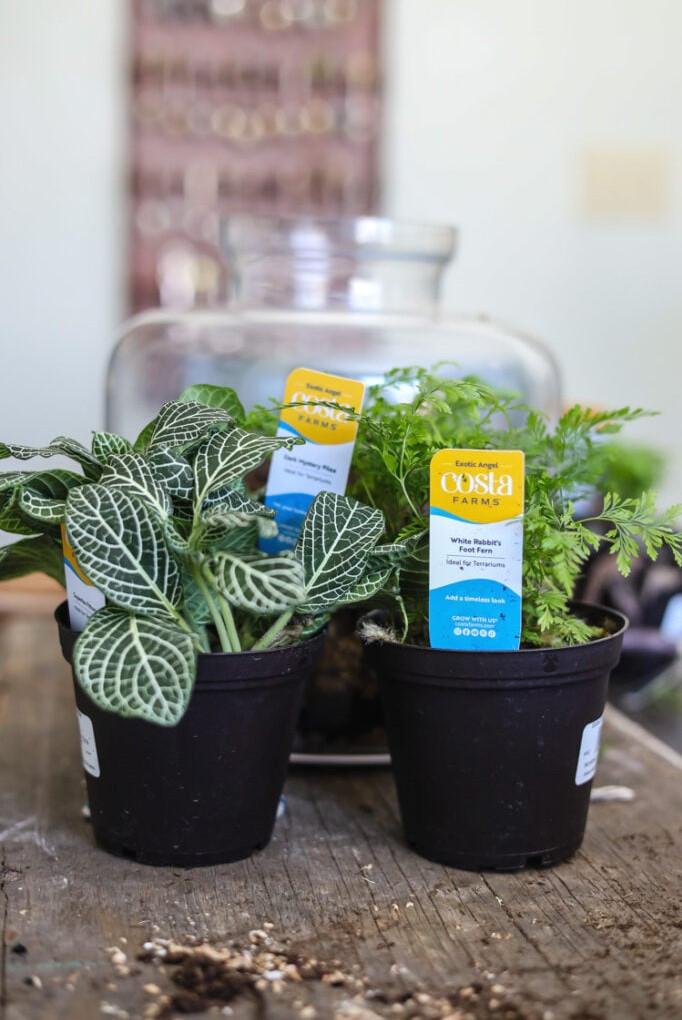
- Nerve Plant (Fittonia): A timeless favorite. Its vivid pink, red, or white veins create a striking contrast against the surrounding greenery.
- Polka Dot Plant (Hypoestes phyllostachya): A wonderful colorful option, featuring spotted foliage in shades of pink, red, or white.
Textured Foliage (Ideal for the Middle Layer)
- Peperomia: With their puckered,striped, or succulent-style leaves, they provide remarkable texture while remaining wonderfully compact.
- Aluminum Plant (Pilea cadierei): Its shimmering, quilted foliage glows in a terrarium’s soft, filtered light.
- Friendship Plant (Pilea involucrata): Features richly textured, bronze-green foliage that seems straight out of a fairy tale.
The Lush Creeping Carpet
- Baby Tears: Creates a thick, vivid green carpet that spreads attractively across soil and stones.
- Creeping Fig: The miniature cultivar is the perfect choice here! Its tiny foliage gradually attaches to the glass or driftwood, producing a charmingly weathered appearance.
- Living Moss (Sheet Moss, Cushion Moss, Fern Moss): This is the secret touch. When pressed onto the soil, it immediately creates a ‘forest floor’.I combined several shades and textures.
The Delicate, Feathery Ferns
- Button Fern: Displays orderly rows of petite, rounded leaflets along dark stems-a very neat and architectural look.
- Maidenhair Fern: Features charming, compact leaflets shaped like little fans,
- Rabbit’s Foot Fern: Recognized for its fuzzy, trailing rhizomes that resemble rabbit’s feet. It brings a lovely, velvety texture.
Here’s the complete list of what I used for my miniature forest:
Step-by-Step Assembly: Creating Your Miniature Ecosystem
This is the stage where the magic unfolds, one deliberate layer at a time. I used this precise method, and watching everything take shape was incredibly rewarding. Let’s construct your terrarium from the foundation upward.
Preparation
Before You Begin:
- Thoroughly wash your glass container so your finished creation remains easy to see!
- Protect your workspace with newspaper
- Collect all the materials you’ll need.
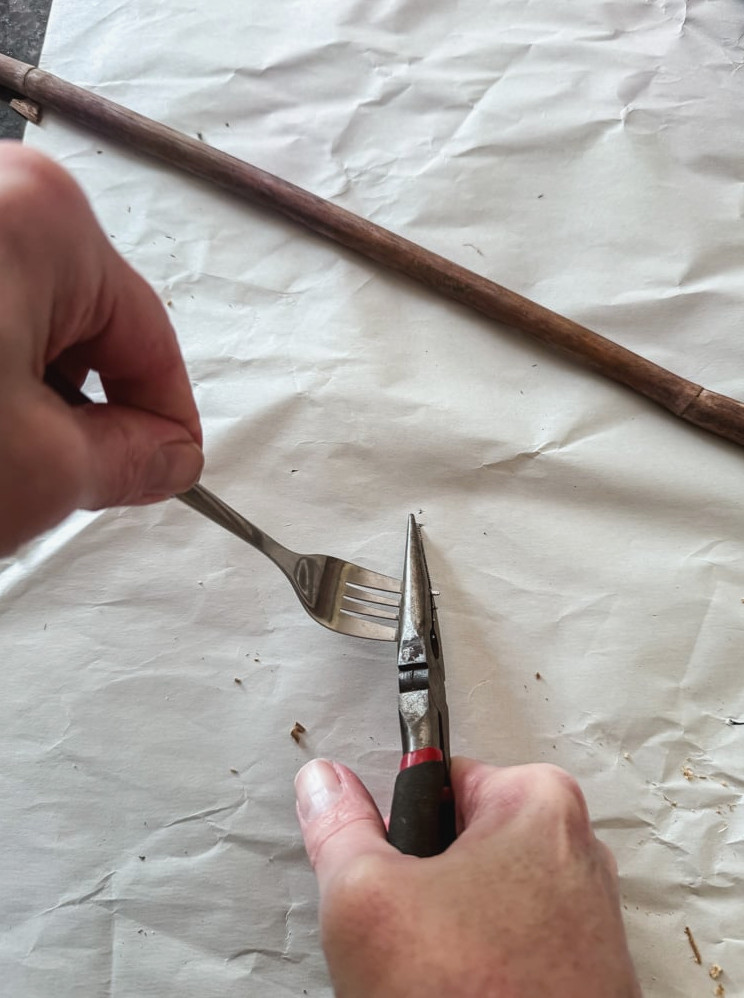
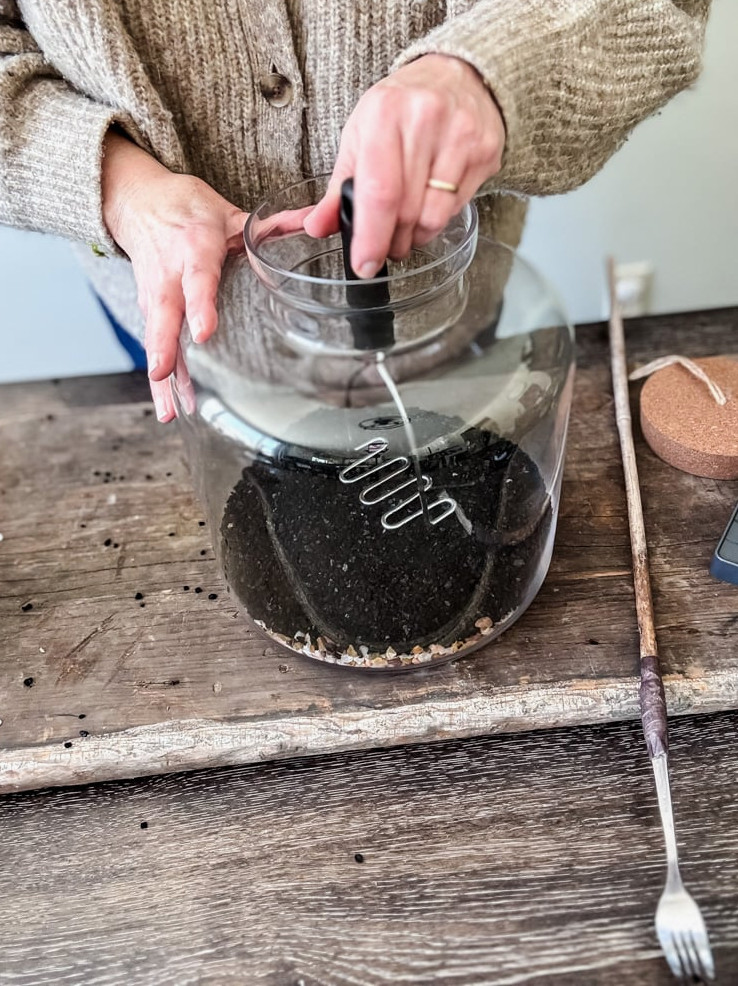
I didn’t want to purchase specialized ‘terrarium tools’, so I made my own after watching a 1990s Martha Stewart Living episode! Using a bamboo garden stake and an inexpensive fork, It may not have looked as polished as Martha’s, but it worked wonderfully for placing plants in narrow areas.
I also picked up a potato masher for pressing down the different layers as I assembled the terrarium. It proves that you don’t need expensive equipment to get started!
Step 1: The Hidden Base (Drainage)
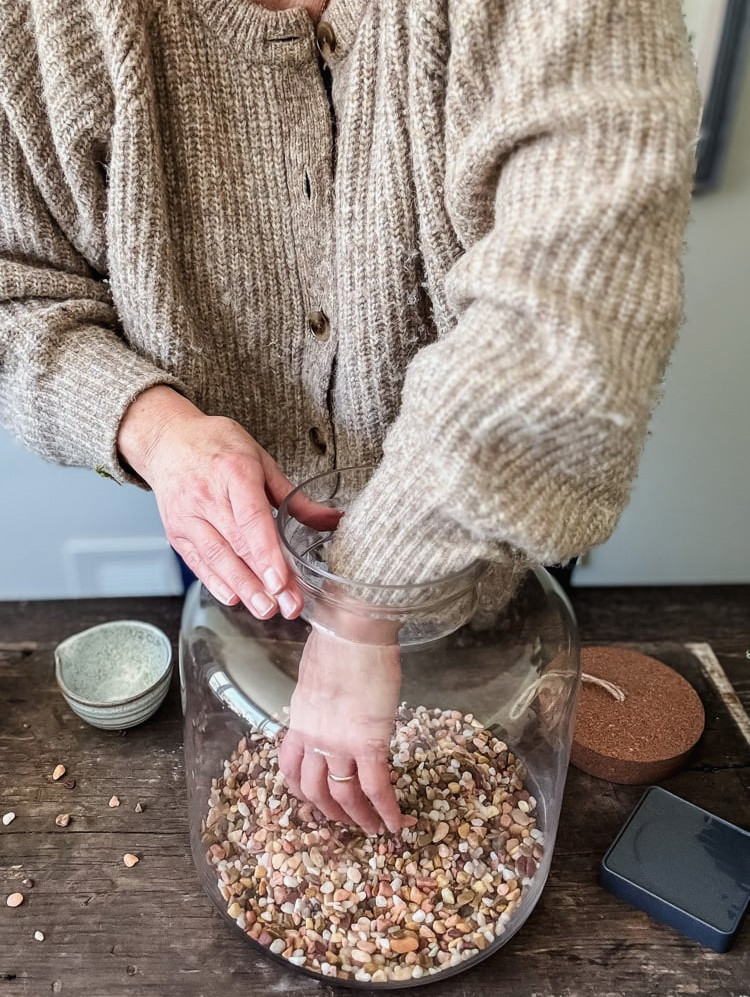
Begin by placing a layer of pebbles or small ornamental stones along the base of your terrarium vessel. Work carefully, particularly if, like mine, the glass is fairly thin.
- What: A 1-2 inch base of neutral river stones or fine aquarium gravel.
- Why: This step is essential. It forms a holding area for surplus water, keeping moisture away from plant roots and stopping the leading terrarium problem: root rot. My Tip: I’m fond of the appearance of sleek, natural pebbles. They create a crisp, refined foundation before we even introduce the first plant.
Step 2: The Purifying Layer
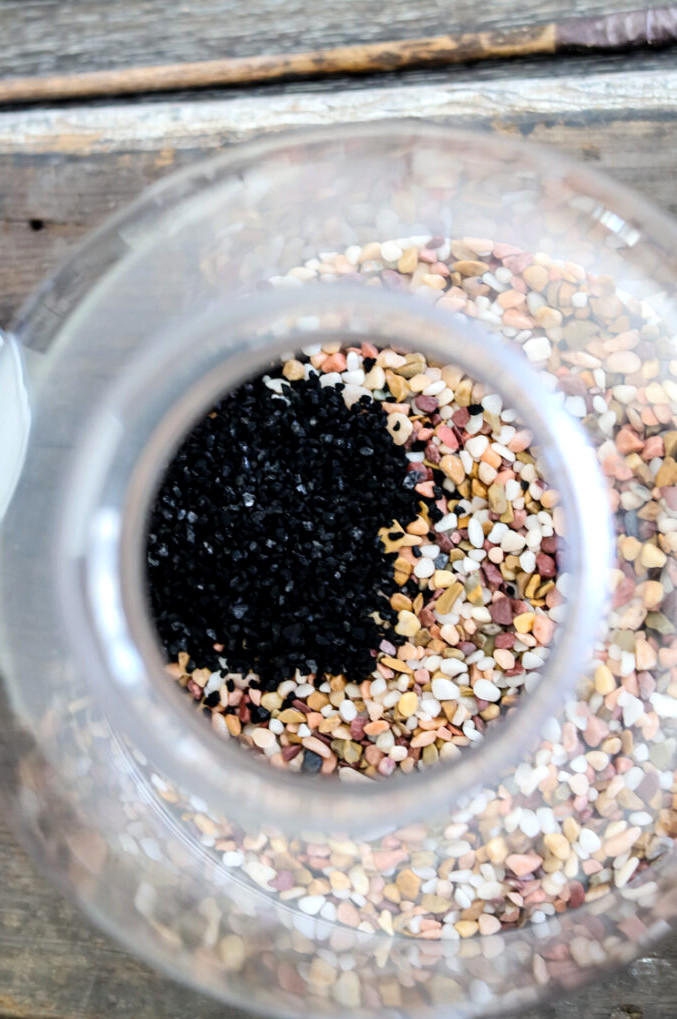
Spread a light layer of horticultural charcoal across the pebbles, then gently press it down.
- What: A smooth, uniform coating of activated charcoal sprinkled over the pebbles.
- Why: This serves as the terrarium’s filtration system. It draws in impurities, maintains fresh water, and helps stop mold and unpleasant smells—it’s the key to a healthy ecosystem that lasts.
Step 3: The Protective Barrier
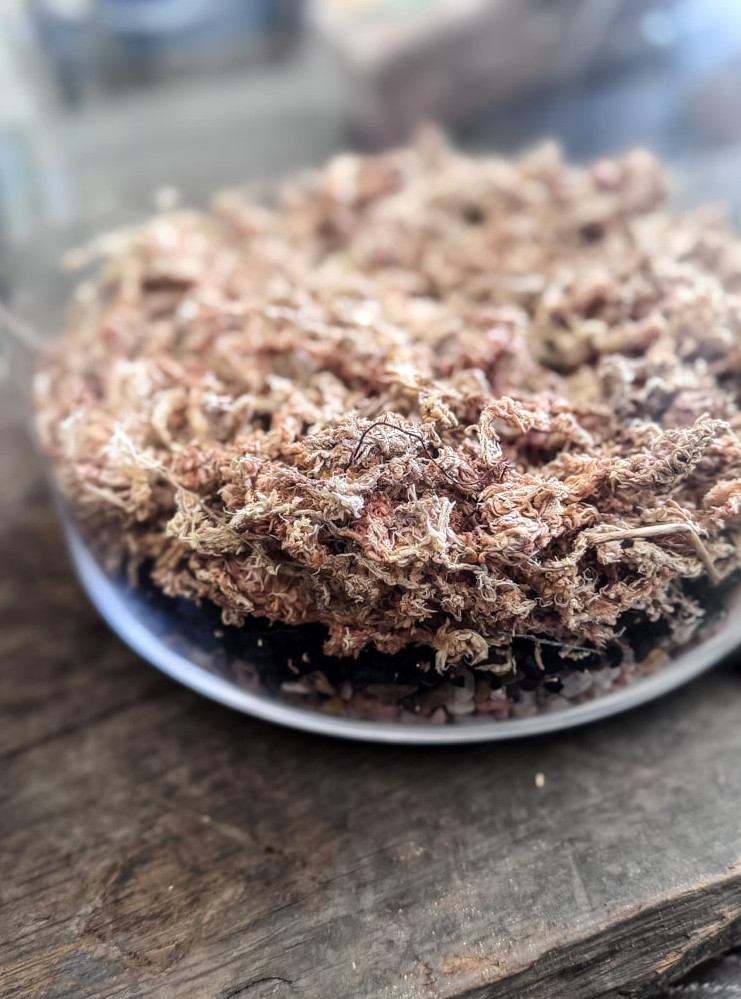
This following layer plays a major role in keeping your terrarium looking neat and orderly! Place sphagnum moss over the gravel and charcoal to stop the potting soil from filtering downward.
- What: A soft, airy layer of sphagnum moss (I’m using orchid moss).
- Why: This clever addition forms a divider that keeps the soil from gradually rinsing into the drainage layer. As a result, every material stays properly arranged.
Step 4: My Textural Twist (Optional but Lovely)
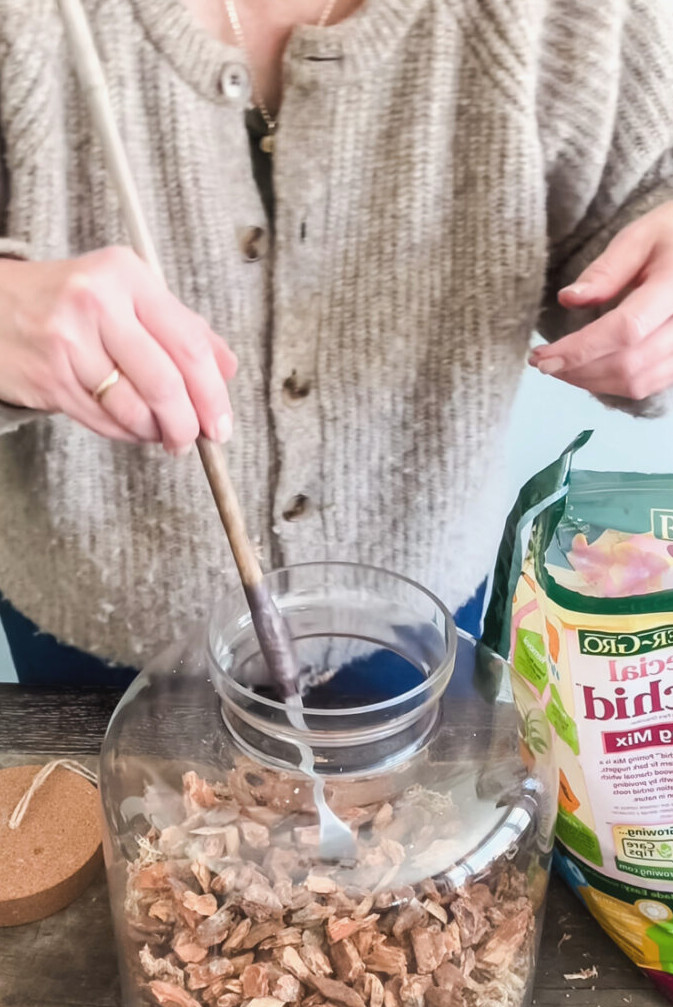
This is the point where I introduced my personal touch. Scattering a handful of chunky orchid bark across the moss improves aeration and creates an incredibly natural, “forest-floor” appearance before the plants go in. It’s optional, though I love the depth it adds.
- What: A small amount of chunky orchid bark distributed over the moss.
- Why: This was my own finishing touch! It creates useful air spaces and delivers that beautiful, natural “forest-floor” texture before the soil is added. The entire arrangement feels more organic because of it.
Step 5: The Heart of It All (Soil)
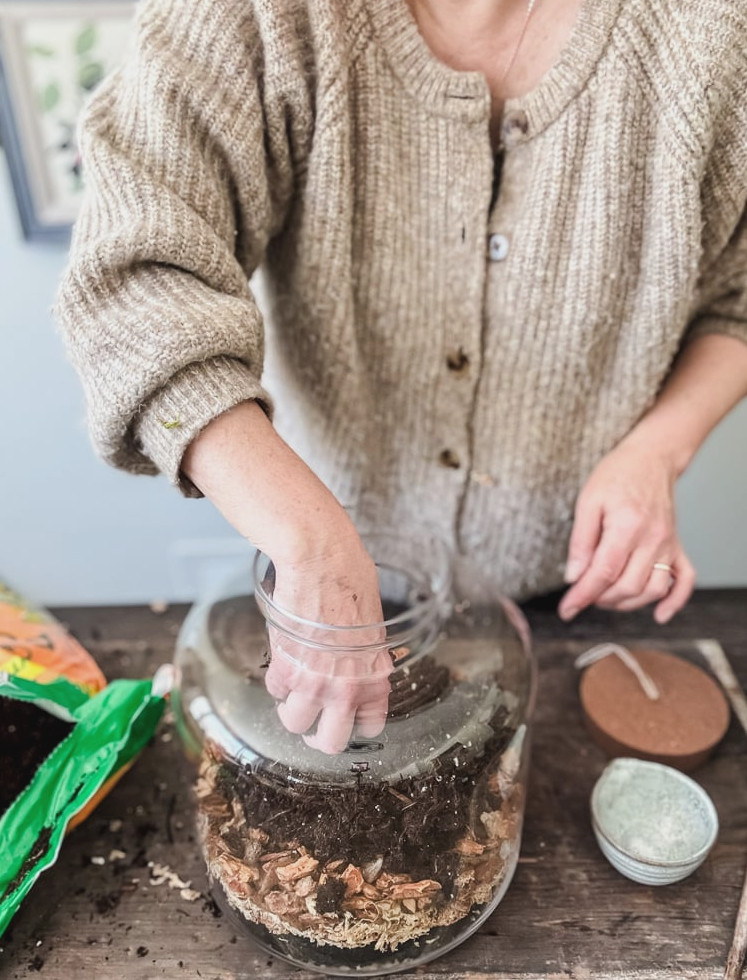
Next, pour in the primary soil layer. Choose a light, fast-draining potting mix—garden soil should never be used because it is overly compact. Add around 2-3 inches, giving small roots sufficient room to establish. Press it gently into a smooth, level landscape.
- What: 2-3 inches of lightweight, well-draining potting mix. Choose a sterile indoor plant or tropical mix—never use heavy garden soil.
- Why:This is your plants’ habitat. It should retain moisture while still promoting air movement. Lightly press it down to form a gentle, undulating surface for planting.
Step 6: The Creative Stage – Planting & Styling
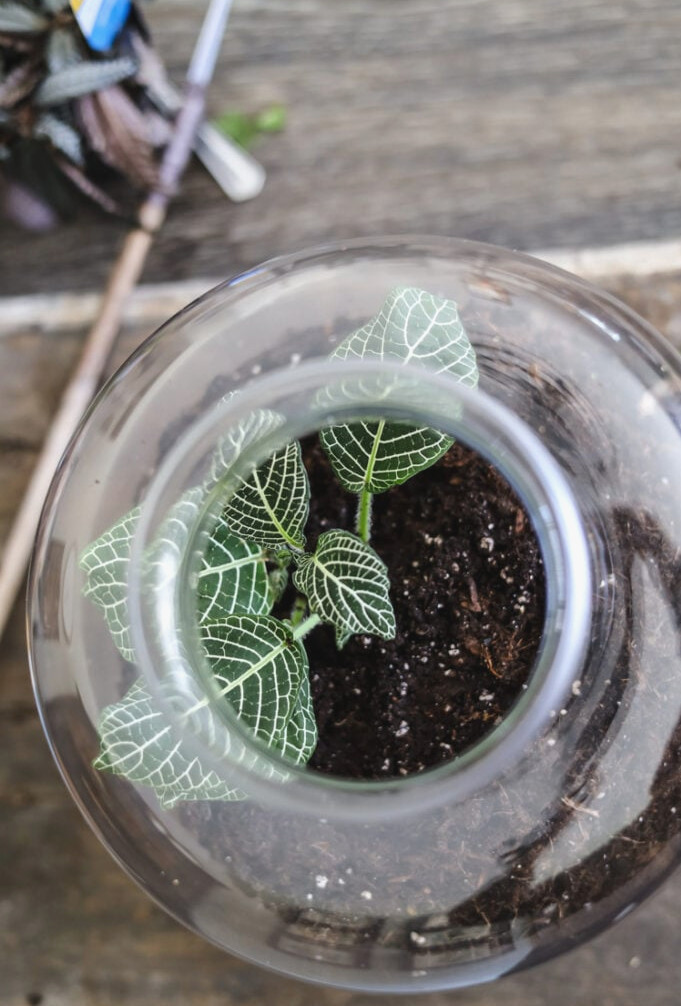
Here, your tiny ecosystem begins to take shape. Take a moment to decide where everything should go before you start planting.
- Arrange Your Design: Experiment with varying heights and textures! I prefer positioning taller features (such as a fern) at the back or in the middle, while allowing trailing plants (Baby Tears, Creeping Fig) to cascade along the edges.
- Plant Gently: Create a small opening using your tool or finger. Carefully take out a plant section, softly separate the roots, and settle it into place. Then use your tools to press the soil firmly around it.
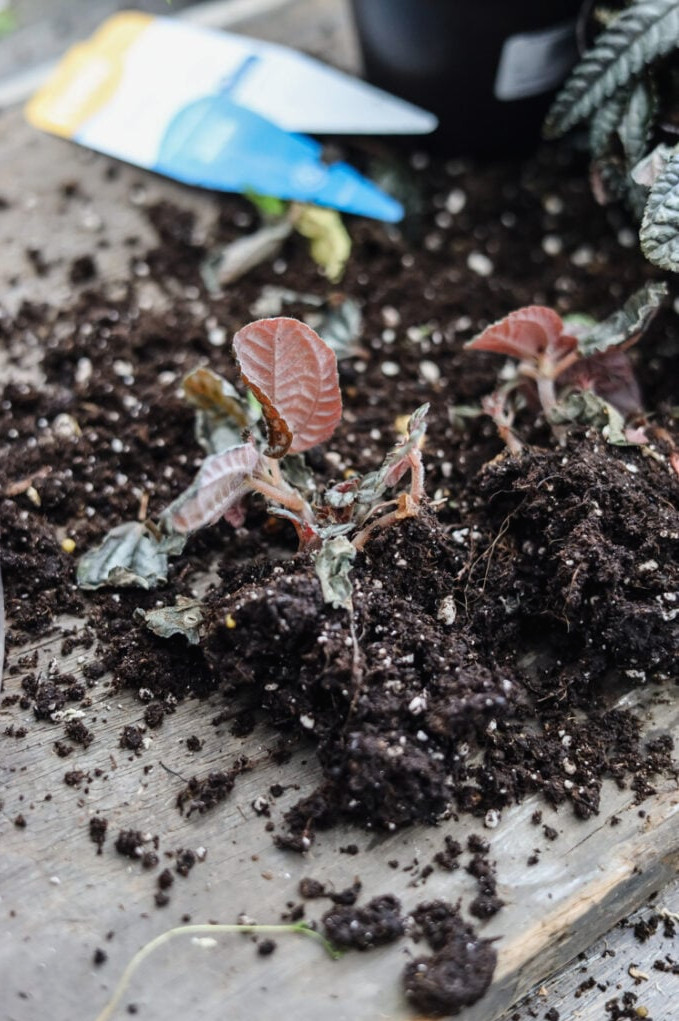
Because standard nursery pots are usually oversized for a terrarium’s scale, I separated each of my plants. The process is easy: ease the plant from its container and carefully pull the roots apart into smaller portions. This helps them sit more naturally within the scene and allows them to expand outward on their own.
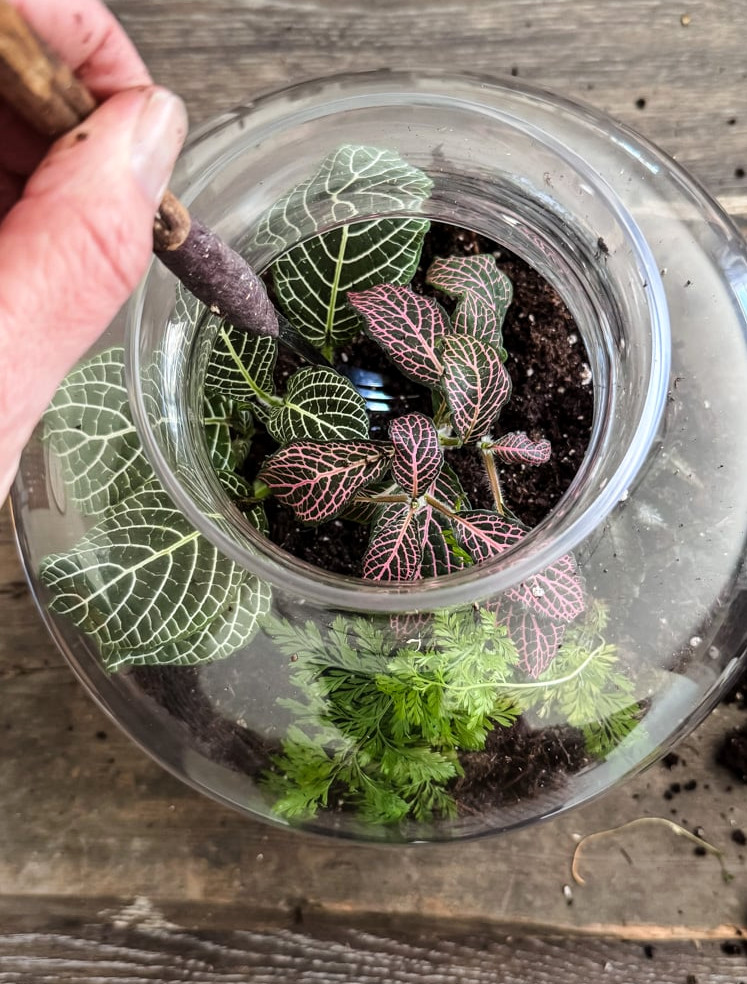
Step 7: The Finishing Details
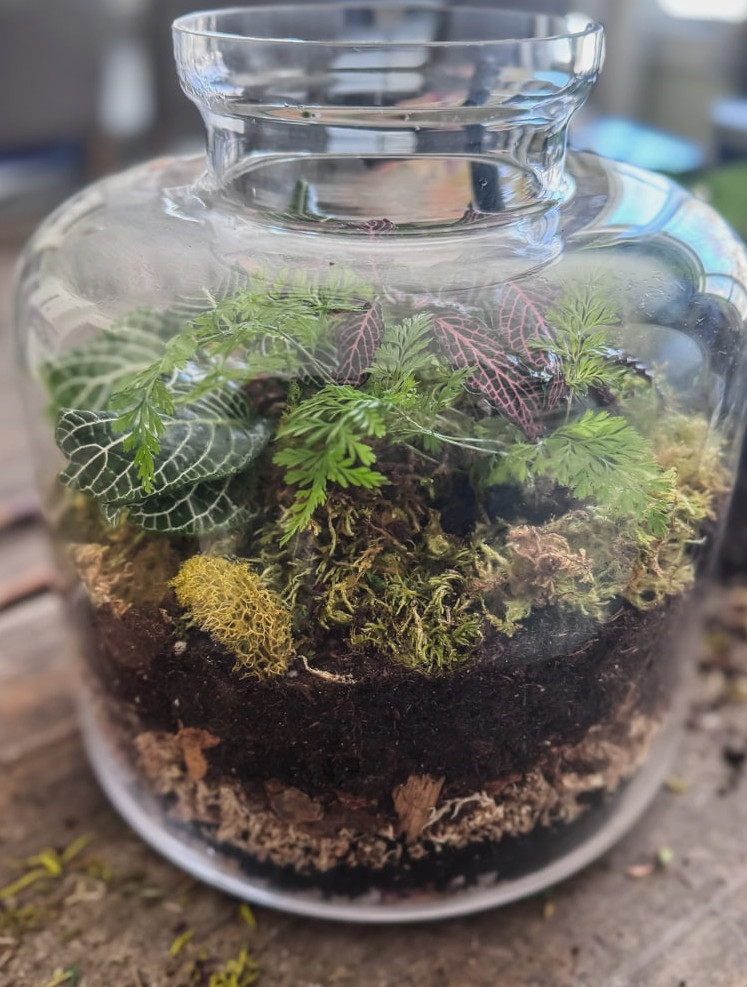
After placing all the plants, hide any visible soil beneath pieces of attractive sheet moss, cushion moss, or fern moss. Gently push them into position. This living layer helps preserve moisture and gives the terrarium an immediate, enchanting, timeworn appearance.
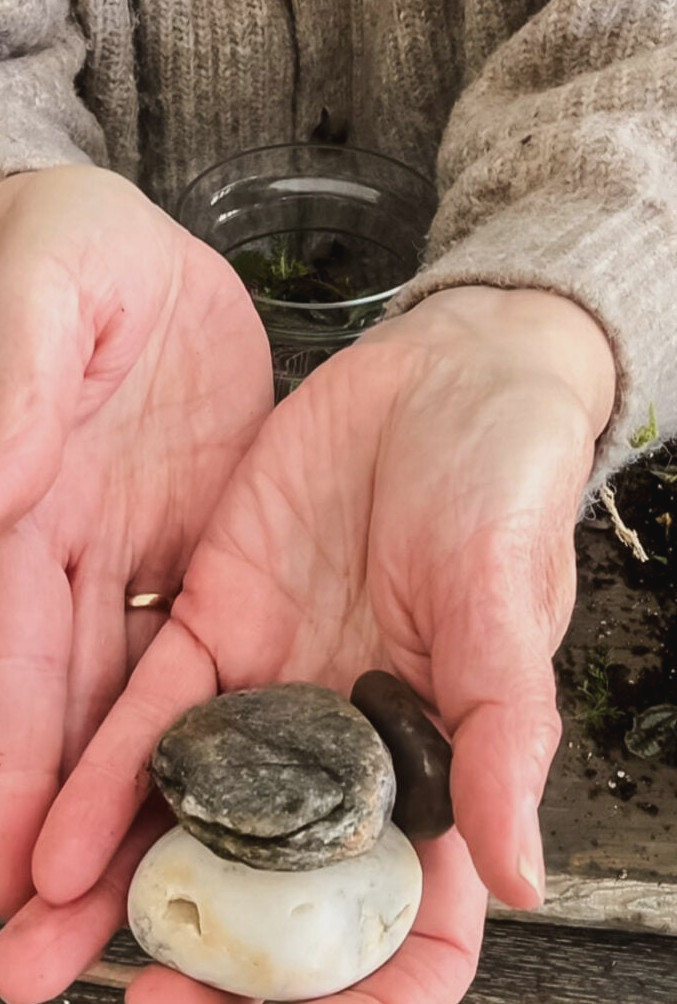
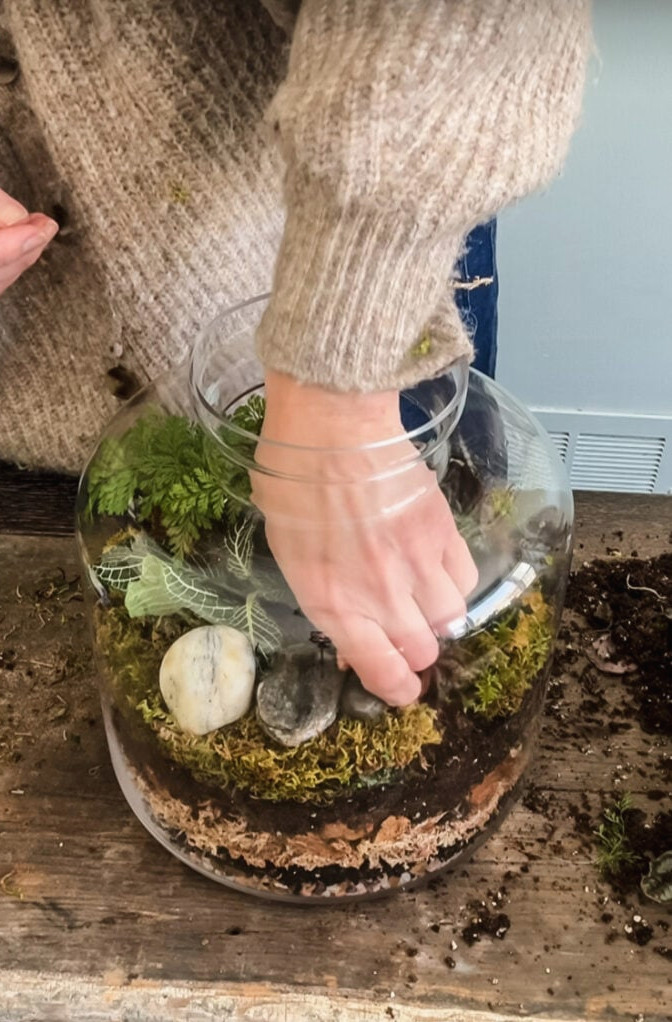
Last Decorative Details: I tucked three polished beach stones into the moss. They provide an organic focal feature and a pleasing sense of visual balance.
Step 8: The Initial Drink & Closing the World
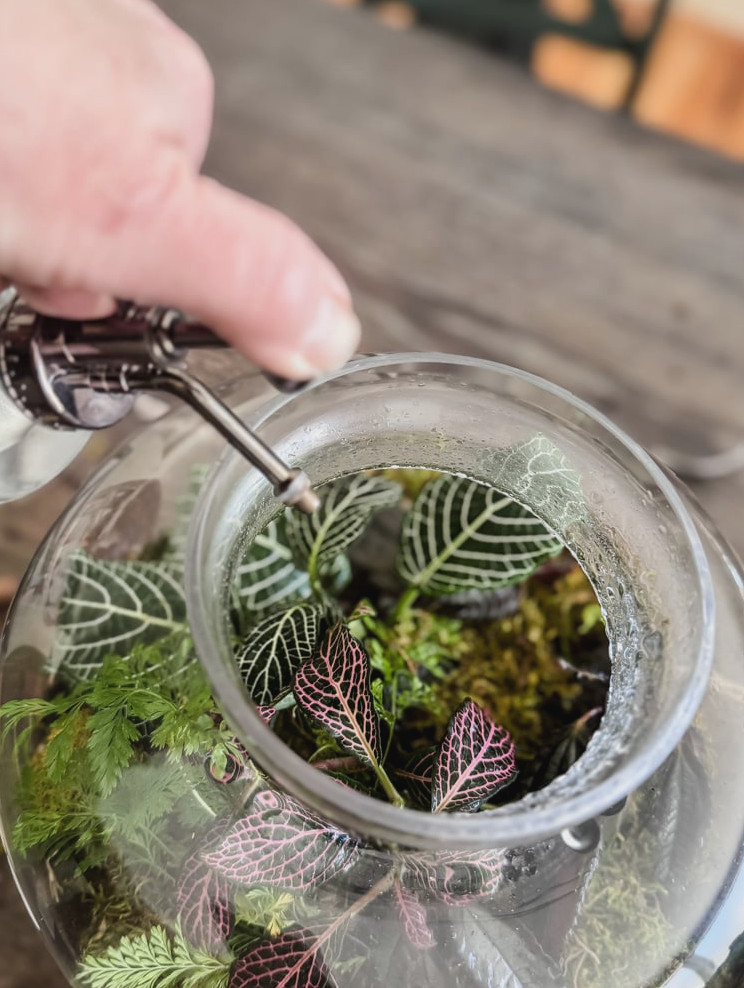
- With a spray bottle, lightly mist the whole terrarium until the soil is clearly damp, like a wrung-out sponge, but never saturated. Picture a gentle layer of morning dew.
- The Crucial Final Step: Before setting the lid in place, take a clean, dry cloth or paper towel and carefully wipe the inside of the glass. This clears away water drops, bits of soil, or moss fragments that may have splattered during planting. Clean glass provides a beautifully clear view of your miniature ecosystem.
- Next, put the lid on.
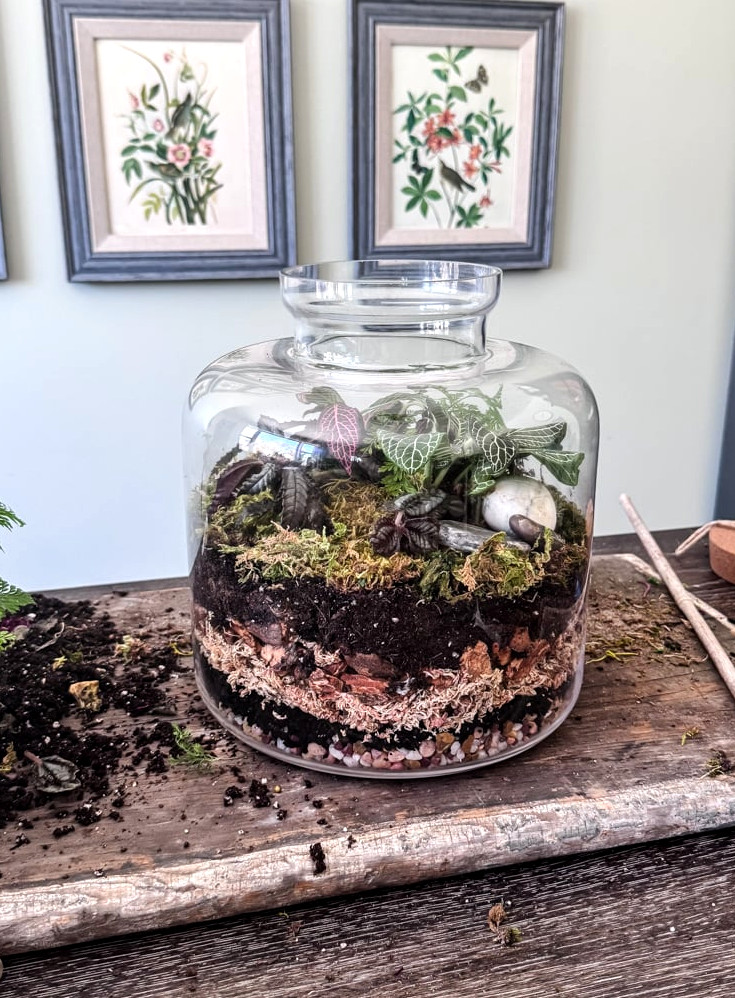
Observe the Wonder: After a few hours, a fine layer of condensation should begin to appear on the glass. This means your little world is breathing—the water cycle is underway! It confirms that you assembled everything properly.
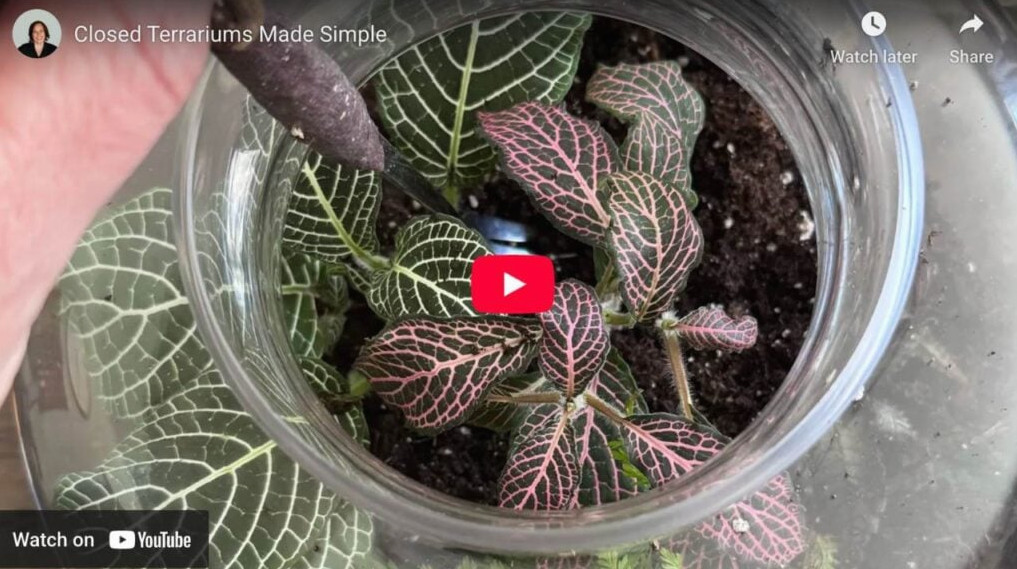
watch my video guide!
The Essential Care Rule & Easy Troubleshooting
A properly built closed terrarium is wonderfully uncomplicated. After it settles in, it requires very little attention. Observation is your primary responsibility.
The Main Golden Rule:
When condensation appears on the glass for part of the day, leave everything alone. Your ecosystem is cycling as it should. Add water only when the glass stays entirely clear for several consecutive days. At that point, pour just a teaspoon or two of distilled or filtered water onto the soil. Too much water is the only genuine way to ruin it.
The Full Care Quick Guide:
- Light: Bright, indirect illumination works best. An east-facing windowsill or a location a few feet away from a south- or west-facing window is ideal. Avoid direct, intense sunlight completely, as it can overheat your plants.
- Watering: Use the Golden Rule above. In this case, less is always, always better.
- Pruning: With long scissors or tweezers, trim leaves touching the glass and plants that have exceeded their available space. This promotes fuller growth and helps prevent rot caused by leaves contacting condensation.
- Feeding: Don’t. Fertilizer encourages quick, stretched growth that interferes with the miniature ecosystem.
Solving Problems in Your Tiny Ecosystem
Even with an excellent setup, occasional minor corrections may be necessary. Here’s how to interpret what your terrarium is telling you:
Helpful troubleshooting advice
- Problem: Persistent Thick Fog or Water Collecting at the Bottom.
- Cause:Excess moisture.
- Fix:Justtake off the lidfor 24-48 hours so the extra moisture can evaporate. Put the lid back on afterward. The terrarium should then cycle normally.
- Problem: No Condensation at All, Plants Appear Dry.
- Cause: Insufficient moisture or an inadequate seal.
- Fix: Pour 2-3 teaspoons of water into the soil. Check that the lid closes securely. If it does not create a seal, as with a cork, you may need to mist lightly each week.
- Problem: White Mold on Soil or Wood.
- Cause: Frequently seen in fresh terrariums; it is generally harmless fungal growth caused by too much organic material.
- Fix: 1.) Remove the visible mold by scraping it away. 2.) Improve air movement by leaving the lid
lid off for a few hours daily over the course of a week. 3.) Confirm it isn’t placed in a shadowy corner; bright, filtered light is beneficial.
- Cause: Excess water and/or poor drainage.
- Fix: Remove the affected plant and all decayed material right away. Keep the lid open for several days so the terrarium can dry out thoroughly. If the issue has spread extensively, you may have to begin again.
- Cause: Inadequate lighting.
- Fix: Slowly relocate the terrarium to a more brightly lit spot (though avoid direct sunlight)