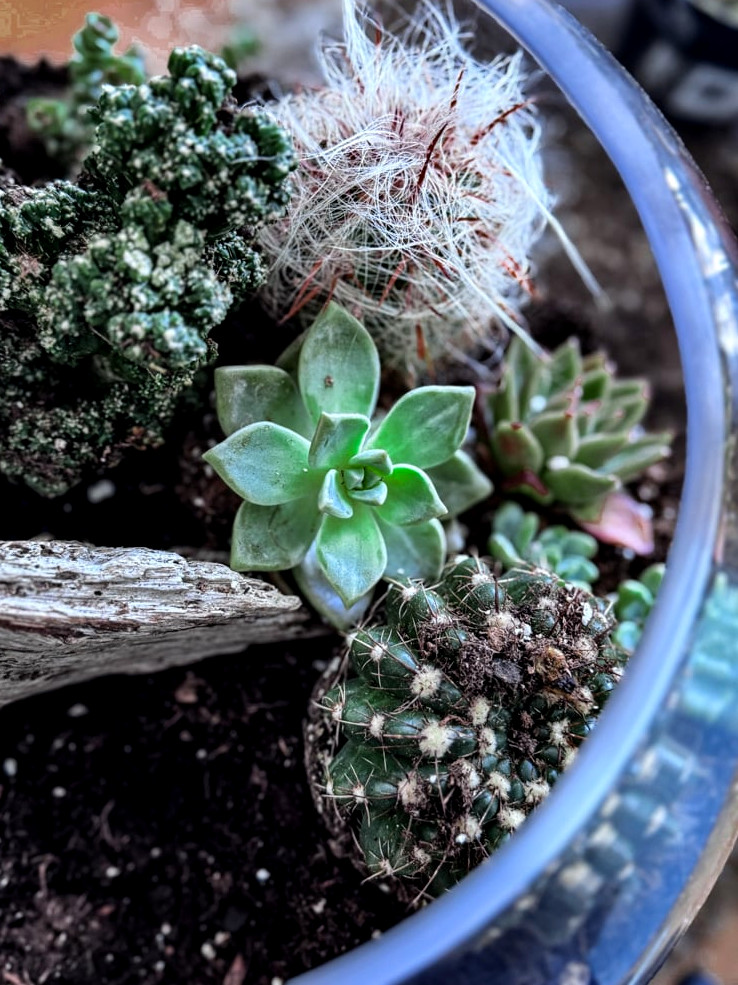
If a closed terrarium resembles a damp, hidden woodland, this project is a luminous, stone-filled desert scene displayed in a bowl. After so many of you requested additional succulent projects, I realized I needed to make the ultimate guide to anopen terrarium dish garden-theproperway.
The main distinction?Drainage and ventilation.Succulents and cacti cannot tolerate “wet feet,” so we’re creating an environment where all excess moisture can drain away. Today, I’m working with a beautiful, extra-large 12-inch bubble bowl to make a spacious, striking arrangement. I’ll show you the unique layering method, explain how to work safely with thorny plants, and share my technique for planting inside a deep, curved container.
Hello, I’m Jennifer. I see home as a continual expression of purposeful living. As the seasons move through the New England year, I search for ways to make our surroundings not only attractive, but genuinely comforting. I’m delighted that you’re here to discover it alongside me.
What Are Succulents, Exactly
You can think of succulents as the natural world’s most resourceful stockpilers. These plants developed ways to endure dry regions by retaining moisture in their thick, fleshy leaves, stems, or roots. Cacti belong to the succulent family, although not every succulent is a cactus. Most cacti grow spines rather than leaves and are particularly suited to parched conditions. Thanks to their ability to conserve water, succulents and cacti both favor quick-draining soil, sparse watering, and plenty of light, which makes them ideal for open terrariums such as this one.
Collecting Your Supplies
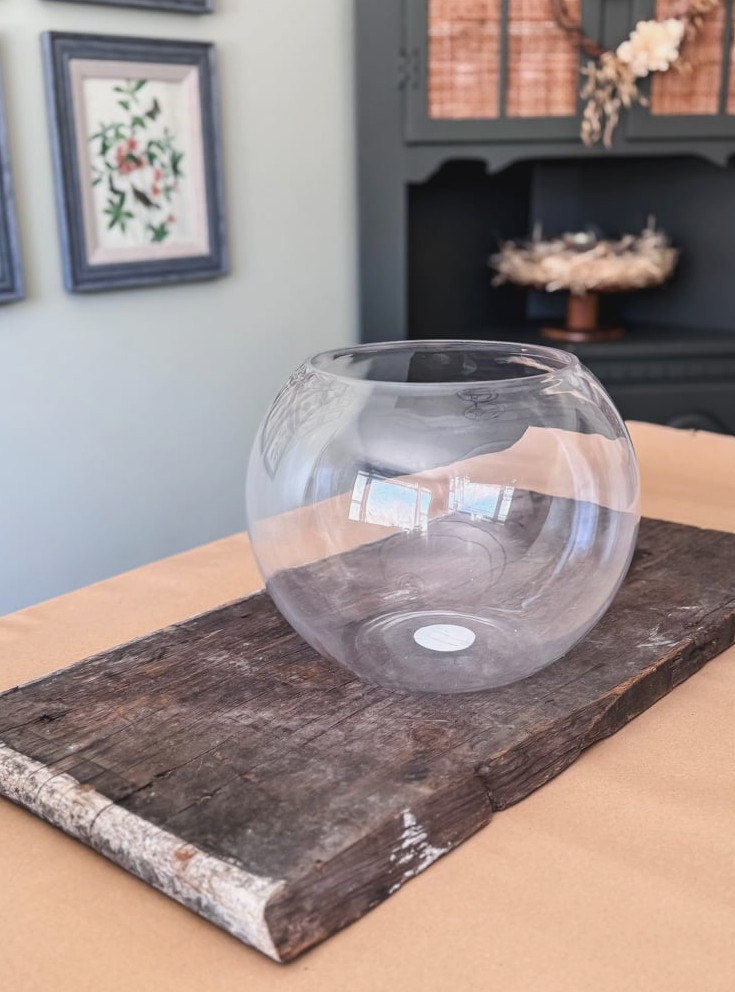
One of the best things about an open succulent terrarium is how adaptable it can be. There’s no need for an elaborate vessel-just choose an uncovered glass bowl or container that allows air to move through and surplus moisture to leave. I’m using a roomy 12-inch bubble bowl today, though an old glass fishbowl, a broad-necked vase, or even a retro ceramic dish would work just as well. Provided it is open and deep enough for several layers, it should be a lovely choice!
Next come the essentials. All thriving succulent gardens begin with two key components: drainage pebbles and coarse, quick-draining soil made for succulents. These form the base. The remaining elements can be added afterward.
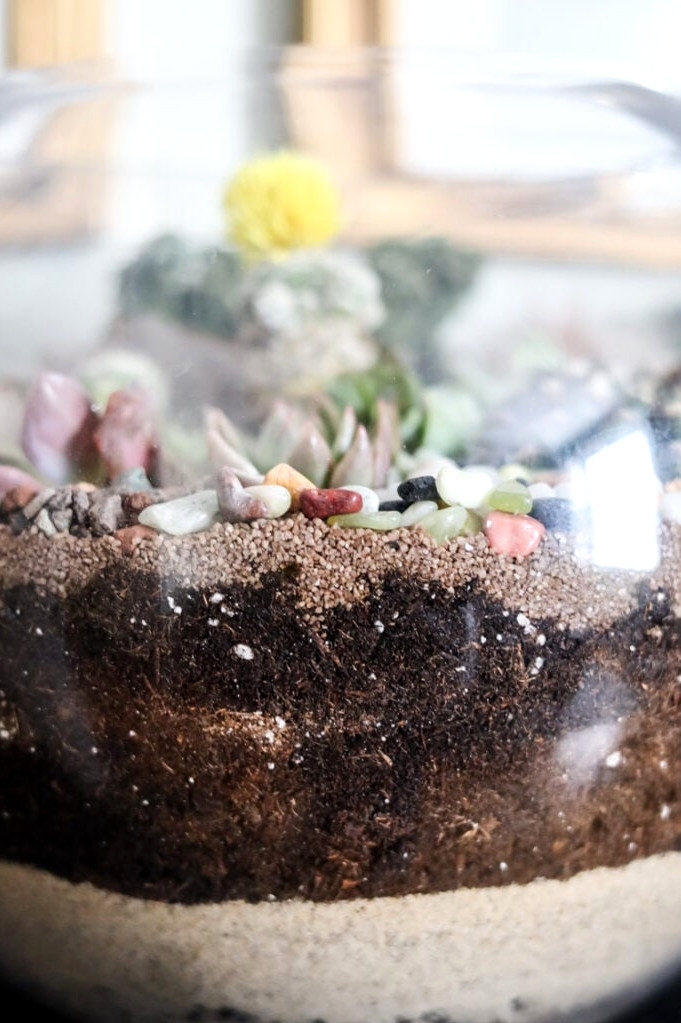
I strongly suggest placing a layer of coarse sand between the pebbles and the soil as well. This serves more than an ornamental purpose-it creates a dividing layer that keeps soil from trickling downward and blocking the drainage beneath. Consider it nature’s sieve, holding each material where it belongs while helping water move easily away from the delicate roots. It’s a minor addition that can greatly support your plants’ lasting health.
Once those fundamentals are ready, you can personalize the rest-the bowl’s dimensions, the plant combination, and the decorative finishing touches. Here’s a closer look at everything I selected for this arrangement.
Supplies for this Project
- The Container: A spacious, uncovered bubble bowl (12″ wide offers plenty of room).
- The Practical Layers:
- The Plants: An assortment of forms, heights, and surface details. Consider: one tall column cactus, several rosette-shaped echeverias, and a few trailing sedums. (I purchased these succulents)
- The Decorations: A section of driftwood for added form, along with decorative sand and pebbles for the upper dressing.
- The Equipment: Hand trowel, chopstick or extended spoon, misting bottle, and sturdy protective gloves!
- Useful Books:

The Process: Creating Proper Drainage
Let’s begin assembling everything! I’m taking you through the fundamentals
Step 1: Establishing the Drainage Base
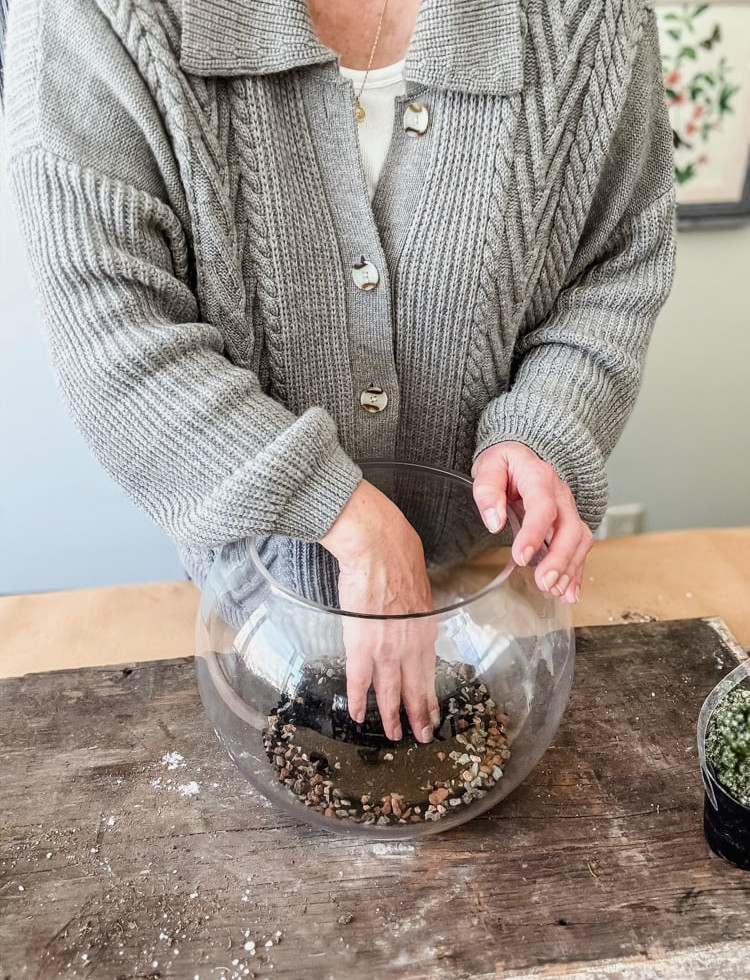
Cover the base of your bowl with a substantial layer of lava-rock pebbles (or another variety of small stones). This step is essential and helps stop root rot before it begins.
Step 2: The Cleaner
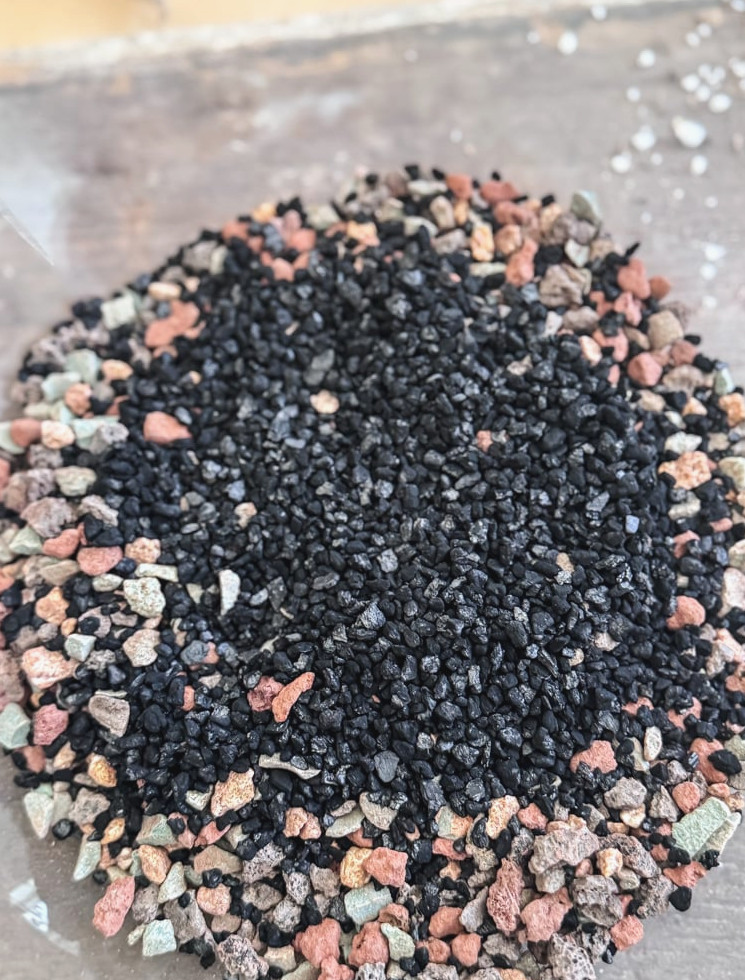
Next, distribute a thin, uniform coating of activated charcoal across the pebbles. Although this step may seem easy to overlook, it’s among the wisest choices you can make for a terrarium that lasts.
Why it matters: Charcoal acts as a natural purifier. It draws in impurities, inhibits bacterial growth, and stops the soil from becoming stale or acquiring that dreaded “swampy” odor. In an open container like this, it isn’t as essential as it would be in a closed terrarium, but I still never leave it out. Consider it a small safeguard for a clean, healthy environment around the roots.
A delicate sprinkling is enough. You’re not making a campfire-just preparing a fresh base where your plants can flourish!
Step 3: The Divider
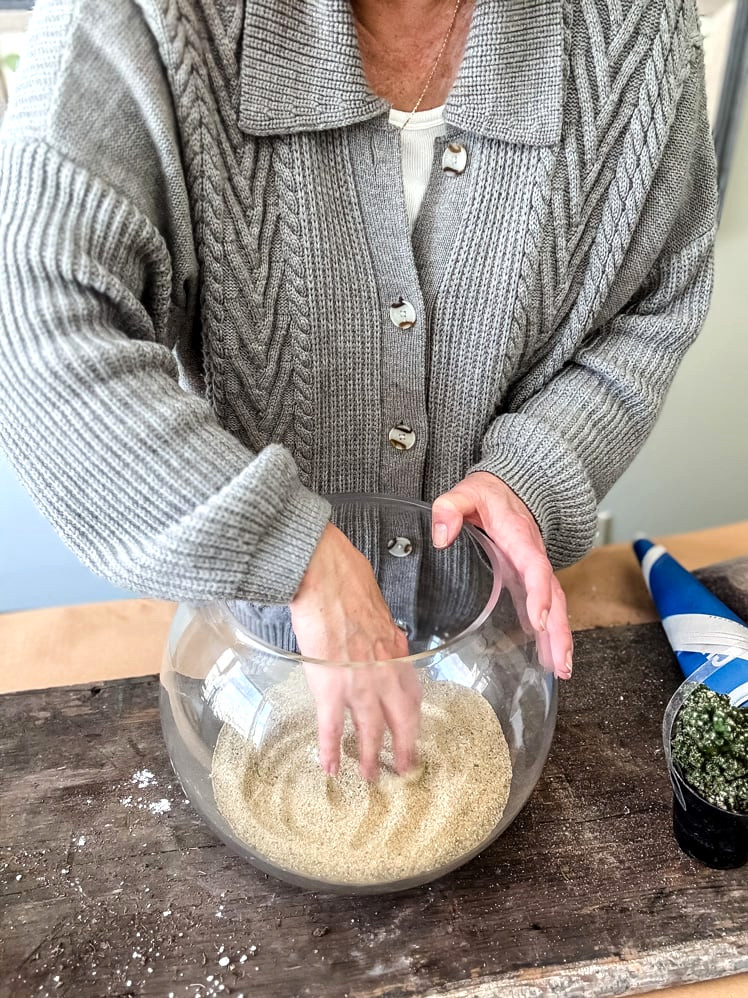
Next, spread a substantial layer of coarse horticultural sand over the charcoal. I know-another layer! Yet this one serves an important purpose beneath the surface.
Why it matters: Picture the sand as the doorman of a highly exclusive club. It prevents your fine potting soil from filtering downward and settling among the pebbles beneath. Without this divider, water flow becomes obstructed, turning your carefully arranged base into a muddy tangle. The sand keeps each layer organized while still letting water drain freely.
It also contributes a beautiful, earthy texture when seen through the side of a transparent glass bowl. Practical and attractive.
Step 4: The Textured Base
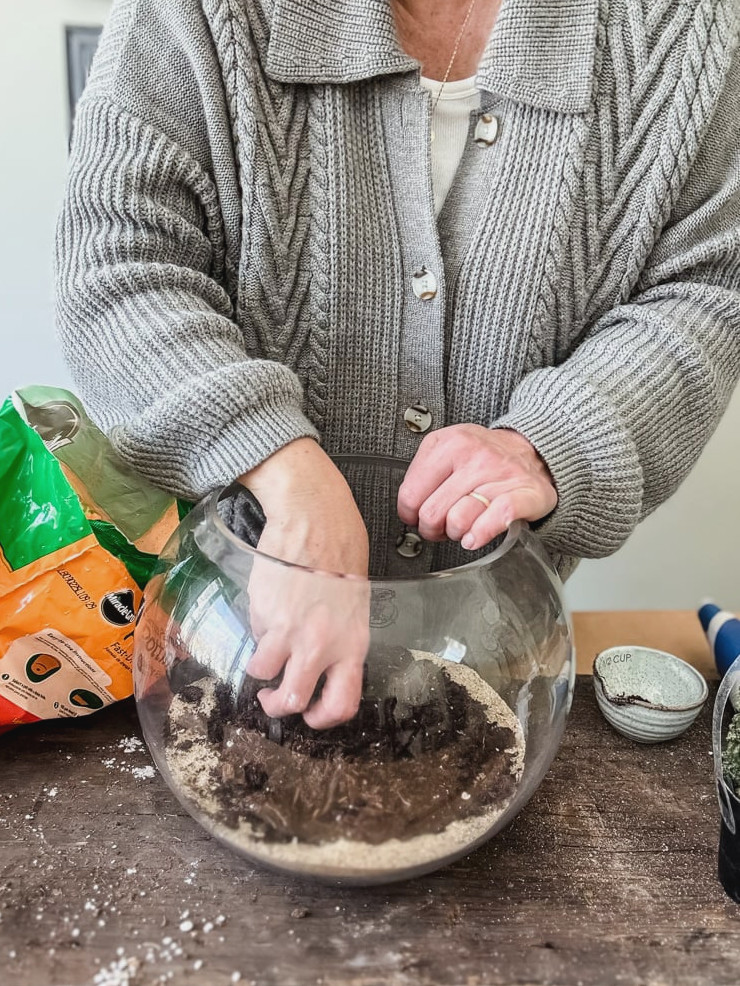
Now comes the exciting material: cactus and succulent potting mix. This is not the moment to reach for that all-purpose potting soil bag in the garage. Standard potting soil retains water like a sponge, which is precisely the reverse of what our sun-loving plants require.
Succulent mix is designed to be coarse, quick-draining, and low in nutrients. It commonly combines soil, perlite, pumice, and coarse sand—all cooperating to form air spaces that move water along rapidly and allow roots to breathe with ease.
- Add a generous amount, making the layer at least 2-3 inches deep.
- Create mounds in certain spots while keeping other areas lower.
- This isn’t a flawlessly level base; it’s a miniature terrain! The soft rises and dips will create greater visual appeal and varied planting spaces to use.
- Your backdrop is ready. Now it’s time to bring in the stars of the display.
- Keep the bag nearby, since you might need extra mix as your terrarium takes shape.
Planting Your Succulent & Cactus Terrarium
Your layers are complete, your soil is shaped, and now the most enjoyable part begins: breathing life into your miniature landscape!
Step 5: Creating Your Desert Scene
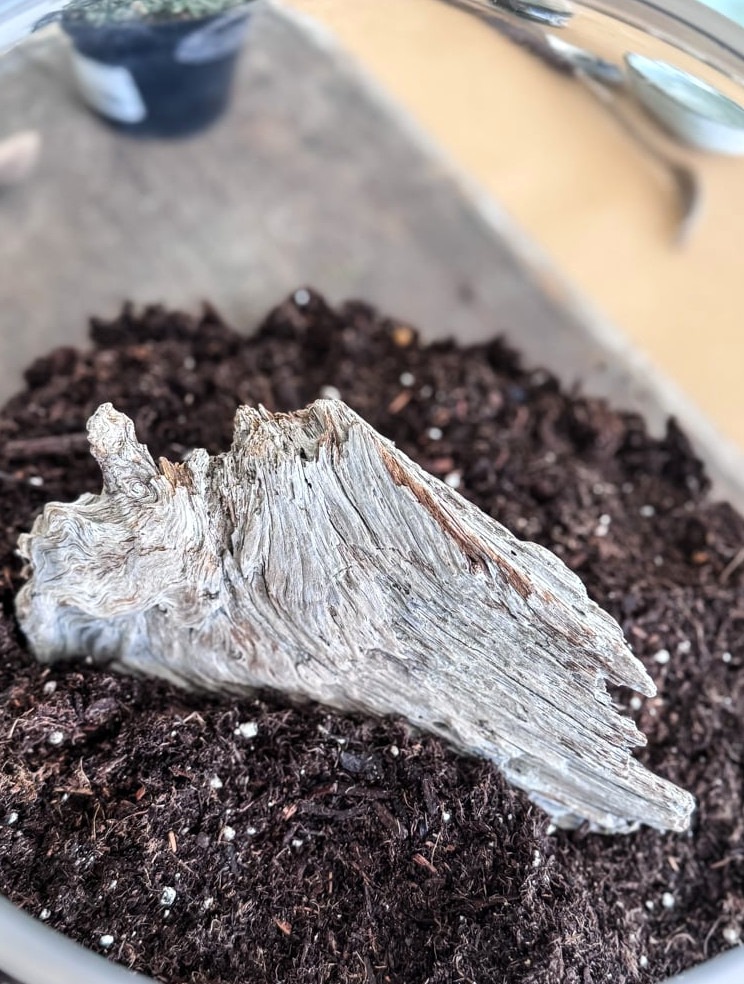
Before Planting: Position Your Hardscape
Now is the time to add any decorative elements that will provide your arrangement with shape and visual appeal. Driftwood, unusual stones, a piece of sea glass, or even a tiny ceramic figurine can turn an ordinary bowl of plants into a little story. I first tucked a lovely piece of driftwood into the soil, allowing it to stand like a timeworn desert monument. Experiment with the placement until it looks right-you can make changes along the way.
I’m incorporating a sturdy piece of driftwood that I discovered after the most recent storm during a walk along the beach. That’s one benefit of living nearby-I have a lovely collection of driftwood, sea glass, beach stones, & sea glass!
Additional Hardscape Suggestions:
- Polished river rocks or shoreline pebbles
- Little geodes or gemstones
- A tiny terra cotta planter
- Ornamental sand in complementary colors
- Sea shells or coral (thoroughly rinsed)
- A small ceramic animal or fairy garden decoration
Step 6: Planting From The Highest Point Down
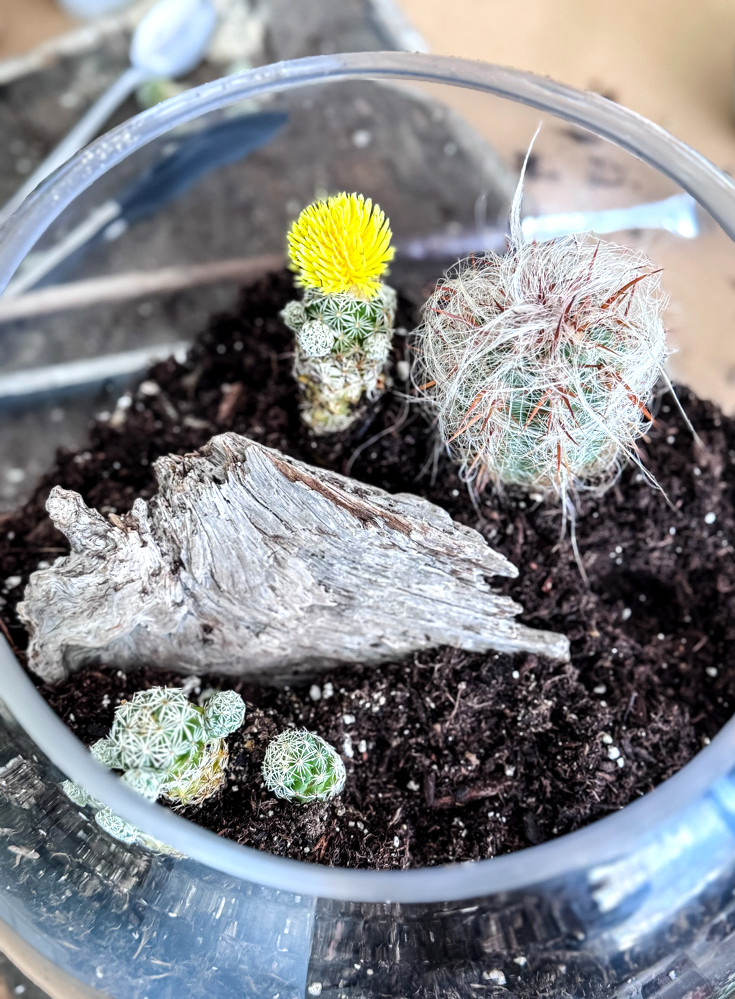
I begin with the biggest plants because they form the foundation of the design. For this bowl, that meant starting with the cacti.
A Note About Safety: Please, please put on gloves when working with cacti! I discovered this lesson the hard way years ago. I wear silicone-coated gardening gloves, which offer excellent flexibility while shielding my fingers from those small, nearly invisible spines. Even while wearing gloves, I prefer long tongs or chopsticks to grip and position the cactus as I fill in the soil around it. This helps me work confidently and keeps the plant right where I want it.
Form a small opening in the soil, settle the roots inside, and lightly press the mix around the base. Avoid covering the stem too far-you want the plant to remain at the same soil height as it had in its nursery container.
I purchased my cacti from both my nearby Lowe’s and Home Depot locations. Each store offered an appealing variety, and the plants were very affordable.
Step 7: Filling The Open Spaces
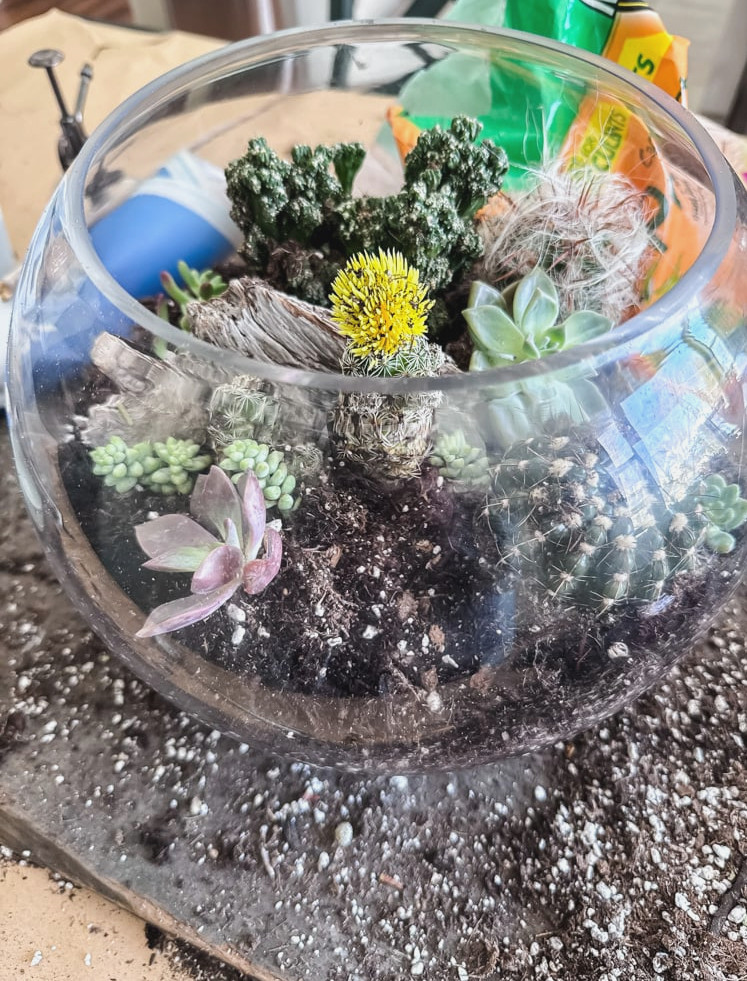
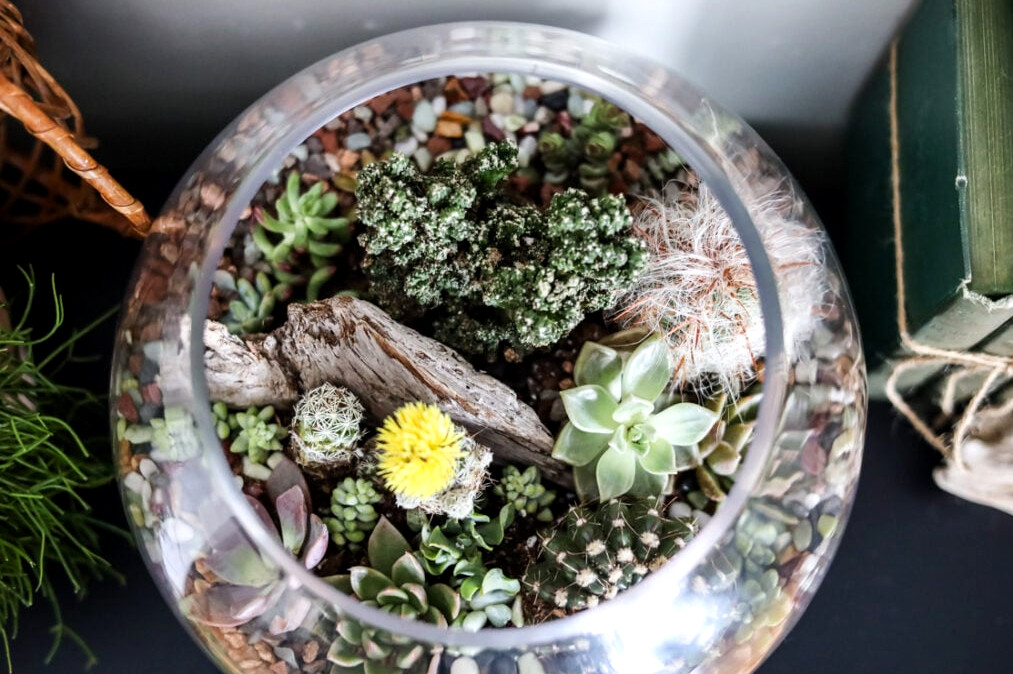
After your main plants are firmly in place, you can add the supporting players—smaller succulents with different forms, hues, and textures. I included trailing sedums, rosette-shaped echeverias, and a few spiky companions for added contrast.
Here’s the secret: When you fit smaller plants along the rounded edges of the bowl or into narrow areas behind the cacti, you’ll see the soil level sink. That’s perfectly normal! I kept a spoon close by and added small amounts of fresh potting mix as needed. A long-handled iced tea spoon works wonderfully for accessing deep bowls and carefully filling around newly planted succulents.
Work patiently. Take a step back and view your arrangement from every direction. Turn the bowl around. Does the composition feel even? Is there a pleasing combination of heights and textures? There’s no incorrect choice-just your own lovely, imperfect creation.
Step 8: Adding The Final Details
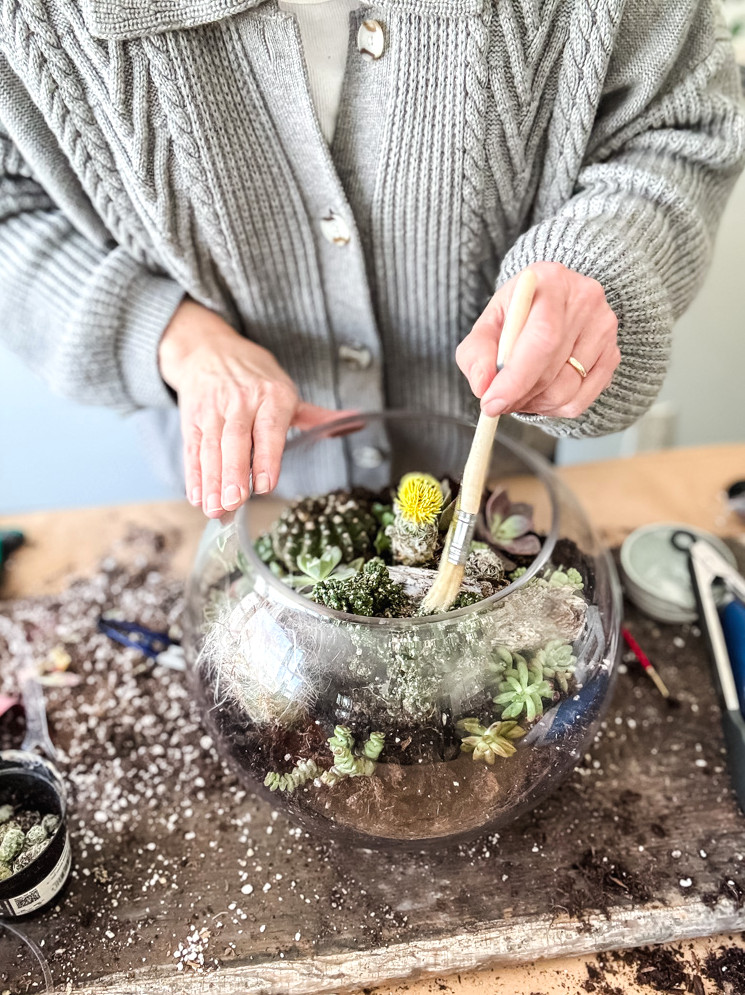
After positioning each plant and mounding the soil around them, use a soft paintbrush to gently remove any dirt from their surfaces. I used a tiny brush for reaching the crevices of the succulents, followed by a crafting chip brush for the cacti.
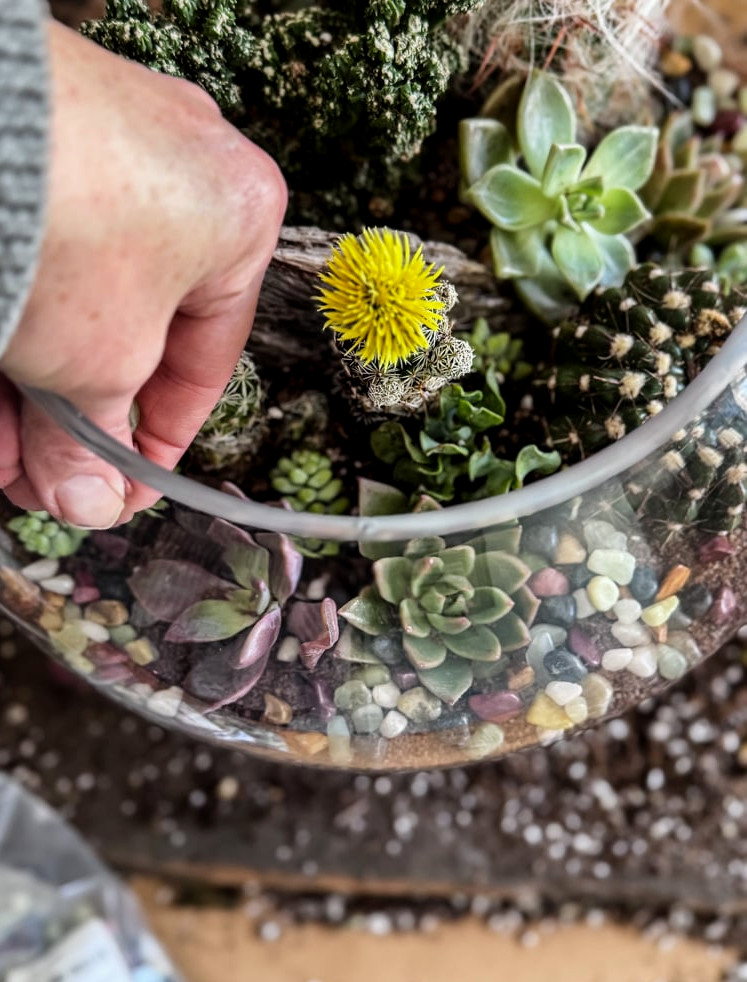
Next, apply your decorative top dressing: a concluding layer of delicate sand, small pebbles, or crushed granite. Beyond adding visual appeal, it keeps the plants’ bases dry and lends the bowl a refined, thoughtfully designed appearance.
Caring for Your Succulent & Cactus Bowl: Simplicity Is Best
You’ve created something lovely. Now, let’s preserve it. Fortunately, succulents and cacti practically flourish with minimal attention. For the most part, your role is simply to appreciate them and avoid interfering too much.
Watering: The Soak & Dry Technique
There is really only one watering rule to remember: soak thoroughly, but do so rarely. Let the soil become completely dry from top to bottom. Based on the light and temperature in your home, this could take 2-4 weeks. If you’re uncertain, wait one more week.
When watering becomes necessary:
- Choose a dropper or a small watering can fitted with a slim spout. Distribute the water slowly and evenly over the soil, keeping it away from the leaves and centers of the plants whenever possible.
- The aim is to dampen the soil without turning the bottom into a small pond.
- The important part: Stop before water rises above the pebble layer. Since there is no drainage hole, it has nowhere to escape. You’re aiming for a deep drink, not an overflow.
Light: They Adore the Sun
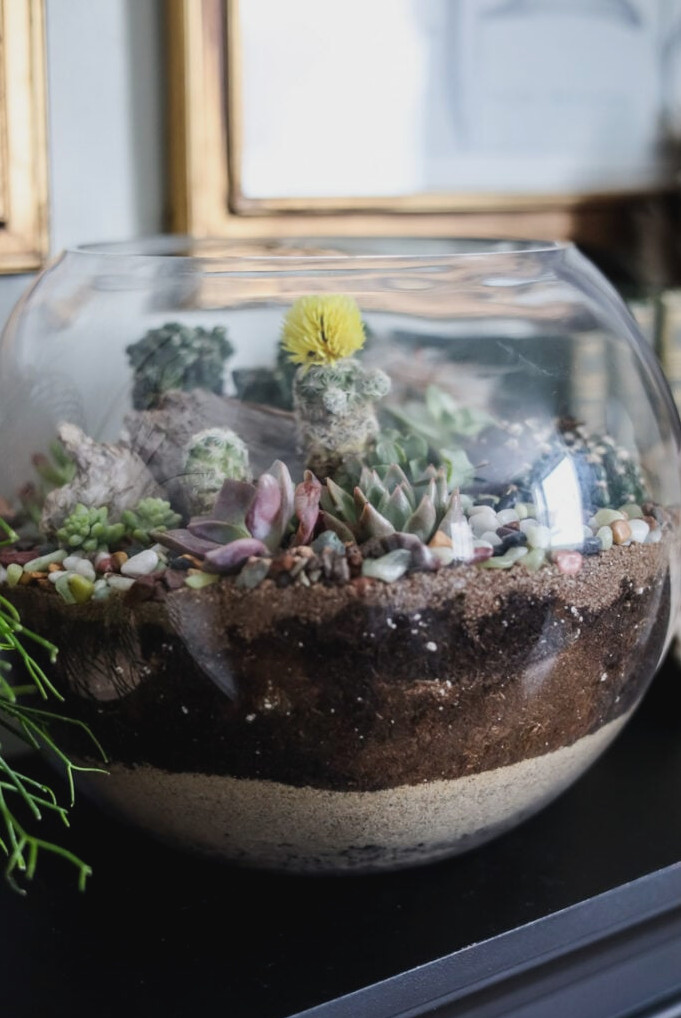
These plants prefer bright, direct sunlight. A south-facing window offers the ideal location. An east- or west-facing window is also suitable, although growth could be more gradual.
Clues that they need more light:
- Thin, stretched growth leaning toward the window
- Faded or washed-out coloring
- Leaves growing far apart
When these signs appear, gradually shift them nearer to the light to help prevent sunburn.
Maintenance: Small Efforts Matter
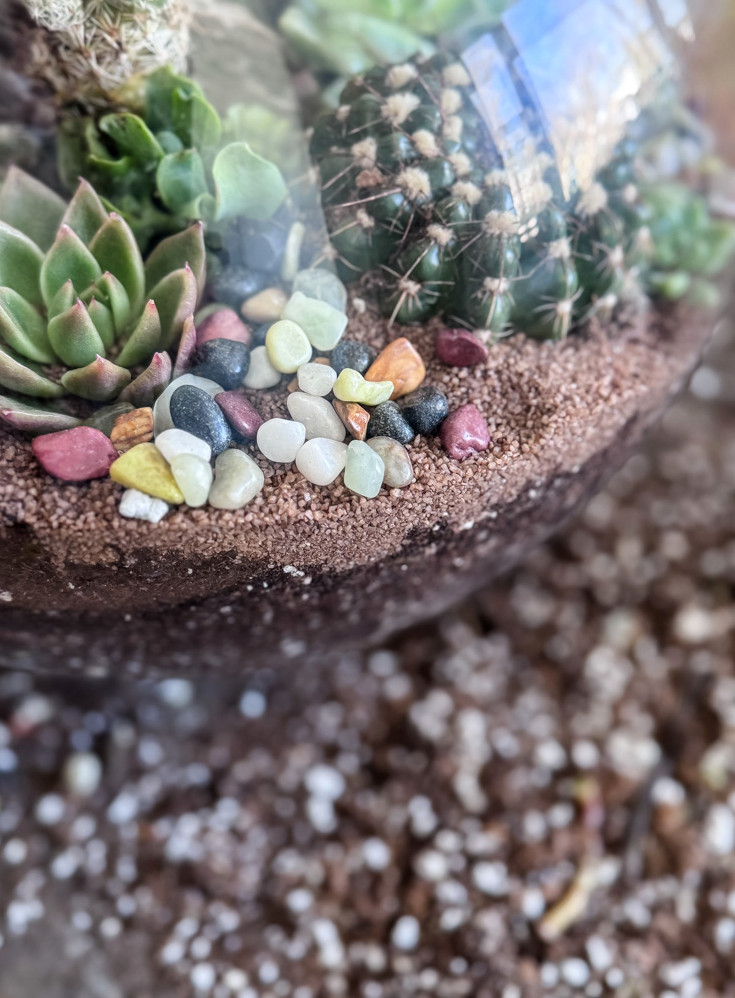
Use these straightforward care suggestions to keep your terrarium looking beautiful:
- Clear away dead or dry leaves from the soil’s surface to help prevent mold
- Turn thebowl every couple of weeks for balanced growth
- Trim lanky stems and root the cuttings!
- Replace the top layer if watering washes it away
Troubleshooting: Understanding Your Plants
|
What You Notice |
The Probable Cause |
The Simple Solution |
|---|---|---|
|
Yellow, soft, or see-through leaves |
Too much water (root rot) |
Cease watering at once. Allow the bowl to dry out fully in a bright area. |
|
Long, sparse stems with large spaces between leaves |
Etiolation (Insufficient Light) |
The plant is “stretching” toward the sunlight. Shift the bowl to a brighter spot. |
|
Parched, brittle, brown patches on leaves |
Sunscald |
It may seem unexpected, but glass intensifies heat! Set it several inches farther from the direct window glass. |
|
Withered, creased leaves |
Insufficient watering |
Offer it a focused drink. Succulents draw on their stored moisture when they need water. |
|
Tiny white, fuzzy clusters in the nooks |
Mealybugs (Insects) |
Soak a cotton swab in rubbing alcohol and touch the insects directly to eliminate them. |
One Last Kind Reminder
Unlike a sealed terrarium, this open bowl is not a lasting ecosystem. Your plants will develop. Some will outgrow the others. Eventually, you may wish to update the arrangement: trim back the vigorous growers, swap out a struggling plant, or simply create a new design with fresh soil.
That’s not defeat; that’s gardening! And gardening, even at this small scale, is an exercise in patience & care.
Your Desert Landscape, Finished
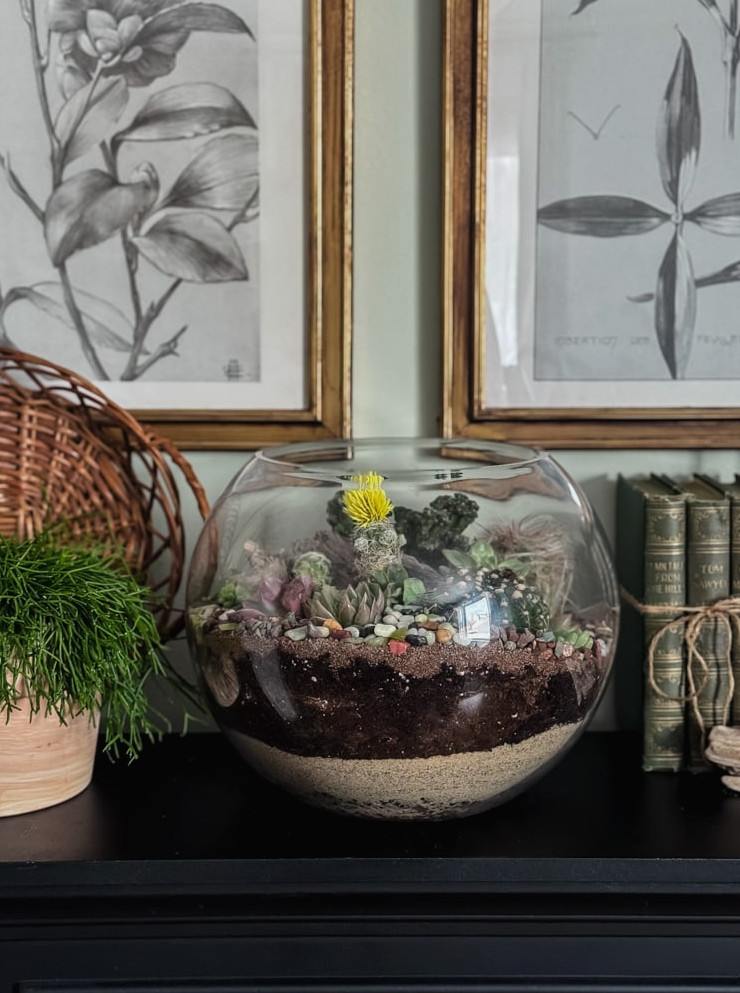
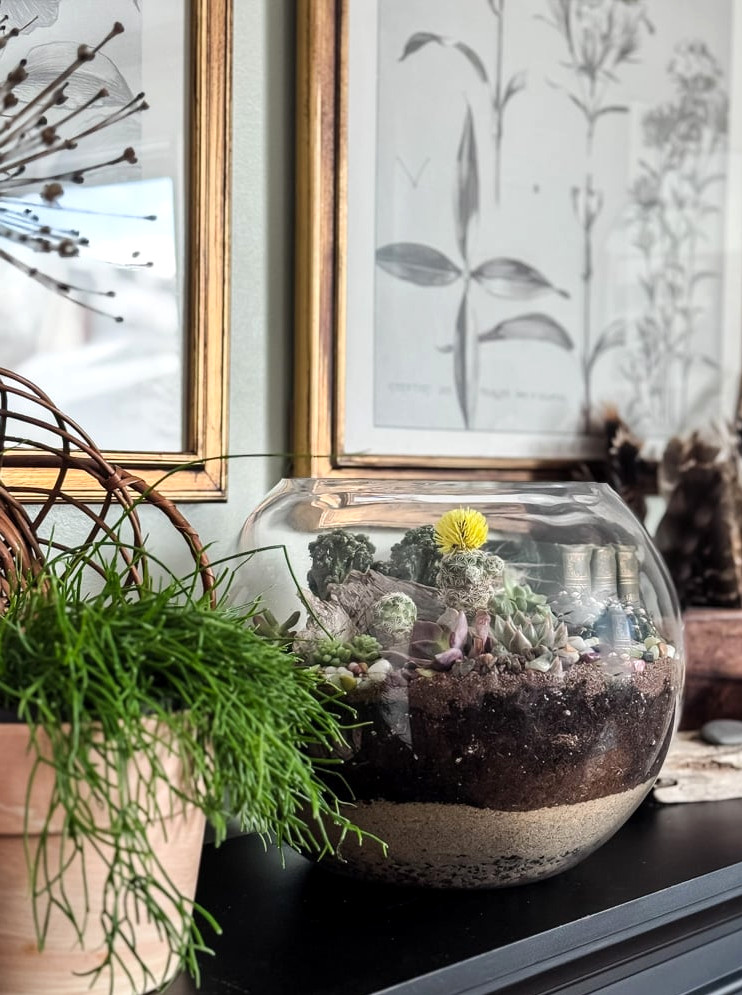
And there it is! Your very own sunlit, sculptural desert scene, ready to illuminate the brightest corner of your home. Whenever I complete a bowl like this, I catch myself simply gazing at it. It’s a living piece of art, and you crafted it with your own two hands.
This project requires very little from you from here on. A sunny window. A patient hand withwater. A brief opportunity to pause and observe. In exchange, it brings peaceful beauty, gradual growth, and the rewarding knowledge that you’ve cultivated something flourishing.
What Comes Next?
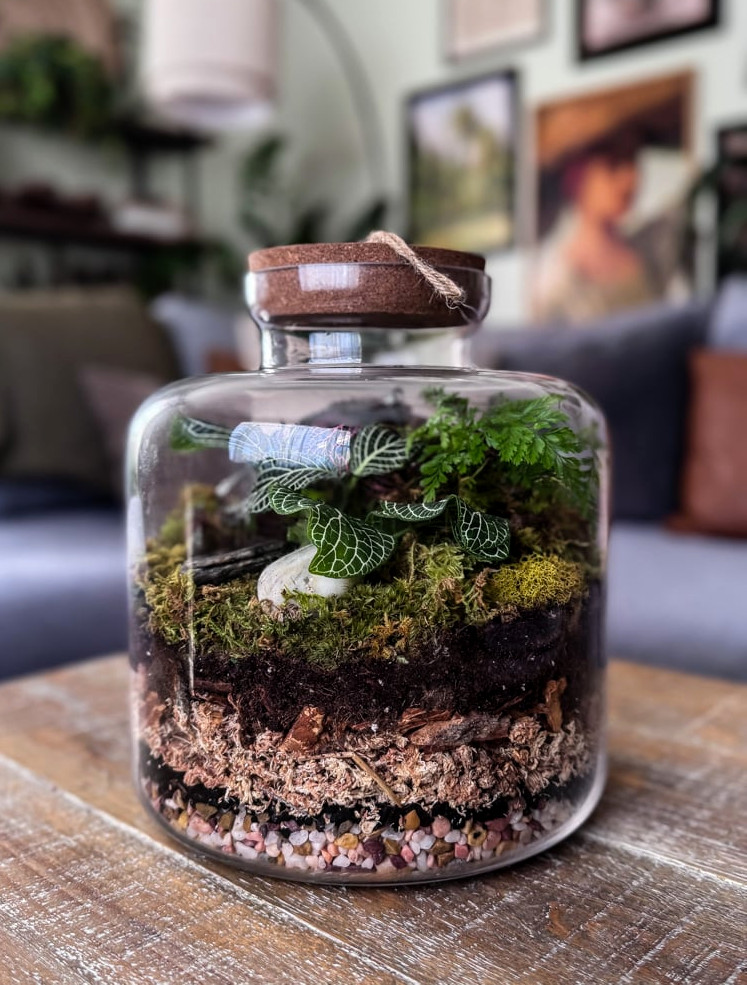
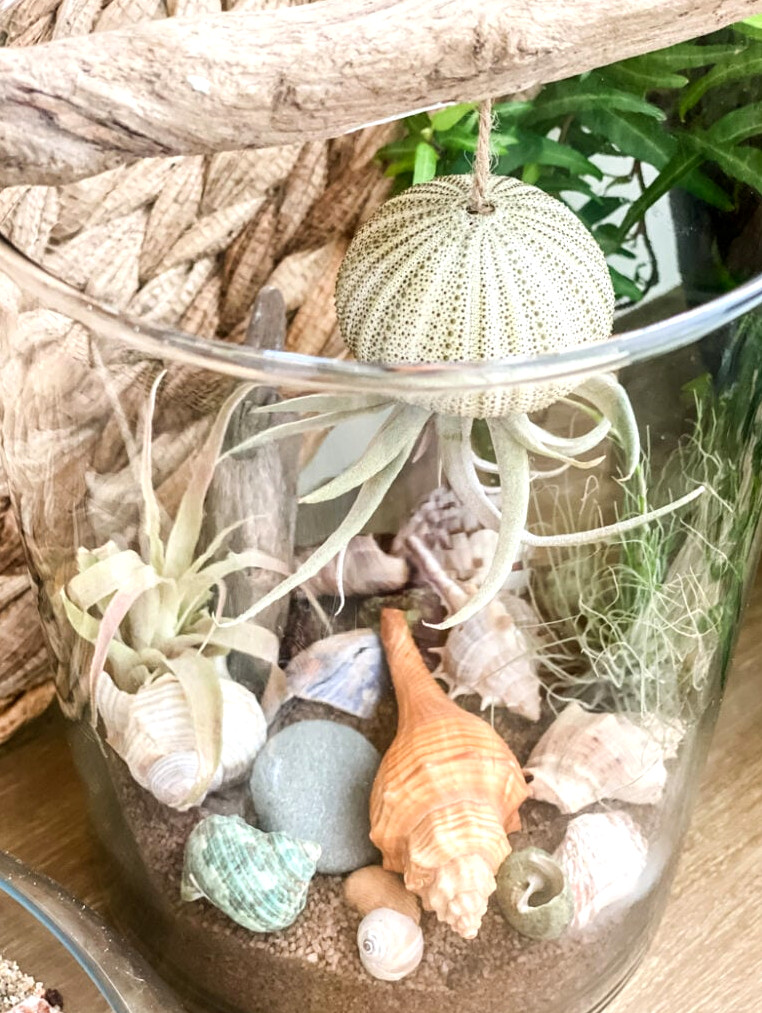
We’re creating an entire terrarium collection here at Cottage on Bunker Hill! You’ve conquered the moist, self-sufficientclosed forestand now the sun-seekingopen desert. What’s coming next? A blend of both environments:air plant terrariums—no soil necessary, only mist and a little magic.
Until We Meet Again, Happy Planting!
xo, Jennifer
Enjoy projects like this?Make sure you don’t miss out! Become part of my newsletter familyfor more warm, affordable DIY inspiration sent straight to your inbox. You’ll receive special tips, advance access to tutorials, and plenty of ideas to help your home feel personal, welcoming, and full of heart.