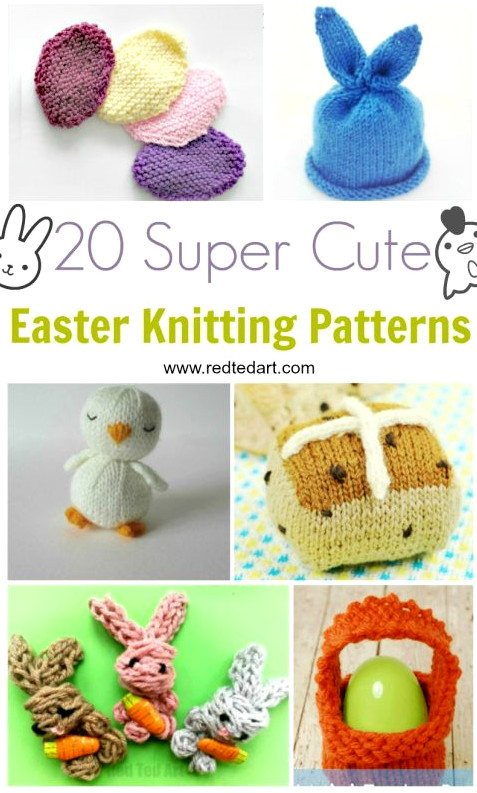
I’m always delighted to discover new knitters and crafters to introduce to you. There are countless exceptionally talented, creative, and kind makers out there! It is also great fun to showcase their work with you and encourage you to try a fresh knitting design. Today, I’m pleased to welcome Kaz Kew to Red Ted Art “for the first time,” featuring her lovely Free Duck Knitting Pattern. This charming little knit is wonderfully adaptable – and could easily become a sweet Rubber Duck Knitting Pattern too!
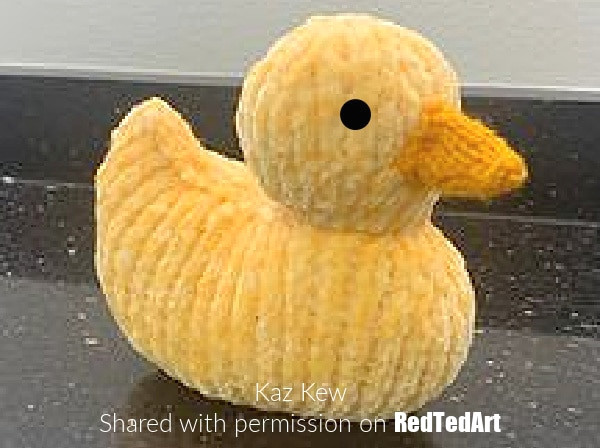
Shown here as a Rubber Duck Knitting Pattern:
Or include the adorable little wings for the perfect Duck Knitting Pattern finishing touch:
Presented here as a Spring Ducky Knitting Pattern
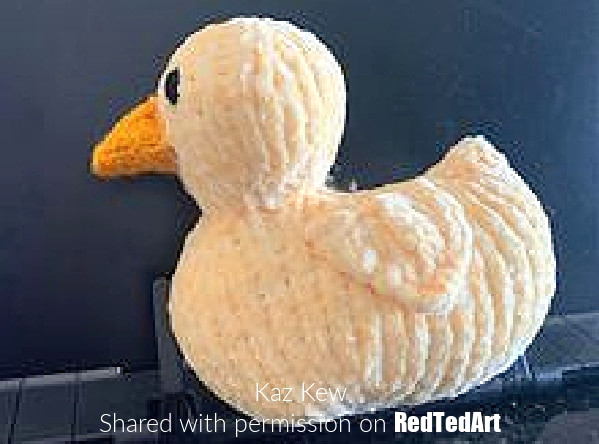
Isn’t this little ducky design absolutely adorable?
About Kaz Kew
Kaz is a wonderfully enthusiastic knitter whom I “met” through the Random Acts of Kinding Knitting & Crochet group. It is a delightful community of (mostly) knitters and (a few) crocheters who enjoy creating items for members of the public to discover. How lovely is that? Kaz also regularly contributes to her own Kaz Kew Blog!
She enjoys knitting and encouraging others to give it a try! Today, she has very kindly allowed me to share her Duck Knitting Pattern with you, dear Red Ted Art readers! Hurray!
If you decide to make this little duck, please DO send us some photographs; we would be thrilled to see them!
Materials/equipment
Wool/ Yarn
- 50g Chunky /chenille/ faux fur /flutterby type yarn in yellow for the body/head and wings (if you are unsure, choose any yarn suitable for UK 4mm needles)
- DK 10g orange for the beak
- DK Oddment Black for the eyes
Needles
- 4mm needles for the main section and wings
- 3mm needles for the beak
Knitting Abbreviations used in this pattern
- k – Knit
- p – Purl
- k2t – Knit 2 together
- p2t – Purl 2 together
- inc – increase (Knit into front and Back(KFB), or use your preferred method)
- st – stitches
- ss – stocking stitch
- (–) x? – repeat the instruction inside the brackets the stated number of times {e,g x2 = twice}
- W+T – wrap and turn; after knitting the required number of stitches, move the yarn to the opposite side of the work and turn to knit the next row.
Duck Knitting Pattern
Main Piece (Body and Head) beginning at the base
Using yellow (chunky) yarn and 4mm needles,
- Cast on 6st
- inc in all st 12st
- p 1 row
- (inc)x2, k2, (inc)x4, k2, (inc)x2 [20st]
- p 1 row
- (inc, k1)x2, k2, (inc,k1)x4, k2,(inc, k1)x2 [28st]
- p 1 row
- (inc, k2)x2, k2, (inc,k2)x4, k2,(inc, k2)x2 [36st]
- p 1 row
- k12,inc,k2,inc,k4, inc, k2, inc,, k12 [40st]
- k10 rows
Raising the tail. Continue with the main piece, working short rows, one side at a time.
- p8, W+T kto end
- p6, W+T K to end
- p4, W+T K to end
- p2, W+T K to end
This finishes the first side of the short rows.
Cast off 10st, p5, (p2t)x4 p16 [26st]
It should appear like this:
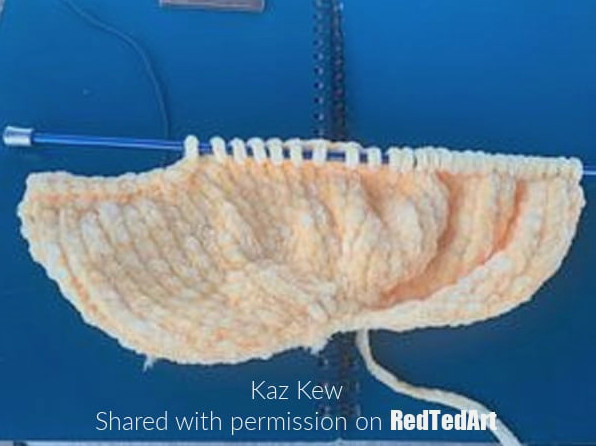
Next, raise the tail on the other side.
- k8, W+T p to end
- k6, W+T p to end
- k4, W+T p to end
- k2, W+T p to end
This completes the lift on both sides.
Cast of 10st, k2t, k11, k2t [14st]
It should now look like this:
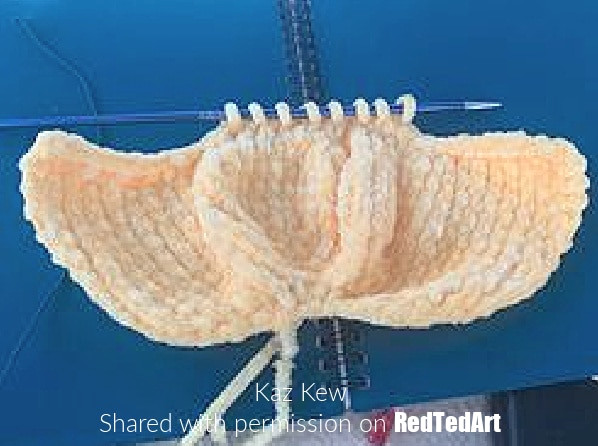
Continue the head with the 14st
- p5, (p2t) x2, p5 [12st]
- (k1 k2t) x4 [8st]
- p1 row
- (inc) x3, k2, (inc) x3 [14st]
- p1 row
- (inc) x5, k4, (inc) x5 [24st]
- ss 5 rows start with p
- (k2, k2t)x6 [18st]
- p1 row
- (k1, k2t)x6 [12st]
- p1 row
- k2t x 6 [6st]
Cut the yarn, leaving a long tail for stitching the seam.
Using a large-eyed needle, thread the yarn through the remaining stitches and fasten off.
Sew from the bind-off stitches to the neck and stuff firmly.
Shaping your Knitted Ducky Body – Maker’s tip
When filling rounded pieces such as the head, I find it works best to make a ring with my forefinger and thumb, then hold the work inside my hand while stuffing it.
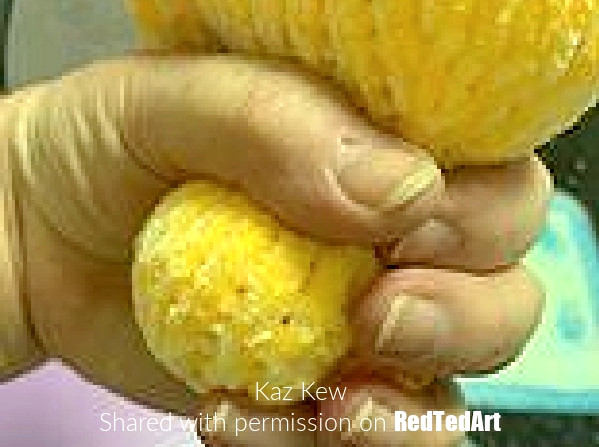
This prevents the neck from losing its shape.
The piece will naturally fold into two.
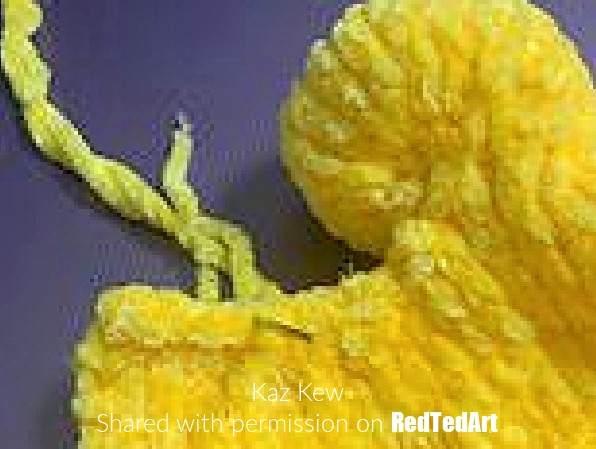
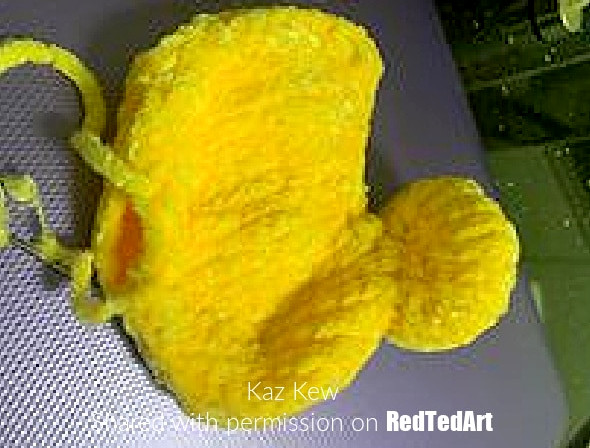
Keep stitching around the piece, pausing when necessary to leave sufficient space for stuffing.
Be certain that the tail corner is filled.
Whenyou are satisfied with the shape, stitch the remaining opening closed.
At this stage, it should resemble this shape (excluding the beak, which is added next):
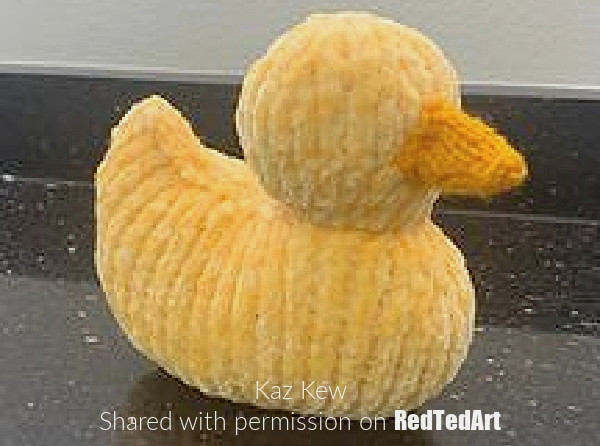
You could “stop” here and just attach some eyes. This would give you more of a knitted rubber duck. However, adding the wings makes it even cuter!
Wings using the main colour on 4mm needles
Cast on 12st
- Purl 1 row [12st]
- k1row [12st]
- p2t, p8, p2t [10st]
- k2t, k6, k2t [8st]
- p 1 row [8st]
- k2t, k4, k2t [6st]
- p1 row
- k2t, k2, k2t [4st]
- p1p2t p1 [3st]
- Cast off
PLACEMENT I positioned mine with the long edge along the top of the body, nearly level with the back seam and beginning in line with the neck.
Beak in DK orange or mustard
- Cast on 16
- k3, k2t, k6 k2t, k3 [14st]
- p 1 row
- k3 k2t, k4, k2t, k3 [12st]
- p2, p2t, k4, p2t, p2 [10st]
- K2, k2t, k2, k2t, k2 [8st]
- p 1 row
- Cast off
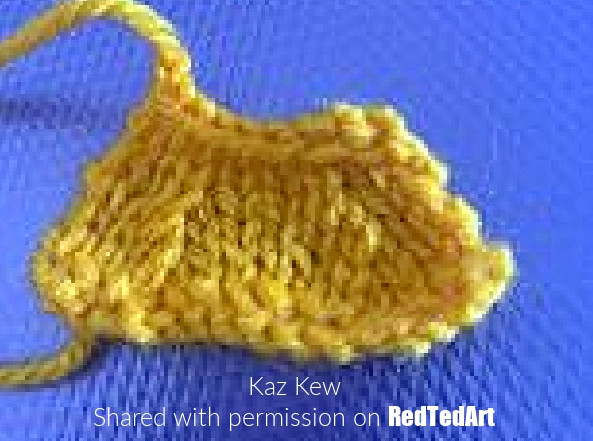
It should appear as shown here. Stitch the row ends together:
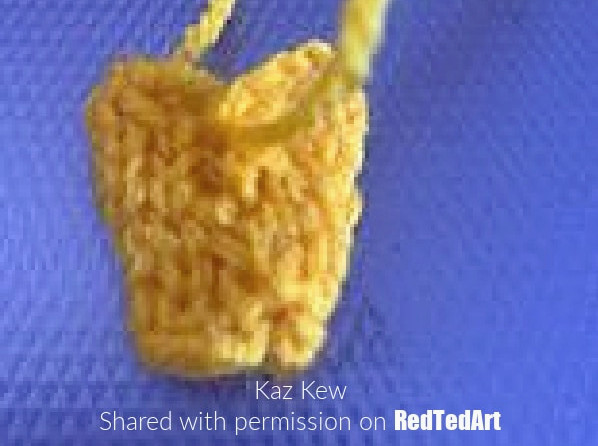
With the cast OFF edge held in one hand, insert your finger into the cast ON end to create a triangular beak shape.
Stitch it to the front of the head; once attached, the row-end seam should sit at the centre bottom.
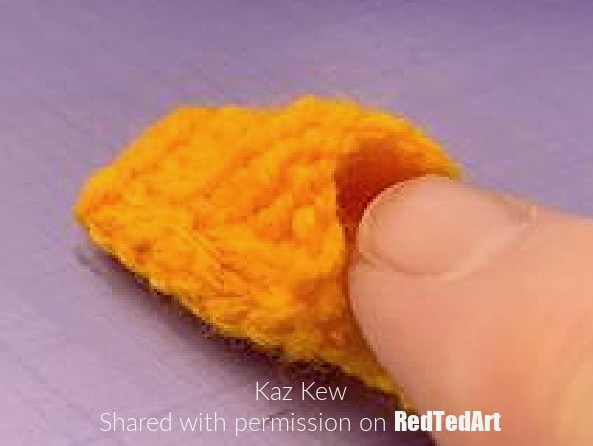
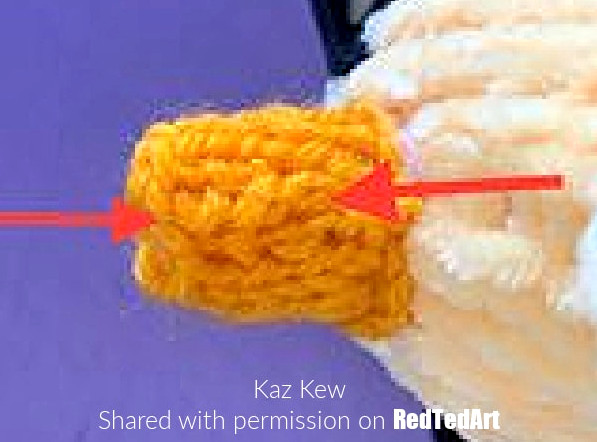
Add a little stuffing, then stitch the cast-off edge closed.
Eyes are embroidered with black dk, oversewn three times. I prefer mine positioned fairly close together and level with both sides of the beak.
Your Knitted Duck Project is now complete! I hope you enjoyed making this knitting project!
Why not browse a few more wonderful Easter Knitting Projects here: