
Want to learn how to create a snow globe? Making one yourself is simple and requires just a handful of supplies! Children will enjoy helping create these as Christmas presents this year.
RELATED: Snow Globe Template Card
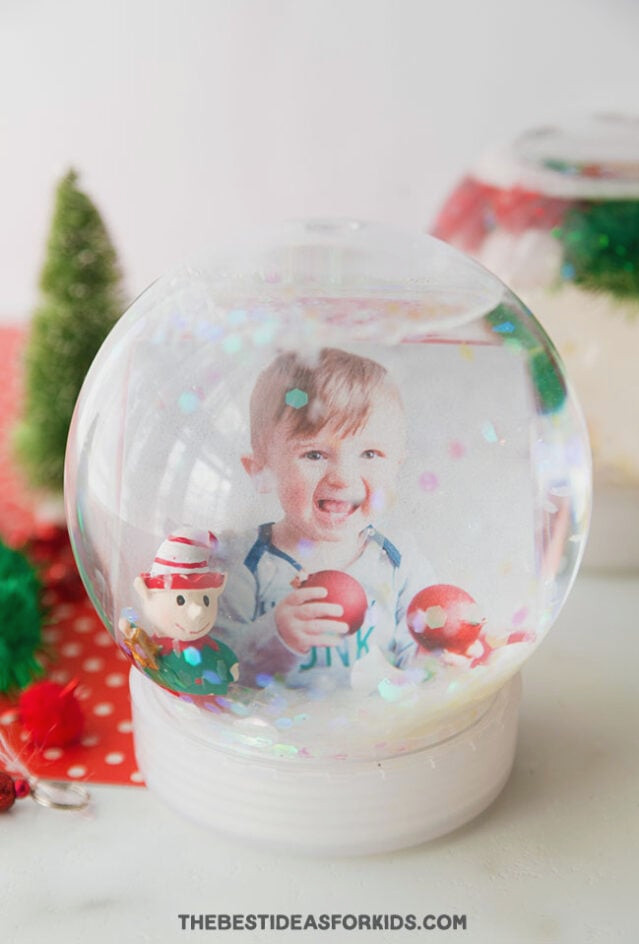
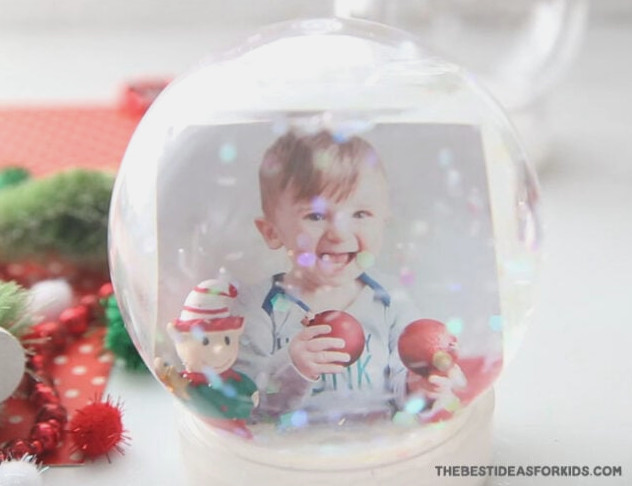
Children will have so much fun creating their own snow globes this Christmas! These are wonderful gifts that can be customized by placing photos inside. Give them to relatives and friends, or add Christmas-themed decorations inside to create special presents for teachers.
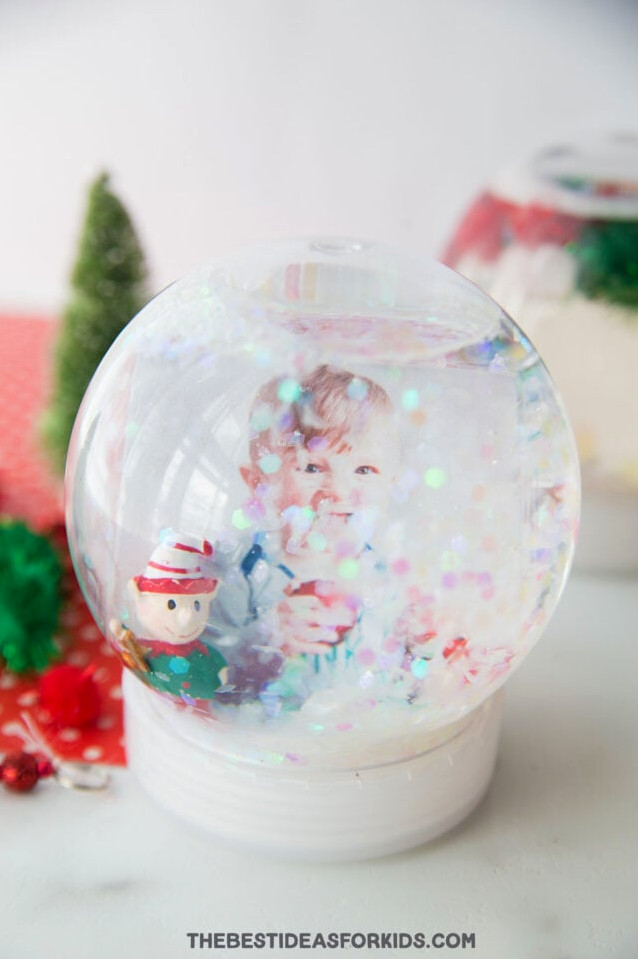
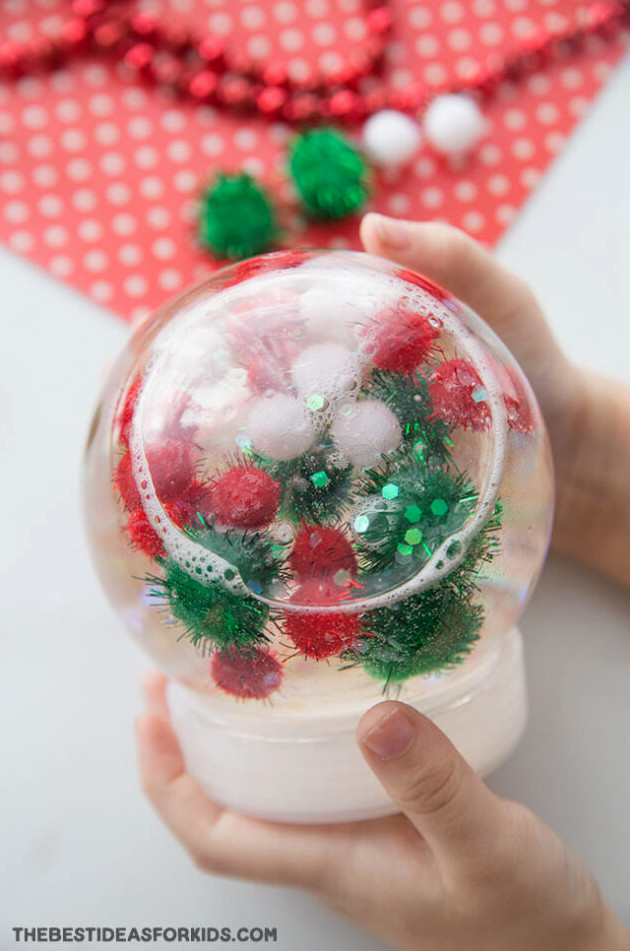
We also created a few sensory-style snow globes. These contain glitter and other Christmas-themed pieces that are safe to place in water, such as confetti and pom-poms. The sensory version is shown in the video below.
These sensory bottles are ideal for helping children unwind while watching the glitter slowly drift downward. Kids can shake them as well, and since they are plastic, there is no need to worry about them shattering.
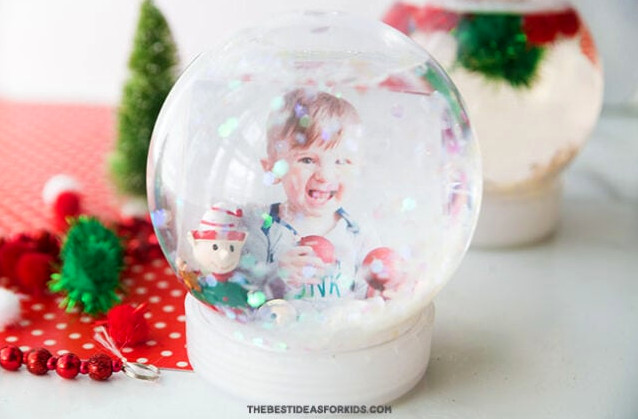
Adding a photo inside is our favorite option!
Materials
These are the materials you’ll need:
- Plastic snow globe – purchase one at craft shops, such as Michaels, or here
- Laminated picture – purchase a laminator here
- Iridescent chunky glitter
- Fine snowflake glitter
- Small silver or iridescent sequins
- Small snowmen or another decorative item for the inside– we found ours at the dollar store in the Christmas village aisle
- Glycerin
- Distilled water
- Hot glue
View the Video Guide
How to Create a Homemade Snow Globe
1. Begin by getting a plastic snow globe and a picture.
Plastic snow globes are available here. Plastic globes are especially suitable for crafting with children.

Determine the dimensions of your photo, then laminate it. A laminator can be purchased from Amazon here.
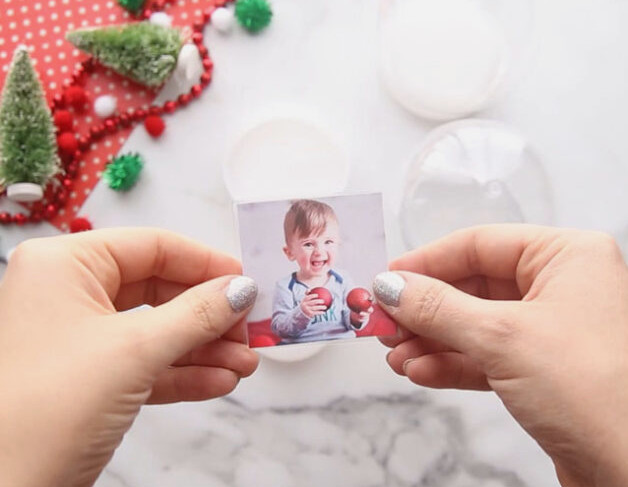
2. Use hot glue to attach the laminated photo to the snow globe’s inner base.
An adult should handle this step.
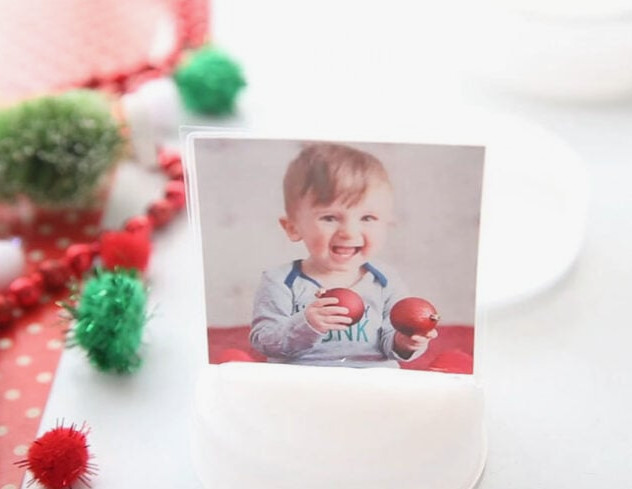
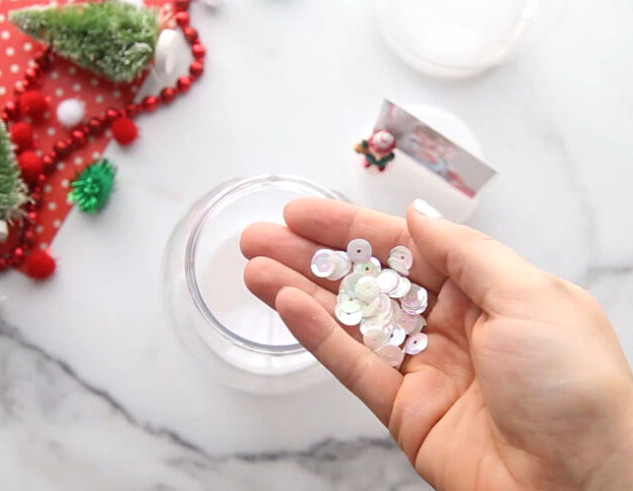
3. Select the supplies you would like to place inside.
To create the falling “snow” effect, we especially enjoy using this chunky iridescent glitter. It creates a snow-like appearance without becoming as cloudy as ordinary glitter, which could make the photo difficult to see.
We also included a few tiny silversequins along with a few tiny snowflake confetti pieces. Avoid using too much glitter or confetti at first. You can always put in more later if you think it needs extra.
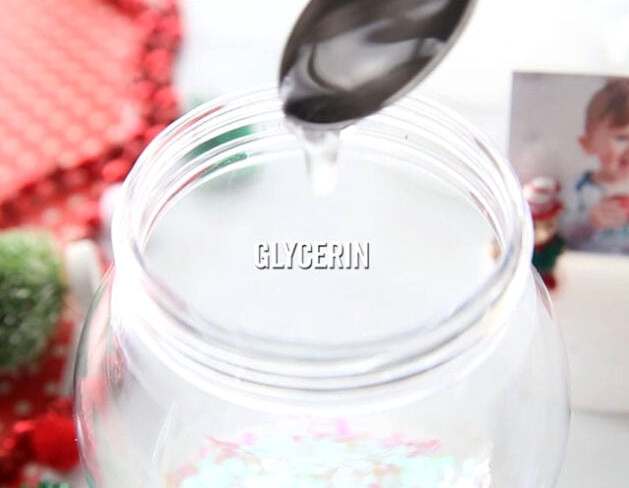
4. Pour in 1/2 teaspoon of glycerin.
Adding glycerin will slow the glitter’s movement as it drifts through the water. Although it is not required, we highly recommend using it.
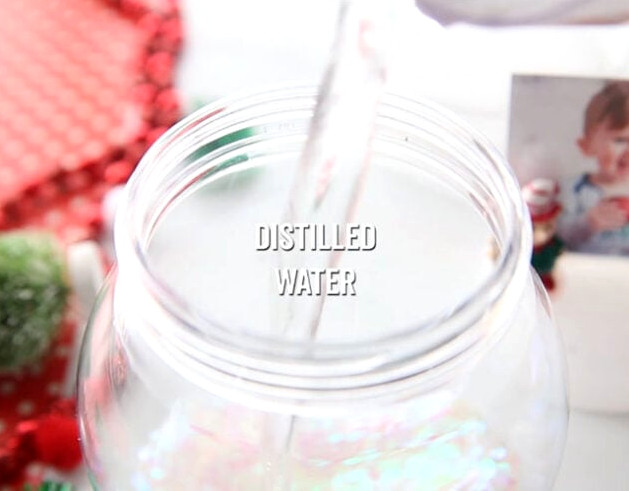
5. Pour distilled water into your snow globe.
Leave a small gap at the top so there is room to reattach the lid and base.
6. Put the base back in place.
Be sure to give the hot glue plenty of time to dry completely before placing the base into the water. You might have to gently fold the picture inward so it fits inside the snow globe again.
For a snow globe that lasts for years, we suggest leaving the lid unglued so you can refill the water later if necessary.
If children will be playing with it, though, make sure they are supervised. Since it is made of plastic, it will not shatter, but a loose lid could cause water to seep out. To prevent leaks, you can secure the lid with hot glue. Just remember that you will not be able to remove it afterward to add water if required.
We adore how simple these are to create! We hope you enjoy making them!
Explore 50+ Christmas Crafts for Kids – this collection is packed with fun and simple projects for children!