
Create a gorgeous display cabinet to organize and showcase all your cherished treasures.
I think I am becoming more like my mom… or perhaps my grandma. Throughout the years, I have gathered all kinds of treasures.
Lovely pieces bought during vacations, at boutiques, and elsewhere need somewhere to belong. My mom always owned a curio cabinet—a spot to exhibit all the little keepsakes she adored.
However, I wanted a more contemporary look than a traditional curio cabinet, so I teamed up with Kreg tools to create a modern display cabinet for my collection.
I constructed the entire cabinet using only the Adaptive Cutting System (ACS) to complete every cut.
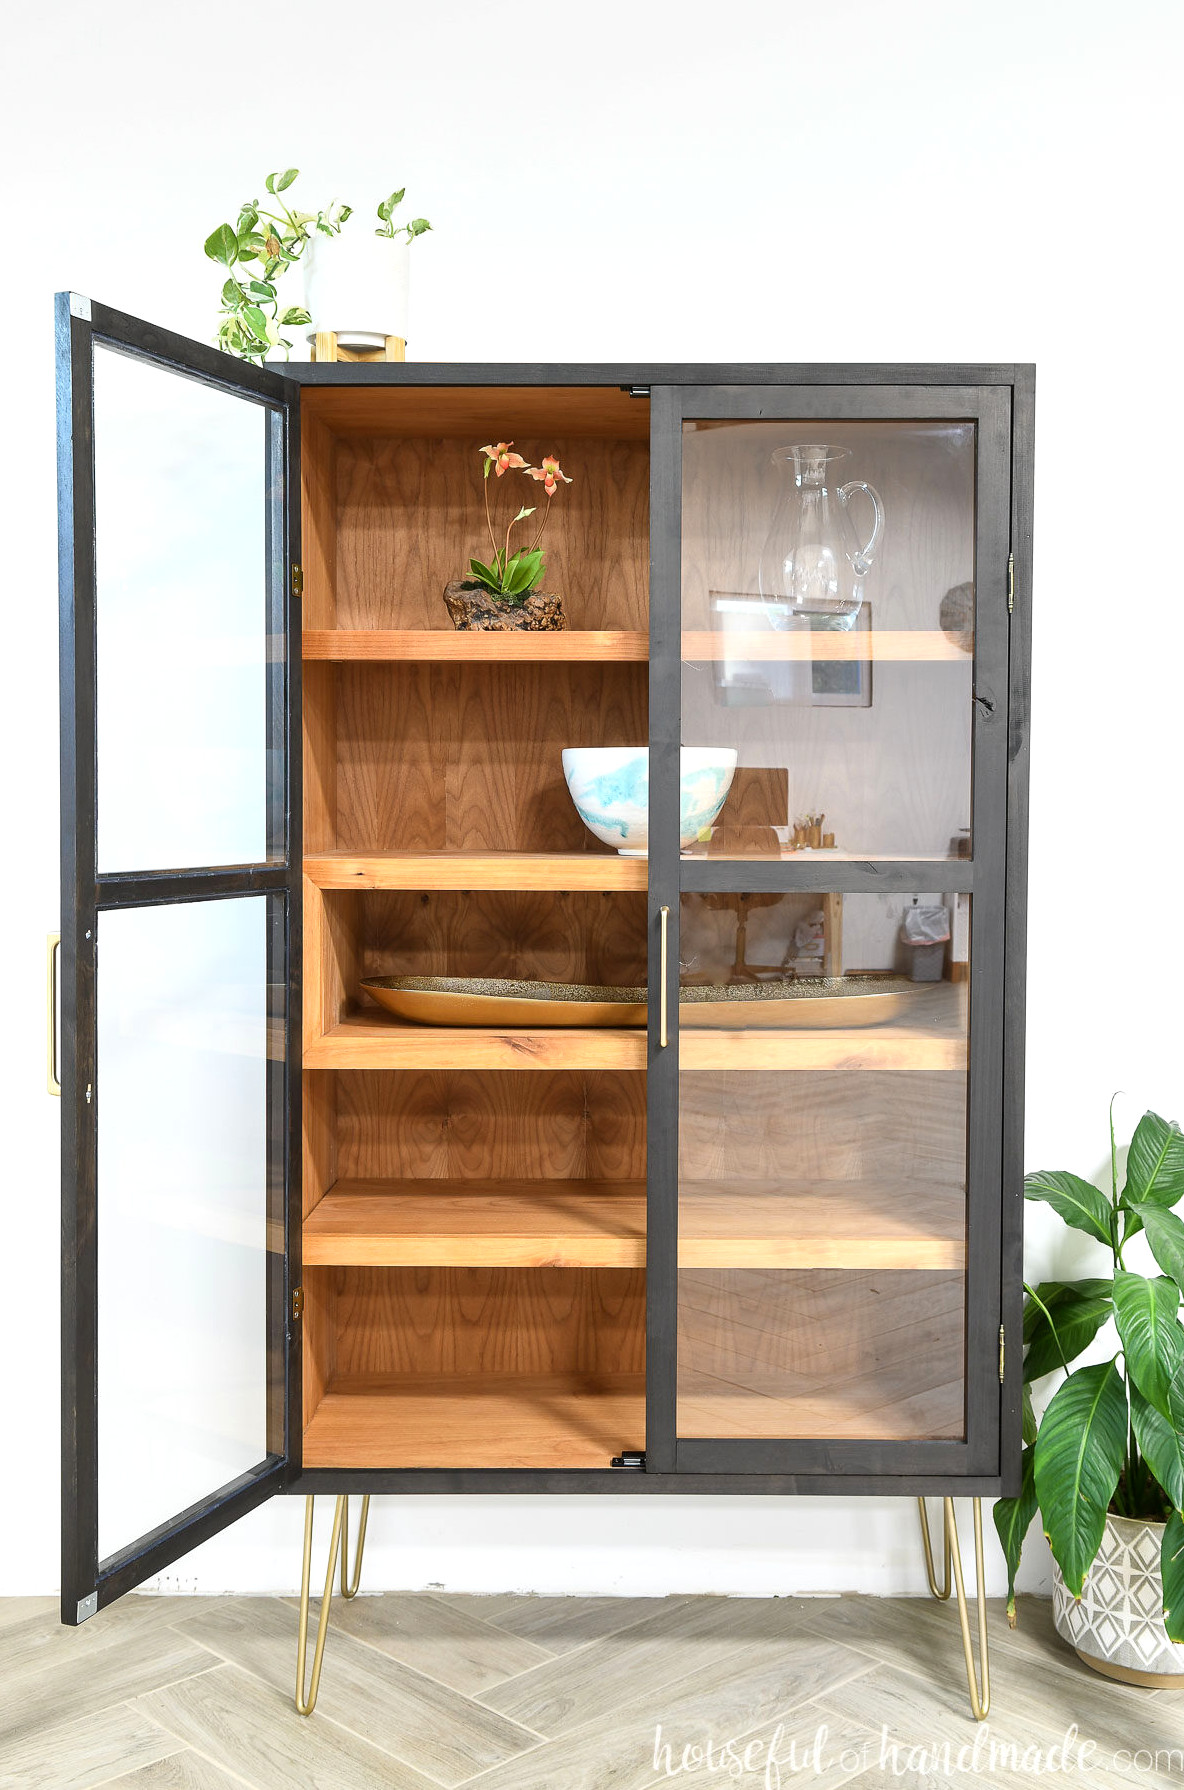
If you don’t own the Kreg ACS, no problem! You can still make this beautiful cabinet.
You’ll need a circular saw, ideally paired with a guide track for clean, straight cuts, or a table saw for cutting the plywood and trimming some boards to size.
What is the Adaptive Cutting System?
The Kreg Adaptive Cutting System (ACS) is an all-in-one cutting setup. It is an excellent option for anyone working in a compact area since it folds completely away for storage and can take the place of a miter saw, circular saw, and handle many table-saw cuts as well!
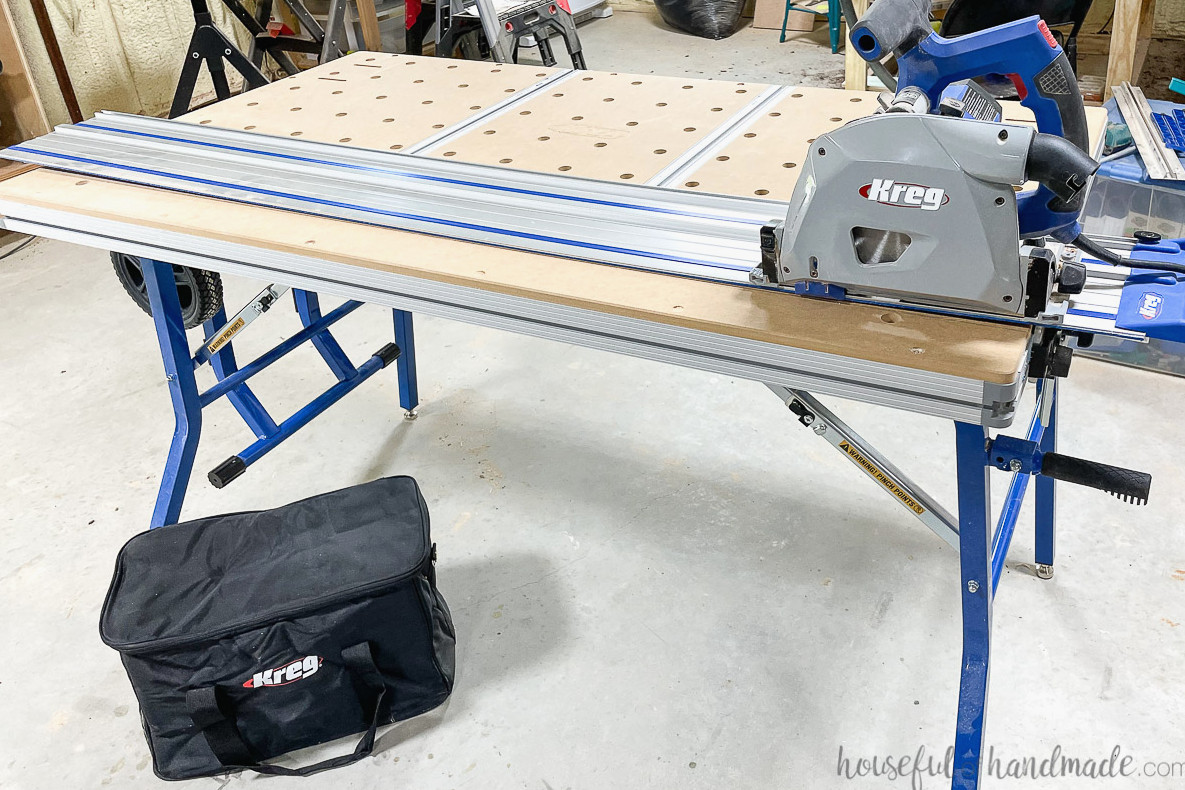
The ACS consists of 2 components: the plunge saw with its track and the table.
You can operate the plunge saw with or without the table. Track extensions are also available, providing more cutting capacity than the included 62″ track.
The plunge saw feels much less intimidating than a table saw, circular saw, or miter saw because its blade is enclosed inside the tool. Set it on the track, then plunge the rotating blade into the wood to make the cut.
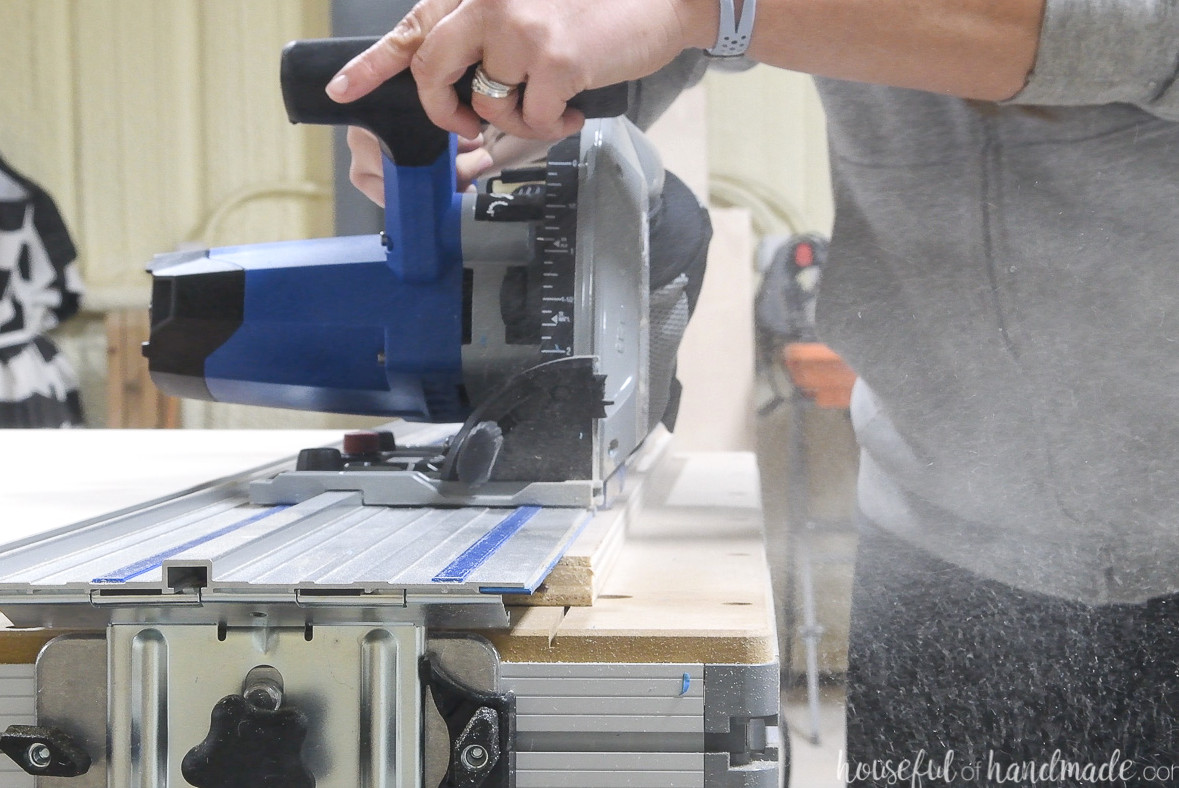
The track produces beautifully straight cuts. You can also align your cut line with the blue edge because it has been trimmed to match the saw. That results in highly precise cuts!
The table is especially useful for creating consistent, repeatable cuts. Versa Stops and measuring guides let you arrange repeated cuts much like you would on a table saw.
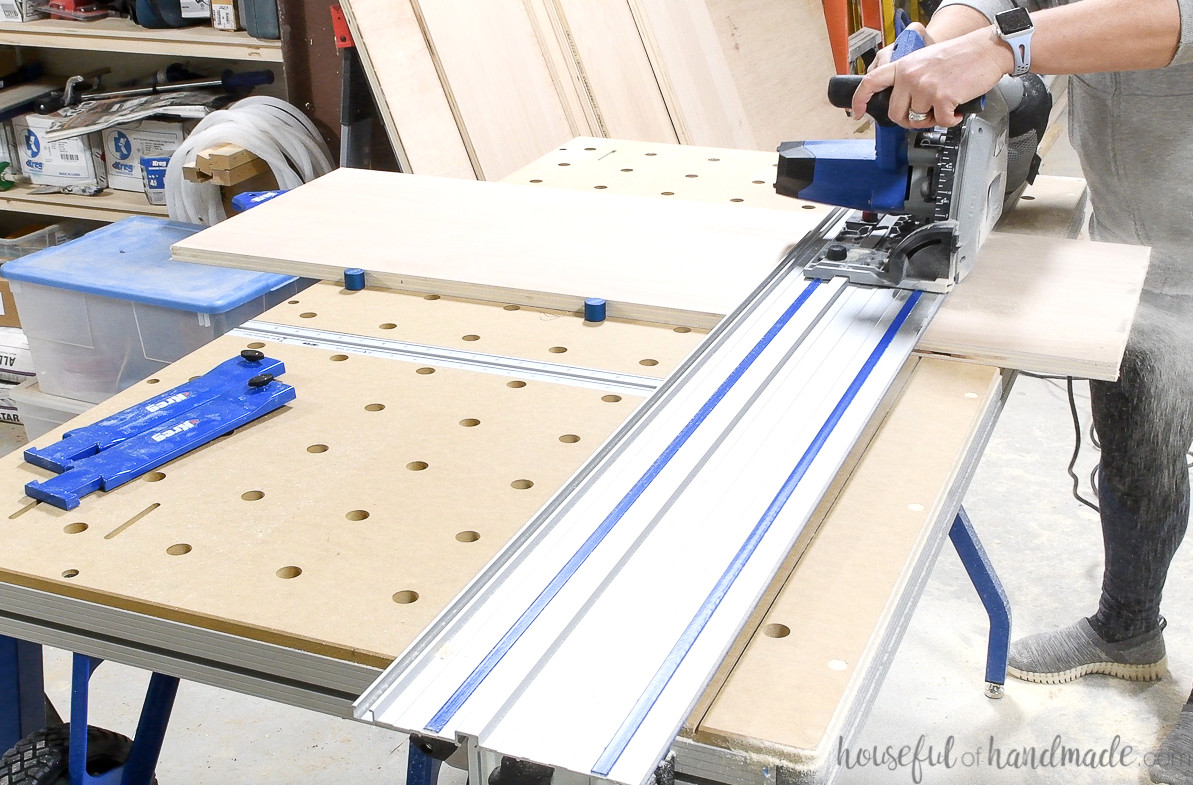
This helps ensure every piece matches perfectly, giving you neatly squared boxes and frames.
The table also makes angled cuts simple. It includes laser-cut openings for stops at precise 45-degree angles for miter cuts, or you can use the included miter gauge for any other angle required.
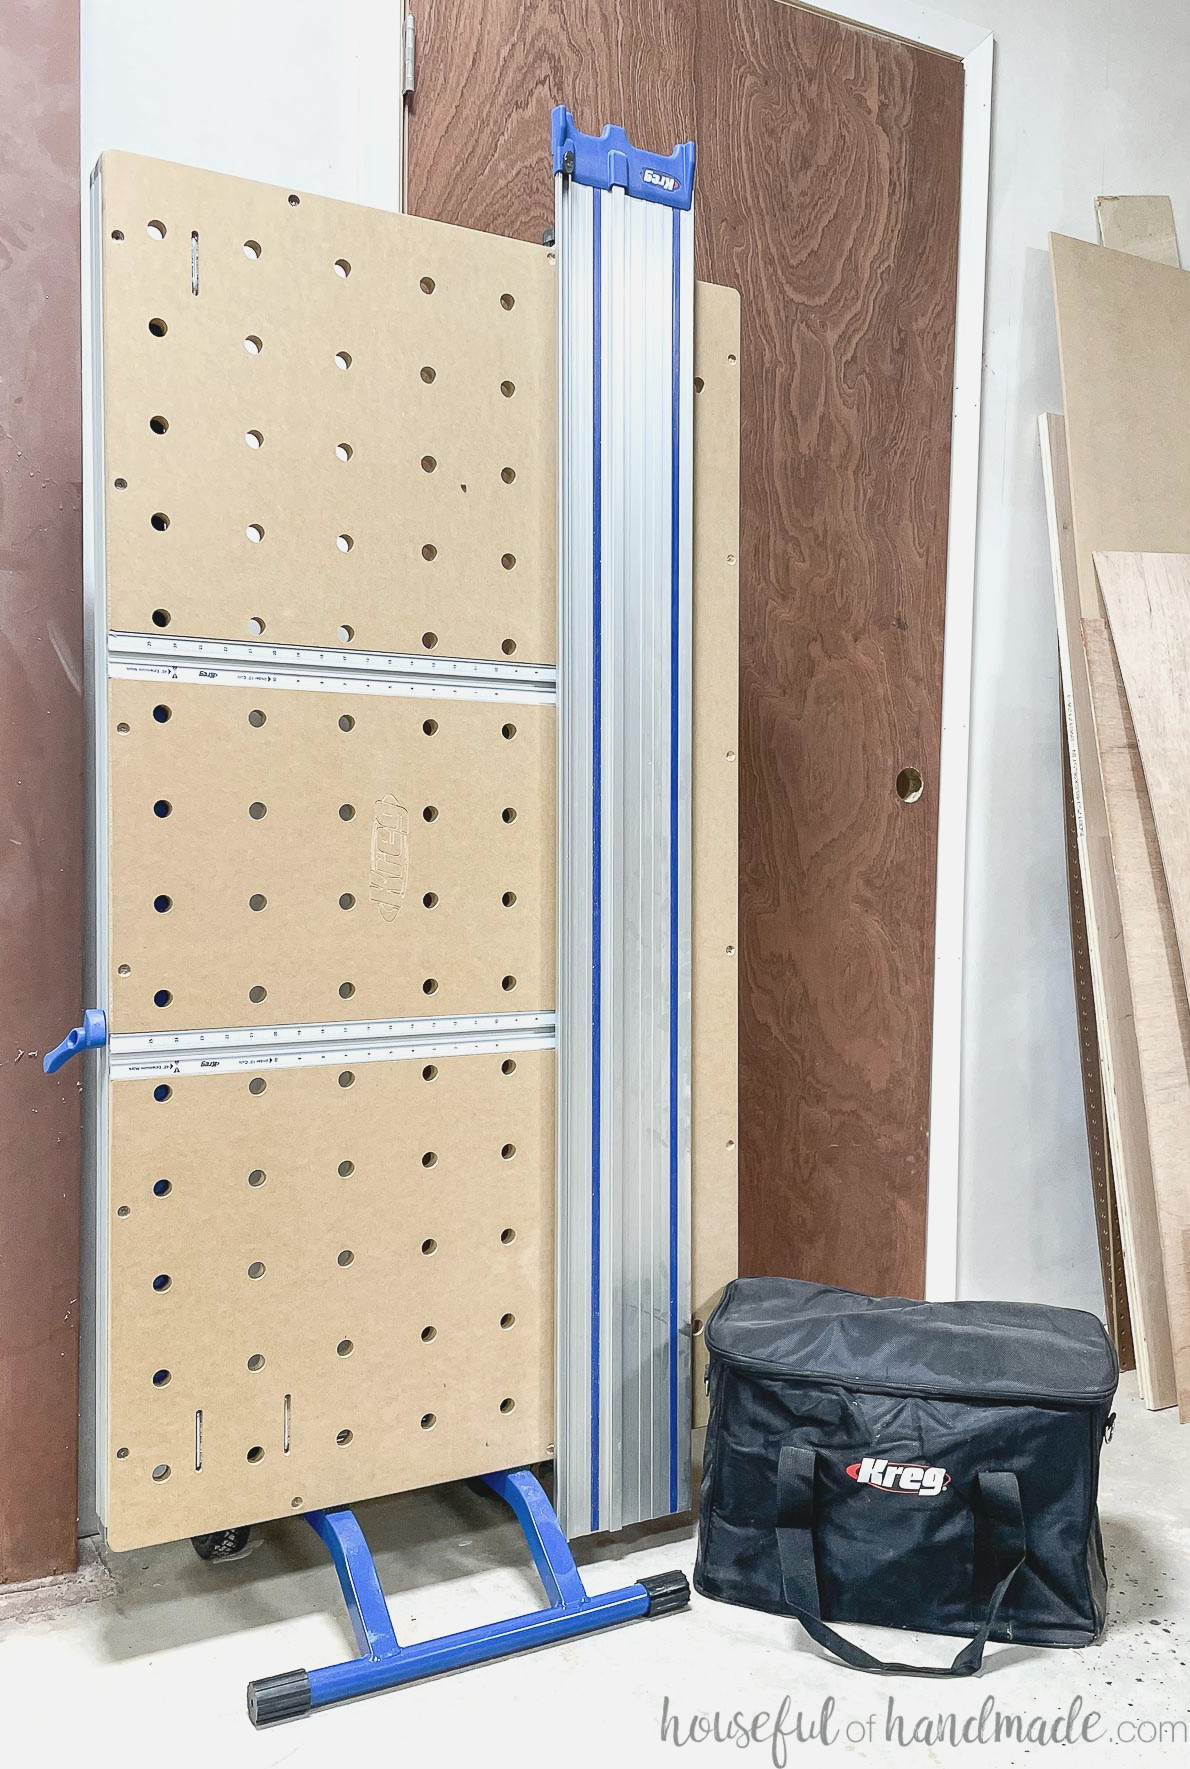
When it’s not in use, the table folds flat quickly and can be rolled out of the way!
Now, let’s return to the gorgeous cabinet 😉
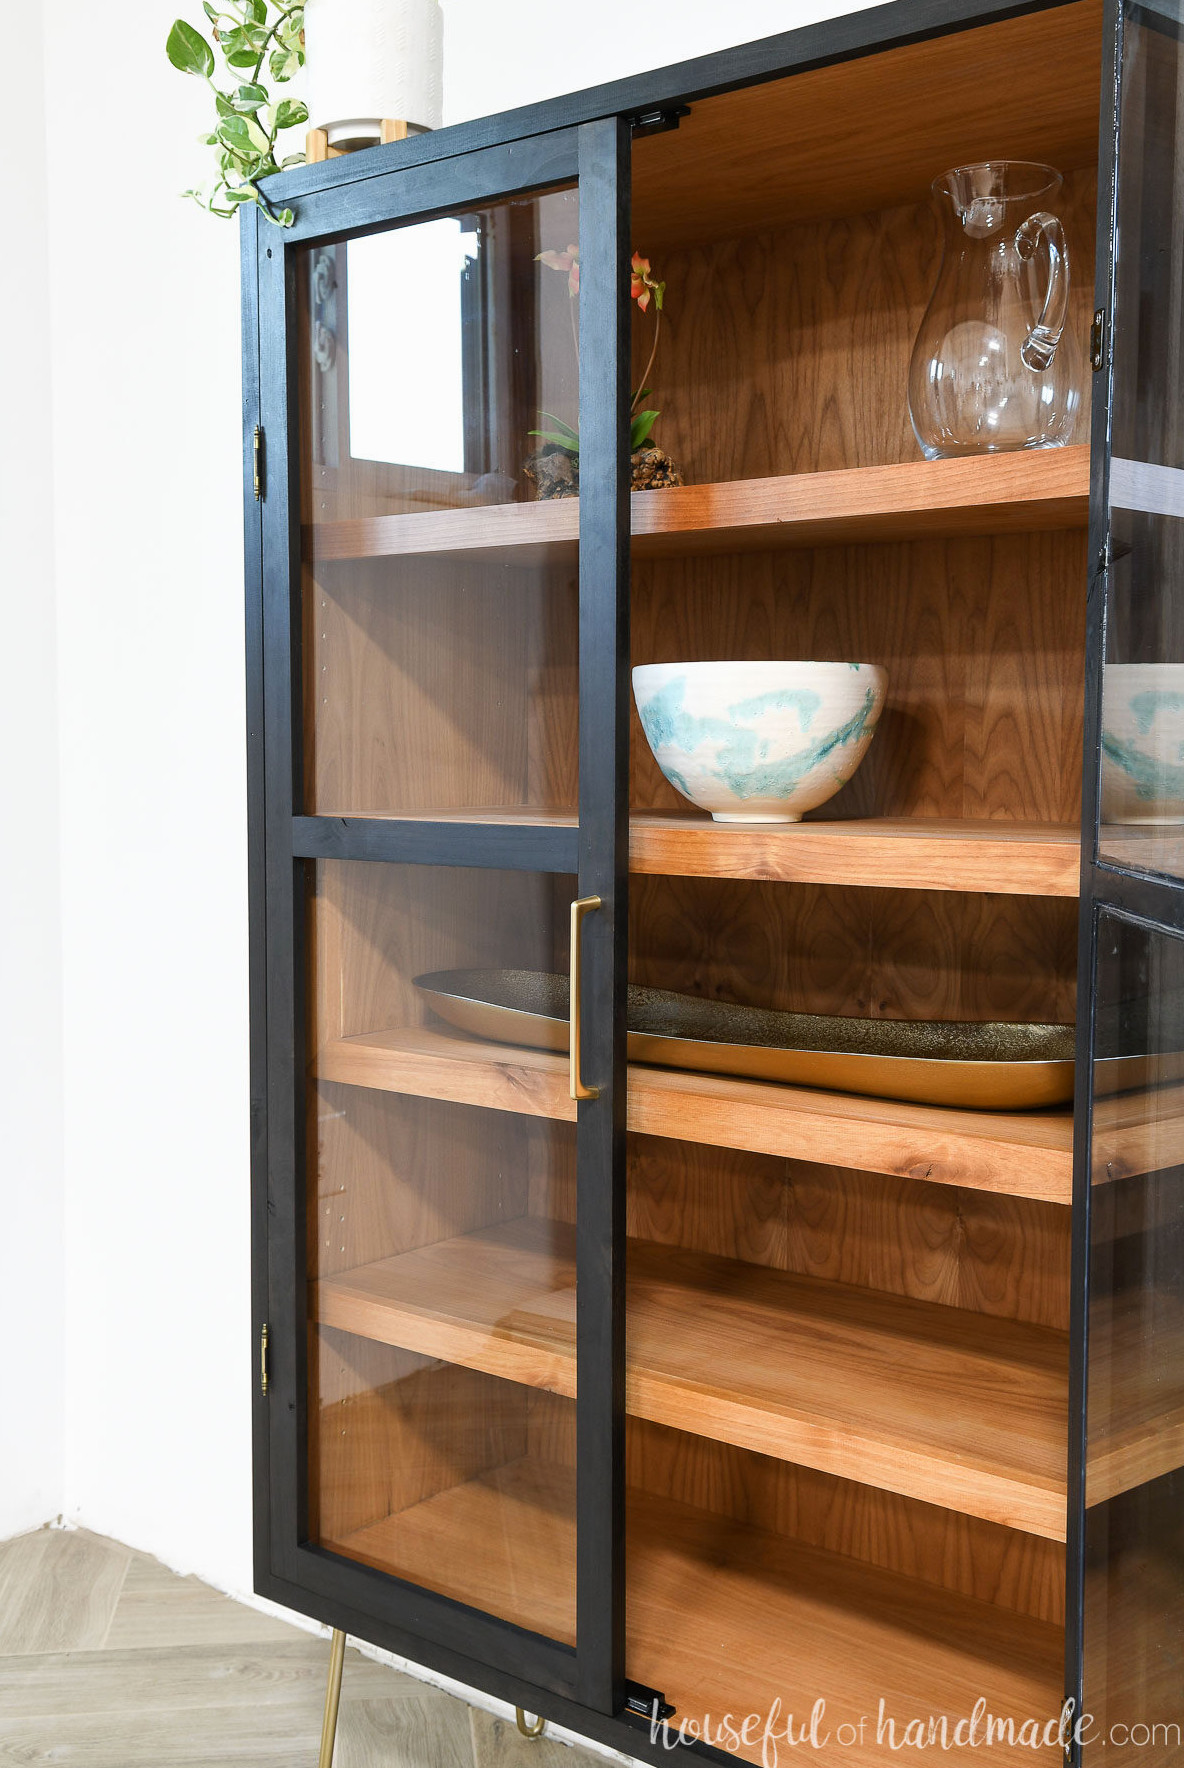
Cabinet with Glass Doors
A display or curio cabinet is an ideal way to feature and protect the lovely items you have collected over time.
The defining feature of a display cabinet is its glass-front doors, which let you exhibit everything inside. DIY glass cabinet doors may appear challenging, but they are surprisingly simple to construct!
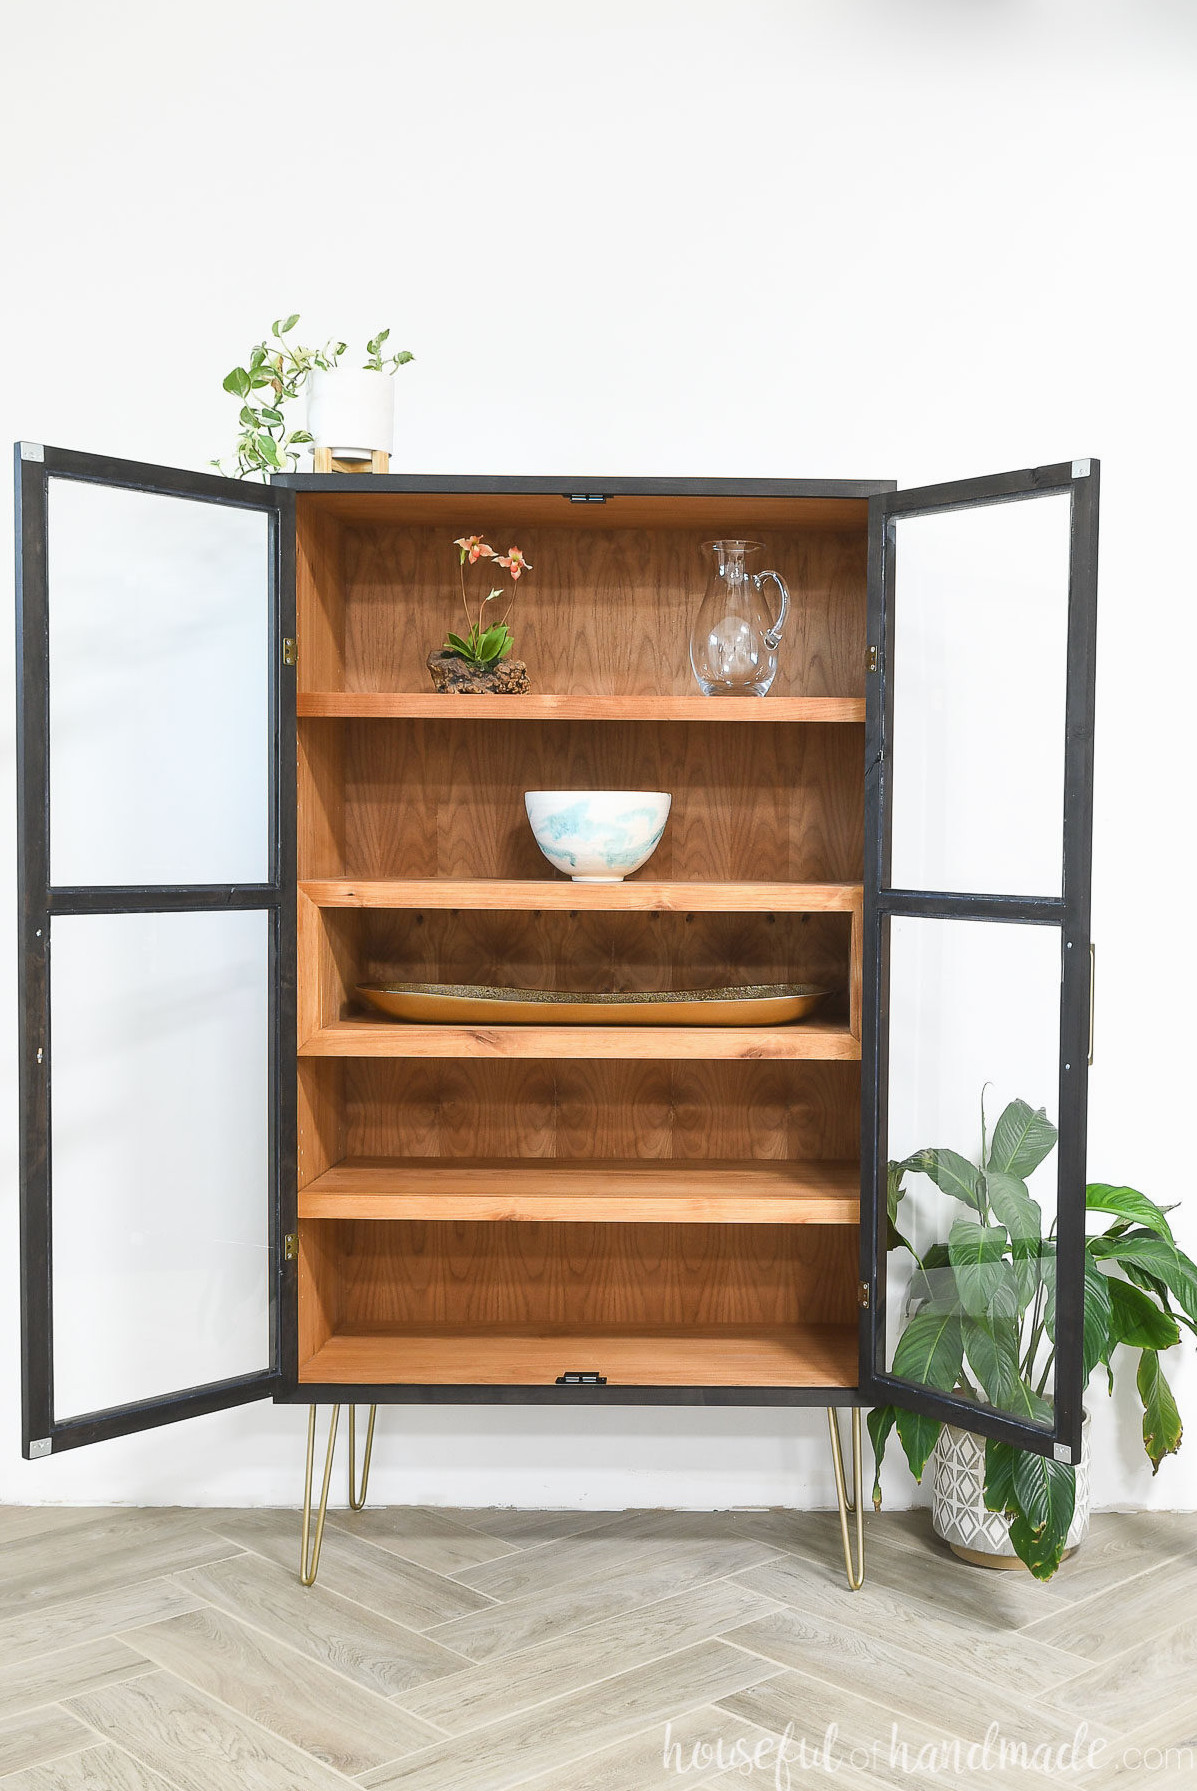
To give my display cabinet a modern appearance, I chose a straightforward cabinet design. Then I raised its style with attractive 12″ hairpin legs.
Feel free to choose whatever furniture legs you prefer. Higher legs will position the cabinet closer to eye level.
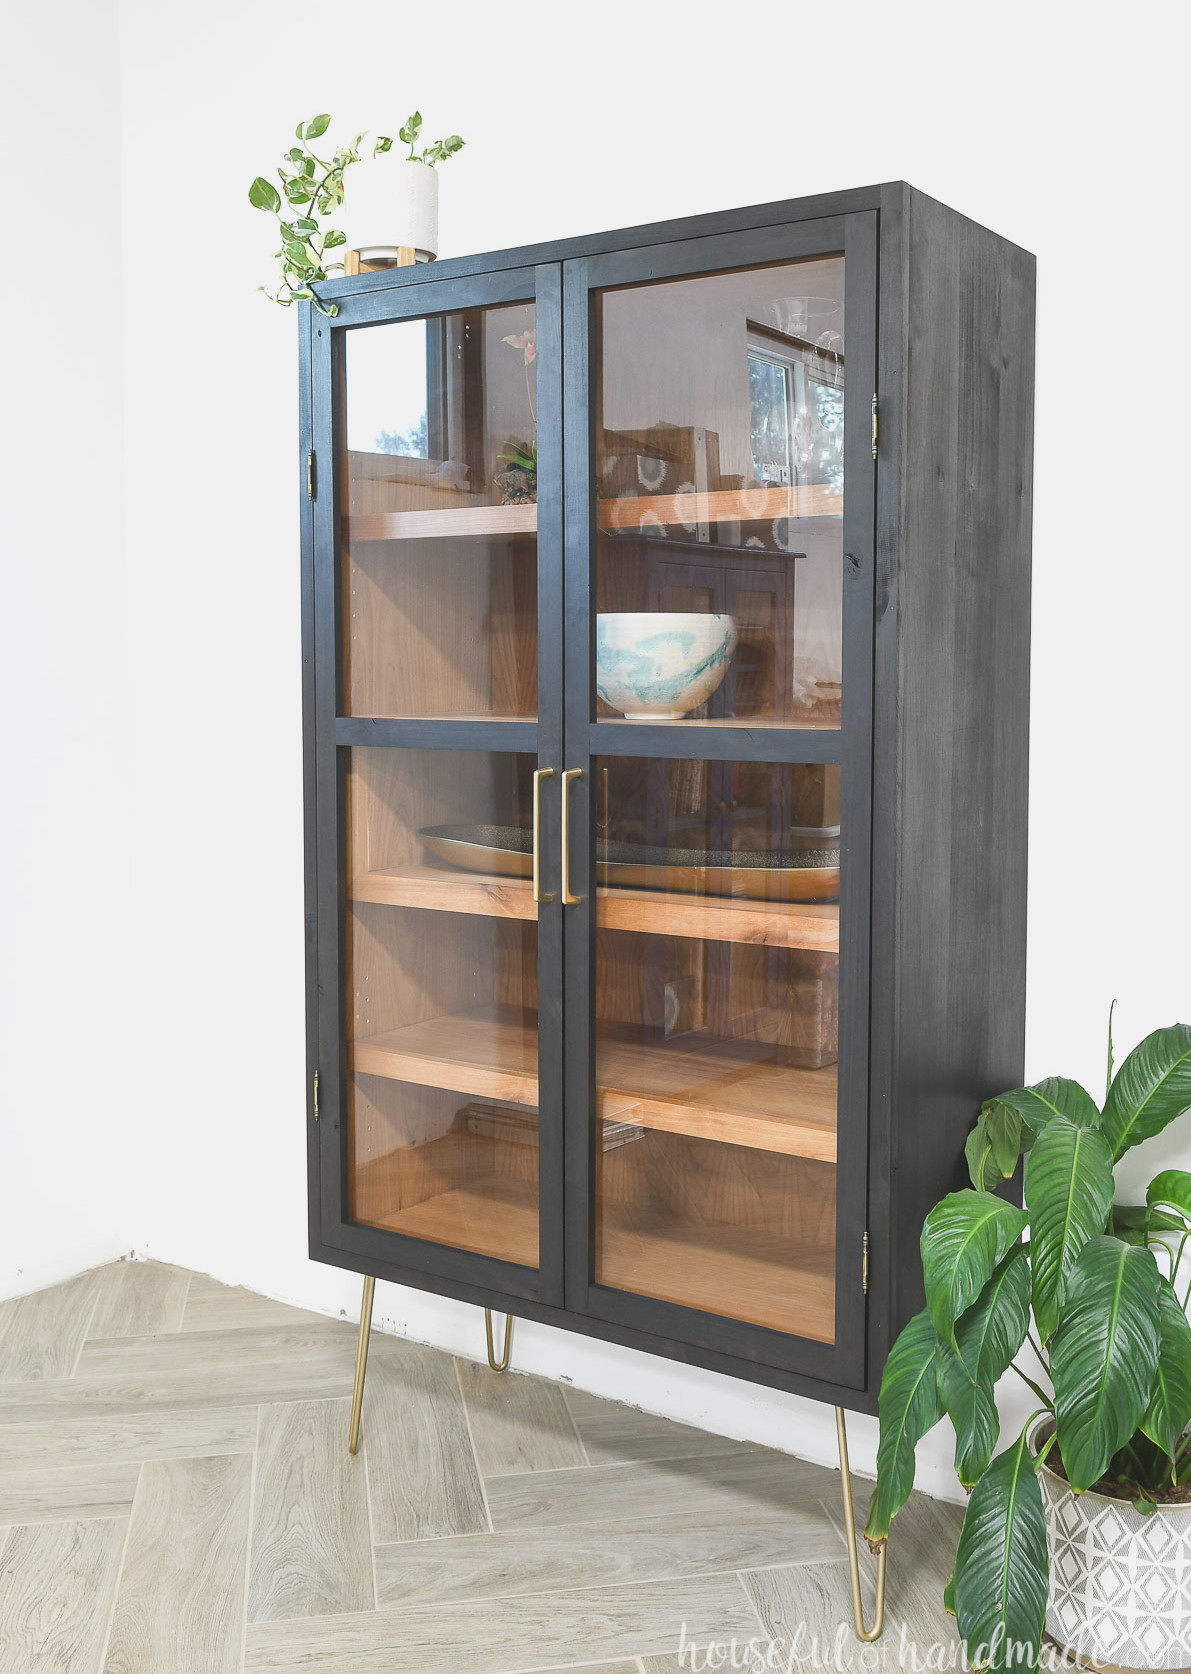
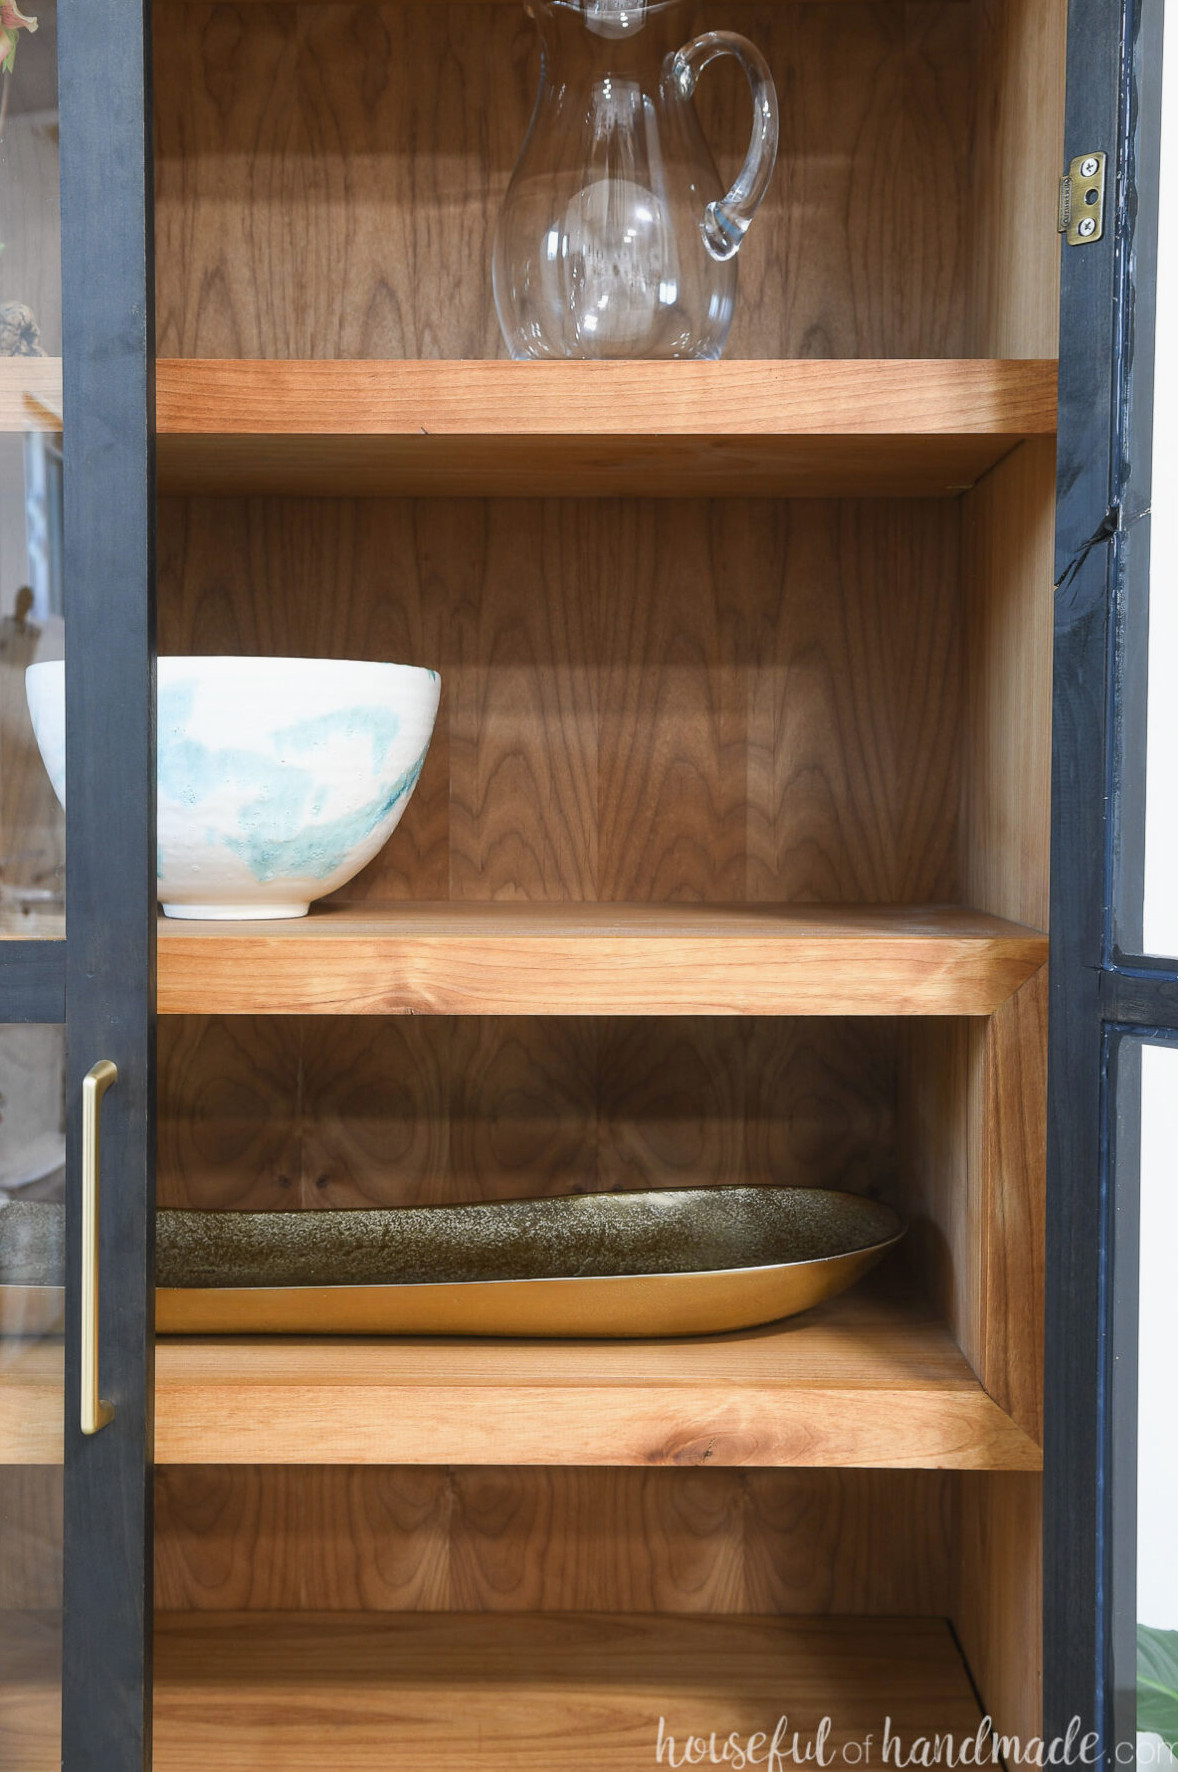
I also added a little extra character to the cabinet’s interior. Rather than making only a shelved cabinet, I included what I call a display cubby.
This built-in shelf provides support for the cabinet while adding visual interest. The display cubby is an ideal spot for smaller keepsakes.
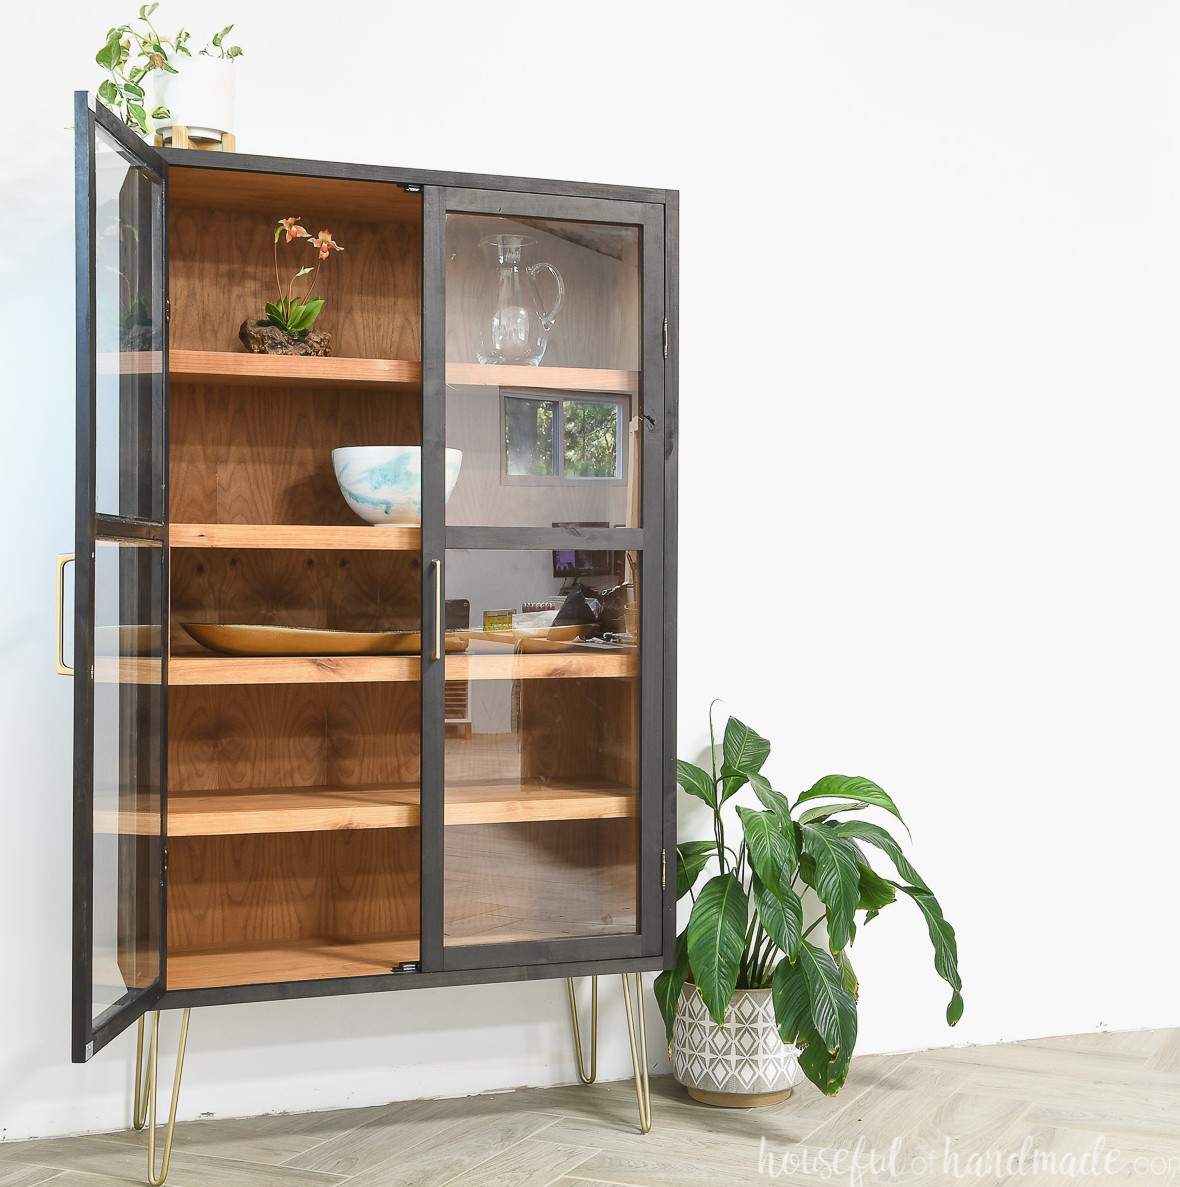
There are countless ways to use your DIY display cabinet throughout your home. It would also make a wonderful present for anyone who could use some additional storage.
Here are a few ideas for where to place your new curio cabinet:
- Place it in the dining room to showcase your serving pieces.
- Put it in the kitchen to hold additional dishware.
- Set it in the office to exhibit books and awards.
- Use it in the living room for antiques or vacation keepsakes.
- Position it in the bedroom to hold spare linens and trinkets.
No matter where you choose to put your display cabinet, building it is an enjoyable project. The simple cabinet box becomes something entirely new and transforms into a beautiful piece!
Additional DIY Storage Ideas
An orderly home is hard to beat. Organize your space with plenty of creative DIY storage projects.
Building a DIY Display Cabinet
Tools & Supplies
Overall Measurements
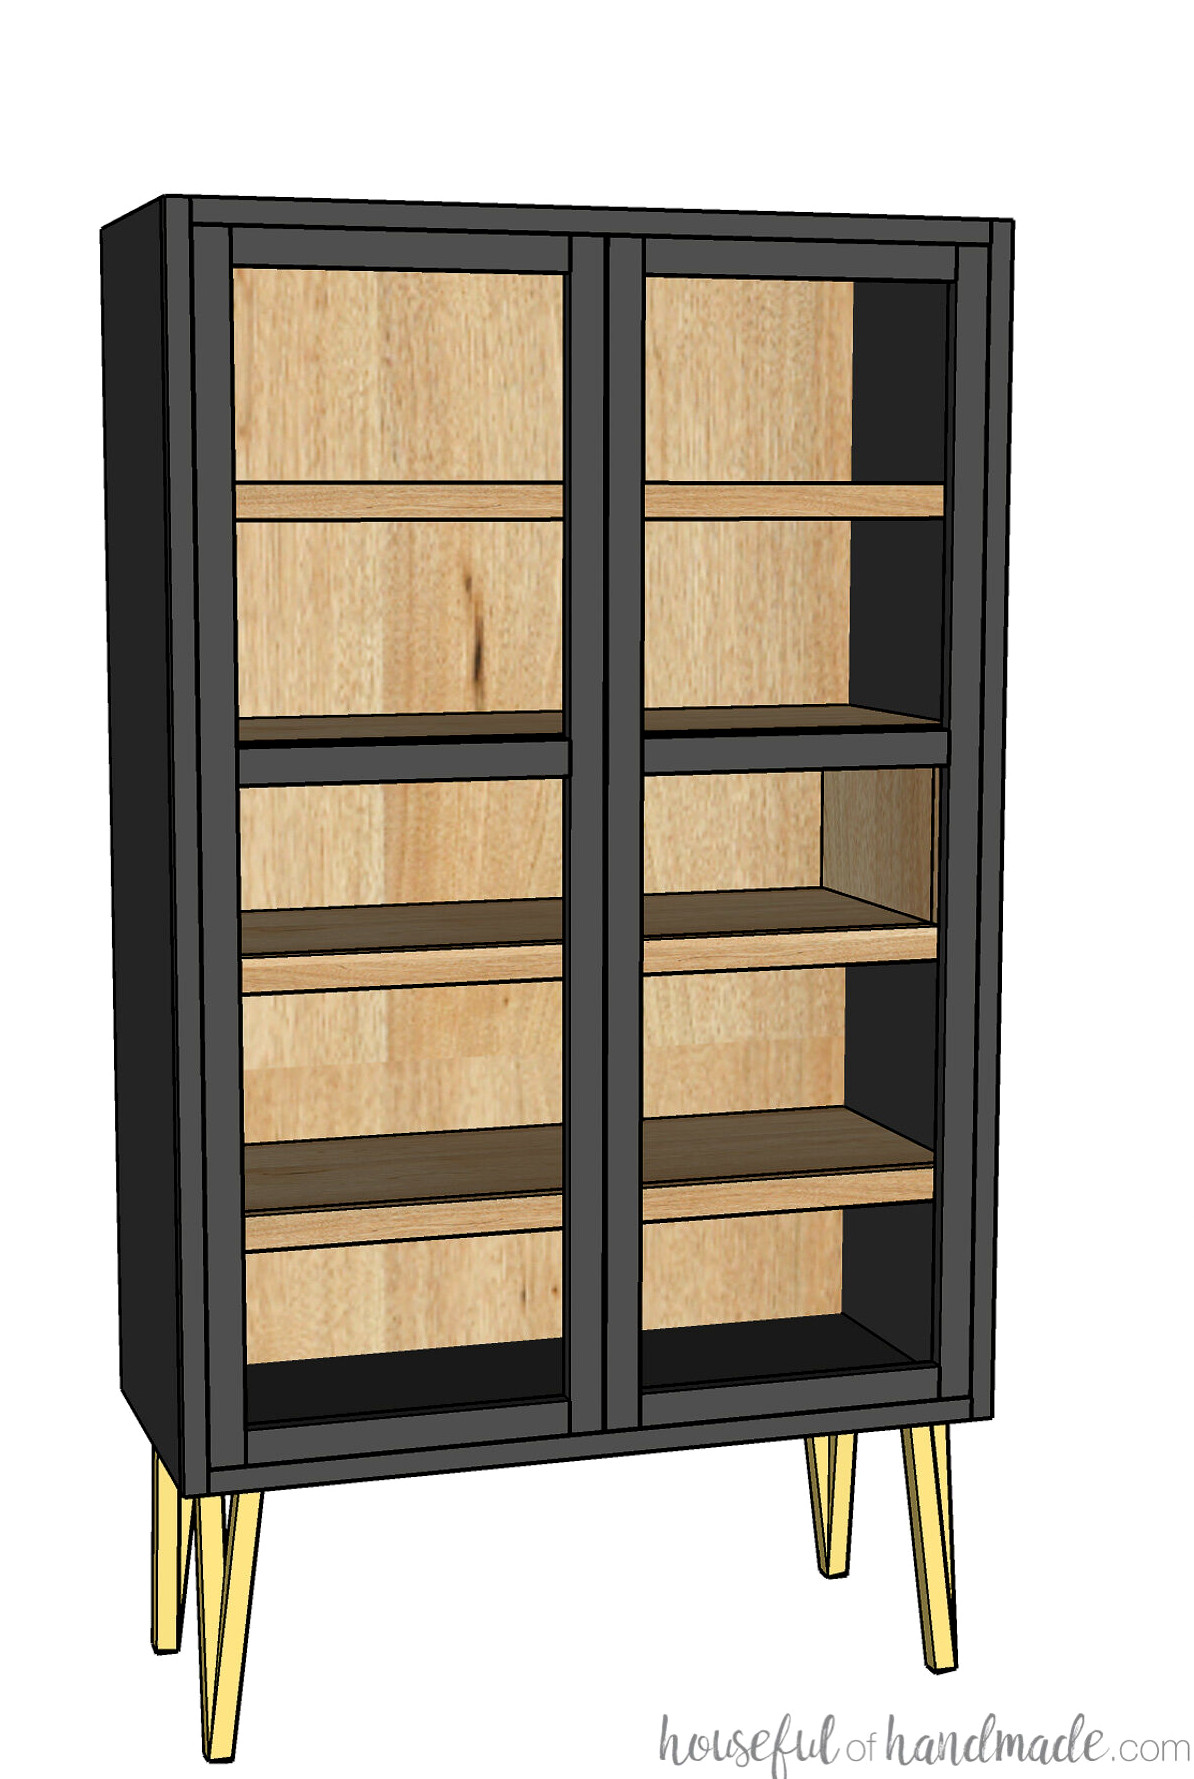
The finished display cabinet measures 52″ high without the legs and 64″ high with 12″ furniture legs.
The cabinet measures 36″ wide by 15 3/4″ deep. The cubby and adjustable shelves measure 13 1/2″ deep.
STEP 1- Cut down the plywood
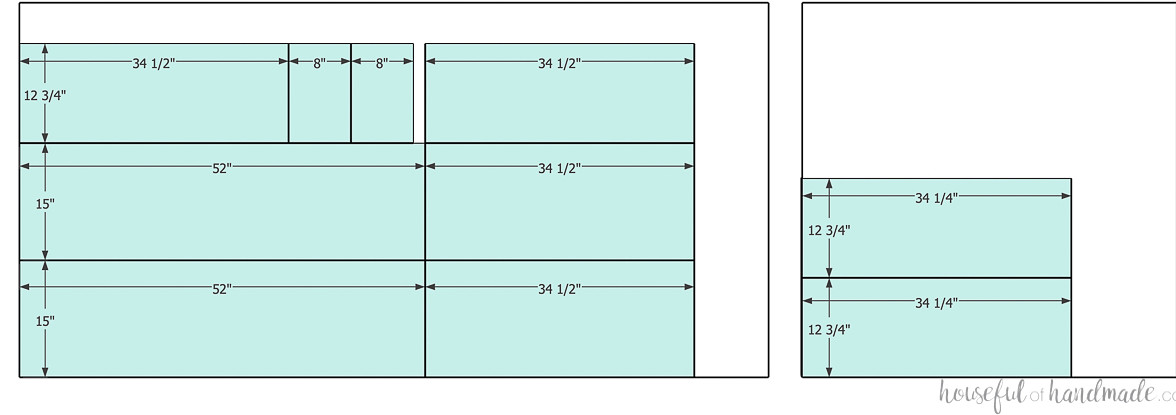
Break the plywood down following the diagram included in the plans.
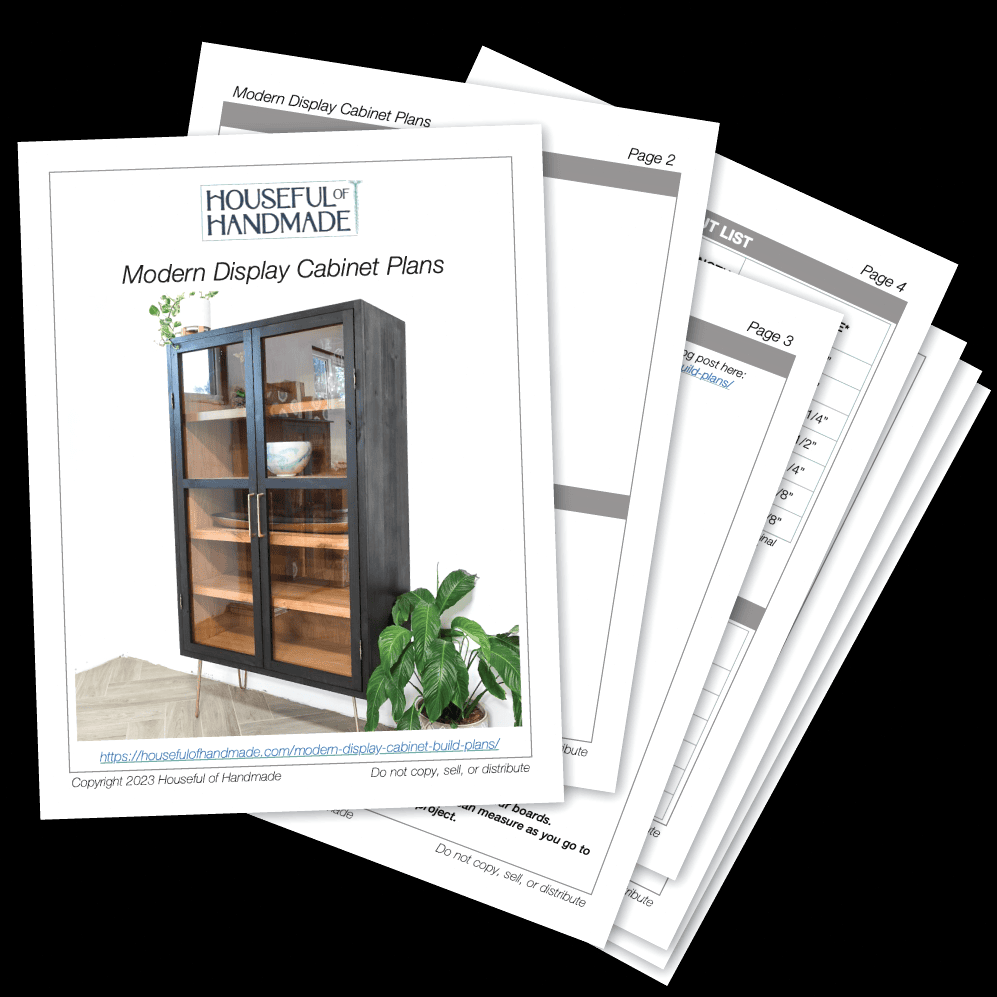
Download the Premium PDF Woodworking Plans
PDF plans contain- An Easy-to-Follow Cut List, Shopping List, Suggested Tools, Step-by-Step Directions with 3D illustrations, & Useful Resources
BONUS- 3D SketchUp Model
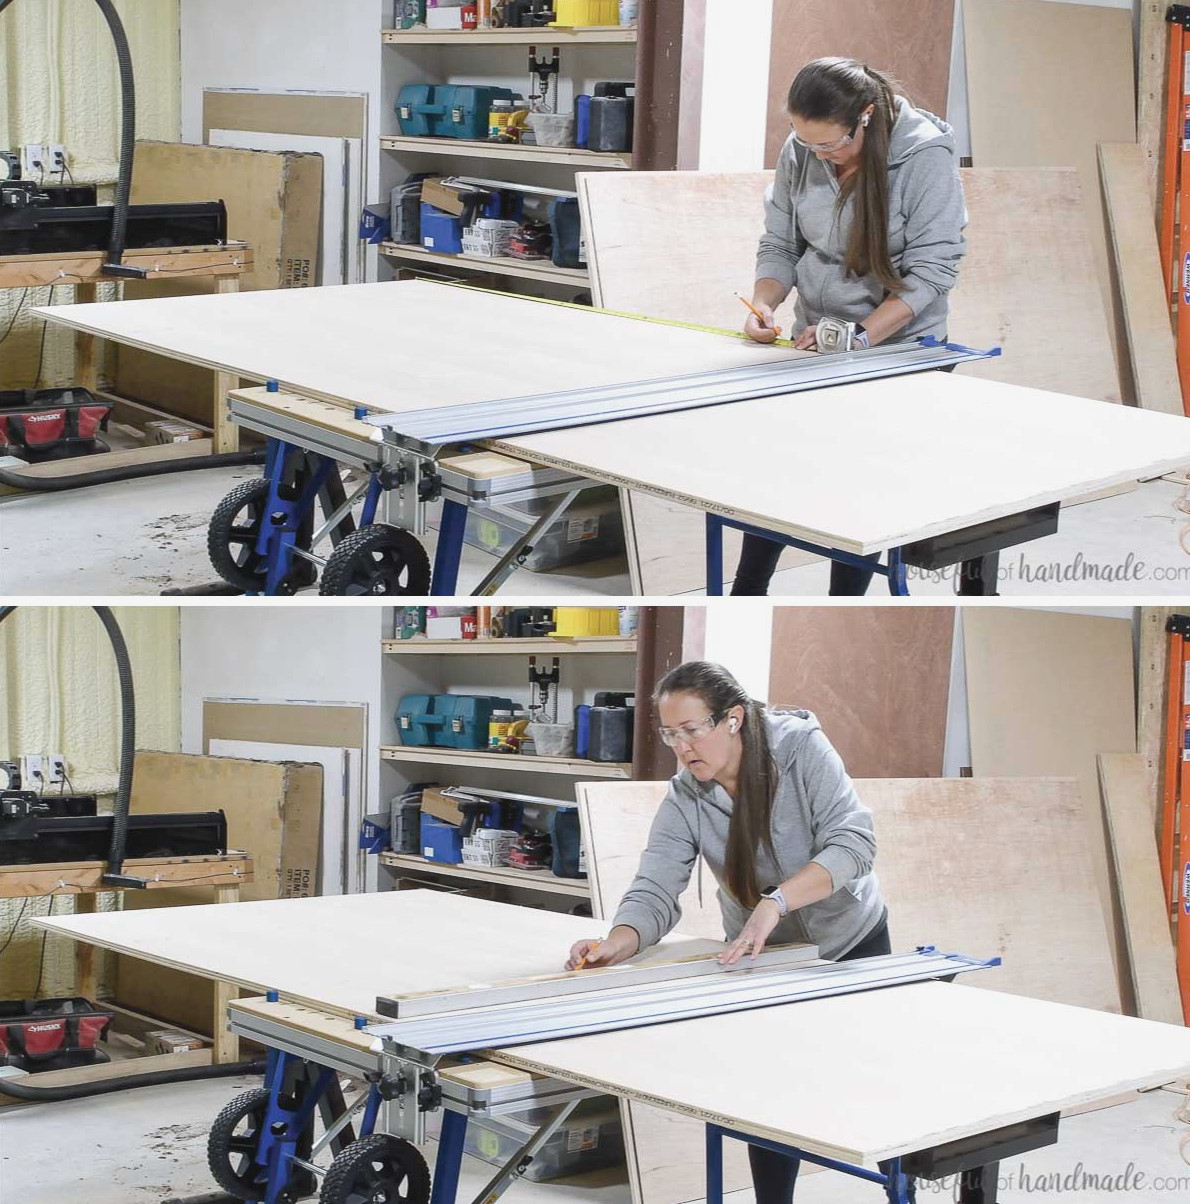
The ACS works wonderfully for cutting down complete sheets of 3/4″ plywood. It allows a smaller individual, such as me, to handle these heavy sheets without requiring an extra pair of hands.
Begin by trimming approximately 1/4″ from one short edge to create a straight edge. Be sure to push the plywood against 3 stops at the table’s far end so the resulting cut is square with the sides.
Turn the plywood over so the freshly cut edge rests at the back of the ACS table.
The ACS project table includes stops for making repeated cuts up to 48″. However, the initial cut must be measured manually.
Starting at the clean edge, measure 52″ and mark the spot. Add several marks across the plywood, then use the straightedge to join them.
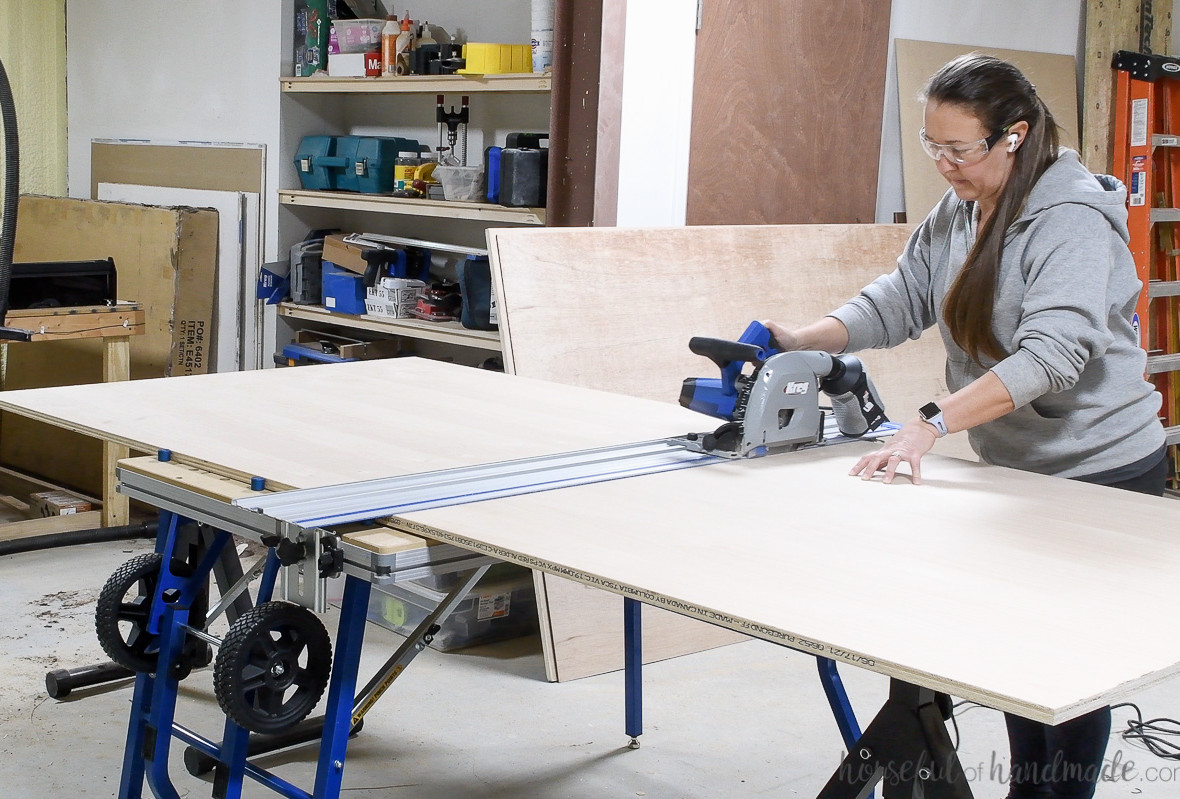
Insert three stops into the table in a row at the far end. Push the plywood against the stops and align the marked line with the blue anti-chip strip on the track.
Lower the track and follow it with the plunge saw, adjusted to a 3/4″ plywood depth.
Repeat the process to cut a 34 1/2″ section from the remaining plywood. This time, use the measuring extender adjusted to the 34 1/2″ mark.
Next, push the plywood against all the stops and make the cut.
The 52″ section must be divided into (2) 15″ pieces and (1) 12 3/4″ piece.
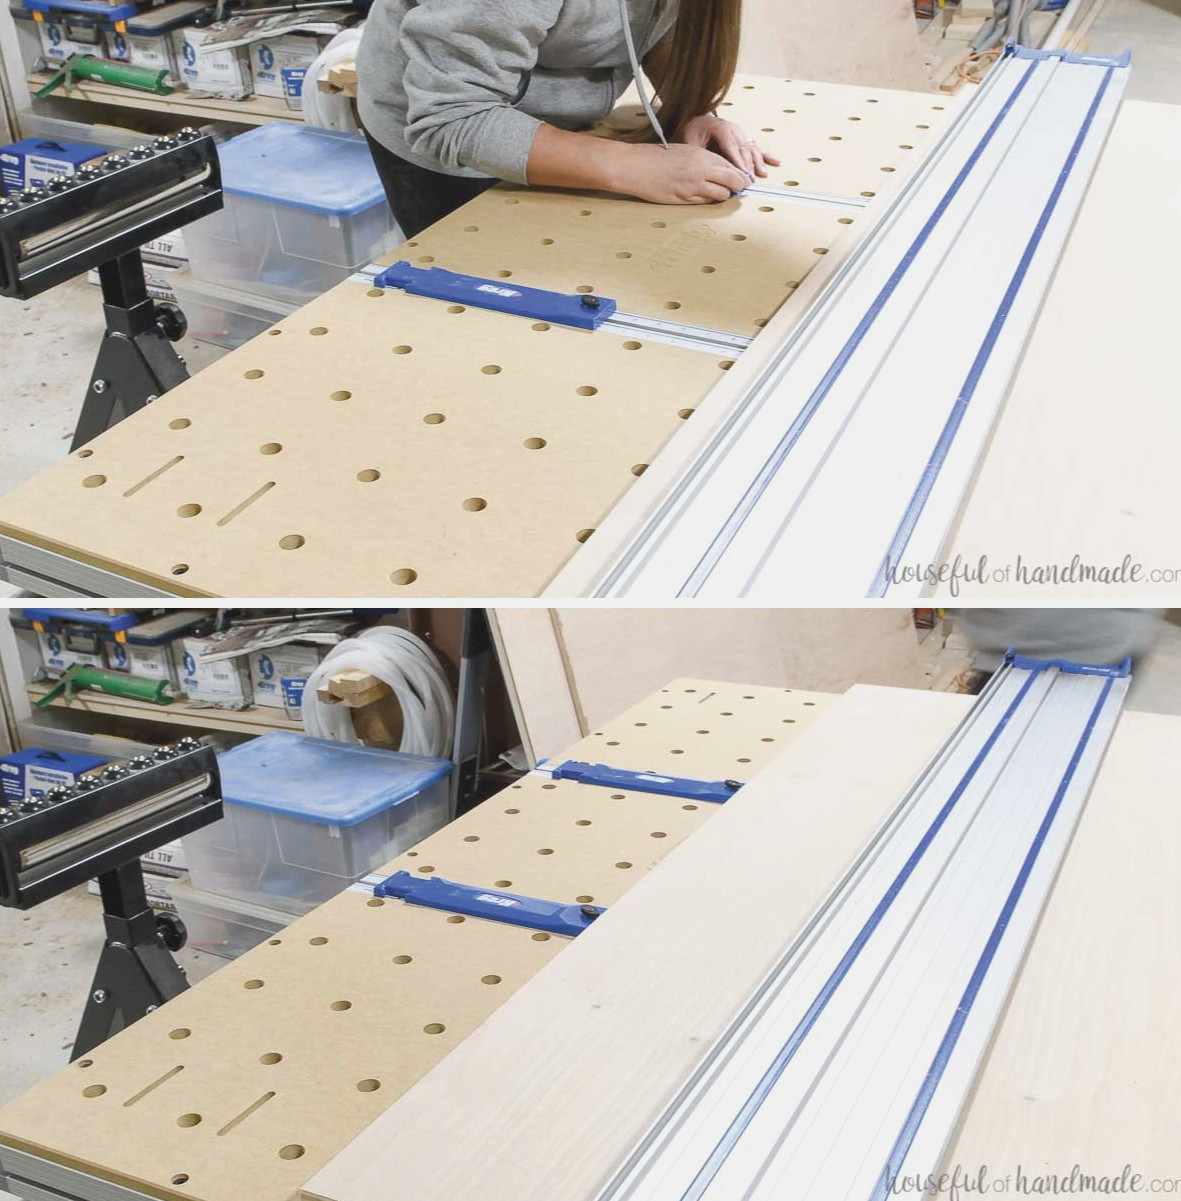
I cut the 52″ sections on the cutting table. Rather than using a stop, I carefully held the plywood against the bracket supporting the track.
Alternatively, remove the track and cut the piece with the plunge saw on a sheet of firm foam.
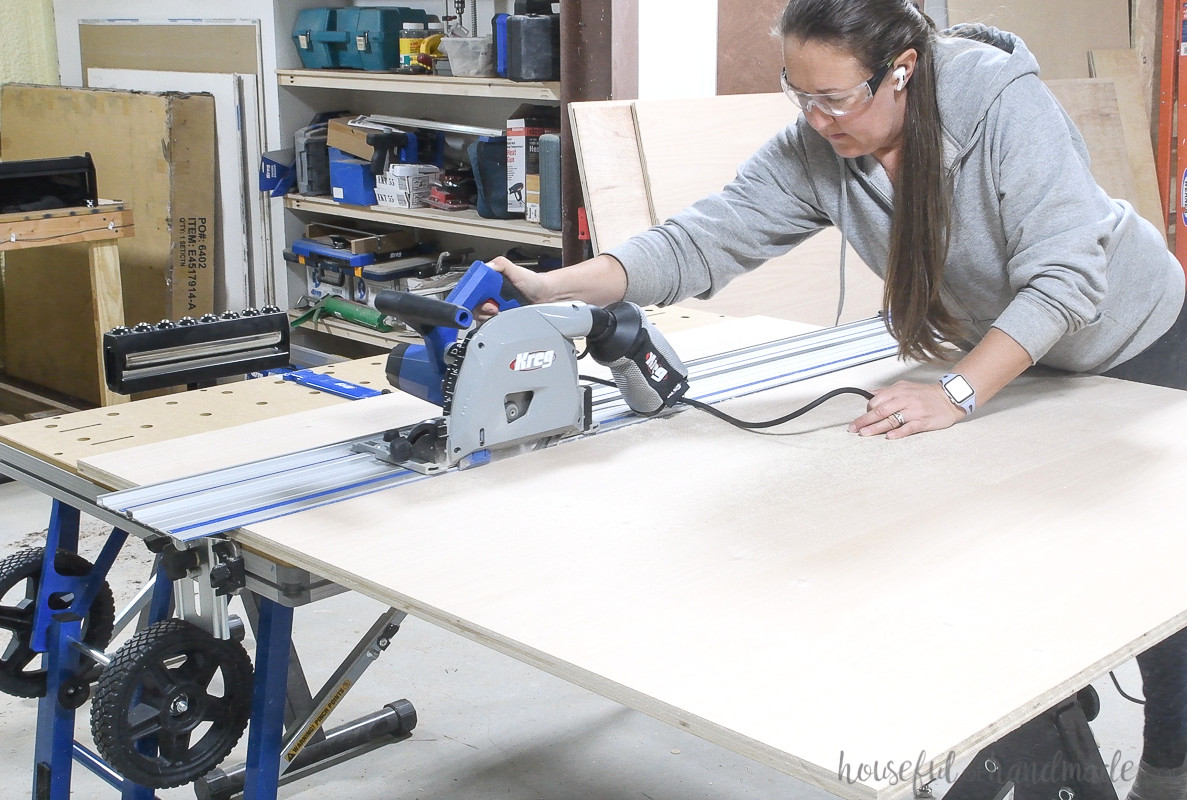
Finally, from the 12 3/4″ pieces, cut (1) 34 1/2″ piece and (2) 8″ pieces.
For cross-cutting, position the stops in a row near the measuring tracks. Adjust the blue guides to the desired measurement. Then push the board against both the stops and guides.
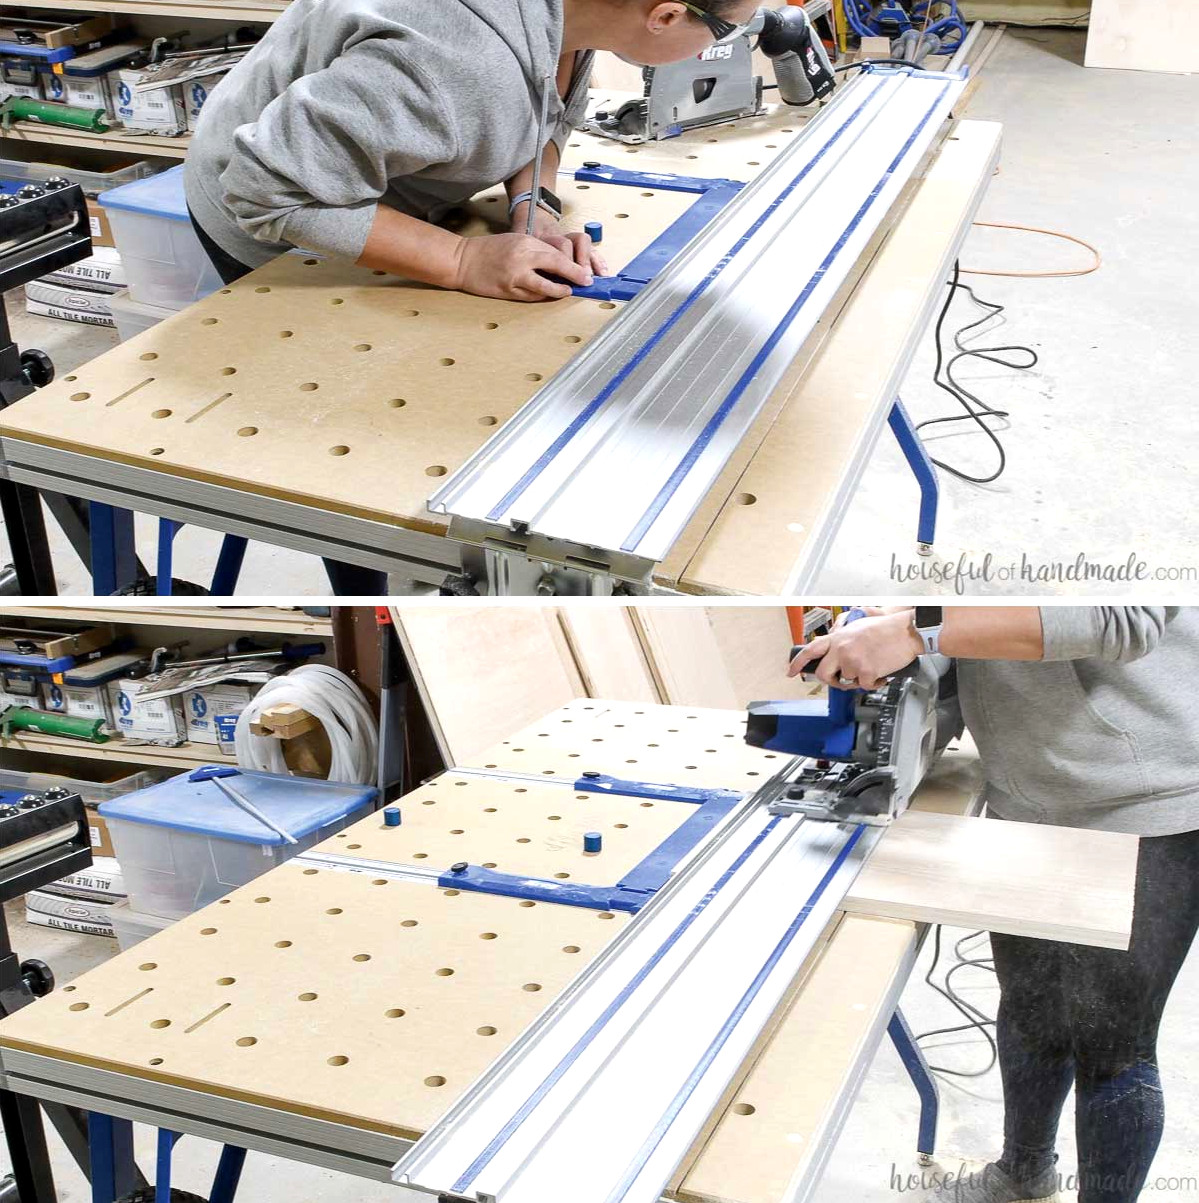
Use the plunge saw to cut the board.
Divide the 34 1/2″ section into (2) 15″-wide pieces and (1) 12 3/4″ piece.
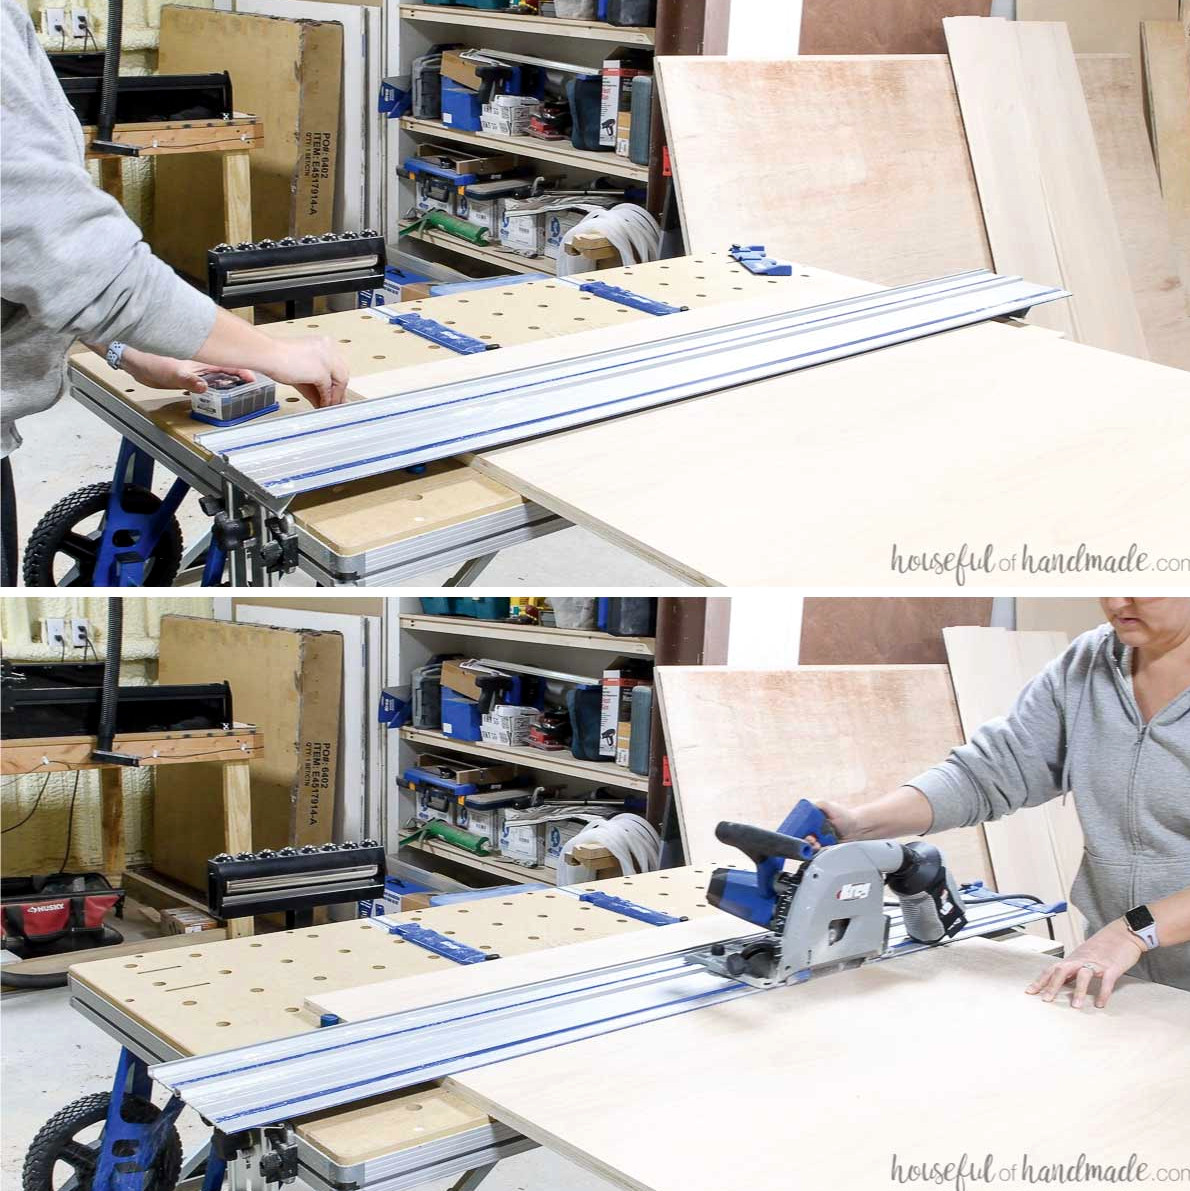
These pieces complete the cabinet requirements. To include adjustable shelves, cut 12 3/4″ x 34 1/4″ sections from the second plywood sheet.
STEP 2- Rip the face-frame and door boards
Cut each piece based on the diagram in the woodworking plans.
The cabinet’s face frame uses 1″-wide boards, while the remaining components use 1 1/2″ boards.
You can purchase 1×2 boards and rip the 1″ face-frame pieces yourself, or follow my approach. I bought 6 1/2″-wide boards from a nearby lumber yard and ripped them to the 1″ and 1 1/2″ widths required.
At the lumber yard, I had the boards planed and one side flattened with the jointer.
Use the ACS to trim the boards to their required lengths. This makes sure the two matching face-frame or door pieces are identical in length, resulting in neatly squared frames.
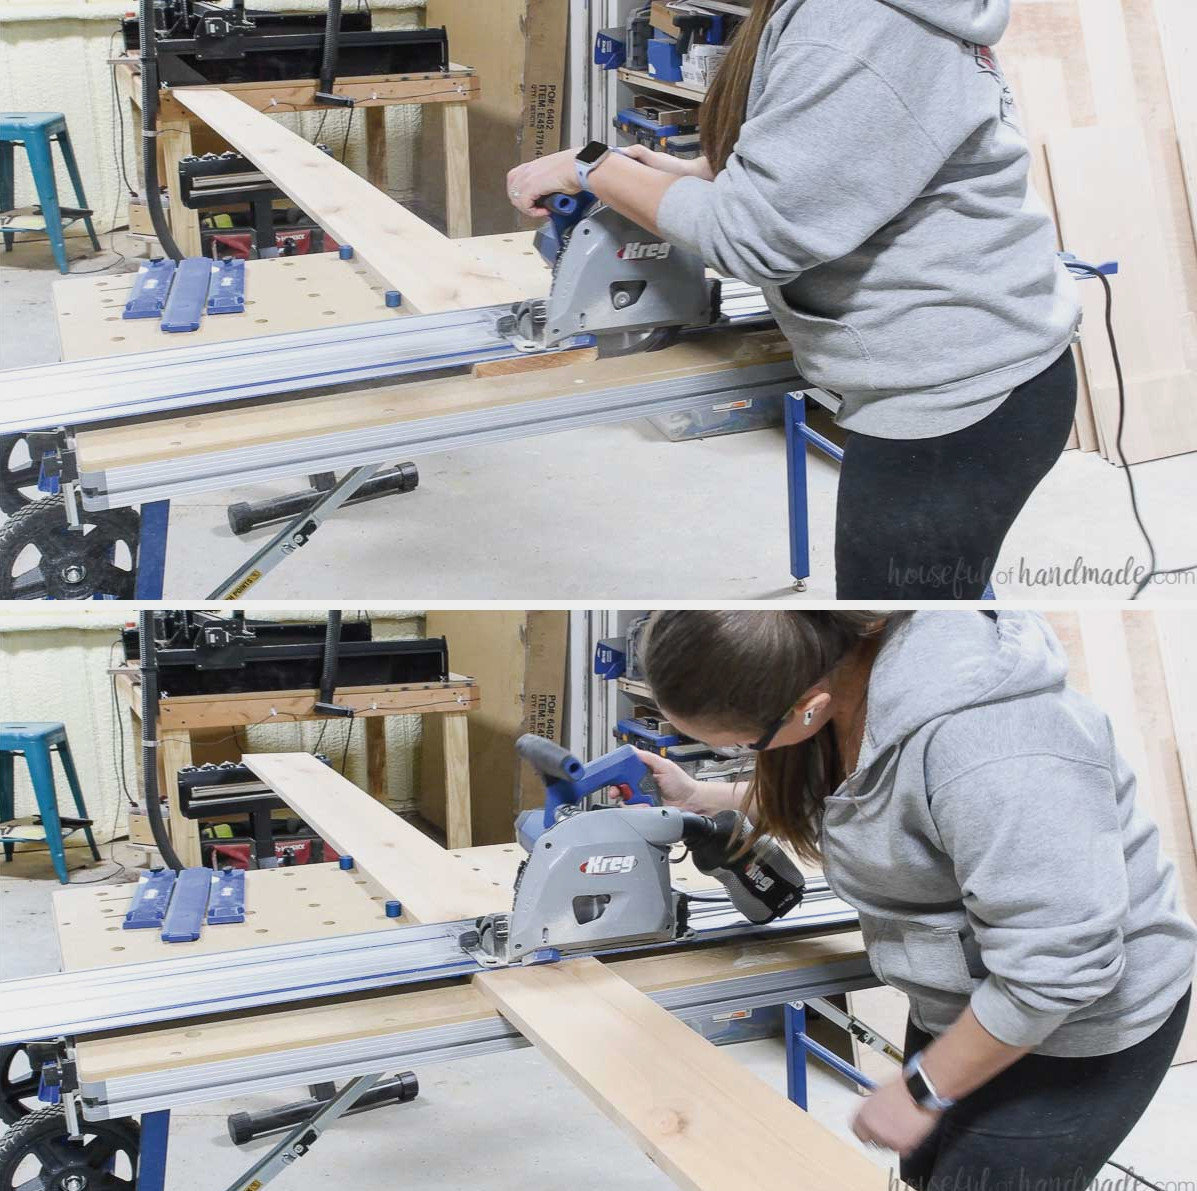
Arrange the stops in a straight line so the board’s length can rest against them, keeping it square to the cut.
Use the measuring guides to position the stops at the back for your measurements.
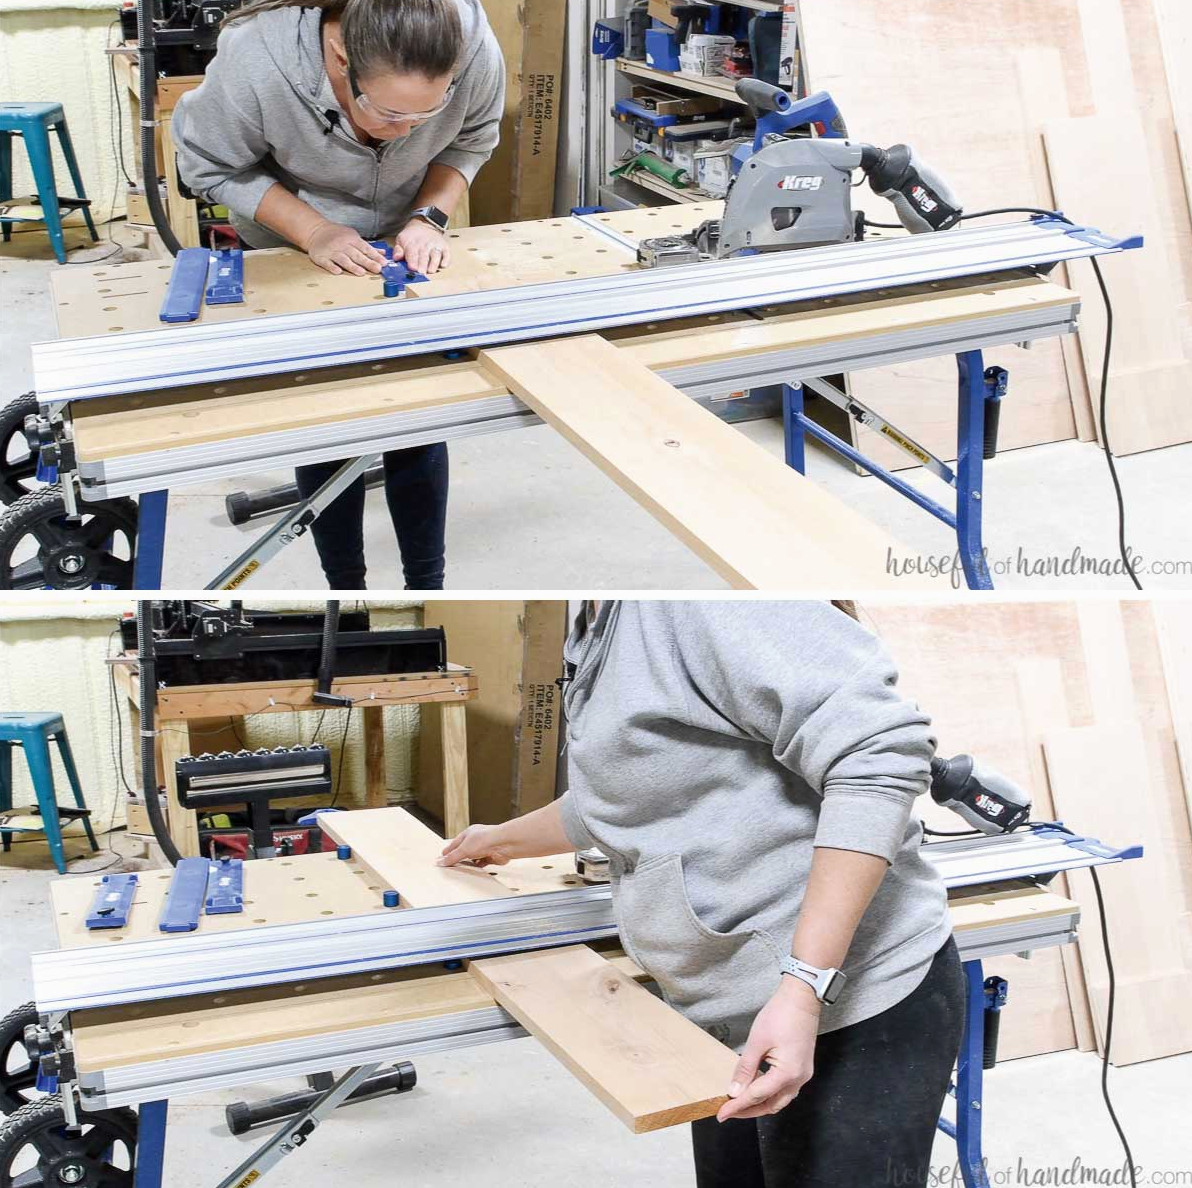
After cutting every board to length, rip them to width.
Set the bridge between the measuring guides, then slide it to the required measurement. It will tuck beneath the track.
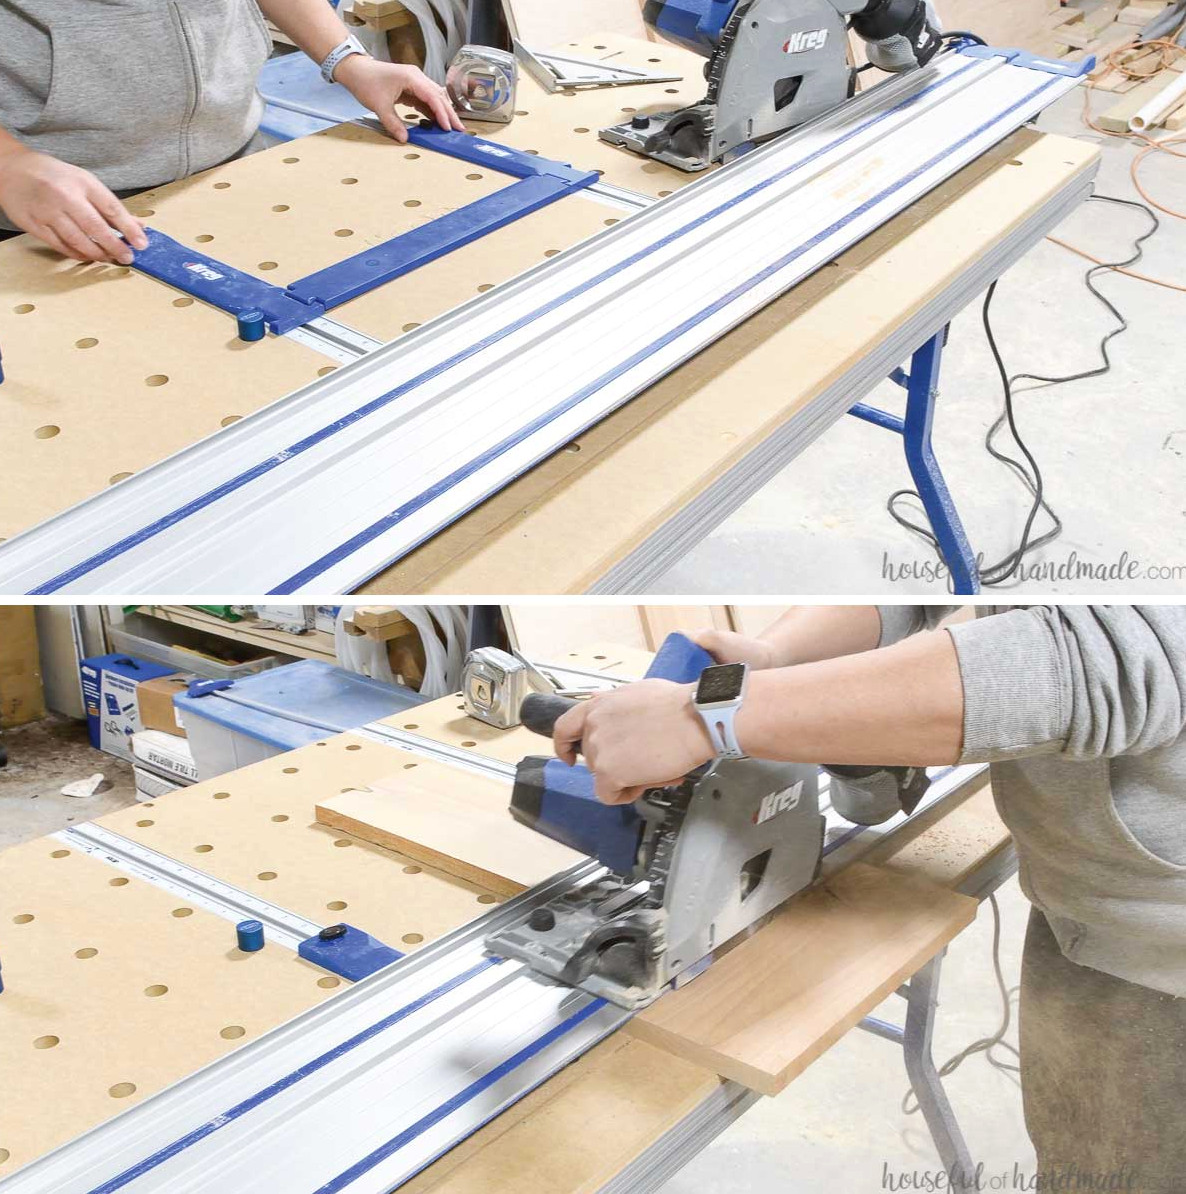
Position a stop on the table ahead of the guides. For the shorter pieces, place it beneath the track near the measuring guides. For longer pieces, set it in front of the track at the table’s left corner.
Slide the board lengthwise beneath the track, pressing it against the measuring guides and bridge. Push it firmly against the stop.
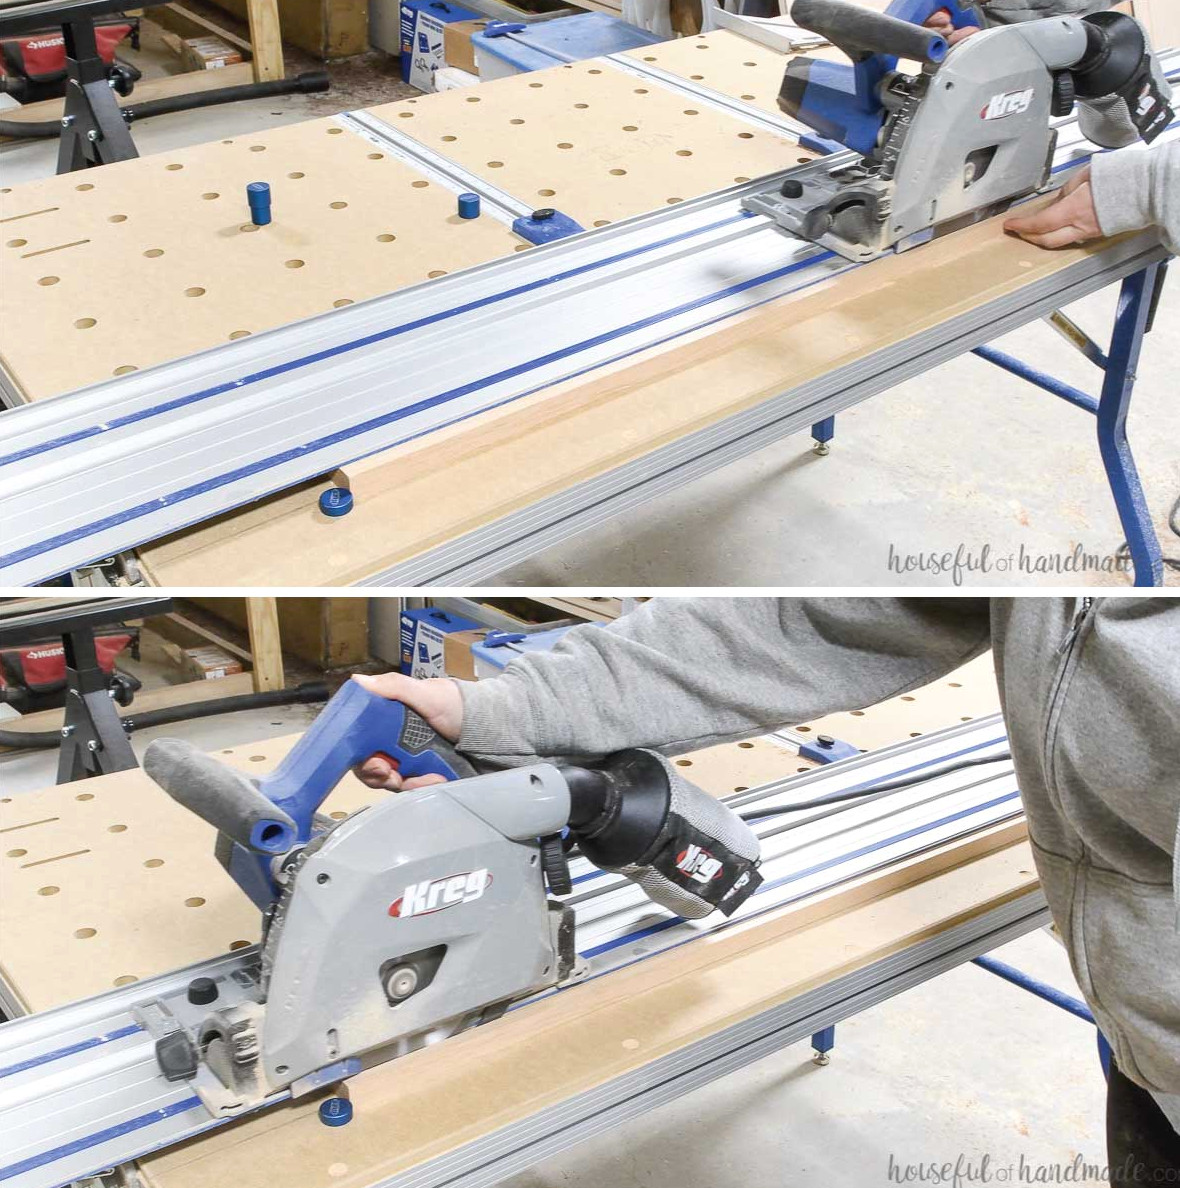
I found that placing additional pieces beneath the track also helped maintain a square position against the table while ripping.
Lower the saw and cut the piece.
For the 52″ long pieces, I used small clamps to secure the board corners and prevent movement during cutting because the stops could not be used.
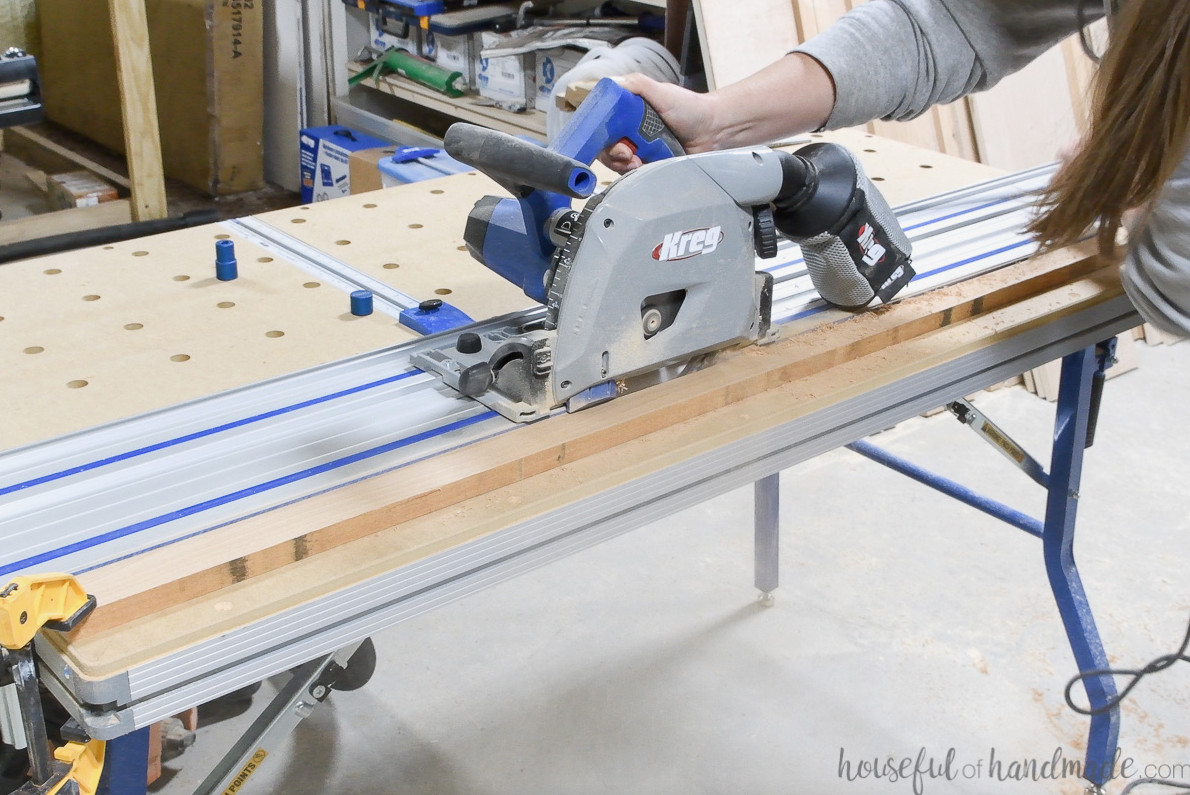
Continue the process for every required rip cut.
The corners of the cubby face frame pieces must be mitered.
On the ACS, arrange the blue stops diagonally across the table. Their laser-cut design creates an exact 45-degree angle.
Set the face frame board against the stops, aligning the upper corner with the cut line. Lower the track and make the cut.
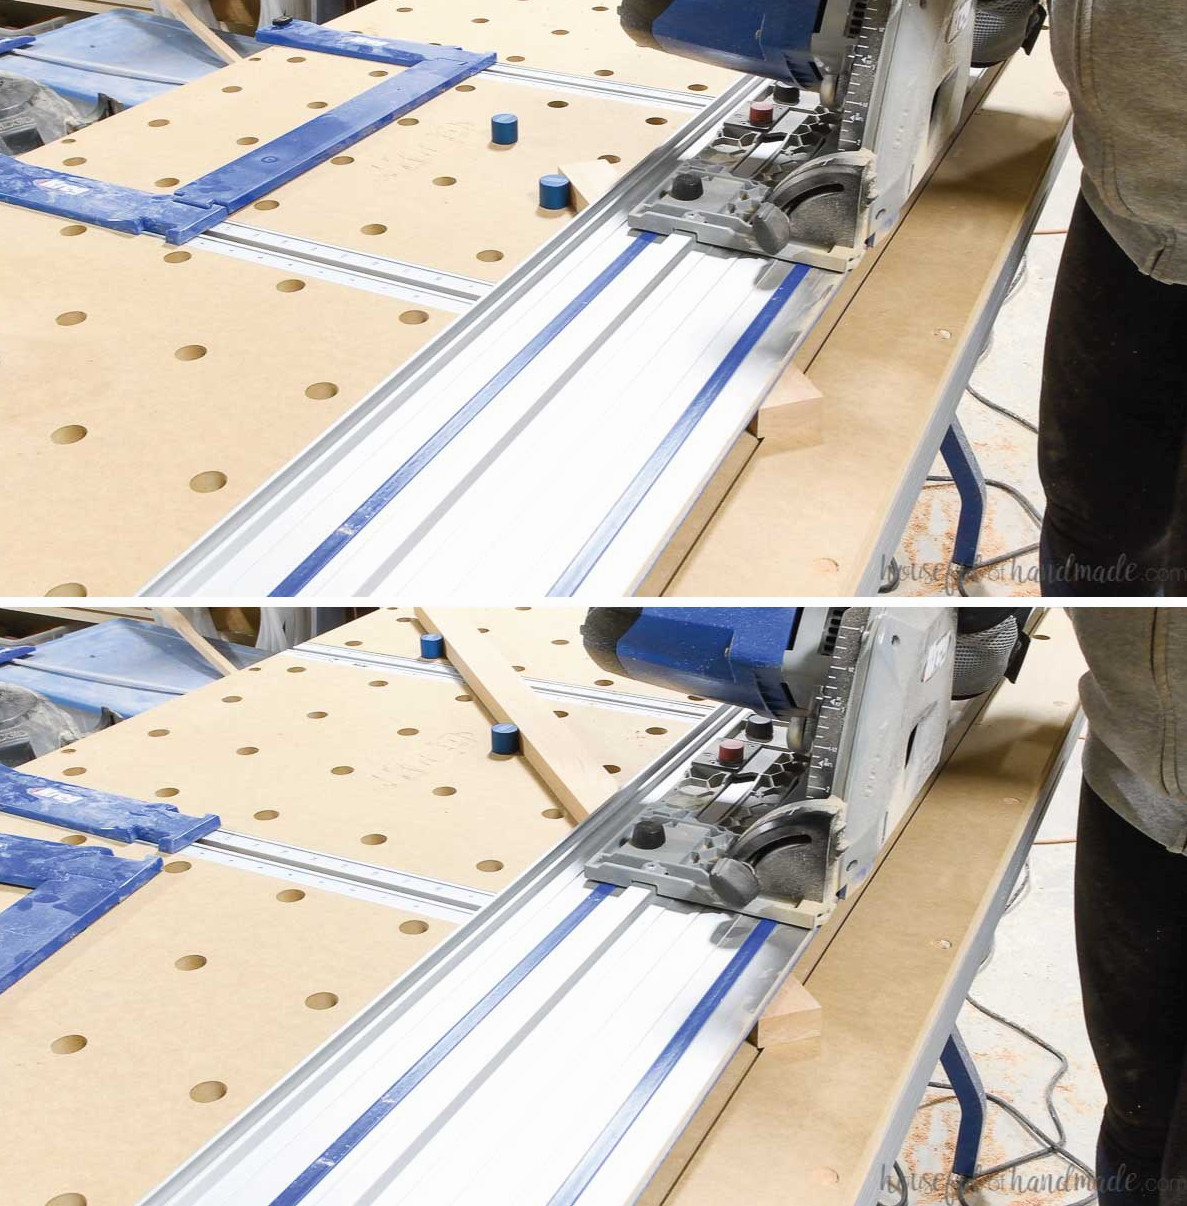
Repeat the process on the opposite side, angling the miters toward one another.
STEP 3- Build the cabinet box
Once all the pieces are prepared, you can begin assembling!
The display cabinet consists of a basic cabinet box with 2 sides, a top, and a bottom! The bottom shelf is positioned above the sides’ bottom edges so it aligns with the face frame’s top.
Create pocket holes for 3/4″-thick material along the sides and the front edges of the top and bottom pieces.
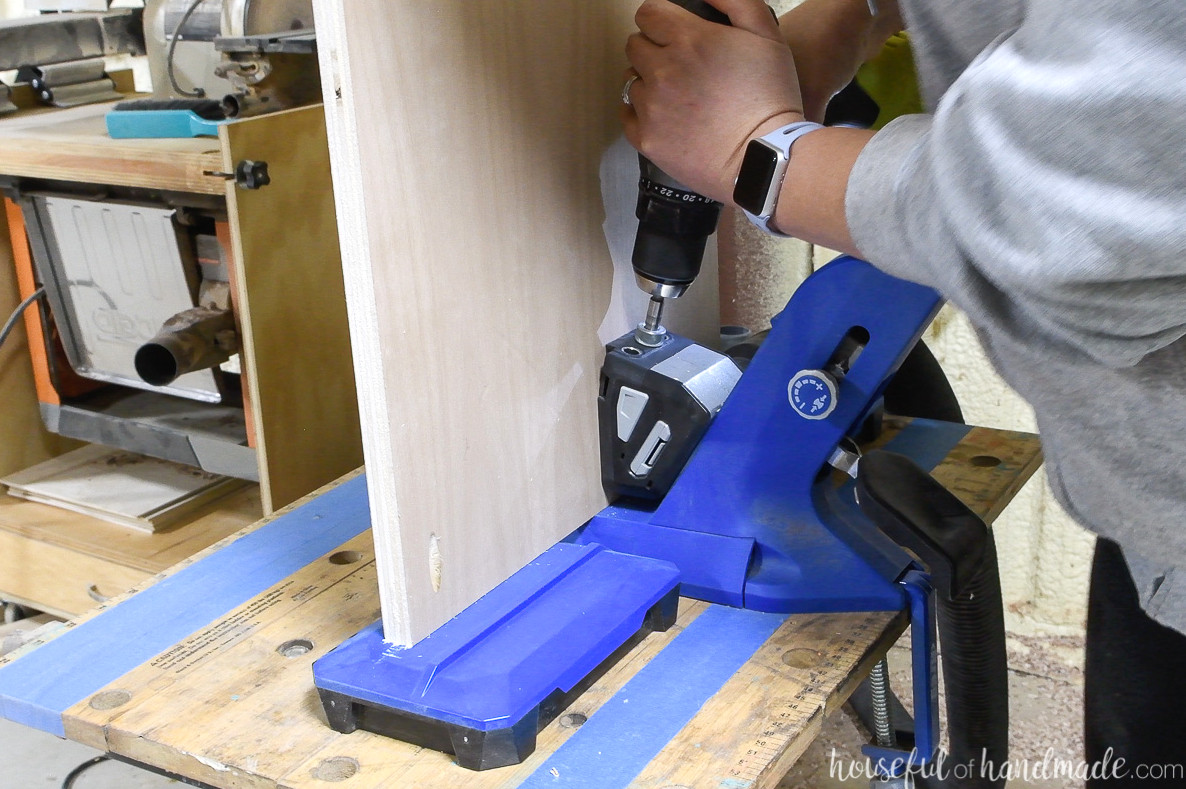
You may also add 1 pocket hole to the inside of each cabinet side, 25″ above the bottom, to help fasten the face frame. The cubby will conceal most of it when installed, though not completely. This step is optional.
Measure 1″ upward from the bottom of each side and mark the location.
Apply wood glue, then use 1 1/4″ pocket hole screws to attach the bottom shelf to one side, aligning it with the 1″ mark and fastening it securely. Use square clamps in the corners to maintain the cabinet box’s square shape during assembly.
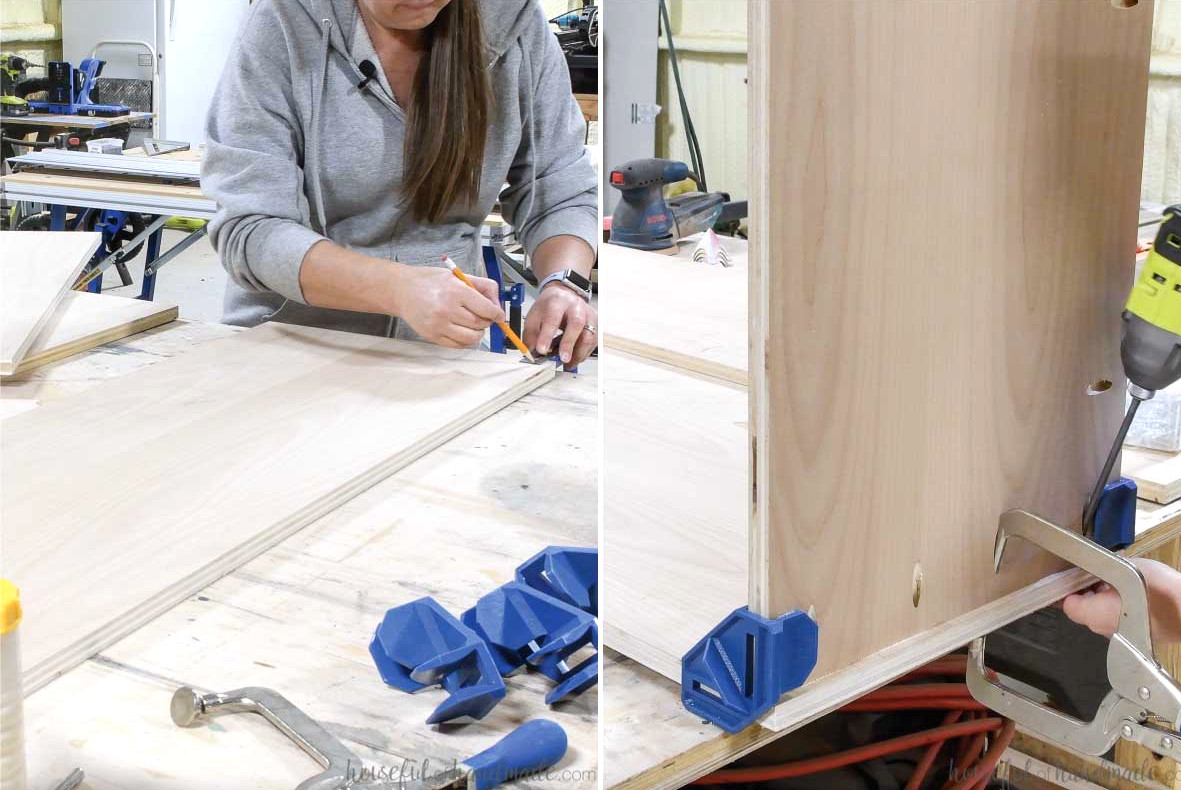
Attach the remaining side using the same method.
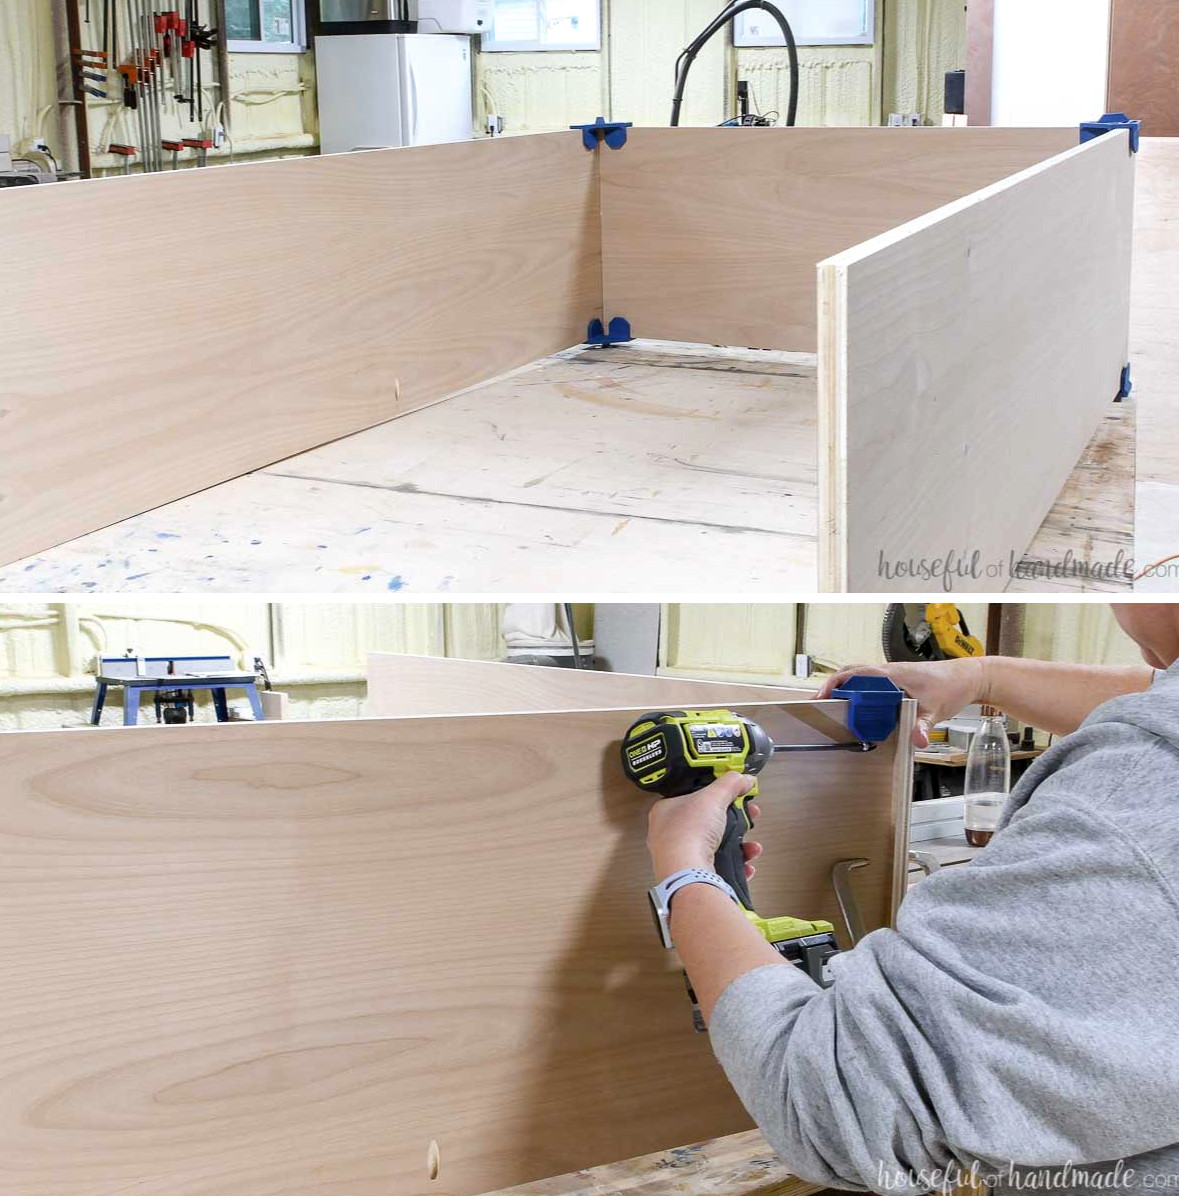
Install the top in the same manner, making it flush with the sides’ upper edges. Keep the pocket holes on the cabinet box’s top surface so they remain concealed.
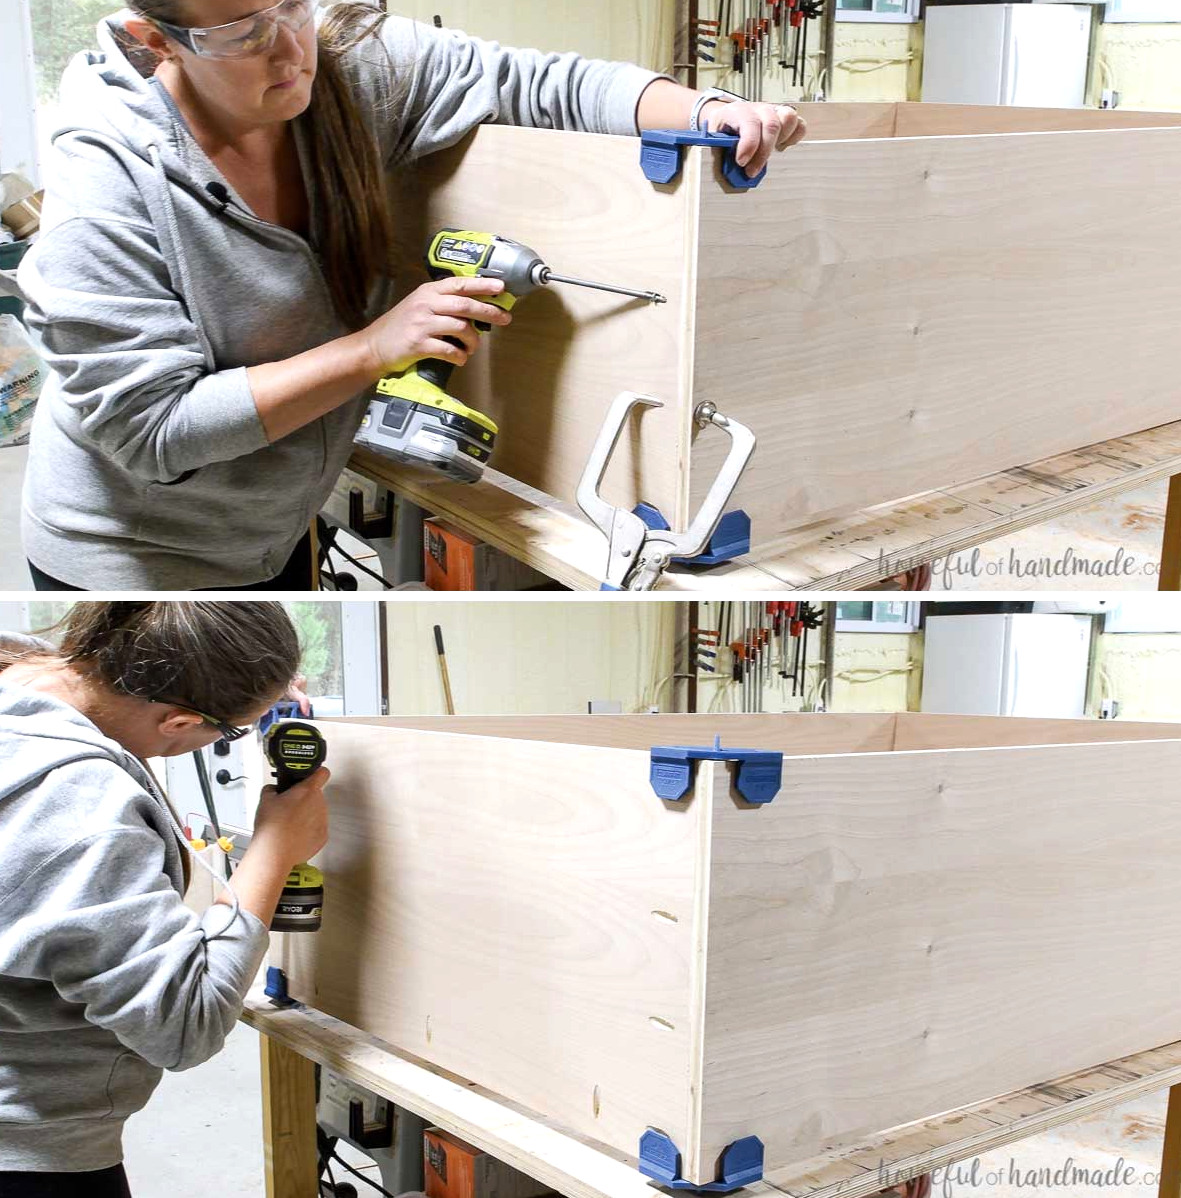
STEP 4- Add the face frame
Before assembling the face frame, verify your face frame measurements. Plywood thickness can vary up to 3/4″, although it is generally a little thinner.
Reduce the face frame rails until the finished frame matches the assembled display cabinet box’s exact width.
Make one pocket hole in both ends of each face frame rail.
Construct the face frame by fastening the rails between the stiles, keeping them flush with the ends to form a square.
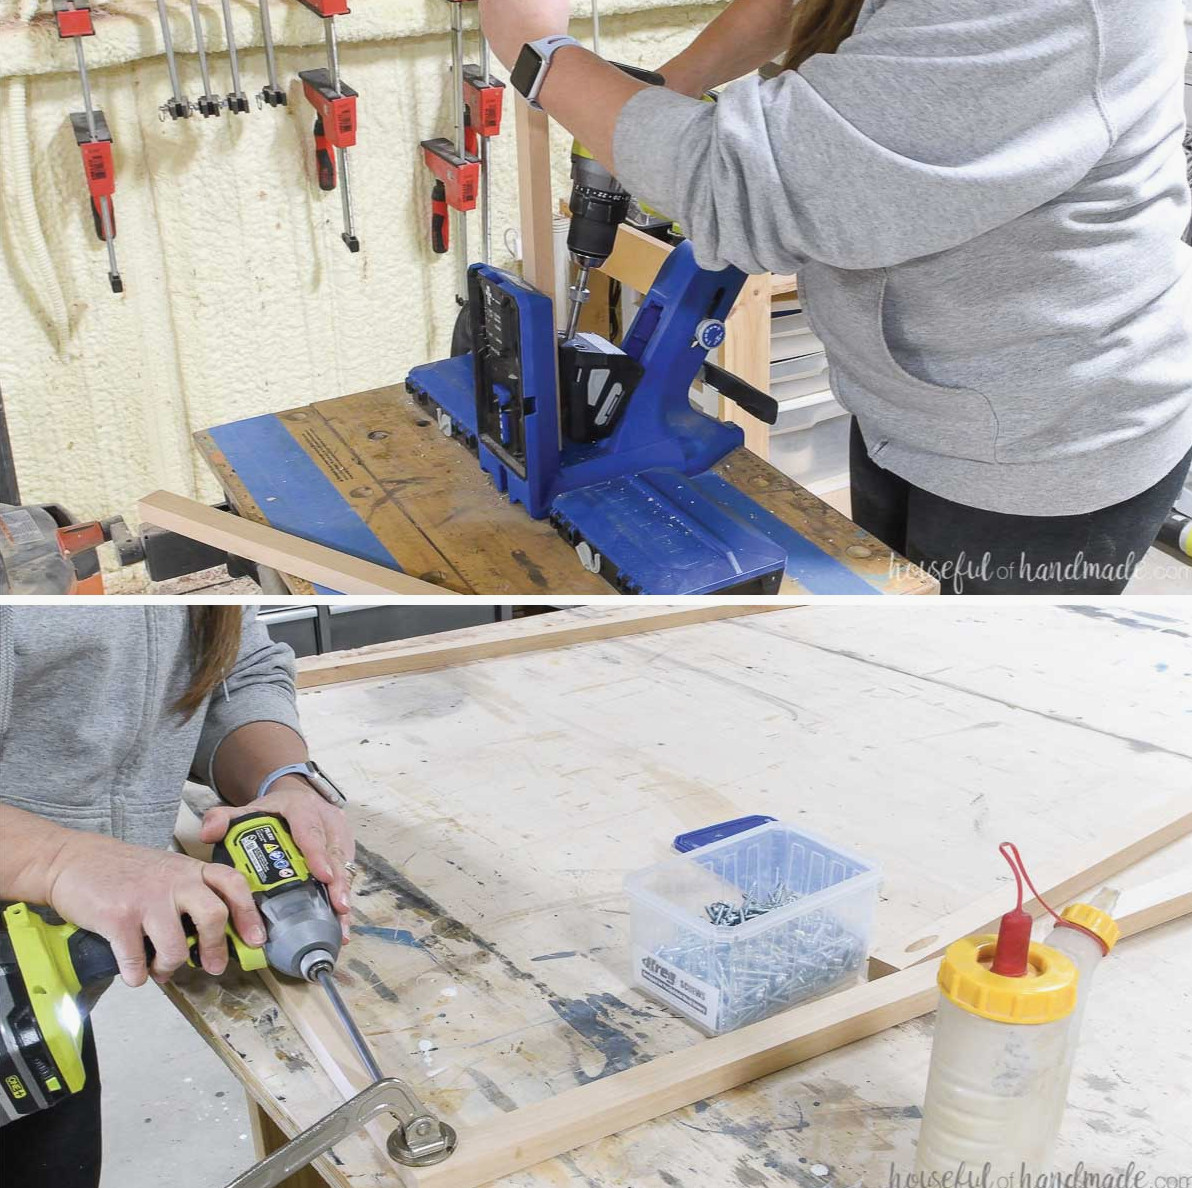
EXPERT TIP:
Use a face clamp to keep the face frame firmly in place while fastening it. This helps the front and back remain flush as you drive in the screw.
Fasten everything with wood glue and 1 1/4″ pocket hole screws.
Because each corner contains just 1 screw, the rails may shift or twist. Allow the glue to set briefly before transferring the large face frame to the cabinet.
Apply glue to the cabinet front, then position the face frame over it. Align it flush with the cabinet top, the outside edges, and the bottom shelf’s upper edge.
Fasten the face frame using pocket hole screws through the openings in the front of the top and bottom pieces, as well as the side.
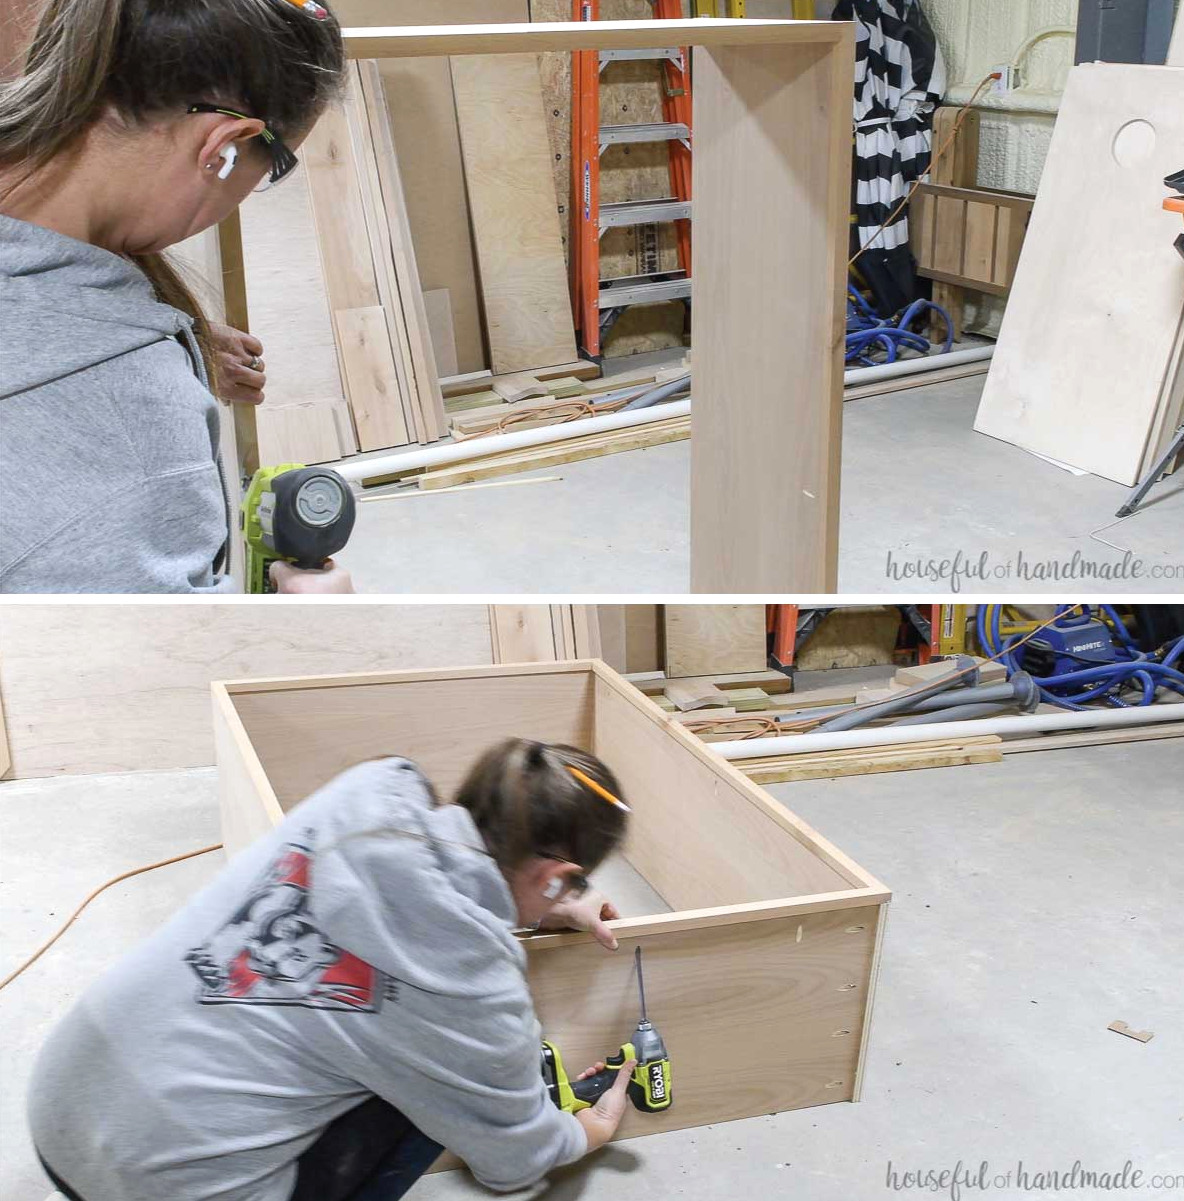
Use a brad nail gun to attach the face frame to the remaining face frame sections along the sides.
STEP 5- Assemble the display cubby
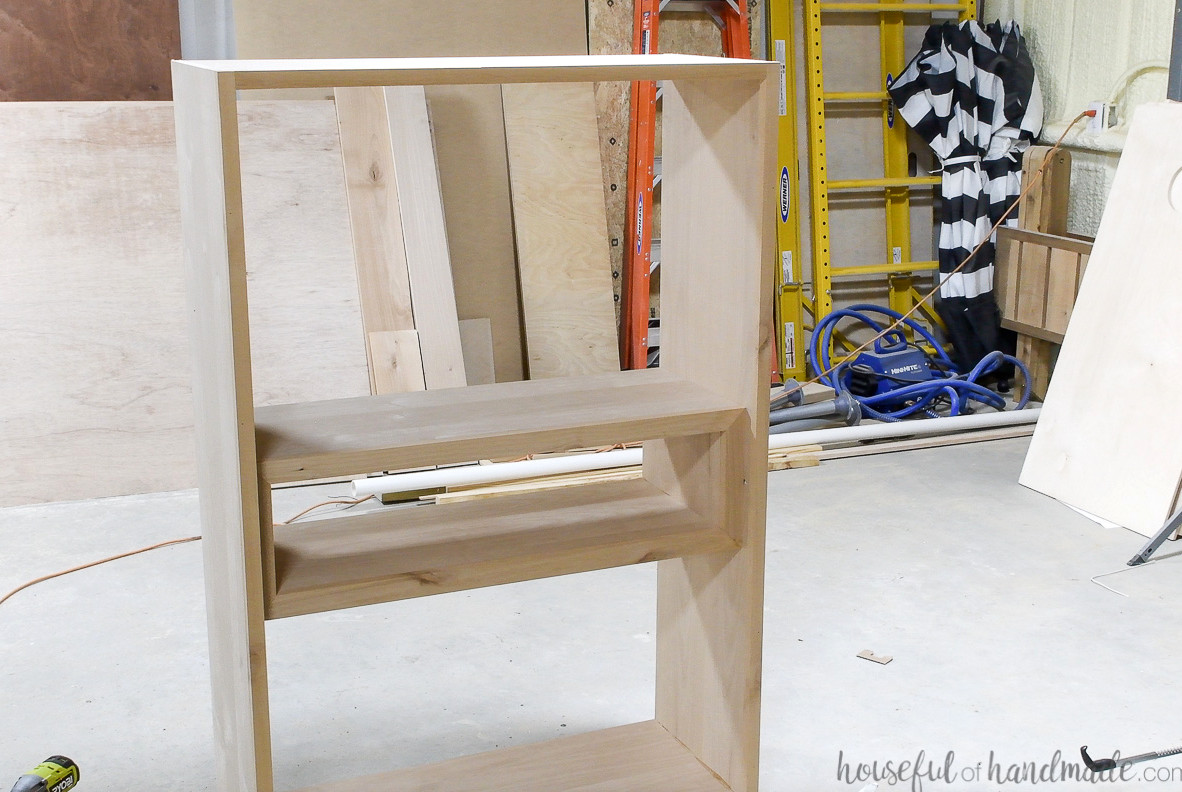
The display cubby is installed in sections so it can be added without exposed pocket holes.
Begin by measuring 29 3/4″ upward from the top of the bottom shelf, then mark a level line on both sides.
Make pocket holes in the sides and front of the cubby shelves. Next, drill pocket holes into the bottom and front of the cubby sides.
Position one cubby shelf piece inside the cabinet with its top aligned flush with this line. Apply wood glue and fasten it using 1 1/4″ pocket hole screws.
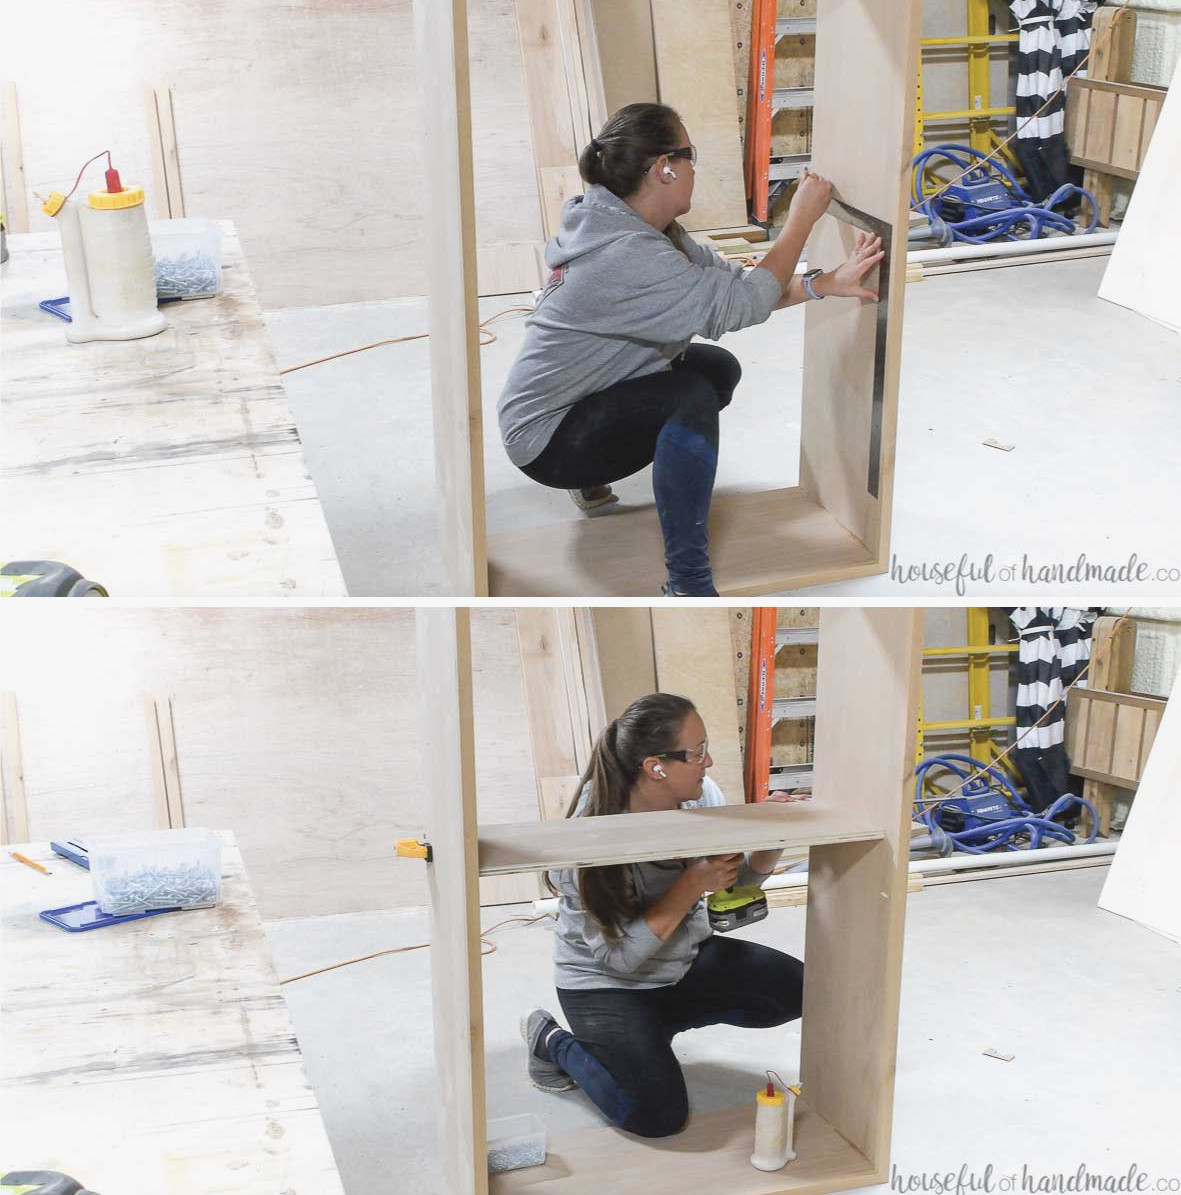
After that, connect the cubby sides to the upper surface of the lower cubby shelf. Recess the sides so the interior sits 1 1/2″ from the cabinet sides. This positioning will align them with the inside of the face frame.
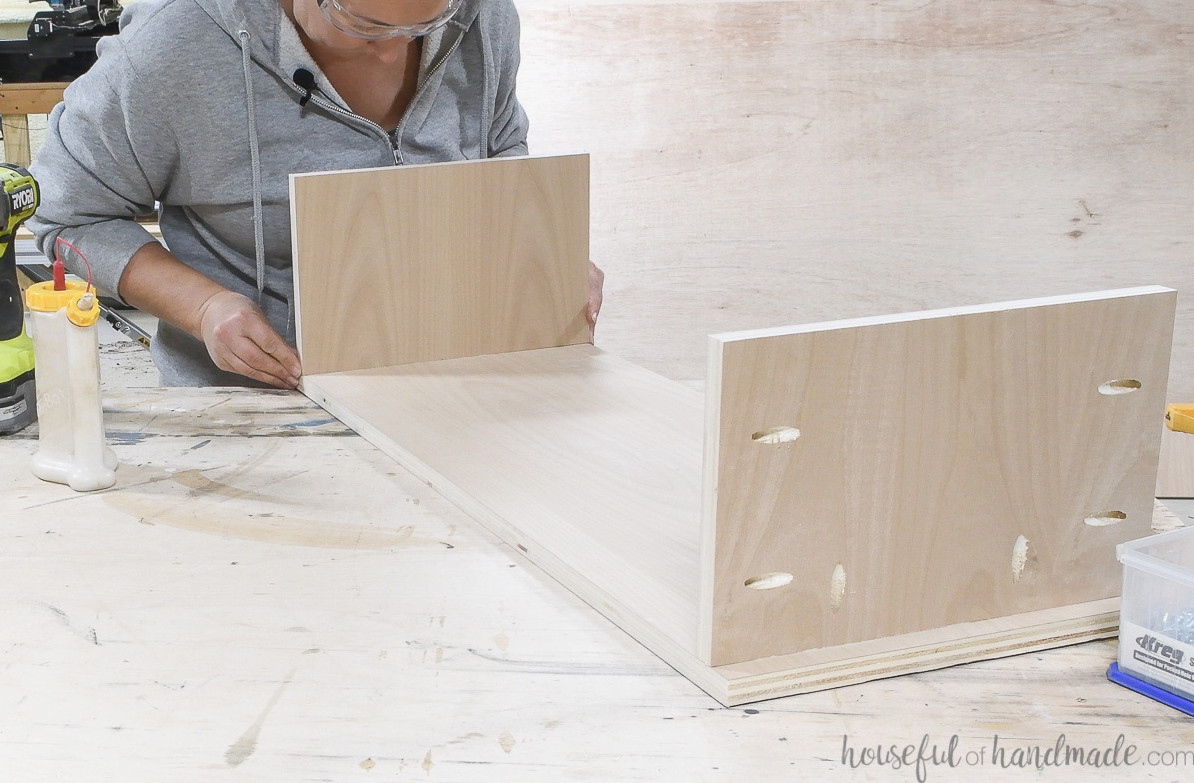
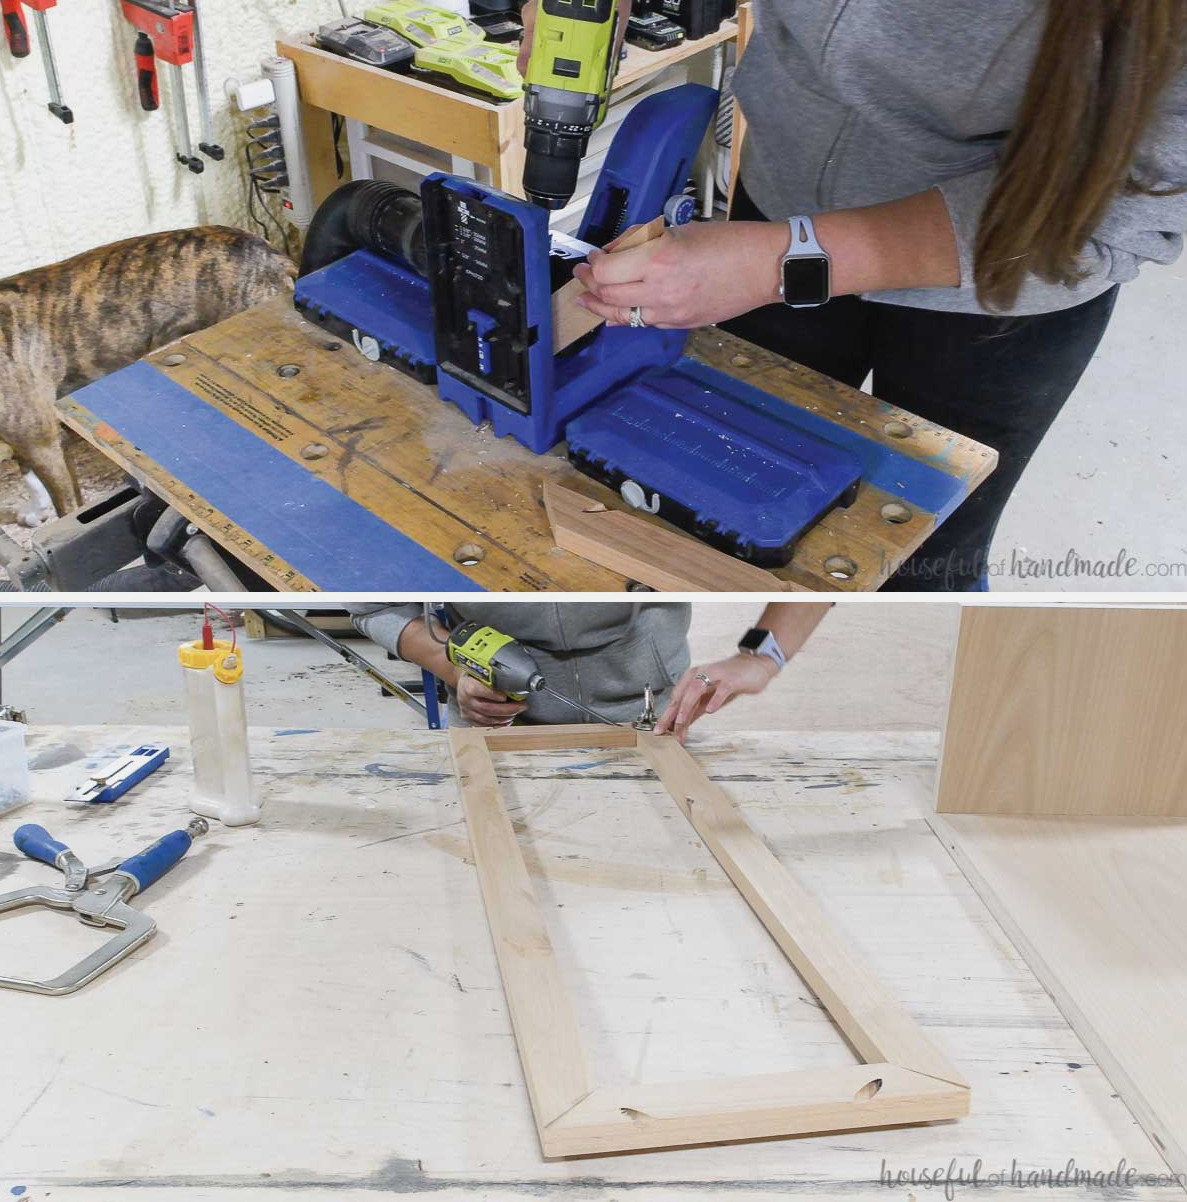
To assemble the cubby face frame, begin by drilling one pocket hole into each side of the face frame stiles.
The holes will remain visible on the outside of the face frame, but they will be concealed once the cubby is fitted.
Join the stiles to the rails with wood glue and one 1 1/4″ pocket hole screw at each corner. Since a single screw allows the frame to twist, let the glue cure before handling it.
Fasten the face frame to the cubby sides and bottom. Use wood glue along with the pocket holes on the fronts of the sides and bottom.
Next, position the cubby inside the cabinet. Apply wood glue to the front of the previously installed cubby shelf and to the upper edges of the cubby sides.
Slide the cubby into position on that shelf. Some force may be needed because the installed shelf is keeping the cabinet tightly together.
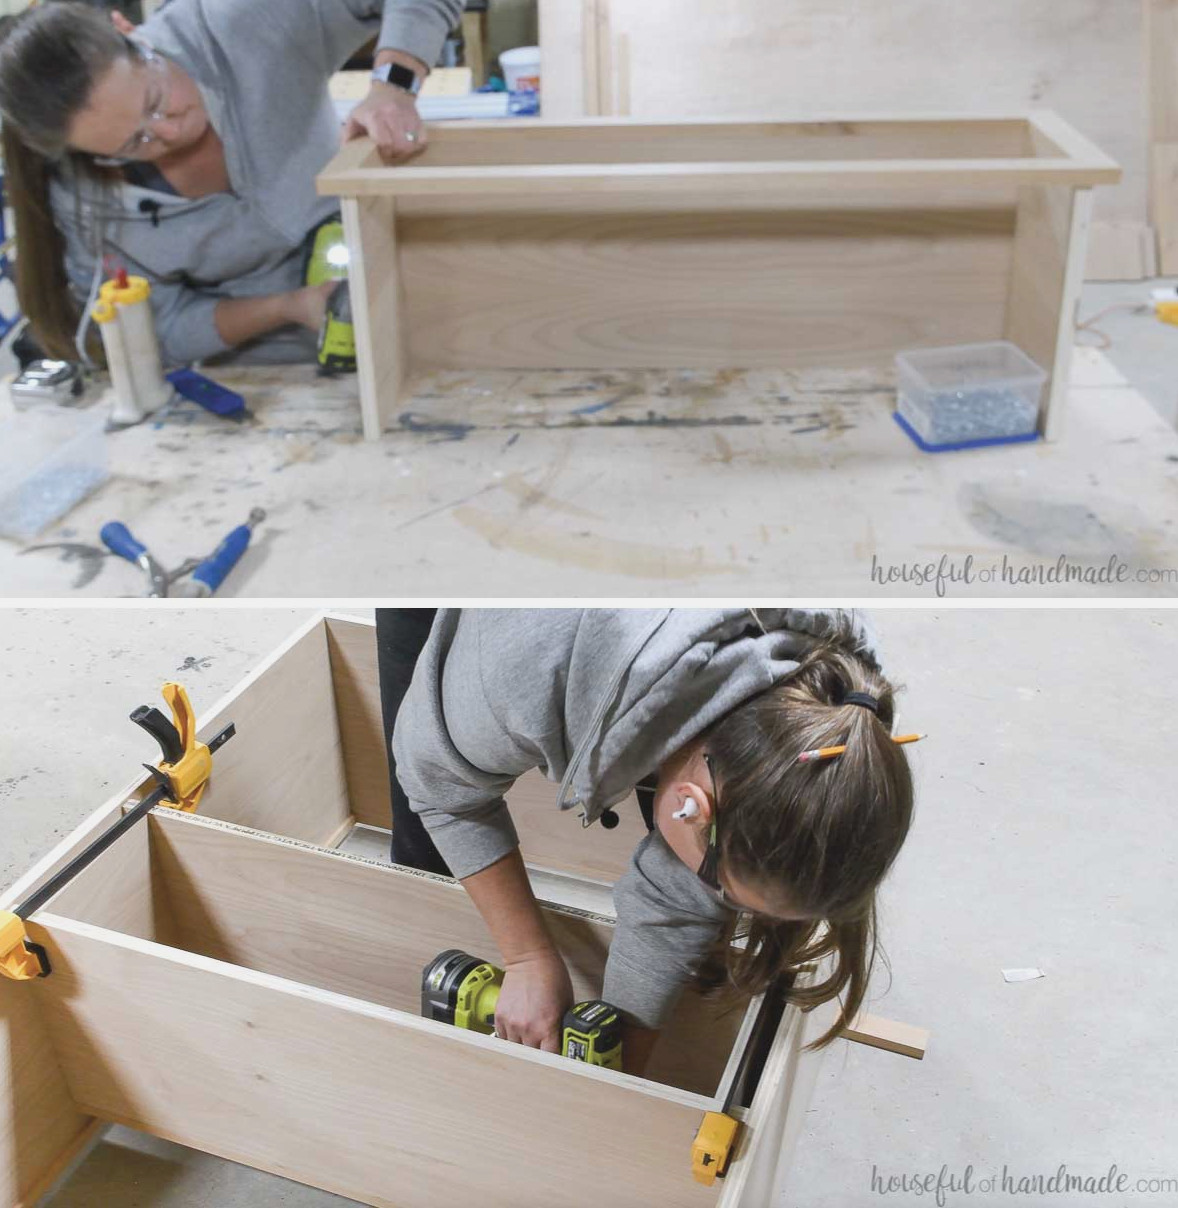
Hold it with clamps, then fasten the upper shelf to the face frame and the lower shelf to the cabinet sides using the prepared pocket holes and 1 1/4″ pocket hole screws.
STEP 6- Prepare and install the cabinet back and shelves
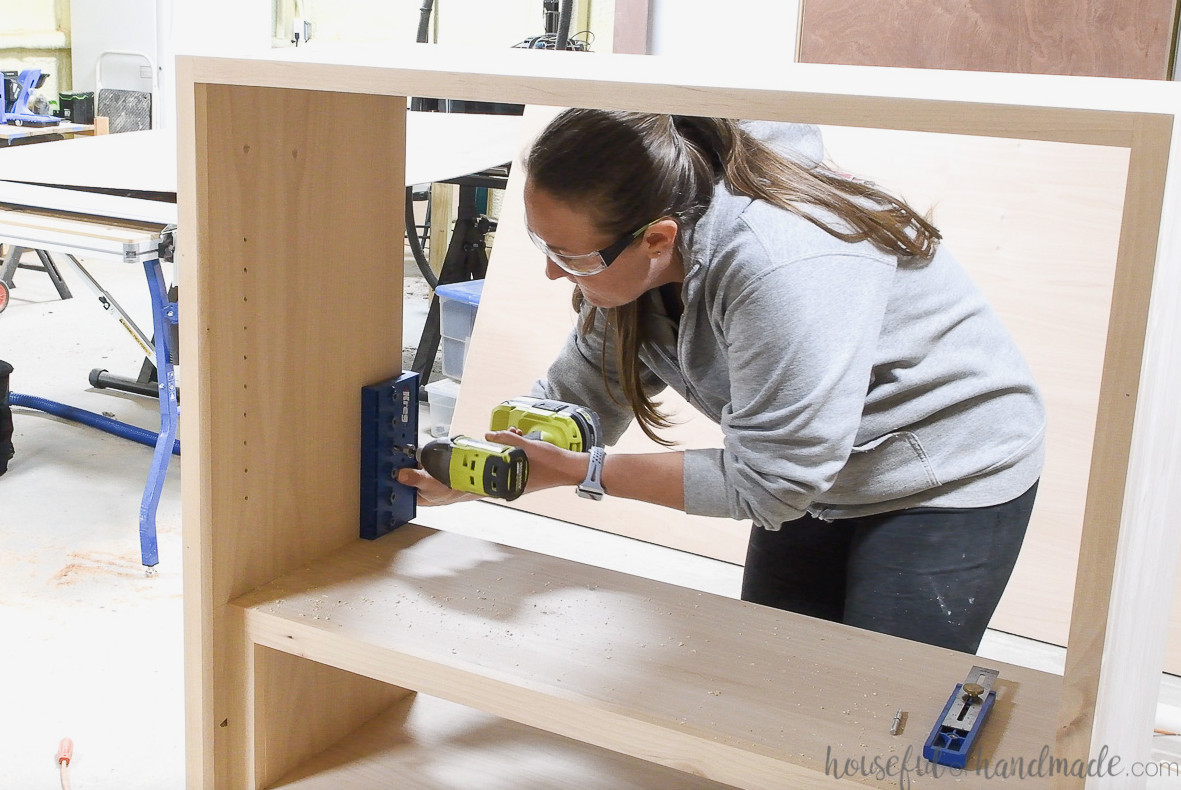
Before installing the back, create the shelf-pin holes for the adjustable shelves.
Because the shelves measure only 12 3/4″ in depth before the front, position the front shelf-pin holes far enough back from the cabinet face to allow for this.
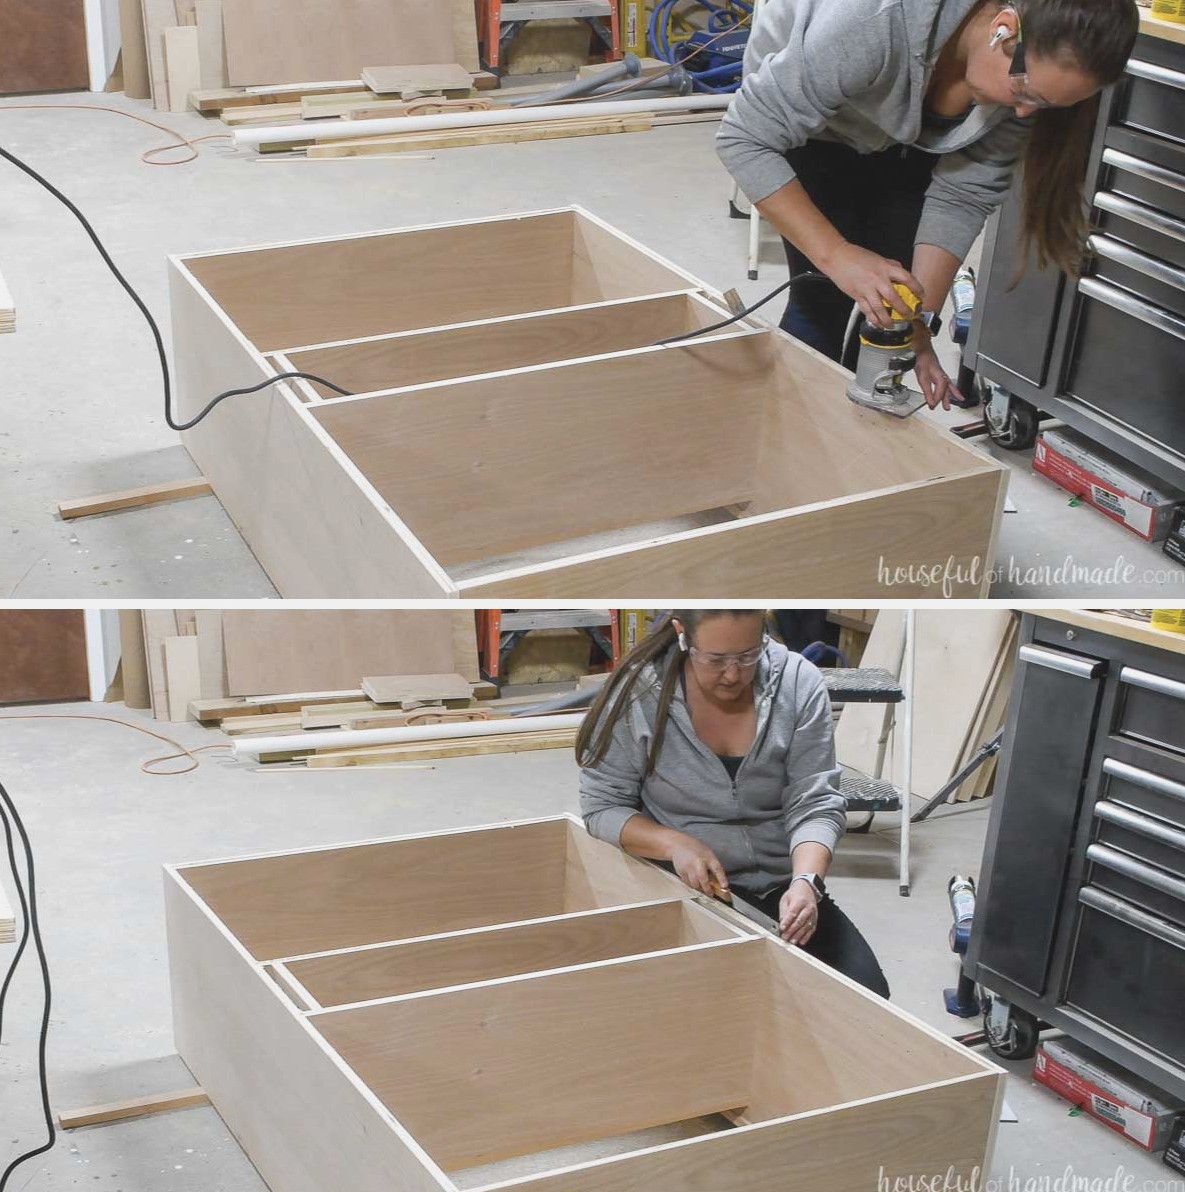
Fit the trim router with a 3/8″ groove bit and adjust its depth to correspond with the thickness of the backing plywood.
Cut a groove around the entire back. A continuous groove cannot be routed around the cubby shelves, so use a chisel and/or handsaw to remove any sections the router could not reach.
You should also cut away the rounded corners so a square plywood panel will fit.
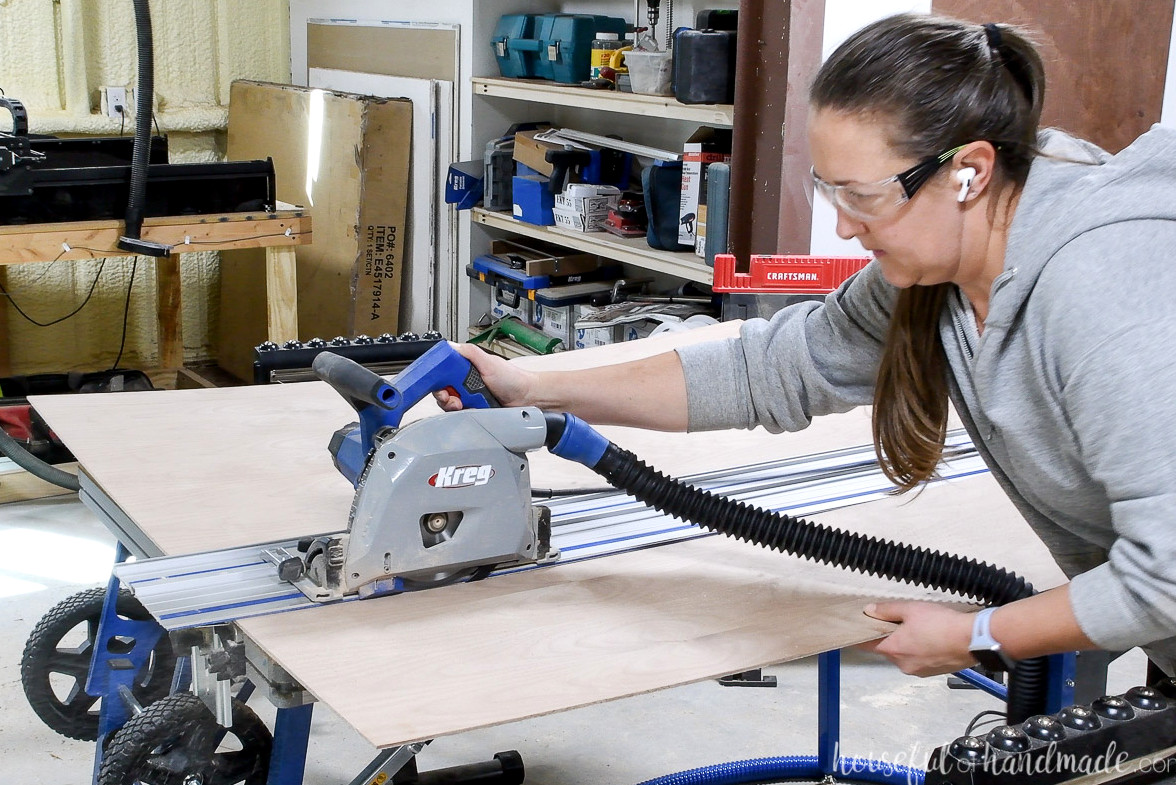
Adjust the blade depth so it matches the thickness of the cabinet backing plywood.
Compare the cut-list dimensions with the actual cabinet-back opening, and make any necessary corrections.
Use the ACS to cut the plywood back panel.
On the cabinet’s back, mark the locations of the cubby shelves. Set the backing in position and connect the marks with a line.
Using brad nails, fasten the back to the cabinet along these lines. Secure it to the cubby shelves as well as around the entire outer edge.
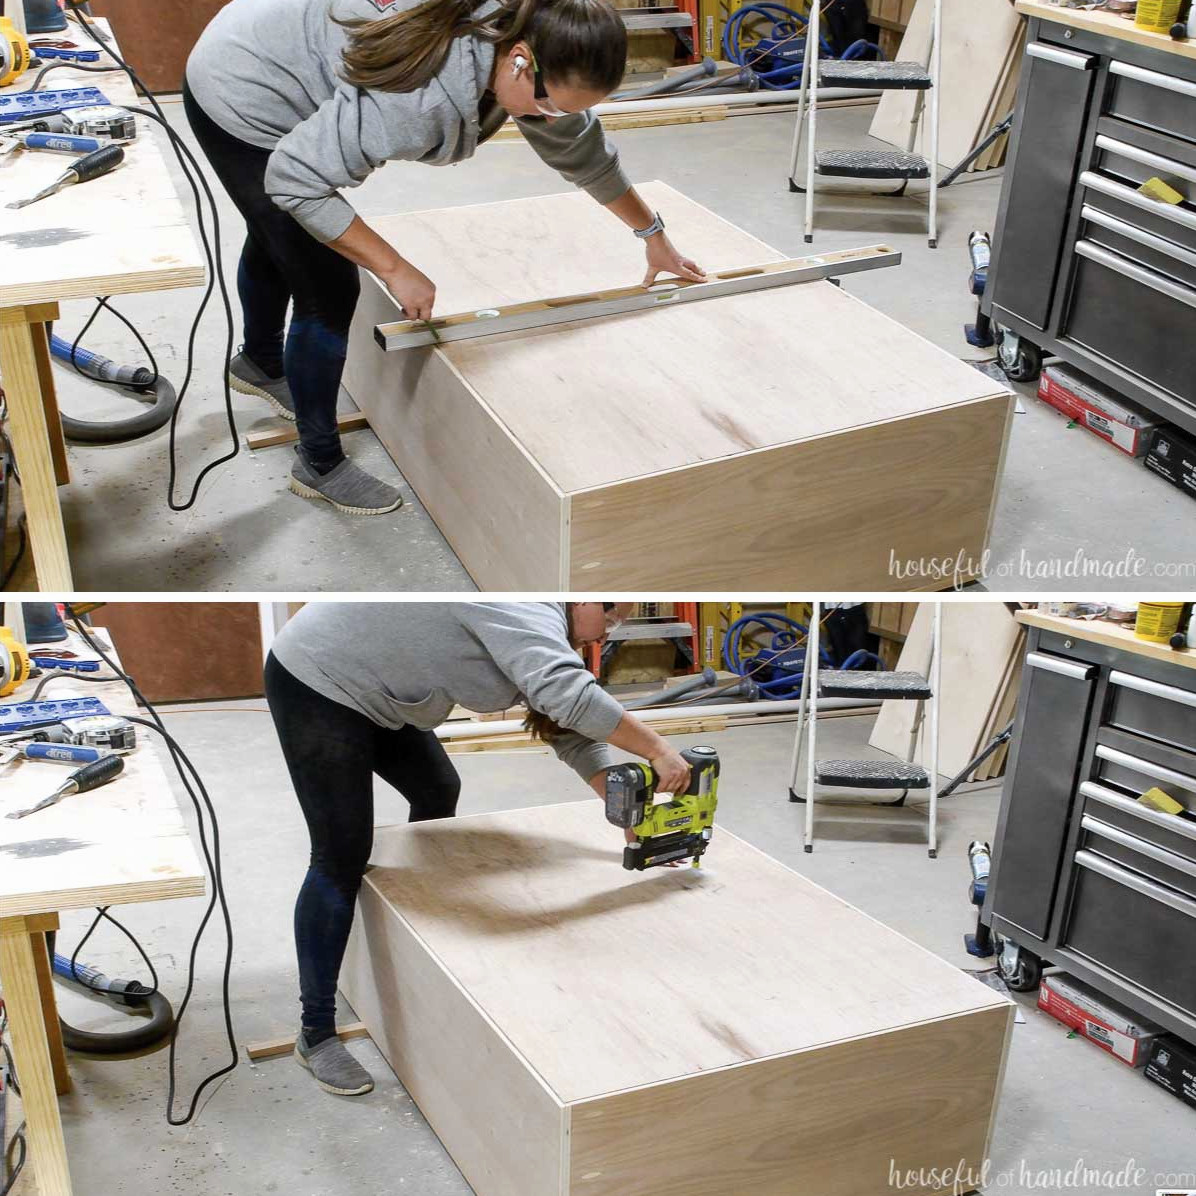
Prepare the adjustable-shelf pieces. Drill pocket holes for 3/4″-thick material along the fronts of the shelf boards.
With wood glue and 1 1/4″ pocket hole screws, attach the shelf fronts to the boards. Keep the plywood’s top edge even with the top of the 1×2.
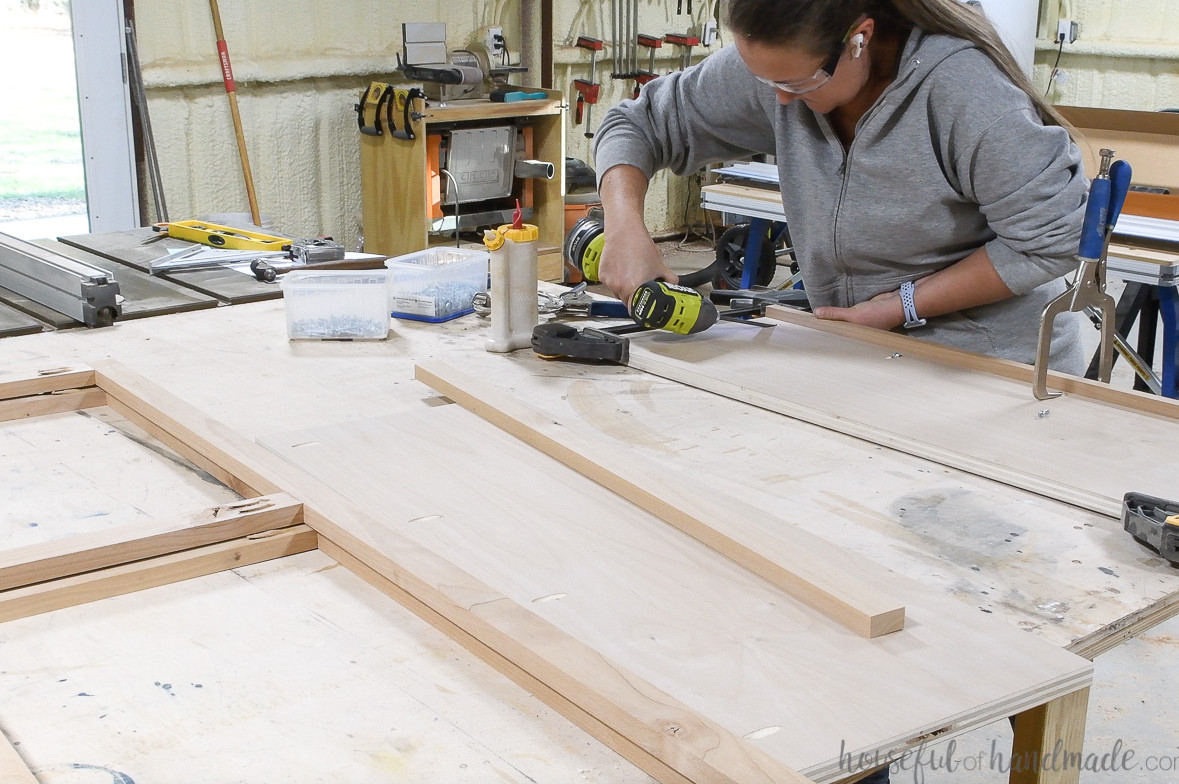
STEP 7- Assemble the glass inset doors
Verify the cabinet opening once more. The door dimensions in the build plans provide a 1/16″ reveal on every side.
If the cabinet face frame was modified to account for the plywood thickness, the door rails must be modified as well.
Drill two pocket holes designed for 3/4″-thick material into each end of the door rails.
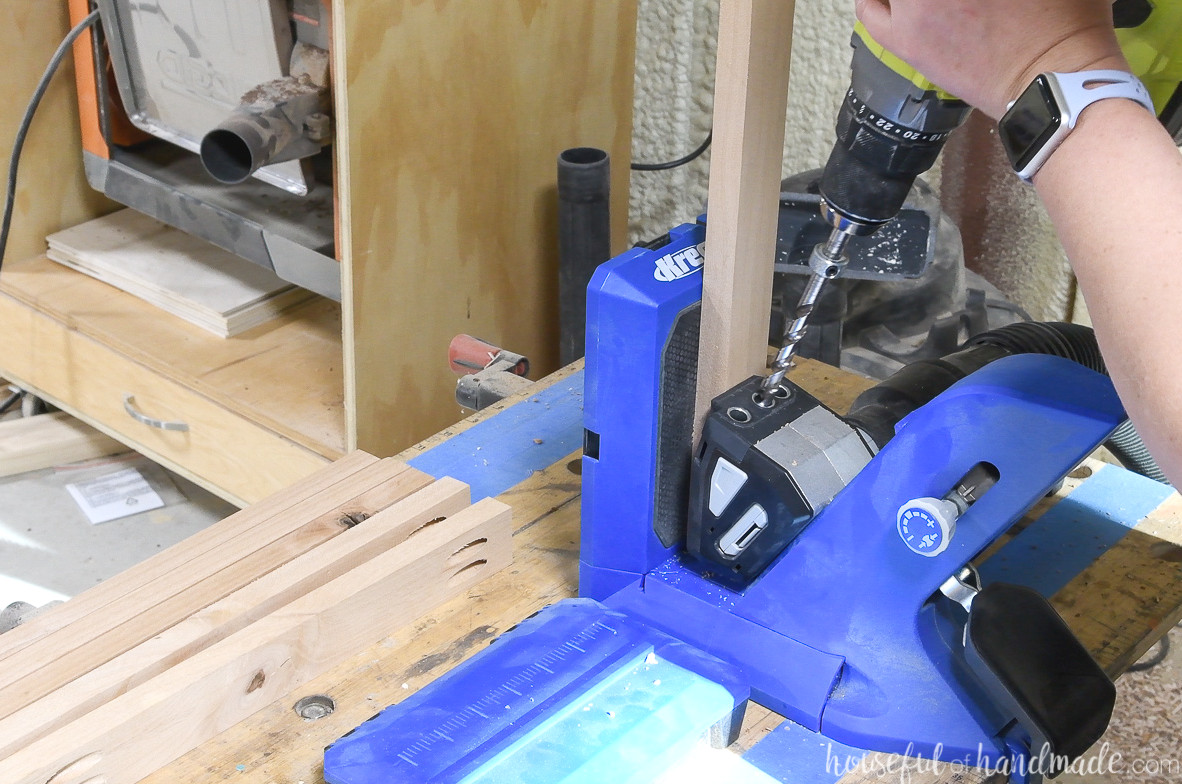
Fasten the upper and lower rails to one stile, keeping them aligned with the top and bottom edges. Secure the joints with wood glue and 1 1/4″ pocket hole screws.
EXPERT TIP:
When driving screws into the face frame, secure the outside screw first. Doing this helps keep the stile wood from splitting.
Install the center rail so that it lines up with the cubby’s upper shelf. Its top edge should measure 29 7/16″ above the bottom of the stiles.Verify it against your cabinet.
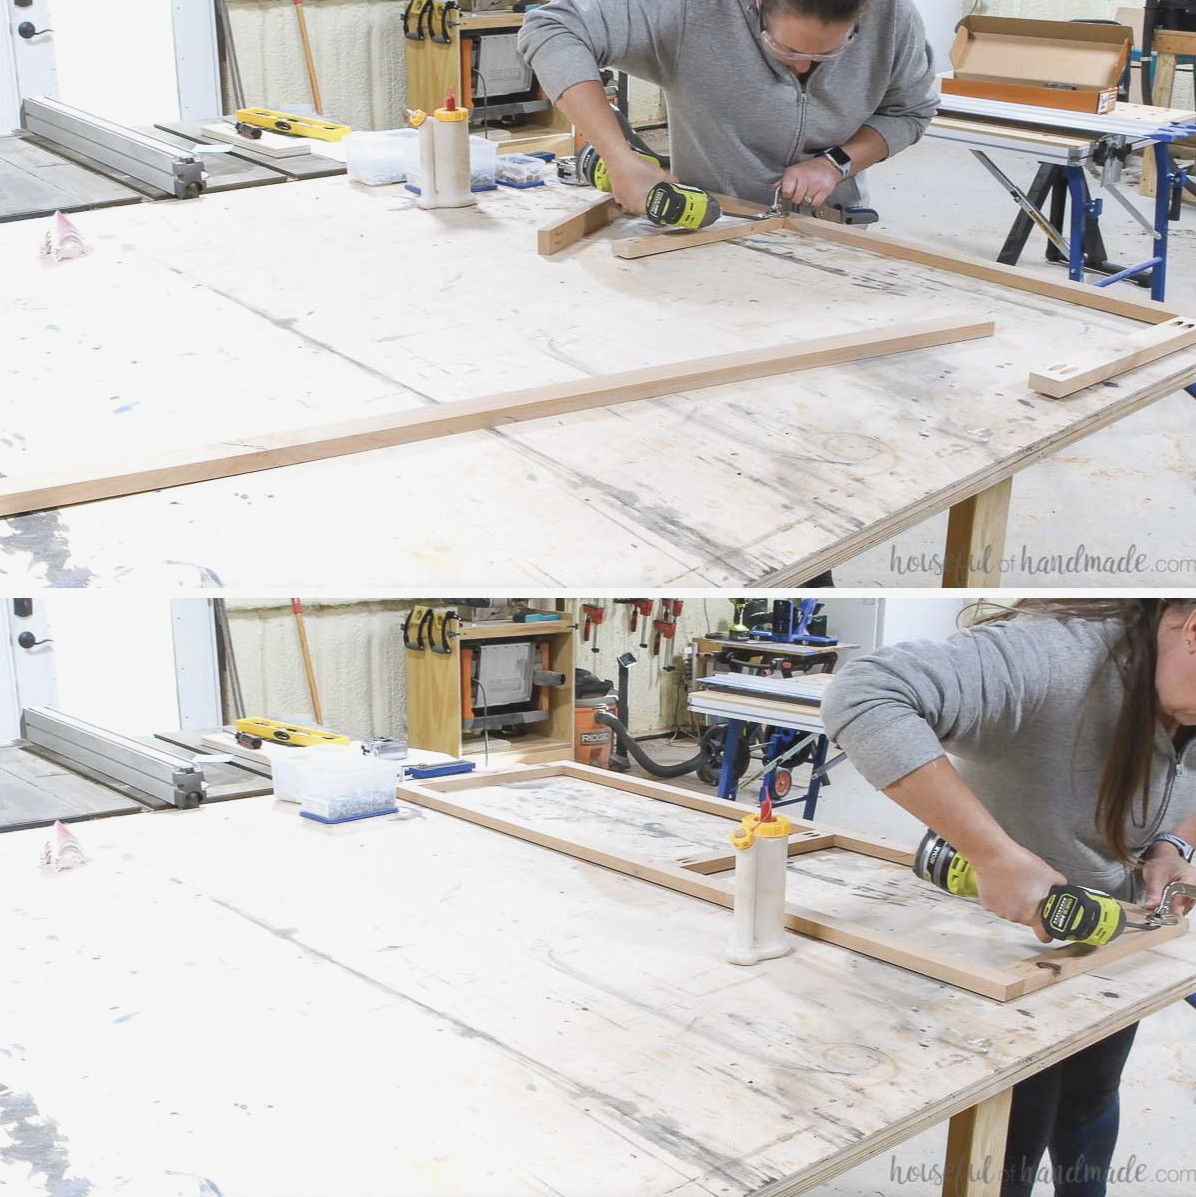
Secure the second stile to the opposite side of all the rails. As you fasten it with screws and wood glue, ensure that the door remains square.
Repeat these steps for the other door.
Plug the pocket holes in the door. If you plan to stain the doors, you can create your own plugs from leftover pieces of the wood you used. For painted doors, choose ready-made plugs.
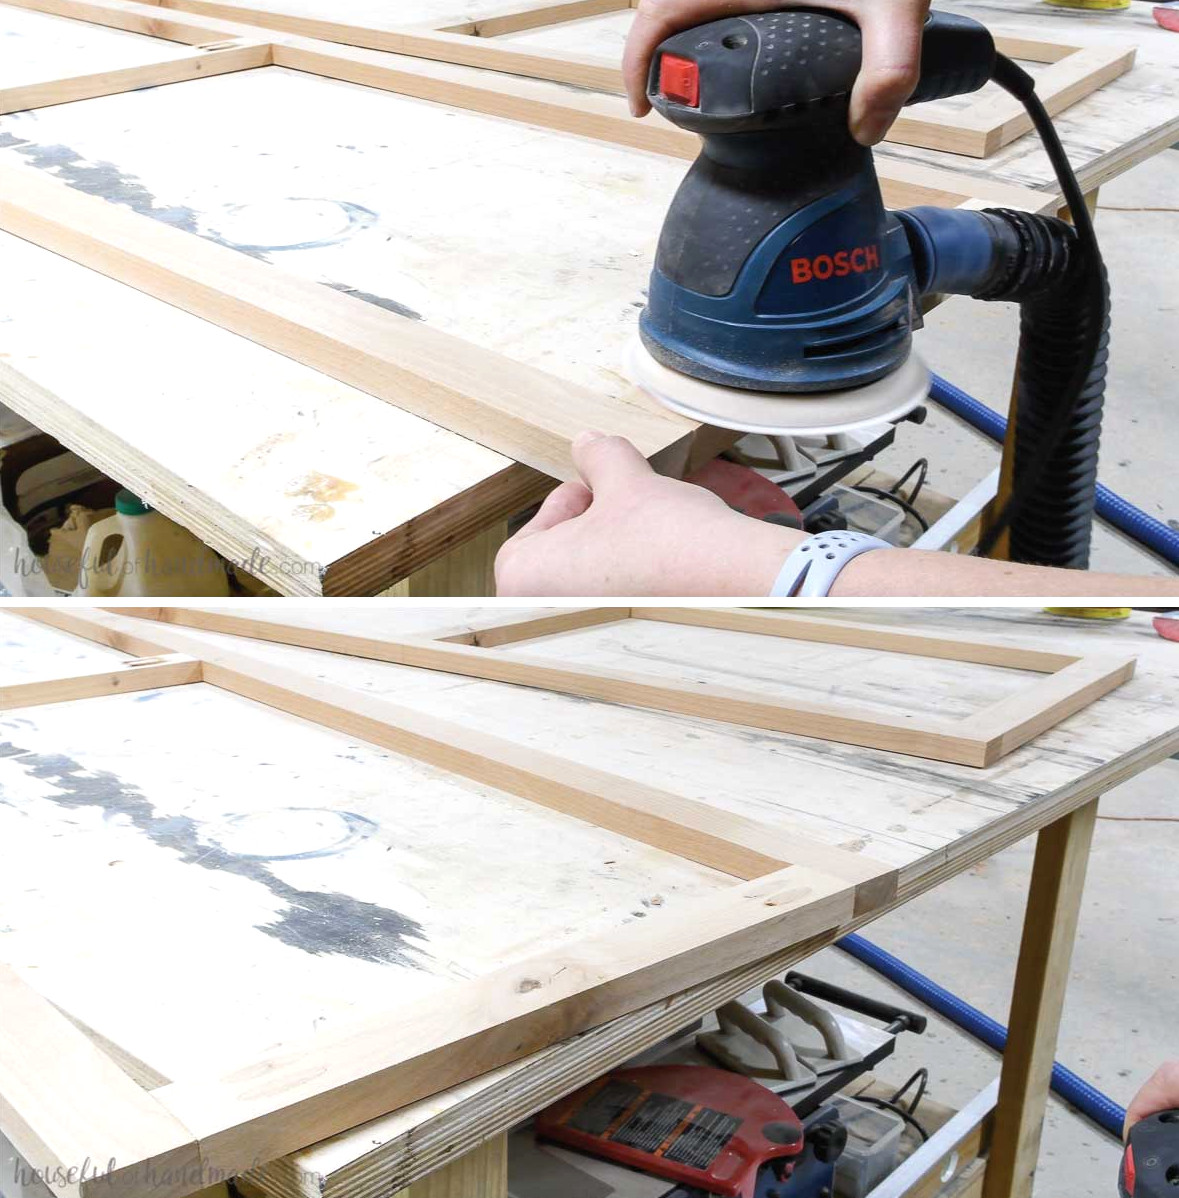
Allow the plugs to dry, then smooth them flush using 40-grit sandpaper in an orbital sander. A flush-cut saw can also remove the excess, but I find coarse sandpaper to be quicker.
Trim the glass so it fits inside the door grooves, leaving a small space along the edges.
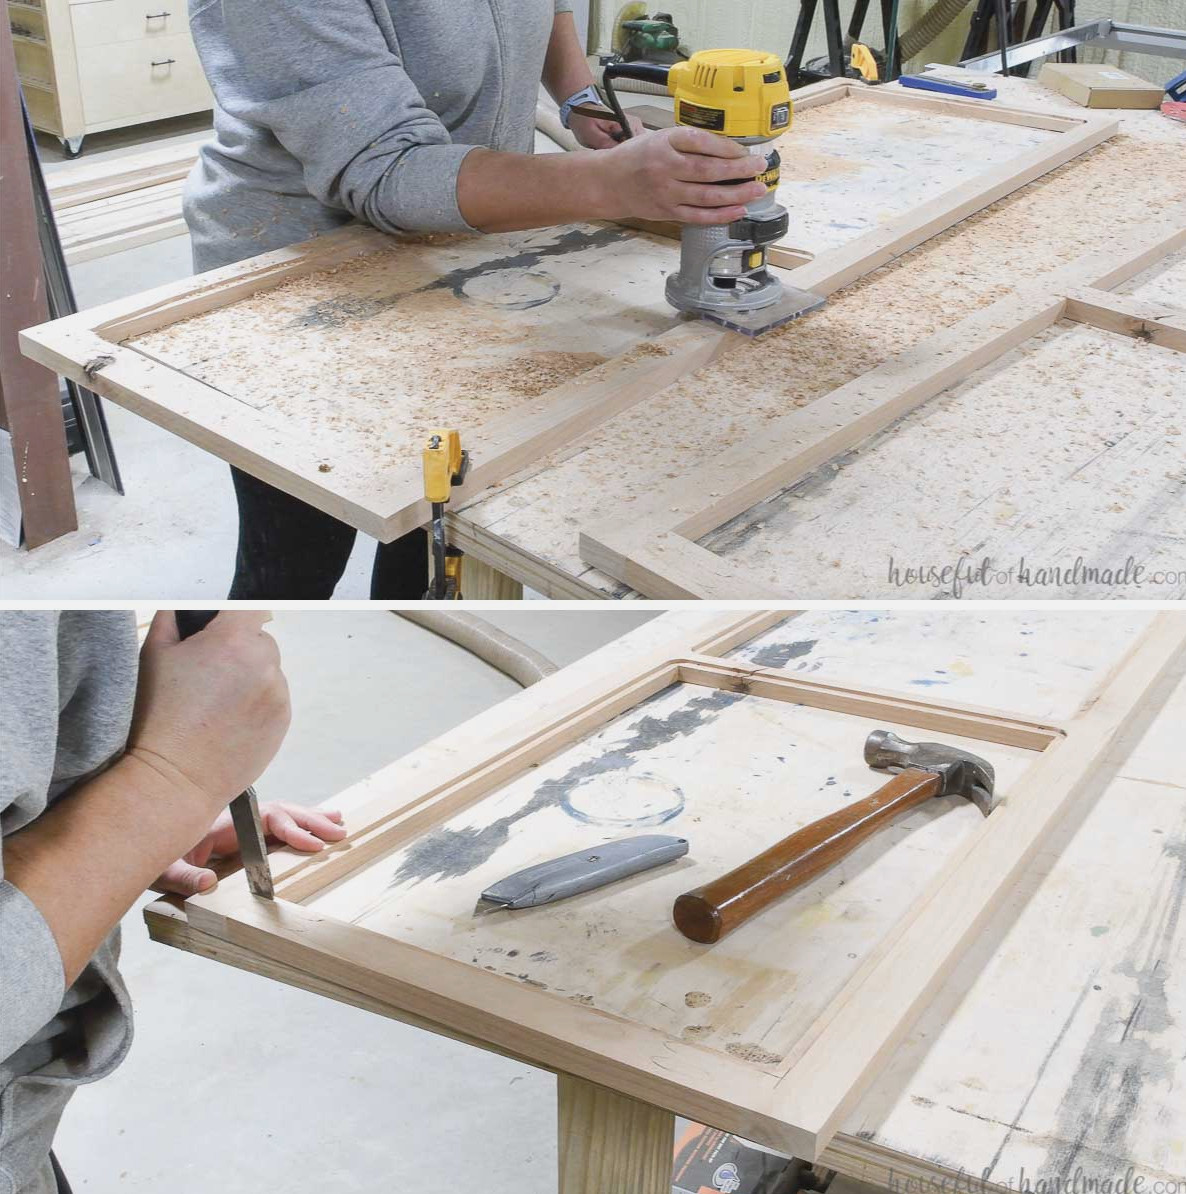
Adjust your router bit to cut a groove slightly deeper than the glass. Since my glass measured 2.2 mm thick (0.866″), I made the groove 3/16″ deep (0.1875″).
Route a groove around the interior of both panel sections in the doors.
Square the corners of the routed groove with a chisel or knife.
Give the doors their final sanding. I also like to paint or stain my doors before installing the glass, so complete that step now and allow them to dry.
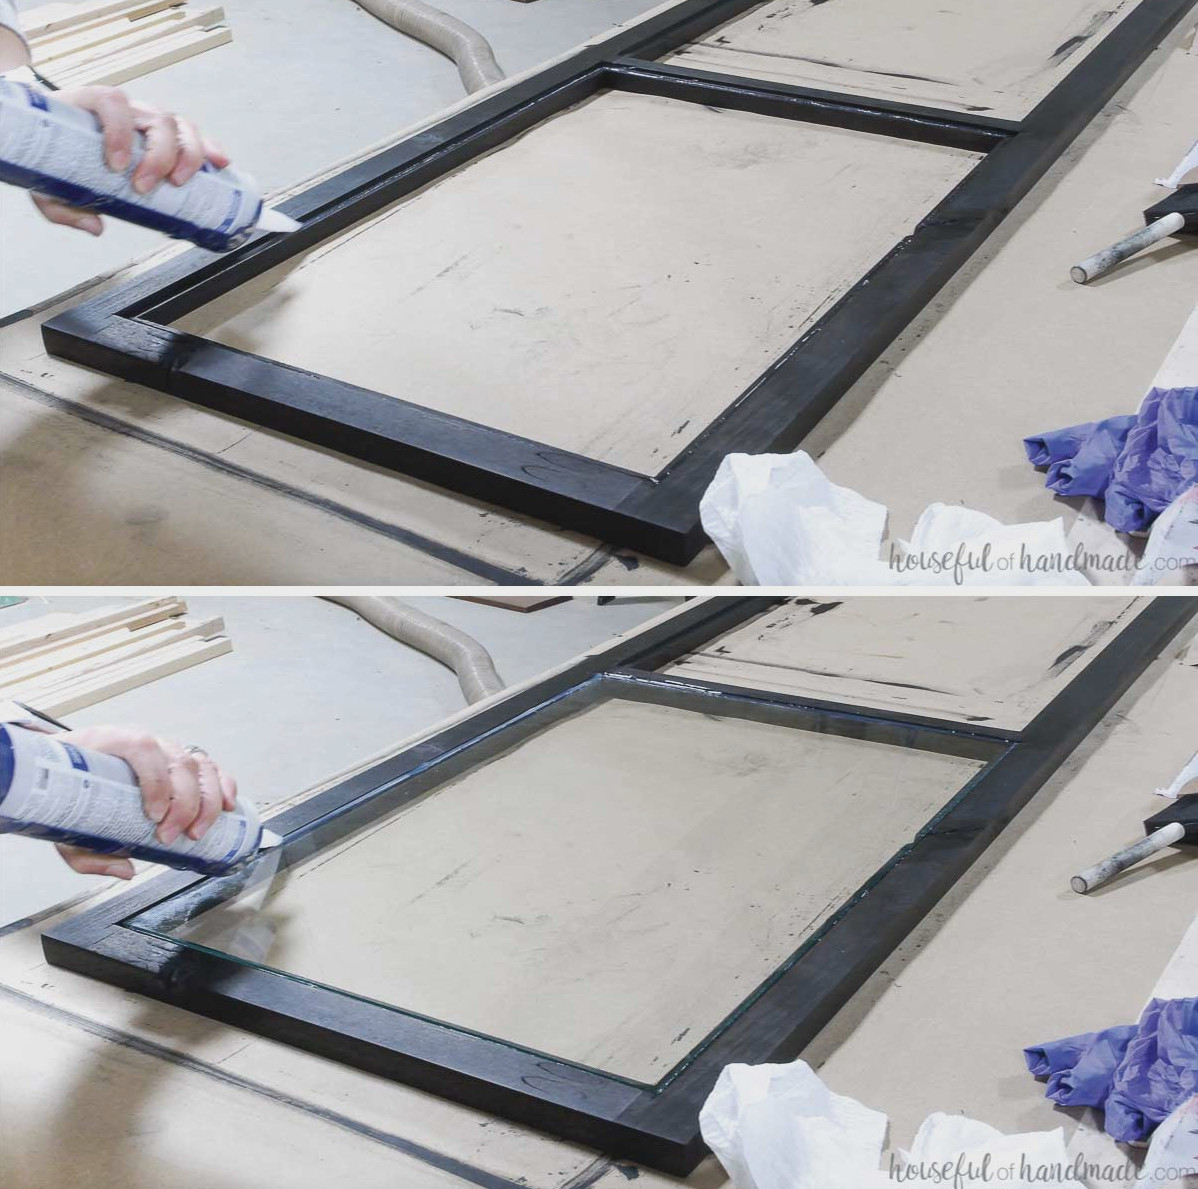
Apply a very thin bead of silicone to the bottom of the groove where the glass will sit. Keep it from squeezing out toward the front.
Carefully position the glass in the silicone-lined groove. Center it, leaving a narrow gap around the perimeter.
Fill the space around the edges with silicone, then smooth it using your finger.
Wait until the silicone has fully cured before handling the doors.
STEP 8- Complete the display cabinet
Sand and apply stain to the cabinet and shelves.
I sealed the interior of my cabinet and stained the exterior black for a contemporary appearance.
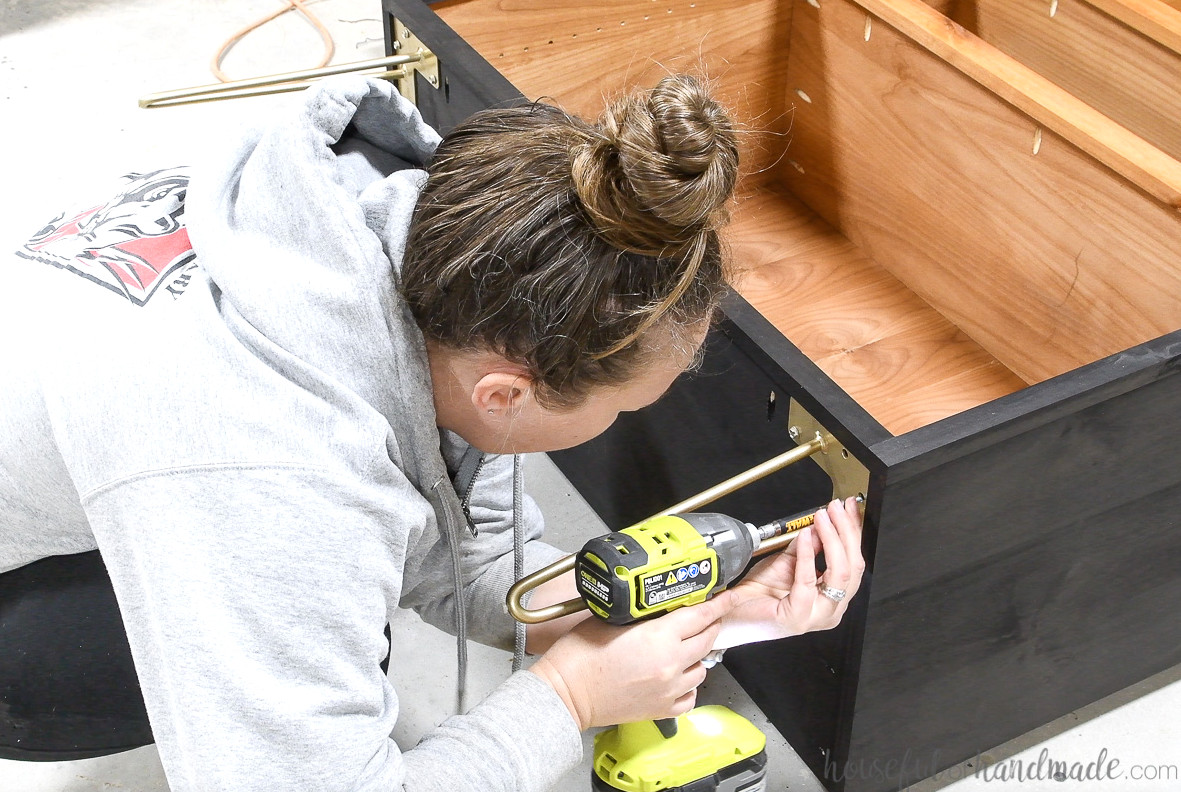
Fasten the feet underneath the cabinet.
Mount the cabinet doors using the inset cabinet-door hinges. Position them so the center rail sits in front of the cubby’s upper edge.
Install the door pulls on the cabinet. If you prefer, add magnetic catches at the top, bottom, or both areas of the doors to hold them shut.
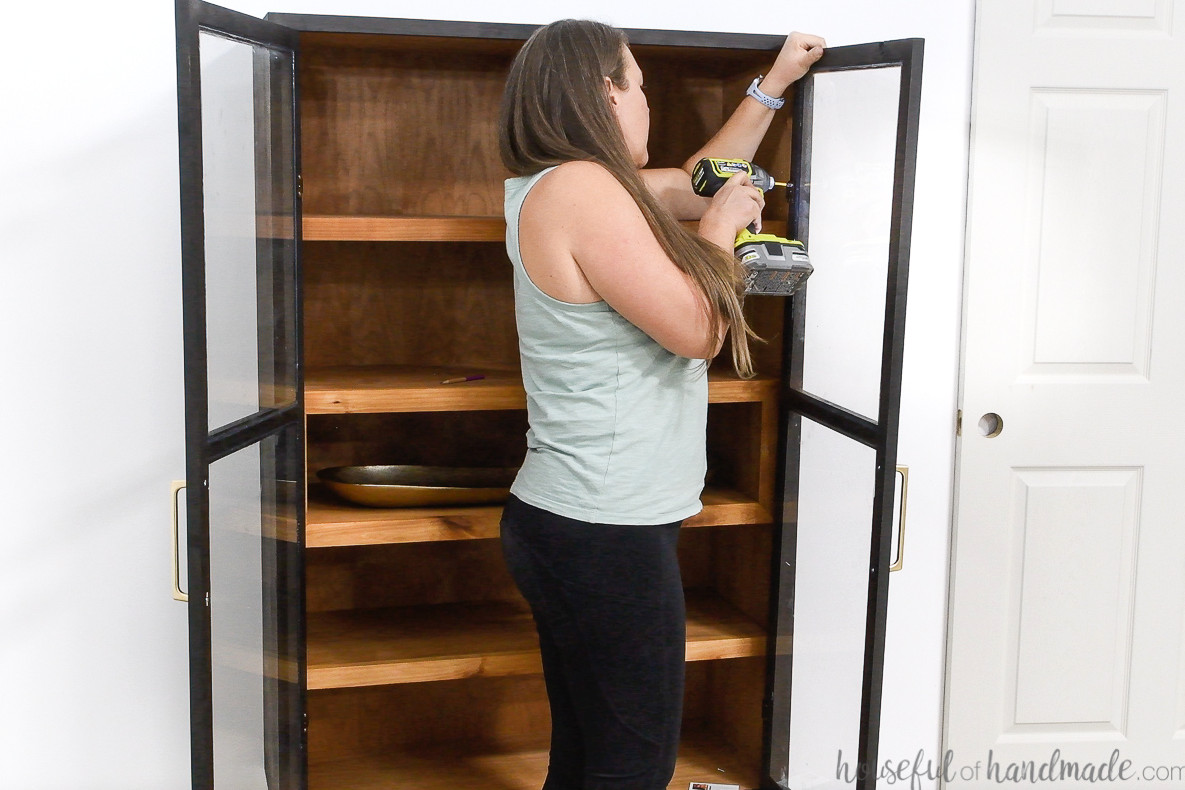
Insert the shelf pins into the holes, then place the adjustable shelves inside.
Securing your new display cabinet to the wall is highly recommended. After filling it with valuable belongings, you would not want it to tip over.
An L bracket can be used to anchor it to the wall. Mark the cabinet’s top position against the wall, then fasten the L bracket to a wall stud with its upper edge aligned to that mark.
Move the cabinet beneath the L brackets and attach them to the cabinet’s top. This keeps the interior attractive because the mounting hardware remains hidden.
You’ve completed it!
Remember to Get the Printable PDF Plans Here!
Premium plans feature:
- Suggested Tools
- Materials list
- Simple-to-follow cut list table
- Cutting diagrams
- Detailed instructions with 3D renderings
- Useful resources
- BONUS: 3D SketchUp file
Would You Rather Watch? View the Video Below
Your cabinet is now prepared to be filled with all your prized possessions!
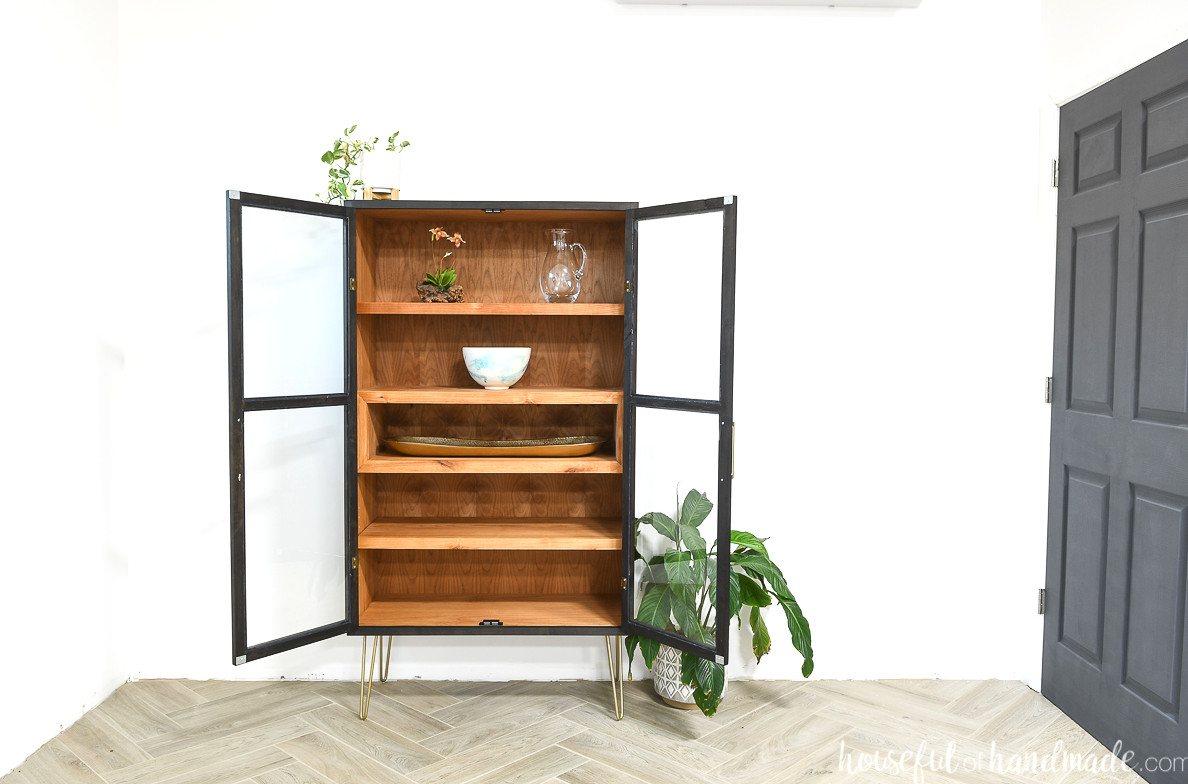
It seems I should keep searching for more treasures to place in my cabinet, but at least I now have a lovely and secure spot to showcase them.
Enjoy building!