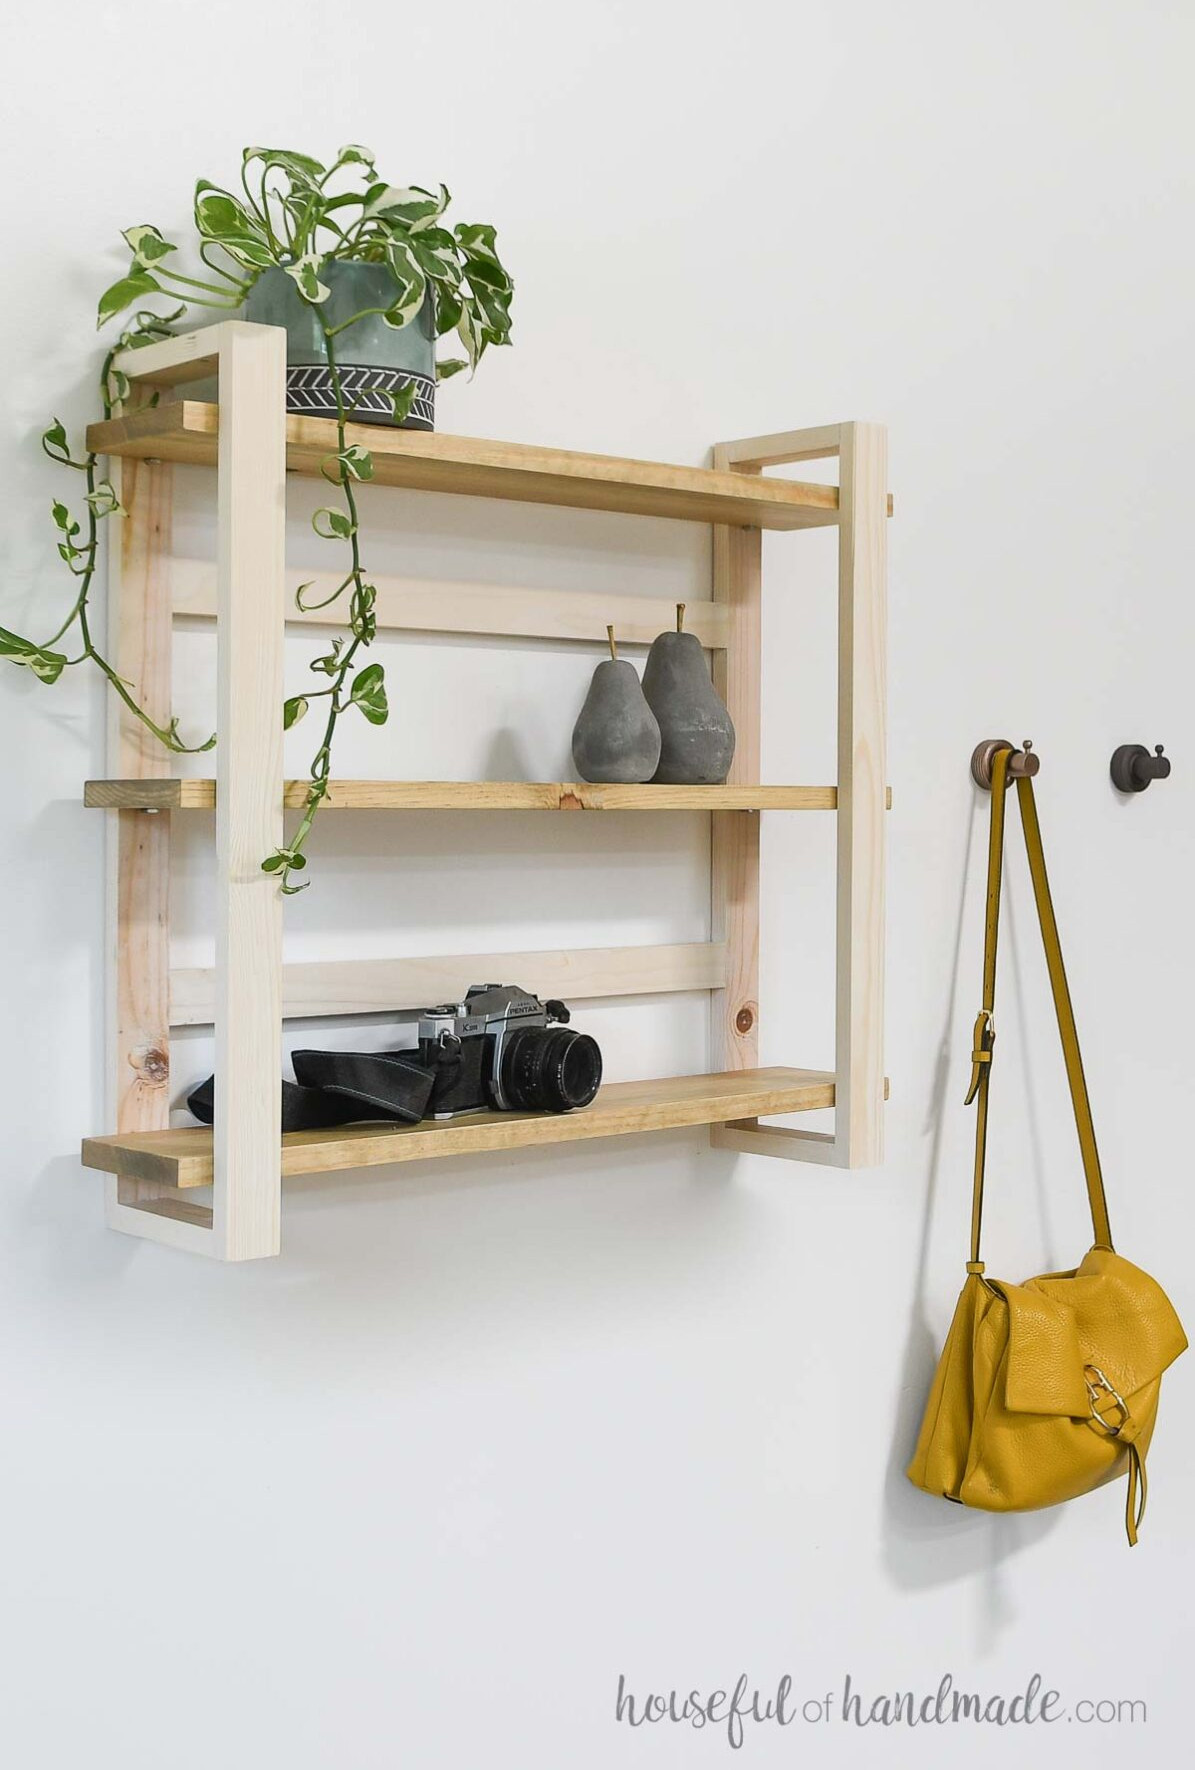
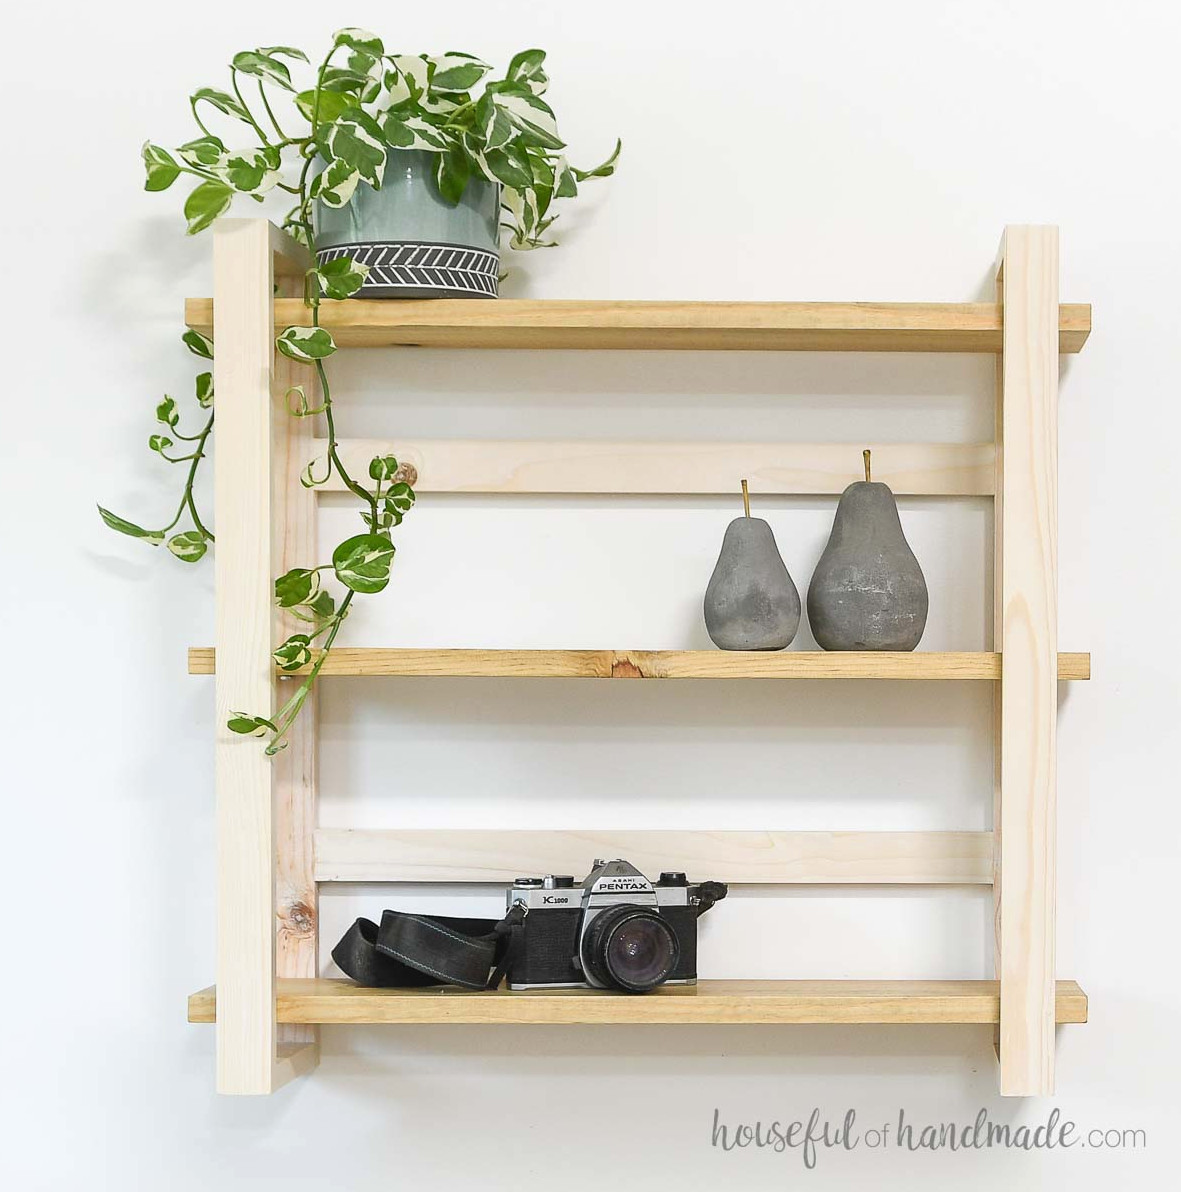
Add convenient storage to any room with this easy-to-build, wall-mounted shelf.
Wall shelves are incredibly practical! They create useful spots for storing and showcasing items in every room of your home.
These straightforward wall shelves can be installed wherever you need a place to keep belongings. Their slim design works wonderfully in an entryway, bathroom, bedroom, hallway, and many other spaces!
Best of all, the shelves can be built to be adjustable. You won’t have to wonder if a particular item will fit—simply reposition the shelves to suit your needs.
Bathroom Wall Shelf
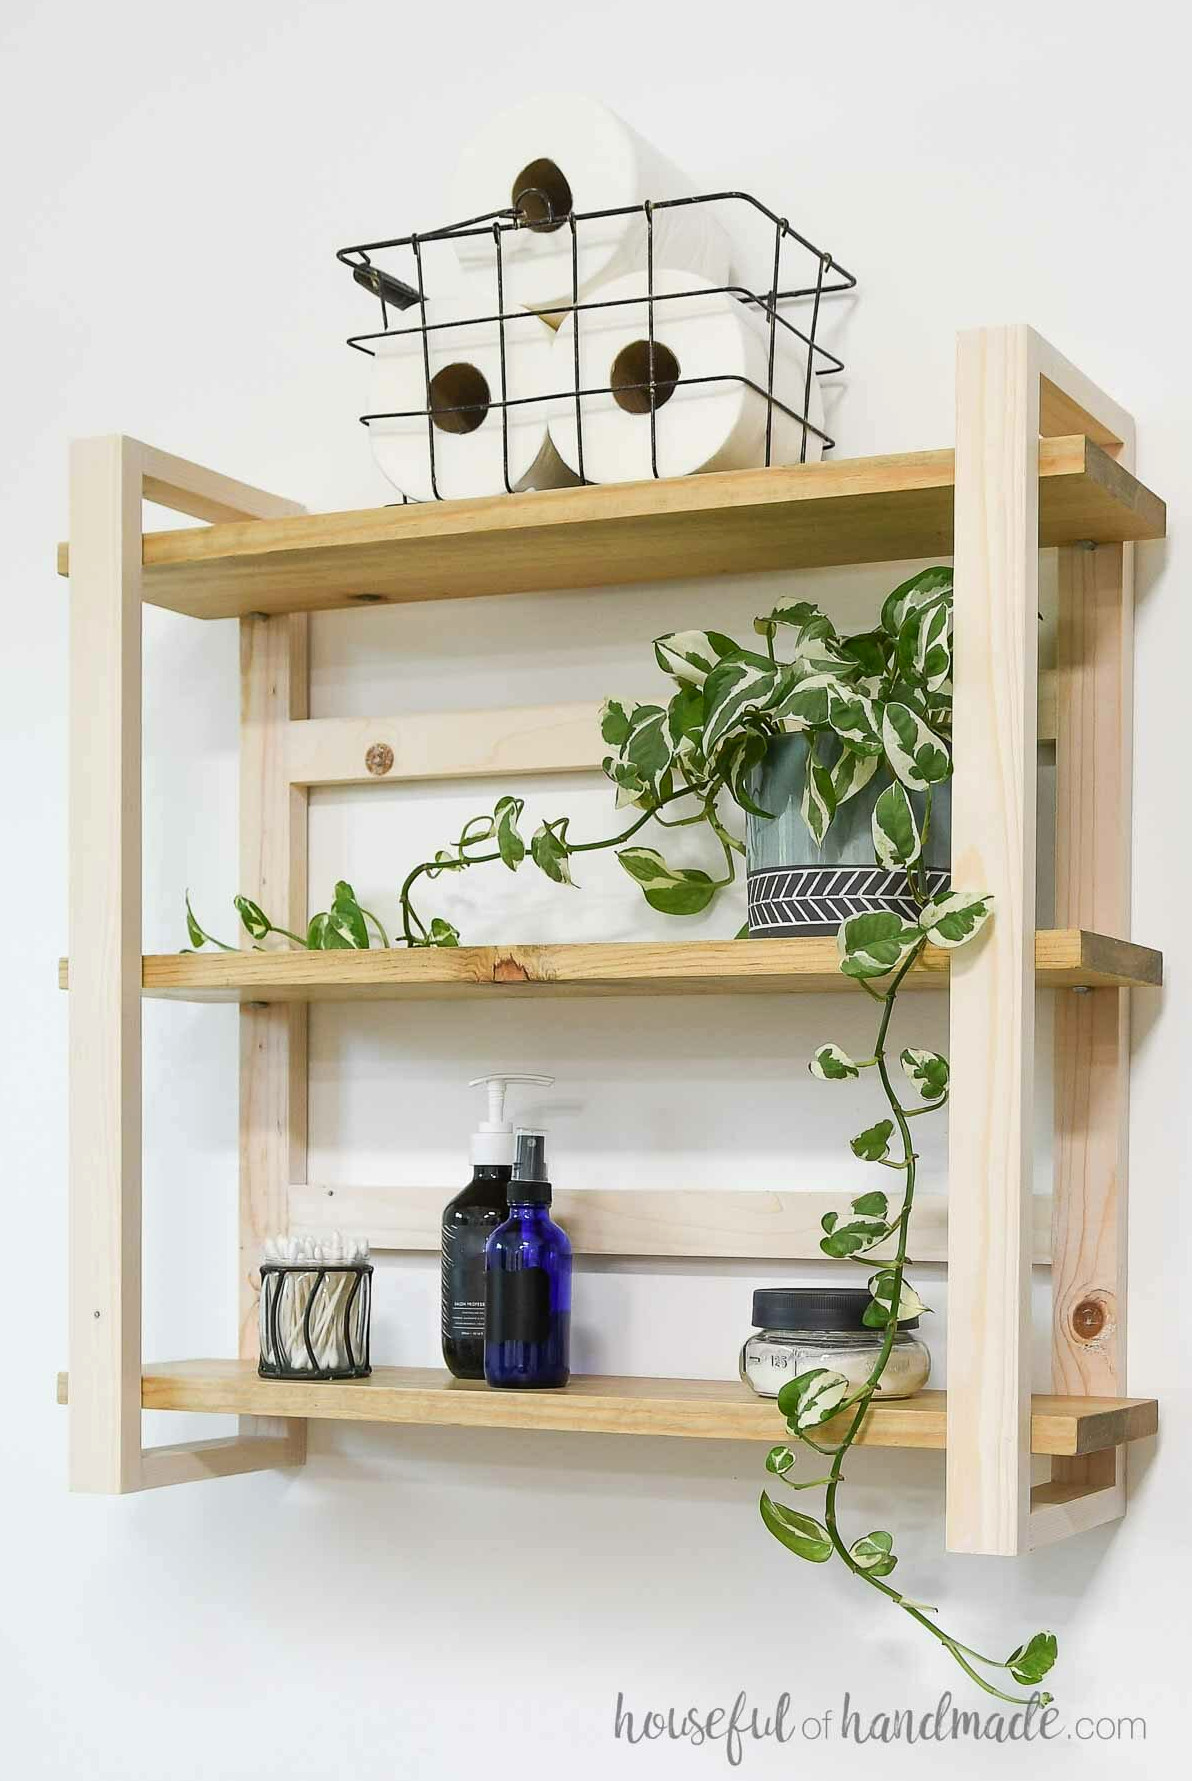
This shelving unit is an ideal size for use in the bathroom. It fits perfectly above a toilet while remaining compact enough for nearly any wall.
The wall-mounted shelves provide excellent storage for bottles of creams, lotions, pastes, and other essentials!
You can also place a plant on the shelf to give the bathroom a more elegant feel. If your bathroom lacks a large window, choose a low-light plant such as a pothos.
Two-Tone Shelves
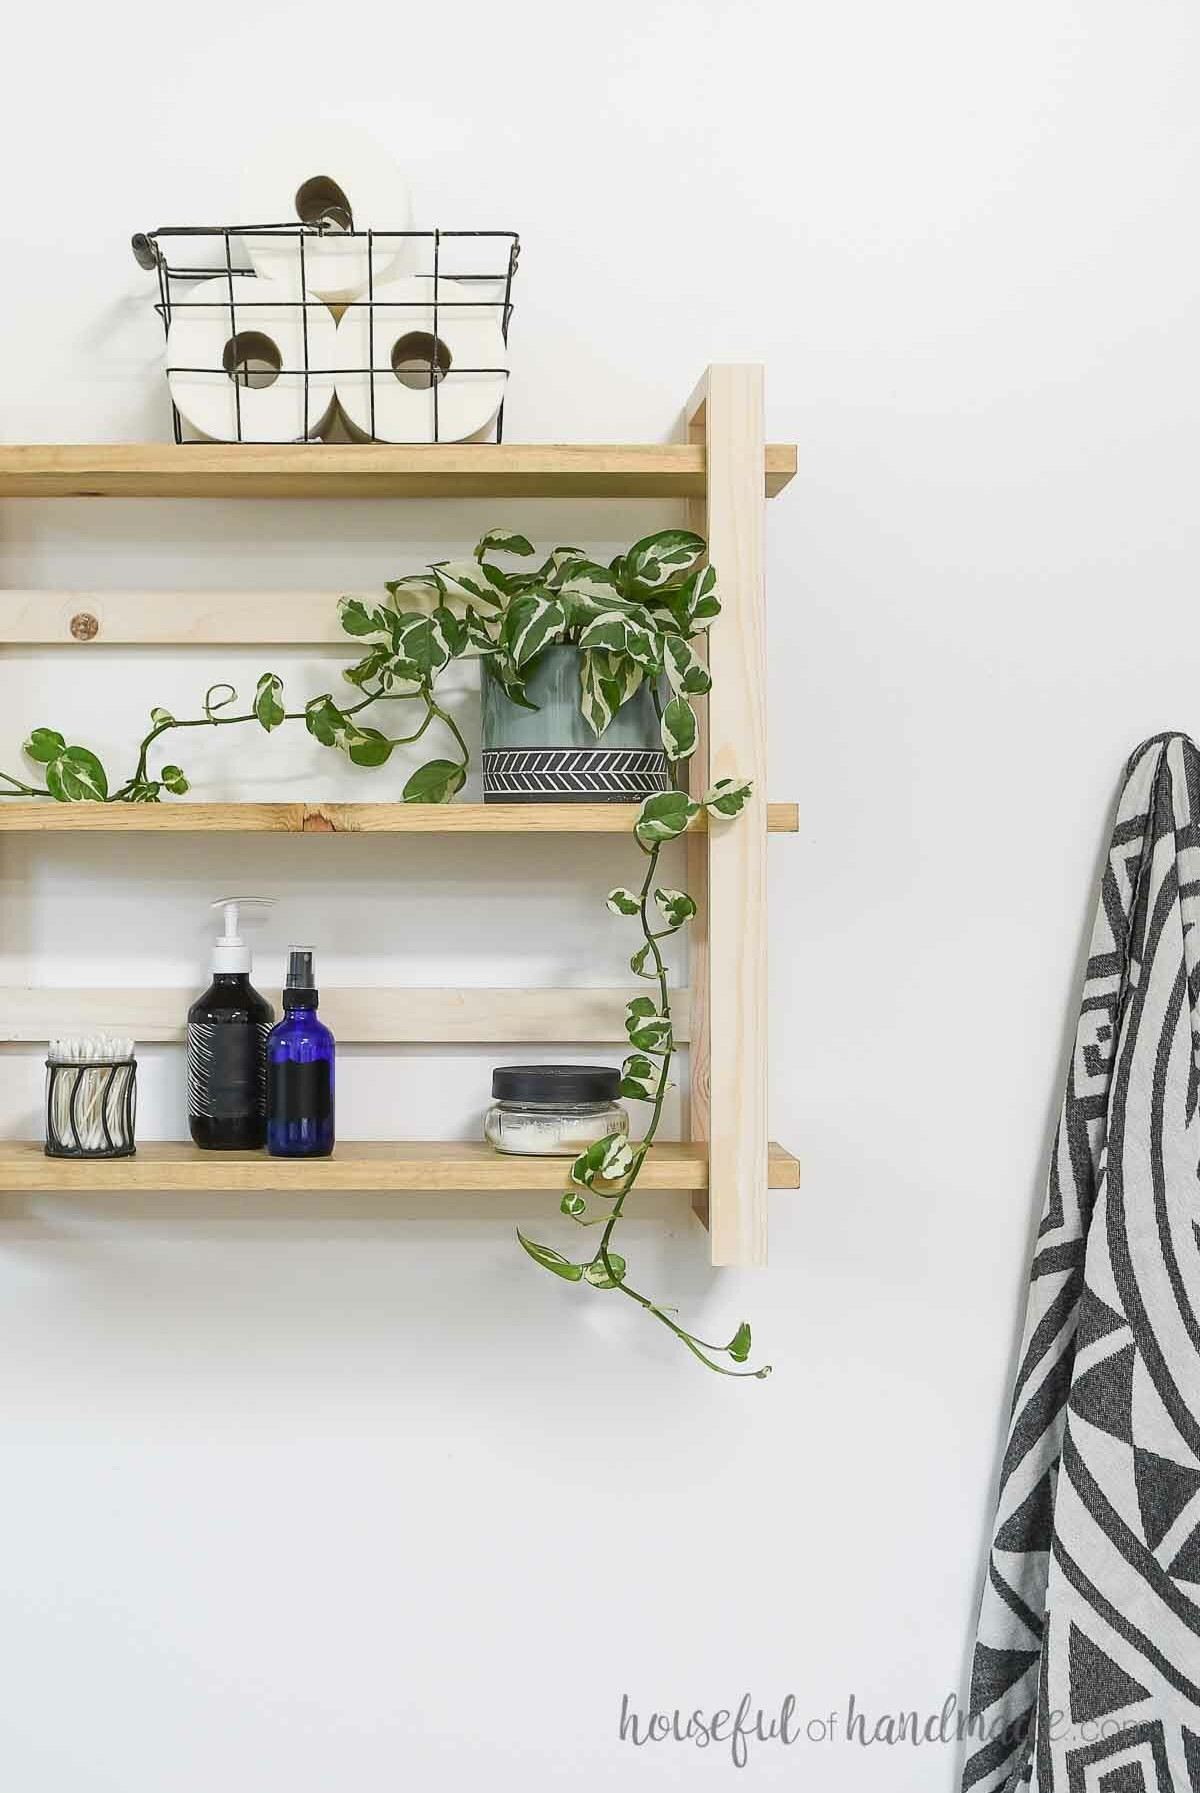
The frame and shelf boards are designed to remain separate rather than being permanently joined. Shelf pins are used to hold the shelves in place.
Because of this, you can easily stain or paint the components in contrasting shades to create a two-color appearance. The design also makes the shelves adjustable!
For my project, I applied Varathane white stain to the frame. It creates a soft whitewashed finish.
The shelf boards received Minwax Weathered Oak stain, the same product I used on the DIY bathroom vanity in the room where these shelves will be installed.
Afterward, every piece was protected with Minwax furniture paste.
More shelves and storage DIYs
Give your entire home a makeover with these enjoyable and simple projects.
How to Build a Simple Wall Shelf
Tools & Materials
Overall Dimensions
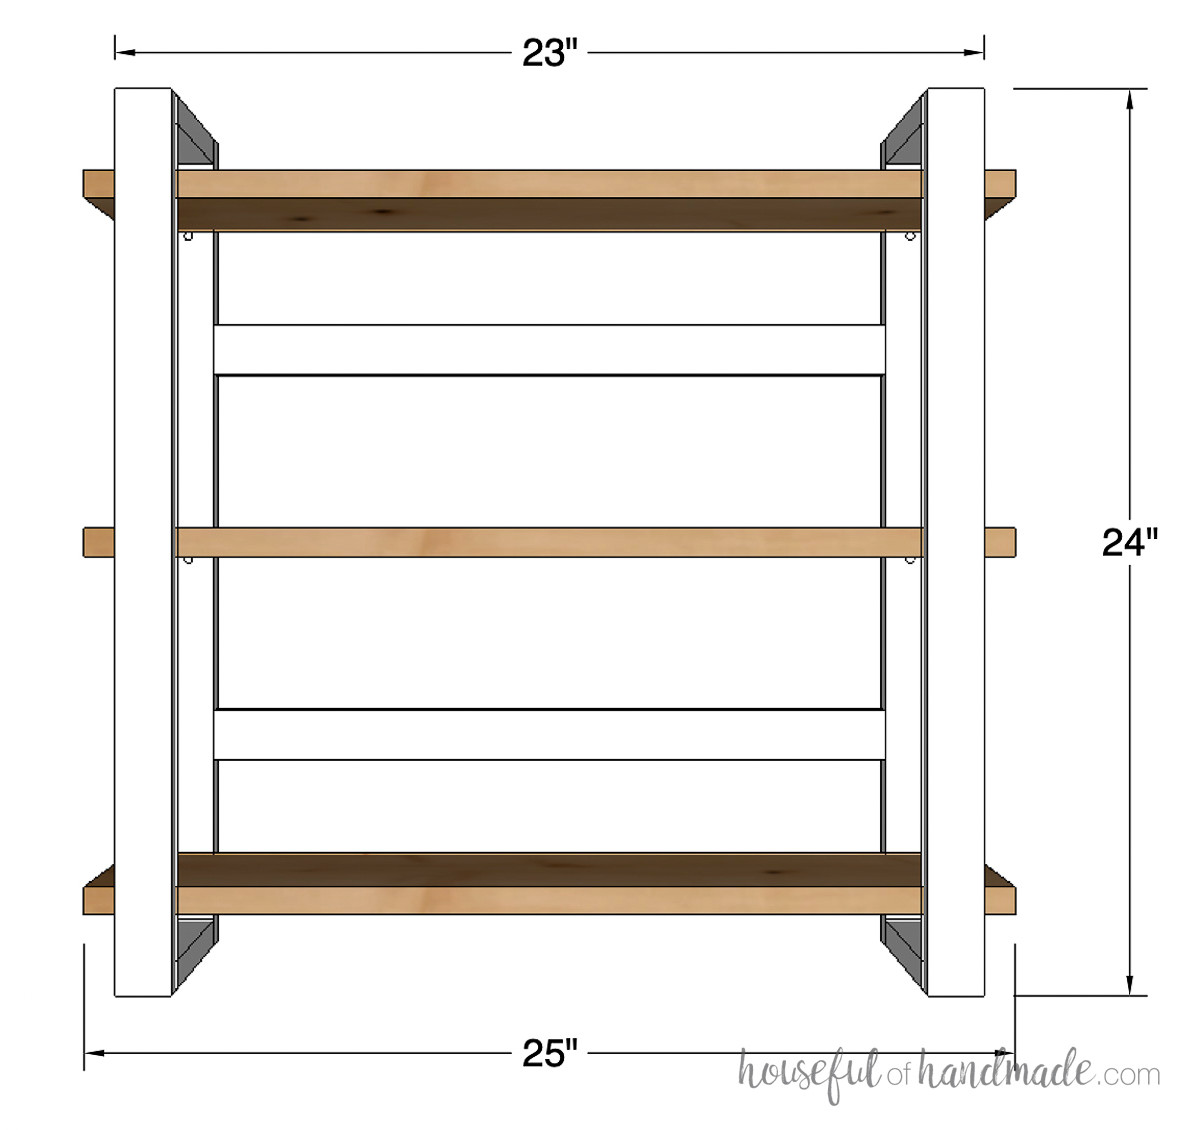
The wall shelf frame measures 23″ wide, 24″ tall, and 7″ deep. Each shelf board is 25″ long and 5 1/2″ deep.
Cut List
Prepare the pieces following the cut list chart provided in the PDF plans.
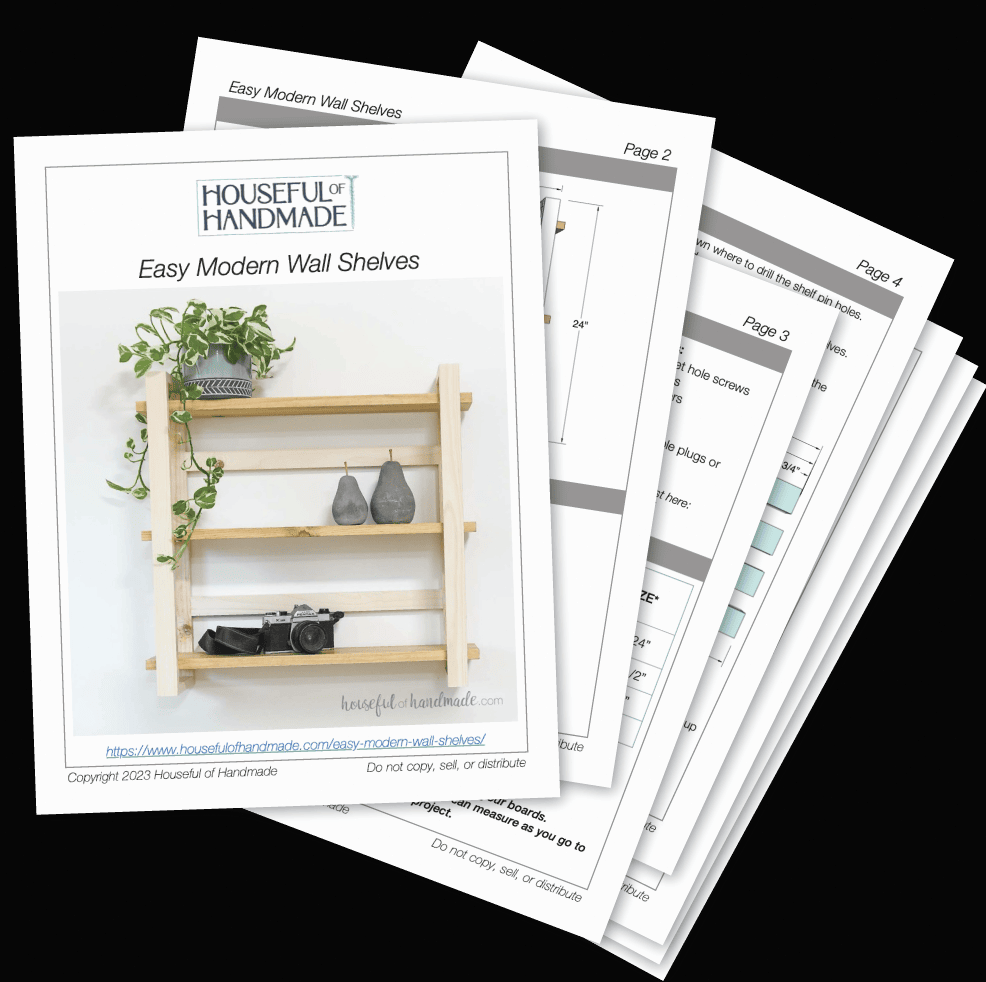
Get the Premium PDF Woodworking Plans
PDF plans include- Easy-to-Follow Cut List, Shopping List, Suggested Tools, Step-by-Step Directions with 3D illustrations, & Useful Resources
BONUS- 3D SketchUp File
STEP 1- Drill shelf pin holes
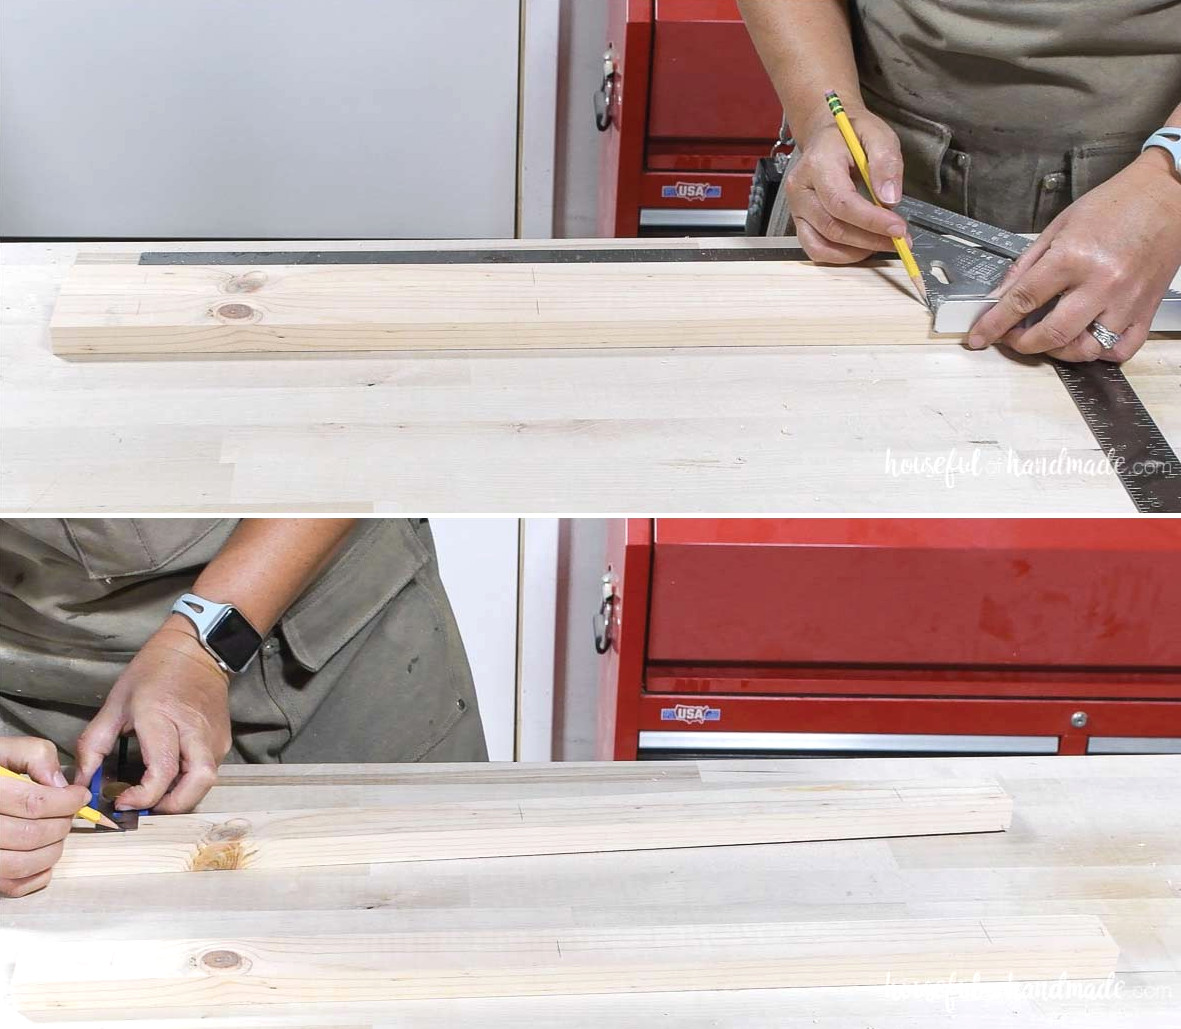
On each of the four side pieces, measure downward from the top to determine where the shelf pin holes should go. Be sure to mark the center of the board as well.
I drilled 3 shelf pin holes to create evenly spaced, fixed shelves for my wall unit. Refer to the diagram in the printable plans for precise measurements.
Feel free to reposition the shelf pin holes or create several rows if you want adjustable shelves.
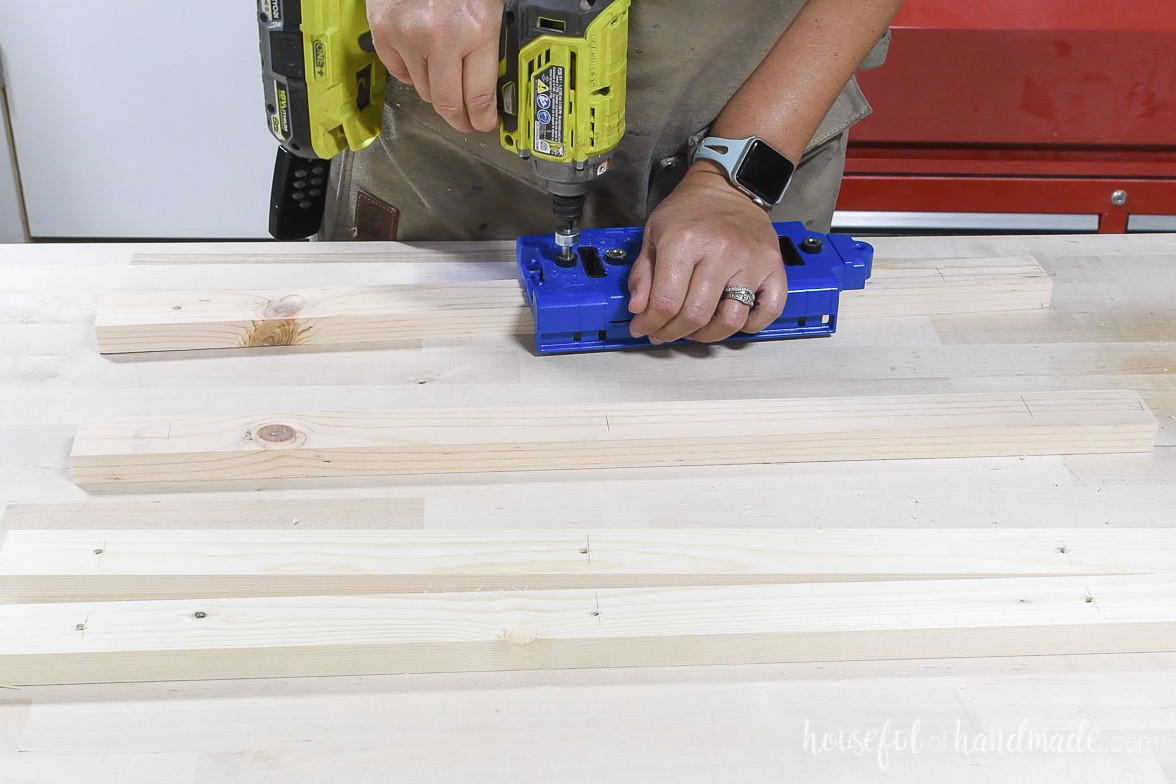
Use a shelf pin jig or drilling guide to ensure the holes remain straight. The upper edge of each hole should align flush with the marked line.
Also, identify which end of the board is the top so the shelf pin holes align correctly during assembly.
STEP 2- Assemble the sides
Adjust your pocket hole jig for 3/4” thick material, then drill 2 pocket holes into both ends of all 4 top/bottom pieces.
Need help choosing a pocket hole jig? Check out my comparison of Kreg pocket hole jigs here.
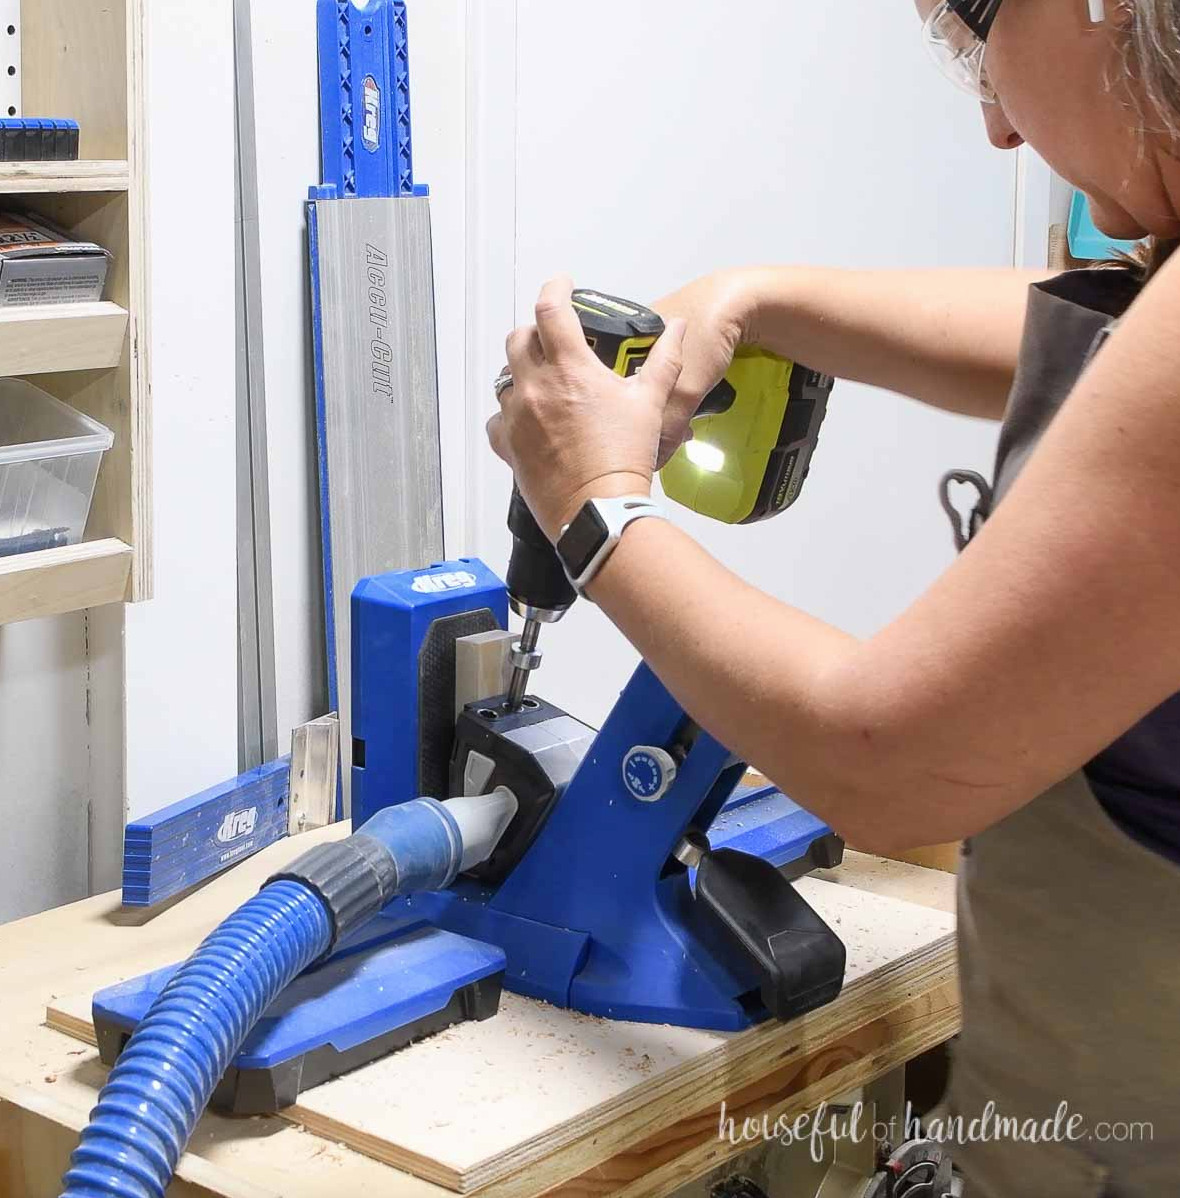
Fasten 2 top/bottom pieces to one side piece. Position the shelf pin holes so they face inward toward the center of the assembled frame.
Keep the pocket holes along the upper and lower faces of the piece as well. This placement will make them harder to see once the shelves are finished.
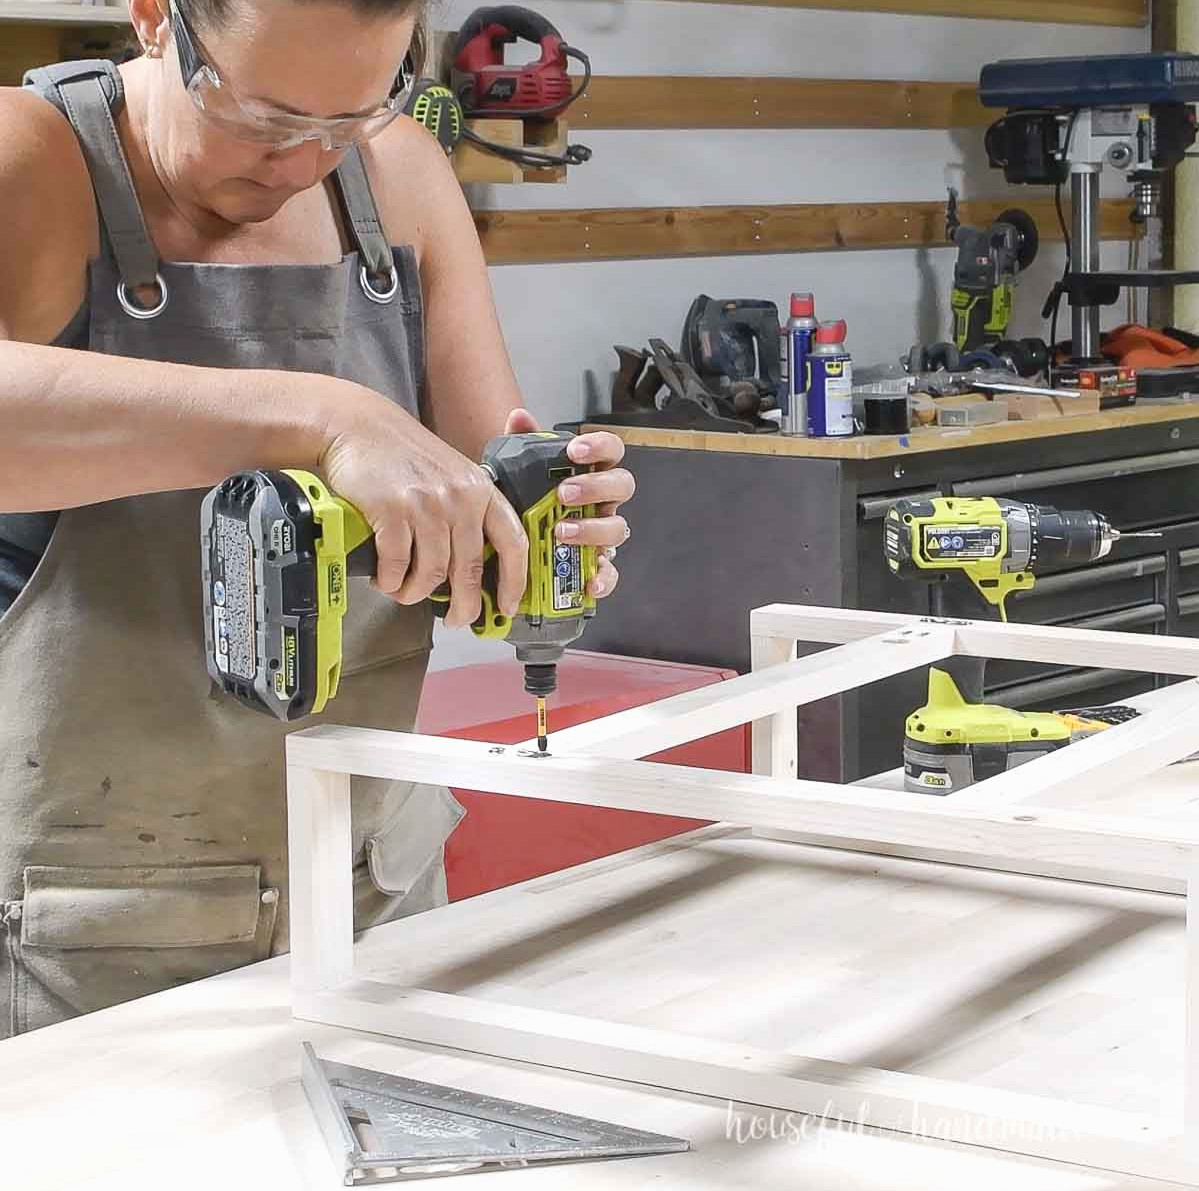
Apply wood glue and secure everything with 1 1/4” pocket hole screws. Check that the top and bottom pieces sit flush with the side piece ends.
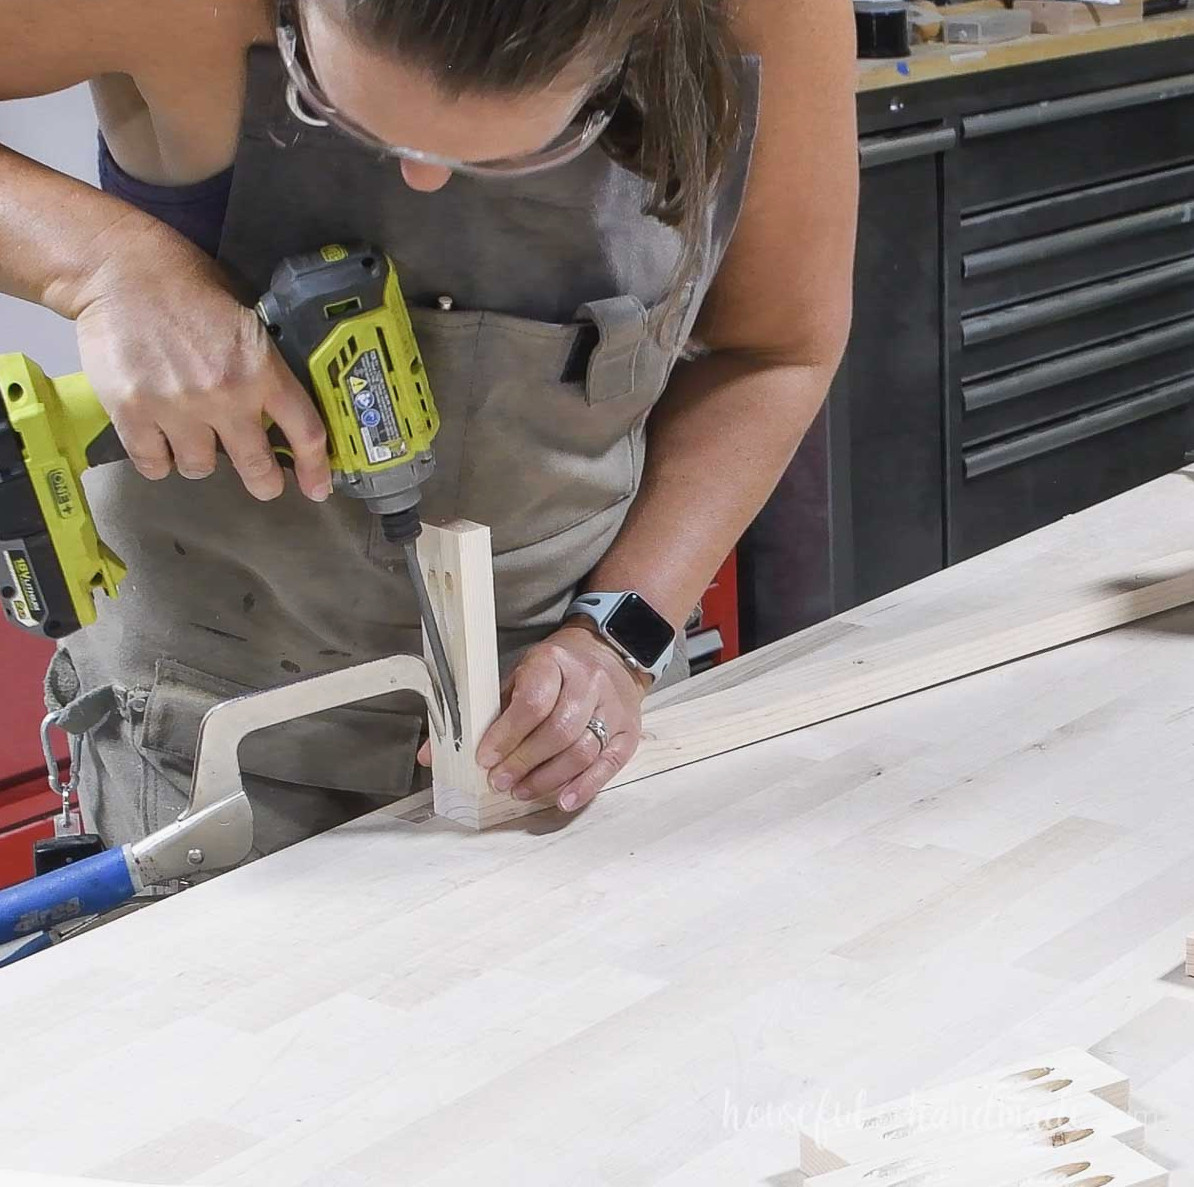
Next, install the other side piece.
As before, confirm that the tops of both side pieces are aligned so the shelf pin holes match up.
EXPERT TIP:
Apply glue to the exposed ends of both top/bottom pieces. After that, turn the assembly over and position it on the second side piece. Adding the pocket holes while the piece rests against your work surface is much simpler.
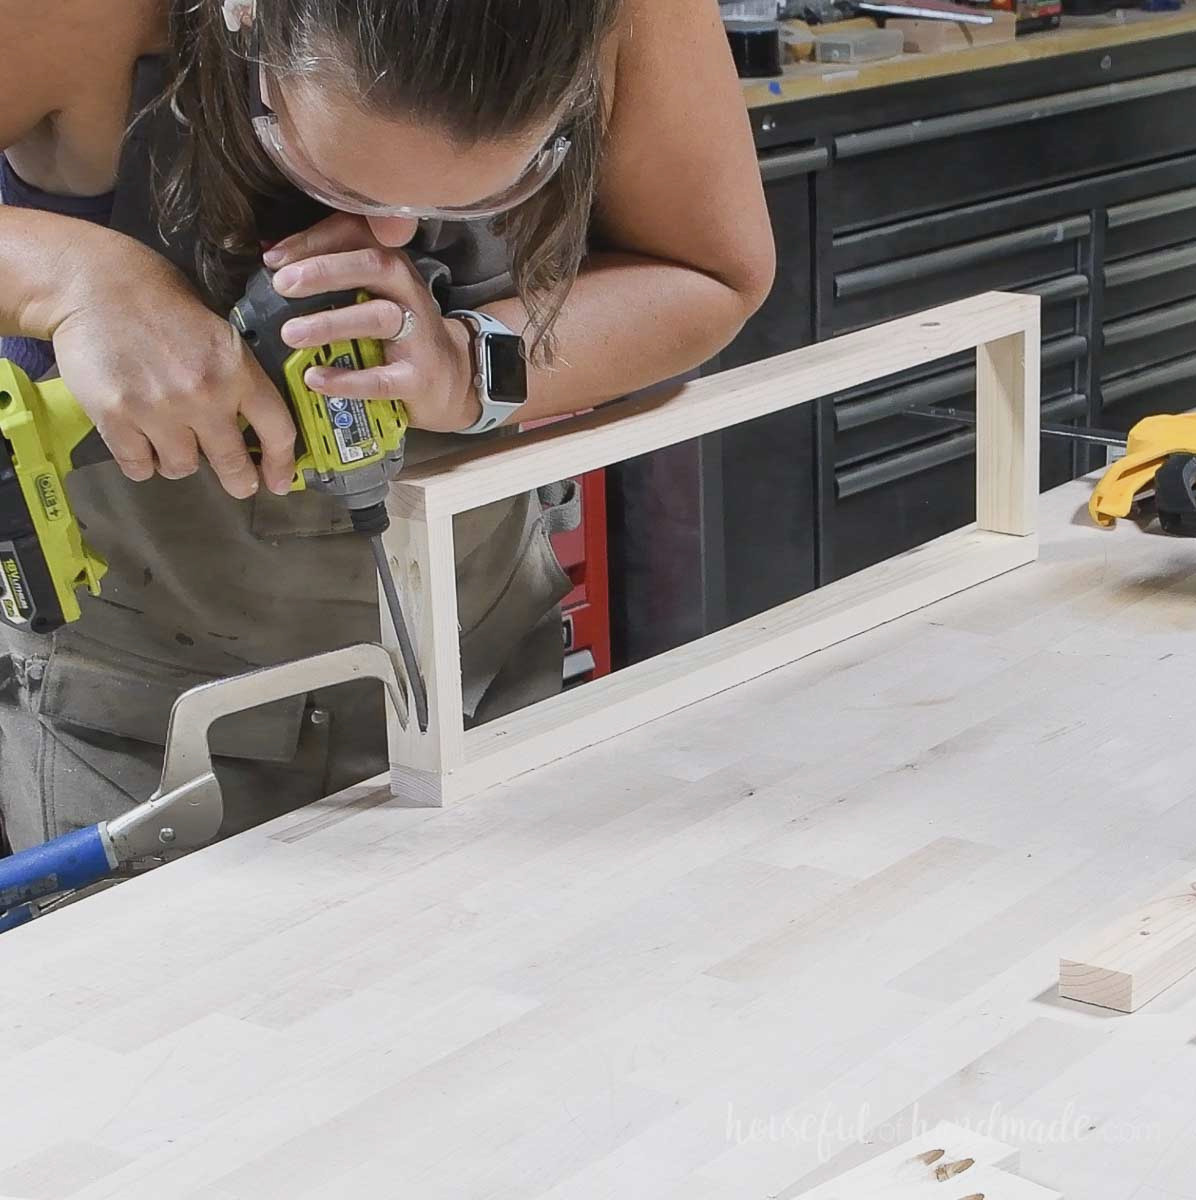
STEP 3- Add the back pieces
Keep the pocket hole jig adjusted for 3/4” material, then bore 2 pocket holes into both ends of each back piece.
On the assembled sides, measure and mark 5 1/2″ below the top edge. Repeat by marking 5 1/2″ above the bottom.
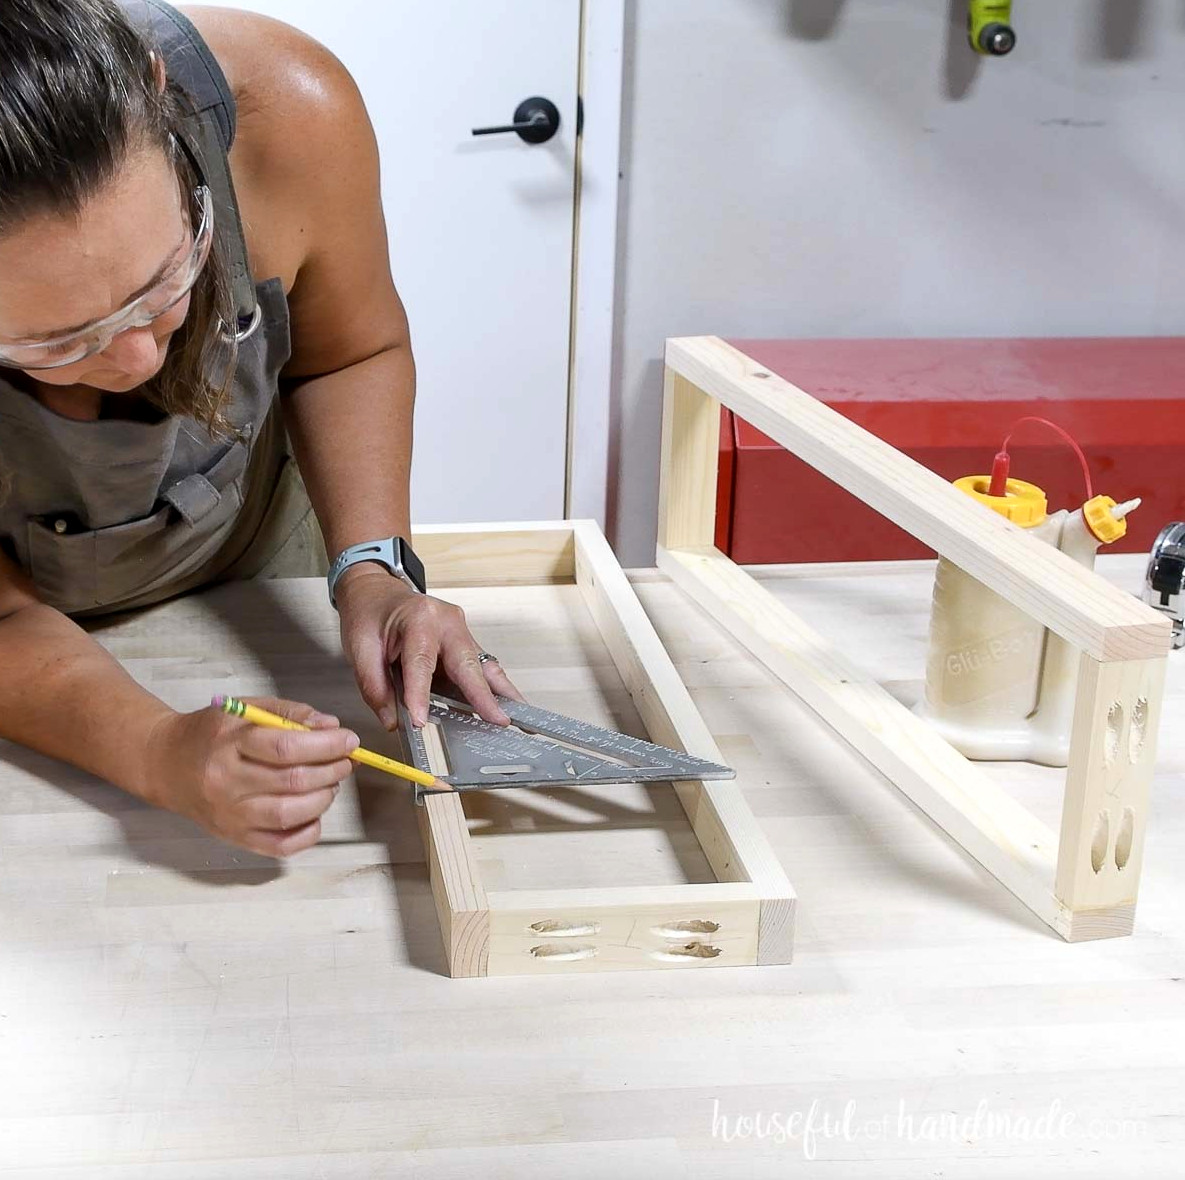
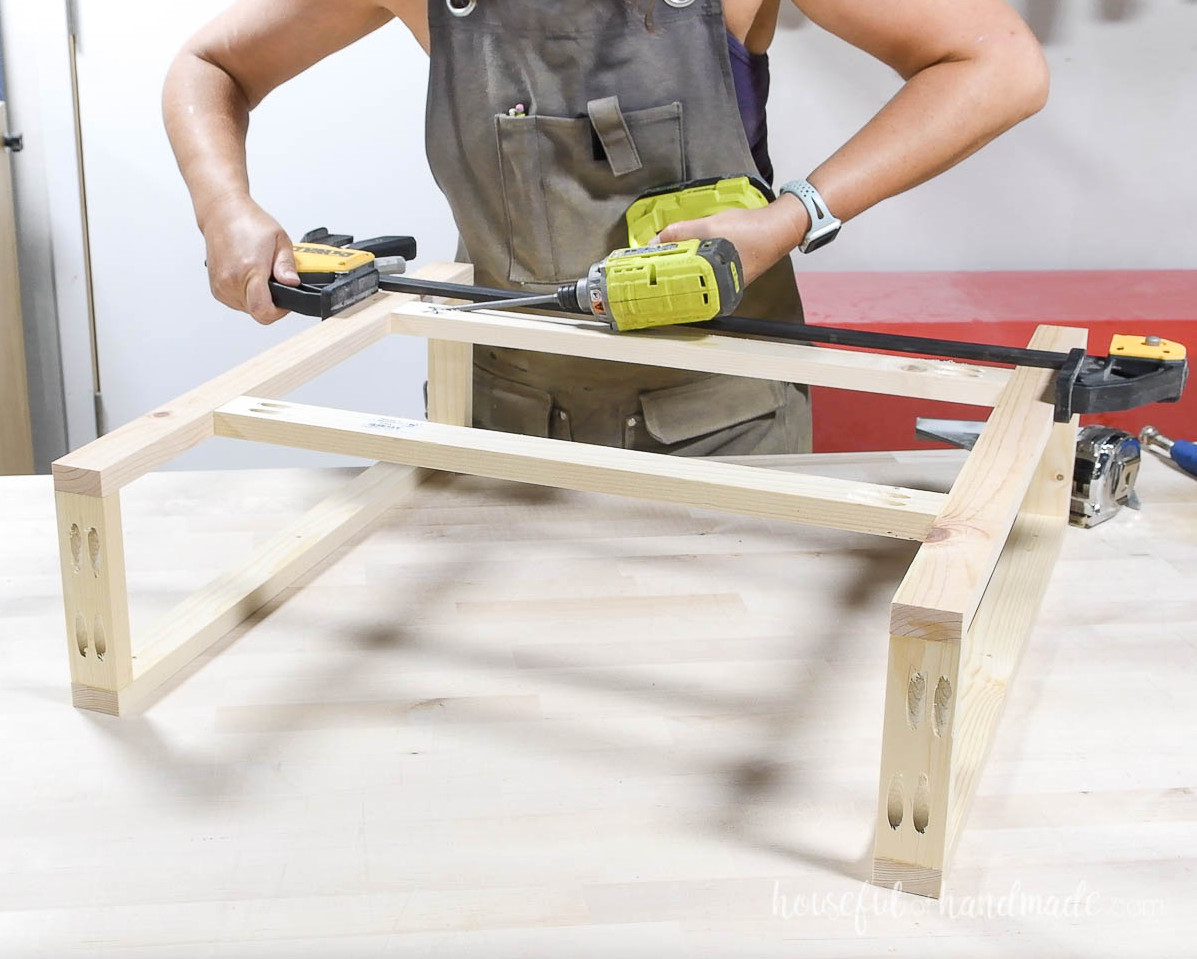
Position the back pieces against one side, keeping them 5 1/2″ from the edges of the assembled frame.
Apply wood glue and fasten everything with 1 1/4” pocket hole screws.
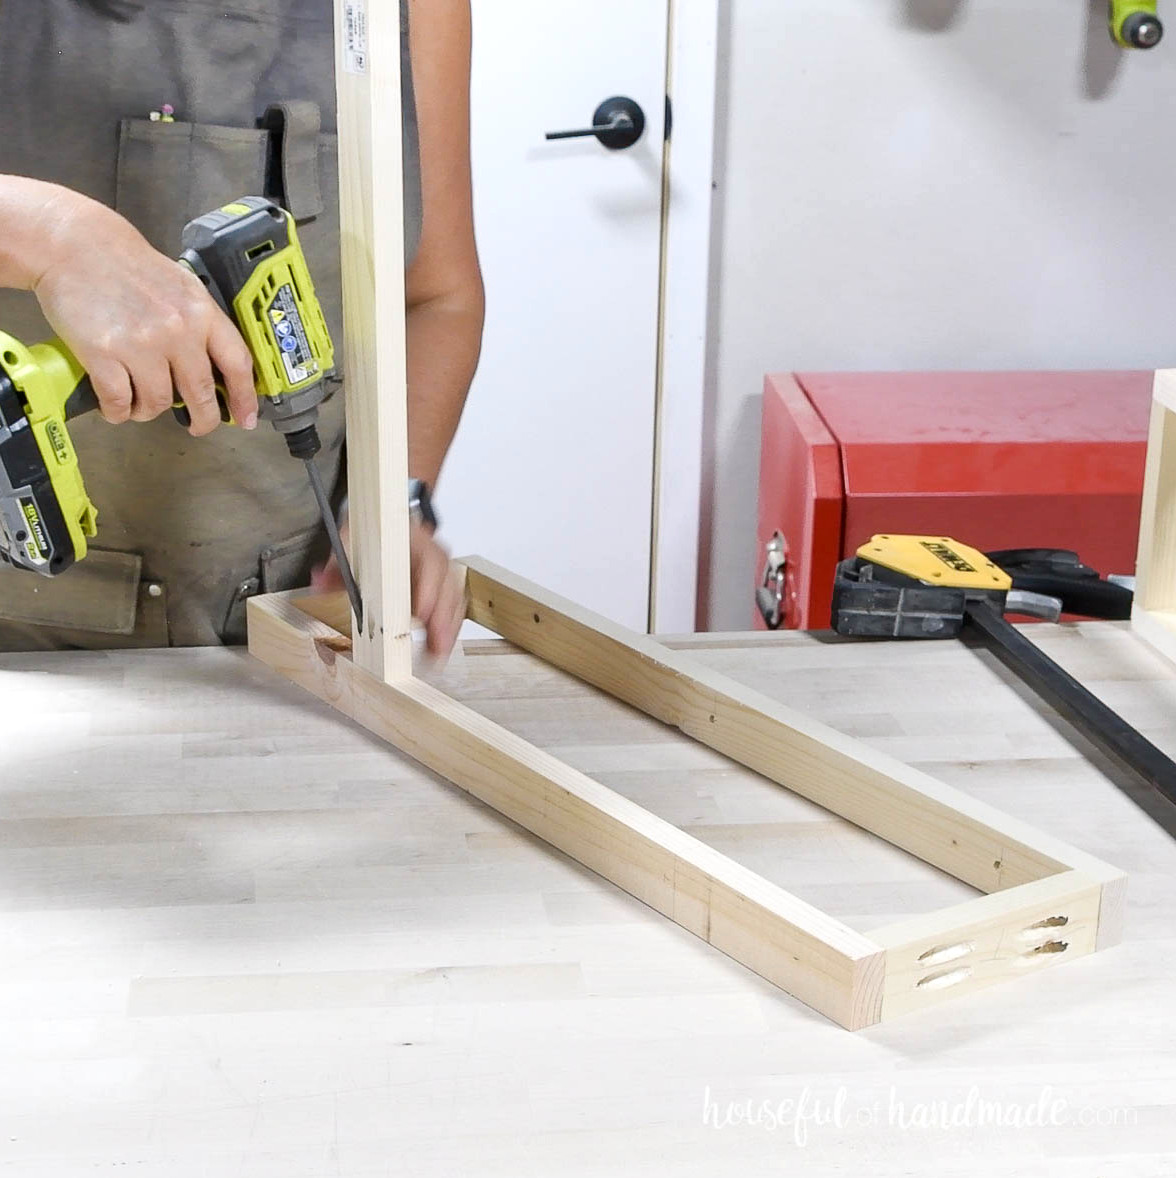
Next, clamp the remaining side in position and attach it.
Check that the back pieces match the marks on the second side.
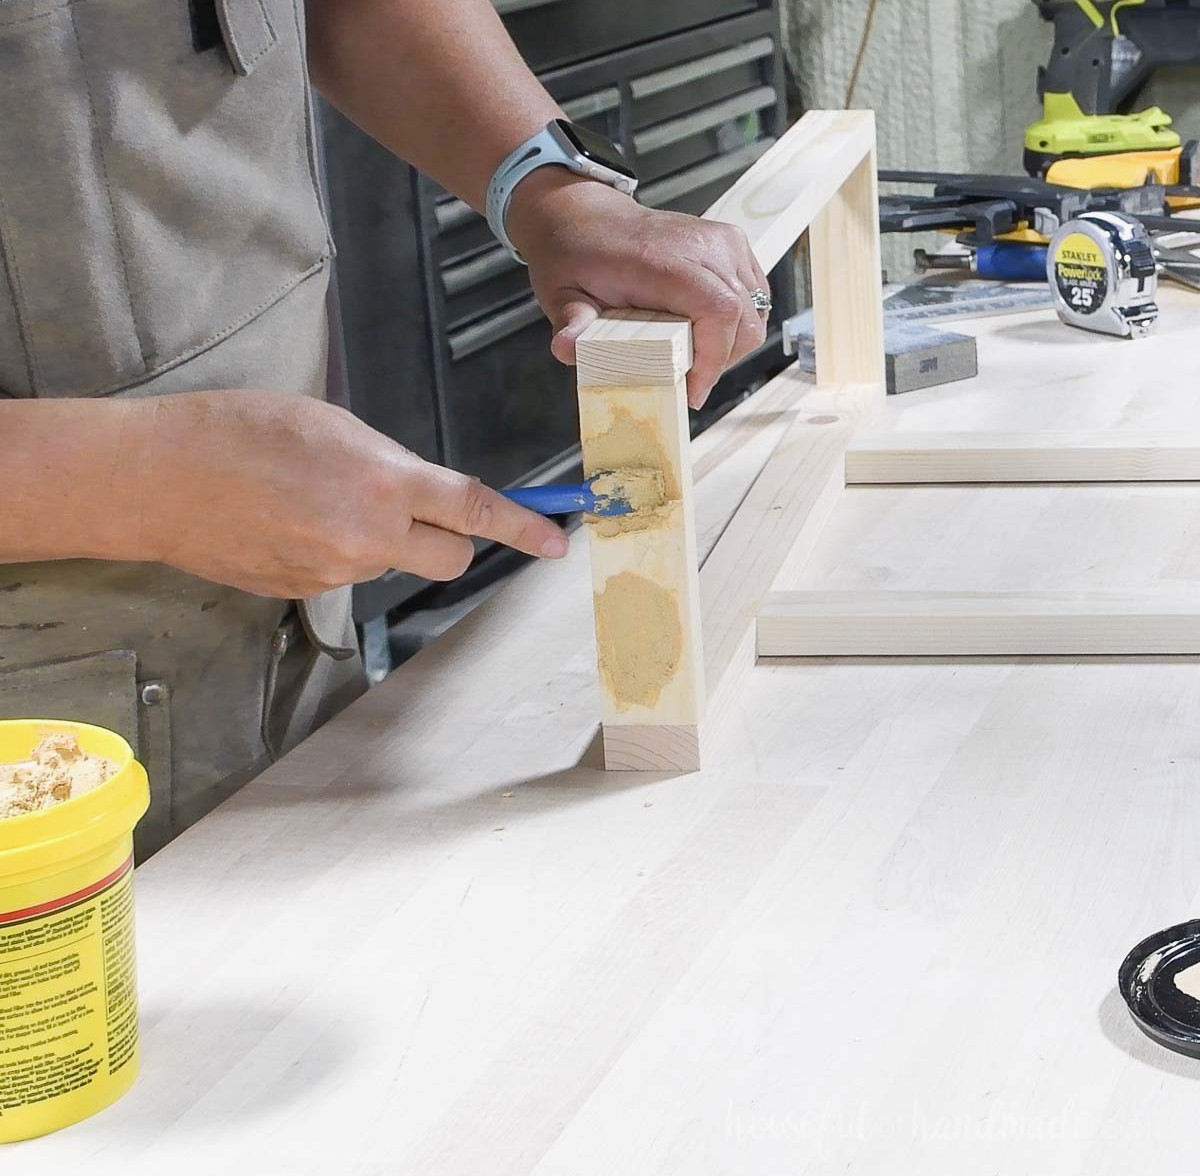
You can fill the pocket holes with plugs or wood filler if you prefer.
Sand the completed frame and shelf boards, then paint, stain, or seal them. For a smooth, professional-looking paint finish on your shelves, learn more here.
STEP 4- Add the shelves
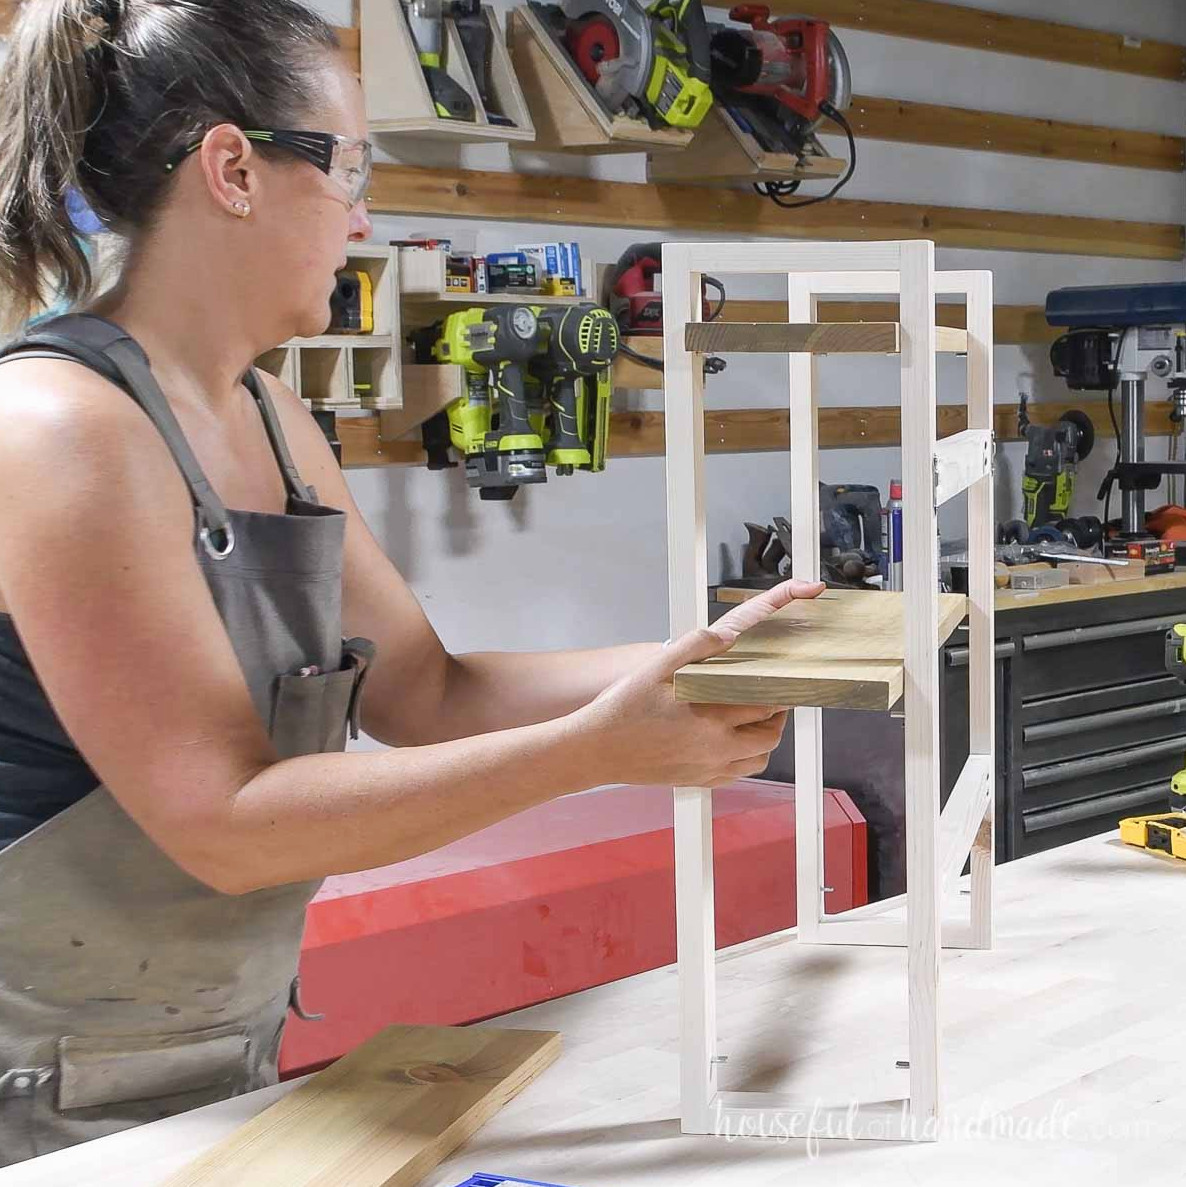
Cut the shelf boards, then sand and finish them before installation.
Insert the shelf pins into the holes, then slide the boards into place. Allow them to protrude 1” from both sides.
STEP 5- Mount on the wall
To mount your new wall shelves, install keyhole hangers on the rear of the frame. Position them level with the upper back piece.
Alternatively, leave off the hangers and secure the frame straight to the wall using 2 1/2″ wood screws driven through the back pieces and into the wall studs.
When fastening the unit to the wall, confirm that the shelf is level.
That’s it!
Remember to Get the Printable PDF Plans Here!
Premium plans feature:
- Suggested Tools
- Materials list
- Simple-to-read cut list table
- Cutting diagrams
- Detailed instructions with 3D renderings
- Useful resources
- BONUS: 3D SketchUp file
Fill your new wall shelves with whatever you like and enjoy them.
Enjoy building!