Transform an overlooked grapevine wreath into a charming fairy doorway—with only dried blooms, moss, and a dash of magic!
Magical Fairy Wreath: A Playful DIY for Your Entryway
There’s a special kind of wonder in a wreath that seems to have come right out of a storybook. When I discovered a worn, loosening grapevine wreath among my supplies, I immediately imagined giving it a fresh purpose—as a charming fairy door wreath! Using dried blossoms, vibrant moss, and a handful of magical accents, this craft combines natural appeal with a touch of fantasy. The best part? It’s simple, affordable, and ideal for bringing fairy-inspired charm to your front door throughout the year.
Supplies I Gathered for This Wreath
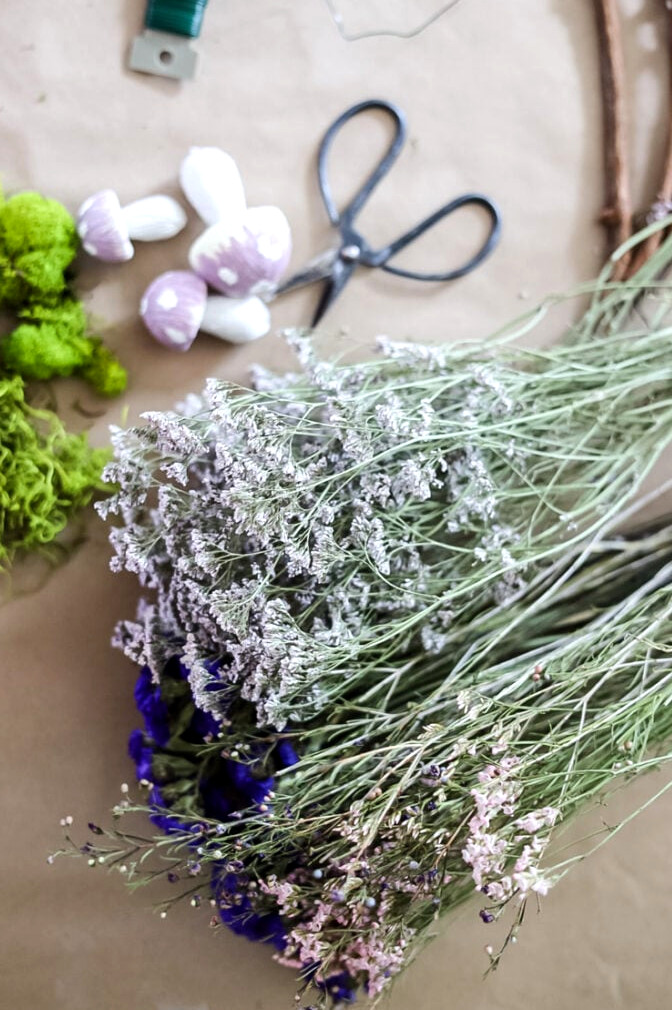
Supplies Needed for This Craft
Flowers & Customization Notes
The main stars?Trader Joe’sstatice and sea lavender—I allowed them to dry naturally, though you can certainly place themfreshon the wreath as well (they’ll dry right where they are without any trouble).
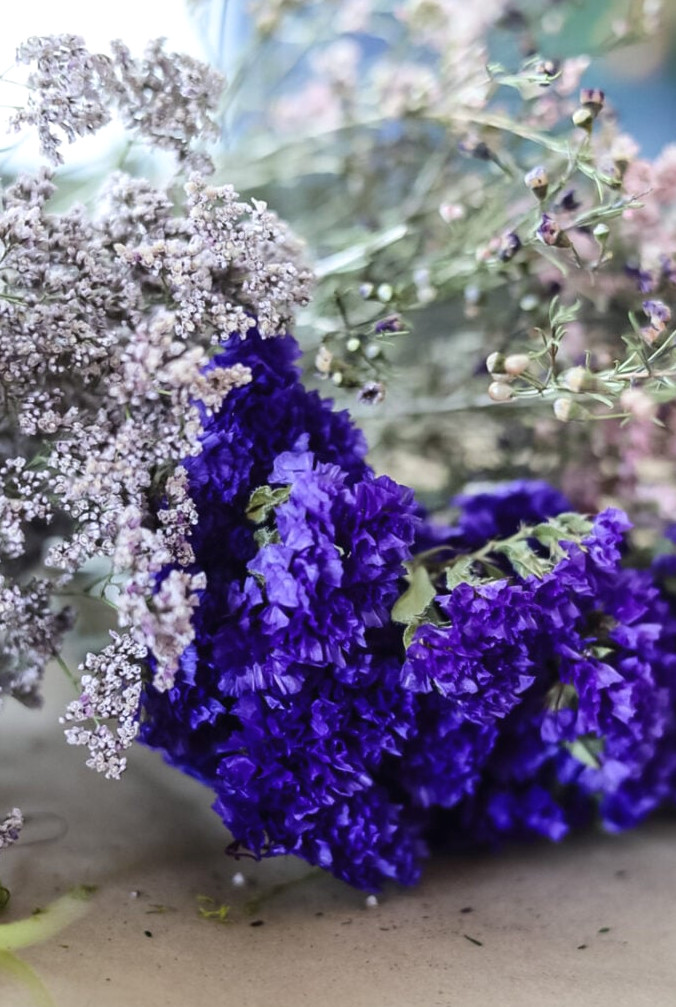
Don’t have a TJ’s nearby? That’s fine!Let your imagination lead the way with this project:
- Substitute withdried hydrangeas, strawflowers, or fragrant herbs such as lavender
- Choose a moodier color schemewith navy statice and rusty-toned celosia
- Experiment with texture– wheat stems, seed pods, or dried ferns look lovely
Complete Step-by-Step Guide
This wreath comes together with ease. When cutting the grapevine wreath, I recommend using garden clippers(a useful choice for handling sturdy vines).
In addition, keep your hot glue gun warmed up and place some spare glue sticks within reach.
1. Rework the Wreath Foundation
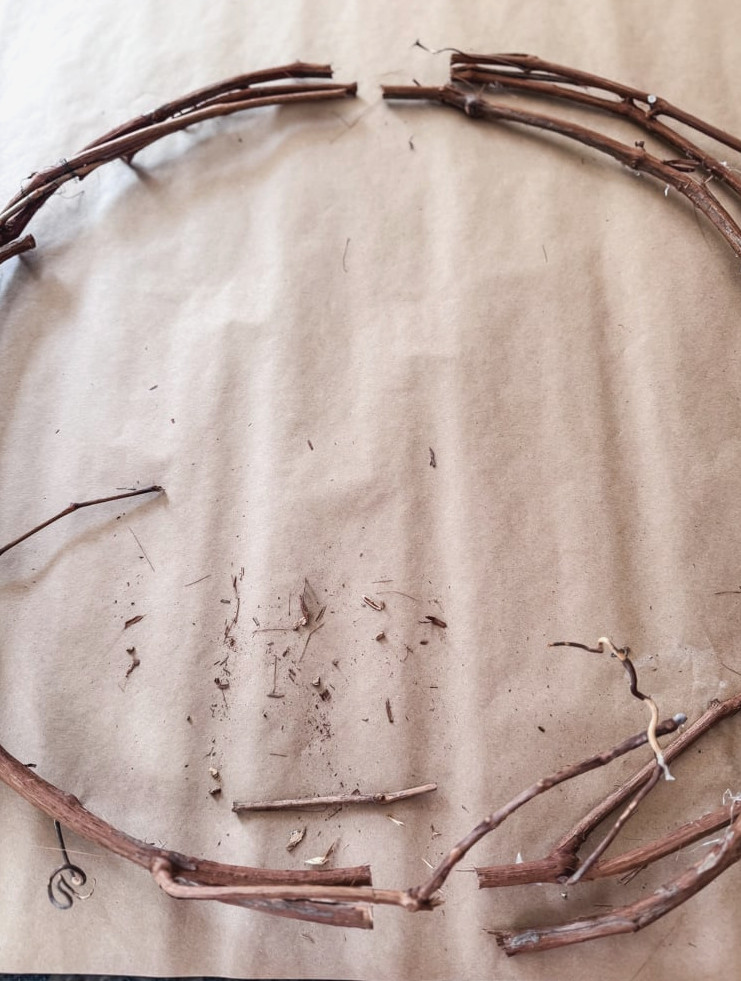
- Take apartan aged grapevine wreath into separate rings.
- Slice the rings in halfto form crescent-shaped sections.
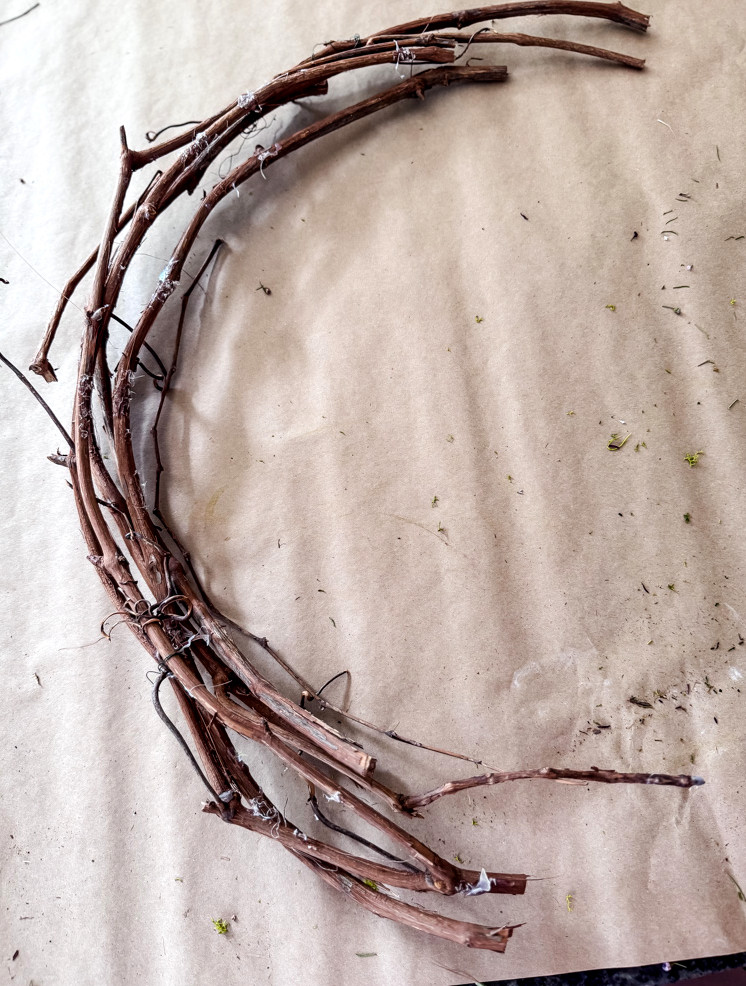
- Layer and fastenthe pieces with floral wire, shaping them into a half-moon.
- Helpful Tip:Layer the sections for a more abundant appearance—fairies adore snug little spaces!
2. Fasten the Dried Blooms
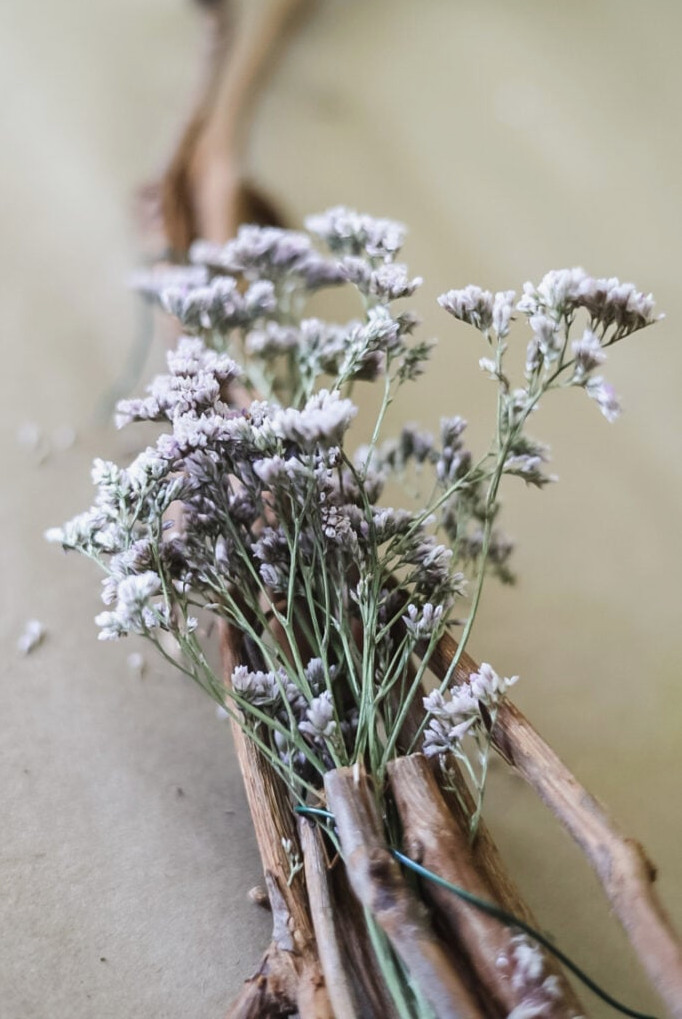
- Prepare the flowers: Cut the stems and tie small bunches with floral wire.
- Build up the textures: Begin at the crescent’s upper section (moss will be added to the grapevine crescent’s ends in step 3) and alternate between the flowers and textured elements.
- Keep the flower bundles firmly together to create a lush appearance.(moss will be used in the following step to cover any openings)
- Fasten them: Use hot glue to attach the bundles to the wreath, slipping the stems beneath the vines.

Design Suggestion:Group similar shades together (purples/pinks) to achieve a “fairy garden” appearance.

Once the other blooms were secured, I added three small gomphrena clusters to the wreath; it seemed to need a lively burst of a more vivid shade.
3. Add the Moss!
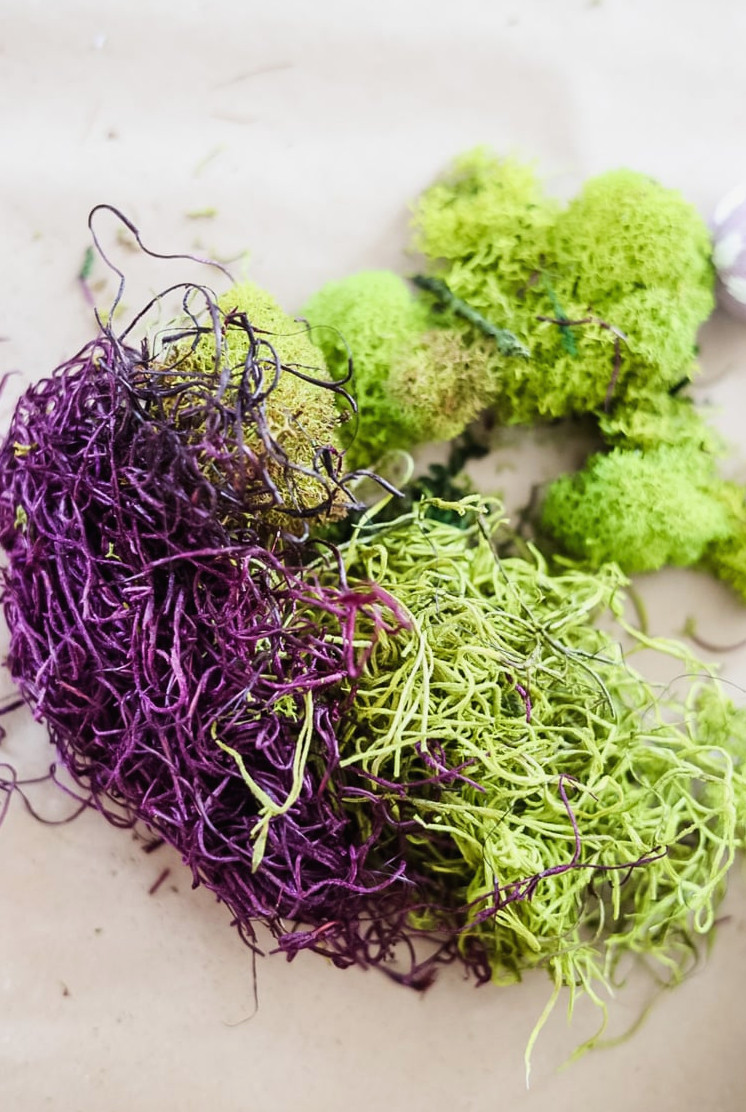
With all the dried flowers in place, I added colorful moss to bring in an extra layer of enchanted woodland texture:
- Mixed moss(I chose lime green and gentle purple) to cover spaces with colorful accents
- Spanish moss(laid across the lower edges) for a magical,hanging-from-the-branchesappearance
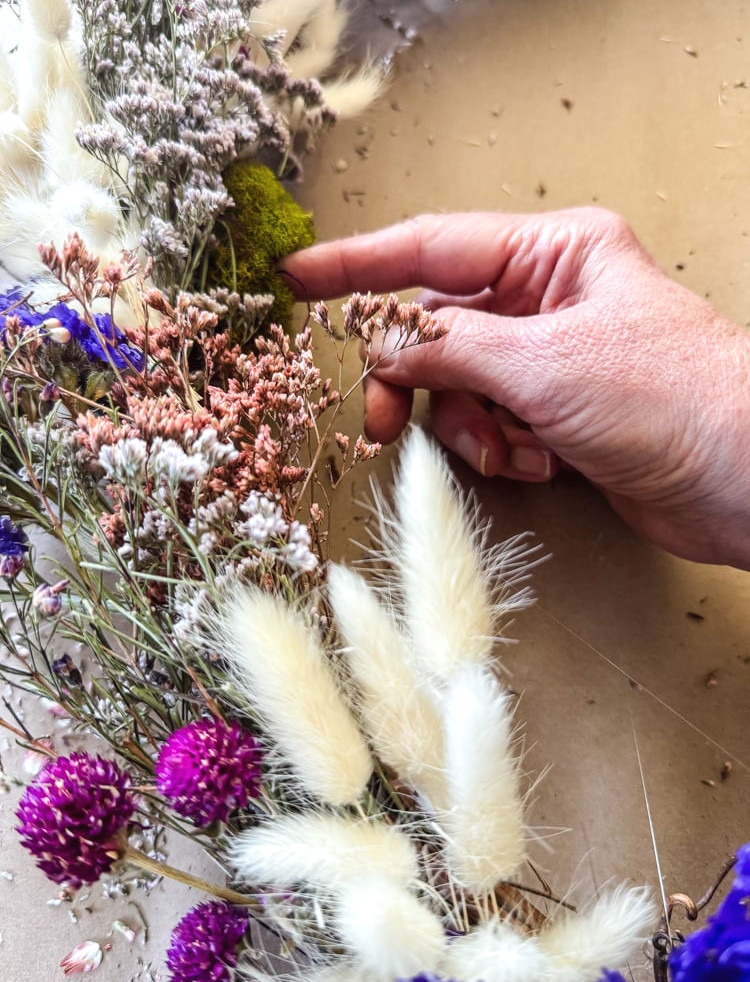
Helpful Hint:Pull the moss apart into irregular pieces and apply glue sparingly—this helps it appear natural rather than overfilled! The Spanish moss flows like miniature vines, making it ideal for covering thin areas and creating a sense of motion.
4. The Enchanted Finish: Adding Playful Details
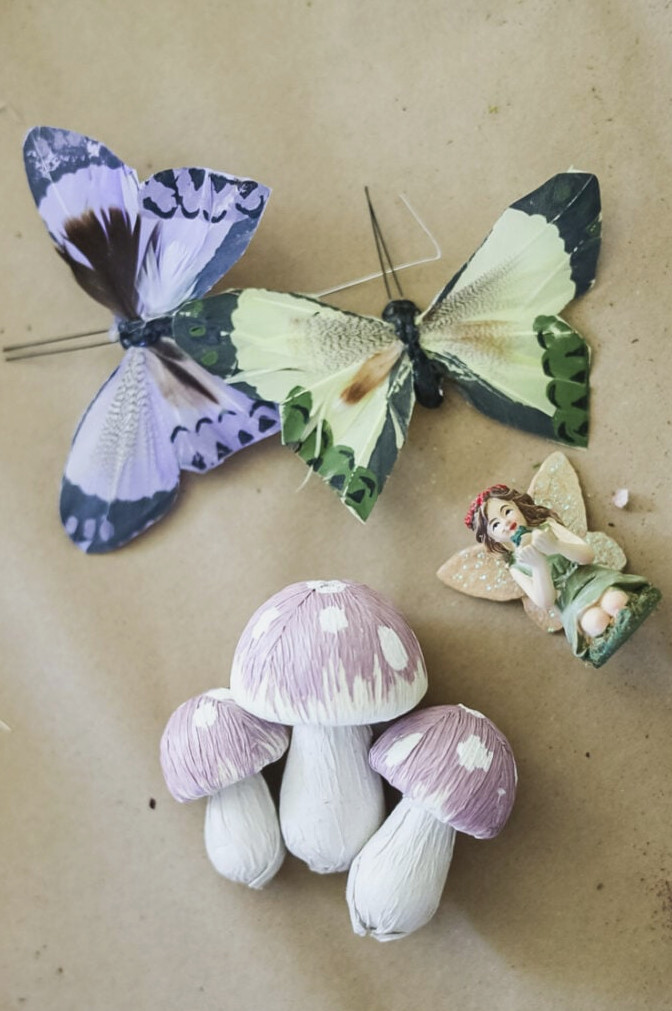
Now comes the delightful part—giving the wreath its fairy-inspired personality! Here’s the arrangement I created (attach each piece with hot glue):

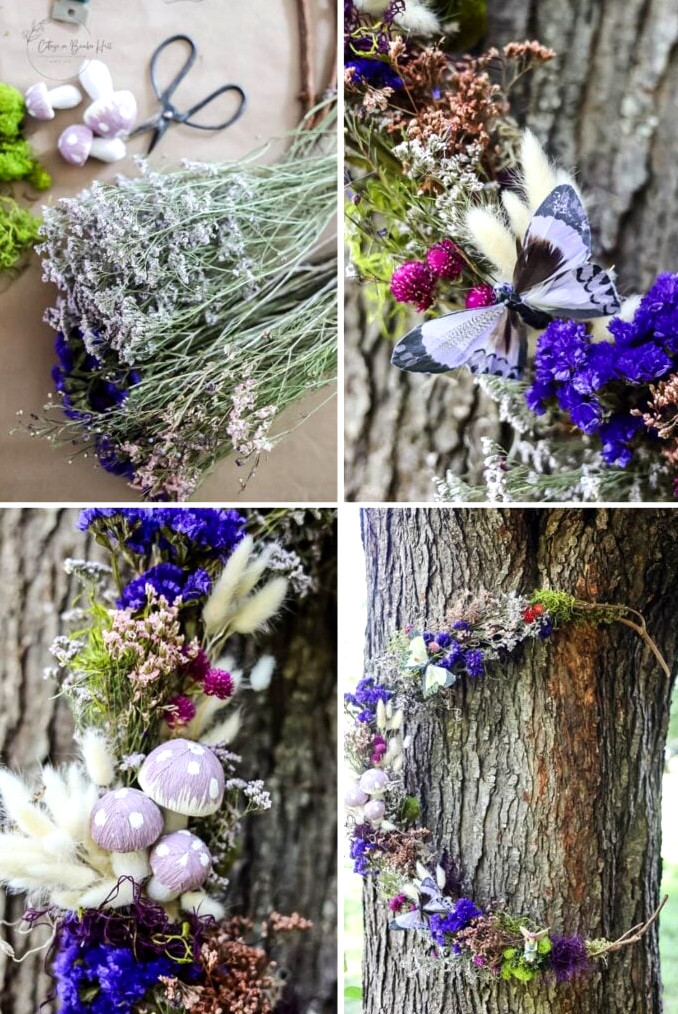
- Lavender mushrooms(3 in all) tucked among the central flower groupings—as though they had naturally emerged from the blossoms.
- Butterflies made of featherson either side, seeming to have paused for a taste of nectar.
- A fairy ornamentat the bottom of the crescent, emerging from the Spanish moss as if she were caring for her blooming realm.
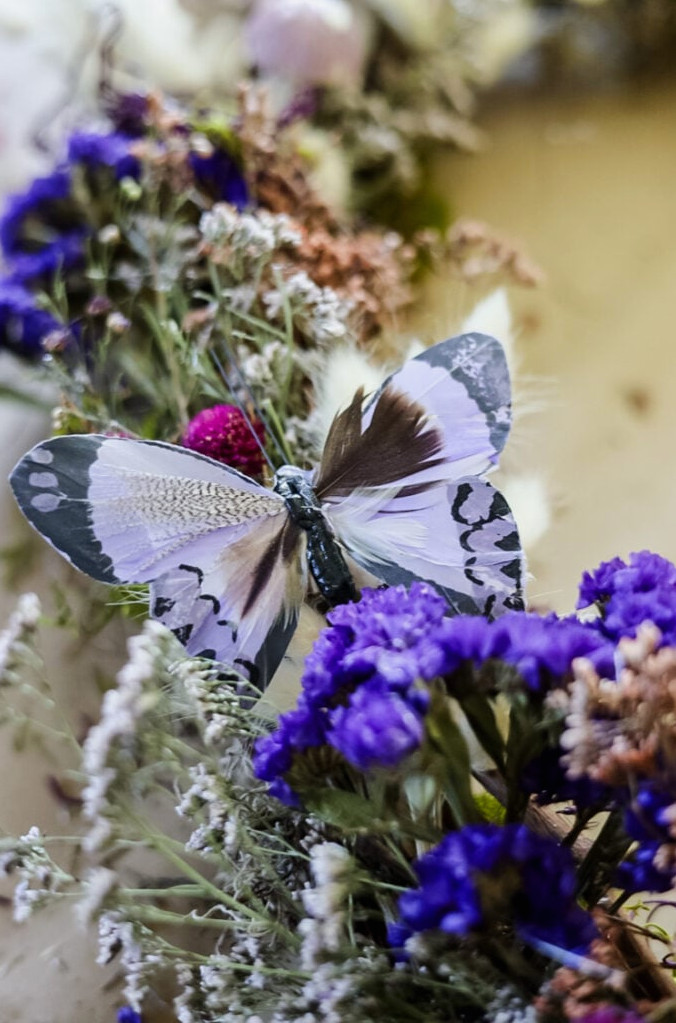
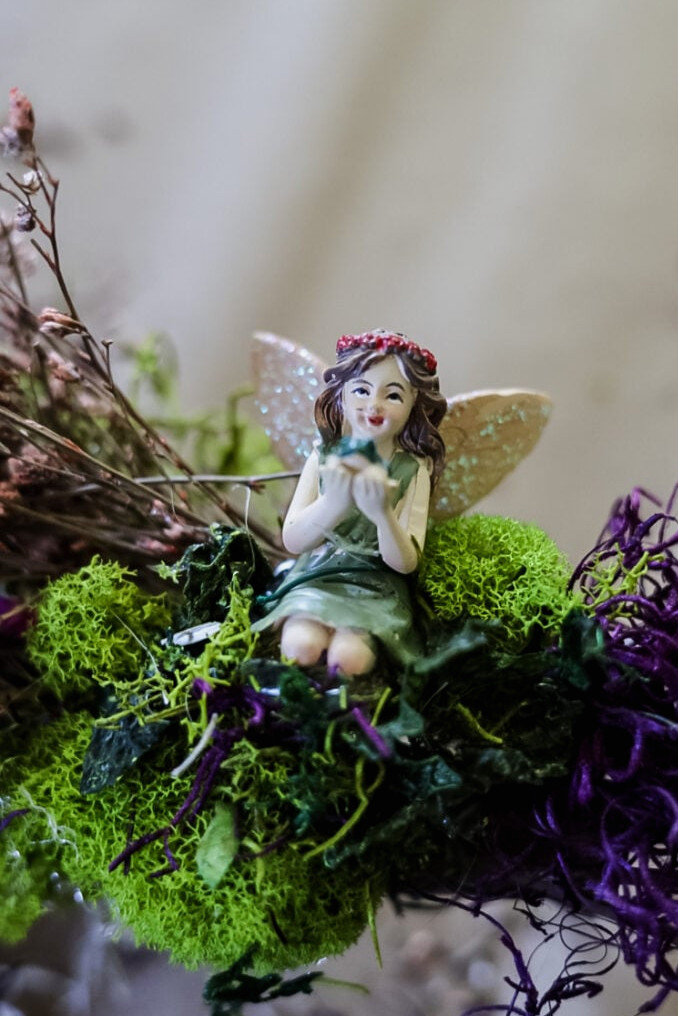
To complete the wreath, I coated it with a matte finish to preserve the dried flowers’ hues and shield the wreath from the weather.
Helpful hint: I highly recommend keeping your wreath away from harsh weather and avoiding direct sunlight.
The Grand Reveal: A Wreath Worthy of Fairy Royalty
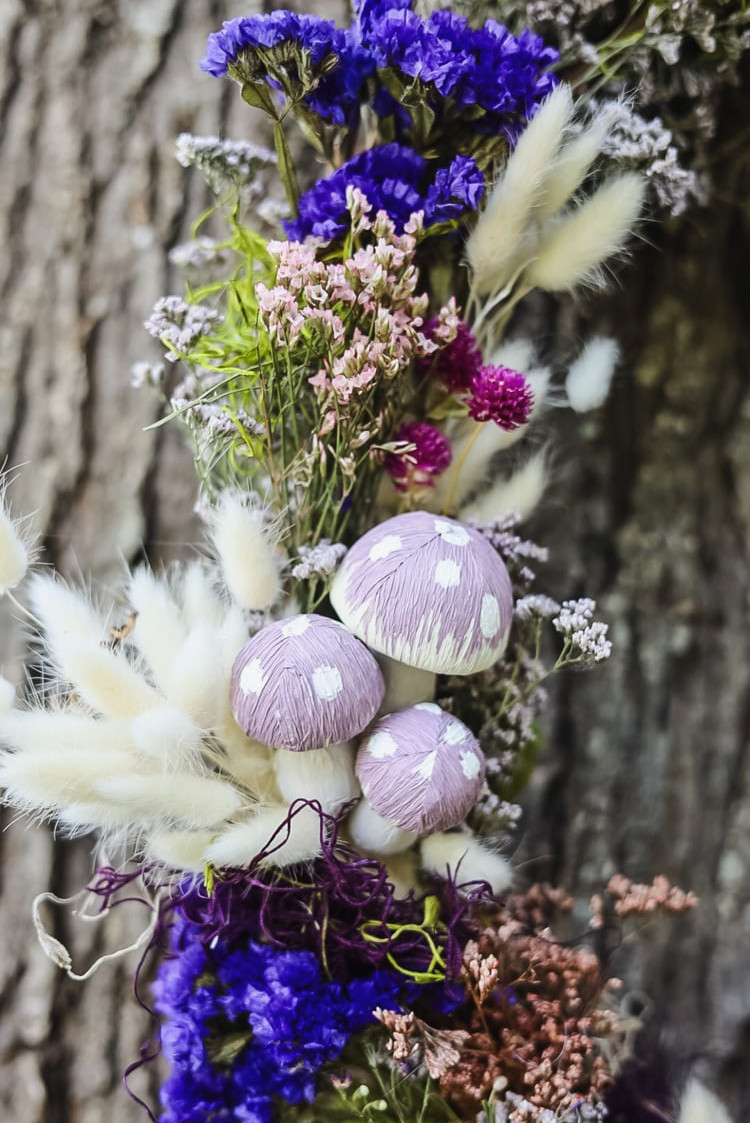
Honestly, I had my doubts that this mix of weathered grapevine, varied dried blooms, and craft-store treasures would work out. Yet once it was finished, I was amazed by its beauty! It brought together natural elegance and storybook enchantment perfectly. The lilac mushrooms pair wonderfully with the sea lavender, the butterflies seem ready to take flight, and the tiny fairy brings the whole design together.

Closing Thoughts: Finding Whimsy in Unexpected Places

- Old materials(such as that lonely grapevine wreath) still have plenty of enchantment left
- Dried bloomsfrom last year’s garden or the supermarket can be more lovely than artificial versions.
- A touch of whimsy can make a big impact, so there’s no need to cover it with countless butterflies, mushrooms, and more!
Now it’s your chance—find that forgotten wreath inyourcollection, explore the garden shed, and discover what you can create. With any luck, you’ll adore your front door all over again!
Want even more wreath inspiration? I’ve got more than 40 ideas for you!
Have your projects showcased! If this project or one of my other DIY creations inspires you, I’d be delighted to see it and feature you in the Reader’s Spotlight gallery. Email a picture to jennifer@cottageonbunkerhill.com
xo, Jennifer