
Stop straining your back while doing laundry with a washer and dryer platform.


Laundry has never been a favorite chore of mine. Once we purchased a front loading washer, it became even less enjoyable. Reaching down so far to retrieve socks clinging to the inside of the drum is the absolute worst!
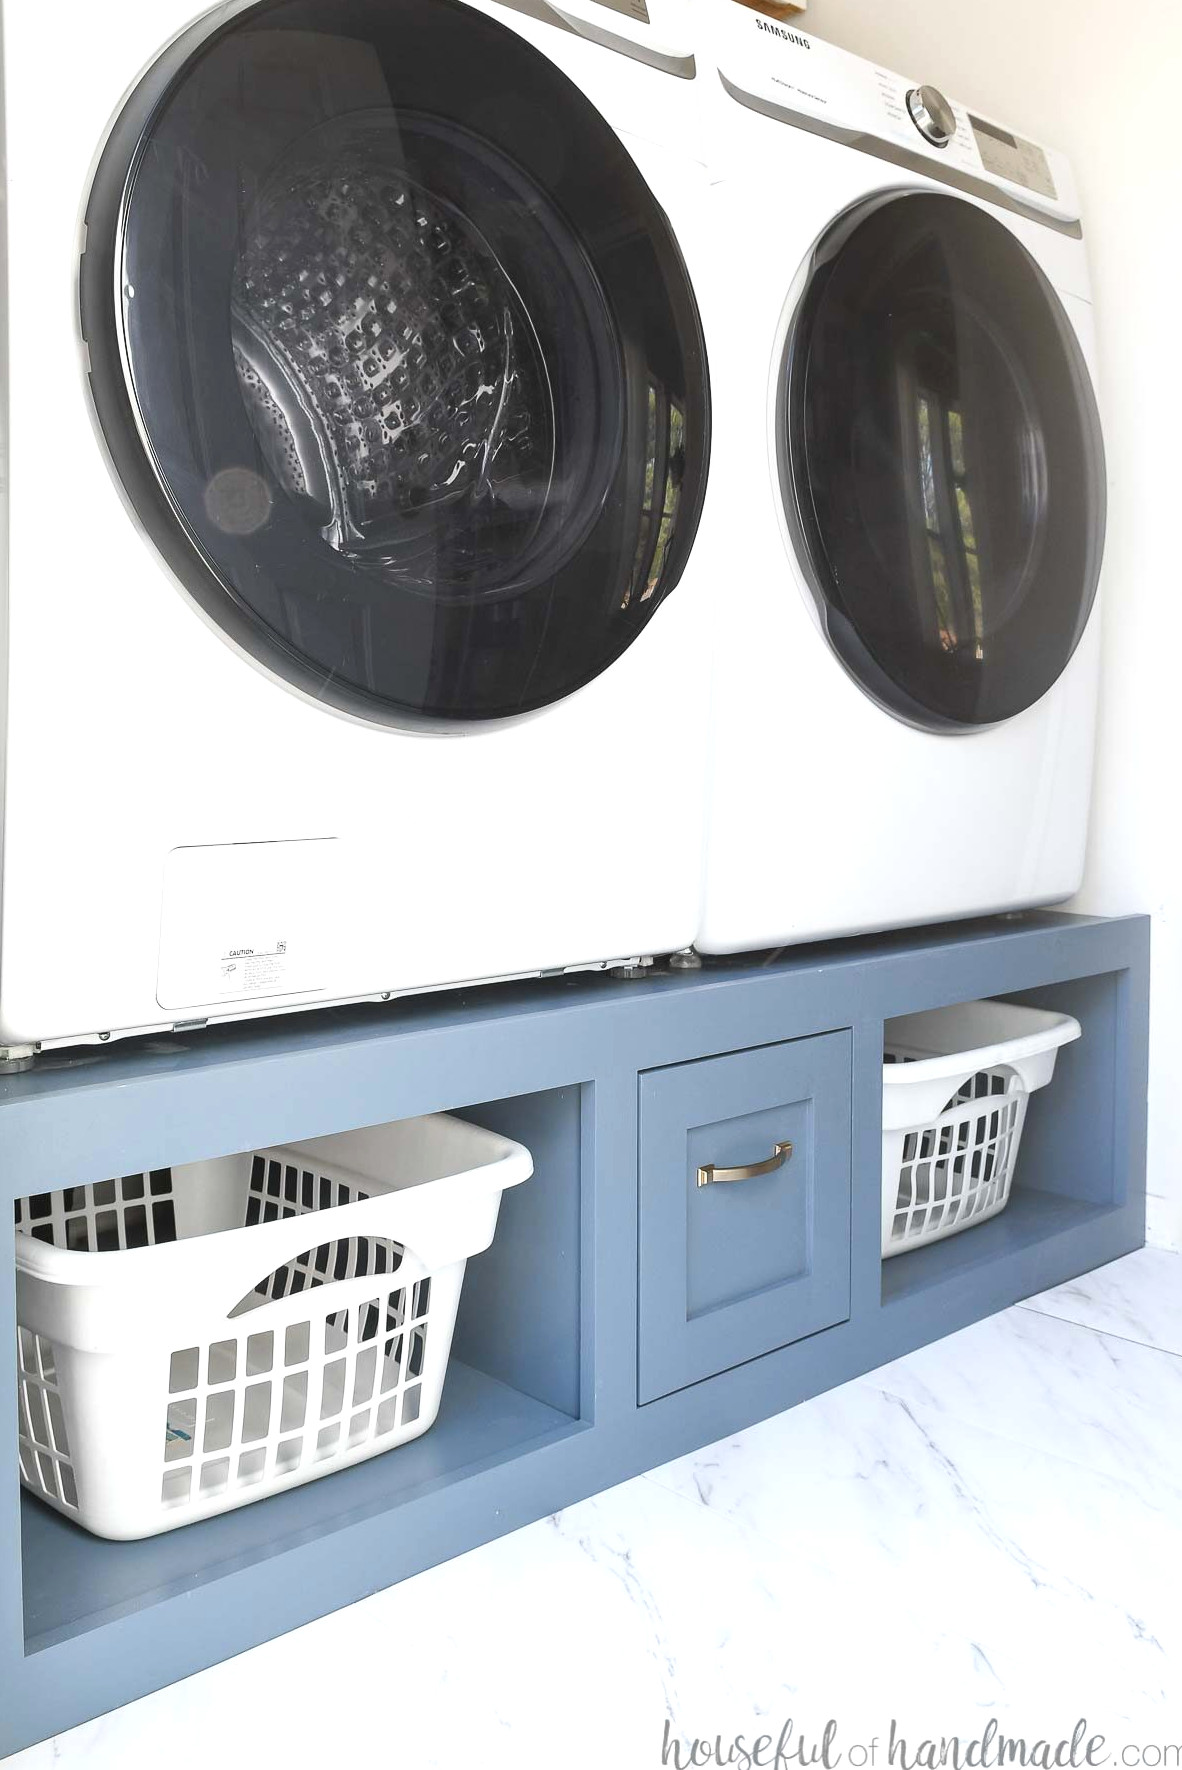
That’s why I teamed up with Kreg Tools to create a simple DIY washer dryer platform that elevates the washer and dryer by 16″. No more stooping down to do laundry.
This washer pedestal is also incredibly solid because of the pocket hole construction. Of course, I also had to add plenty of storage beneath it.
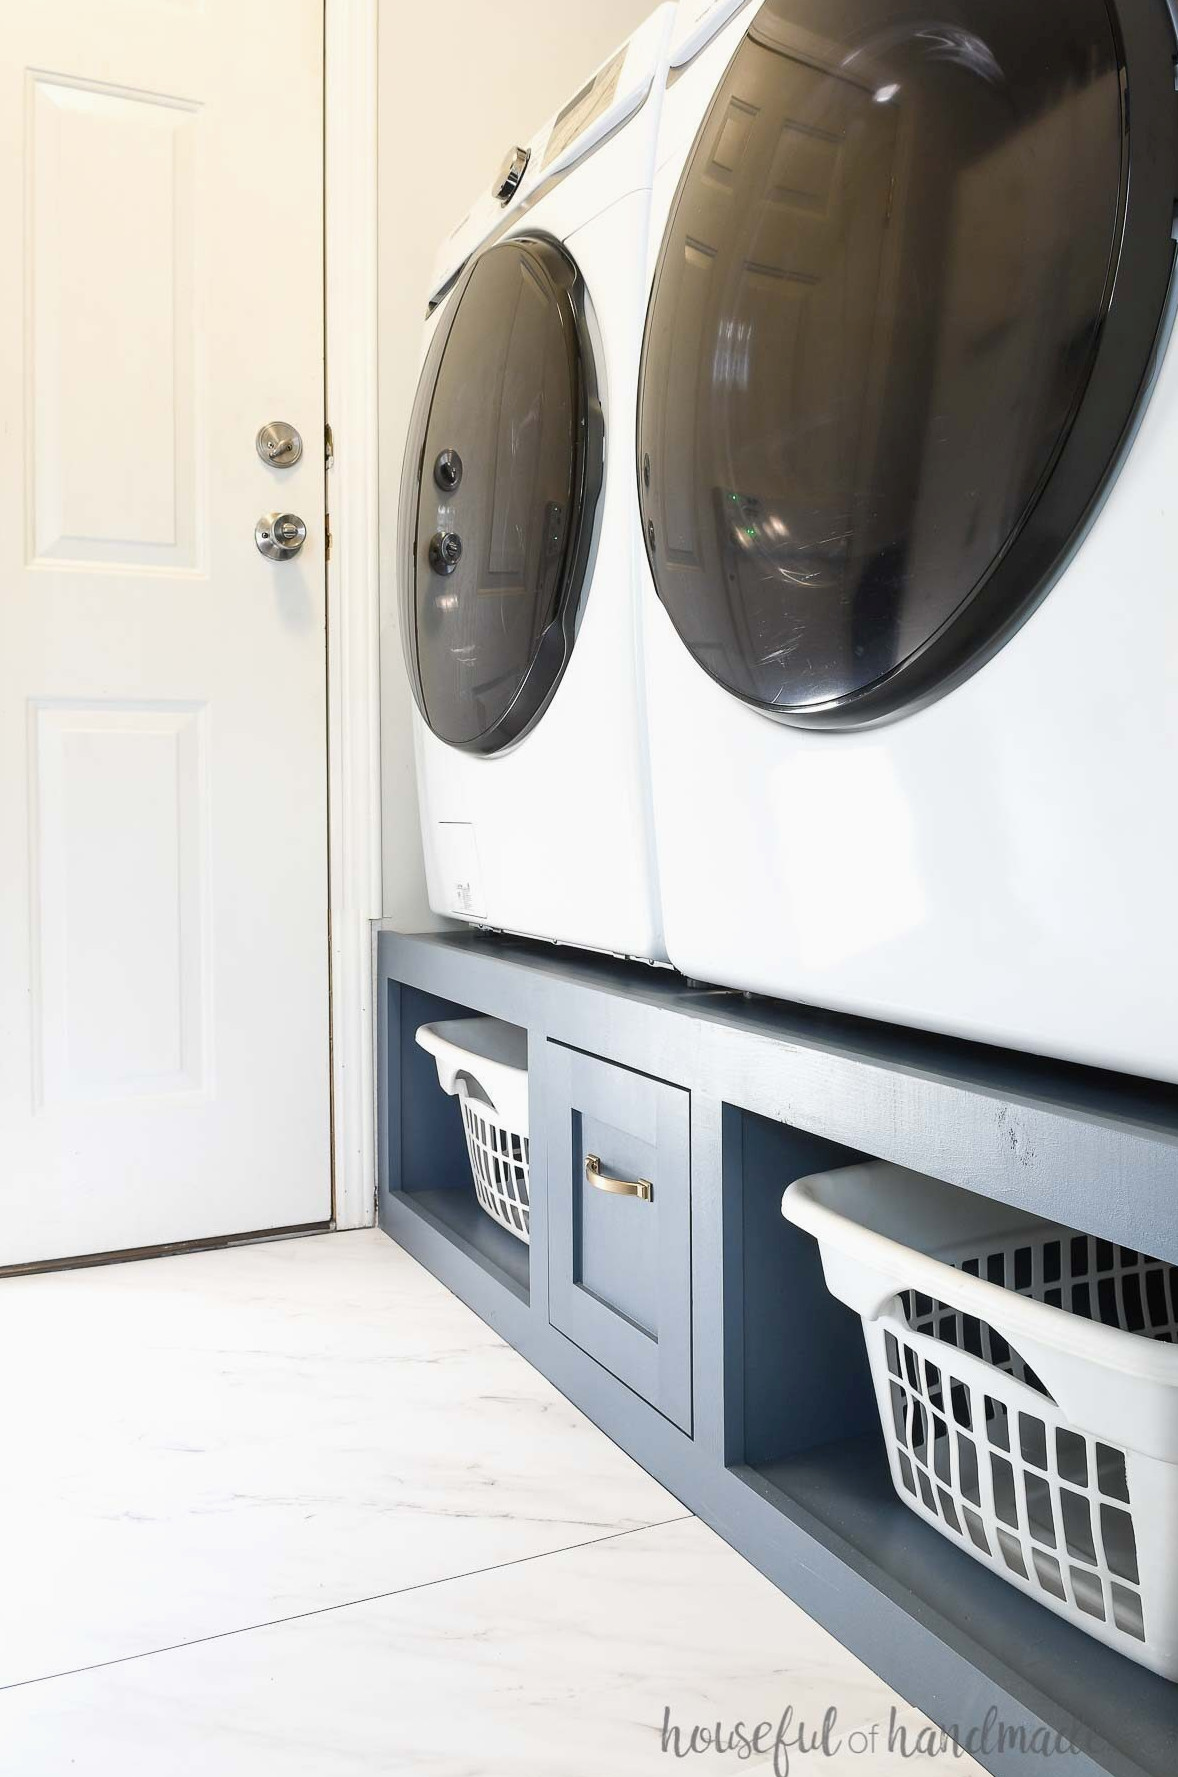
Washing Machine Pedestal
Why add a laundry pedestal? The drum on a front loader washer sits just a few inches above the floor, which means you must bend down and reach very low to remove everything inside.
Raise it by 16″, however, and accessing the contents becomes much easier! It also positions the washing machine controls at a comfortable eye level.
A washing machine pedestal is not suitable for a top loader or a washer featuring controls on the back. If you own either of these machines, take a look at these fantastic laundry basket storage shelves instead.
However, if you have a standard front loader washer, a washer and dryer platform could make you enjoy laundry all over again 😉
Sturdy 2×4 Base
The washer and dryer platform gets its foundation from 2×4 lumber. This keeps the base affordable while making it exceptionally strong!
Its construction is similar to a wall in your house, only with the 2x4s positioned closer together. That arrangement provides ample support for a washing machine filled to capacity.
It also remains stable and shake-free throughout the spin cycle.
Pocket holes make assembling the 2×4 base simple. No previous framing skills are required.
The 2x4s are then concealed with 1/4″ plywood or MDF (you could even choose beadboard for a charming cottage-style appearance).
Lastly, a straightforward face frame made from 1×3 boards completely encloses the base. It hides the 2x4s and gives the washer and dryer platform the polished appearance of a lovely cabinet.
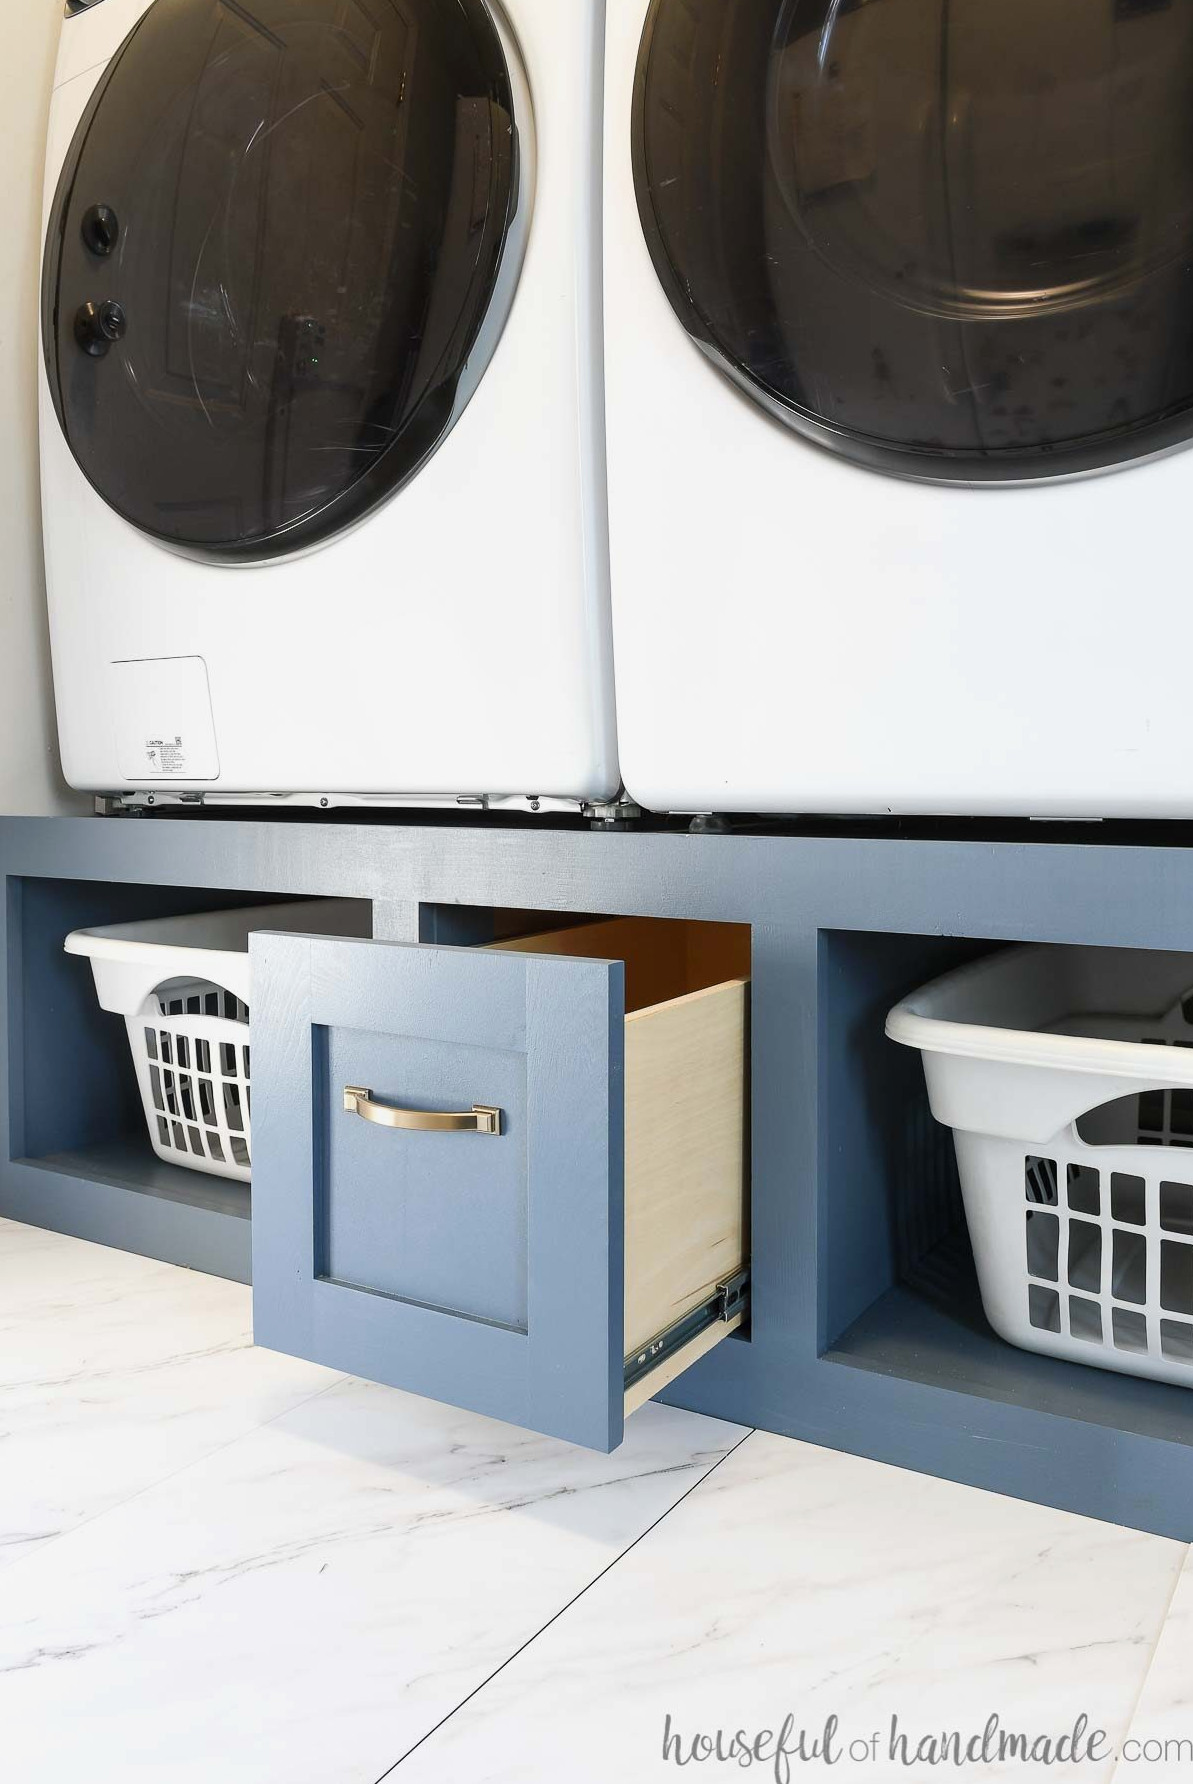
Large Drawer and Laundry Basket Storage
When you lift your washing machine above the floor, the area underneath can finally become useful!
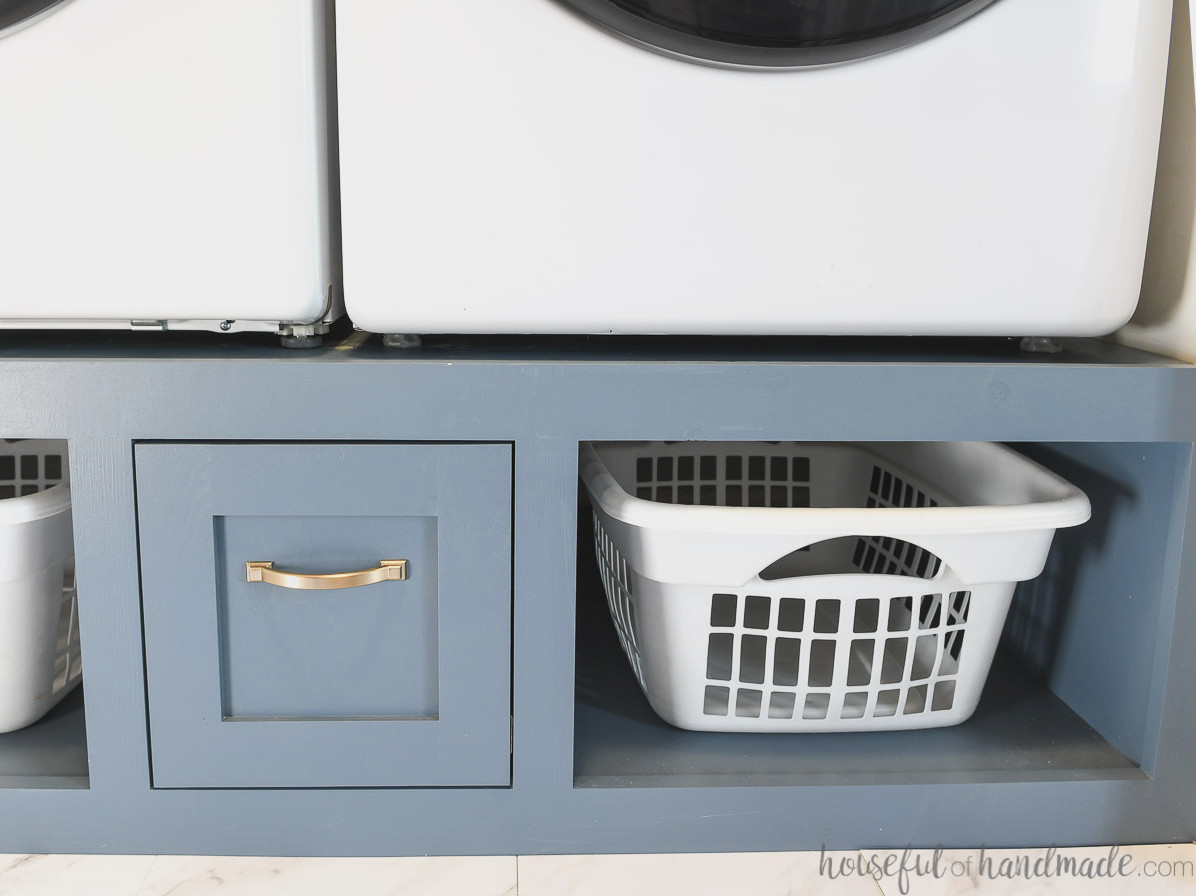
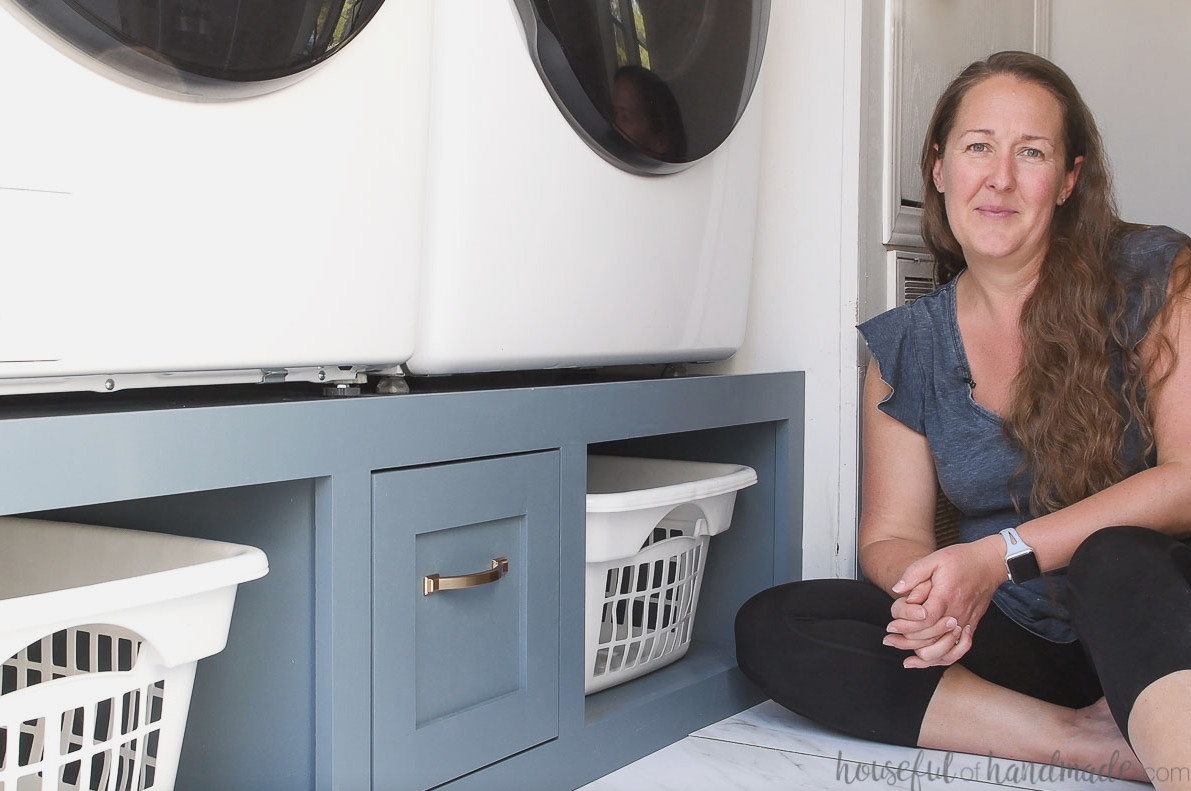
The 16″-high platform provides 12″ of practical storage space. I divided that area into 3 sections to give the base additional strength.
The two outside compartments are sized for 18″-wide laundry baskets. This keeps sorted clothes off the walkway and conveniently ready for the wash.
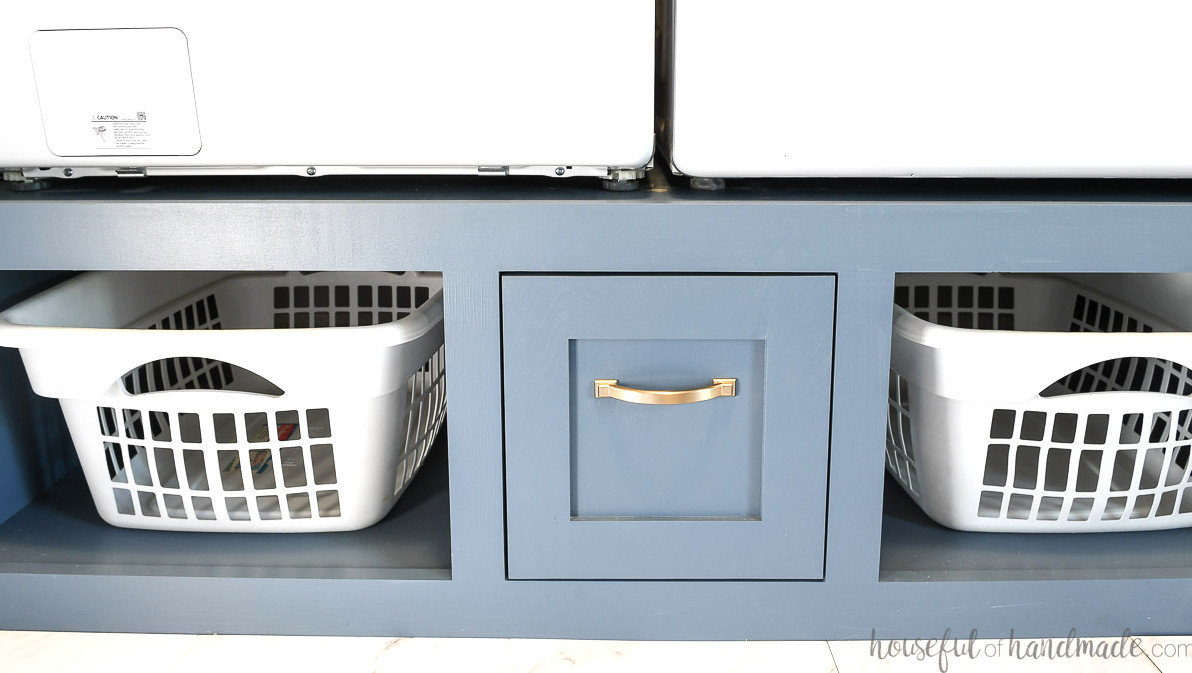
That leaves the middle compartment available for a spacious drawer.
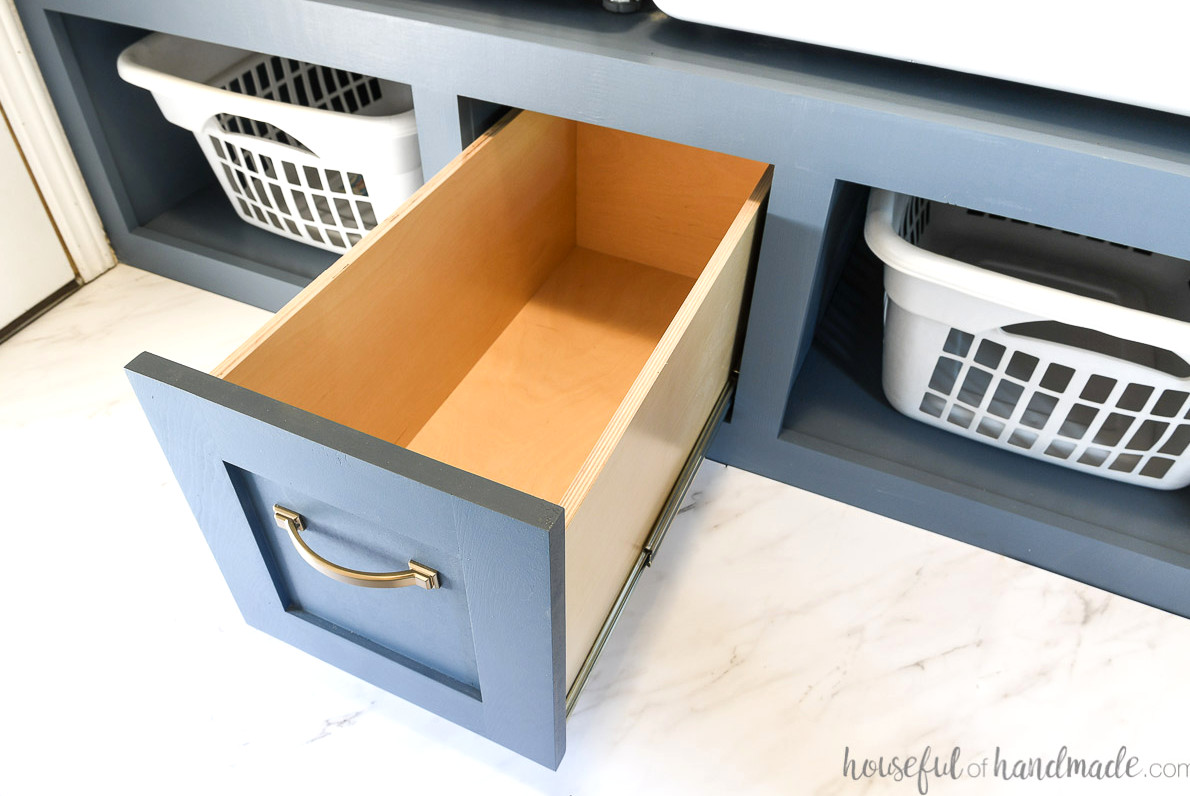
Measuring 10″ wide x 10″ tall x 24″ deep, the drawer is ideal for keeping extra laundry or cleaning products. Learn how to make simple DIY drawers here.
I chose 1/2″ plywood for the drawer bottom so it would be sturdy enough for heavy contents, such as laundry detergent. All of the drawer box components can also be cut from a single 2×4 sheet of plywood.
More Laundry Room Ideas
Use these DIY projects to keep you laundry room tidy and prepared for the not-so-glamorous task of washing clothes.
How to Make a Laundry Platform
Tools & Materials
Overall Dimensions
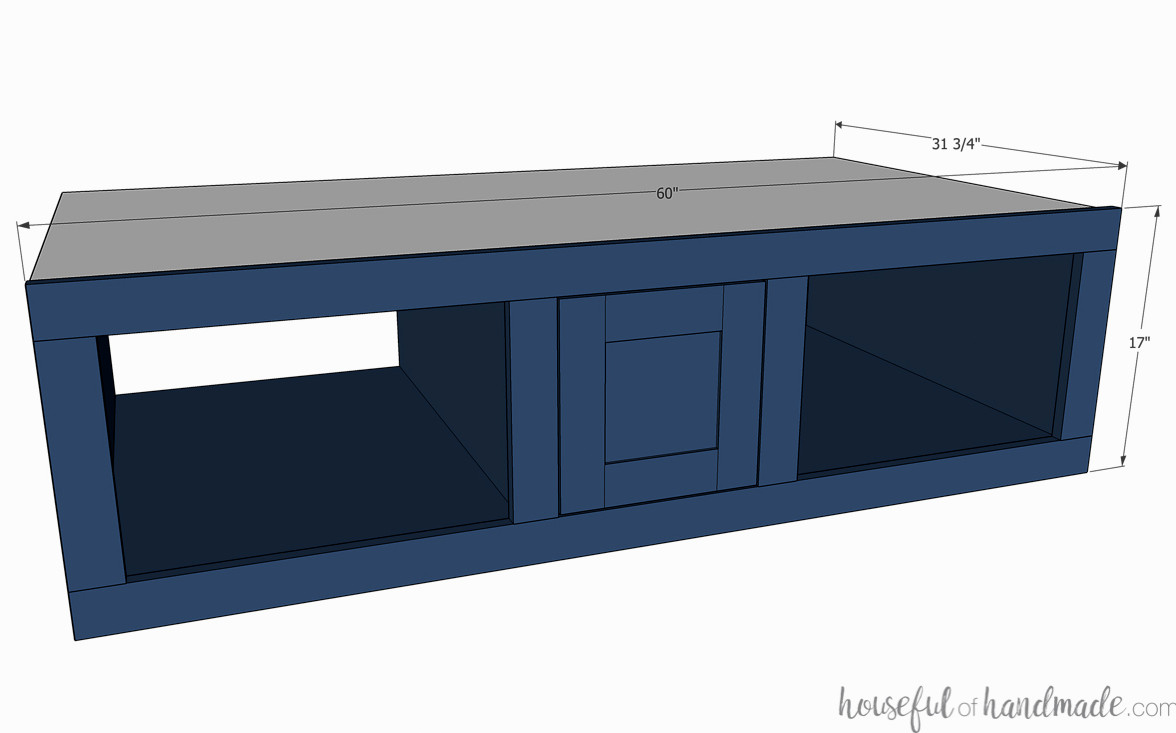
The completed laundry pedestal measures 60″ wide, 31 3/4″ deep, and 17″ tall.
Cut List
Cut the components based on the construction plans available at Kregtool.com.
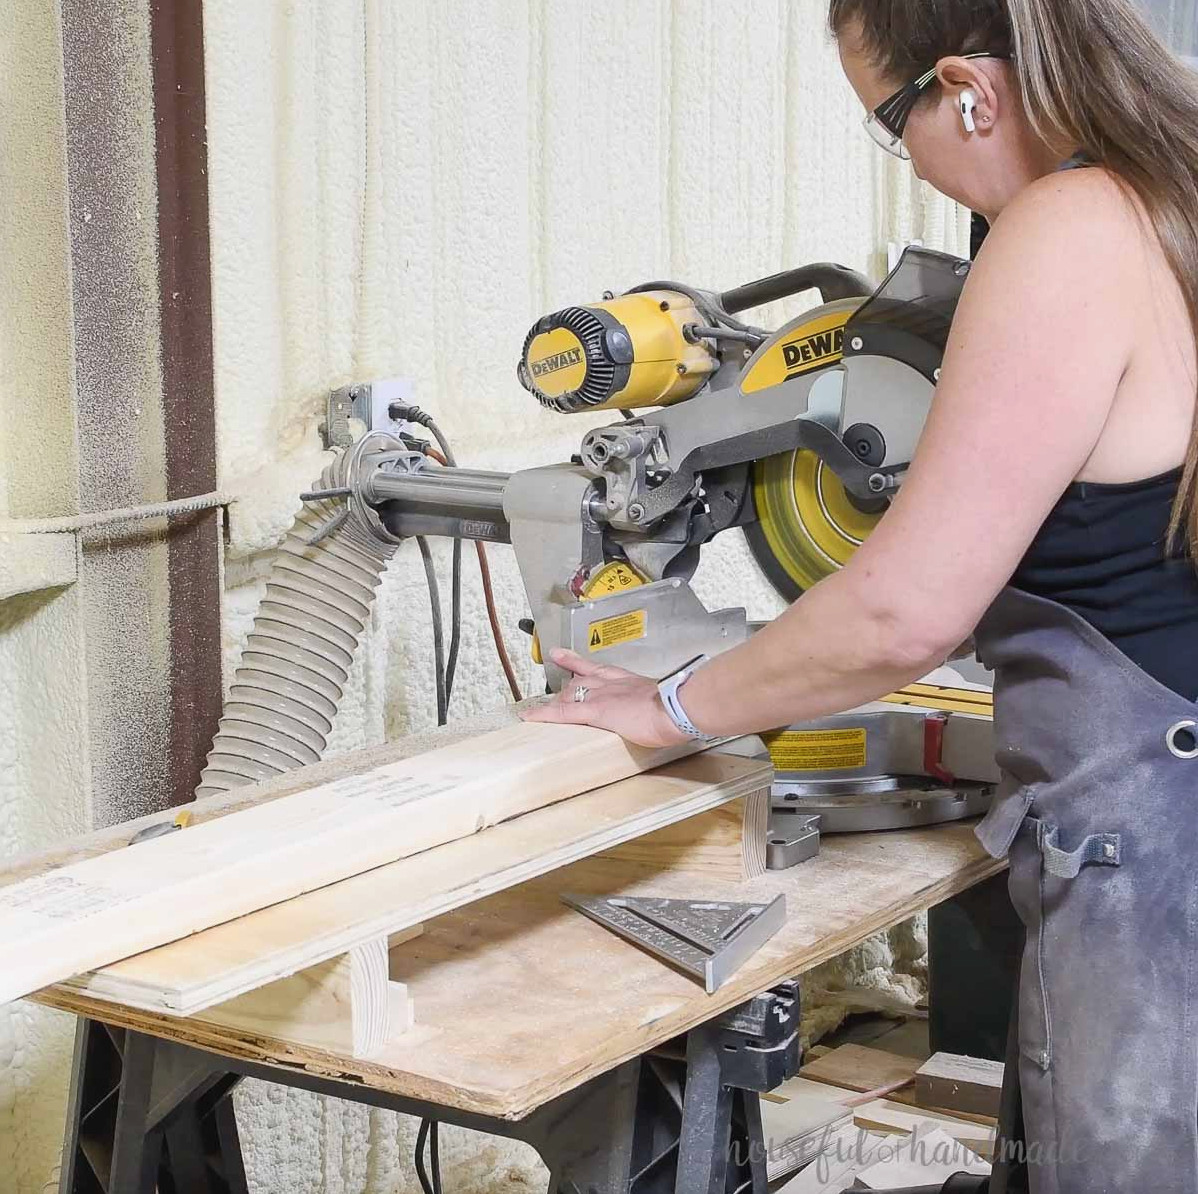
I used a miter saw to trim the 2×4 boards for the frame, along with the 1×3 boards for the face frame and drawer front.
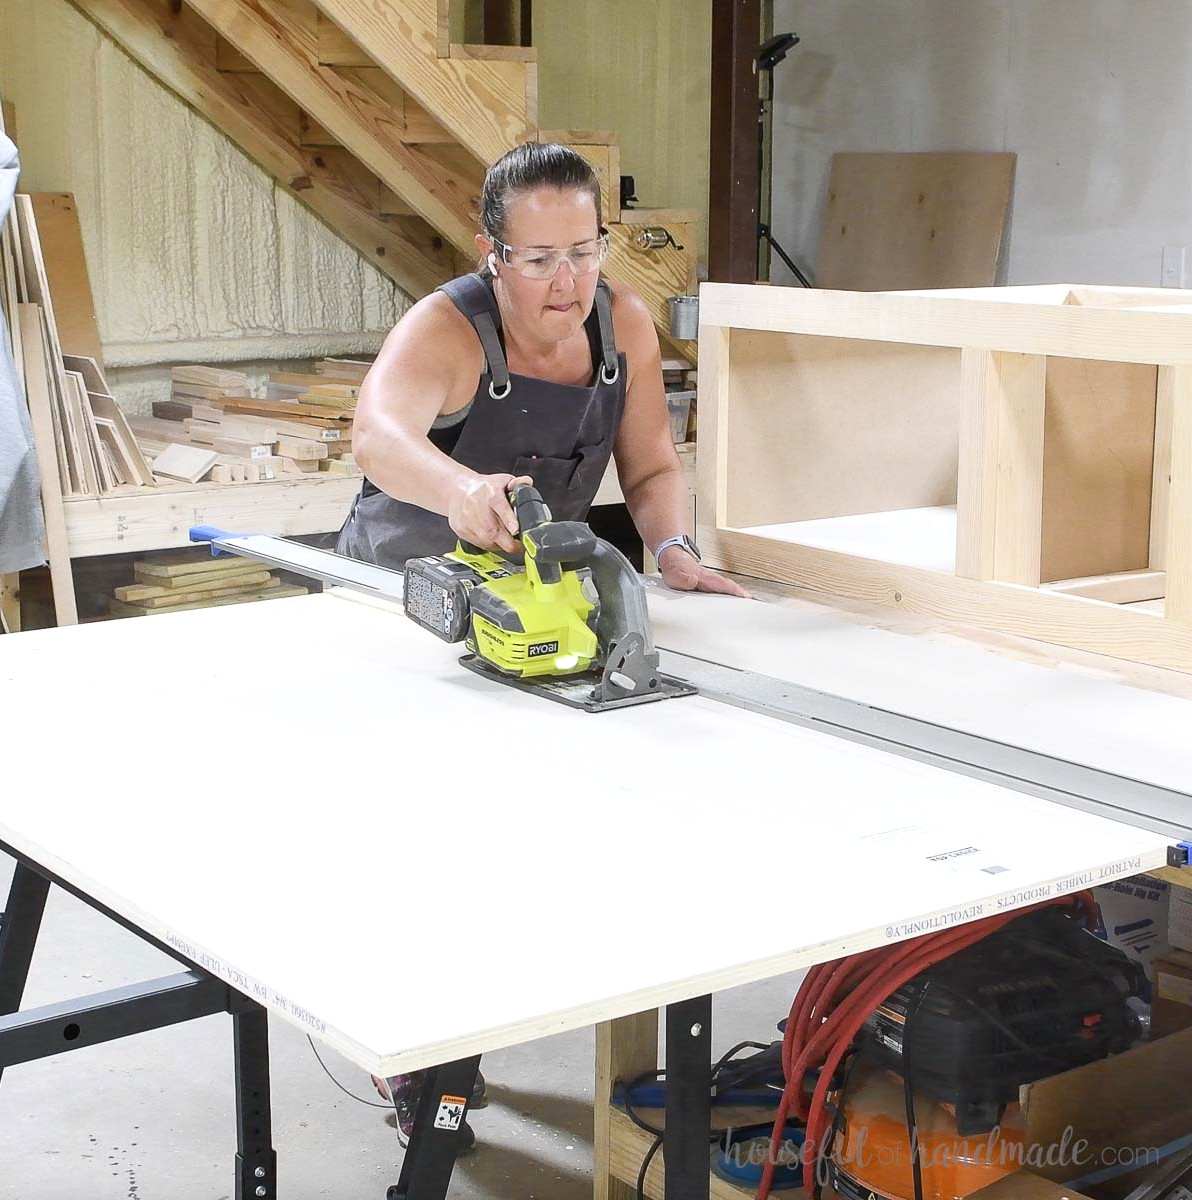
For cutting plywood, I suggest using a circular saw equipped with a guide track. Find my tips for cutting plywood easily with a circular saw here.
STEP 1- Put together the 2×4 base
Adjust your Kreg pocket hole jig for 1 ½” thick material, then bore 2 pocket holes into both ends of each platform joist board.
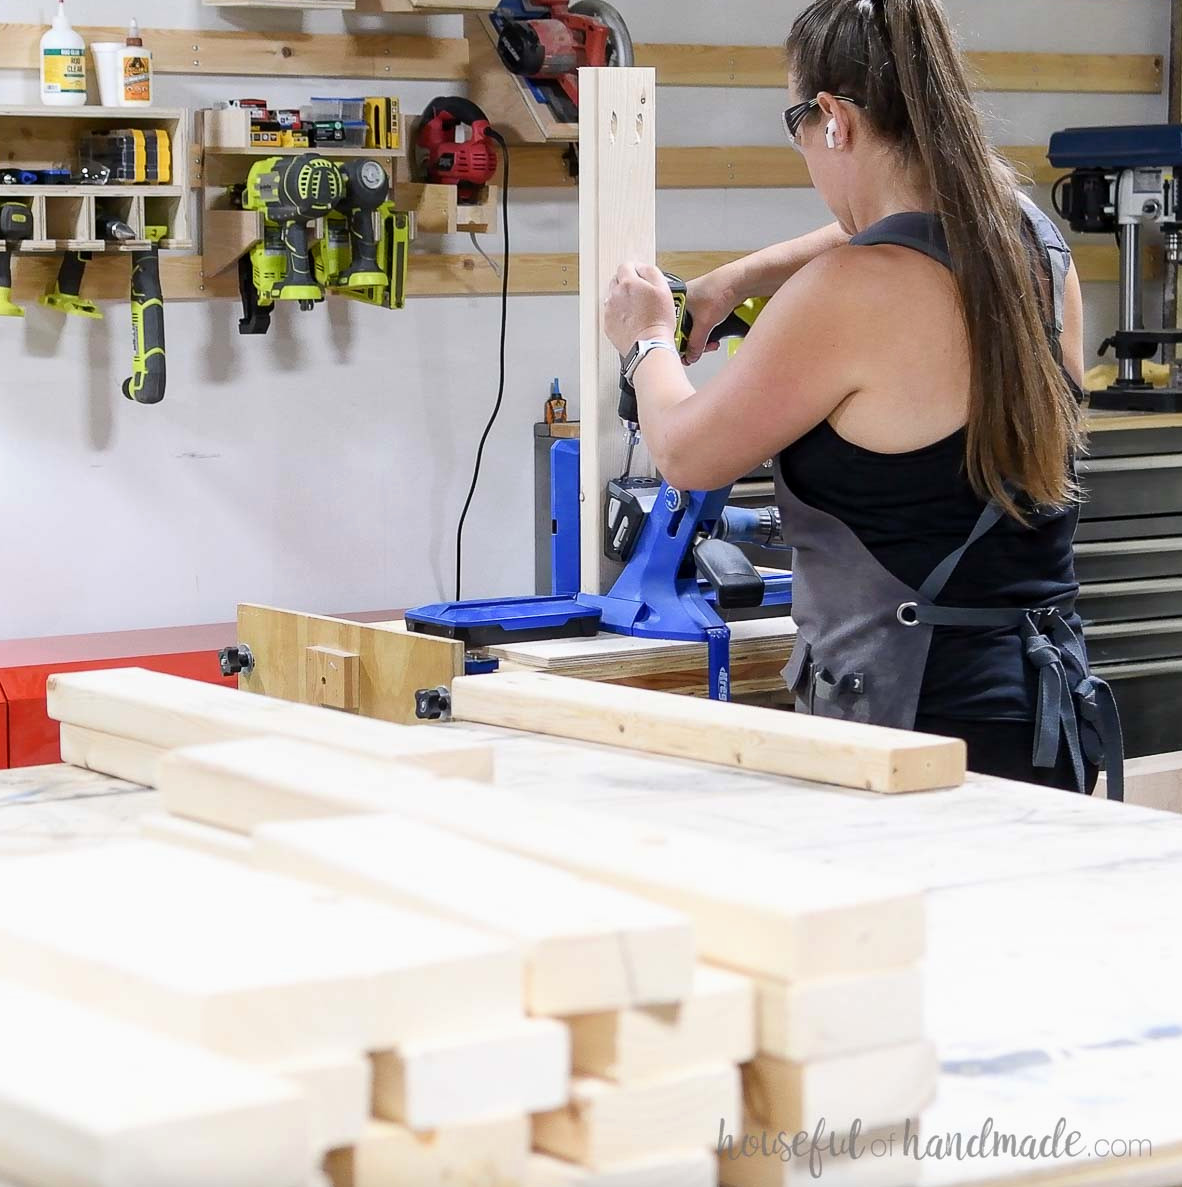
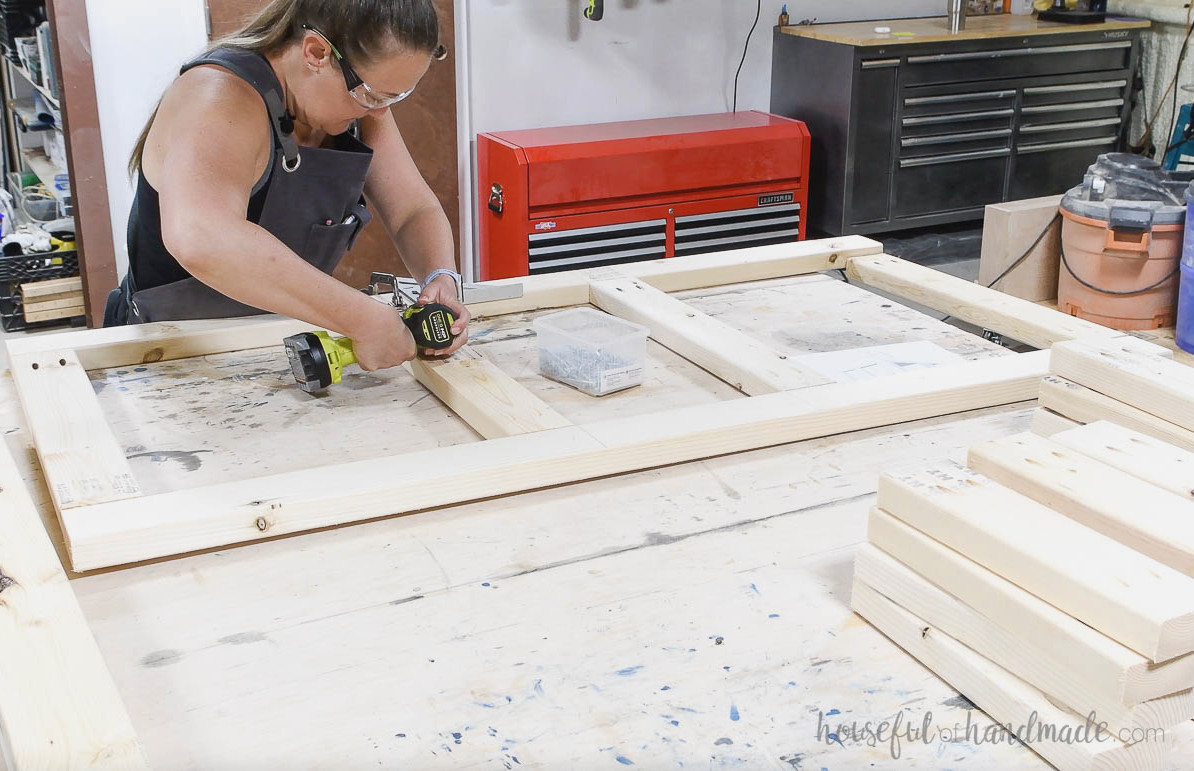
Using 2 ½” pocket hole screws, secure the joist boards between the front and back platform boards. Position the outer board flush with the board ends, and place the inner boards 14” from the edge.
Be sure to keep a 12” opening in the middle for the drawer area.
Create a second matching piece.
Keep the pocket hole jig adjusted for 1 ½” thick material, then make 2 pocket holes at both ends of each leg piece.
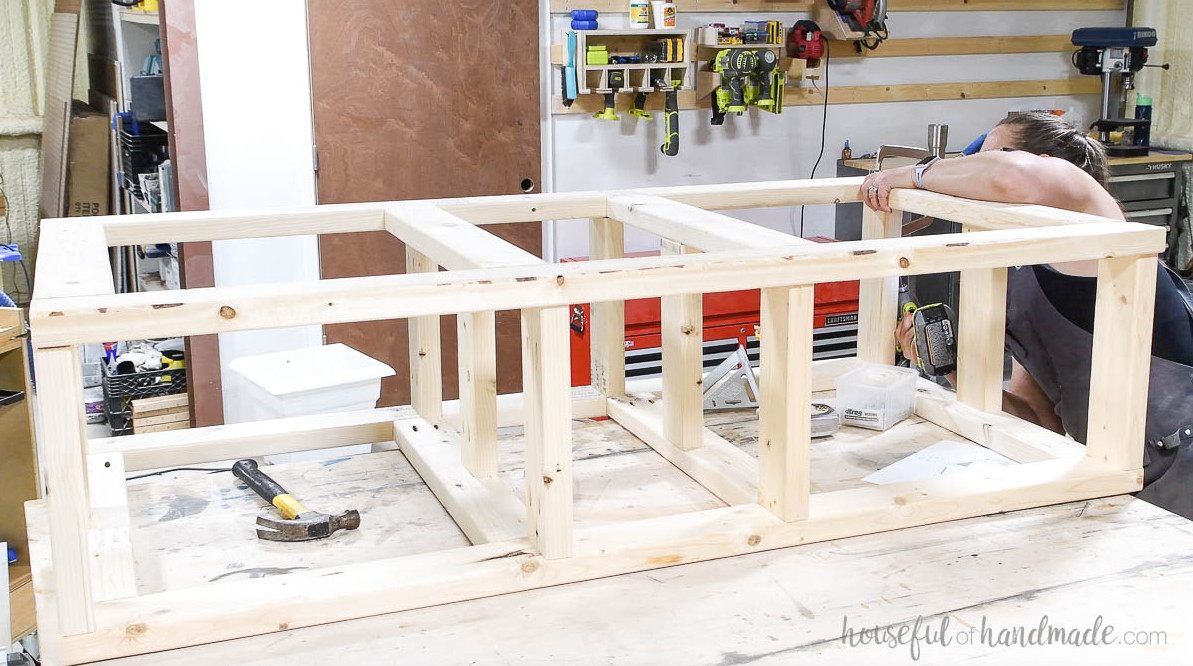
With 2 ½” pocket hole screws, fasten 3 legs to the outer edge of one completed base top/bottom assembly.
Secure 3 legs to the opposite end, then install the remaining 6 along the 2 center joists.
Leave a 12” opening between them to accommodate the drawer box.
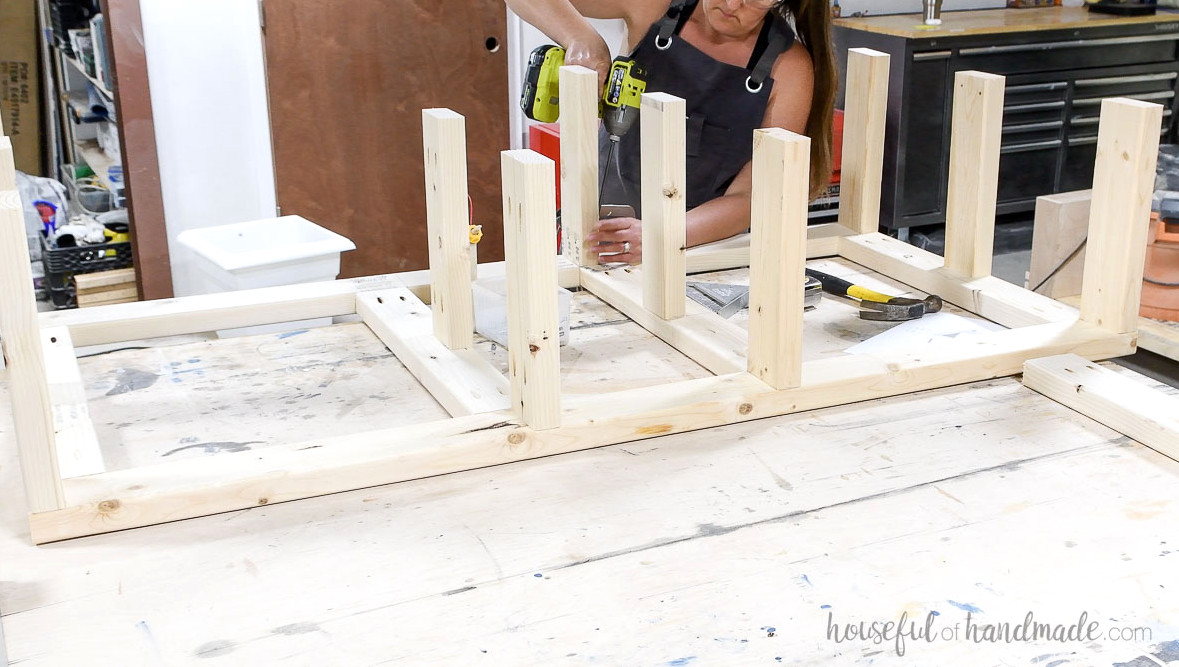
Next, place the second assembled piece on top and fasten it with screws from the opposite side of each leg board.
STEP 2- Cover the base
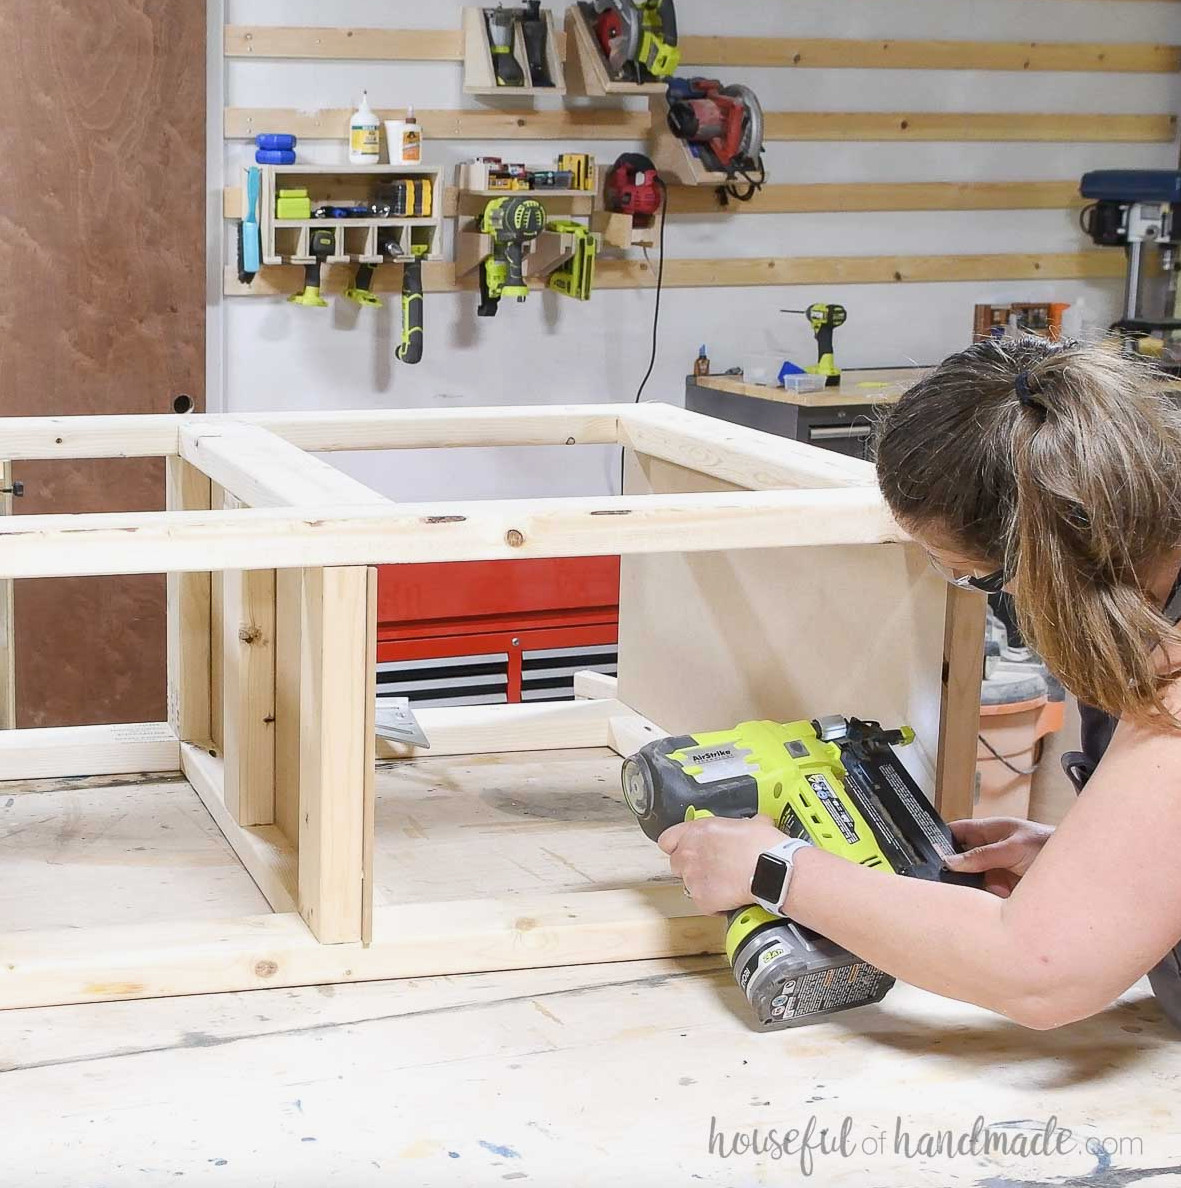
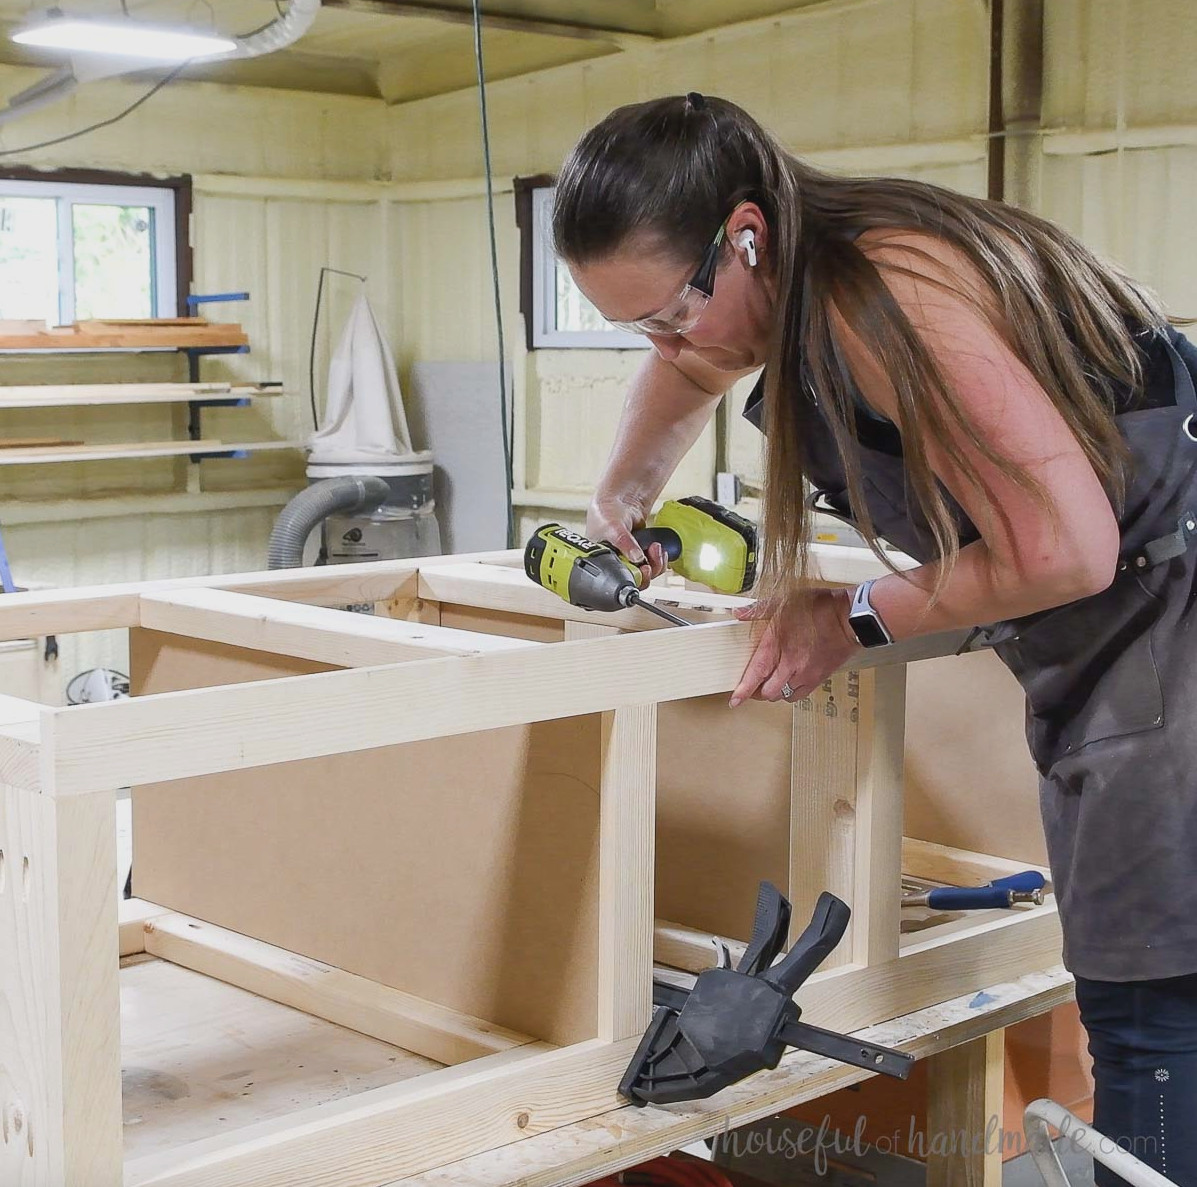
Cover the inside of the shelf compartments with the ¼” material. Apply wood glue and ⅝” brad nails to secure it to the interior of the 2×4 legs.
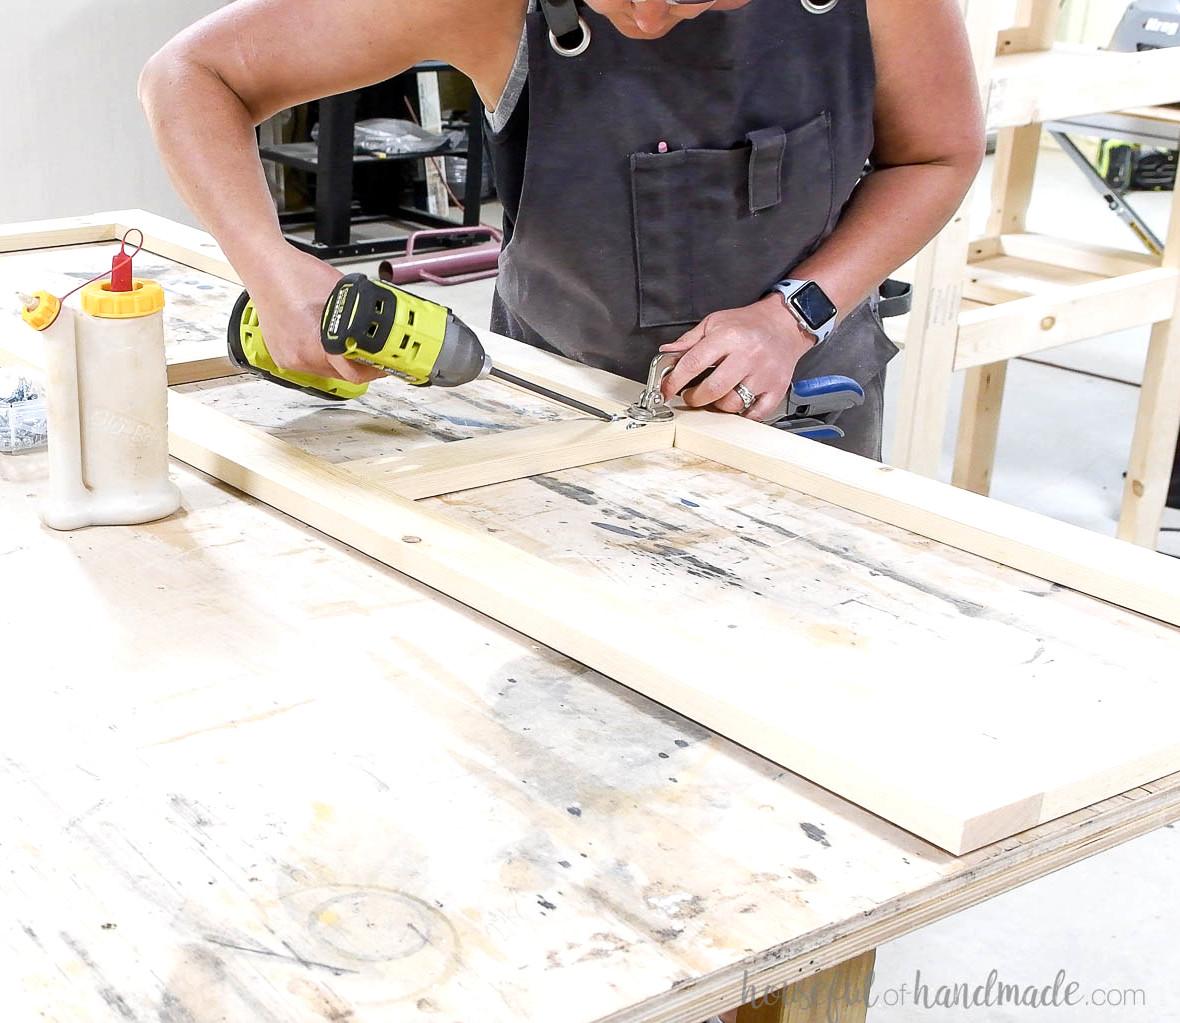
Adjust the pocket hole jig for ¾” thick material. Make 2 pocket holes at each end of the face frame side pieces.
Using 1 ¼” pocket hole screws and wood glue, fasten them between the top and bottom face frame pieces.
Position the sides flush with the top and bottom board edges, leaving a 12” opening in the middle between the 2 center pieces for the drawer box.
Create pocket holes for ¾” material along the upper front of the platform base and the shelf compartments (I used the 300 series pocket hole jig for this).
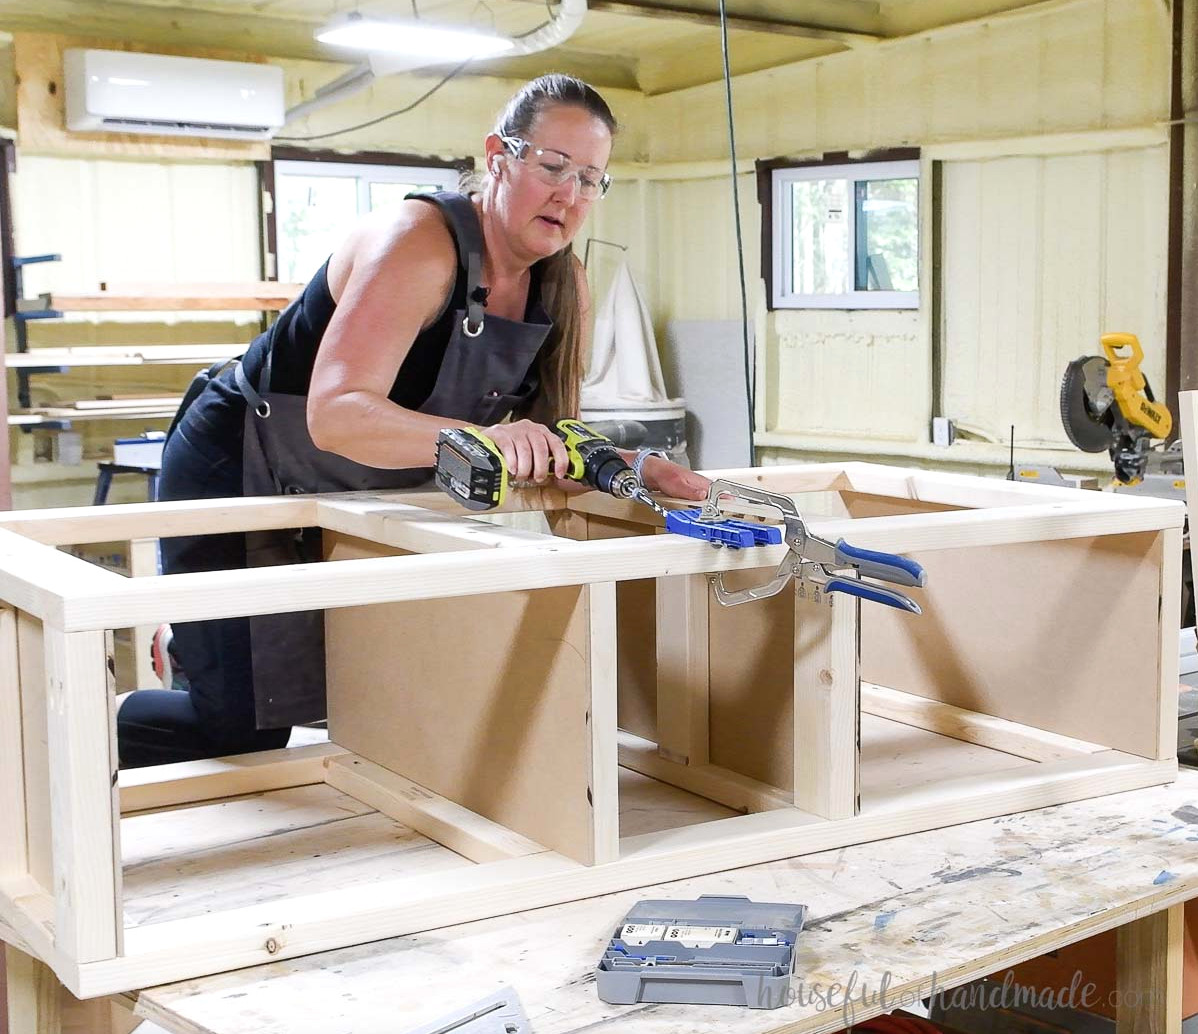
Fasten the face frame using 1 ¼” pocket hole screws, keeping it even with the platform’s sides and bottom.
The face frame’s upper edge should extend 1” above the top.
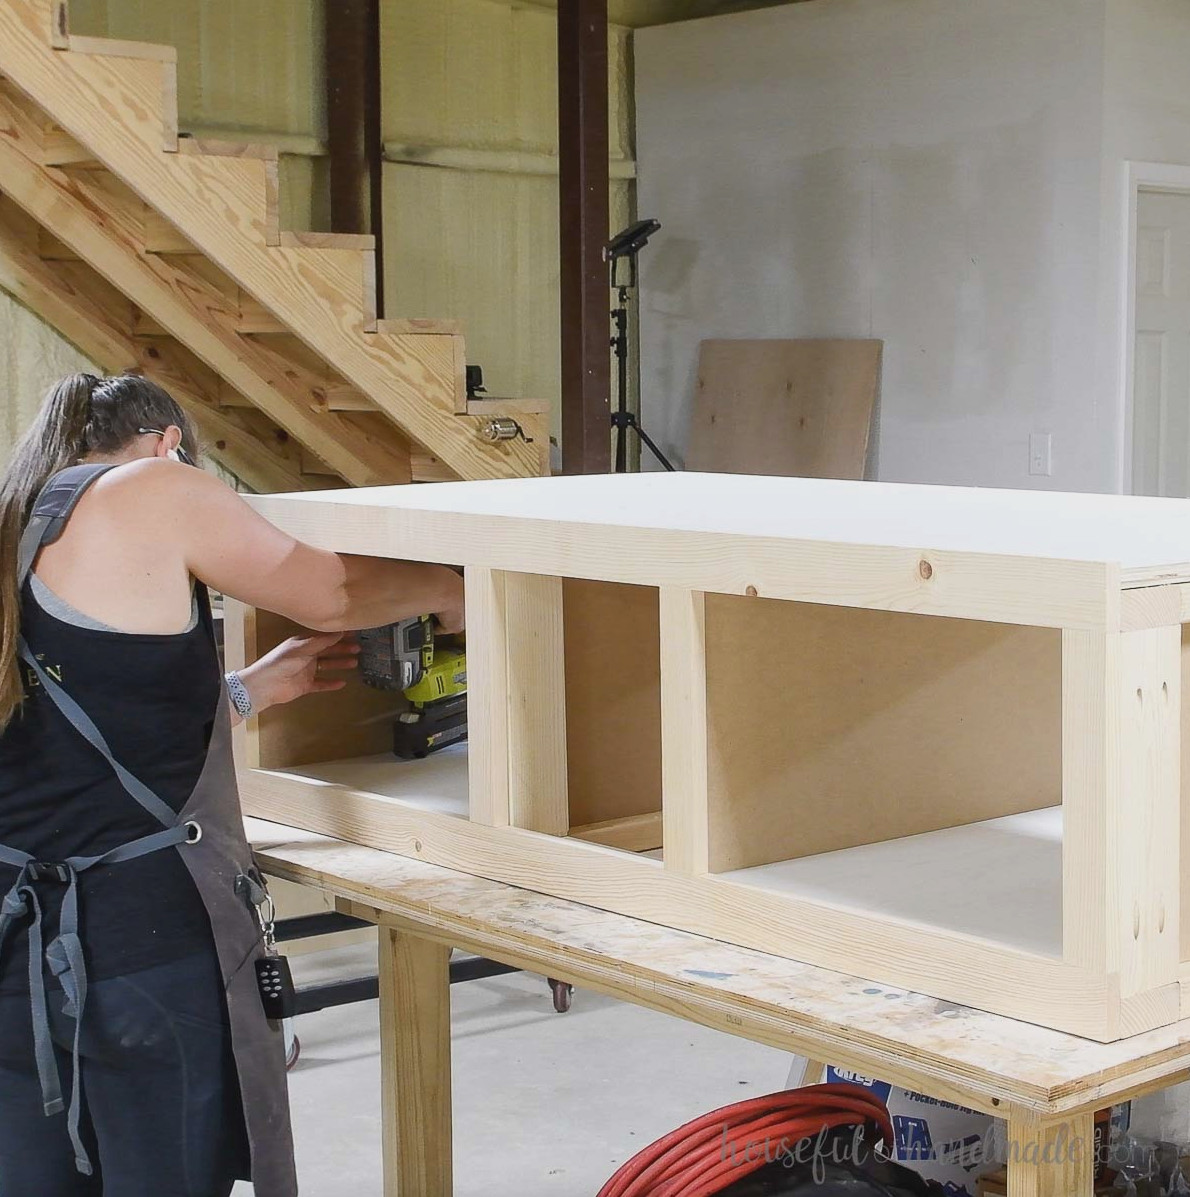
Set the shelf bottoms into the cubbies over the lower base. Secure them with wood glue and 1 ¼” brad nails.
Do the same with the plywood top on the pedestal’s uppermost surface.
STEP 3- Build the drawer
This drawer features a thicker bottom, making it suitable for carrying heavier items (such as extra laundry soap).
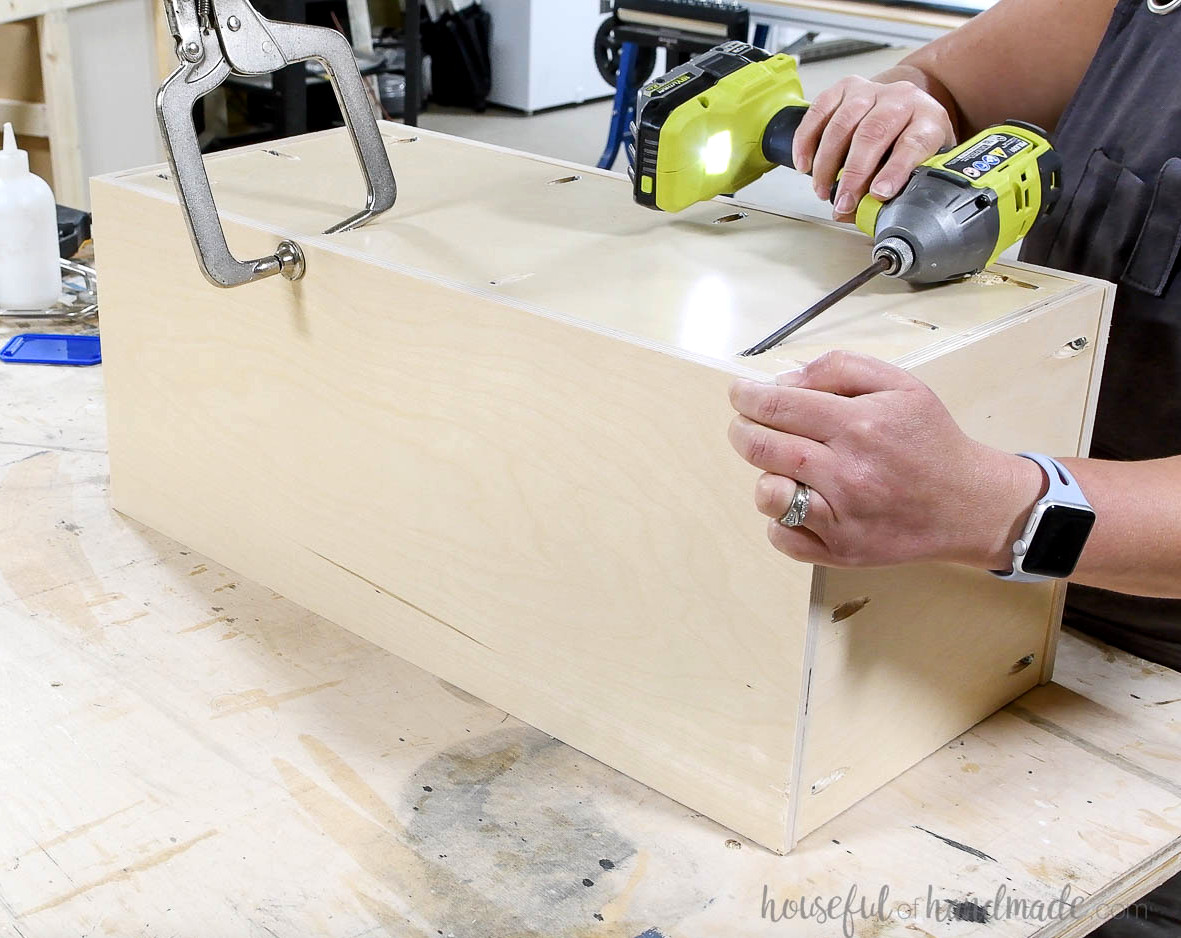
Set the jig for ½” thick material and drill pocket holes into the drawer box front and back sides, as well as along every edge of the bottom piece.
Using the pocket holes in the bottom, attach the front and back boards to it with 1” pocket hole screws and wood glue.
Next, secure the drawer box sides to the bottom and front/back pieces with wood glue and 1” pocket hole screws.
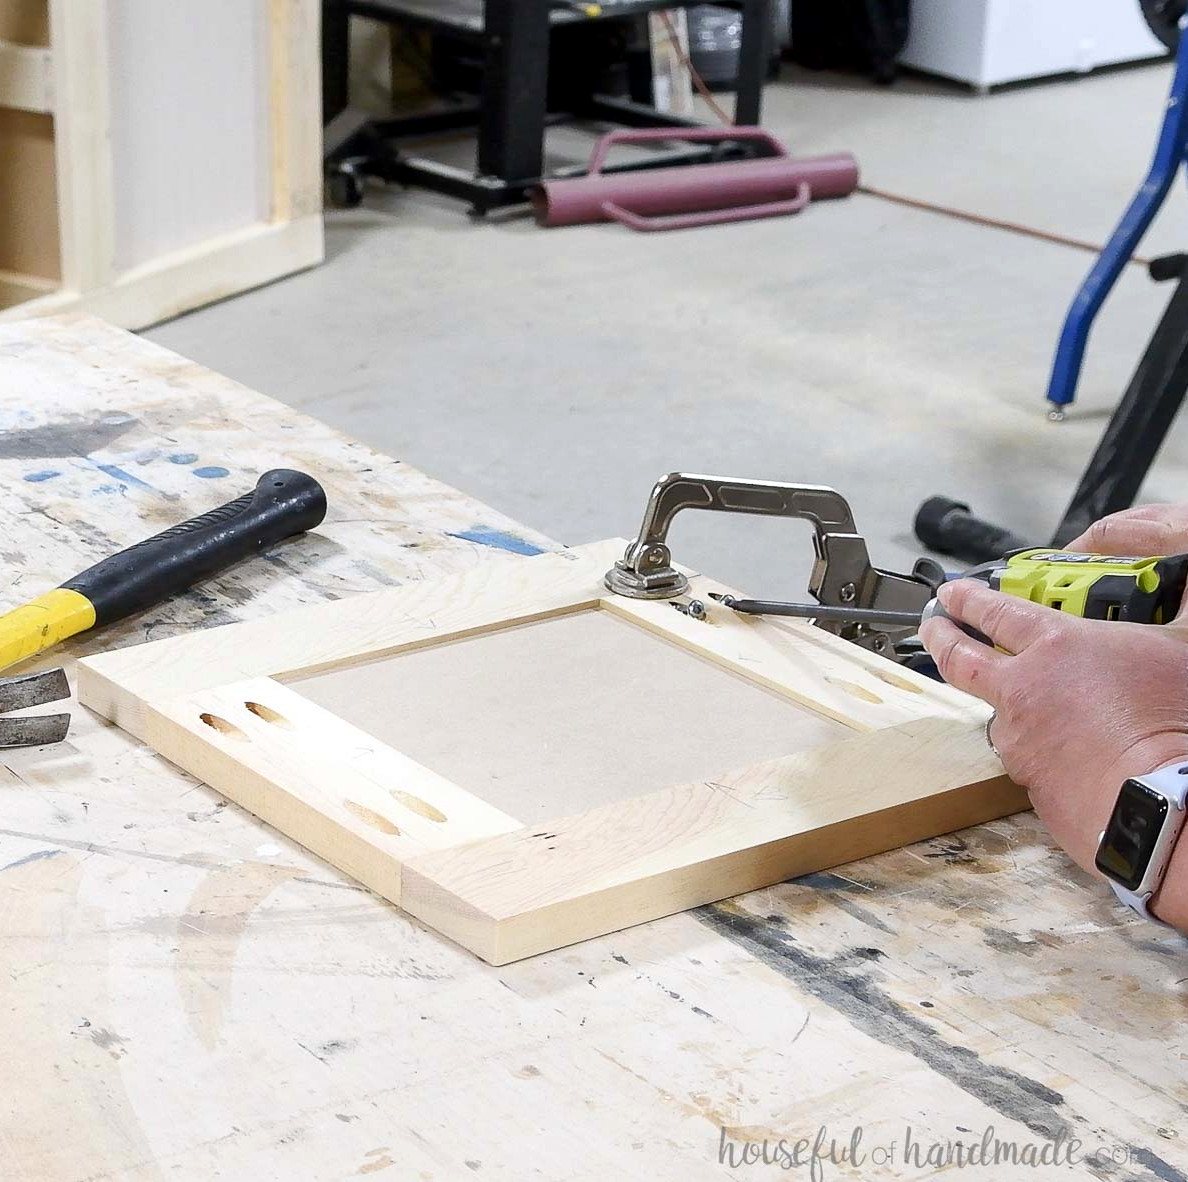
For the drawer front, use a router to cut a ¼” deep and ¼” wide channel into the drawer front rails.
Measure 2” inward from both ends of the drawer front stiles and mark each location with a line. Between those marks, rout a ¼” x ¼” groove along one side of the board.
Adjust the pocket hole jig for ¾” thick material, then drill 2 pocket holes into the rear of the drawer front rail pieces.
Fit the drawer front panel into the channels, then fasten the rails to the stiles with 1 ¼” pocket hole screws and wood glue.
Click here for additional details or instructions for creating a drawer front without using a router.
Mount the drawer slides ¾” behind the front of the finished pedestal, flush with the face frame’s interior, and aligned with the drawer box front.
Secure the drawer front to the box, then install a drawer pull.
Learn my trick for attaching drawer fronts here.
STEP 4- Install
Paint or stain your new laundry pedestal. I used NYPD by Behr on mine.
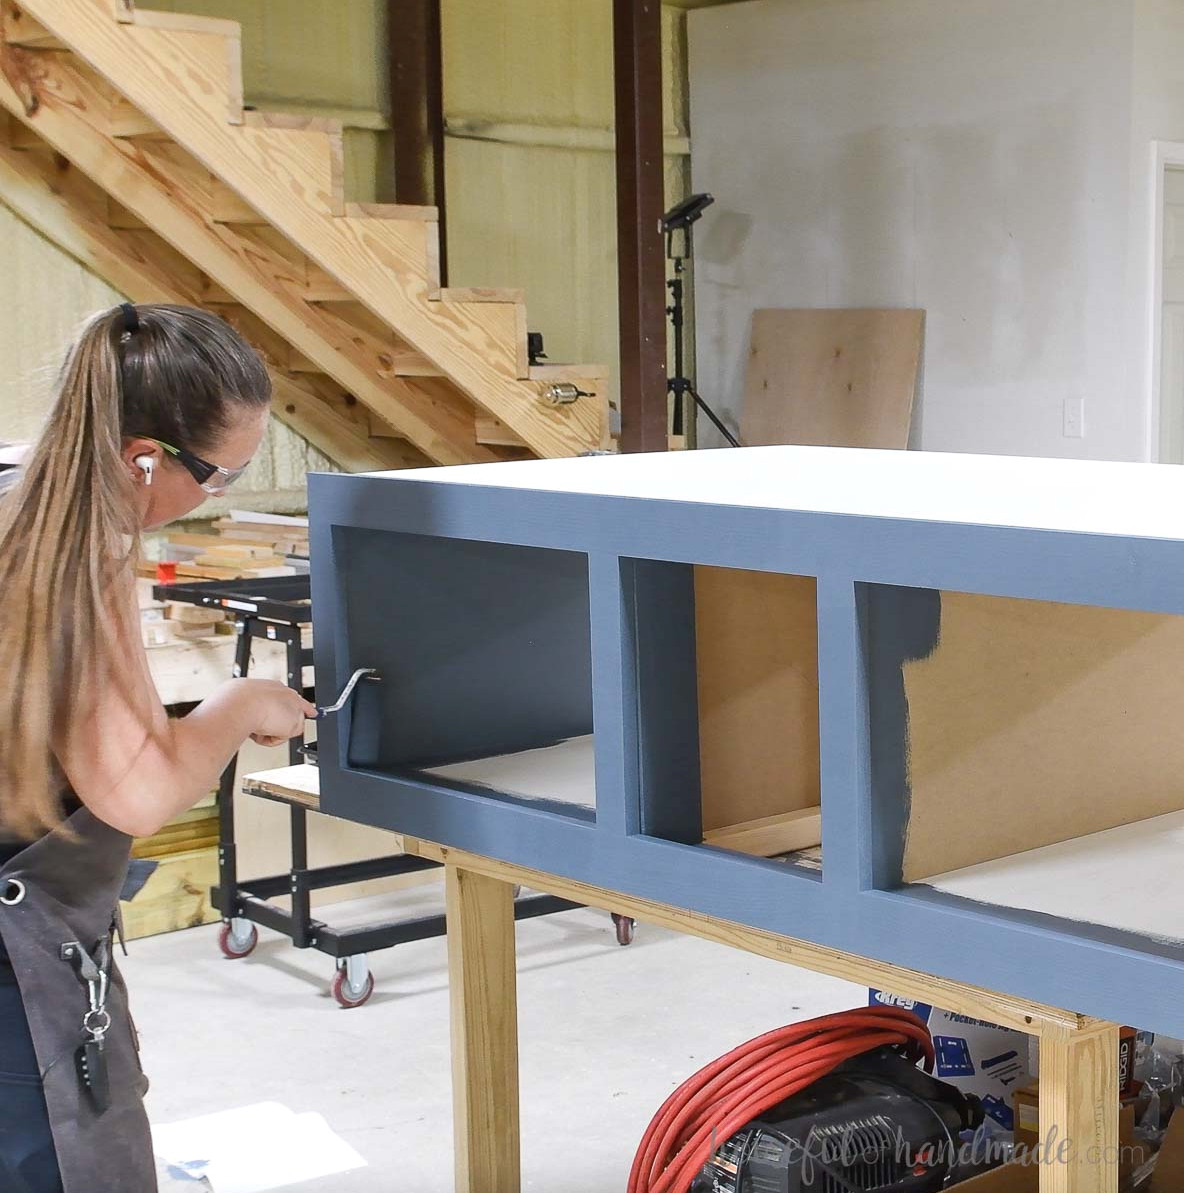
With help from a second—and possibly third—person, carry your washer dryer platform into the laundry room and position it where the machines will sit.
Mine fits inside a nook, so the sides did not need finishing. However, I had to take out the baseboards inside the nook.
For added stability, I suggest fastening it to wall studs.
As you prepare to build, watch the complete YouTube video for additional tips!
Happy Building