
Have you ever noticed what happens to bubbles during freezing weather? When the temperatures are just right, you can attempt to create frozen bubbles! Put on warm clothing and enjoy this winter science activity!
RELATED: Bouncing Bubbles
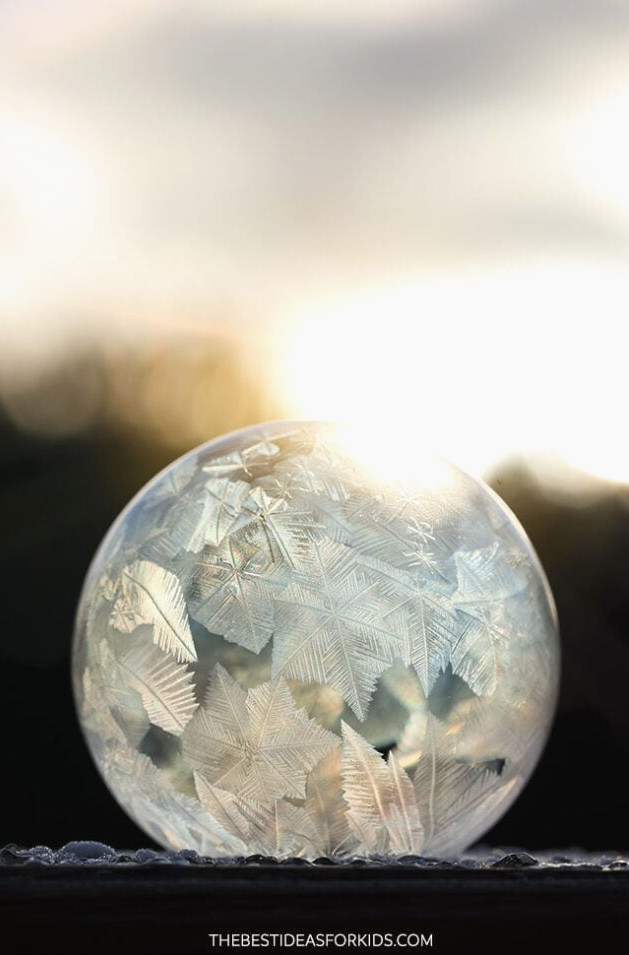
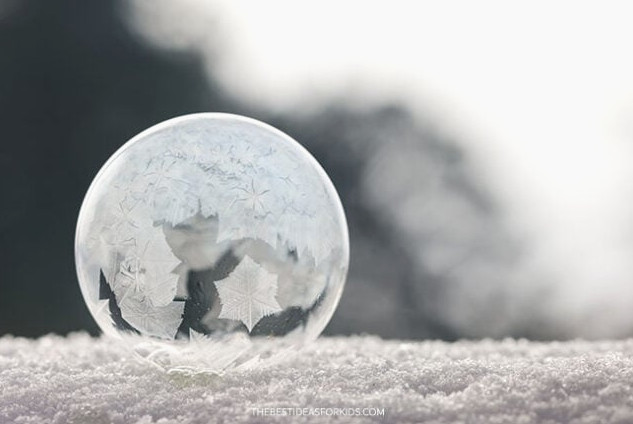
The most exciting part of this activity is seeing the ice crystals develop right in front of you! Turn it into a science investigation by experimenting with various bubble mixtures. Which mixture performs best, and what makes it work?
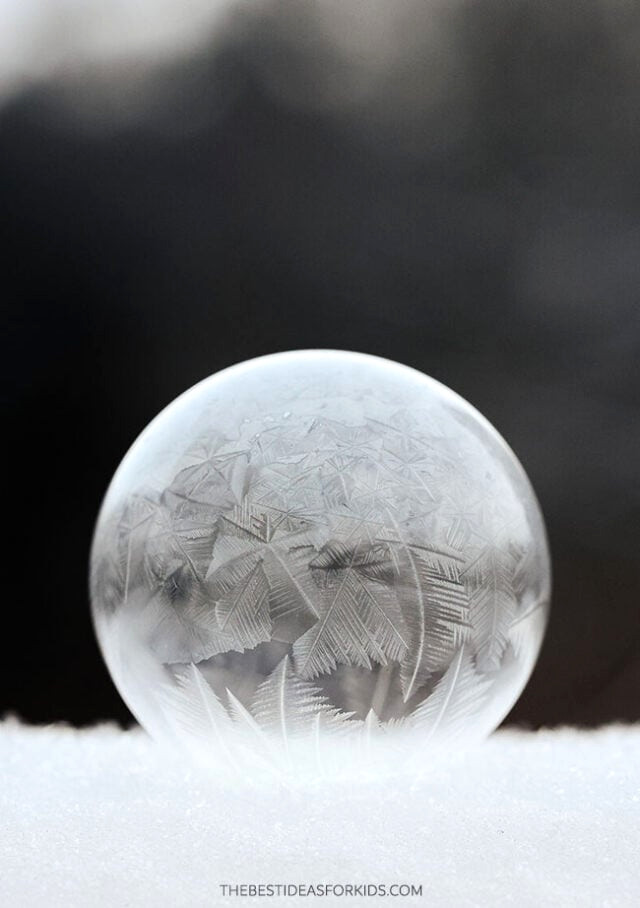
Remember to follow all weather warnings and dress in suitable layers. Remain outdoors only for the amount of time advised by your local weather service.
What is the Science?
Bubbles consist of a delicate film of water held between two soap layers. As the bubble comes into contact with chilly air, the water inside begins turning to ice. Ice crystals start at one location and gradually spread over the bubble’s surface. They expand in various directions, creating the pointed or featherlike designs visible on the frozen bubble. The designs vary according to the temperature and the speed at which the bubble freezes.
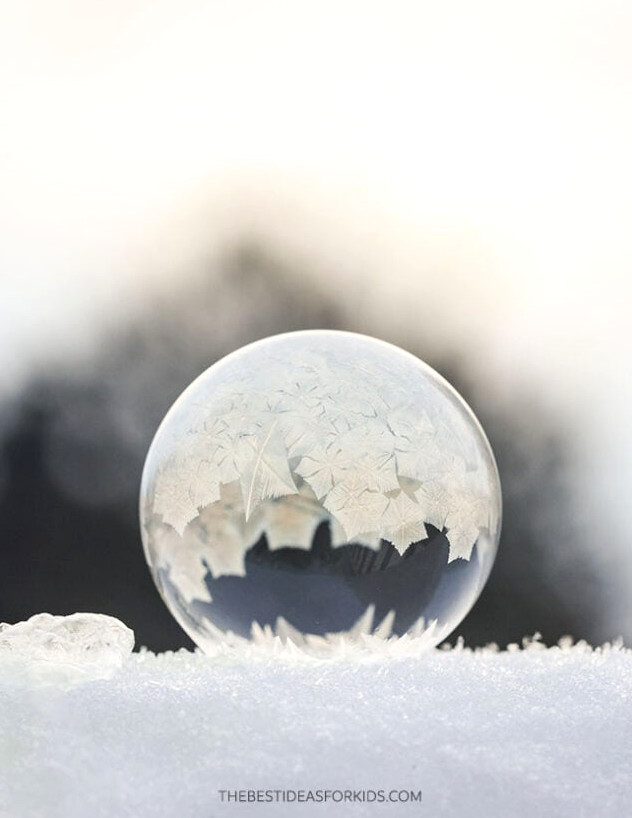
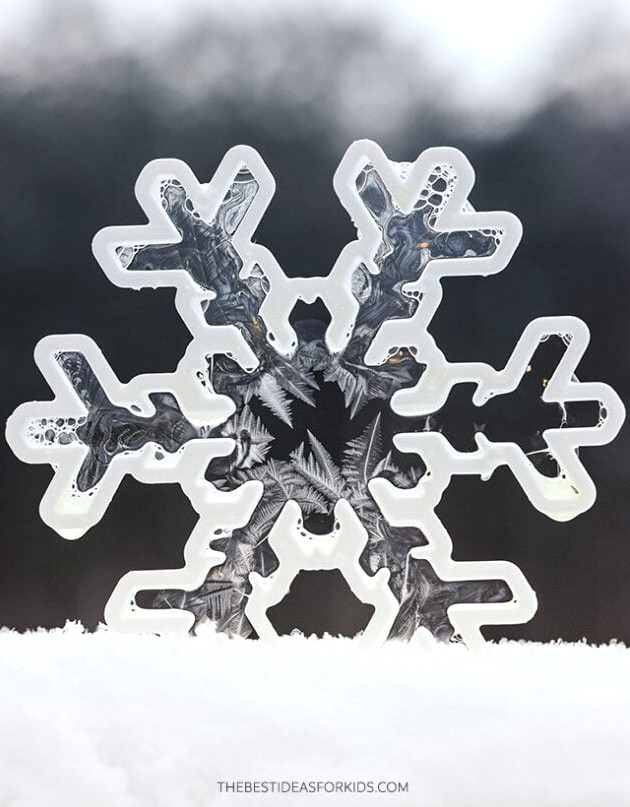
If forming a bubble proves difficult, you can instead dip a cookie cutter into the bubble mixture and observe the crystals developing that way. This method is somewhat simpler since the cookie cutter will not blow away.
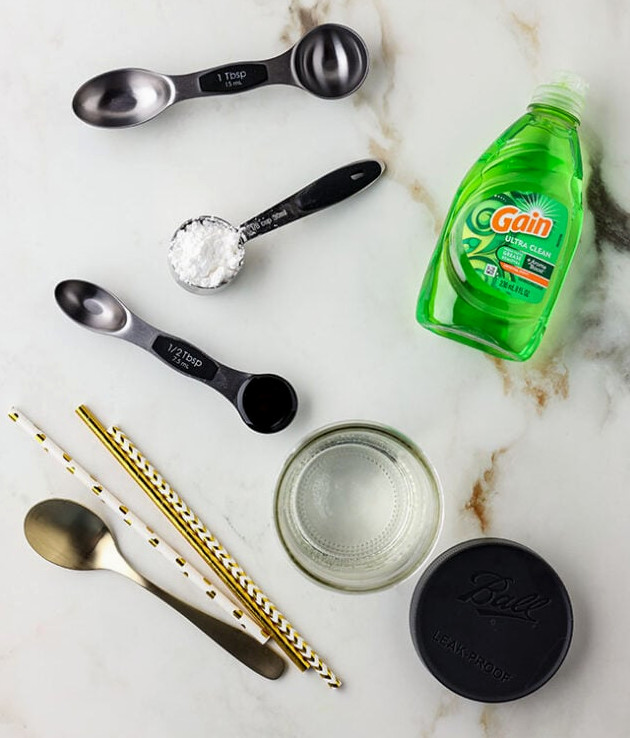
Supplies Needed
- 1 cup hot water
- 2 tablespoons powdered sugar
- 1 tablespoon glycerin (food grade)
- ½ tablespoon corn syrup
- 5 tablespoons dish soap (we used Gain by Dawn is also a good brand)
- Jar with lid
- Straws
- Measuring cups and spoons
How to Make a Frozen Bubble
1. Prepare the bubble solution.
We suggest preparing this bubble mixture because the glycerin and corn syrup help prevent it from popping. You may also use ordinary bubble solution, but remember that those bubbles could burst more easily.
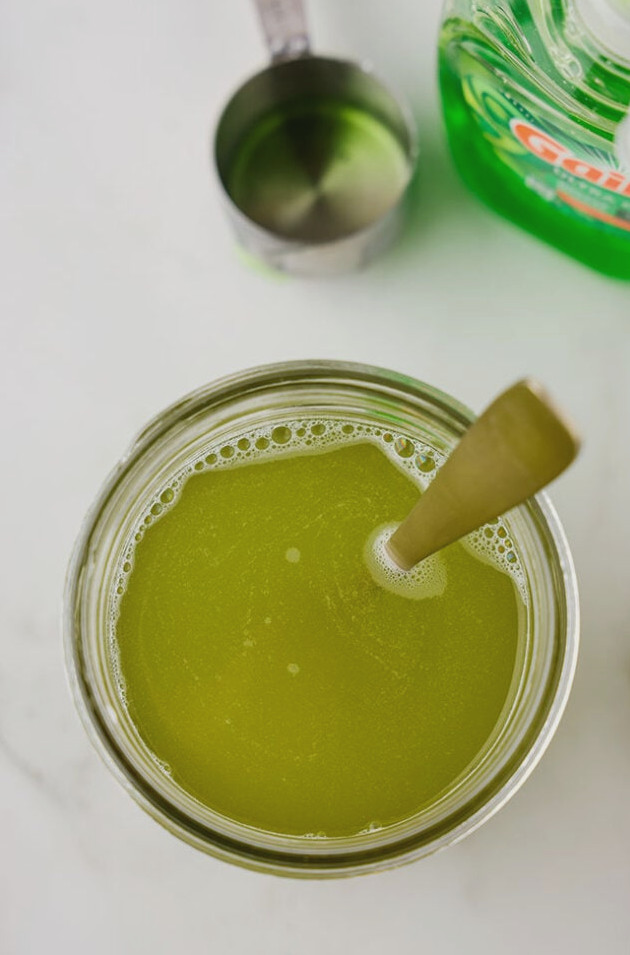
- Pour 1 cup of hot water into a mason jar. We used the hottest water from our tap.
- Stir 2 tablespoons of powdered sugar into the hot water until it has completely dissolved.
- Pour in 1 tablespoon of glycerin and 1/2 tablespoon of corn syrup. Stir thoroughly.
- Add 5 tablespoons of dish soap and stir carefully.
- Seal the jar and refrigerate the bubble mixture for at least 2-3 hours so it can cool.
- Bring the chilled solution and straws outdoors, then enjoy watching the bubbles freeze!
2. Work with a straw.
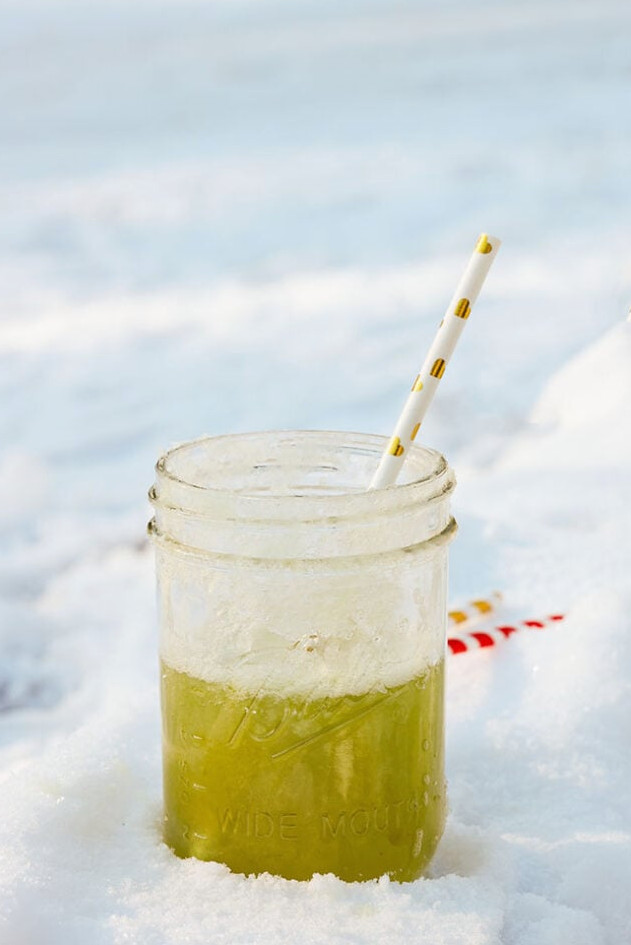
Dip one end of a straw into the bubble mixture to cover it. Ensure that the straw reaches at least 2 to 3 inches below the solution’s surface. Hold the straw near the place where you want the bubble to freeze, such as snow or a chilled plate. The bubble must land on a cold surface.
3. Create the bubble.
Ask an adult to put the clean end of the straw in their mouth and blow softly through it. Avoid blowing forcefully, since this could burst the bubble. As it takes shape, carefully lower the straw until the bubble settles on the surface. *An adult should handle this step because children may accidentally inhale the solution through the straw rather than blow it out.
When the bubble reaches the surface, stop blowing. Carefully remove the straw by lifting it upward or sideways at an angle so the bubble does not break. It may require several attempts to accomplish this without popping it. Another option is to keep the straw inside the bubble and observe it as it freezes.
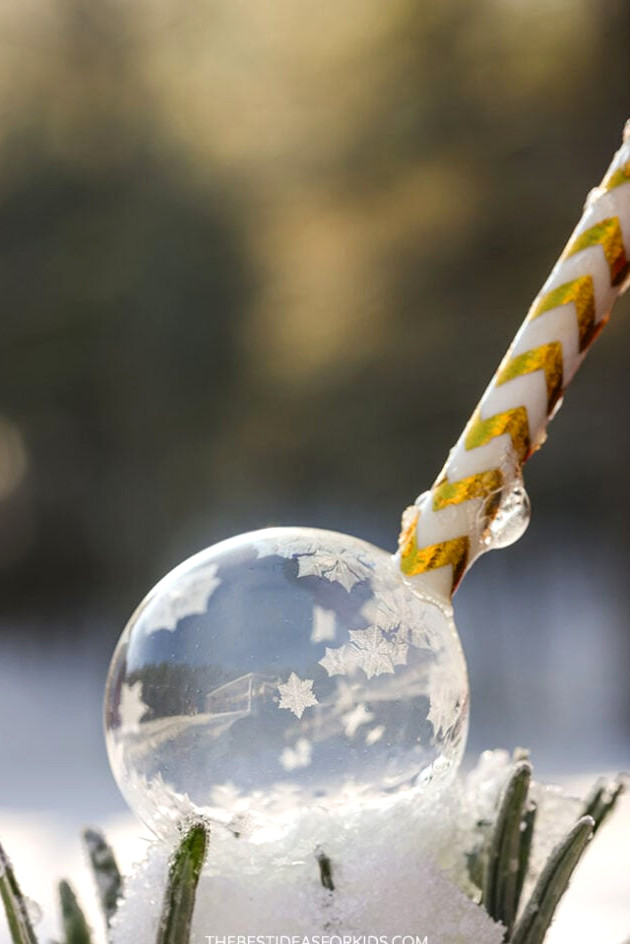
4. Observe the crystals develop.
When outdoor temperatures are cold enough—below freezing—you should notice ice crystals appearing on the bubble within a few seconds.
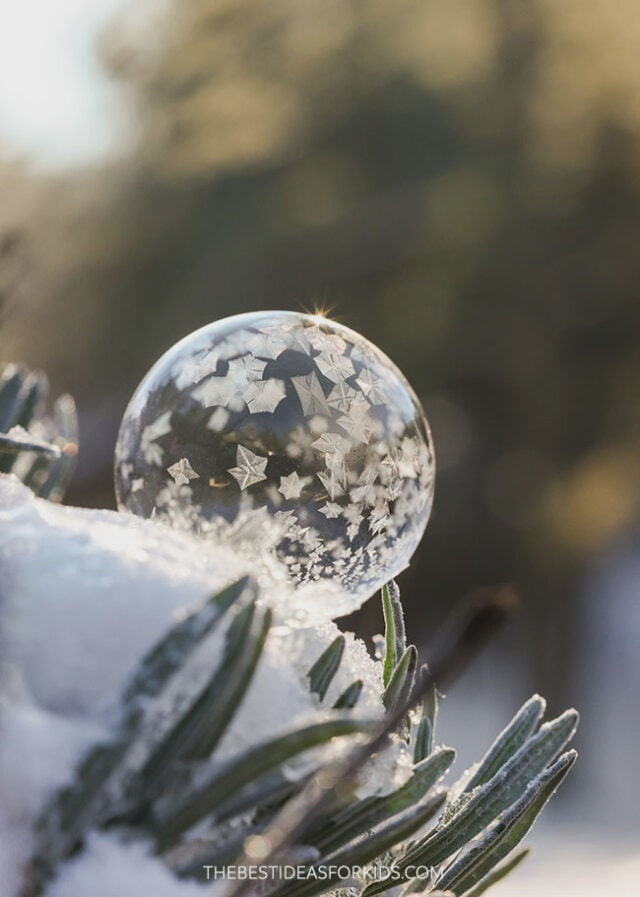
A few suggestions for blowing the bubbles:
- This mixture performs well at 25 degrees Fahrenheit (-4 degrees Celsius) or colder. The temperature must be significantly below freezing. Be sure to check weather warnings and wear suitable clothing.
- The mixture works best when there is little or no wind. Even a mild breeze may burst the bubbles, so shield them from the wind or choose a calmer day.
- Use a straw to blow bubbles gently. Don’t be concerned if some burst—it requires patience and a few attempts, but watching them freeze
- Our best results come from softly blowing the bubble overhead onto a surface with a straw. As you prepare to let the bubble go, gently move upward and away.
is worth the effort! Watching the crystallization happen in real time is truly fascinating. If you’re continuing to have difficulty, give the cookie cutter technique mentioned earlier a try, or grab a bigger bubble wand to observe the crystals developing directly on the wand!
My bubbles keep popping! What can I do?
If your bubbles are popping too easily, look for a protected spot, or shield them from the breeze with your hands. Preventing the bubble from bursting requires little or no wind. You could also mix in one additional tablespoon of glycerin. Glycerin helps strengthen the bubbles.
Can I use regular bubble solution?
Yes, you can, although the bubbles might pop more easily before freezing. The glycerin and corn syrup included in this recipe create a sturdier solution that is less prone to popping.
Can I use regular sugar in this recipe instead of powdered sugar?
Absolutely! Regular sugar can replace powdered sugar, and I suggest following a 1:1 ratio for this recipe, which means using 2 tablespoons of regular sugar in its place. PLEASE NOTE: When using regular sugar rather than powdered sugar, the bubbles could require more time to freeze, and they may not freeze as the temperature approaches 32 degrees Fahrenheit. Powdered sugar in the mixture allows the bubbles to freeze more quickly and at warmer temperatures! We tested both versions side by side and observed the distinction. You can also turn this into your own science experiment to compare the results.
Can I omit the glycerin in this recipe?
Without glycerin, you can still prepare the recipe, but remember that the bubbles will be weaker and could burst more readily. If you leave out the glycerin, consider testing an additional ½ tablespoon of corn syrup, making 1 tablespoon total, to improve their strength.