You can tell spring has truly arrived in New England once nearby nurseries begin sharing photos of their pansies. After enduring a lengthy winter, I’ll confess that I monitor their social media accounts, eagerly awaiting that announcement. As soon as I spot those trays filled with vibrant blossoms, I’m heading straight to the car.
Last weekend, I finally visited my favorite nearby nursery and returned home with a tray of beautiful pansies in a rainbow of shades. Rather than putting them into the soil (which is still much too chilly), I chose a more creative project: a living pansy wreath.
This is far from an ordinary wreath. It’s vibrant, flowering, and can remain beautiful for months during New England’s chilly spring season. Once the pansies outgrow the wreath, I’ll simply transfer them to my cut-flower garden. Every plant gets another purpose.
Living Pansy Wreath: Essential Details
What it is: A wreath created from fresh, potted pansies covered with moss and secured to a straw form
Difficulty: Beginner to intermediate (it’s simpler than it appears!)
Time to make: 1+ hour
How long it lasts: 2-3 months in cool spring conditions
Care: Mist every 2-3 days; suspend it in a sheltered location
Best for: Covered porches, beneath eaves, protected entryways
After it’s done: Move the pansies into your garden; save the wreath form for reuse
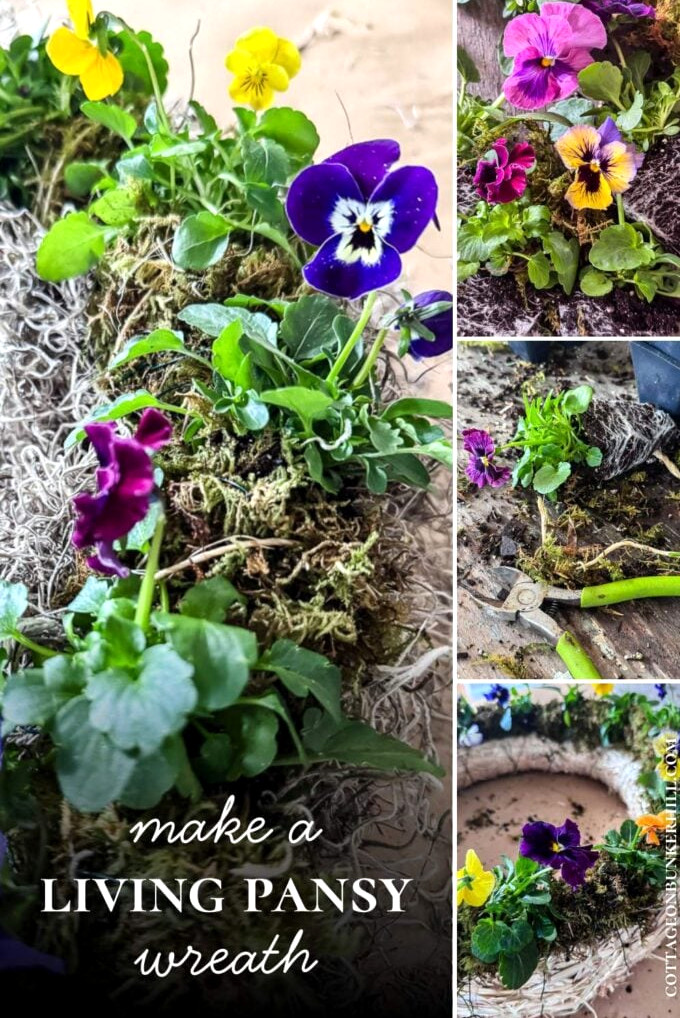
Welcome to this month’s Garden to Home project: a living wreath that adds fresh blooms to your front entrance without needing weekly replacements. It may seem more difficult than it really is (I promise!), requires no unusual materials, and will brighten your mood whenever you approach your home.
Here’s how I created mine.
Welcome! I’m Jennifer, and I’ve always felt that nature provides the loveliest art materials. For many years, I’ve preserved New England’s flowers and foliage by pressing, drying, and crafting. Let me show you how to preserve a small piece of the season and bring it inside—easily and beautifully.
DIY Live Pansy Wreath (Simpler Than It Seems!)
Want a spring wreath that looks fresh, remains lovely for weeks, and doesn’t need a foam foundation? This month’sGarden to Homeproject is just right. I’ll explain how to create a living pansy wreath with a reusable straw wreath form, nursery-raised pansies, and a handful of simple materials, including sphagnum moss, floral wire, and sisal twine. The process is straightforward: form moss-covered pansy bundles, attach them to the wreath, and add Spanish moss to create a finished appearance. This eco-friendly living wreath can be watered and enjoyed throughout the season, then taken apart so you can begin again next year. Ready to make one?
Garden to Home
I’ve always thought the boundary separating the garden from the home should be indistinct. This series focuses on stepping across that boundary—bringing outdoor growth inside through beautiful, enduring projects. New projects shared every month.
Let’s grow side by side!
Supplies You’ll Need
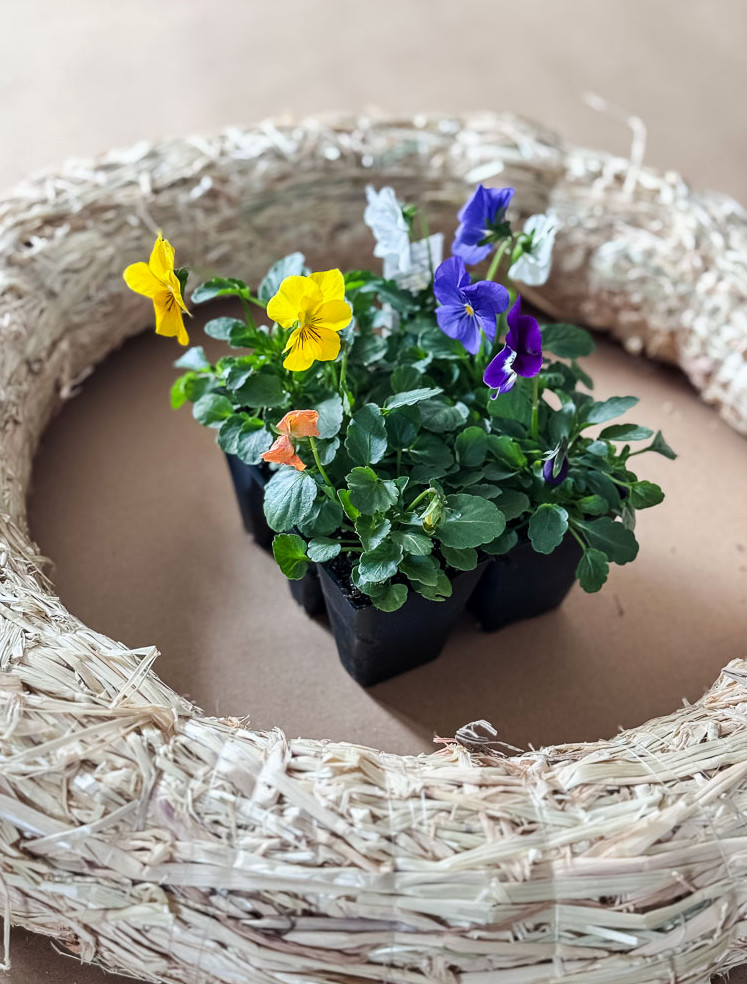
Materials Needed for This Project
Tools:
Note: The sphagnum moss I worked with is compressed into layers that are nearly sheet-like. Soak it in water, separate the layers, and it expands into a wonderfully fluffy material. A single package easily covered all 15 pansy bundles needed for this project, and it costs very little!
Instructions, Step by Step
Here’s the truth: this wreath appears far more involved than it really is. If you’ve never made a wreath before and feel slightly nervous when you see the finished design, I understand! Still, I promise you can make one too. I’ll guide you through each individual stage with straightforward directions, so there’s no need to skip steps or assume prior knowledge. Follow along, and soon you’ll have a stunning living wreath hanging on your door.
Step 1: Prepare the Moss and Pansies
Before putting anything together, prepare all of your supplies. Believe me, arranging everything ahead of time and keeping it close by makesthis project much easier.
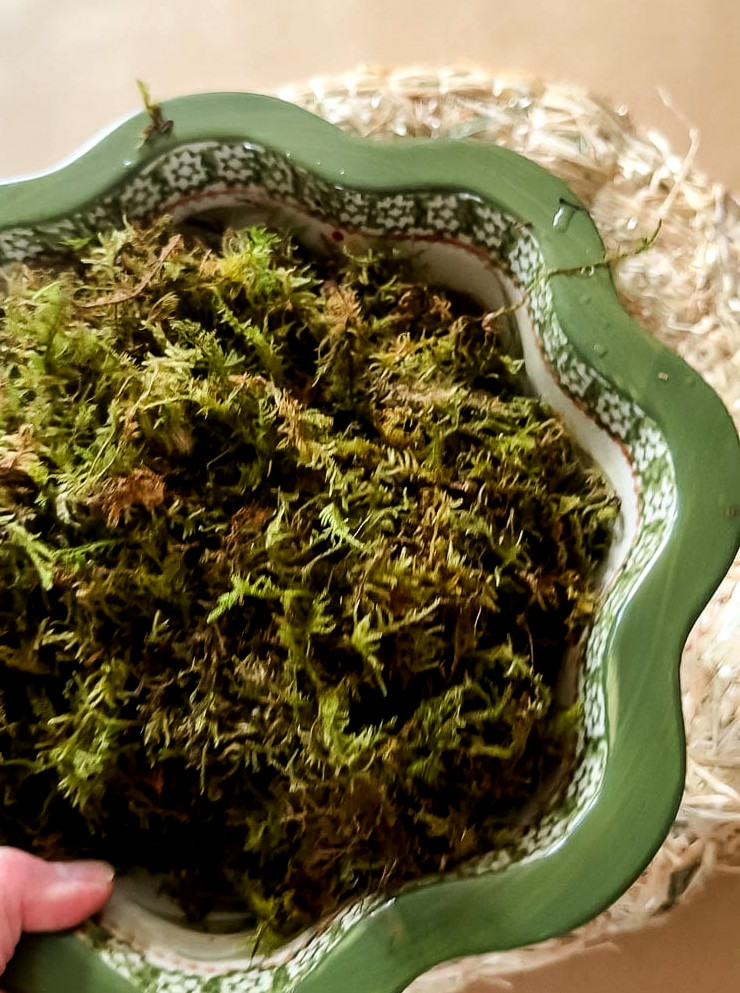
Moisten your sphagnum moss: Put it into a bucket or spacious bowl filled with water and allow it to soak until fully damp. It should be wet enough to stay together without dripping. Gently press it to get rid of any surplus water.
Hydrate your pansies: Before beginning, ensure your pansies have plenty of moisture. If they feel dry, water them thoroughly and wait a little while. Well-hydrated plants are simpler to handle and cope better with the strain of transplanting.
Prepare your work area: Arrange your wreath form, floral wire, wire snips, and prepared moss on a table or other work surface. When I tackle projects, I protect the counter with brown butcher paper. Since making this wreath can be somewhat untidy, cover your table or work outdoors or in the garage.
Quick steps:
- Immerse sphagnum moss in water until damp
- Give your pansies water before beginning (they should be thoroughly hydrated)
- Arrange your workspace with every supply close at hand
Step 2: Form Your Pansy Bundles
This is where the enchantment begins. You’ll make 15 separate pansy bundles, with each one wrapped in moss and fastened with wire.
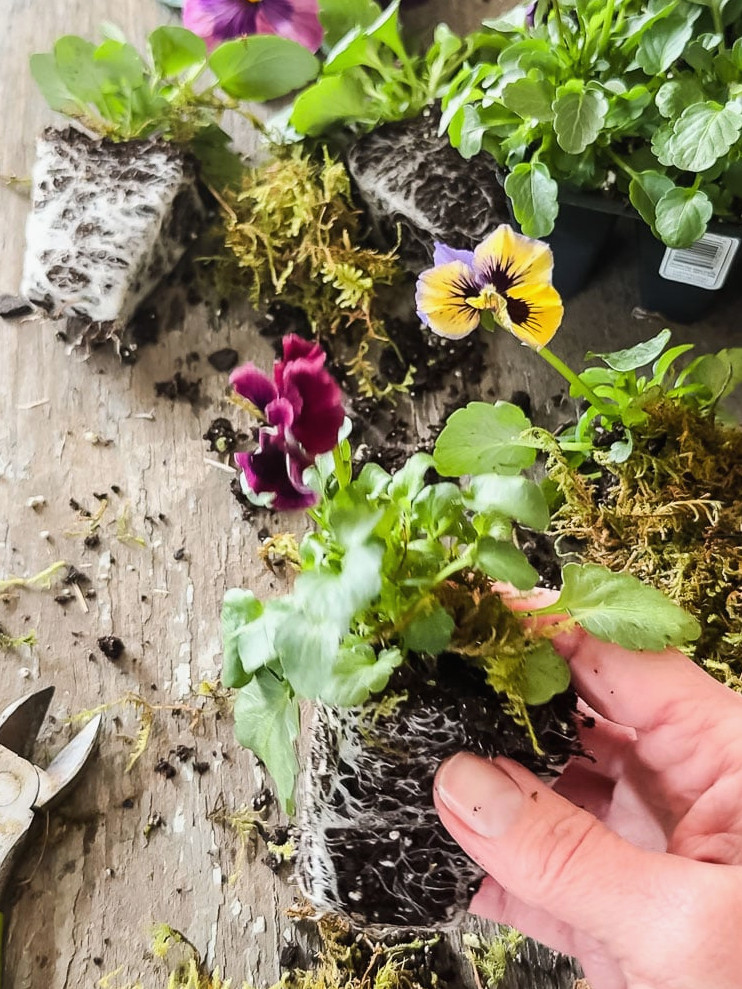
Here’s the process:
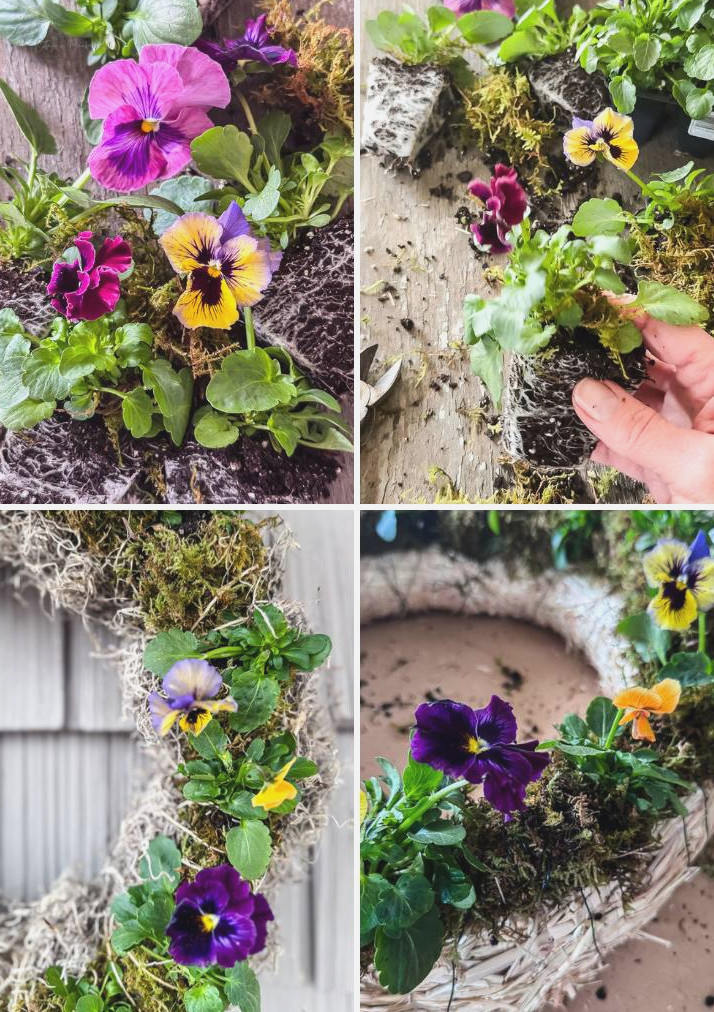
Carefully take the pansies out of their six-pack, leaving the root ball and soil undisturbed. There’s no need to shake away the dirt or disrupt the roots—simply remove each plant gently.
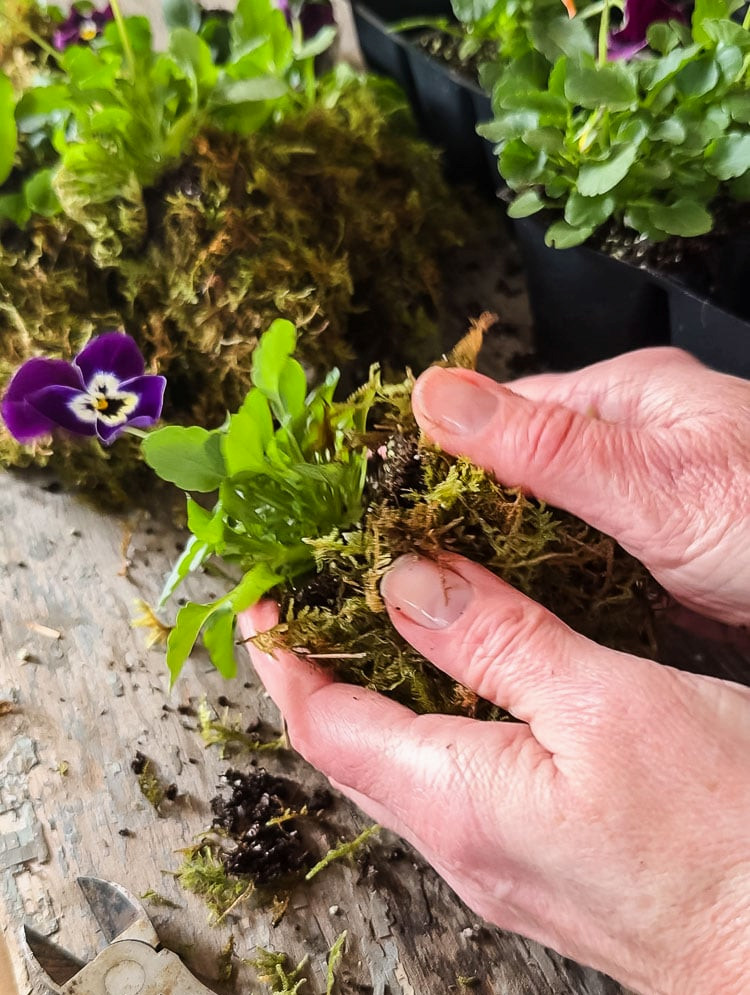
Gather a portion of your moist sphagnum moss and encircle the pansy’s root ball, completely hiding the soil. Don’t skimp here! Use plenty of moss to enclose the roots fully and provide a comfortable layer of protection. Imagine wrapping the pansy in a soft, snug moss blanket.
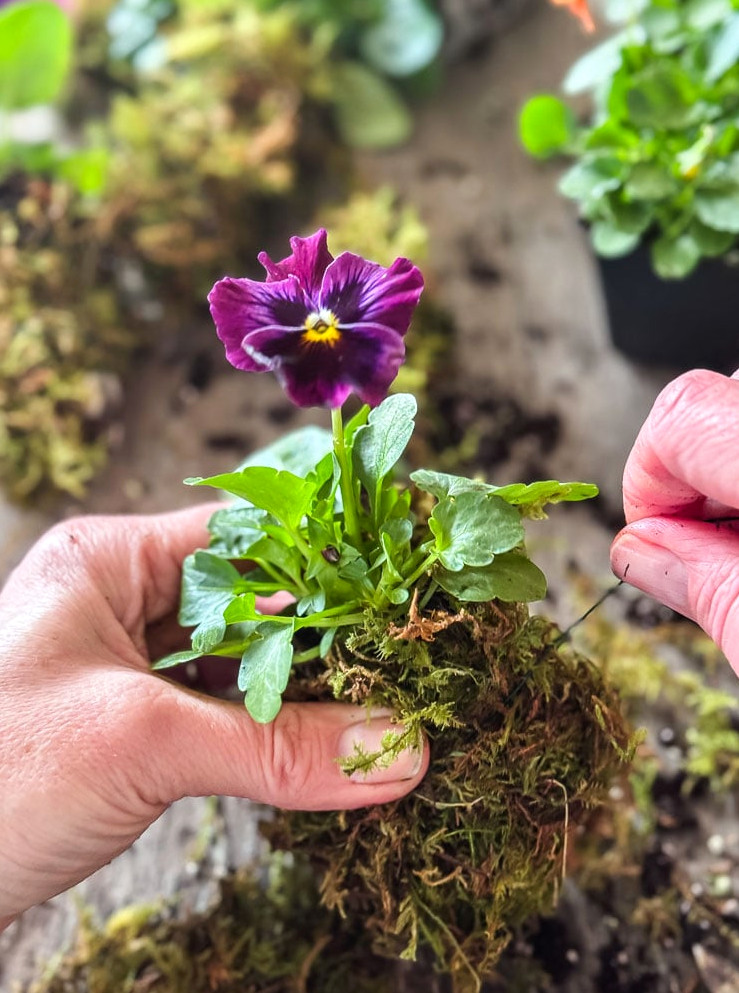
After positioning the moss, wind your floral wire around the moss-covered root ball a few times so everything stays in place. Keep this in mind: The wire should be reasonably snug. If it’s too loose, the moss may move or come undone when you fasten it to the wreath. Make it secure without tightening so much that the roots become compressed.
Continue until you’ve prepared 15 pansy bundles. I arranged mine in a row on the worktable as I finished each one. Seeing them all prepared and lined up is wonderfully satisfying!
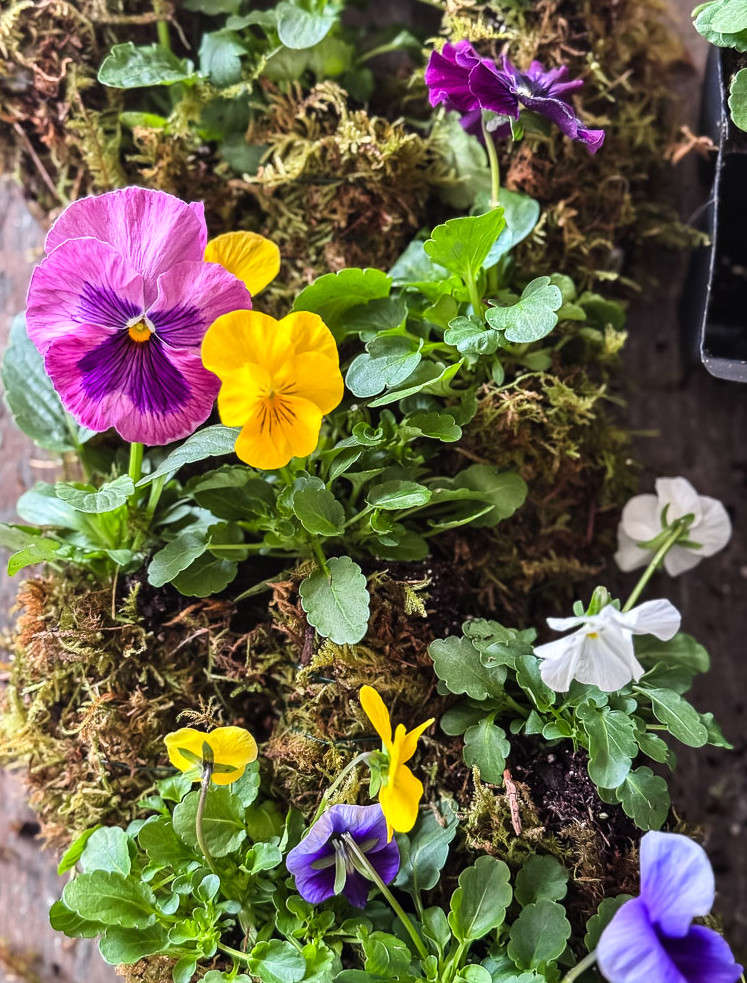
Quick steps:
- Take individual pansies out of the six-packs, leaving the soil undisturbed
- Surround each pansy’s root ball with damp sphagnum moss. Use plenty of moss so the soil is fully concealed
- Fasten the moss with floral wire to form a small wrapped bundle
- Prepare 15 bundles altogether (for an 18-inch wreath)
Step 3: Fasten Bundles to Wreath Form
Now for the enjoyable part—seeing your wreath take shape as you attach each pansy bundle.
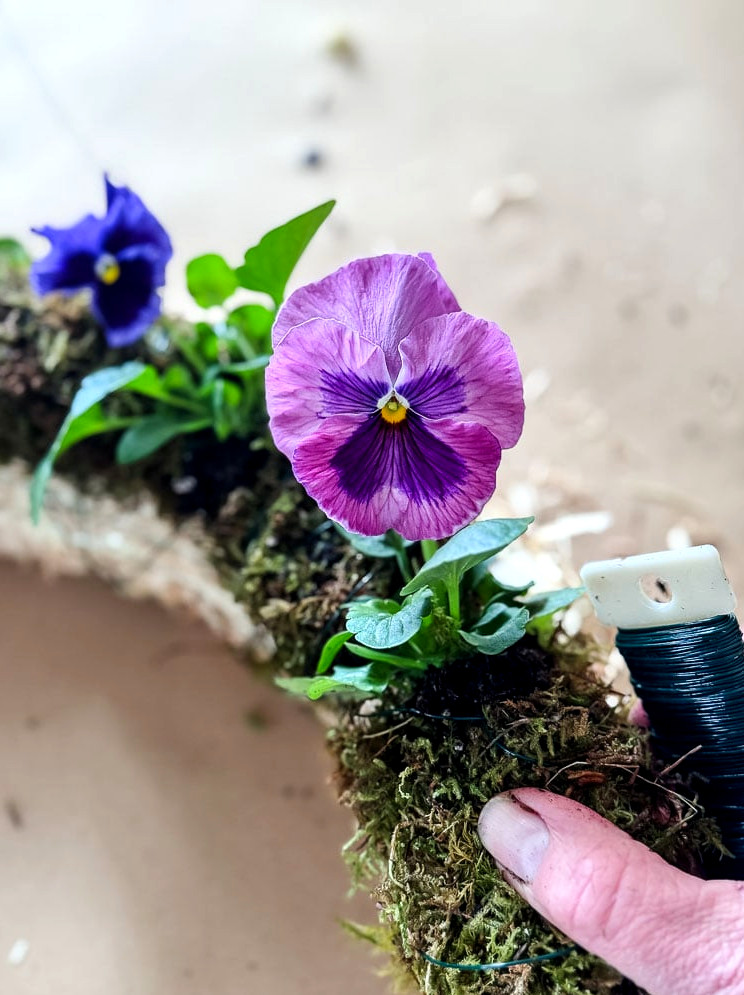
Follow these steps:
Begin at the top of your straw wreath form. Place the first pansy bundle where you’d like it, then start winding the floral wire paddle around the bundle and the wreath form. Wrap it a few times so it stays securely attached.
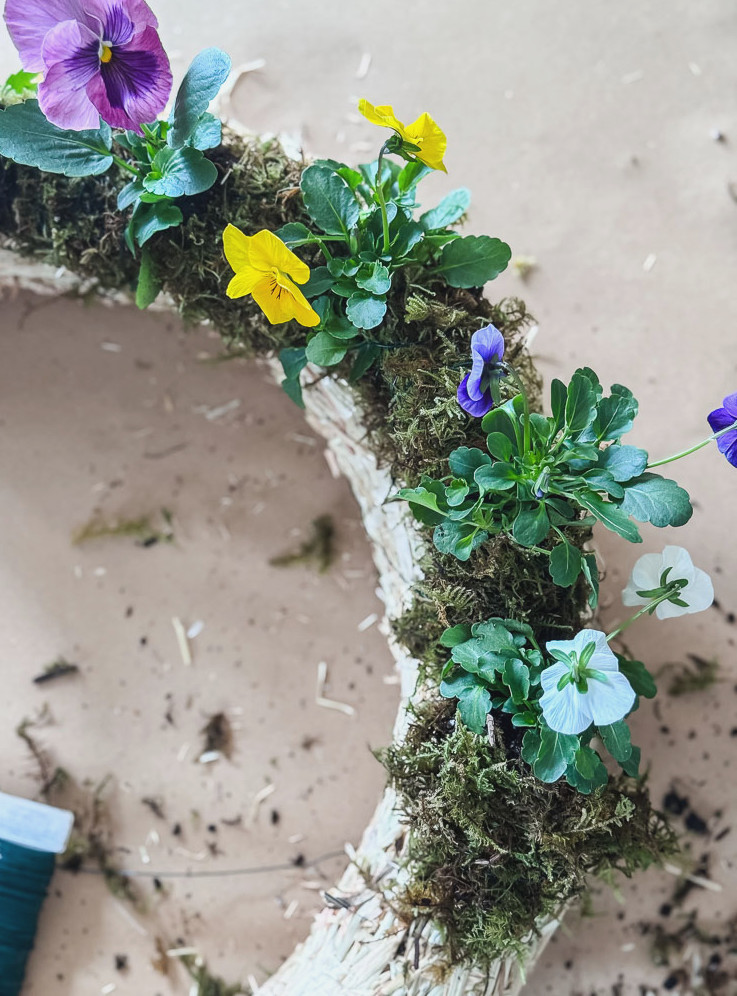
Keep in mind: Do not snip the wire between bundles! Leave the wire paddle connected and continue wrapping as you work. This forms a single, uninterrupted support structure around the full wreath, making it considerably stronger than separate pieces of wire.
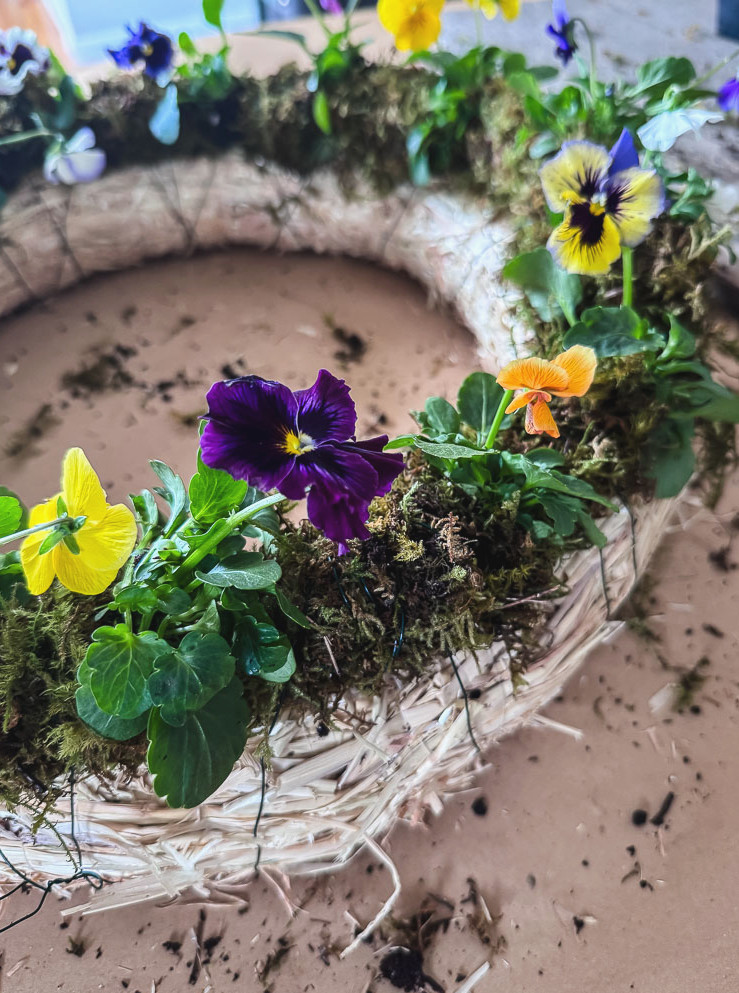
Move clockwise around the wreath, attaching one pansy bundle after another. Set each bundle right beside the one before it, keeping them touching or nearly touching. As you proceed, continue looping the wire paddle around the form to fasten every bundle in place.
Keep going until all 15 bundles have been secured and the entire wreath form is hidden beneath the pansies. Once finished, the wire will circle the whole wreath and hold everything firmly together.
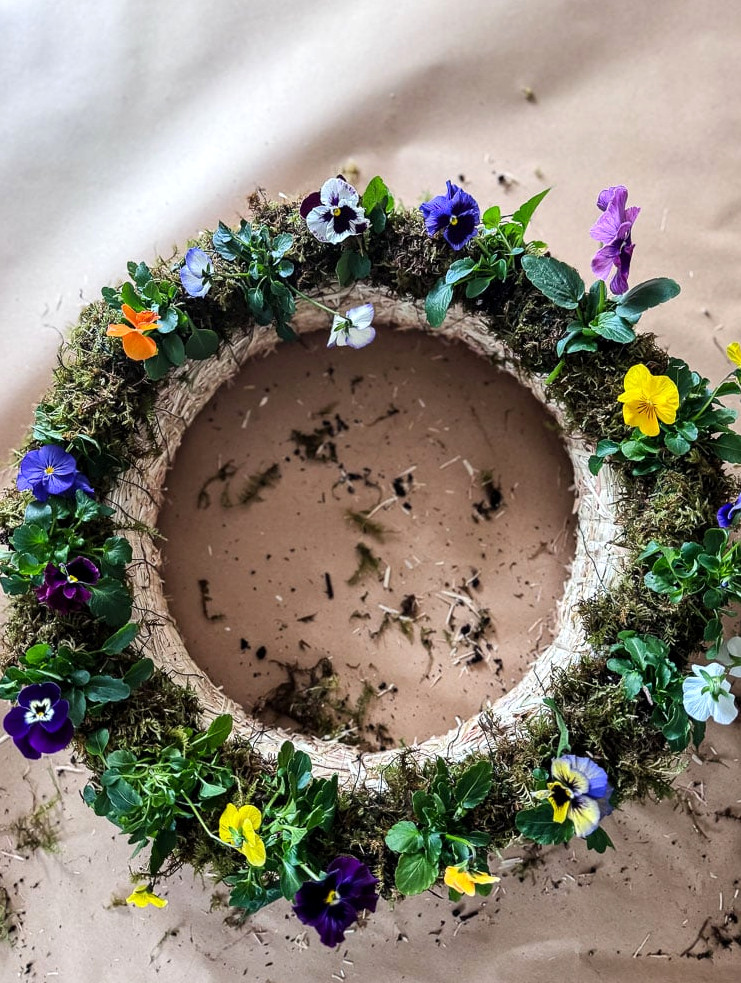
Here’s what you should see now: A ring of pansies secured by visible wire, with the straw wreath form still exposed in the middle and along the outside edges. No need to worry—we’ll conceal those areas in the following steps!
Quick steps:
- Begin at the top of the straw wreath form
- Wrap every pansy bundle onto the form with the floral wire paddle
- Travel clockwise around the wreath while keeping the bundles close together
- Keep winding the wire as you work. Do not cut it between bundles
- Cover the complete wreath form using all 15 bundles
Step 5: Conceal the Wreath Form Using Spanish Moss
By now, your wreath should be covered with lovely pansies. However, the straw wreath form may still be visible through the center opening and along the outside edges. Let’s take care of that now!
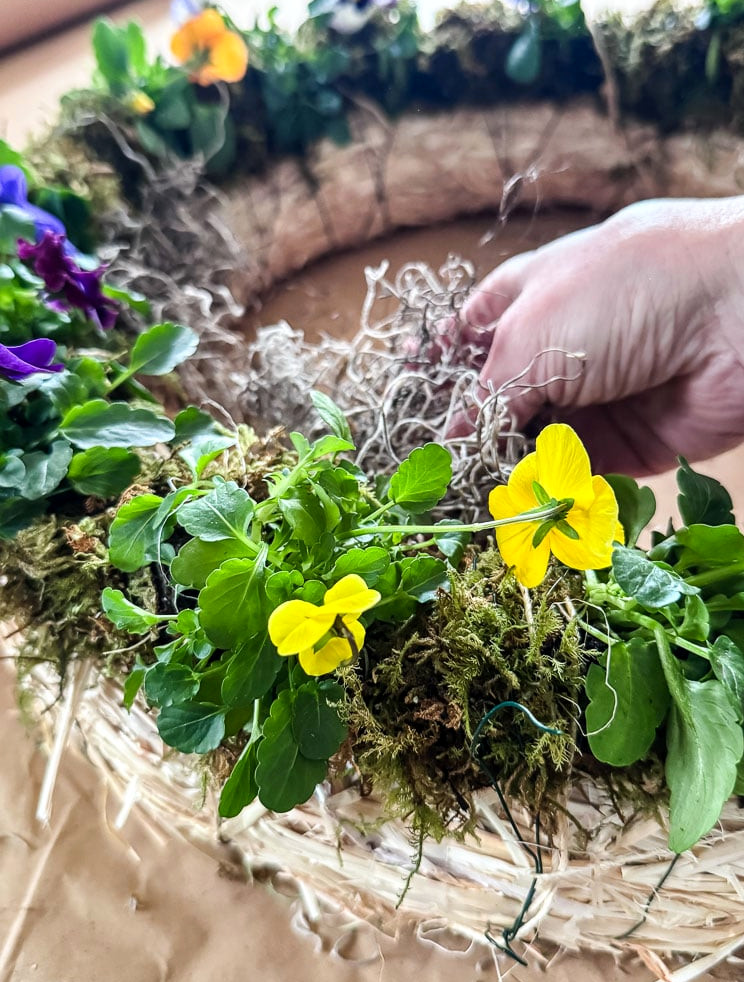
Here’s how to conceal it:
Gather small handfuls of Spanish moss and begin pressing them into the wreath’s center opening. Go around the inner ring, covering every section of straw that remains visible.
Here’s the helpful tip: rely on the floral wire already securing the pansies to the wreath. Slide the Spanish moss beneath the wire, which will serve as a small anchor and keep the moss in place without requiring extra wire or adhesive.
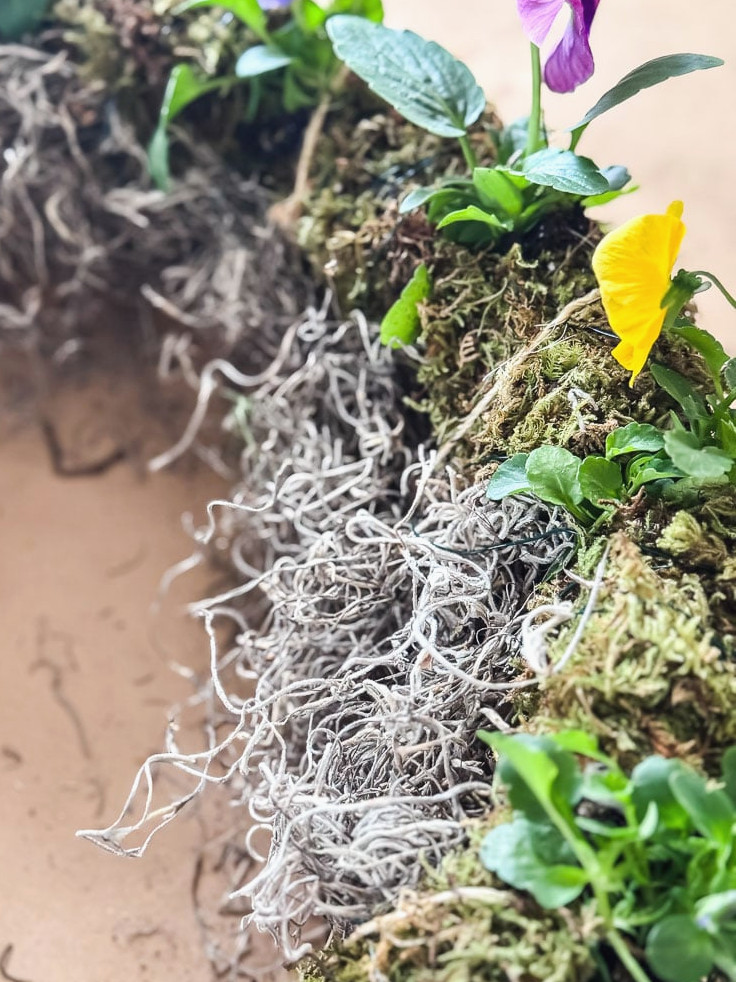
Repeat this process along the wreath’s outer edge anywhere the straw is exposed. Keep tucking the moss beneath the existing wire.
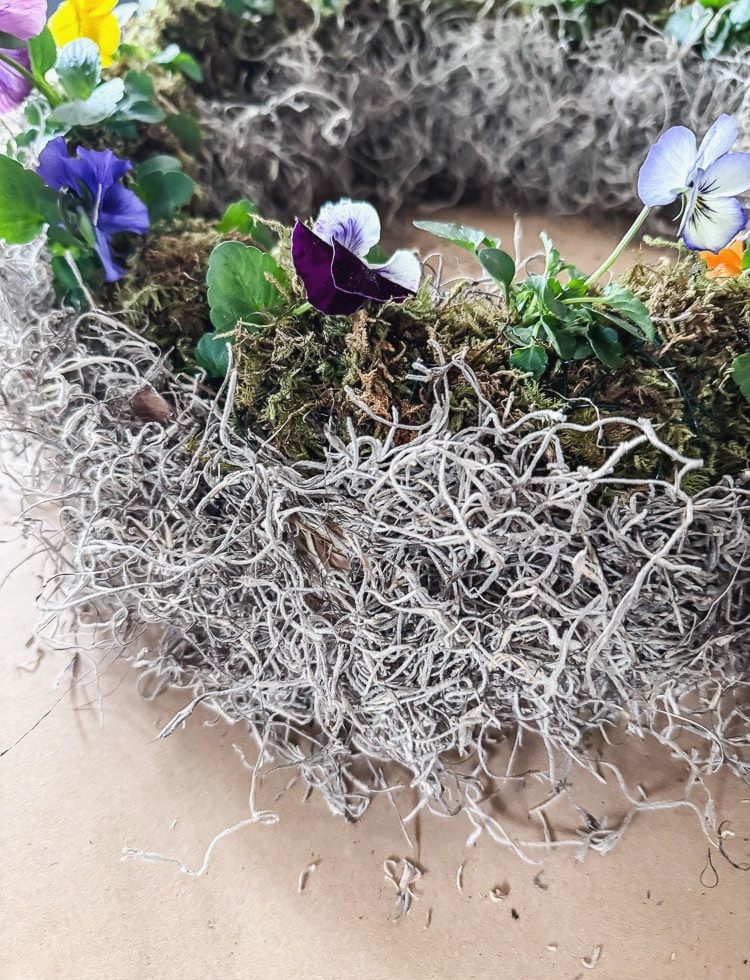
When additional support is necessary: There may be areas where the current wire does not hold the Spanish moss firmly enough. If so, wind another piece of floral wire around that portion of moss to secure it.
Why I prefer wire to hot glue: I intend to use this straw wreath form again after the pansies finish flowering. Removing wire is much simpler than scraping away hardened hot glue, and it helps preserve the wreath form for another project. However, you can certainly hot glue the Spanish moss to the straw wreath form if it’smore convenient for you.
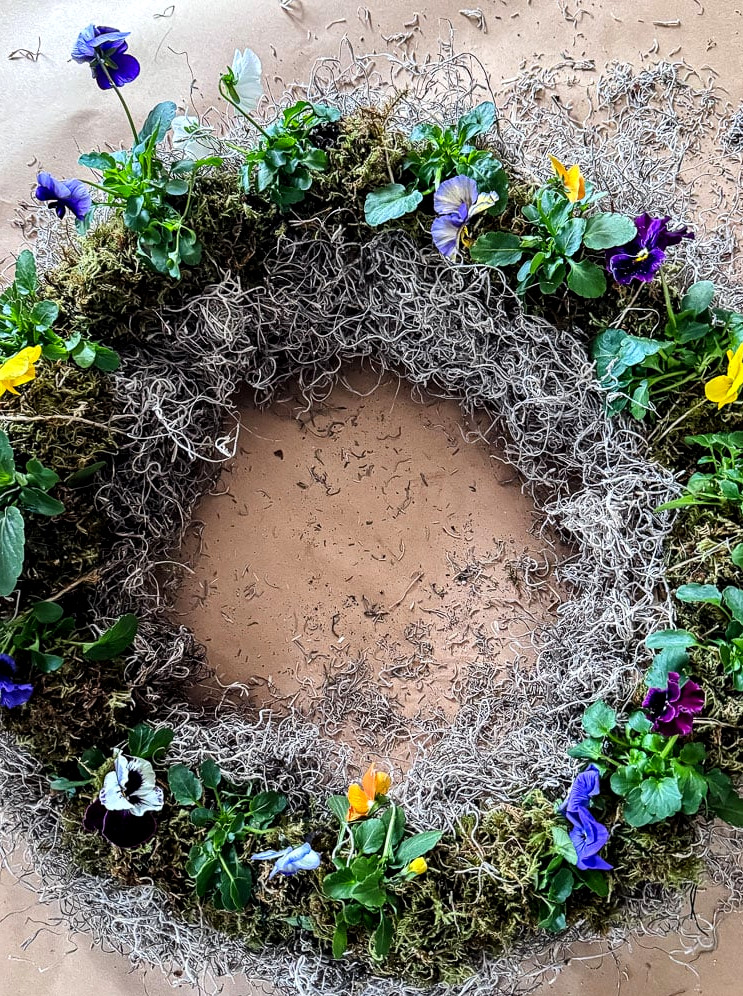
Continue placing Spanish moss until the straw is no longer visible through the middle, around the sides, or anywhere else it can be seen. You’re aiming for a thick, abundant wreath showing only pansies and moss.
Should you notice any stray sections, snip them away with scissors. I also pressed the moss down slightly using my hands.
Quick steps:
- Gather Spanish moss and place it inside the wreath’s center opening. Use the floral wire already in place (the wire securing the pansies) to tuck the moss behind
- Alternatively, use hot glue if that’s your preference
- Cover any straw that remains visible along the outside edge as well
- Add extra wire wraps wherever necessary to hold everything in place
- Why I use wire instead of glue: Once the pansies are finished, I intend to use this wreath form again, and wire can be taken off more easily.
Step 5: Add a Final Twine Wrap (Optional but Charming!)
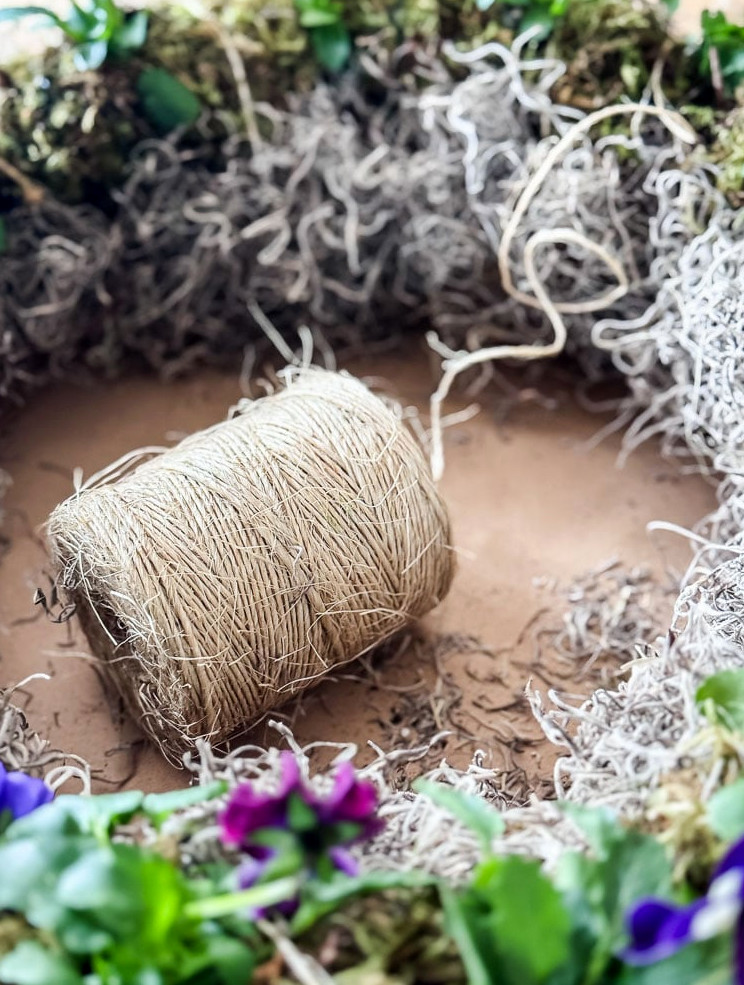
At this stage, you’re essentially finished, but here’s one extra detail I added for a final touch.
Using your sisal twine, wind it around the whole wreath at a slant. As you move around, cross it over both the pansies and moss.
Is this necessary? Not at all! The wreath is already lovely and firmly secured. Still, I really enjoy the appearance of this additional wrap. It brings more visual texture and enhances the natural, handcrafted look.
Quick steps:
- Wind sisal twine around the complete wreath at a diagonal
- Although decorative, it provides extra support & a pleasant finishing detail
Displaying & Caring for Your Living Wreath
Choosing a Hanging Spot:
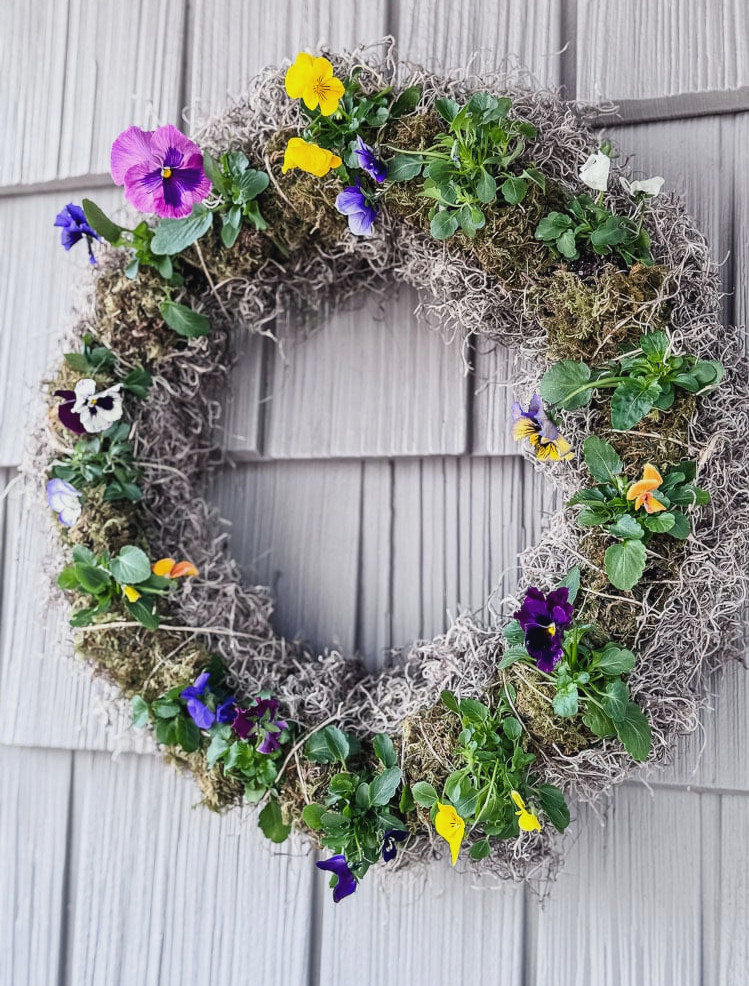
I placed mine on the house beside the front door, beneath the cover of our front porch. Living wreaths thrive in sheltered locations such as covered porches, entryways, beneath eaves, or other areas shielded from intense direct sunlight and heavy rainfall.
Pansies tolerate some sunlight, though strong sun throughout the day can dehydrate them more quickly and reduce how long they flower. Morning light followed by afternoon shade is perfect, although any protected location can work wonderfully.
Watering:
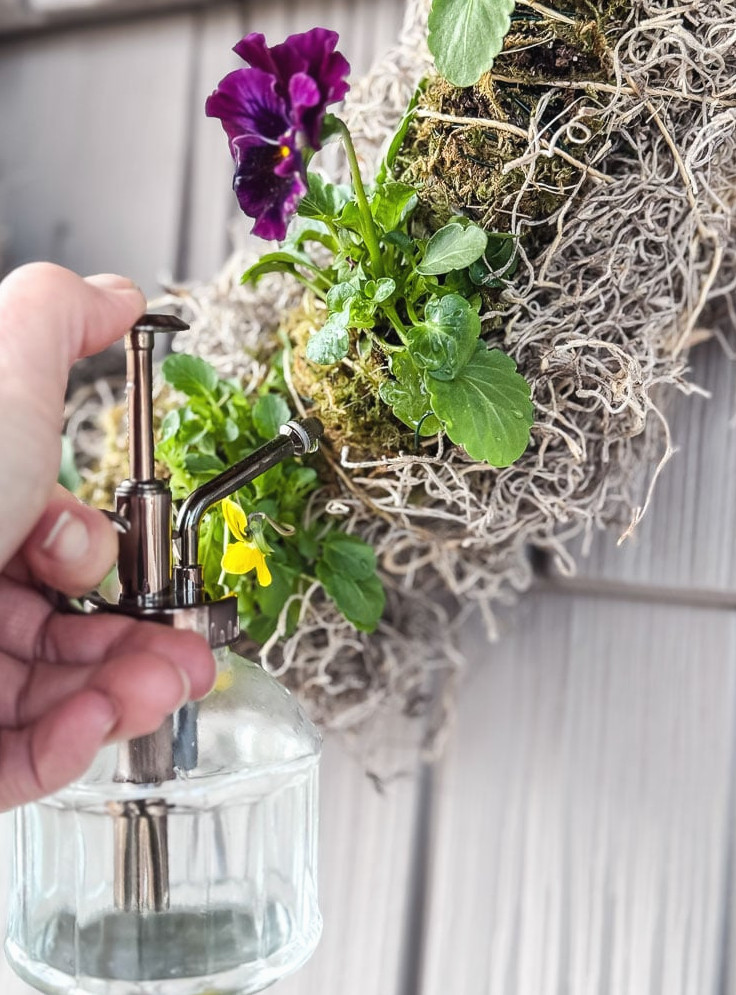
This is the key to keeping your wreath looking beautiful!
Every 2-3 days, gently feel the moss to inspect your wreath. When it feels dry, it needs water. I mist the complete wreath with a spray bottle, including the moss, pansies, and everything else. The goal is for it to be damp, not drenched or dripping.
If your wreath receives natural rainfall, that’s an added benefit! Simply monitor it and mist whenever extra moisture is needed.
During warmer spring weather, daily checks may be necessary. Sun and wind cause the moss to dry more rapidly, so pay attention to the conditions surrounding your wreath.
How Long Does It Last:
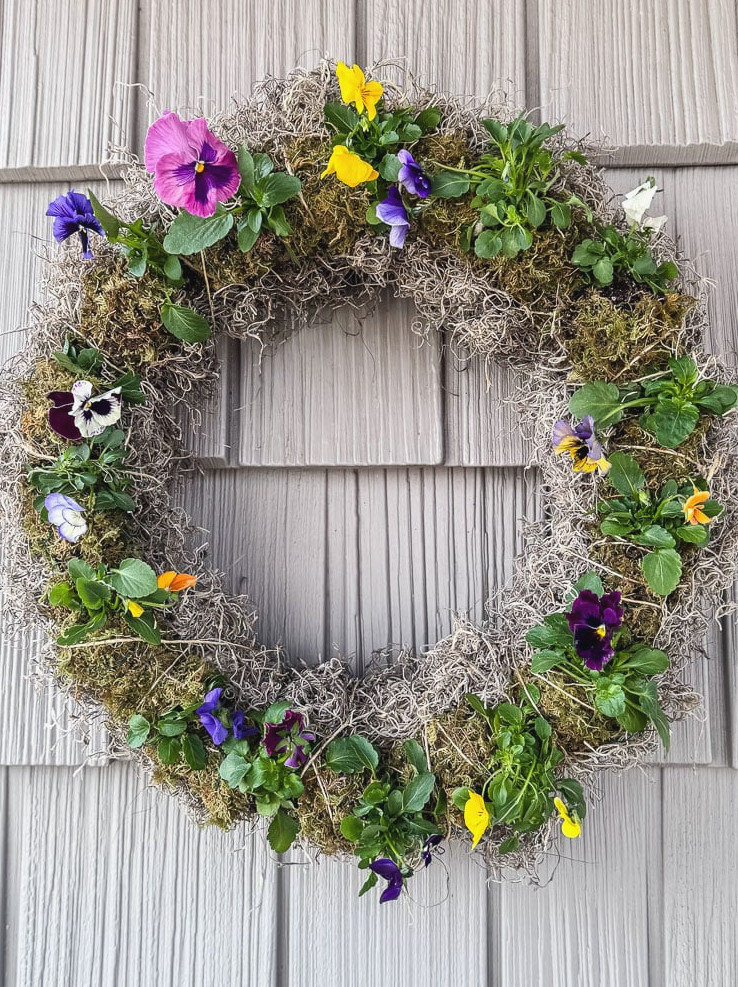
In New England, pansies truly shine during Spring. Since they thrive in crisp temperatures, this wreath should flower beautifully for several months, lasting well into late Spring.
Over time, the pansies will spread and fill the whole wreath (I’ll share a photo when that happens!)
When temperatures regularly climb into the 70s and 80s, pansies begin to fade. Until that point, though, your doorway will enjoy weeks upon weeks of vibrant blooms.
What to Do Once It’s Finished:
If the pansies become too large for the wreath, or you want to switch to another seasonal style, don’t throw them away! Transfer them to your garden. I plan to place mine in my cut flower garden.
You can brush off the straw wreath form and use it again for a future project. That’s why I chose wire rather than hot glue; taking everything apart and preserving the form for another wreath later is much simpler.
Nothing is wasted, and those pansies receive another purpose. That’s the garden-to-home philosophy brought to life!
Helpful Tips & Tricks
Beautiful Blooms, Long-Lasting Charm
After spending a long winter looking at dried displays and pressed blossoms, it feels wonderfully refreshing to work with fresh, living flowers again. This wreath added a touch of Spring to my front porch weeks before anything in my garden showed signs of waking.
In New England’s cool spring climate, this wreath should flower for months, and once the pansies finish blooming? They’ll be planted directly in my cut flower garden. Nothing is wasted, and everything stays beautiful—that’s the garden-to-home philosophy in practice.
That’s the heart of this series: discovering easy, lovely ways to soften the boundary between the garden and the home. Whether you’re using dried flowers from last summer or fresh pansies flowering today, the goal is to bring outdoor growth into the rooms and areas where we live.
If you create your own living wreath, I’d be thrilled to see it! Email photos to cottageonbunkerhill@gmail.com for a chance to appear in the Reader’s Spotlight.
Want more garden-to-home projects? Take a look at last month’s DIY Dried Flower Hanging Frame or my Pressed Flower Magnets. A fresh project arrives every month—let’s continue growing and creating together.
xo, Jennifer
Enjoy projects like this?Make sure you don’t miss out! Join my newsletter family for more comfortable, affordable DIY ideas sent directly to your inbox. You’ll receive special tips, early tutorial access, and all the inspiration necessary to make your home feel personal and full of heart.
Over 40 imaginative
Handmade Wreath
guides