
Discover how to prepare homemade salt dough for handprints or decorations with this simple salt dough recipe. This dough requires only a handful of ingredients you likely already have in your kitchen! We explain all the helpful tips and techniques for creating these handprint ornaments.
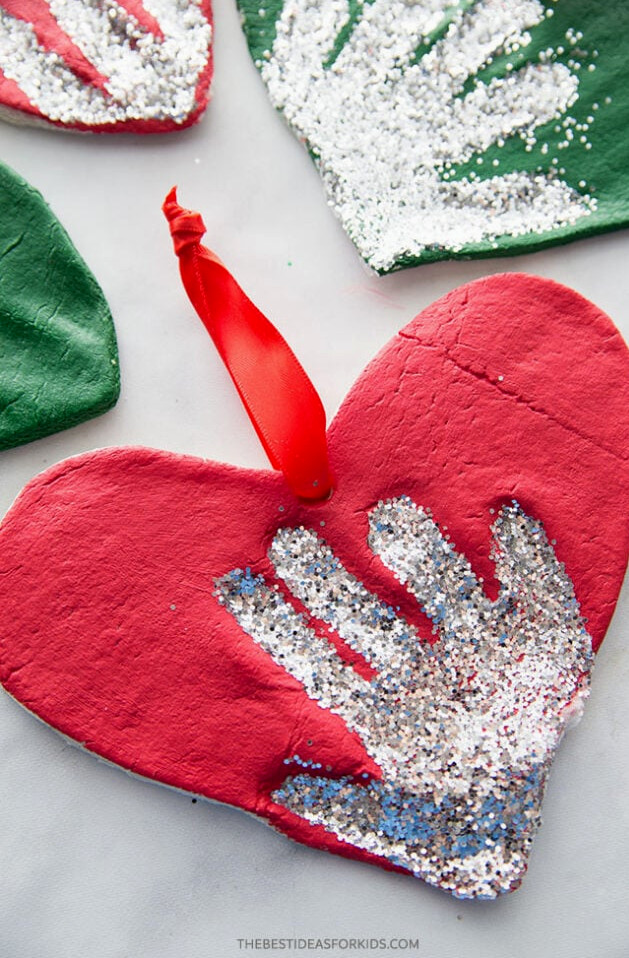
Making handprint ornaments is one of our favorite ways to use this salt dough recipe. However, you can also use the dough with cookie cutters and decorate the shapes with paint!
Remember to write the year on the back of each salt dough ornament so you can identify the different years.
Note: be sure to keep these away from pets.
Ingredients
- 4 cups all purpose flour (Note: use standard all-purpose flour rather than self-rising flour)
- 1 cup salt
- 1.5 cups warm water
Watch the Video Tutorial
How to Make Salt Dough
1. Add the flour, salt, and warm water to a bowl, then stir everything together until a dough begins to form.
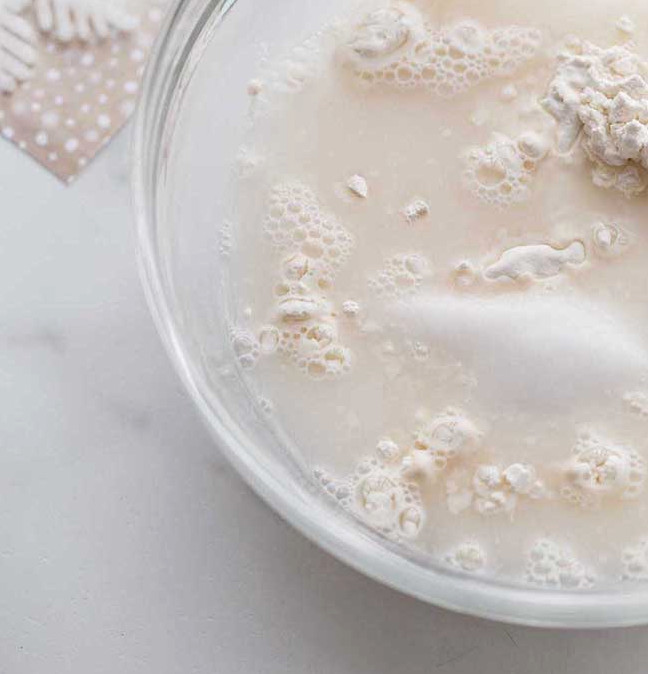
2. Remove the dough from the bowl and knead it for a minimum of 10 minutes.
At first, the dough may seem somewhat dry. If so, pour in a small amount of extra water, approximately 1 tablespoon at a time, and keep kneading.
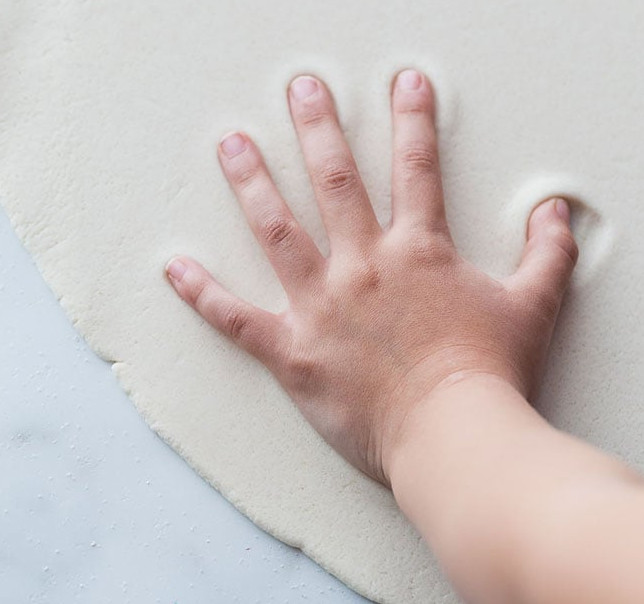
A properly prepared dough should feel smooth and roll out with minimal bumps. It also needs to be soft enough for a handprint to be pressed into it. If the dough feels too firm or lacks smoothness, knead it for longer. Should it remain dry, gradually add a little more water, a few tablespoons at a time—but avoid adding too much, or the mixture may become overly wet.
Flatten the dough until it is approximately 1/4 to 1/2 inch thick. Dough that is too thick will require extra time to dry.
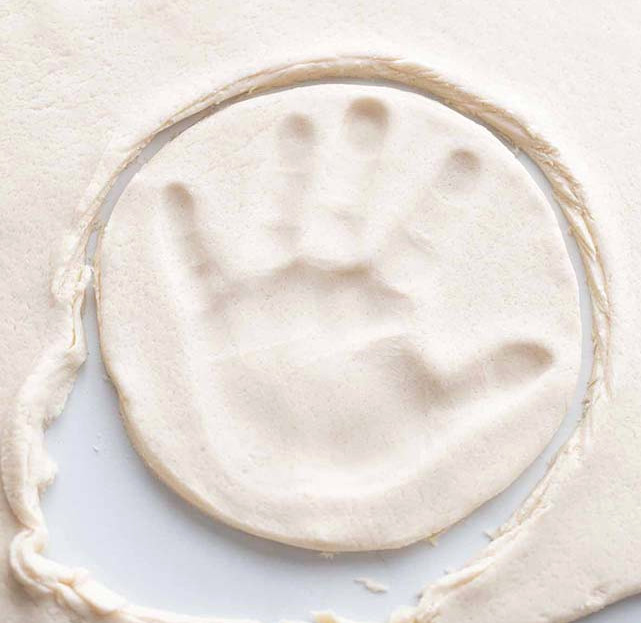
3. Trace around the handprint with a bowl that has a circular shape.
An adult should use a knife to cut around the handprint.
Alternatively, print a circle or heart template and use a knife to trace around it, with an adult handling this step.
For a smaller handprint, a circular or oversized heart cookie cutter can be used.
TIP: Press the handprint into the dough before tracing around it, as this makes the process simpler. Any remaining dough can be rolled out once more for another handprint.
4. Create a hole near the top of the ornament with a straw.
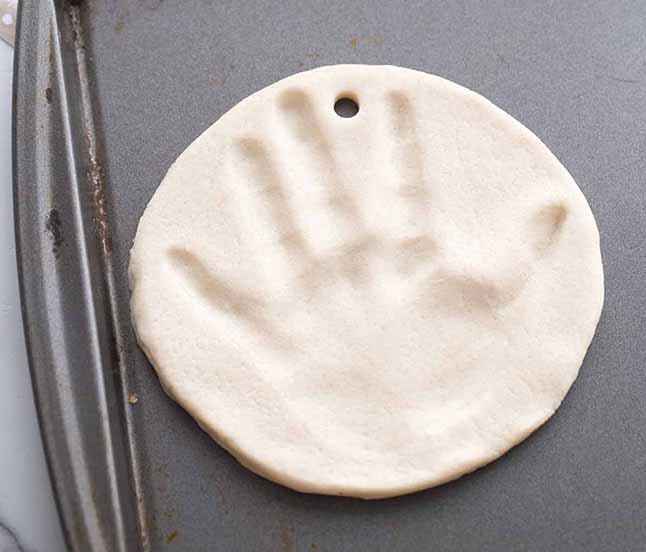
5. Leave the ornaments to air-dry for 24 hours.
When possible, allow the ornaments to dry in the open air for a full day. This reduces the baking duration and can help stop them from puffing up. If you are short on time, you may bake them immediately.
Bake them at 250 degrees Fahrenheit for 1-2 hours. When the ornament tops appear dry and firm, turn them over and continue baking the opposite side.
NOTE: Be certain that your oven is set to Fahrenheit. A frequent cause of burned or swollen ornaments is accidentally using Celsius. If your oven uses Celsius, select its lowest temperature, around 120 degrees Celsius.
Should the ornaments still feel doughy, return them to the oven for another hour. The required baking time depends on how thick they are: thinner ornaments finish sooner, while thicker ones need additional time. If oven drying is taking too long, allow them to air-dry for several more days. Turn them over so air can reach the undersides as well.
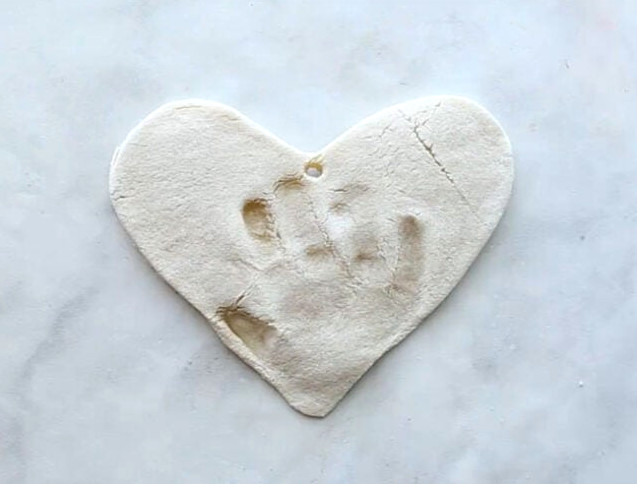
6.Once your ornaments have dried completely, you can begin painting them.
Paint the handprint while leaving the rest of the ornament unpainted. Alternatively, cover the entire ornament in white paint, then paint the handprint in the middle after the base layer is dry.
To include glitter in the handprint, paint the entire ornament first. Next, apply glue inside the handprint and sprinkle glitter over it.
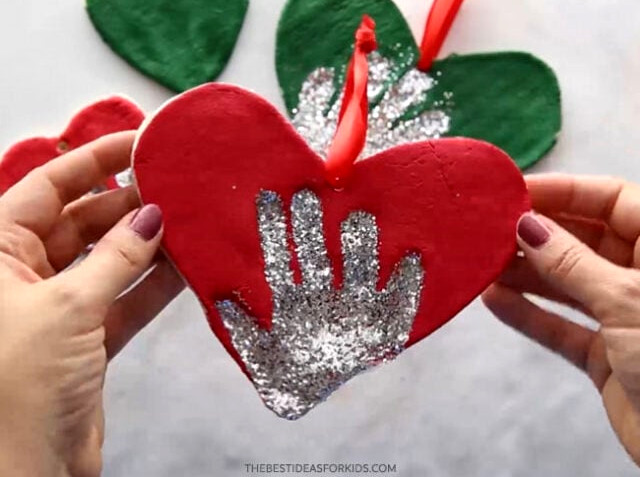
When the paint is completely dry, remember to seal it with either mod podge or a clear glaze spray. Apply the sealer after painting and only once the paint has dried thoroughly.
7. Thread ribbon or twine through the opening so you can hang it on the Christmas tree.
Why Does My Salt Dough Puff Up?
Salt dough most often puffs because the oven is too hot. Excessive heat can cause the dough to expand. Whenever possible, allow the ornaments to air-dry for one day before baking them. This helps avoid puffing. If baking immediately is necessary, use the lowest temperature setting (200-250 degrees Fahrenheit).
Note: Be certain that your oven is set to Fahrenheit rather than Celsius.
Be sure to use standard all-purpose flour instead of self-rising flour.
How Should I Seal Them?
When you have finished, remember to seal the ornaments with either mod podge or a clear glaze spray. This spray is our preferred choice for a long-lasting finish. An adult should apply the spray, following the instructions on the selected product.
Sealing the finished ornaments can keep them from cracking over the years and block moisture from entering.
Which Type of Paint Should I Choose?
For salt dough ornaments, I prefer using non-toxic acrylic paint. Its color applies more thickly and looks brighter than children’s paint. This acrylic paint brand is one we enjoy.
Decoration Ideas
For the area surrounding the handprints, you can choose a heart shape or a circle.
For this ornament, we chose a large heart cookie cutter because the handprints were small (baby handprints):

For larger handprints, trace around a heart template or have an adult use a knife to outline a heart around the handprint.
How Many Ornaments Can This Make?
The number depends on the handprint size and the thickness of the salt dough, but you can make about 8 handprints. When using the dough for small cookie-cutter ornaments, the yield is approximately 15.
If you plan to prepare these for a classroom or a big group of children, I suggest taking an additional batch along as a backup. The total will differ based on the cookie-cutter dimensions, handprint size, and dough thickness. I prefer rolling out the dough and kneading the leftover pieces together so none goes to waste.
Helpful Tips
- Knead the dough thoroughly until it becomes smooth – I usually knead it for at least 10 minutes.
- When you can, let the ornaments air-dry for a full day beforehand. This reduces baking time and helps prevent puffing.
- During baking or air-drying, remember to turn the ornaments over so air can reach the underside.
- Use the recommended sealers listed above to help the ornaments remain intact for years.
- Keep the ornaments in a cool, dry location away from moisture. Sealing them also helps prevent moisture from entering.
- Keep them beyond pets’ reach.
-
Mix all the dry ingredients together, then knead the mixture for 10 minutes. Should the dough feel overly dry, gradually pour in a little more water, adding a few tablespoons at a time, and keep kneading. The finished dough should be smooth and roll out with minimal bumps. You should also be able to press your hand into it easily. If it feels firm or dry, add a small amount of additional water and knead again.
-
Flatten the dough to your preferred thickness for the salt dough ornament. We recommend making it between 1/4 and 1/2 inch thick.
-
Use a large cookie cutter to create various shapes for the salt dough ornaments. For handprints, press the hand into the dough first, then outline around it.
-
Ask your child to press their hand into the salt dough ornament. If the dough is too firm to take an imprint, it might be lacking moisture. Knead it until it becomes smooth, adding a little more water if necessary.
-
With a straw, create a hole near the top of the ornament so it can be hung.
-
When you can, allow the ornaments to dry naturally for one day.
-
Set your oven to 250 degrees Fahrenheit and bake the ornaments for 1-2 hours. If they remain soft or doughy, return them to the oven for another hour. Baking time will vary according to thickness: thinner ornaments cook faster, while thicker ones may require additional time.
-
If the ornaments puff up too much, roll the dough more thinly to minimize the swelling. Should an ornament still feel slightly doughy, bake it longer or leave it out for several days to firm up before decorating. The dough’s thickness determines the required baking time. We prefer baking them at 250 degrees Fahrenheit for an extended period, followed by several days of air-drying to help prevent puffing.
-
After the ornaments have cooled, decorate them with non-toxic acrylic paint.
-
Apply a clear glaze spray or coat the ornaments with mod podge. Complete this step before applying glitter.
-
For a glitter-covered handprint, spread glue over the imprint, sprinkle glitter across it, shake away the excess, and leave it to dry.
Children will enjoy helping prepare this salt dough recipe. They will have a great time decorating the salt dough ornaments with paint as well.
As a final friendly reminder, keep these away from pets (the salt content can be toxic to dogs).